How To Adjust Points Manually
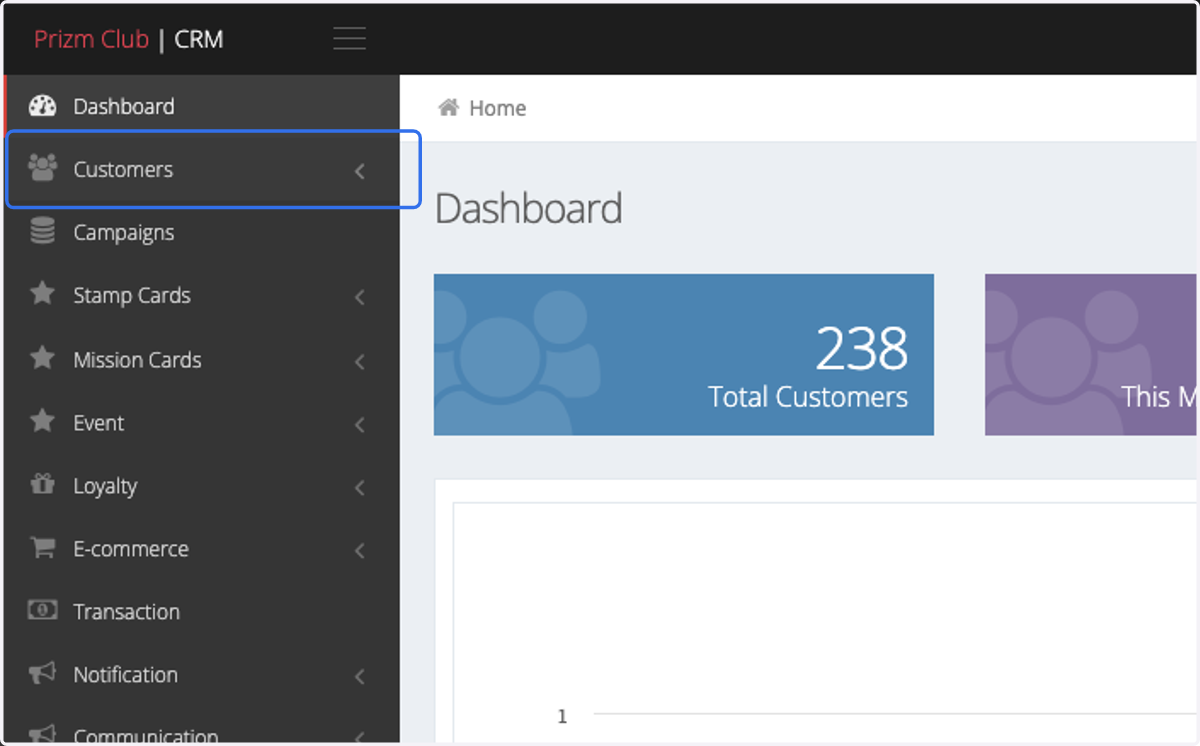
1. Click on Customers
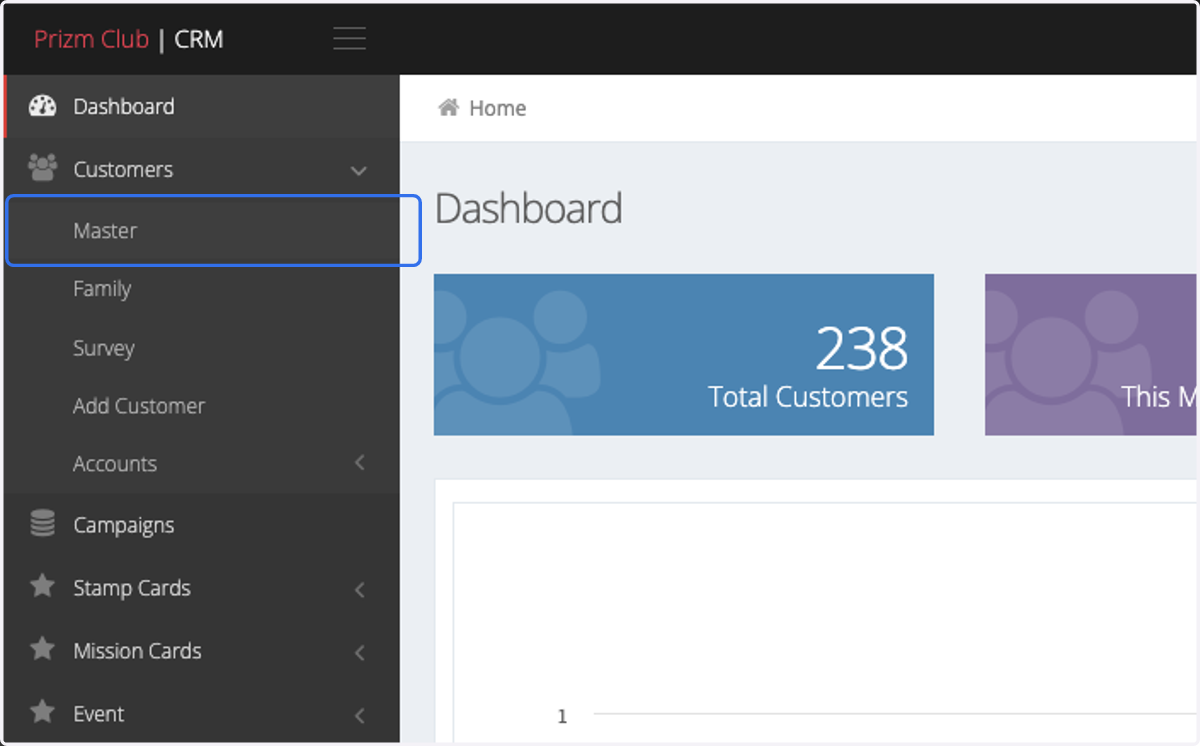
2. Click on Master
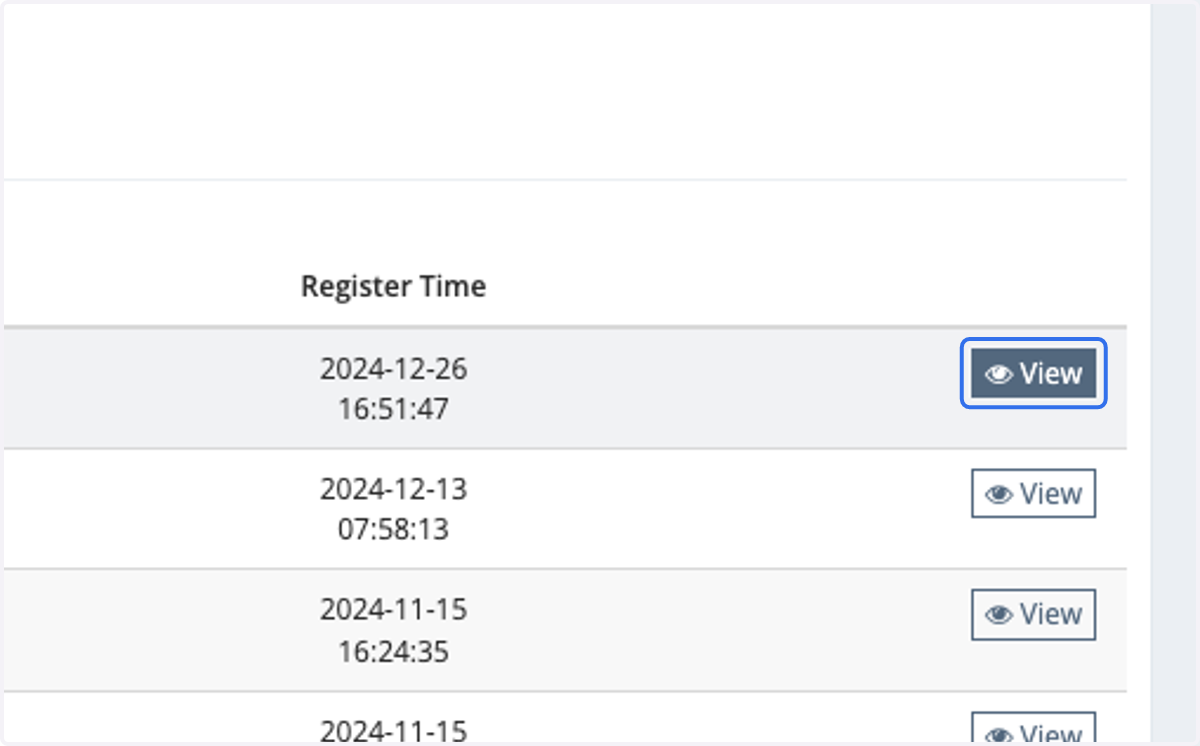
3. Click on View for the specific customer
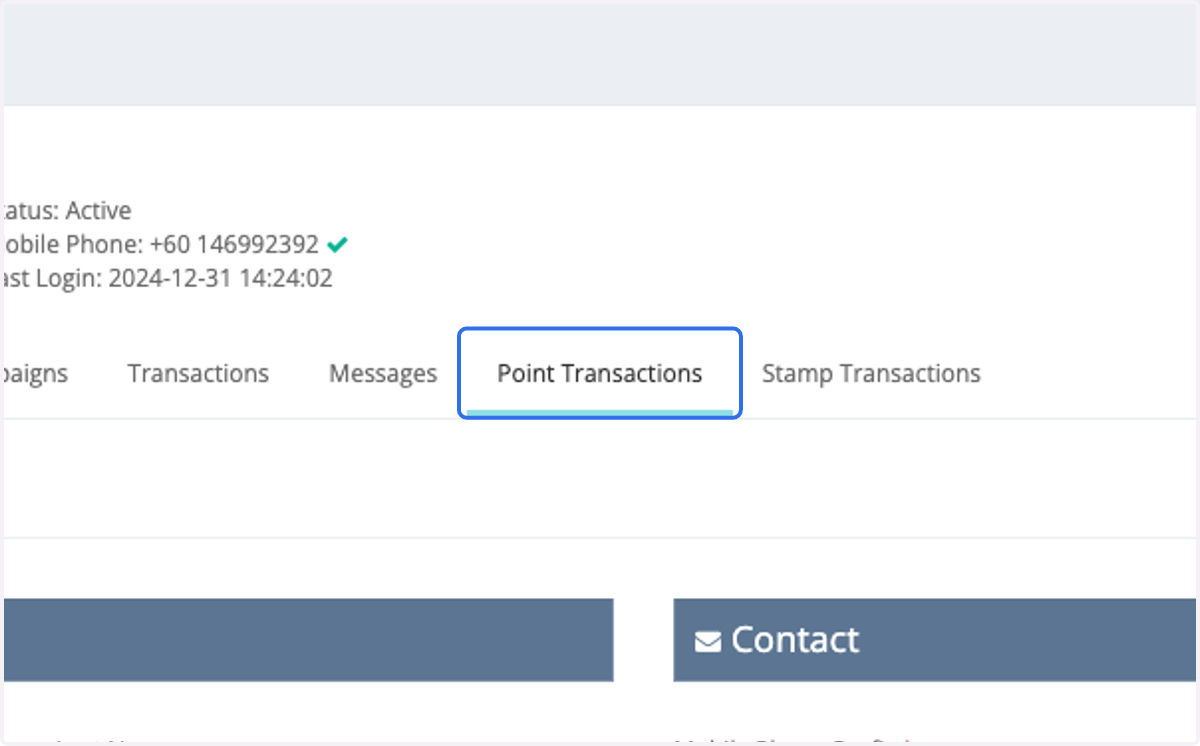
4. Click on Point Transactions
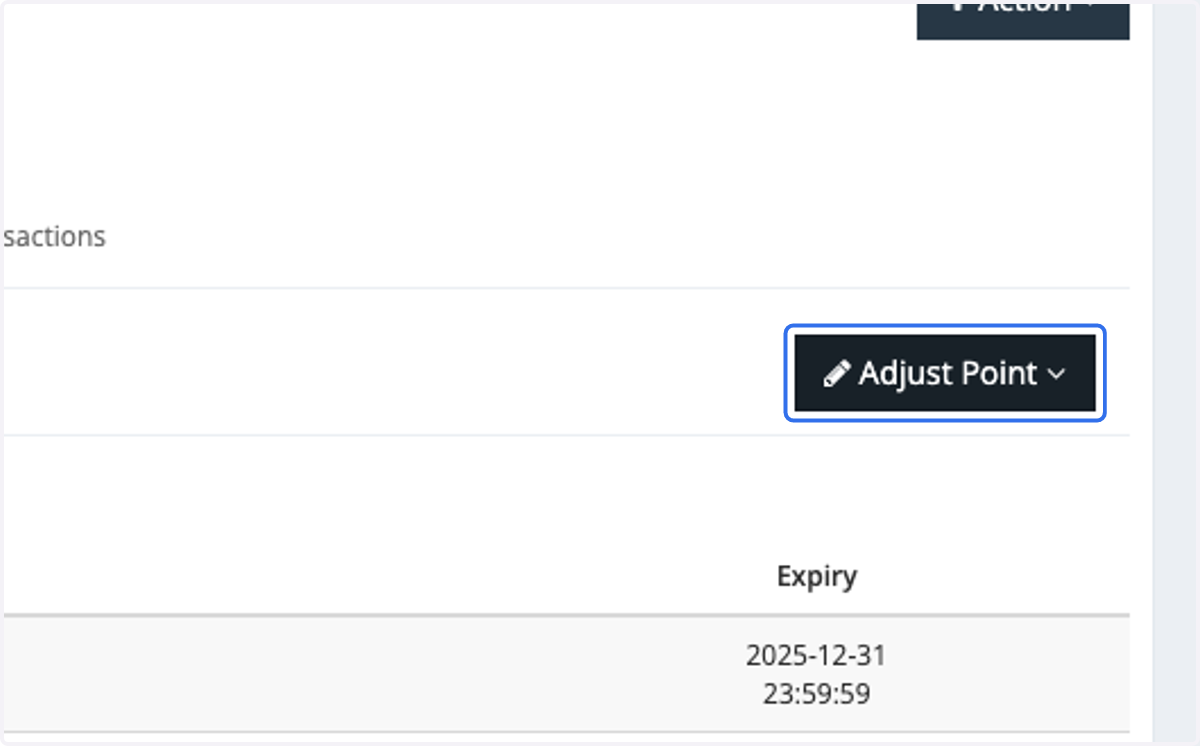
5. Click on Adjust Point
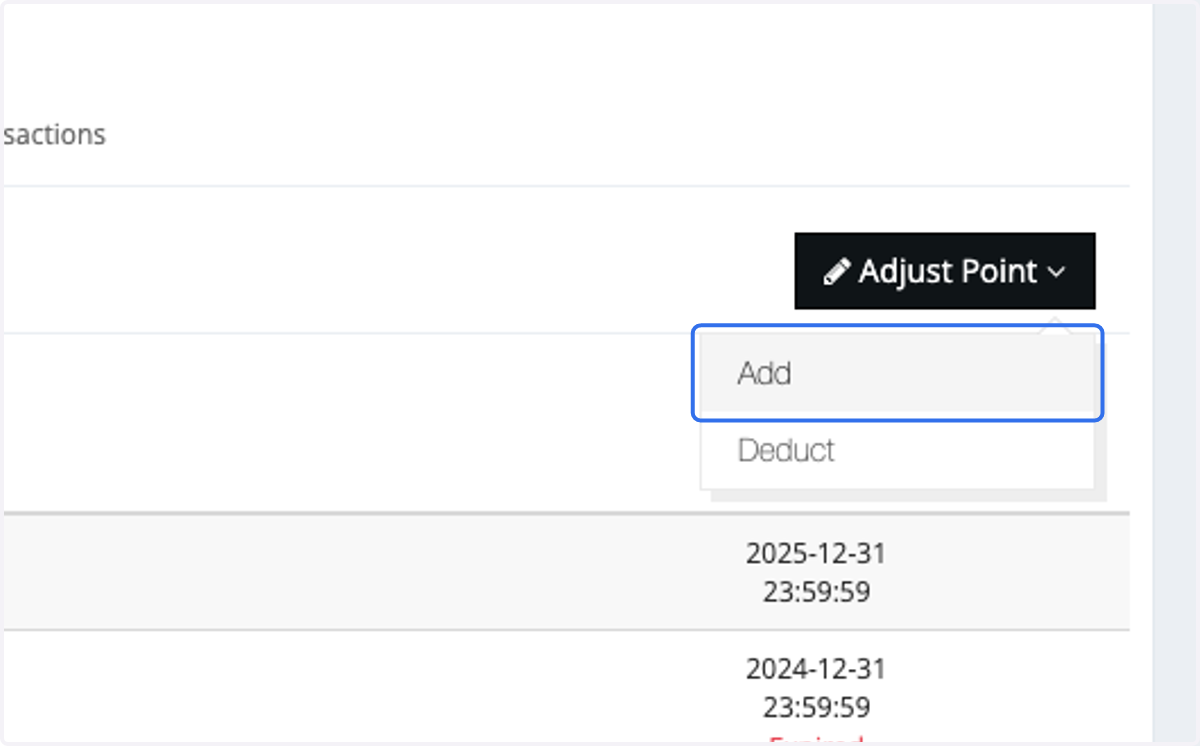
6. Click on Add
7. Insert the Additional Points amount
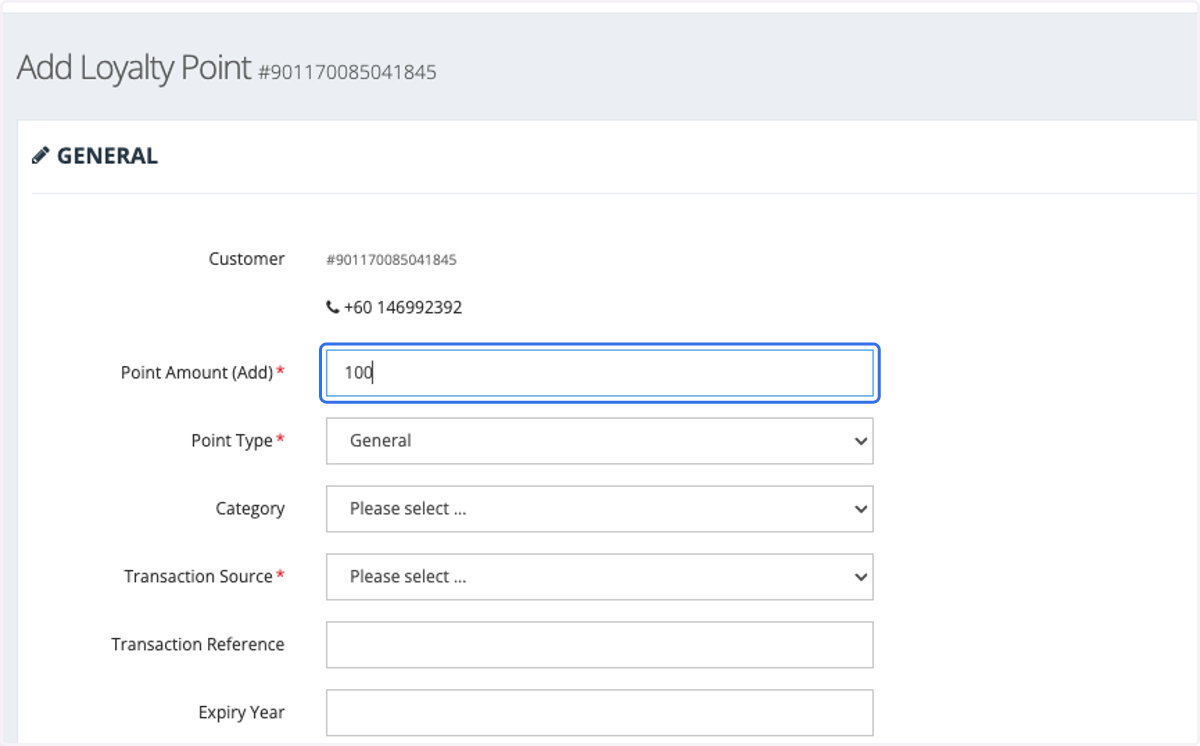
8. Select the Points Type. In most cases, we will choose "General."
Any additional point types will require configuration by the IT team.
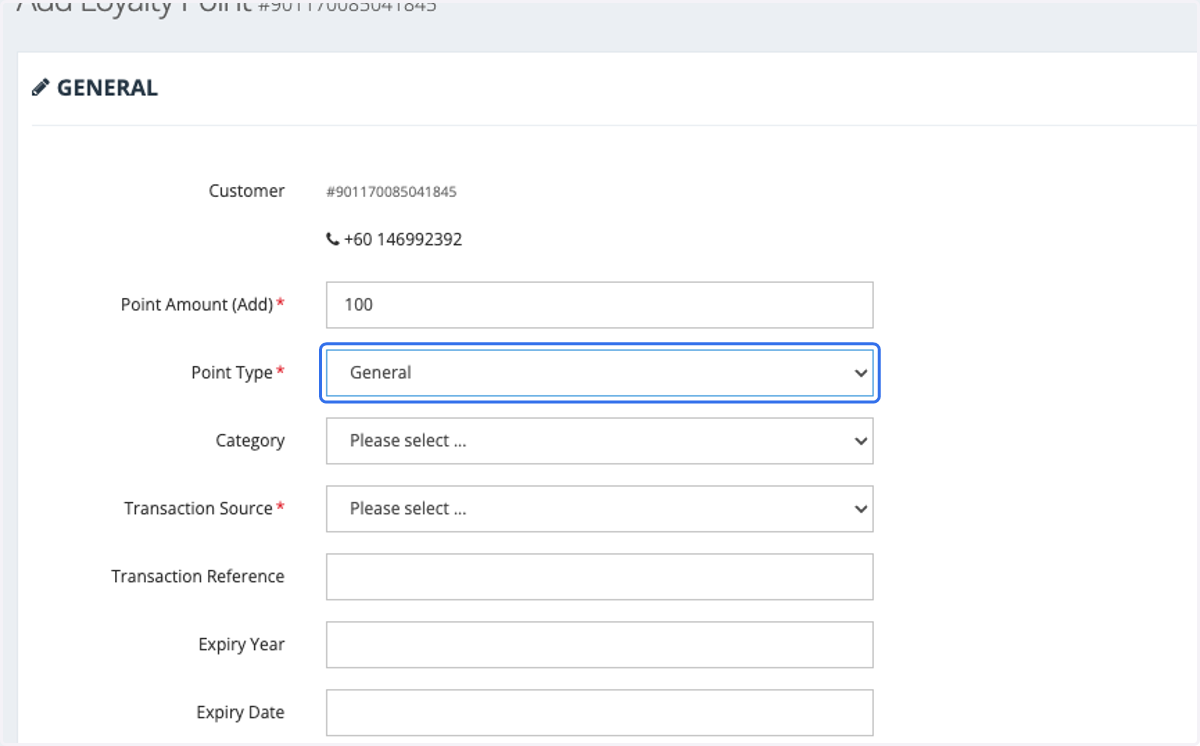
9. Select the Points Category
The Points Category selection must be pre-set by the IT team.
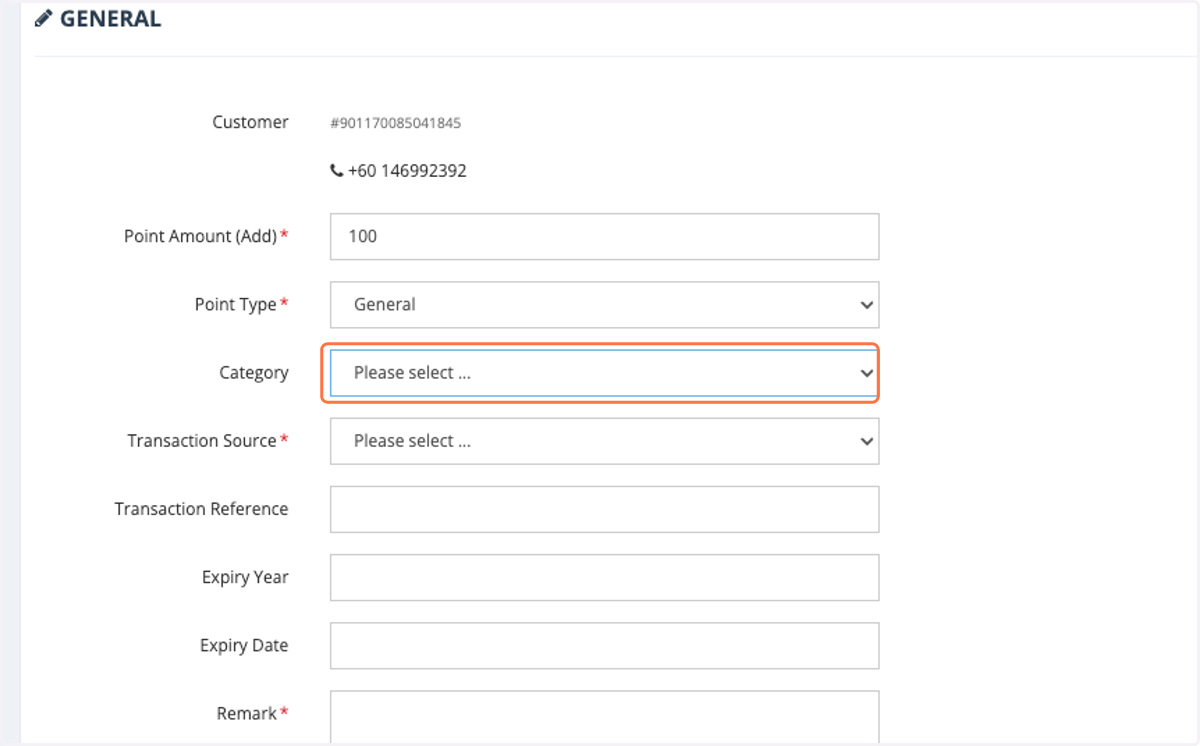
10. Select Transaction Source
The Transaction Source refers to the reason for adjusting these points.
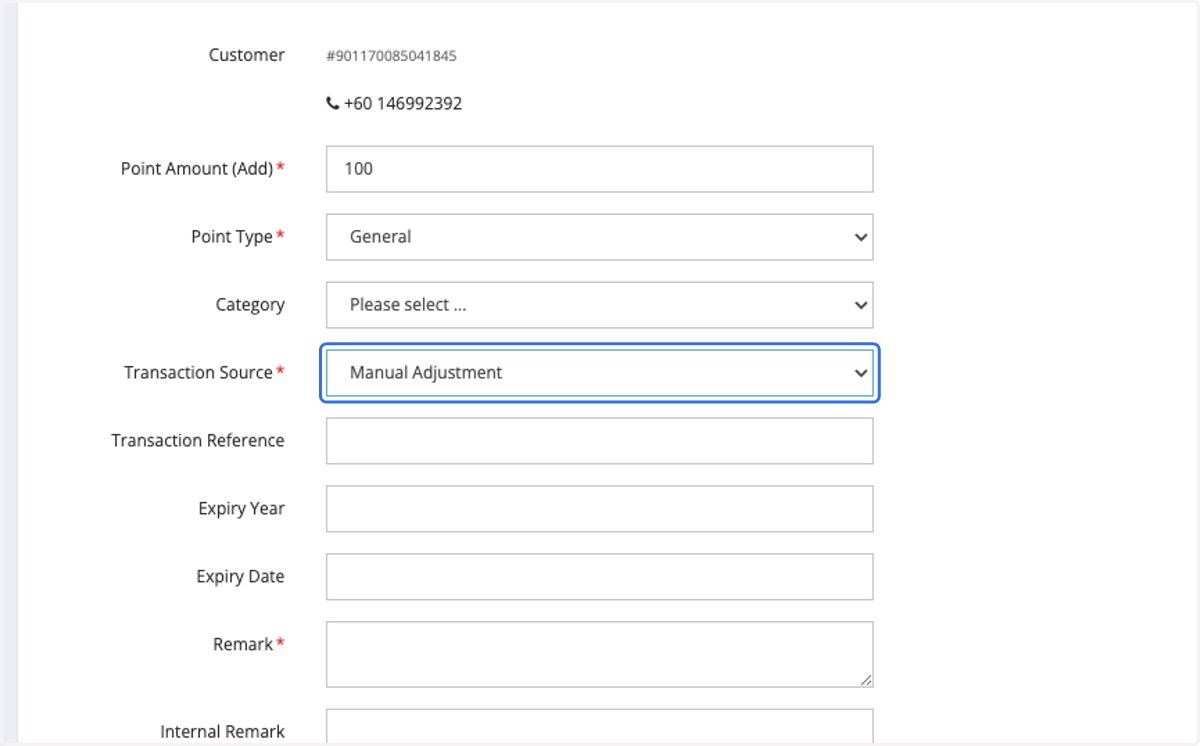
11. Insert Transaction Reference
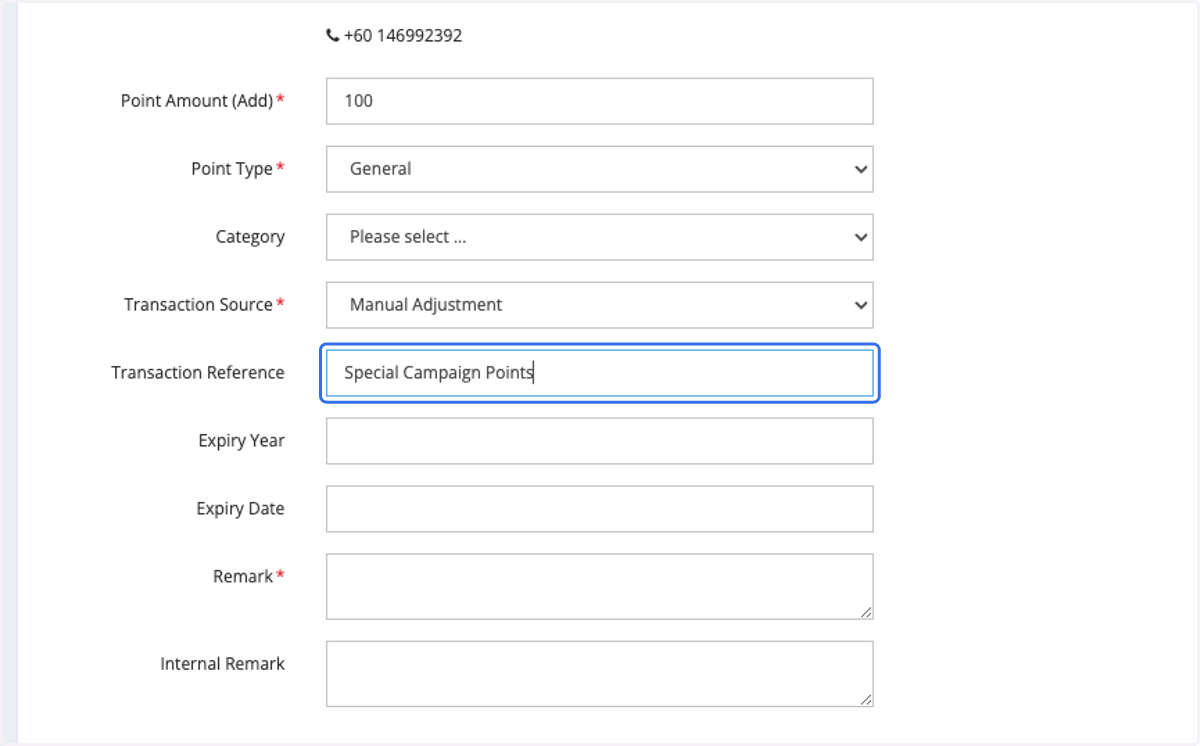
12. Select the Expiry Year
Please note that the Expiry Year and Expiry Date cannot be set simultaneously.
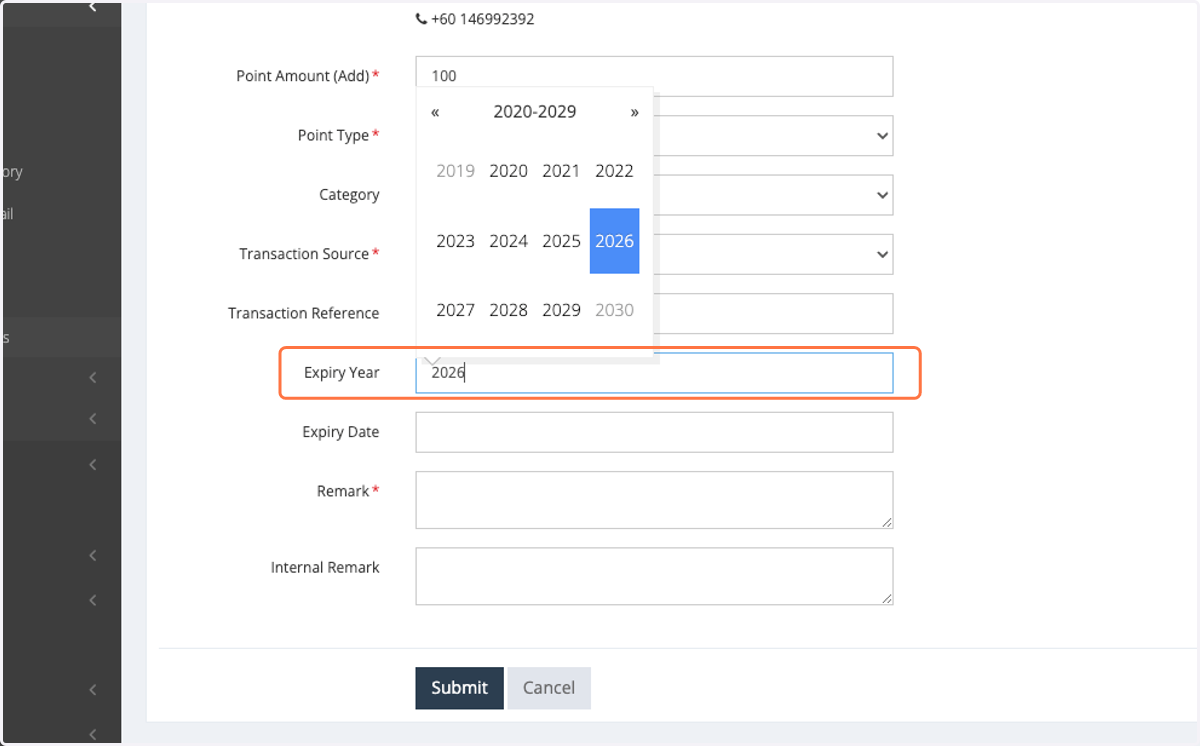
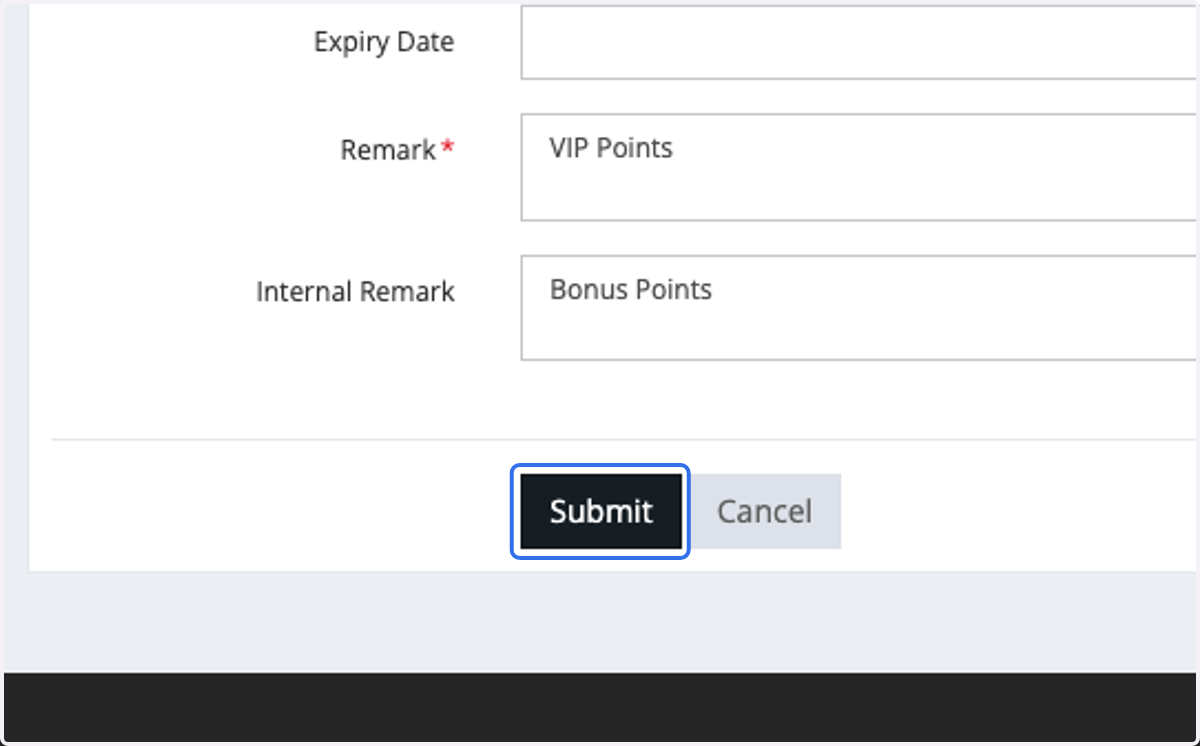
13. Insert Remarks
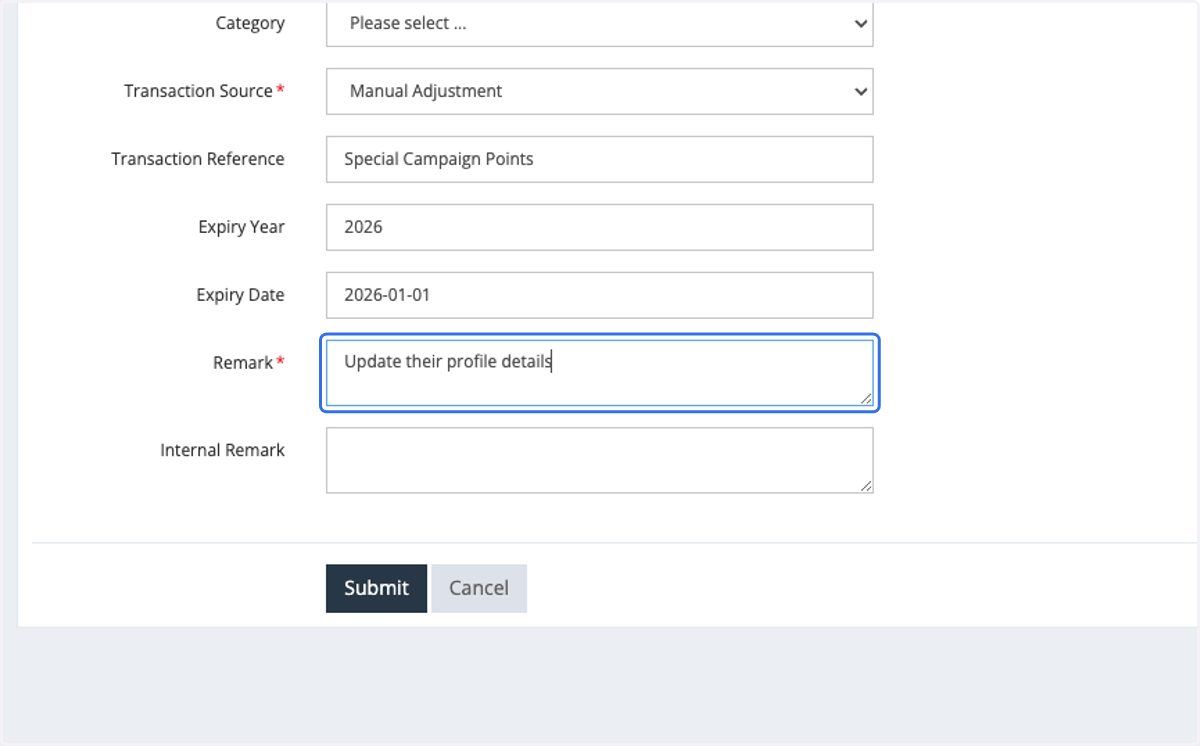
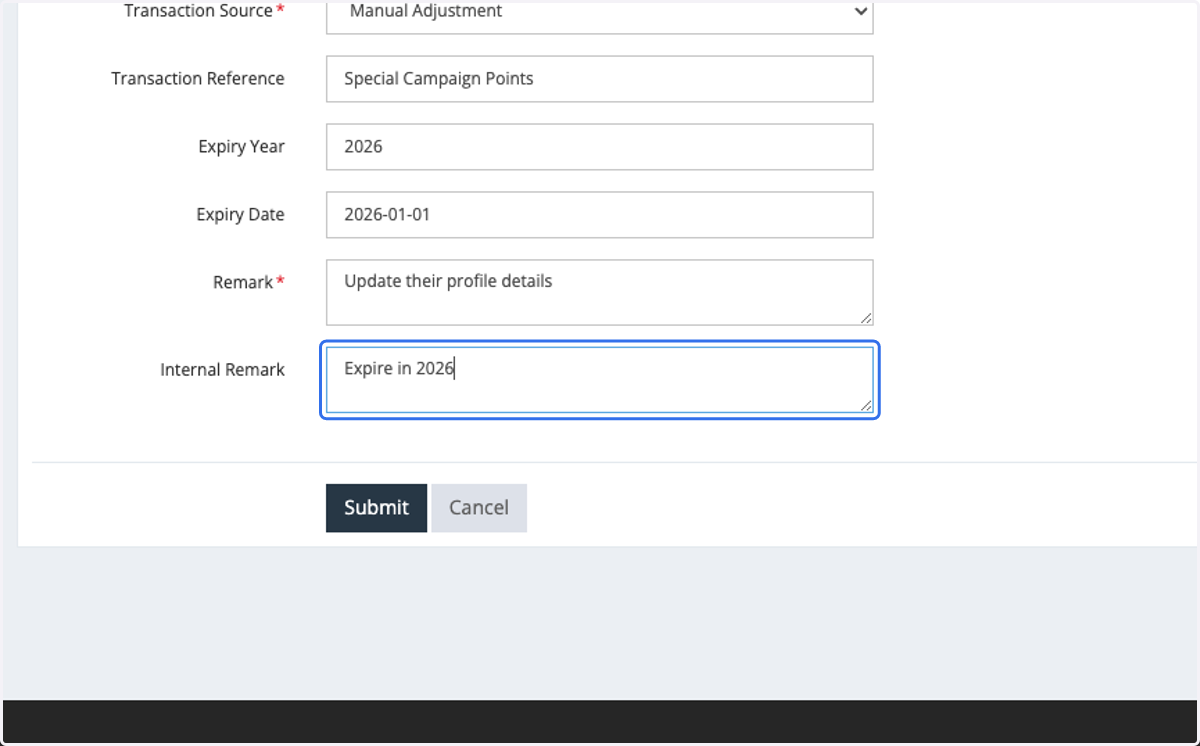
14. Enter an Internal Remark for internal reference purposes.
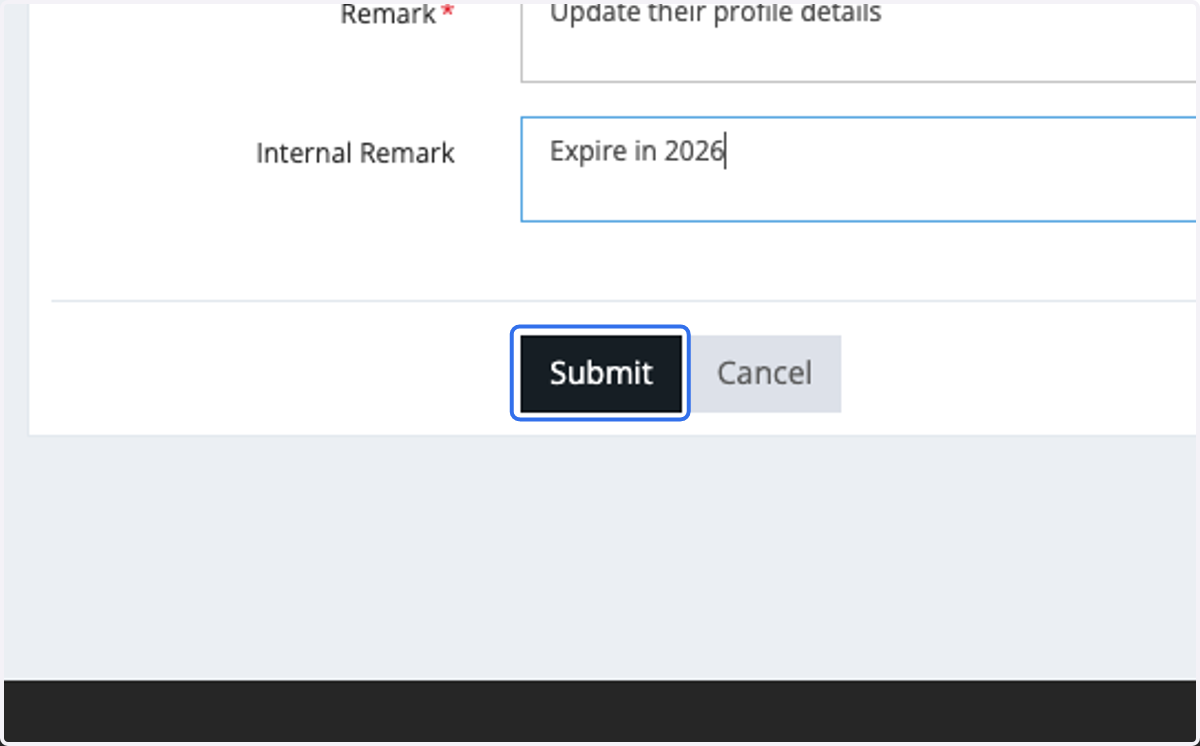
15. Click on Submit
Deduct Points
16. Click on Adjust Point
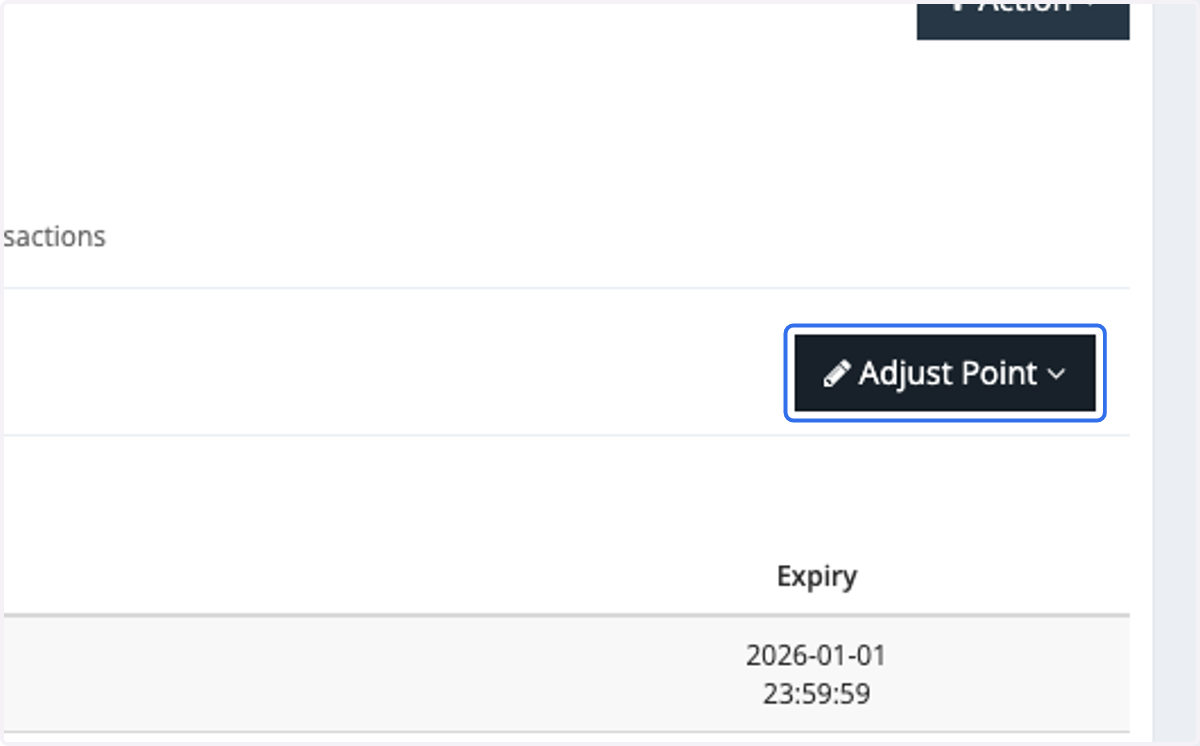
17. Click on Deduct
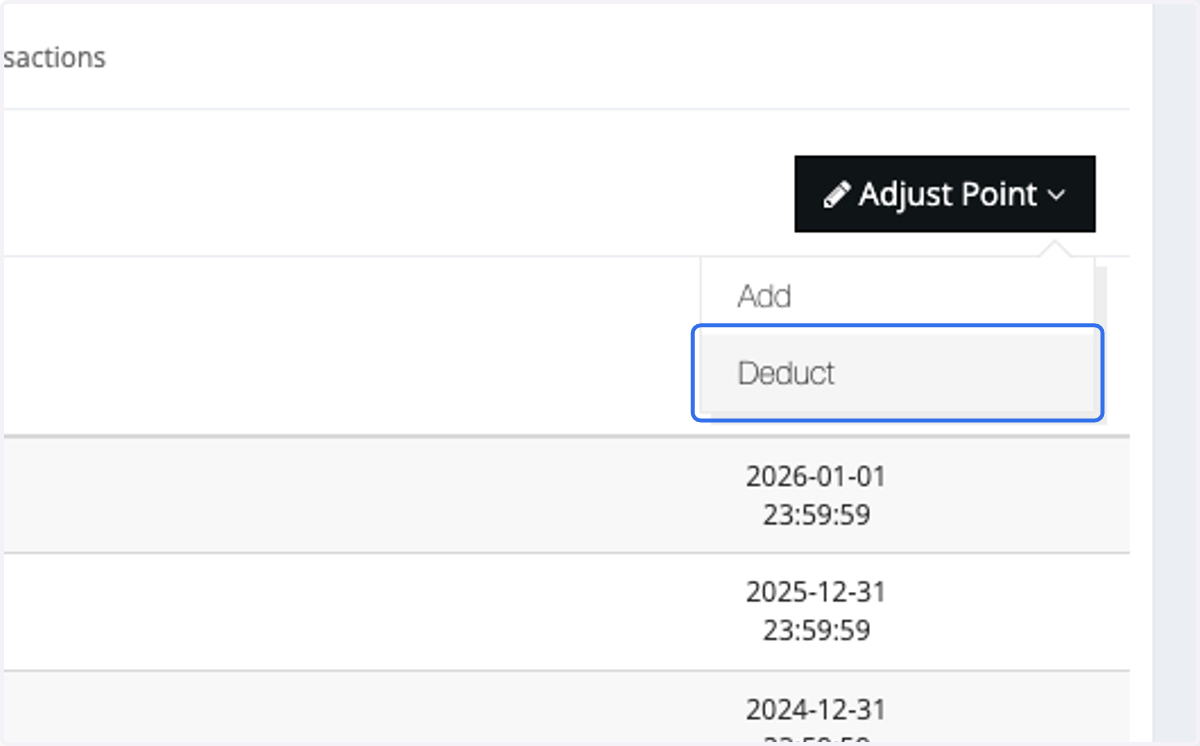
18. Insert the Deduct Amount
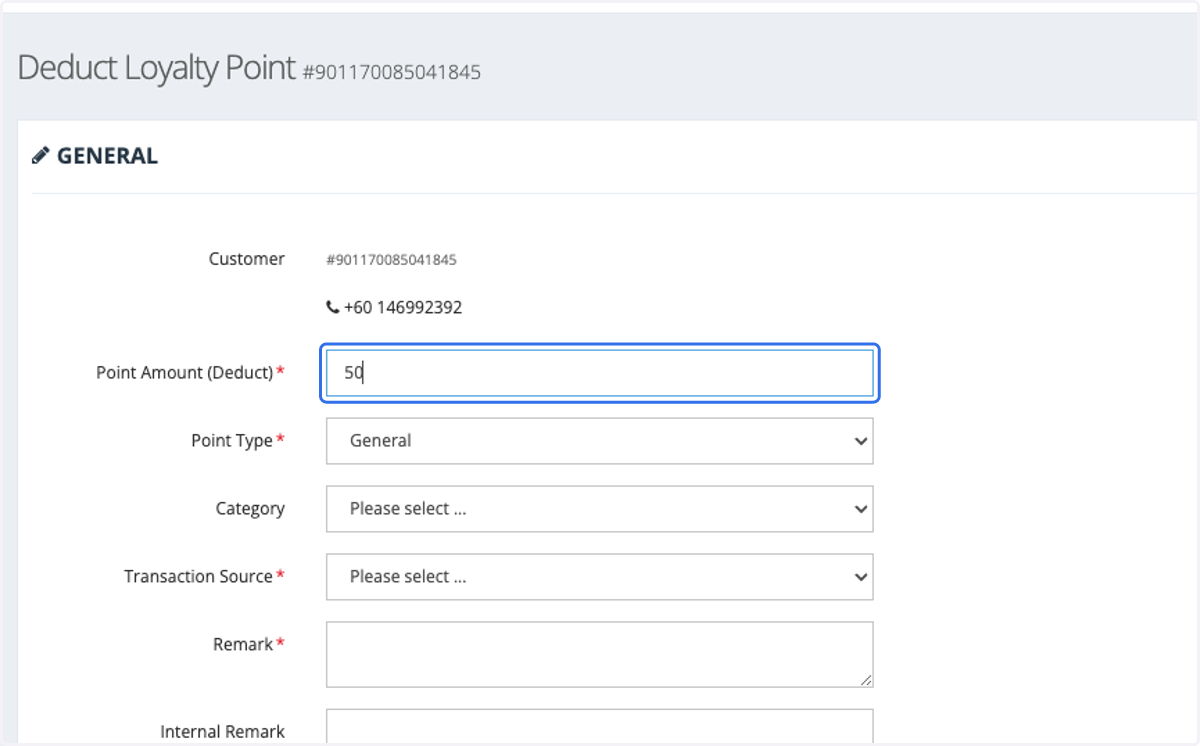
19. Select the Points Type. In most cases, we will choose "General."
Any additional point types will require configuration by the IT team.
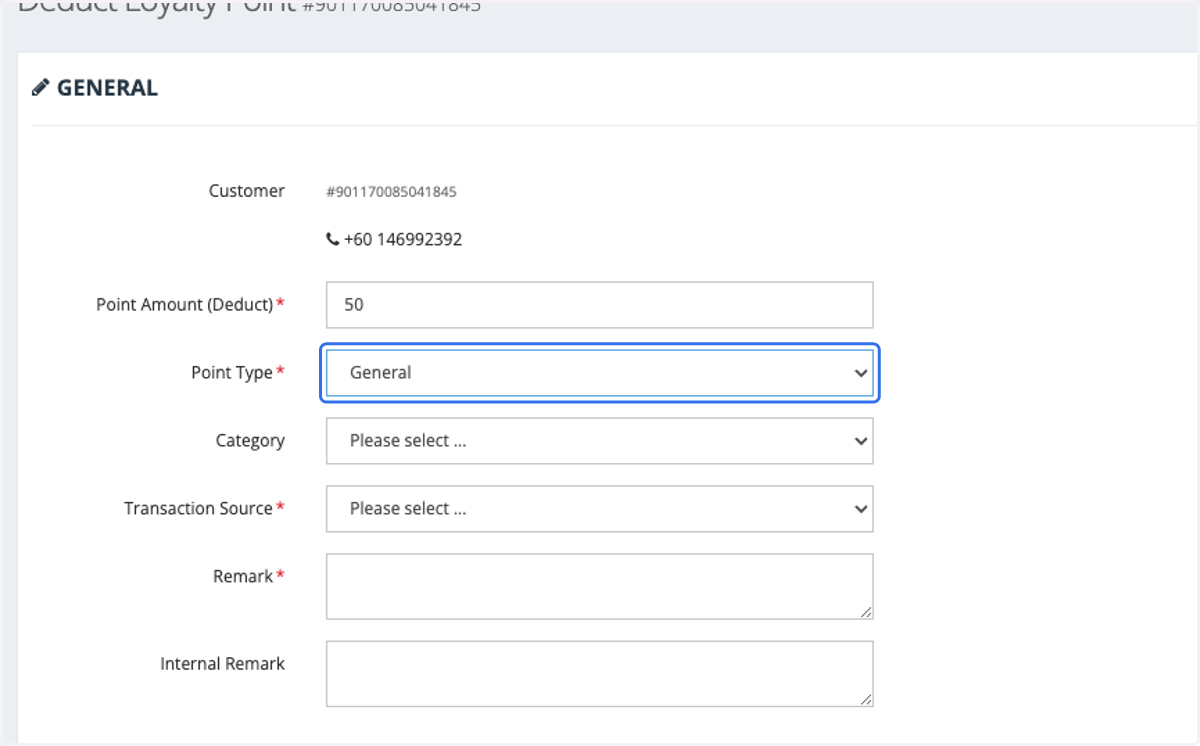
20. Select the Points Category
The Points Category selection must be pre-set by the IT team.
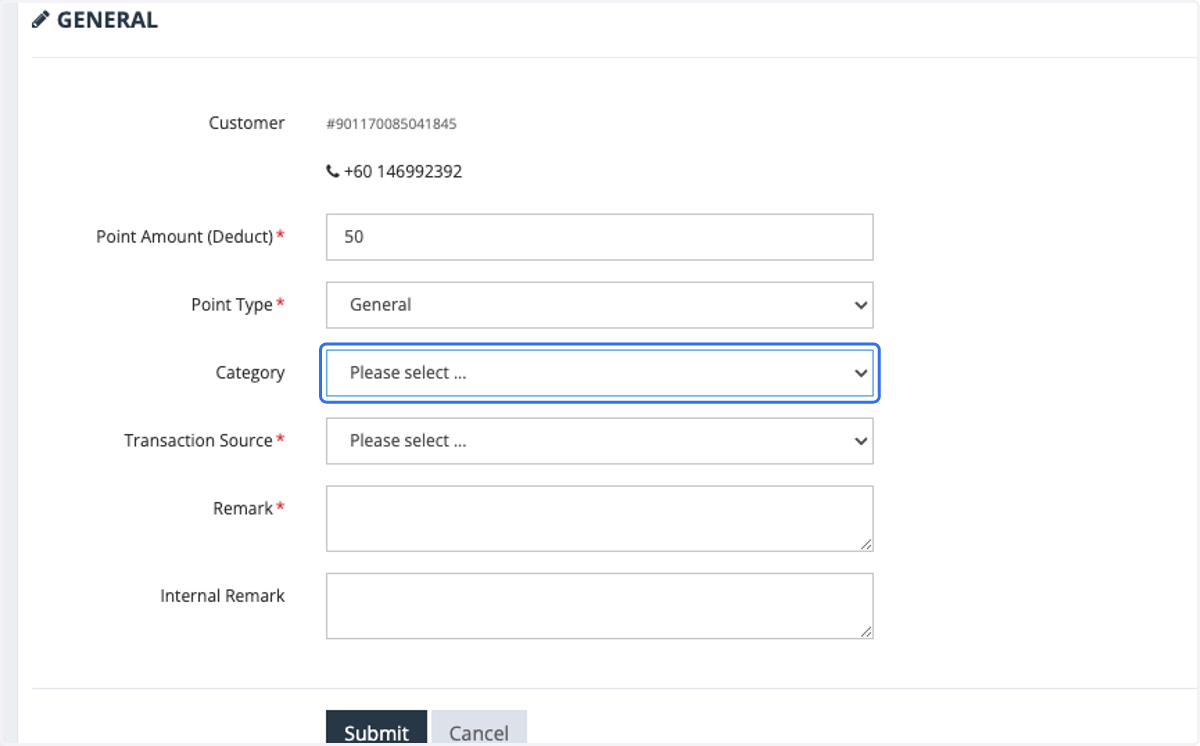
21. Select Return
The Transaction Source refers to the reason for adjusting these points.
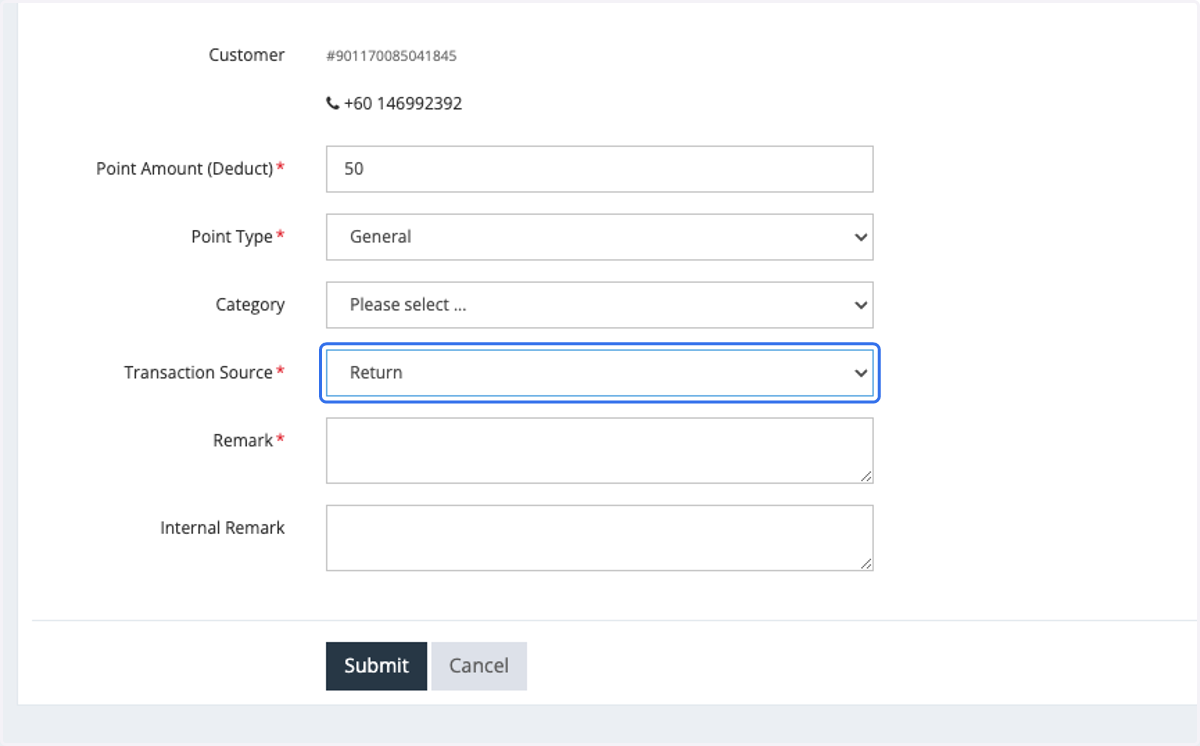
22. Insert Remarks if needed.
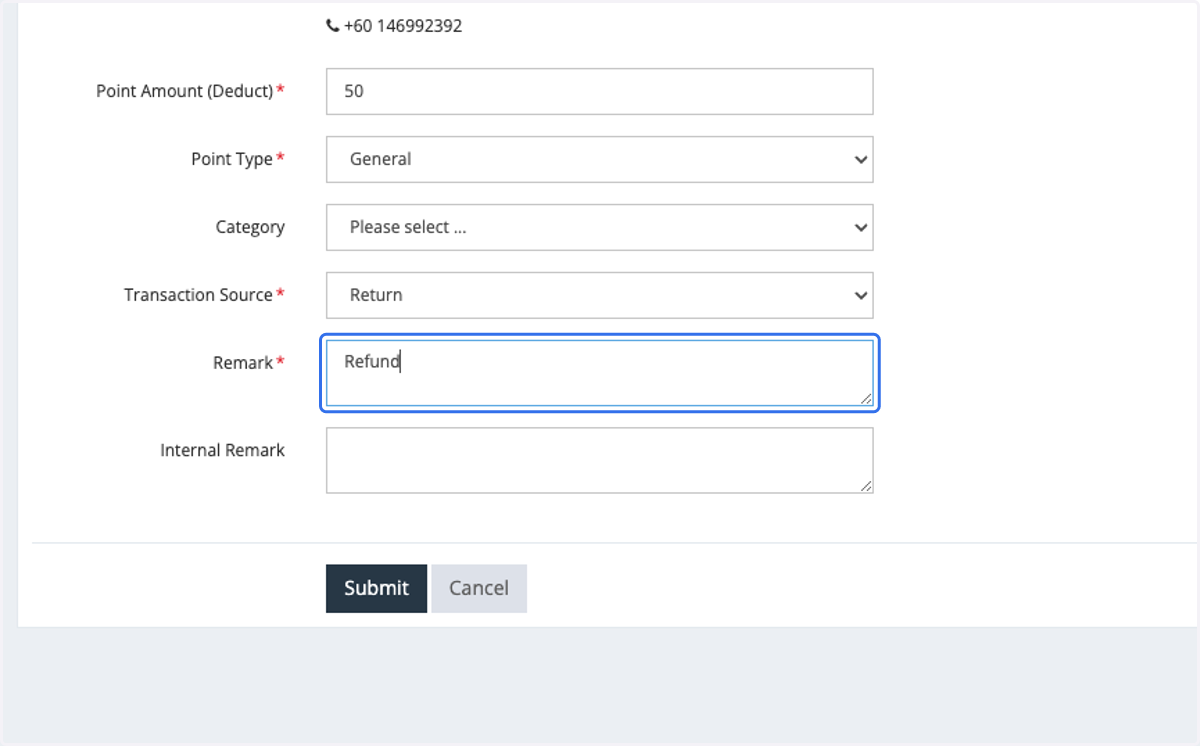
23. Insert Internal Remark for internal reference pruposes.
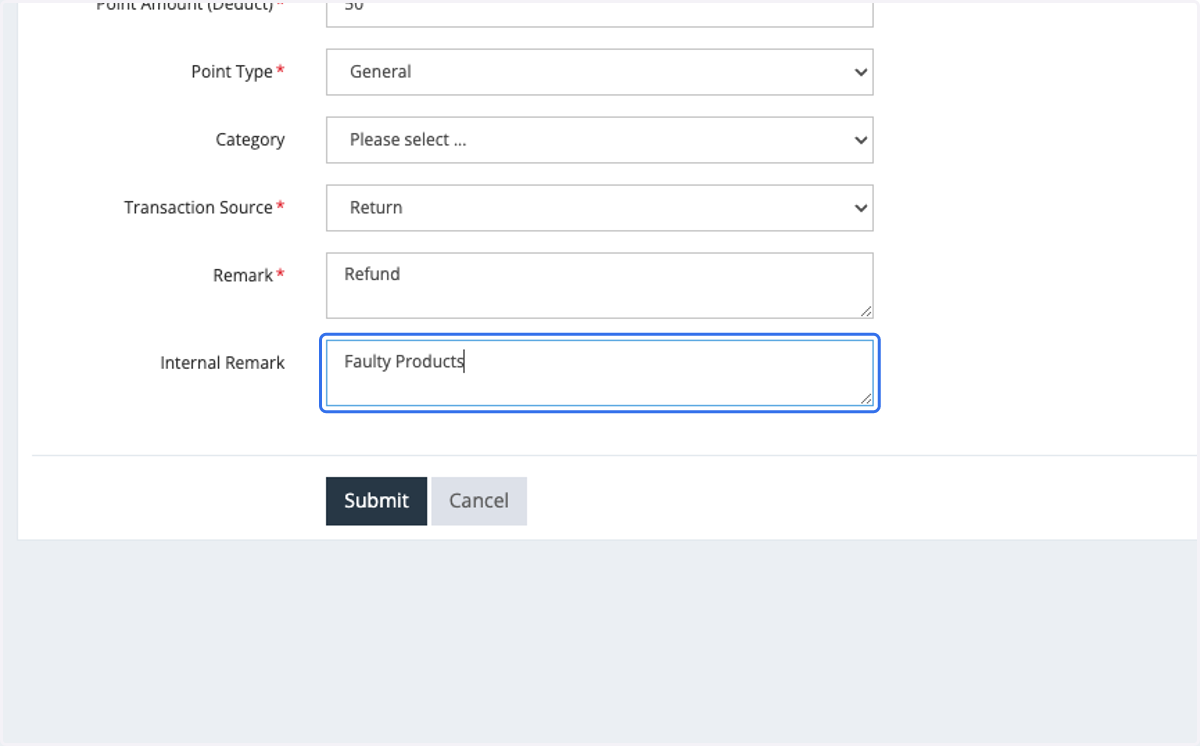
24. Click on Submit
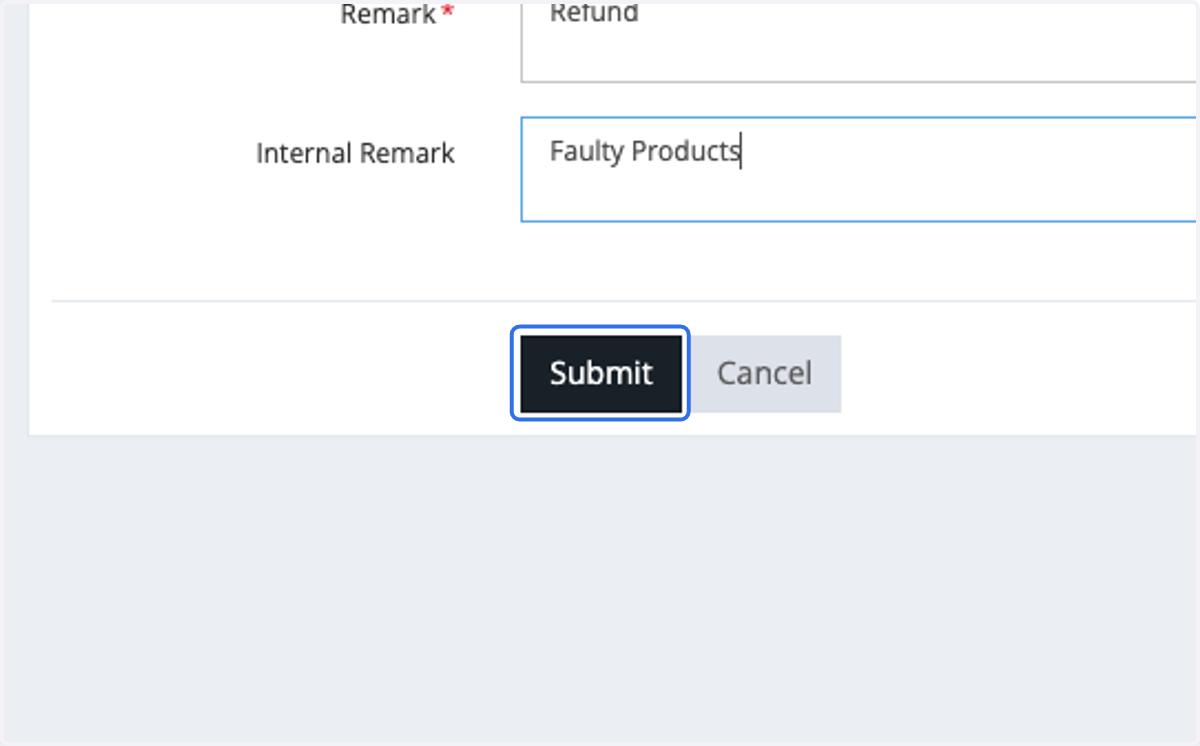
Add or deduct points to multiple members at once.
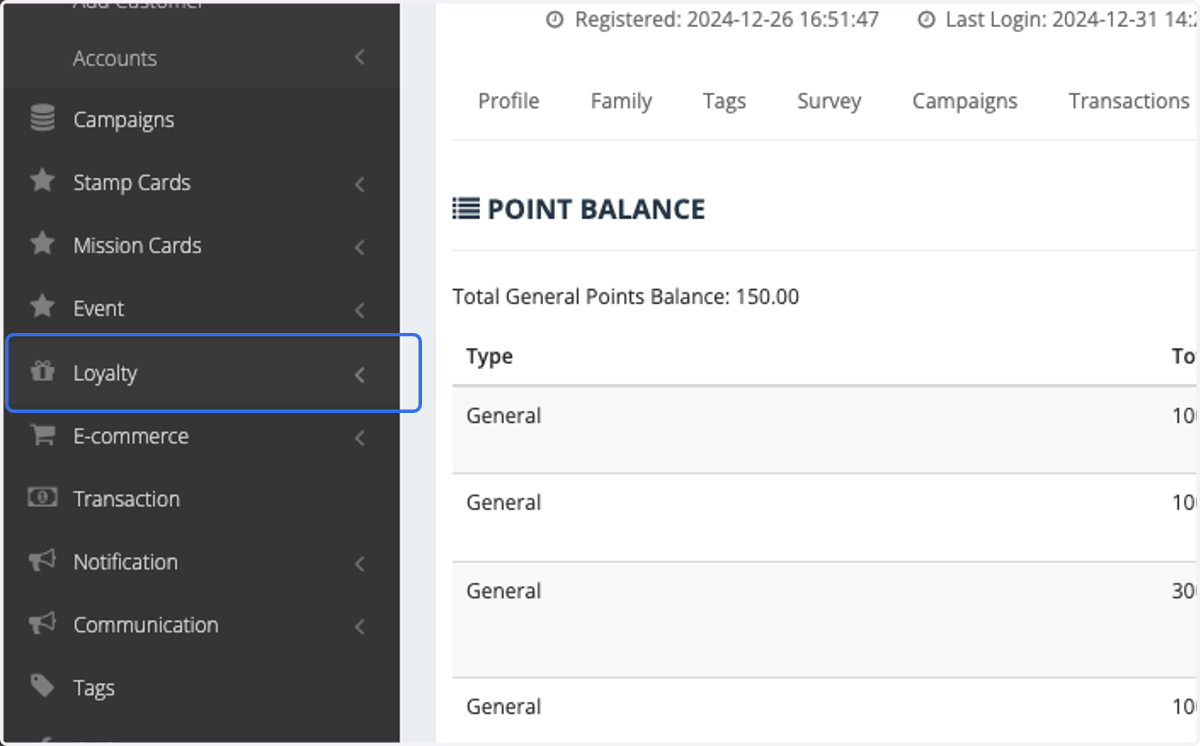
25. Click on Loyalty
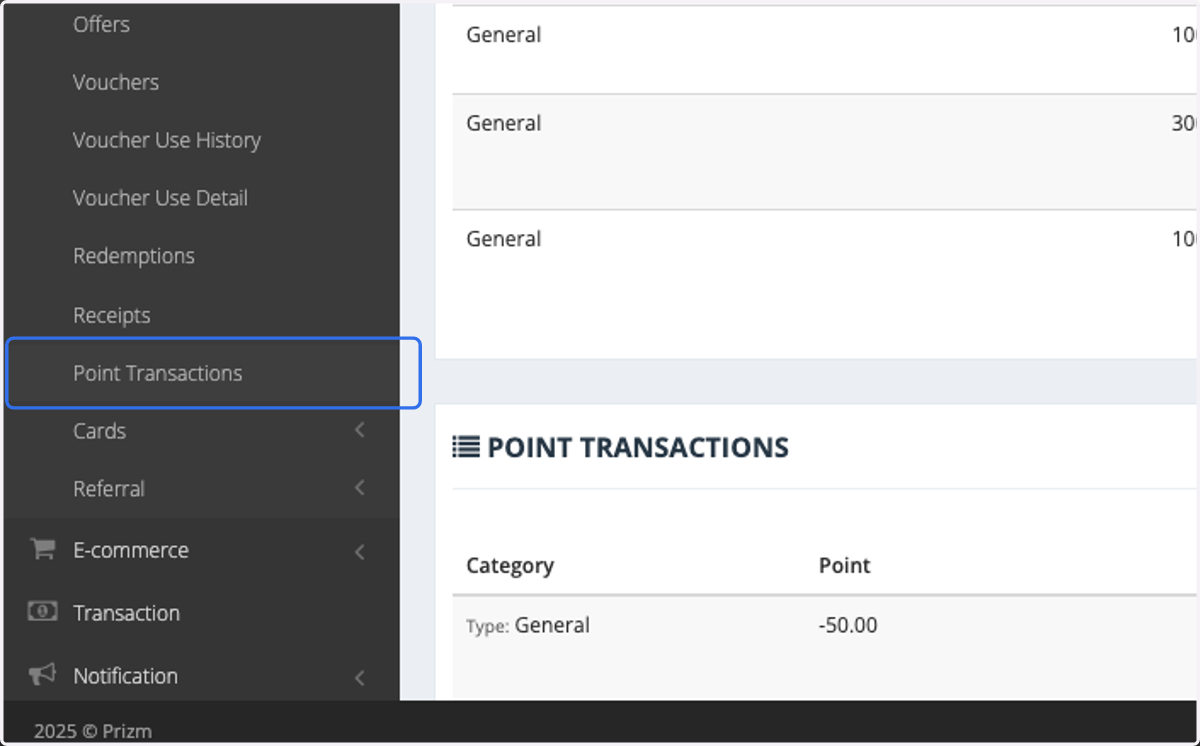
26. Click on Point Transactions
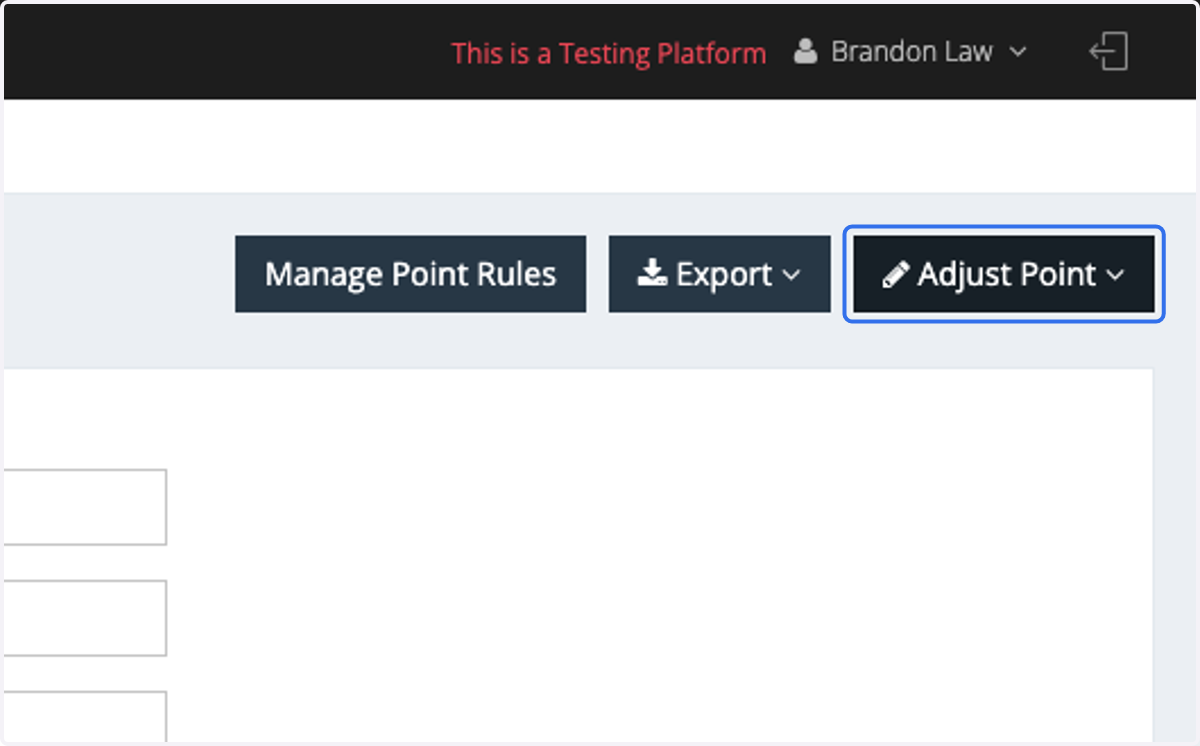
27. Click on Adjust Point
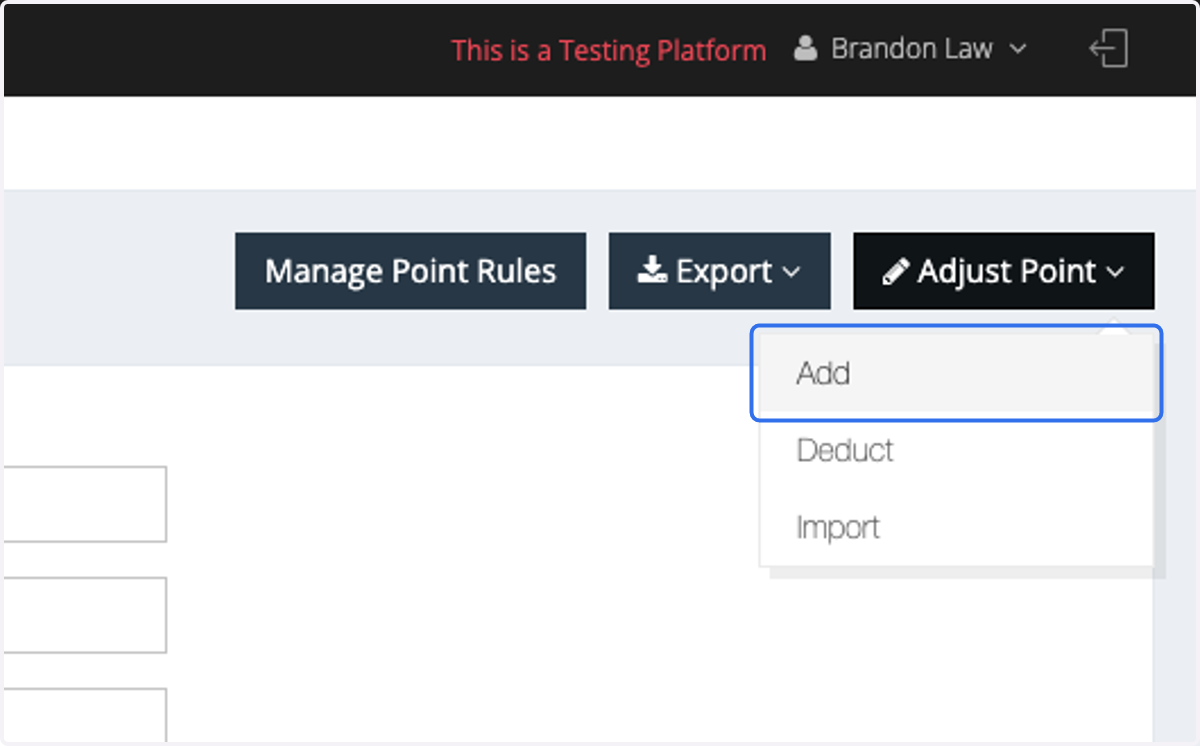
28. Click on Add
You can click Deduct to deduct points from multiple members.
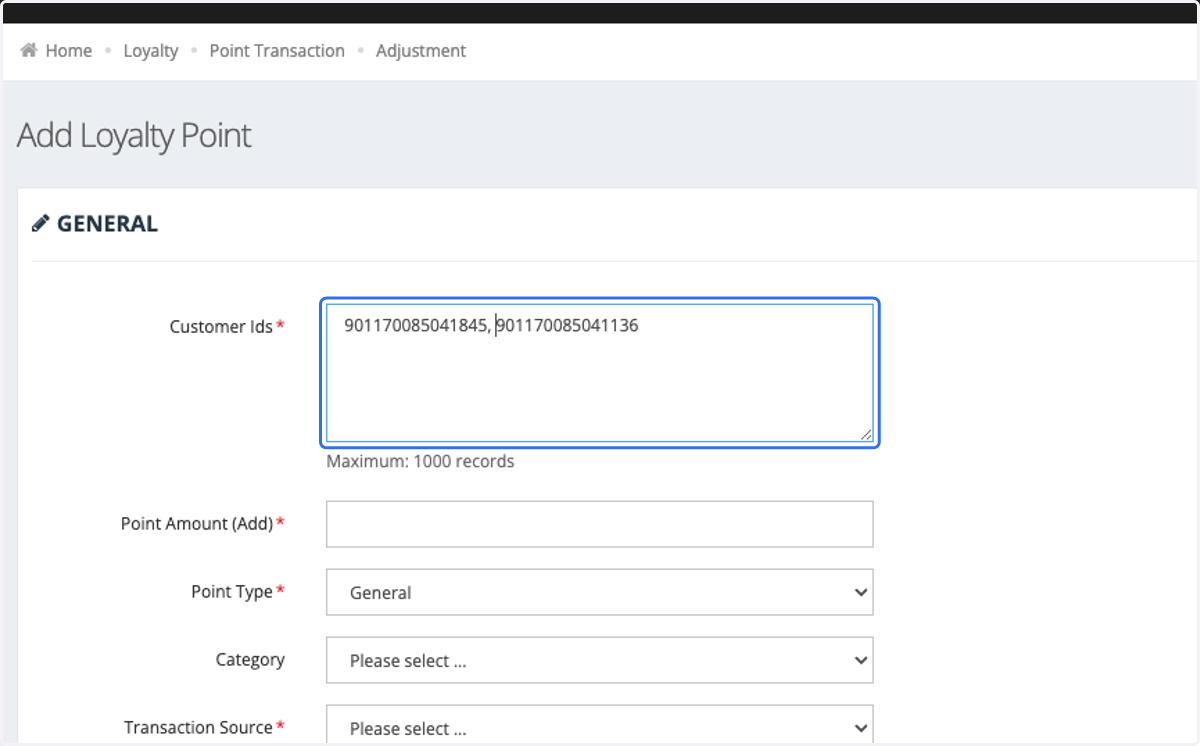
29. Insert the Customer IDs that you would like add.
You can separate each ID using a comma (",") or a semicolon (";"). If this does not work, please consult the IT Support Team for assistance.
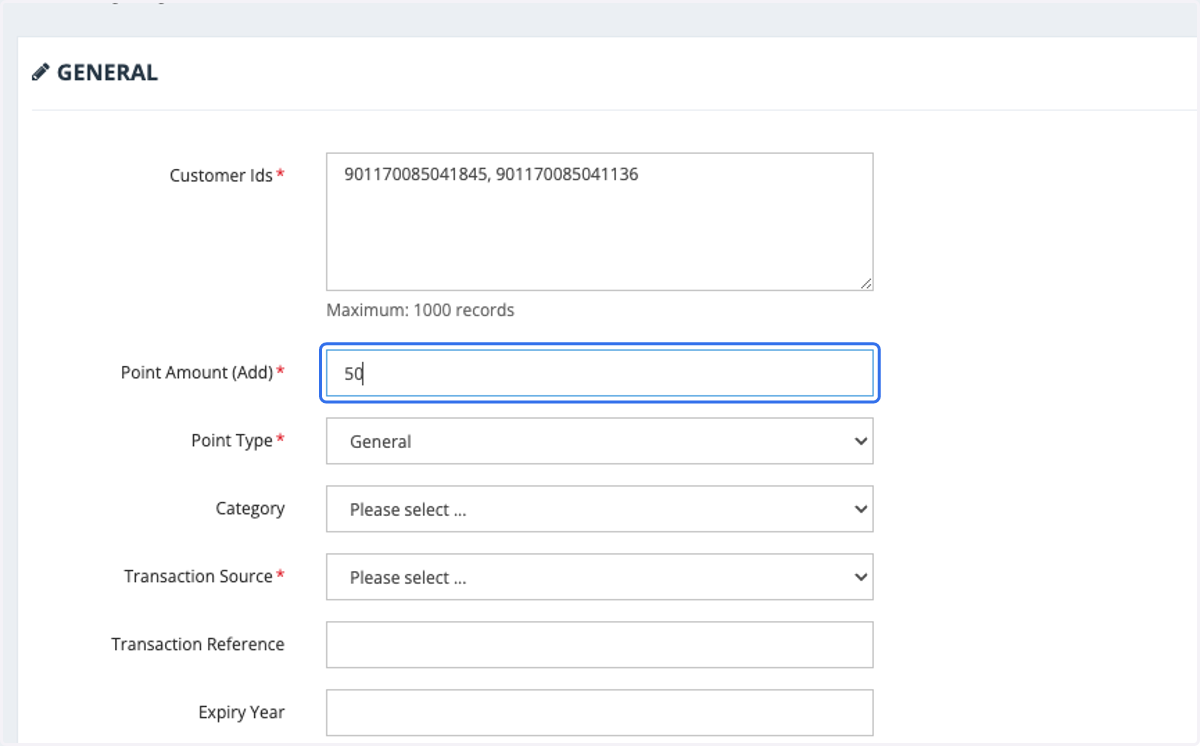
30. Insert the amount that you would like to add to these members
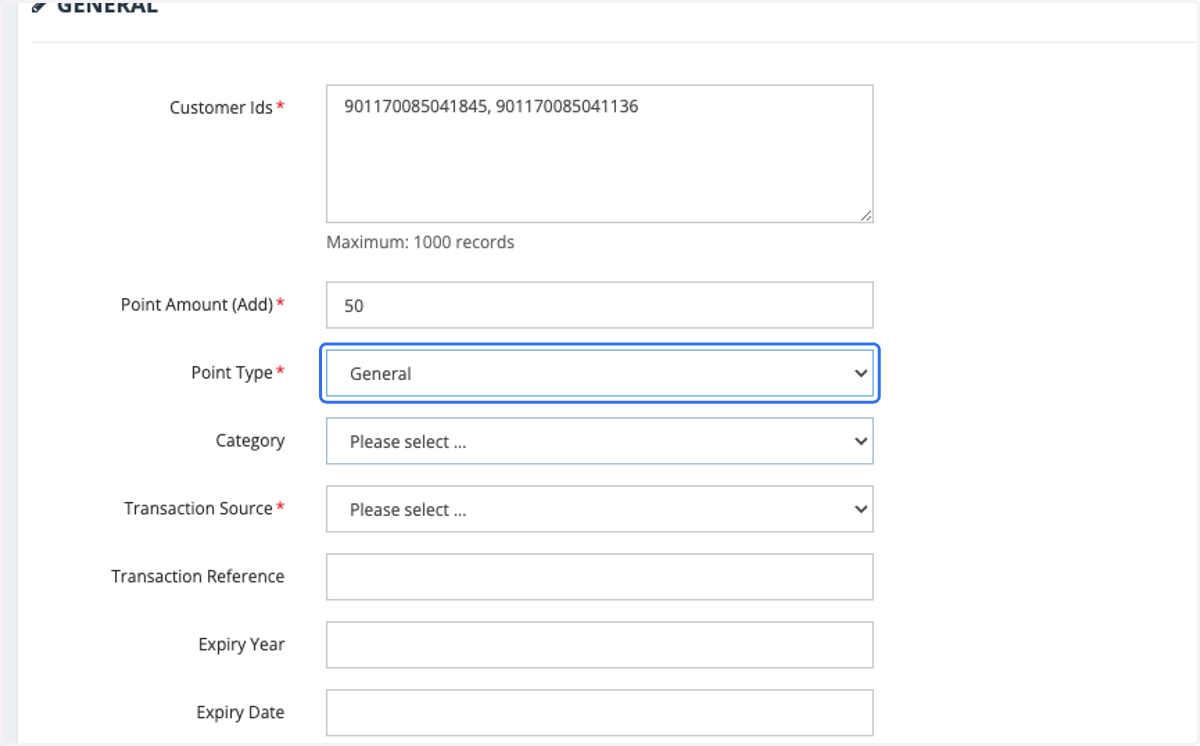
31. Insert Points Type. In this case, we will select "General".
32. Select the Points Category
The Points Category selection must be pre-set by the IT team.
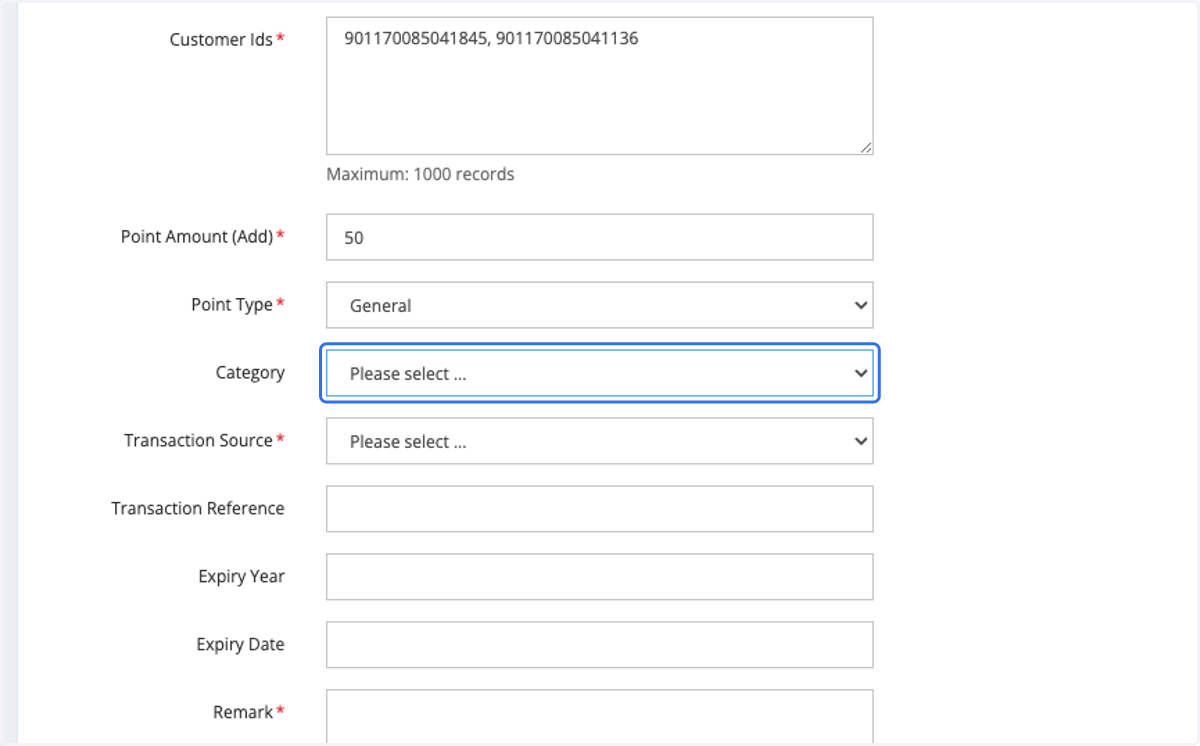
33. Select Transaction Source
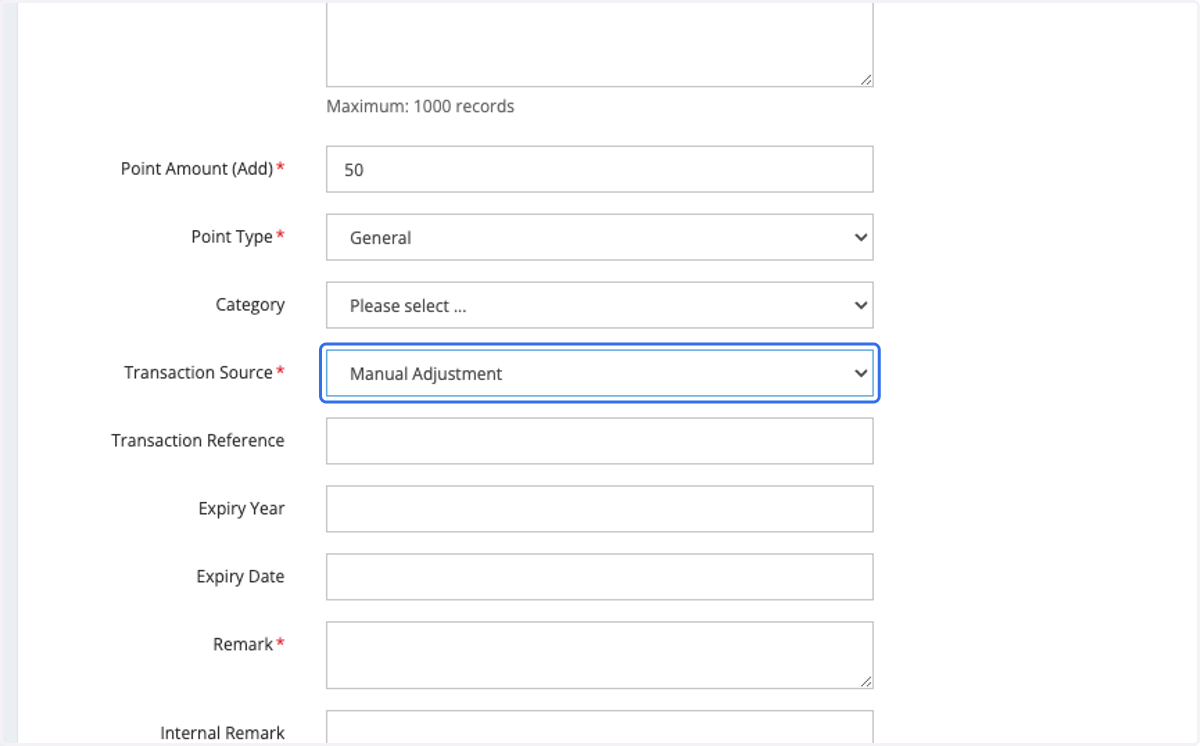
34. Insert the Transaction Reference
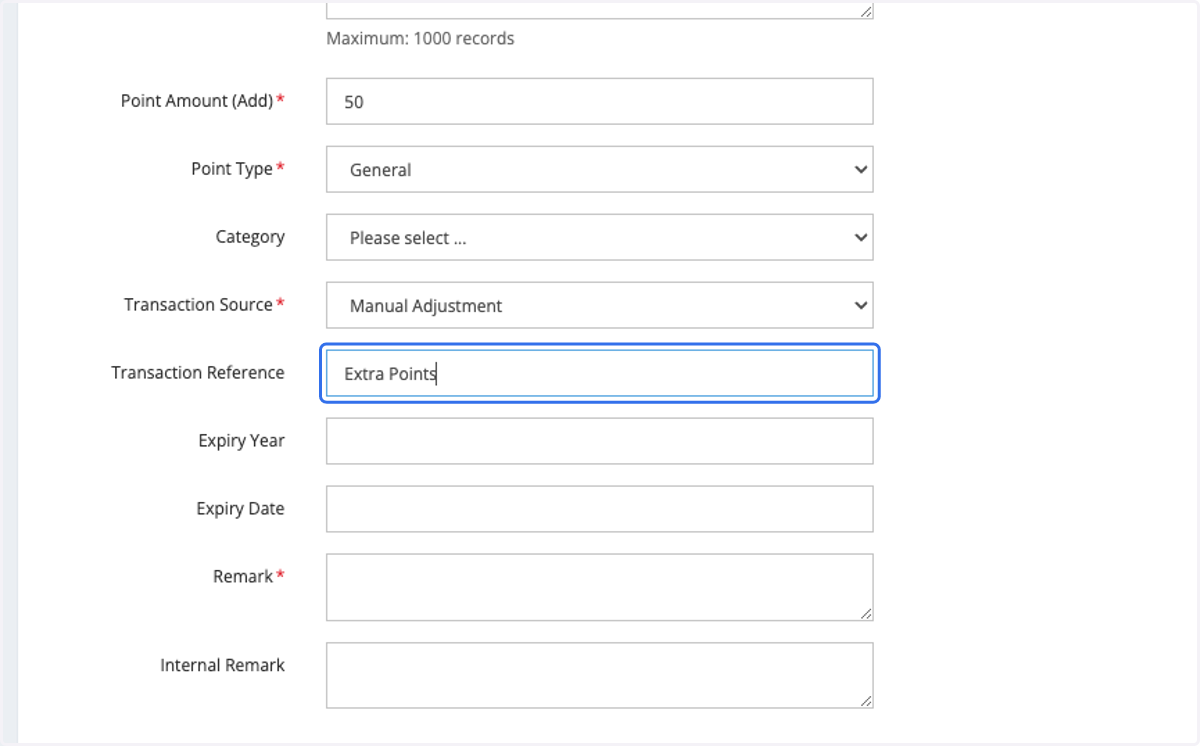
35. Select the expiry year
Please note that the Expiry Year and Expiry Date cannot be set simultaneously.
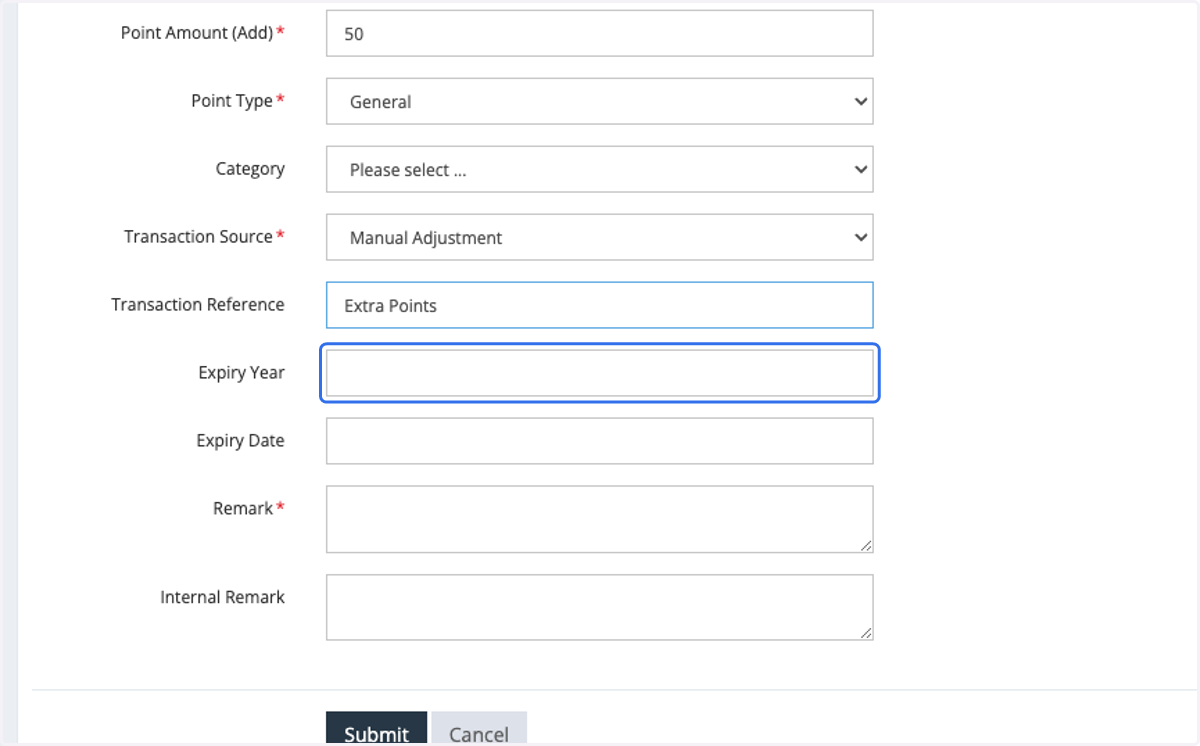
36. Insert Remarks
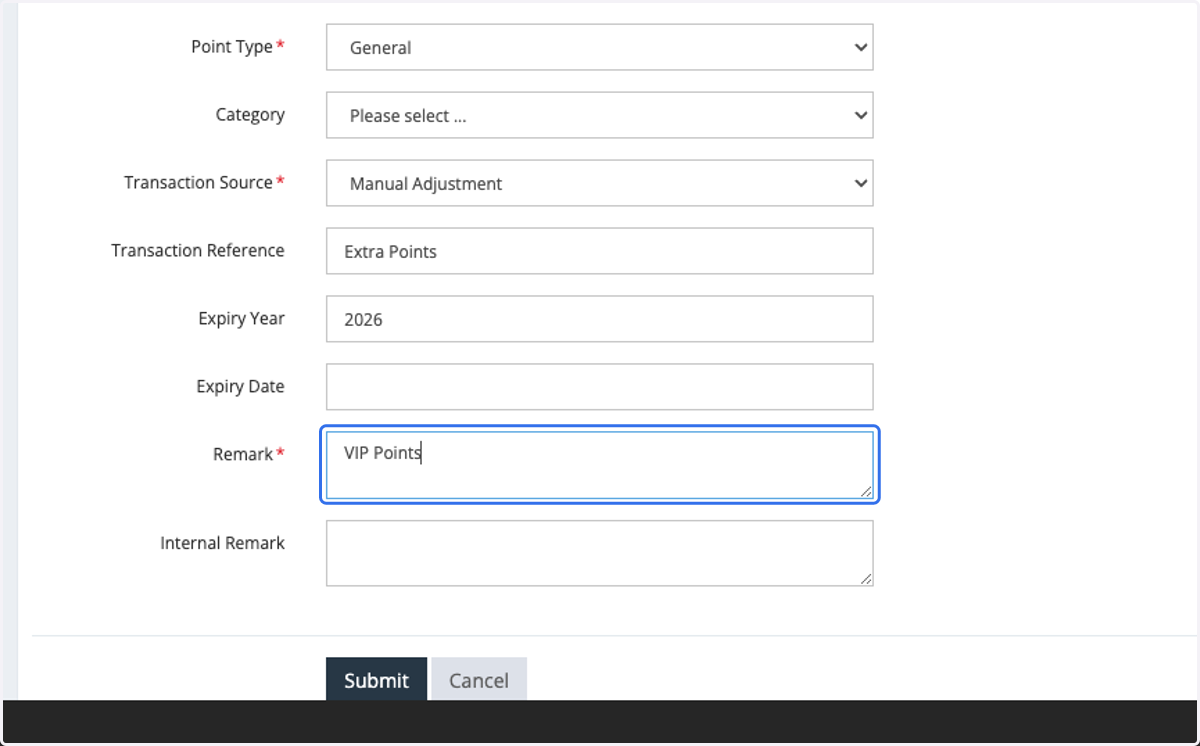
37. Insert Internal Remarks for Internal Reference purposes.
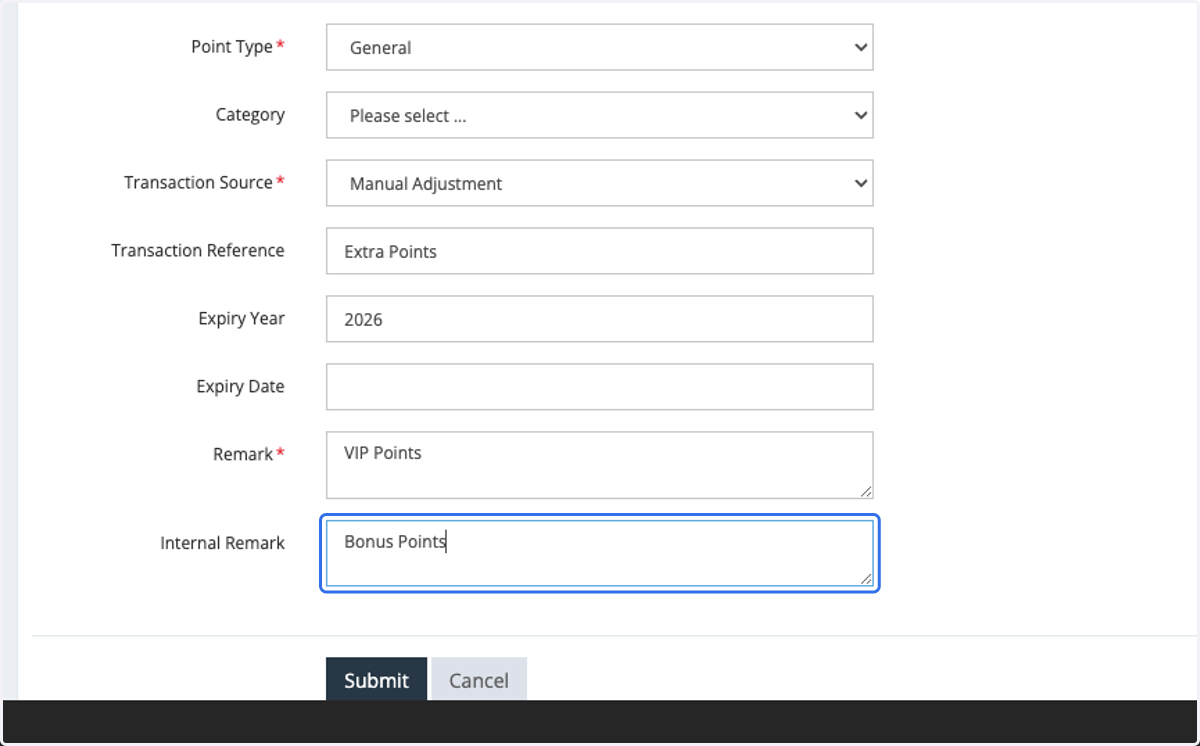
38. Click on Submit