Housing Waitlist Application: Accepting and Declining Waitlist Offers
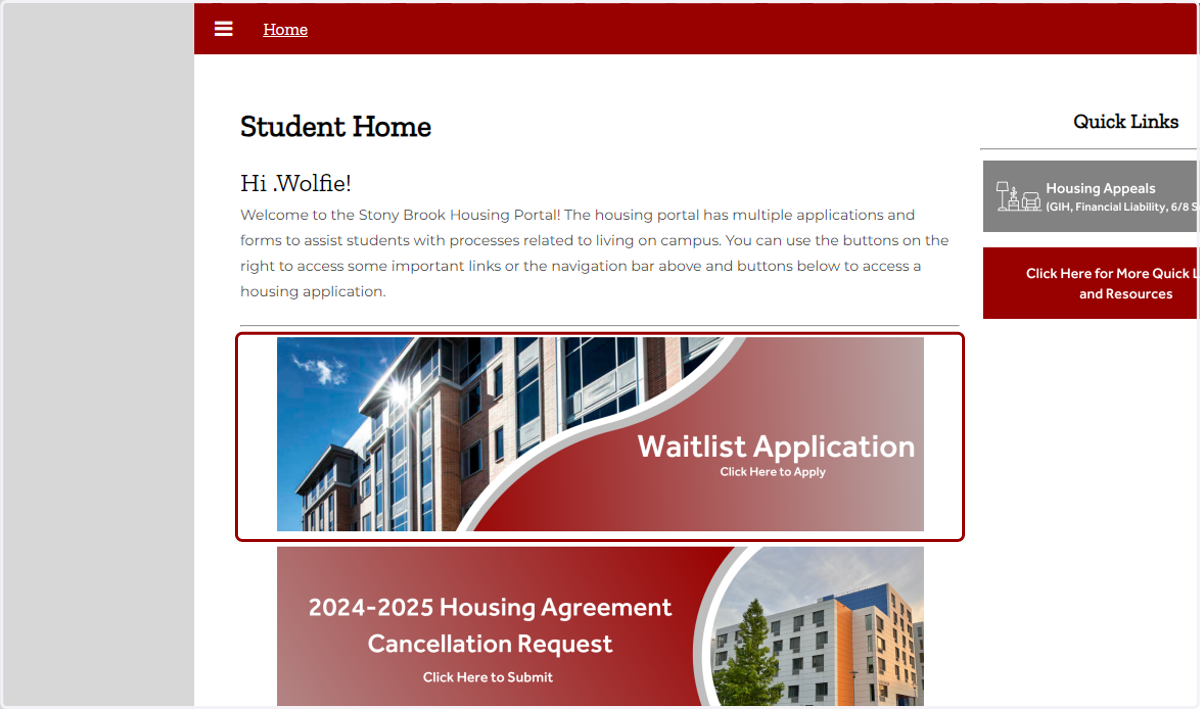
1. Log In to the Housing Portal
Once logged, click on the "Waitlist Application" button.
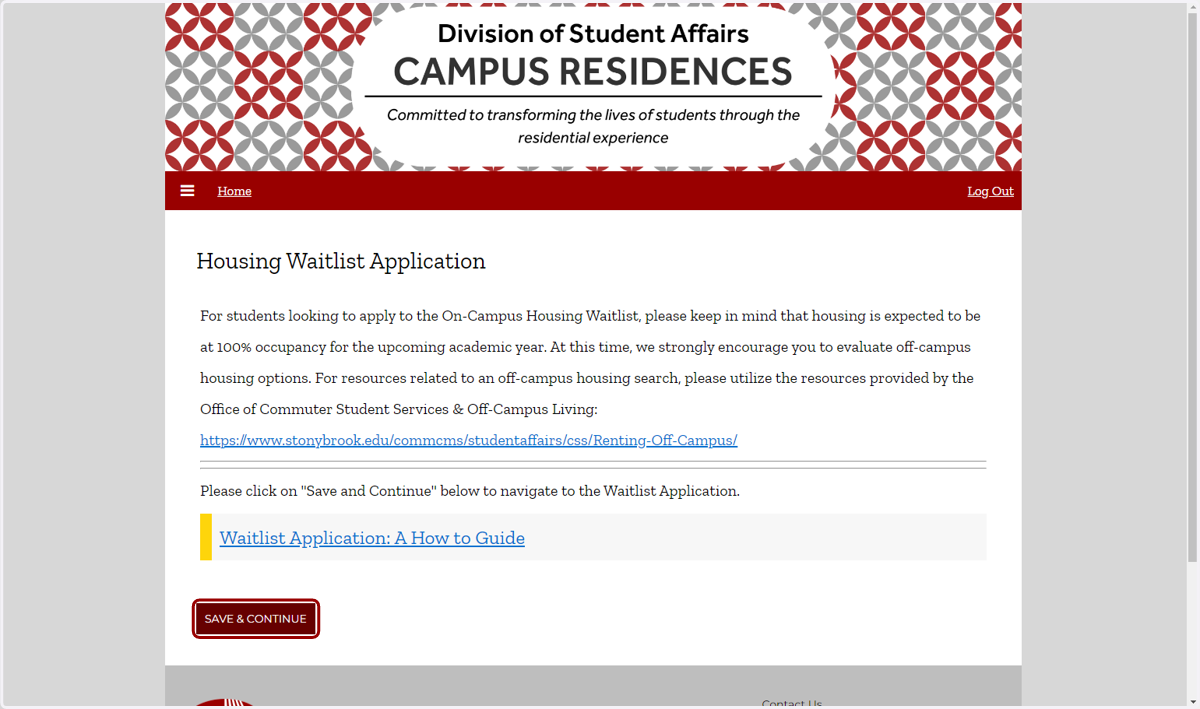
2. Housing Waitlist Application
Please read all relevant information on the first page and click on "Save & Continue."
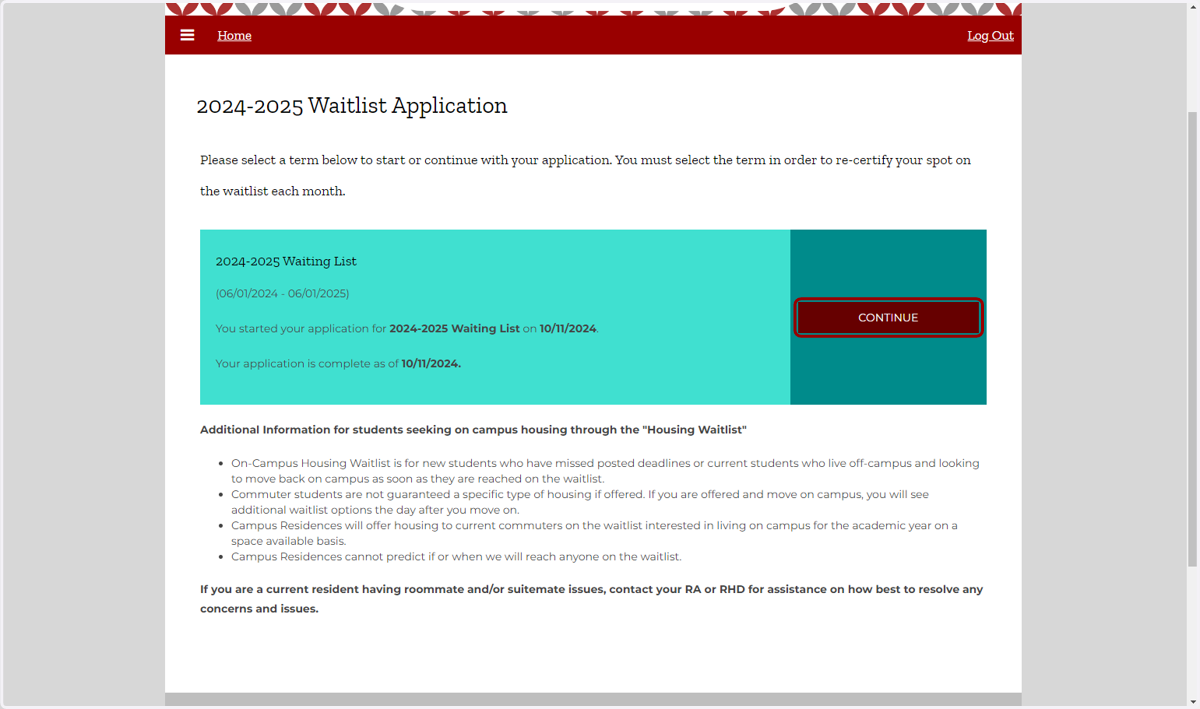
3. Waitlist Application
Click on "Continue" to go into your application.
4. Offer Details
On this page, you will see all the information relevant to your waitlist offer. Please read all information carefully before accepting or declining your offer.
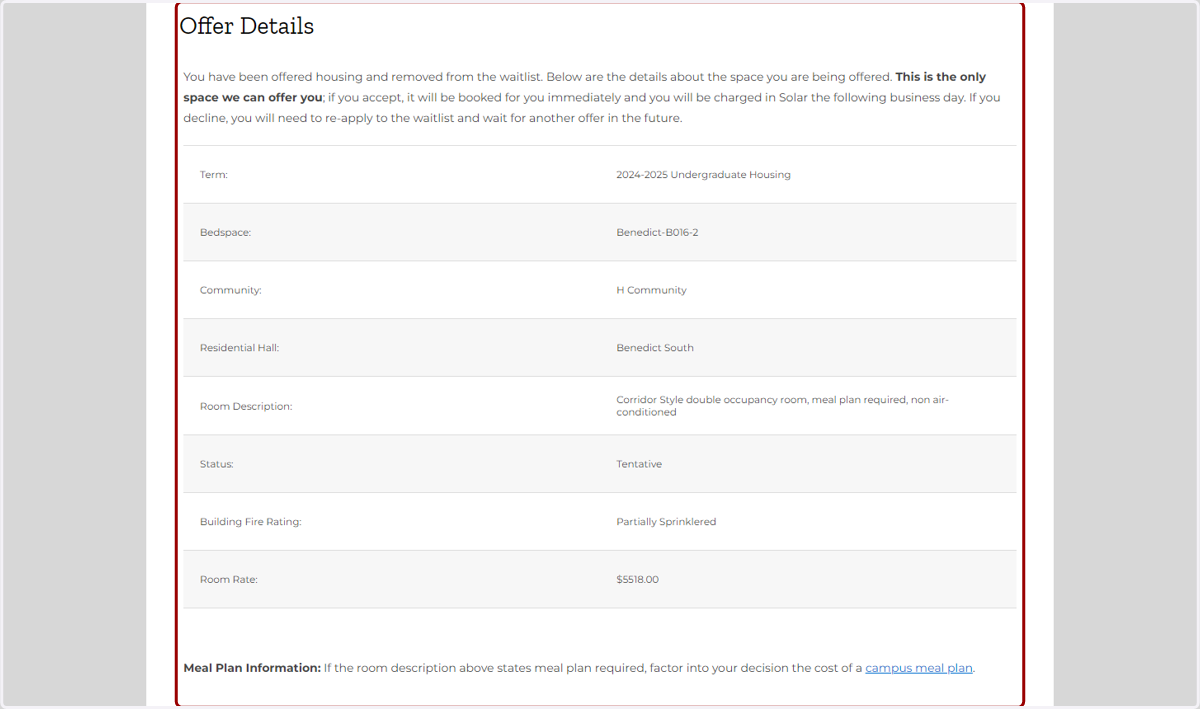
5. Accept/Decline Waitlist Offer
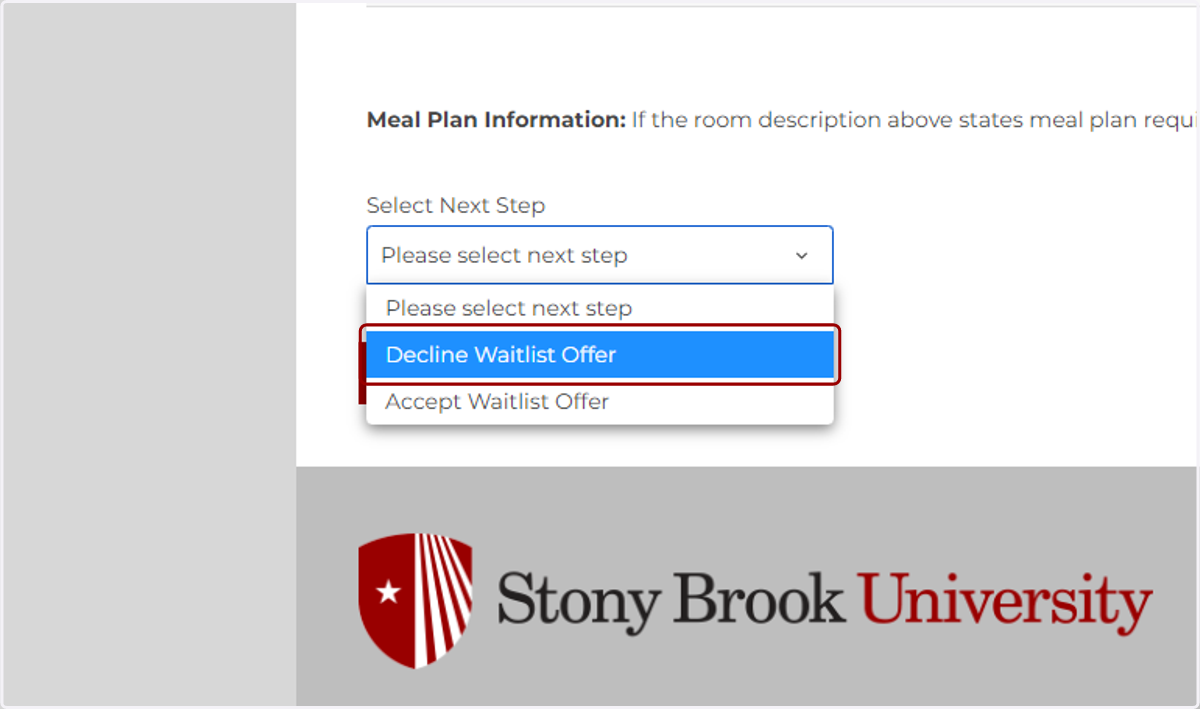
At the bottom of the Offer Details page, you will select the appropriate option from the dropdown.
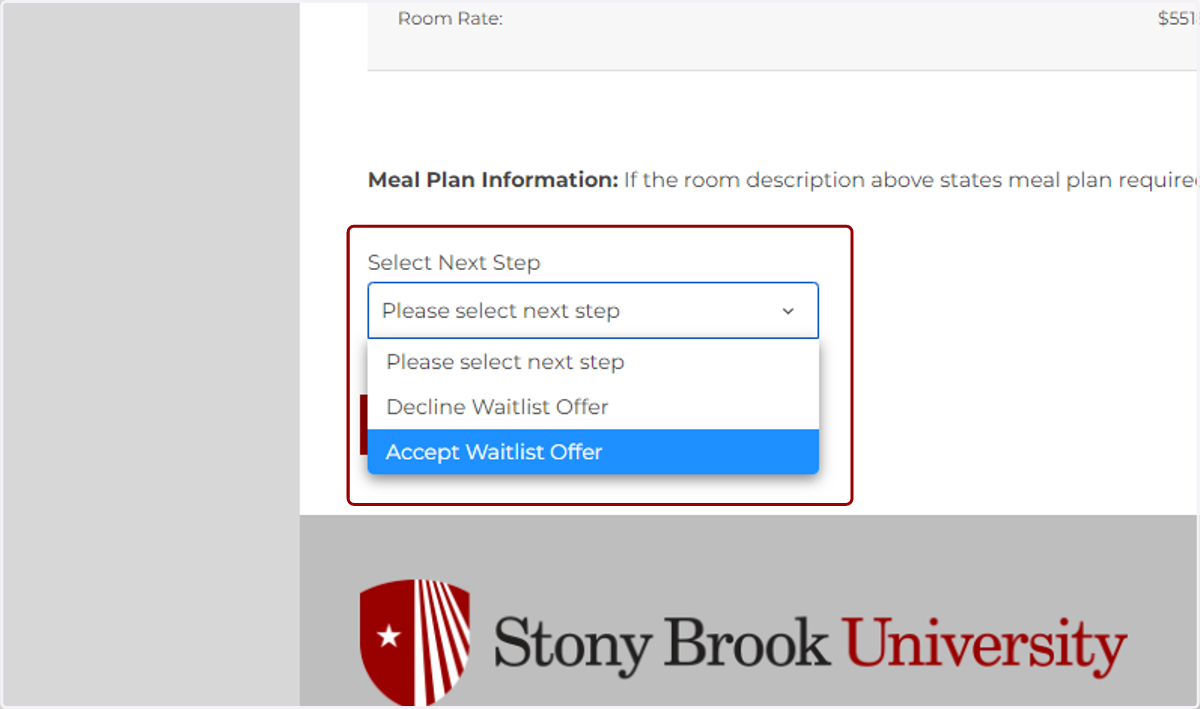
Accept Waitlist Offer
The steps below are for students who accept their waitlist offer.
6. Click on Accept Waitlist Offer
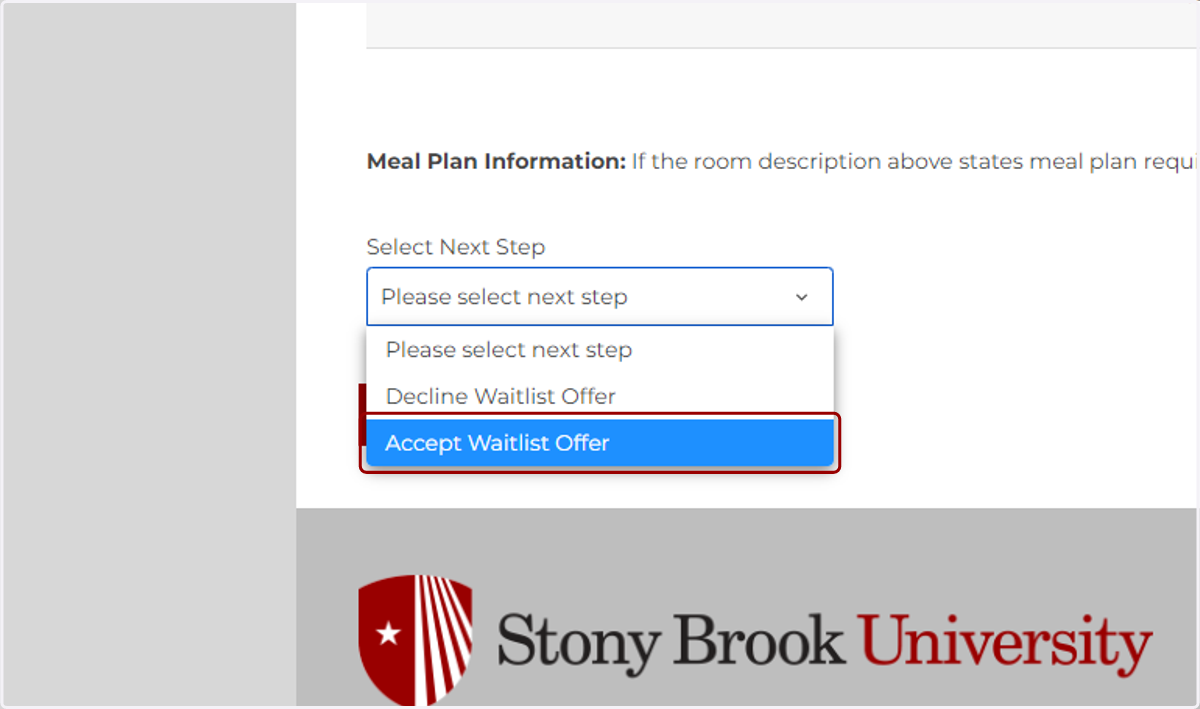
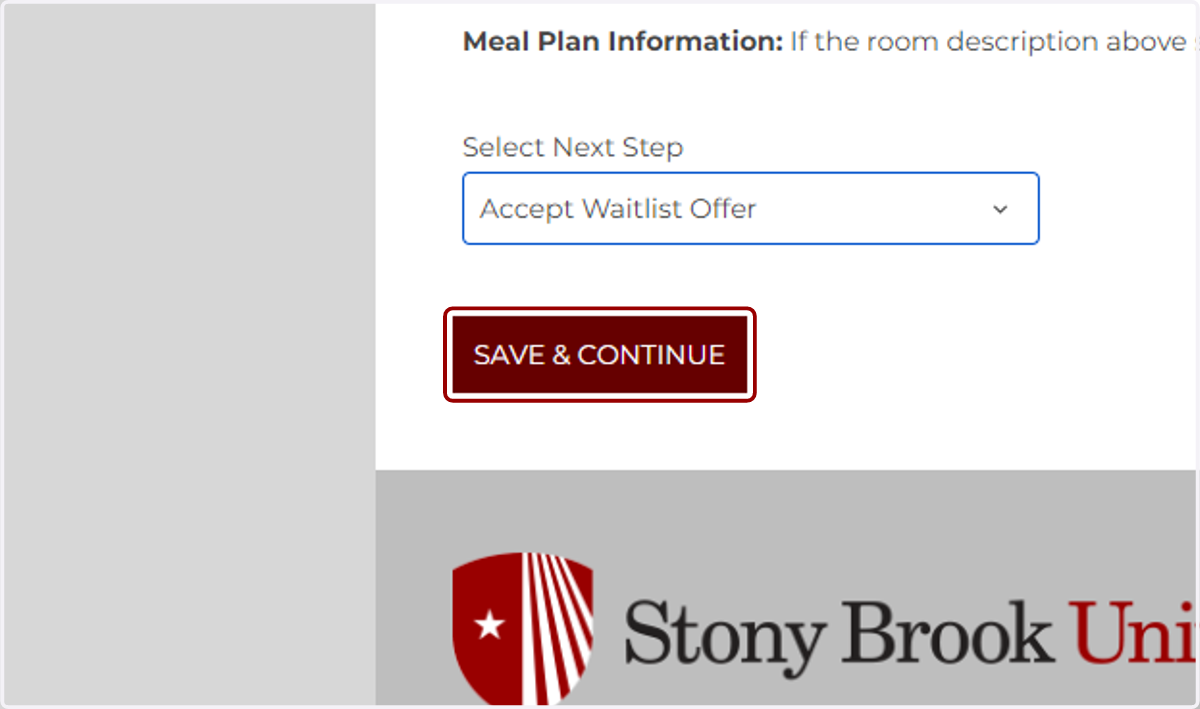
7. Click on Save & Continue
8. Arrival Date Selection
Once you accept your offer, you will be required to select your arrival date. This date must be within 10 days from the date of your offer.
Please note: Students who receive a waitlist offer before the start of a semester will not select an arrival date as part of the Waitlist Application and will do so via the regular Fall move-in appointments process.
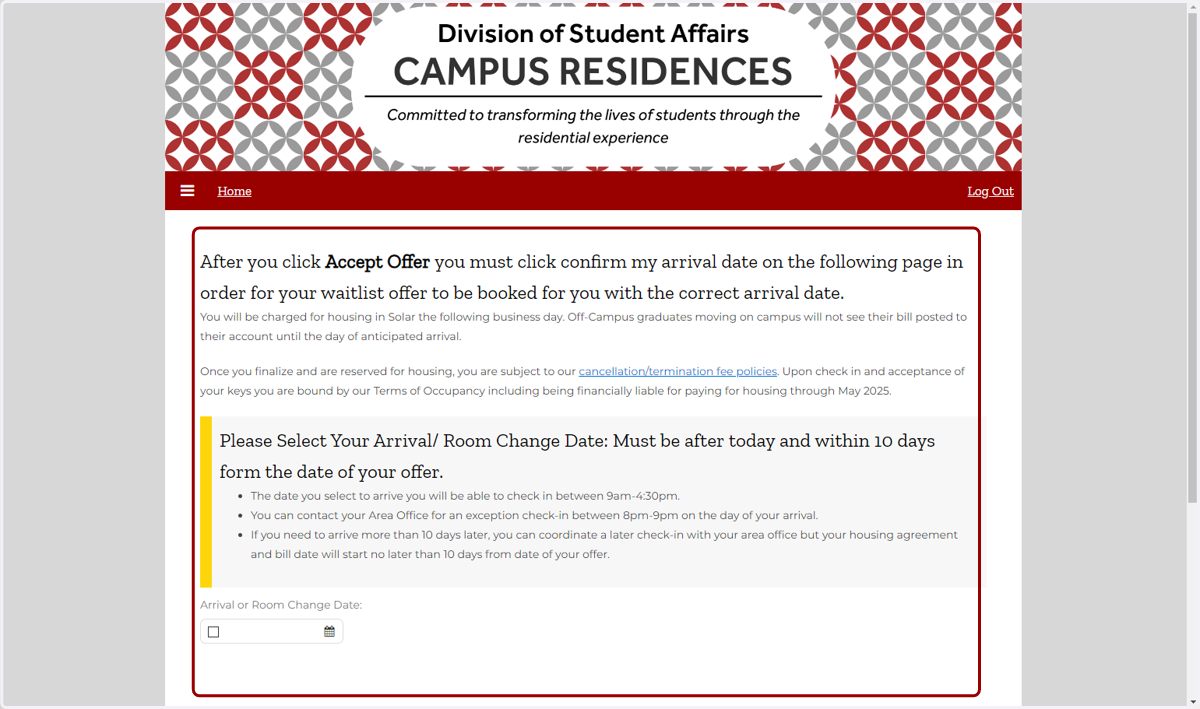
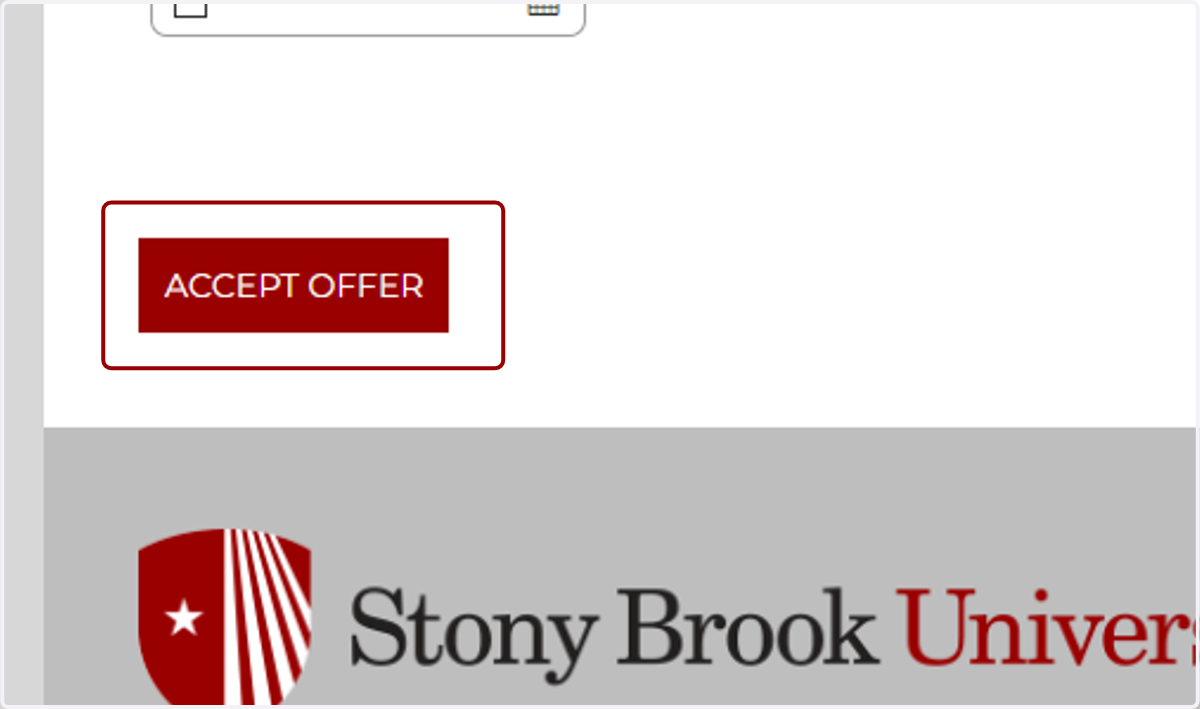
9. Click on Accept Waitlist Offer
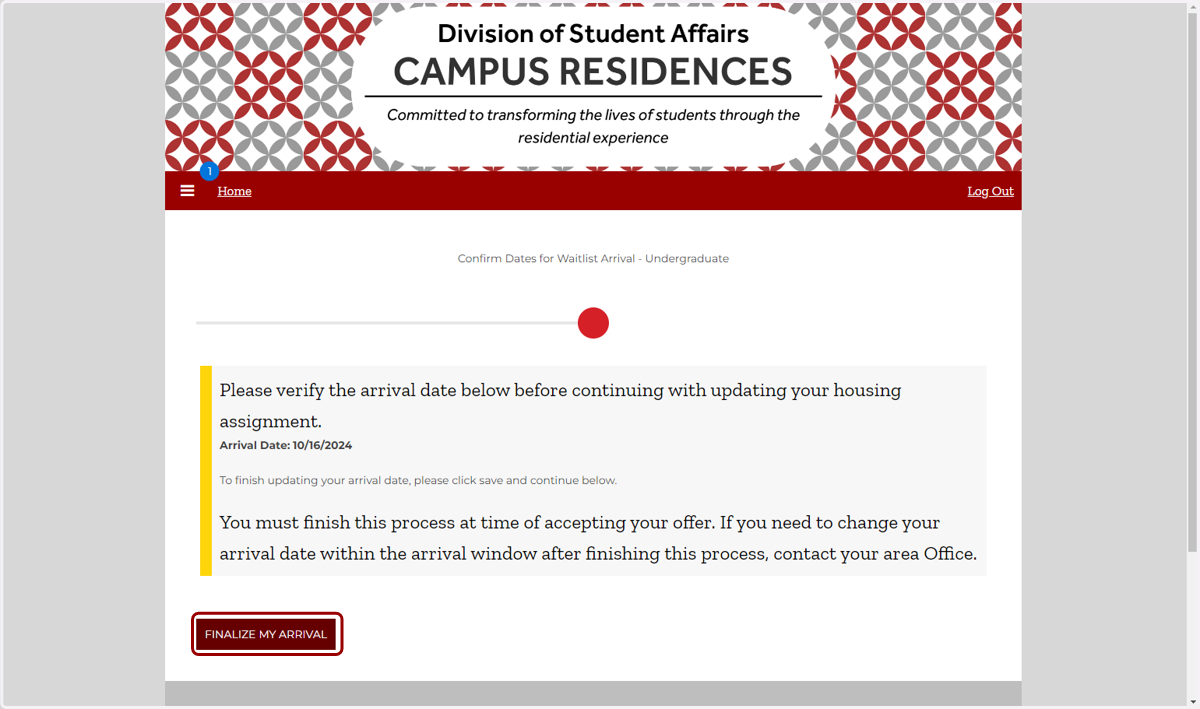
10. Click on Finalize My Arrival
Your Waitlist Offer is now accepted, and your space is reserved.
Decline Waitlist Offer
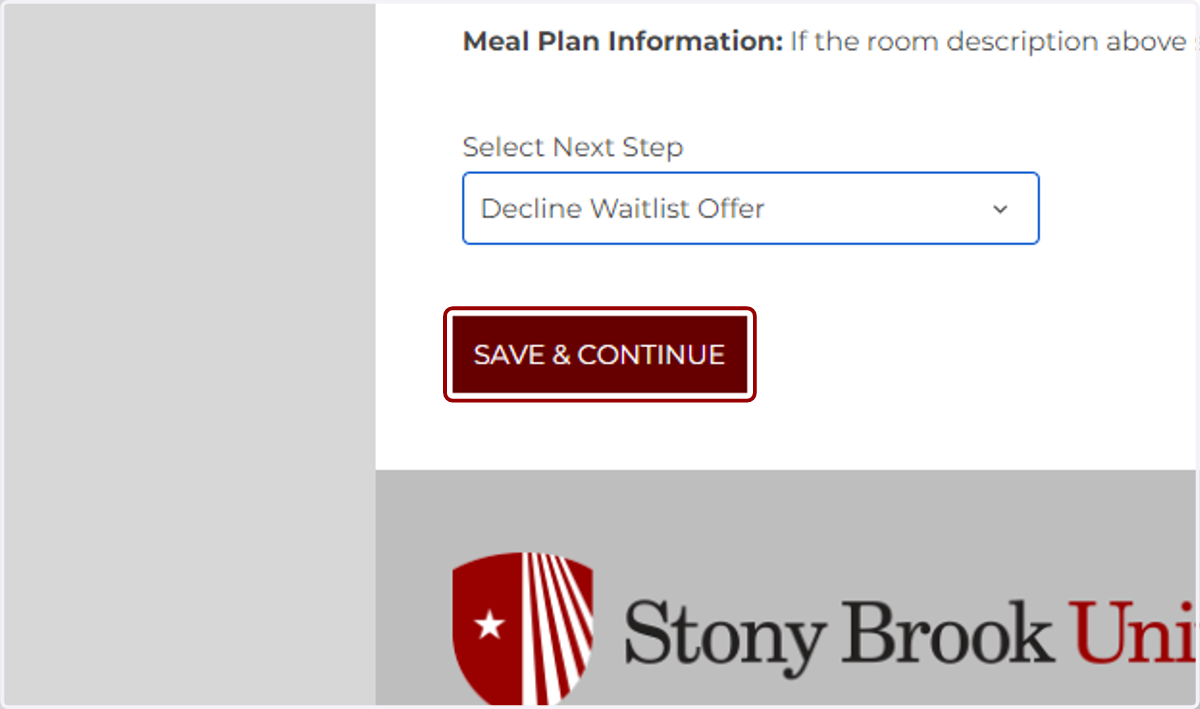
11. Click on Decline Waitlist Offer
12. Click on Save & Continue
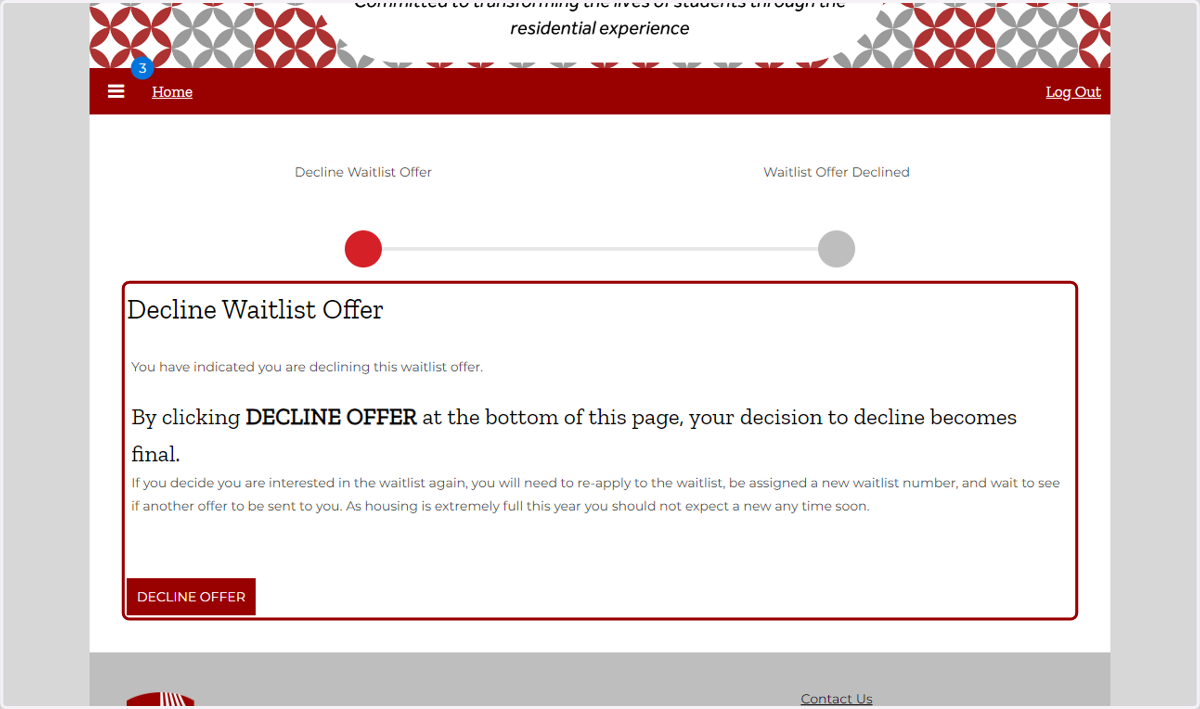
13. Decline Waitlist Offer
Please read all relevant information pertaining to declining your waitlist offer before finalizing your decision.
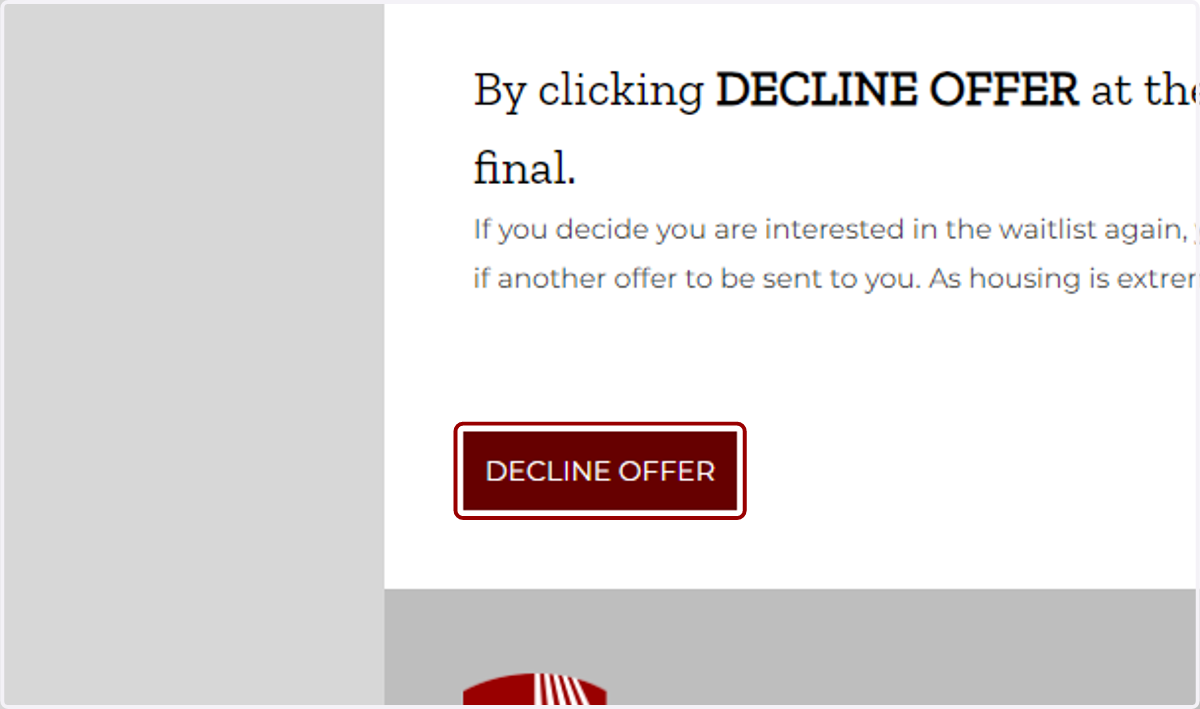
14. Click on Decline Offer
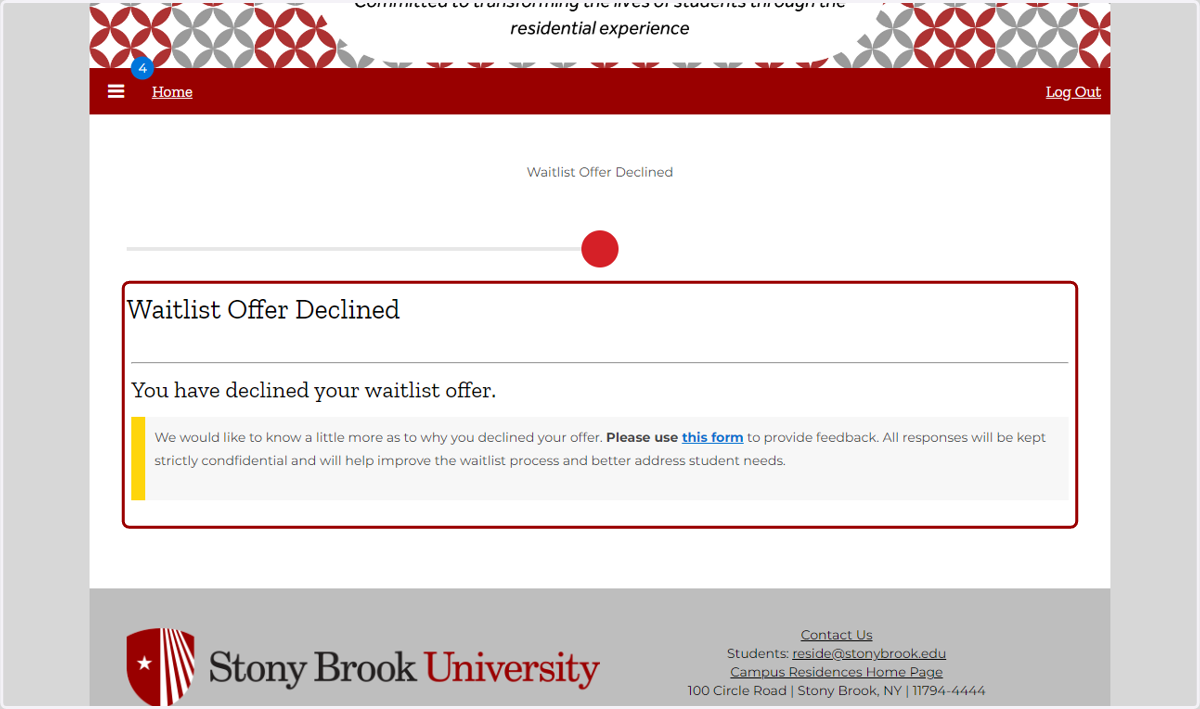
15. Waitlist Offer Declined
You have confirmed that you are declining your waitlist offer. Please complete the linked form to indicate why you chose to decline your offer.