Halo PSA

Halo PSA

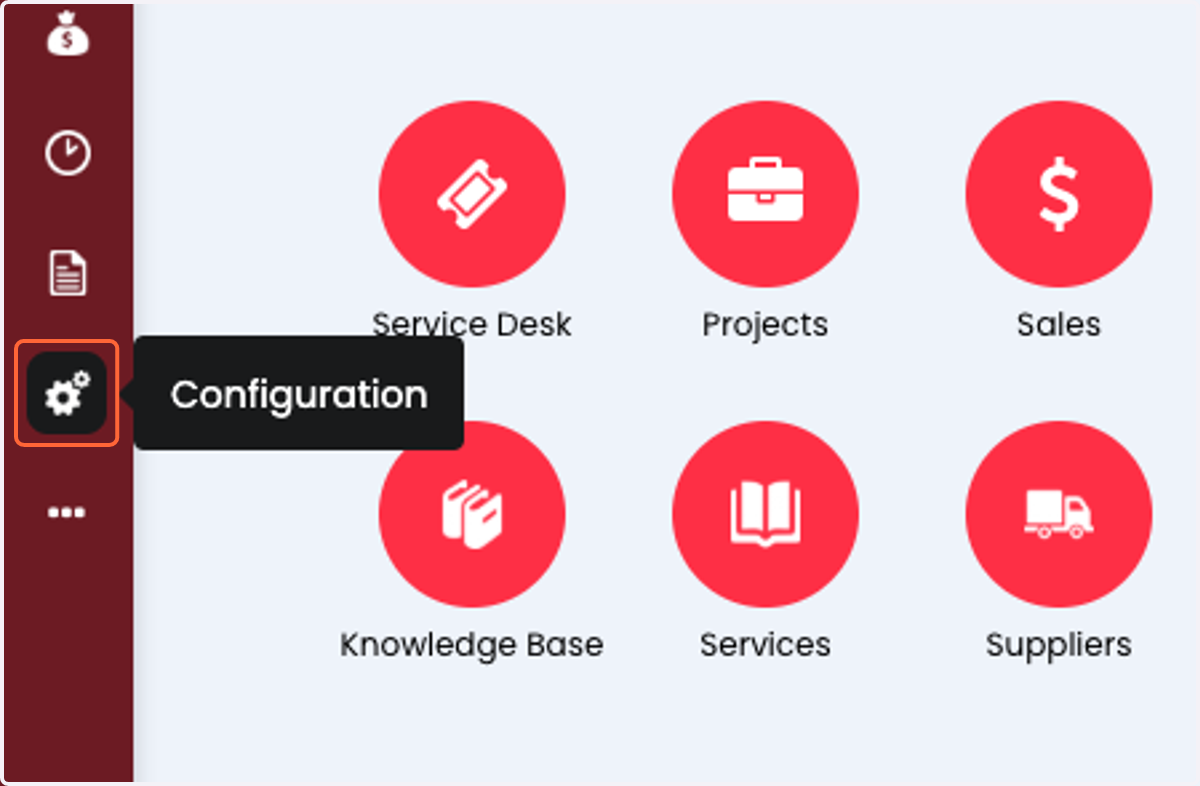
  1. 1. Click on Configuration

    Click on Configuration
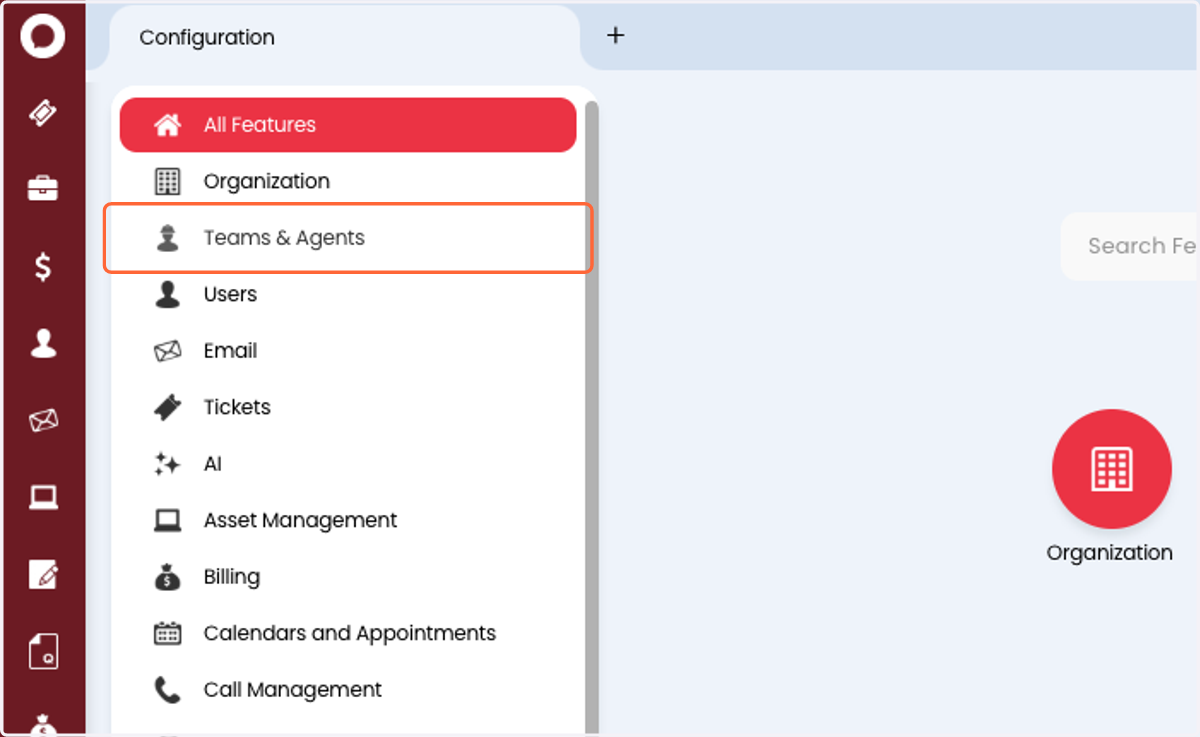
  2. 2. Click on Teams & Agents

    Click on Teams & Agents
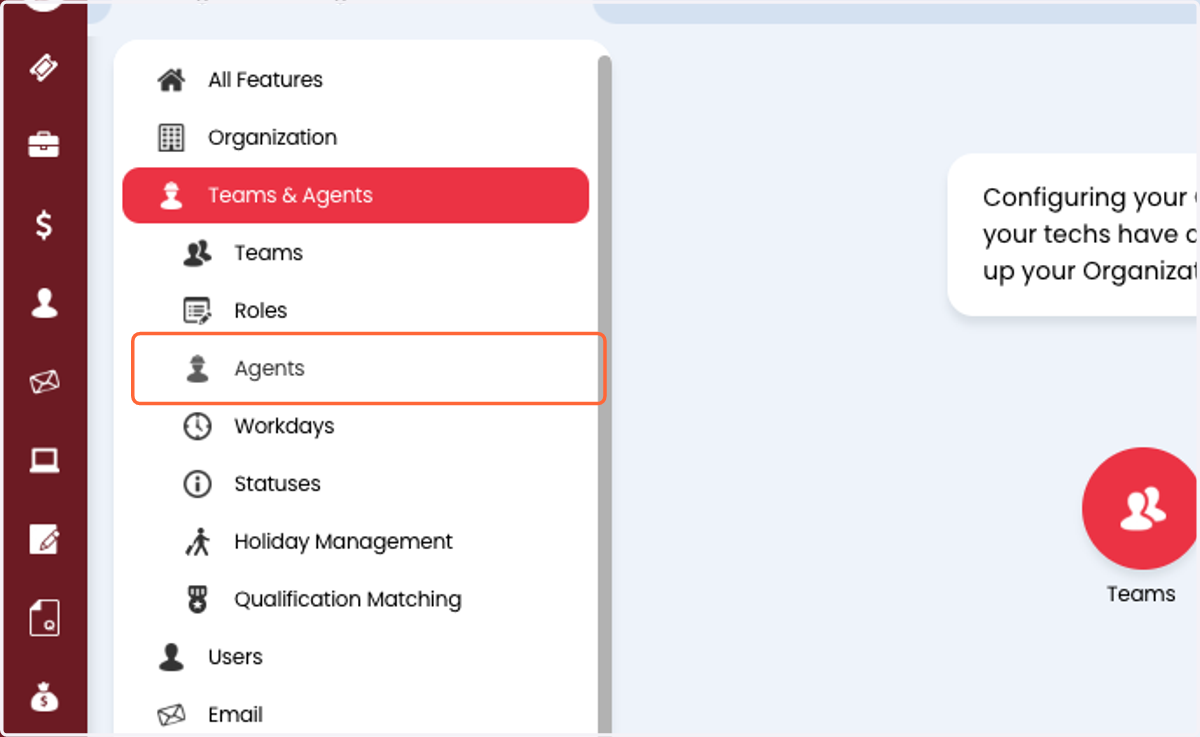
  3. 3. Click on Agents

    Click on Agents
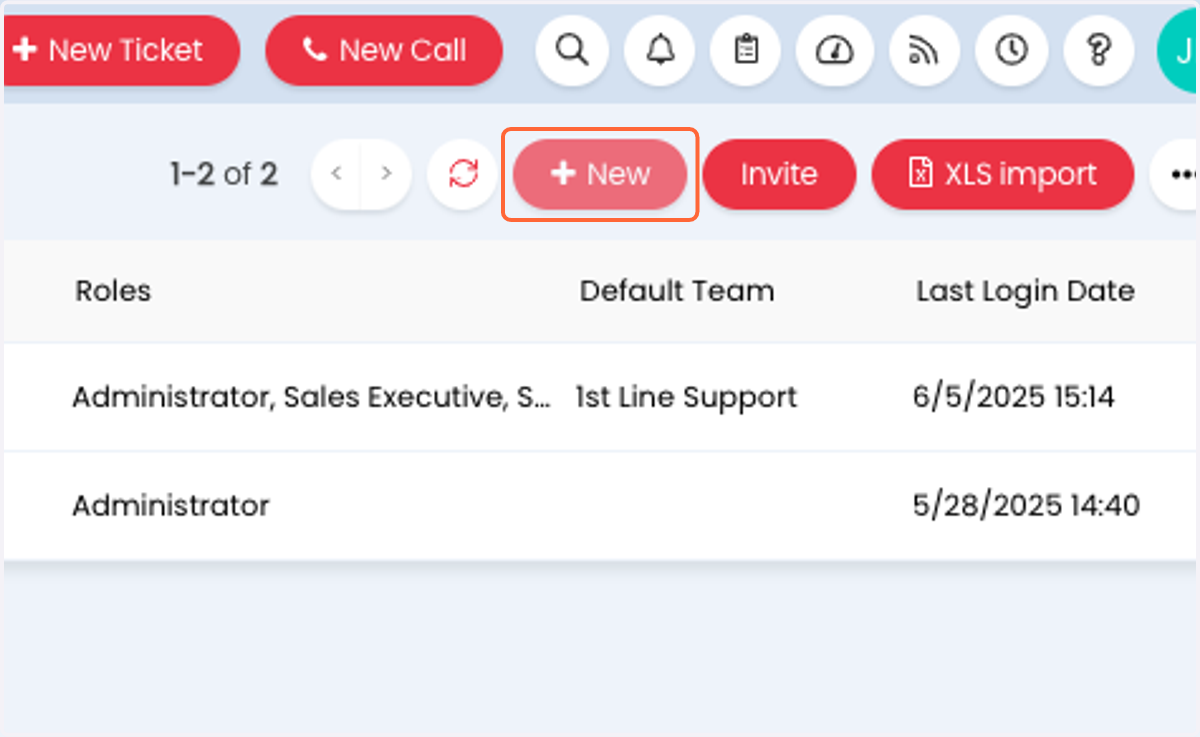
  4. 4. Click on New

    Click on New
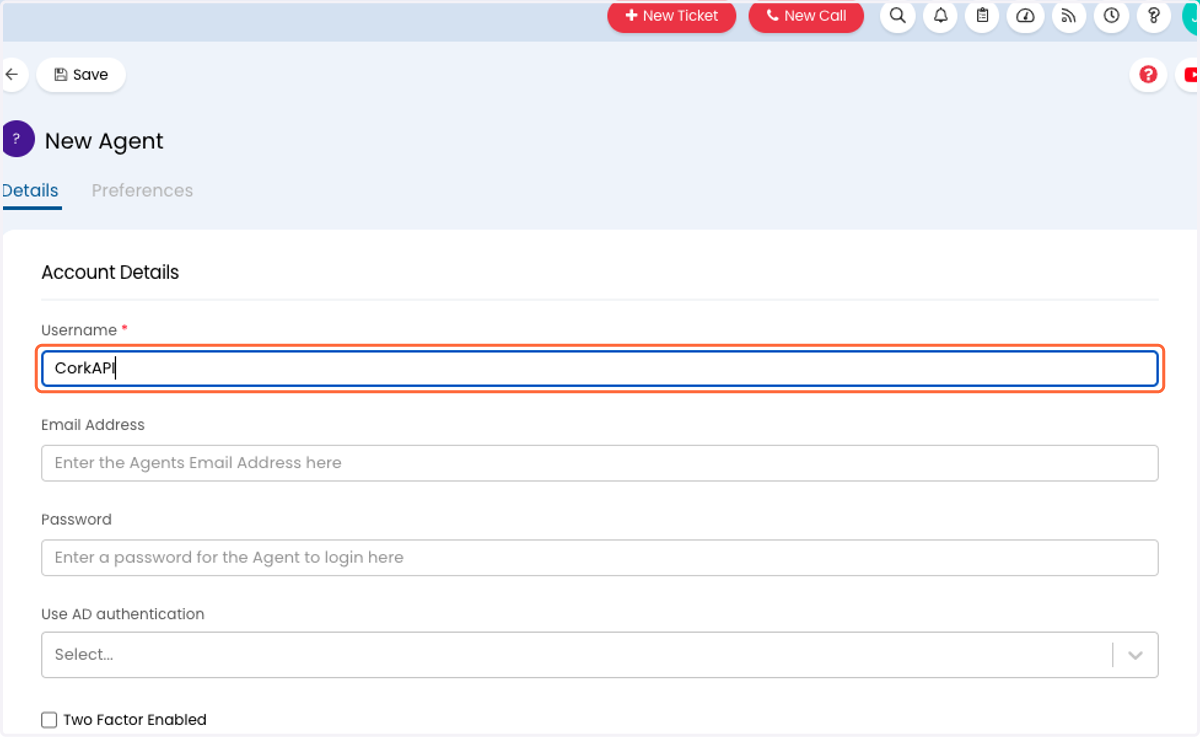
  5. 5. Type "CorkAPI" for Username

    Type "CorkAPI" for Username
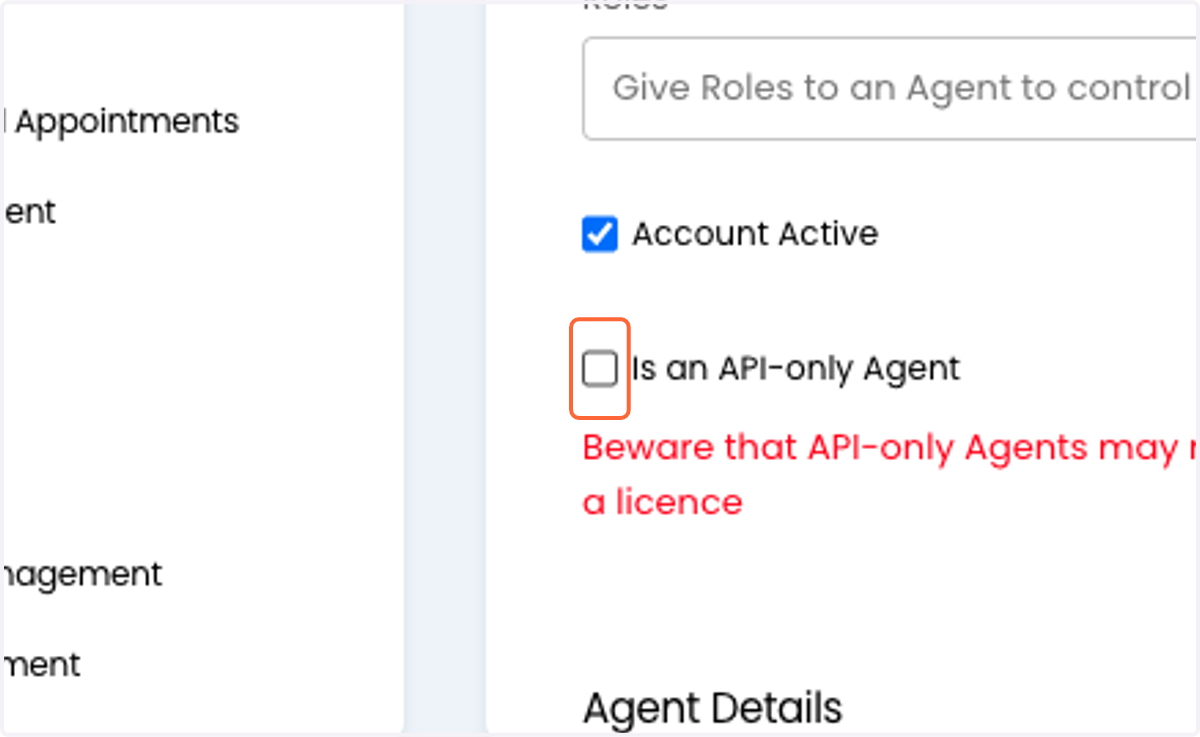
  6. 6. Check "Is an API-only Agent"

    Check "Is an API-only Agent"
  7. 7. Select the appropriate Default Team
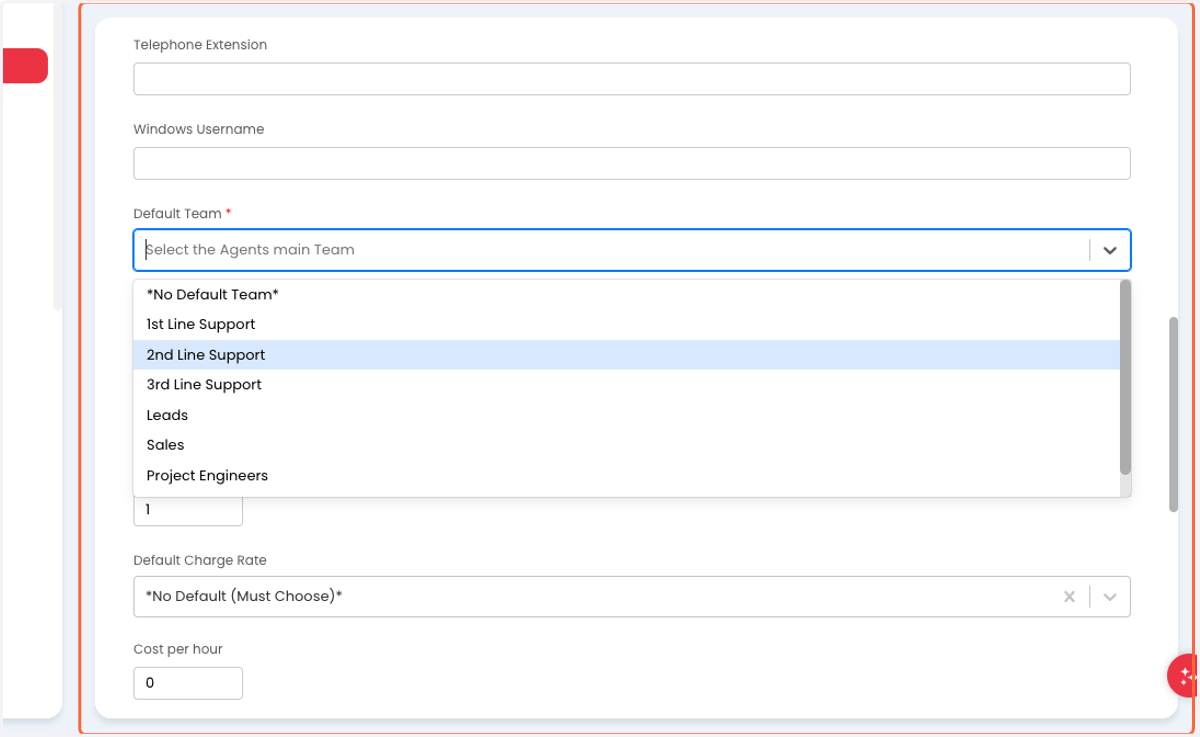
    Select the appropriate Default Team
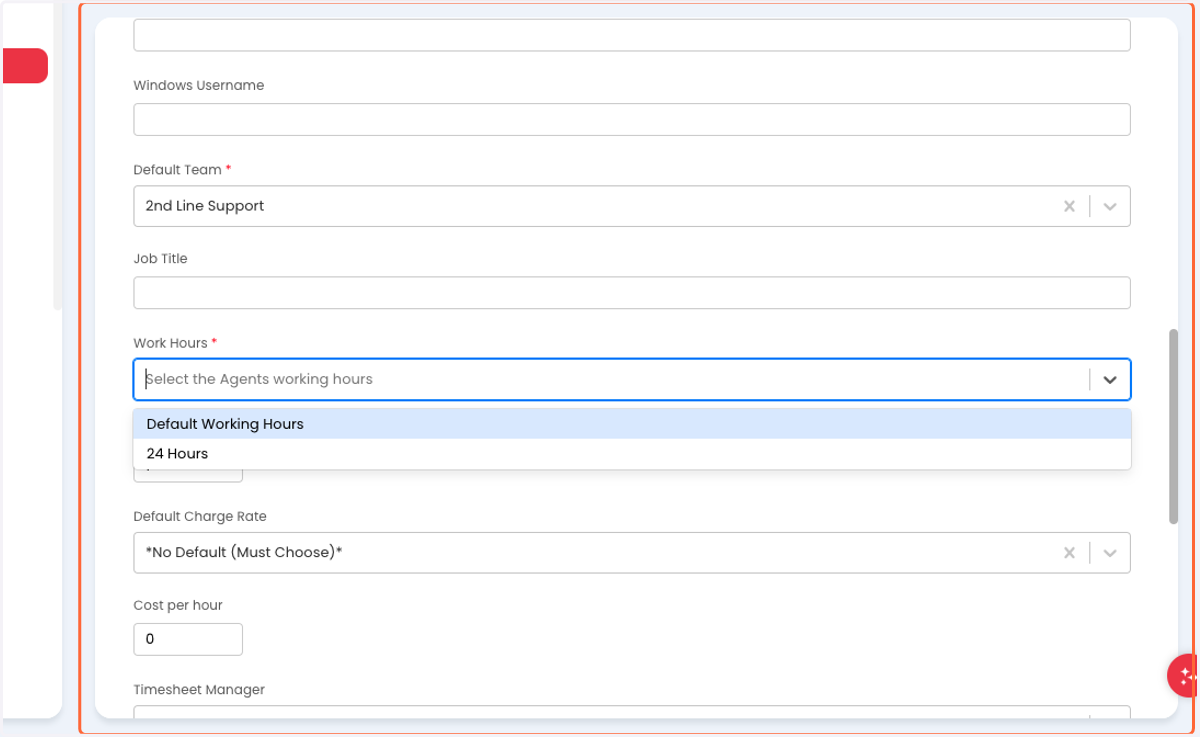
  8. 8. Select the appropriate Work Hours

    Select the appropriate Work Hours
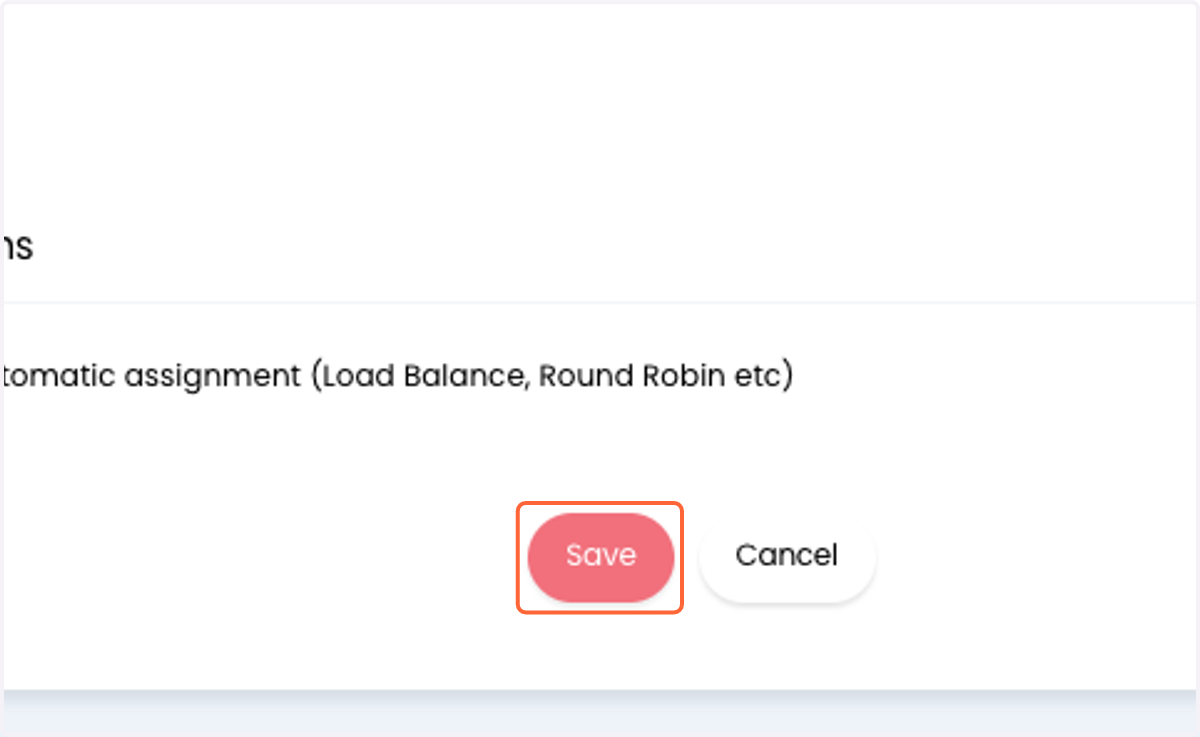
  9. 9. Click on Save

    Click on Save
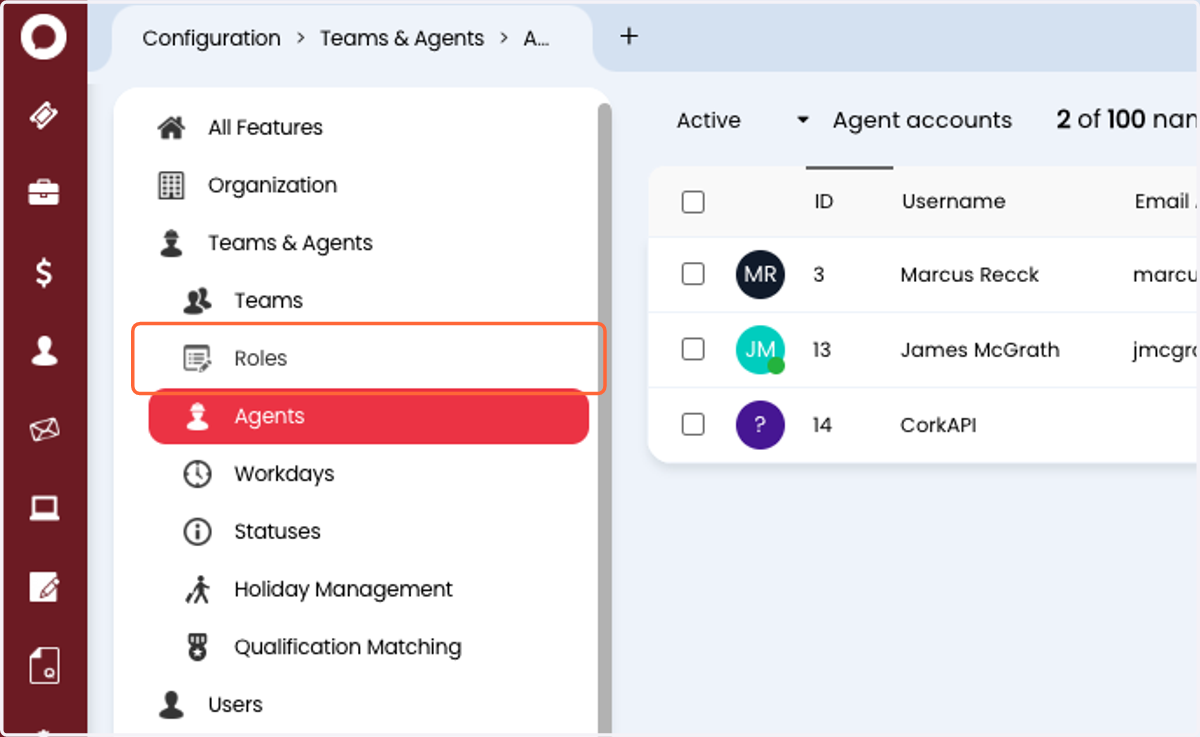
  10. 10. Click on Roles

    Click on Roles
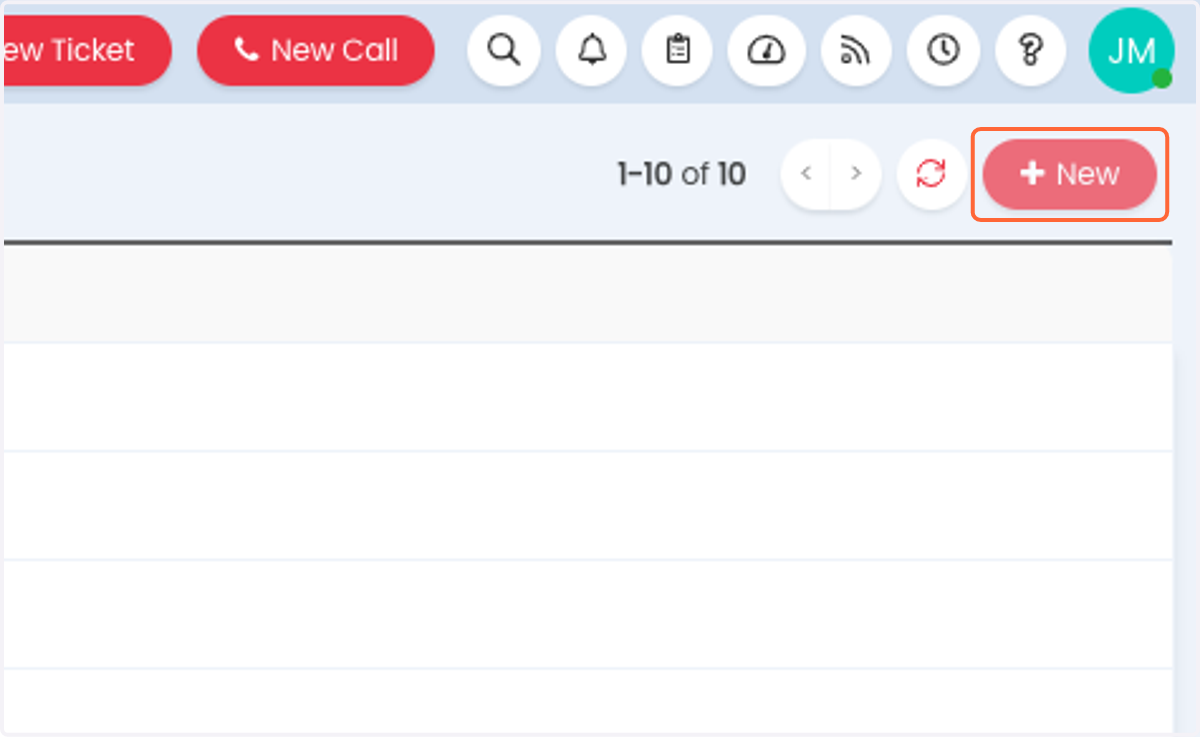
  11. 11. Click on New

    Click on New
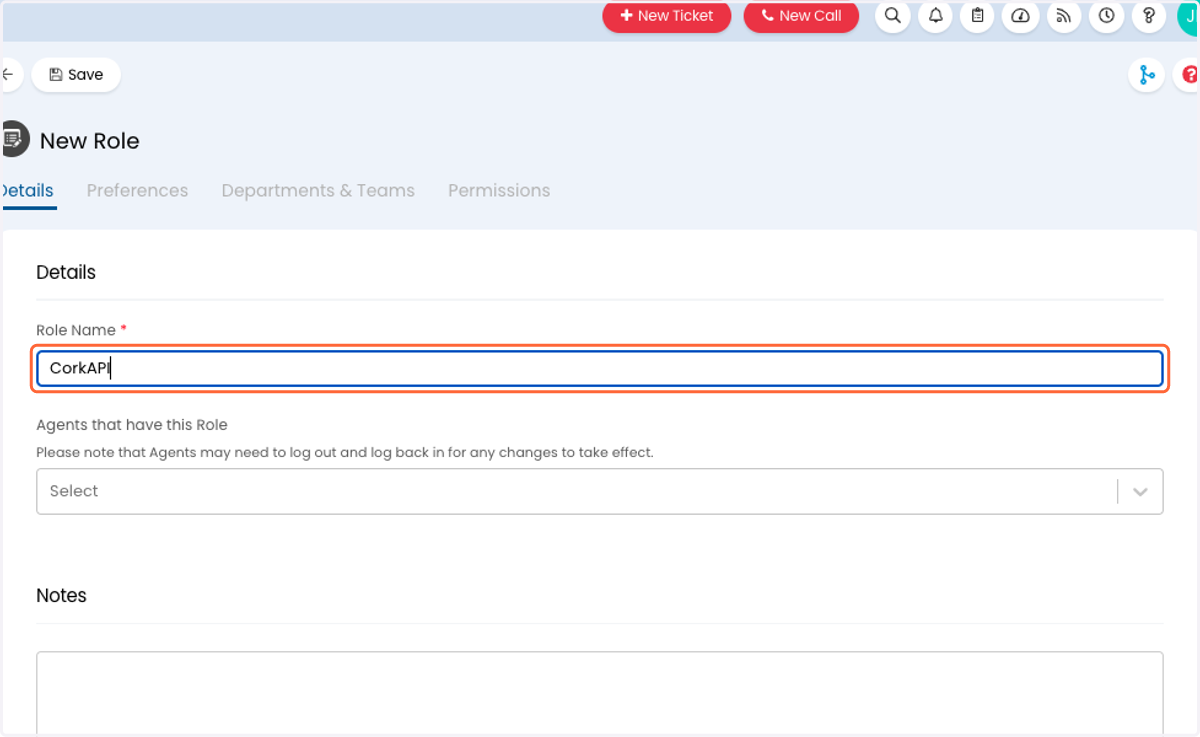
  12. 12. Type "CorkAPI" for Role Name

    Type "CorkAPI" for Role Name
  13. 13. Select the "CorkAPI" agent you just created for Agents that have this Role
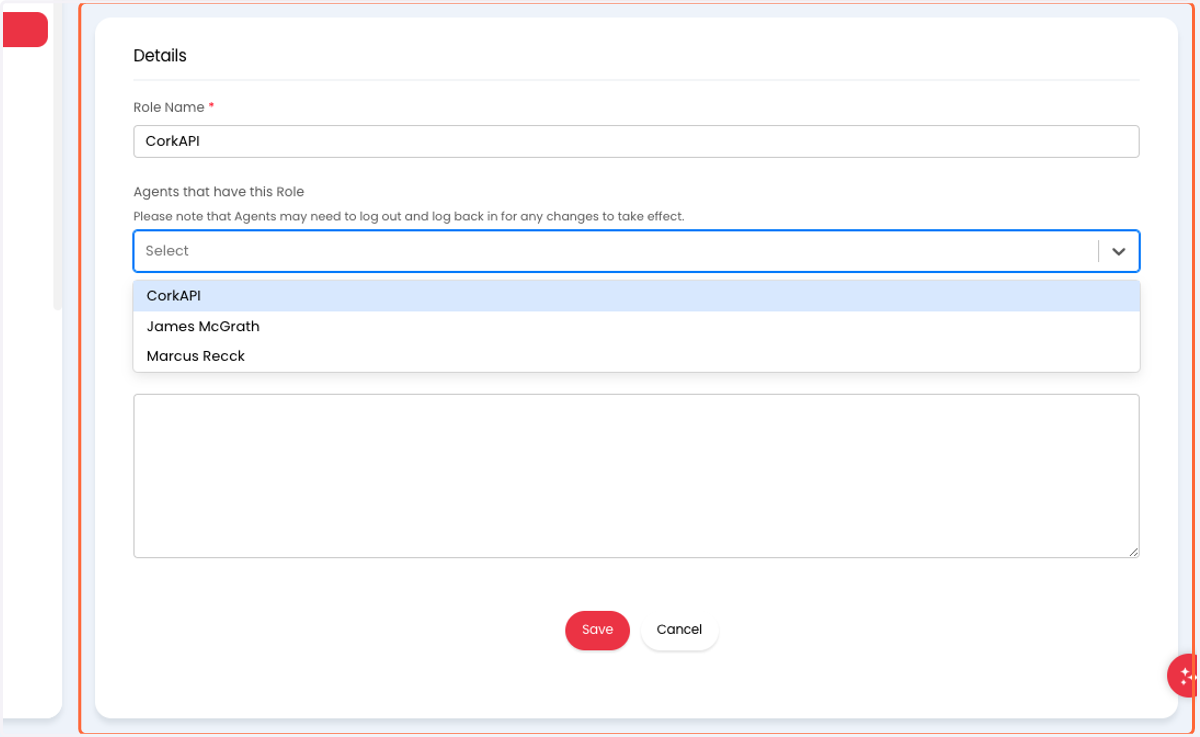
    Select the "CorkAPI" agent you just created for Agents that have this Role
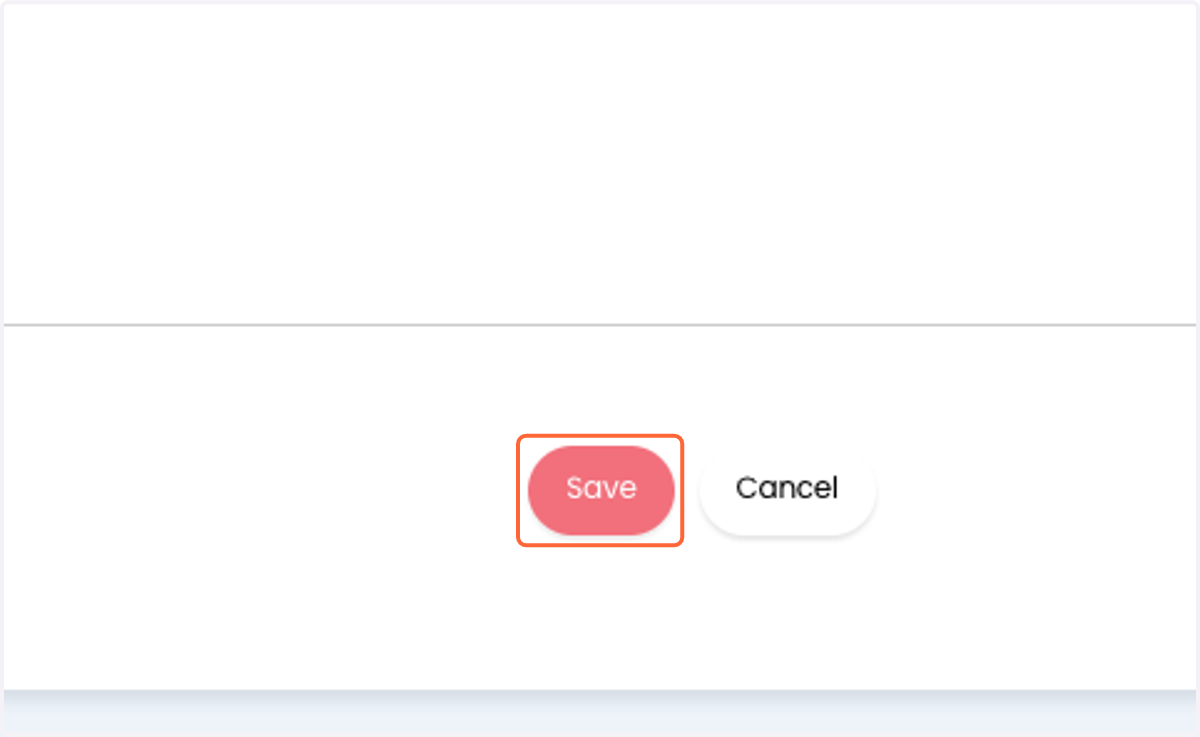
  14. 14. Click on Save

    Click on Save
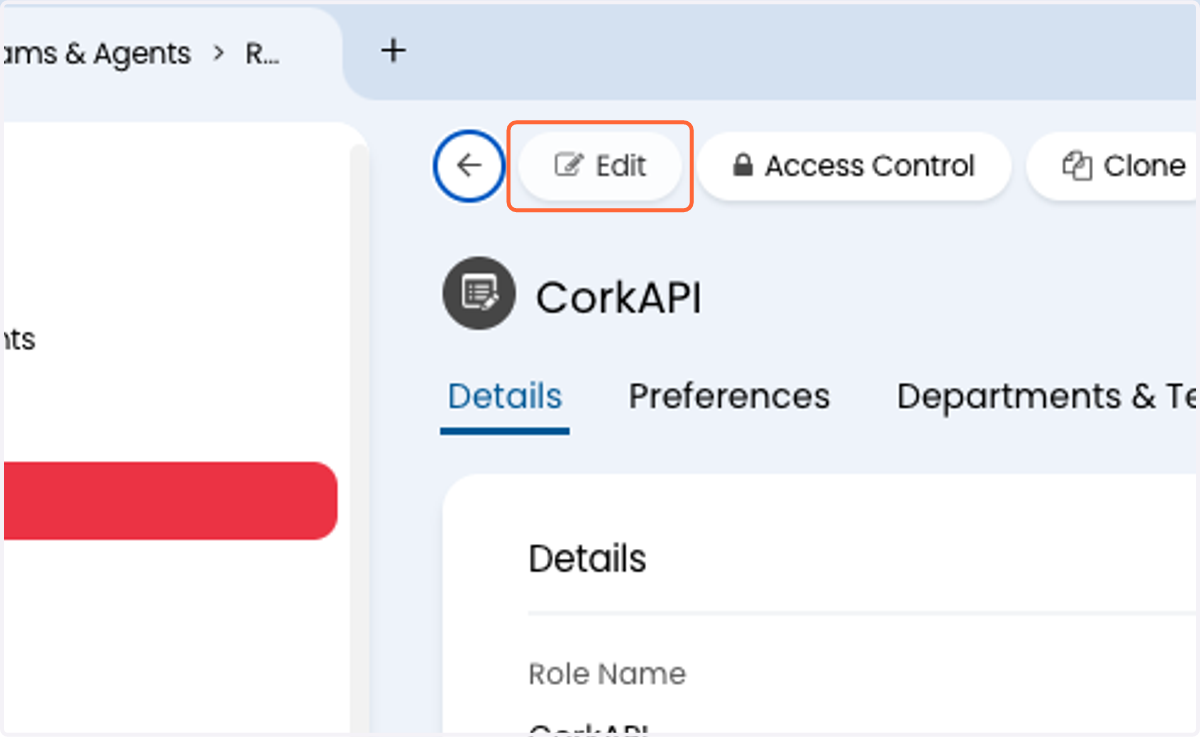
  15. 15. Click on Edit

    Click on Edit
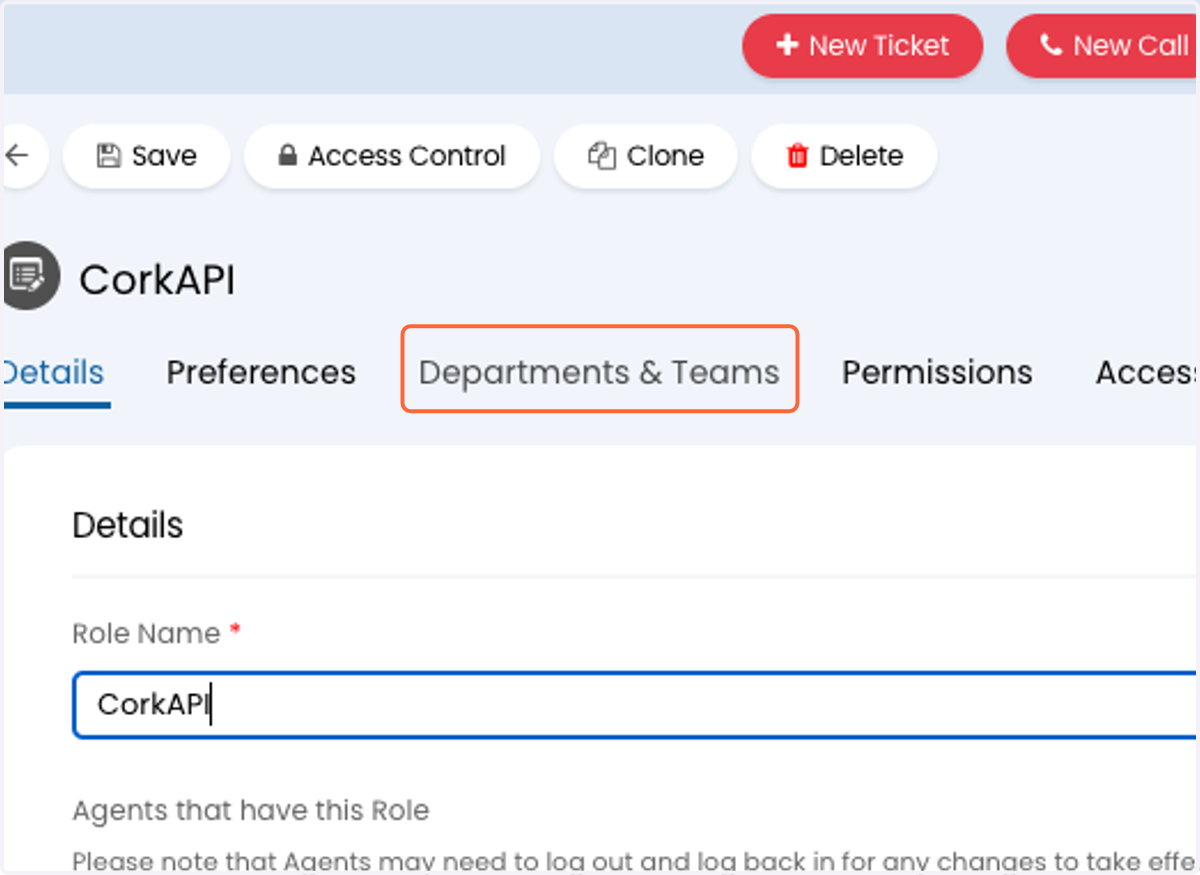
  16. 16. Click on Departments & Teams

    Click on Departments & Teams
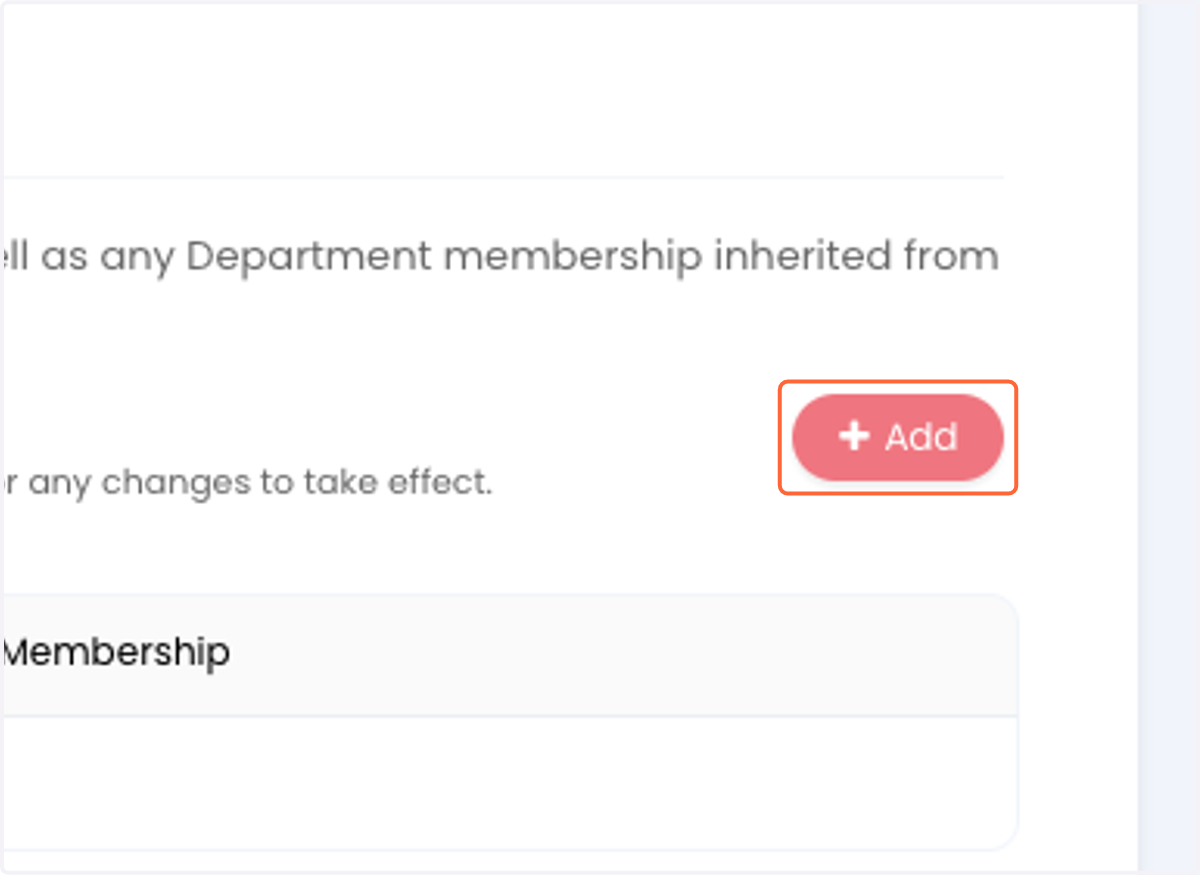
  17. 17. Click on Departments > Add

    Click on Departments > Add
  18. 18. Select the appropriated department(s)

    Note: At minimum, access is needed for the department that handles service ticket teams
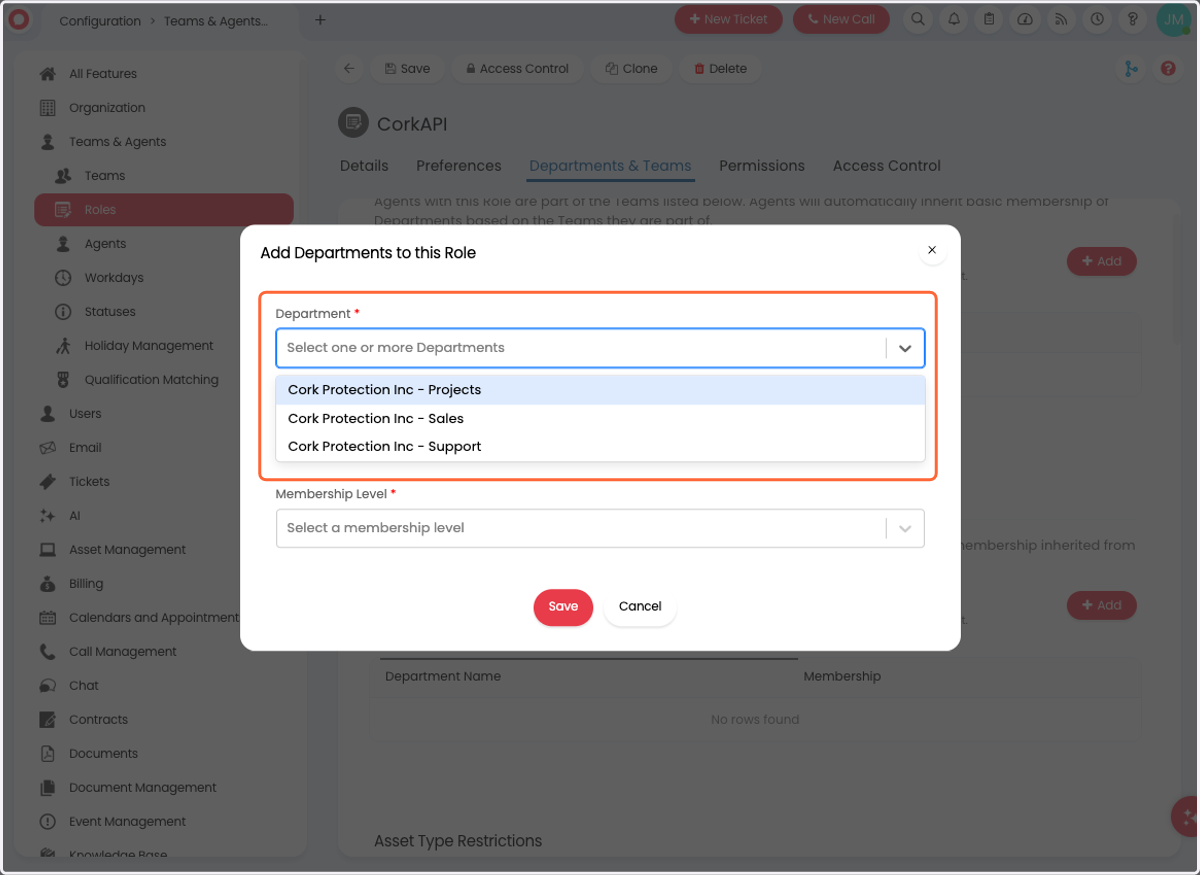
    Select the appropriated department(s)
  19. 19. Click on Modify All for Membership Level
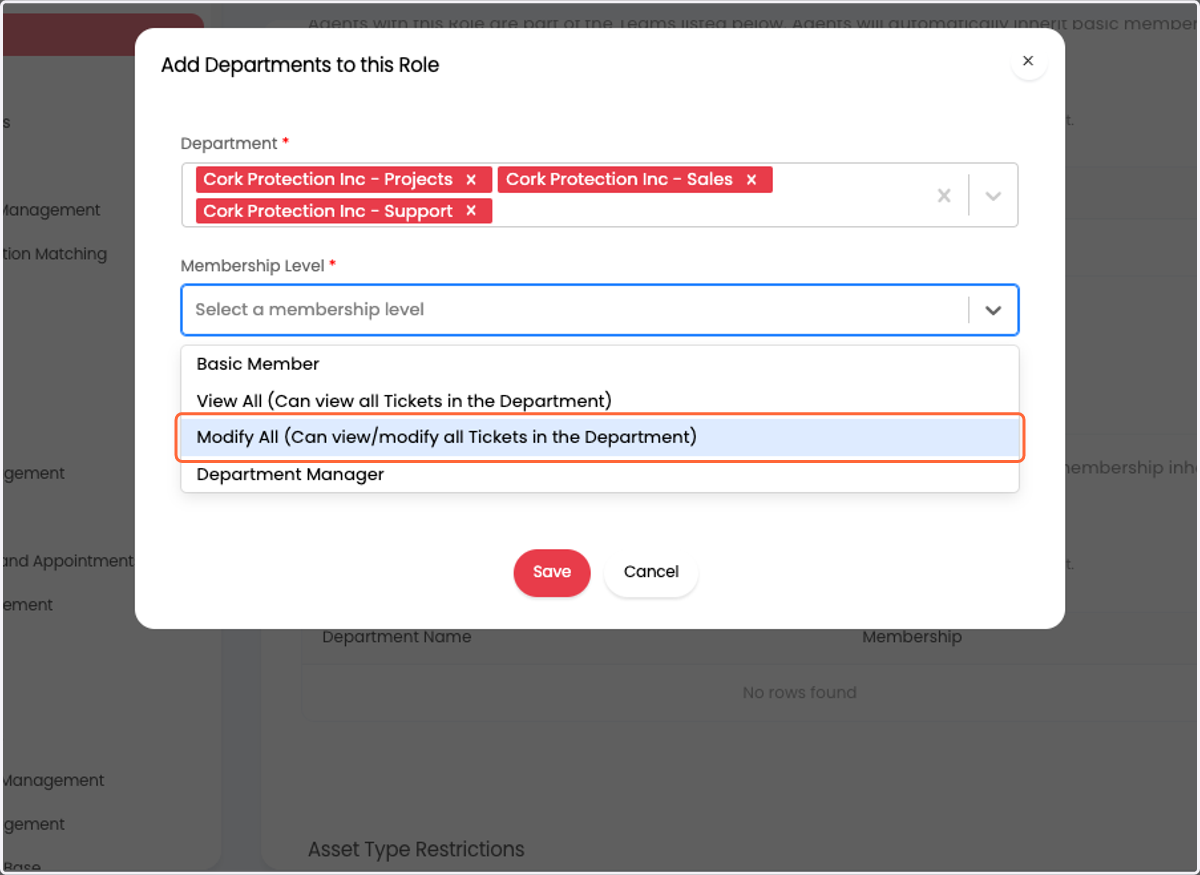
    Click on Modify All for Membership Level
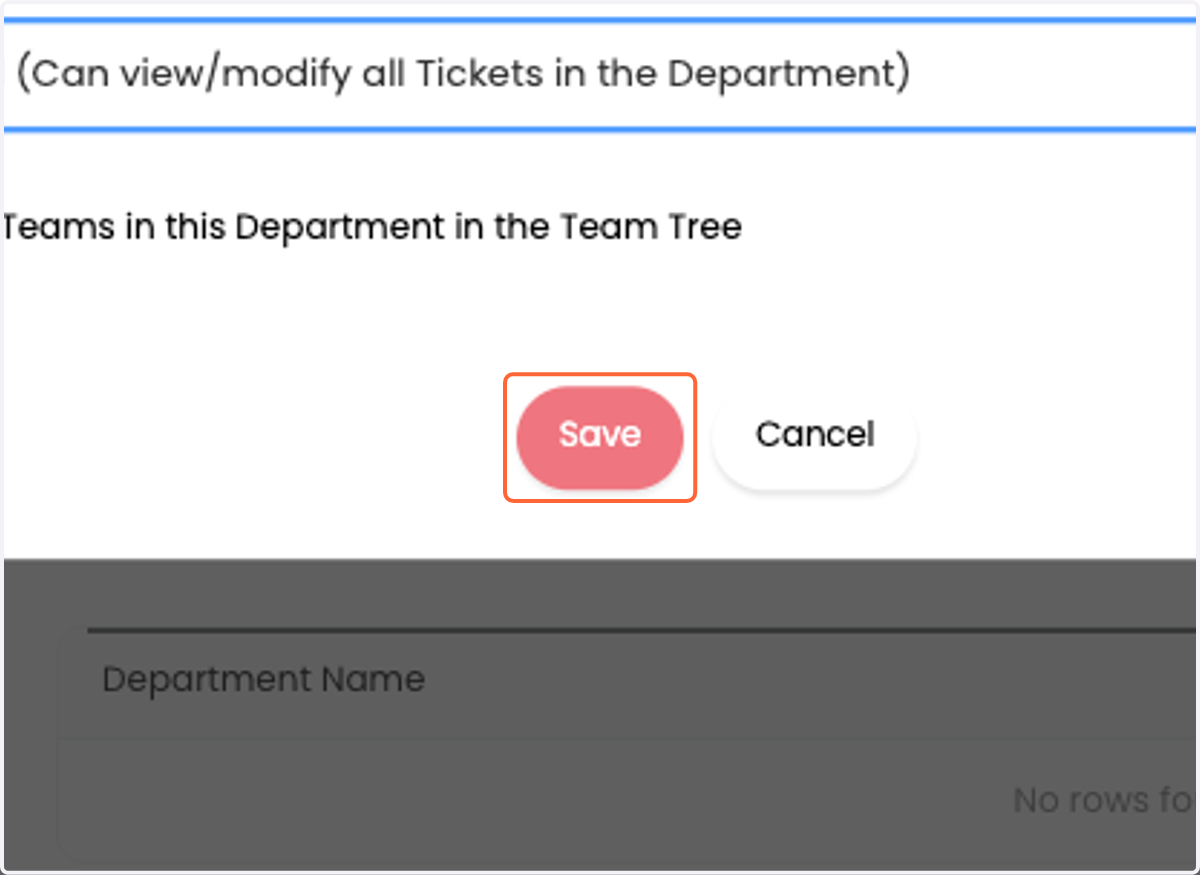
  20. 20. Click on Save

    Click on Save
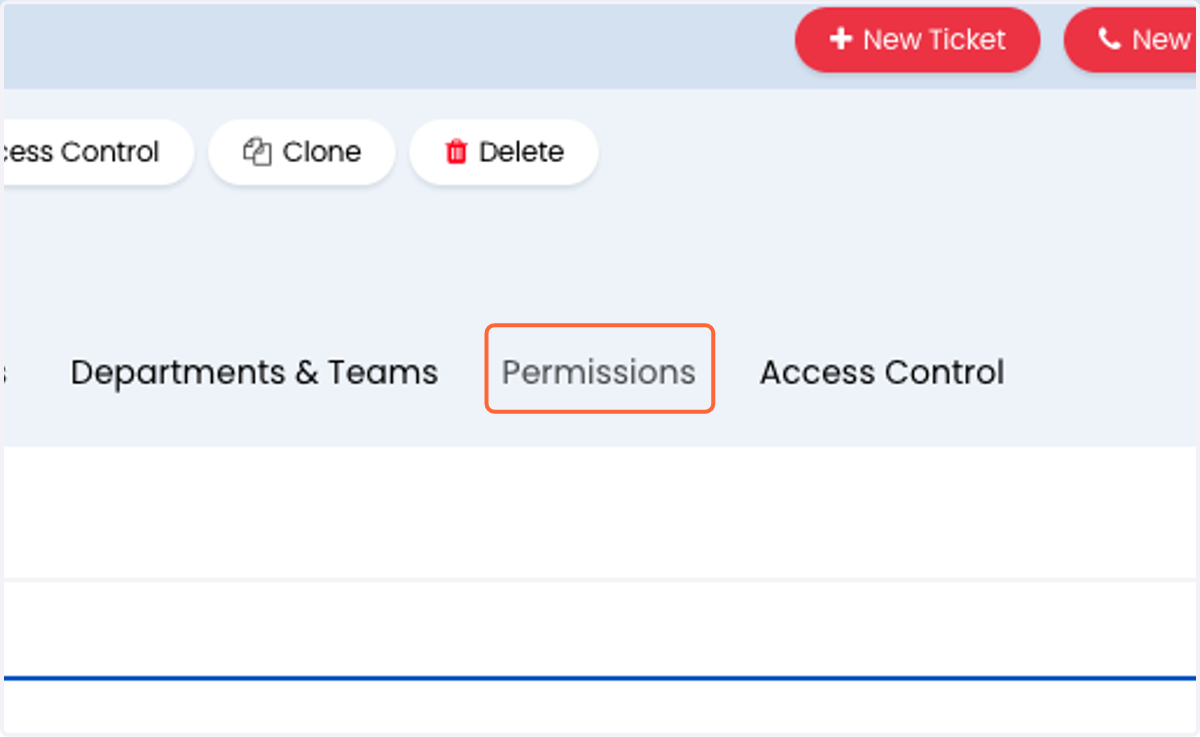
  21. 21. Click on Permissions

    Click on Permissions
  22. 22. Select "Read and Modify" for Feature Access > Tickets Access Level
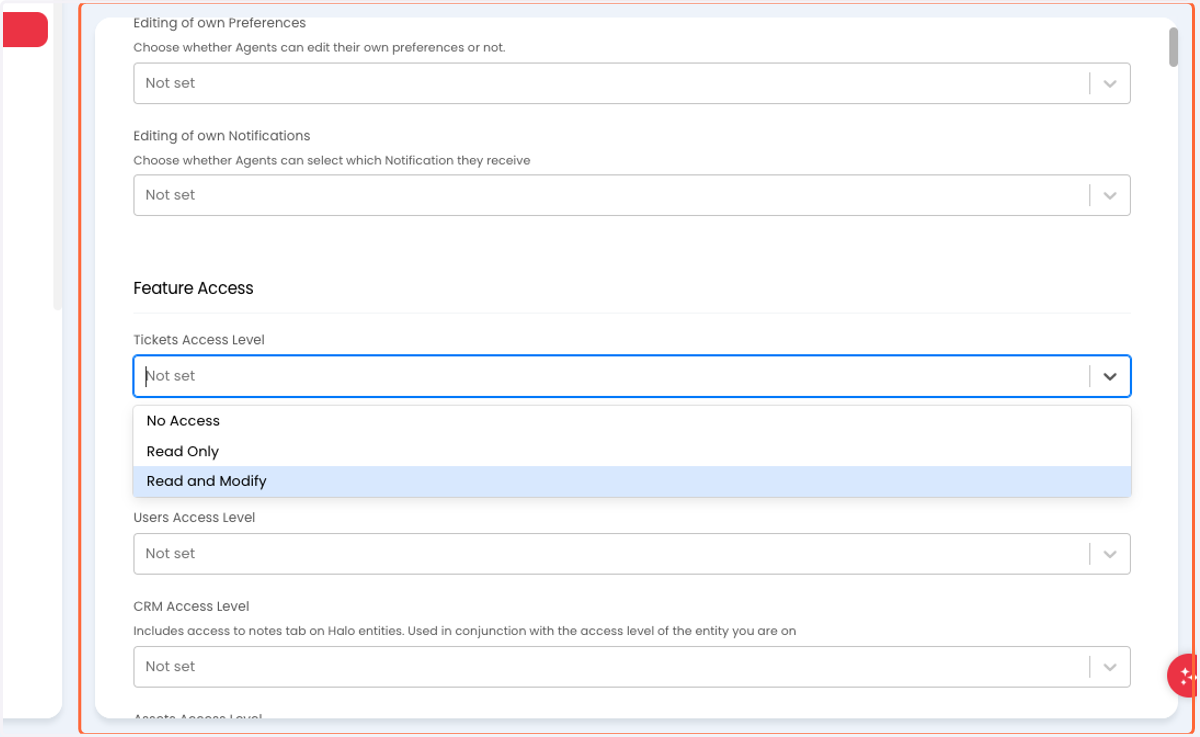
    Select "Read and Modify" for Feature Access > Tickets Access Level
  23. 23. Select "Read Only" for Feature Access > Clients Access Level
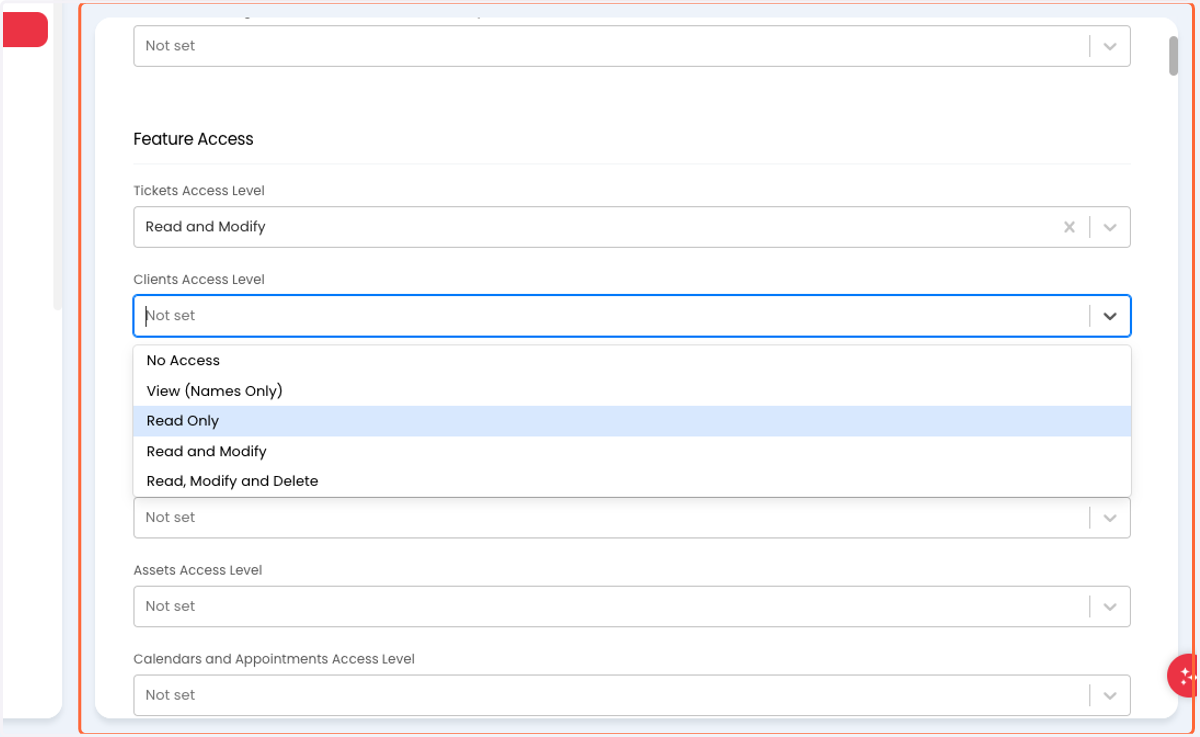
    Select "Read Only" for Feature Access > Clients Access Level
  24. 24. Select "Read Only" for Feature Access > Users Access Level
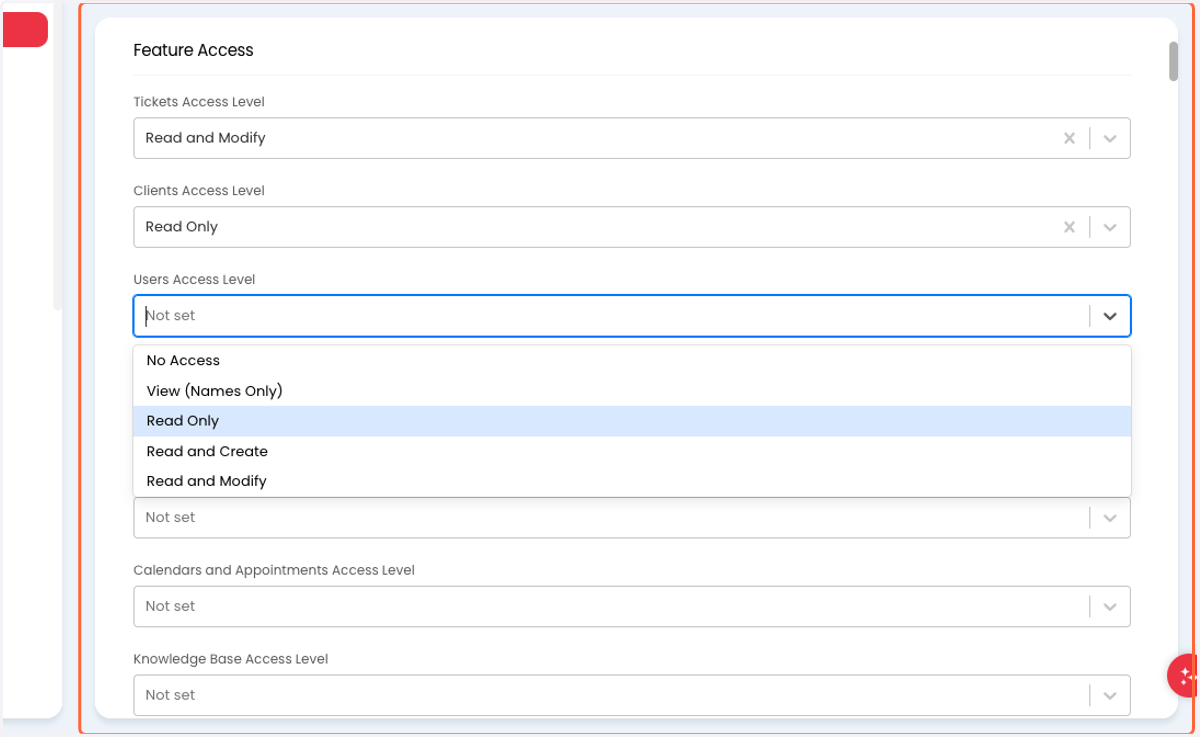
    Select "Read Only" for Feature Access > Users Access Level
  25. 25. Select "Yes" for Can add new Tickets
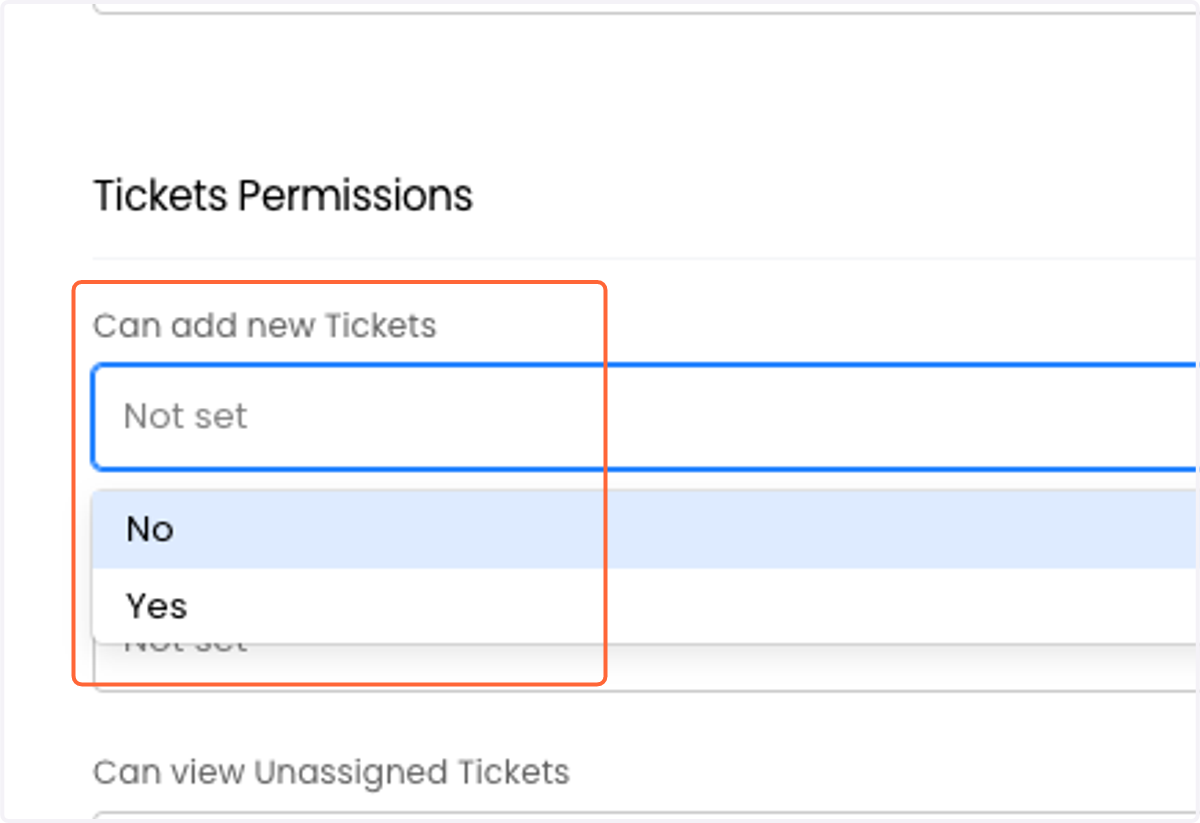
    Select "Yes" for Can add new Tickets
  26. 26. Select "Yes" for Can edit closed Tickets
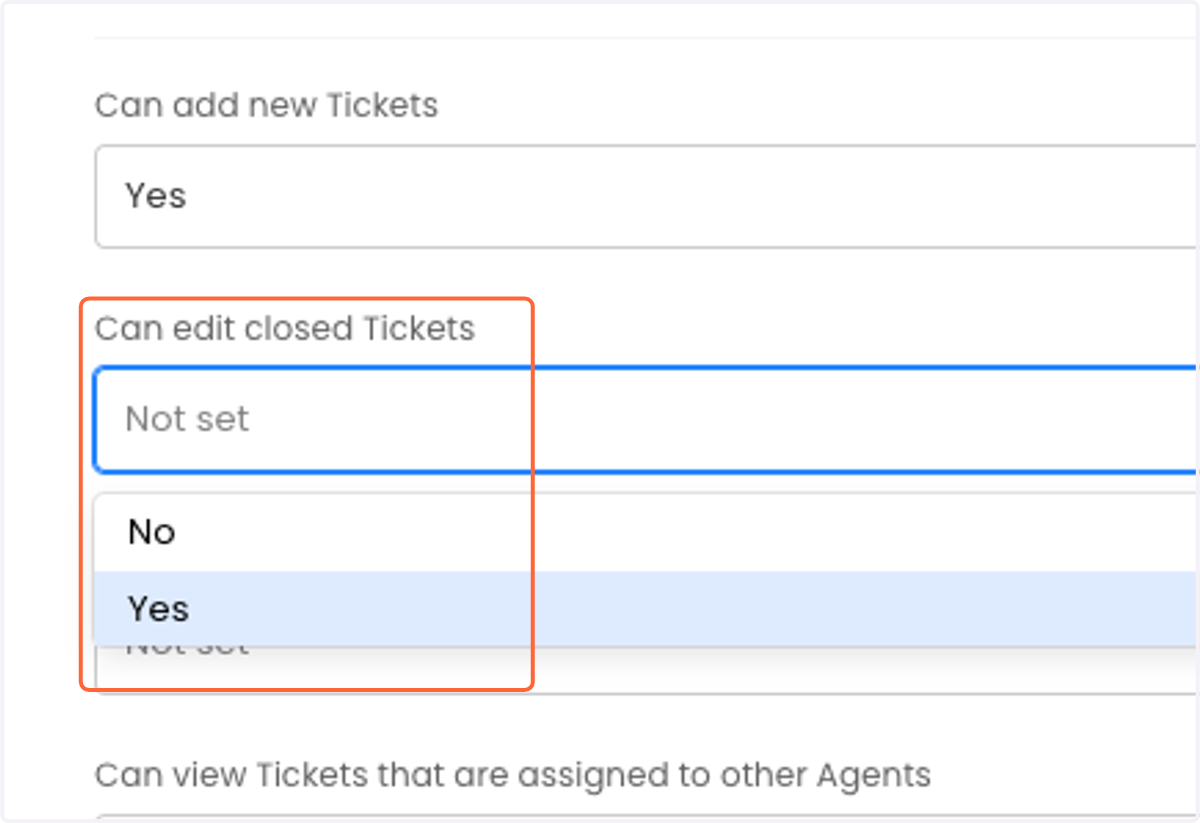
    Select "Yes" for Can edit closed Tickets
  27. 27. Select "Yes" for Can view Unassigned Tickets
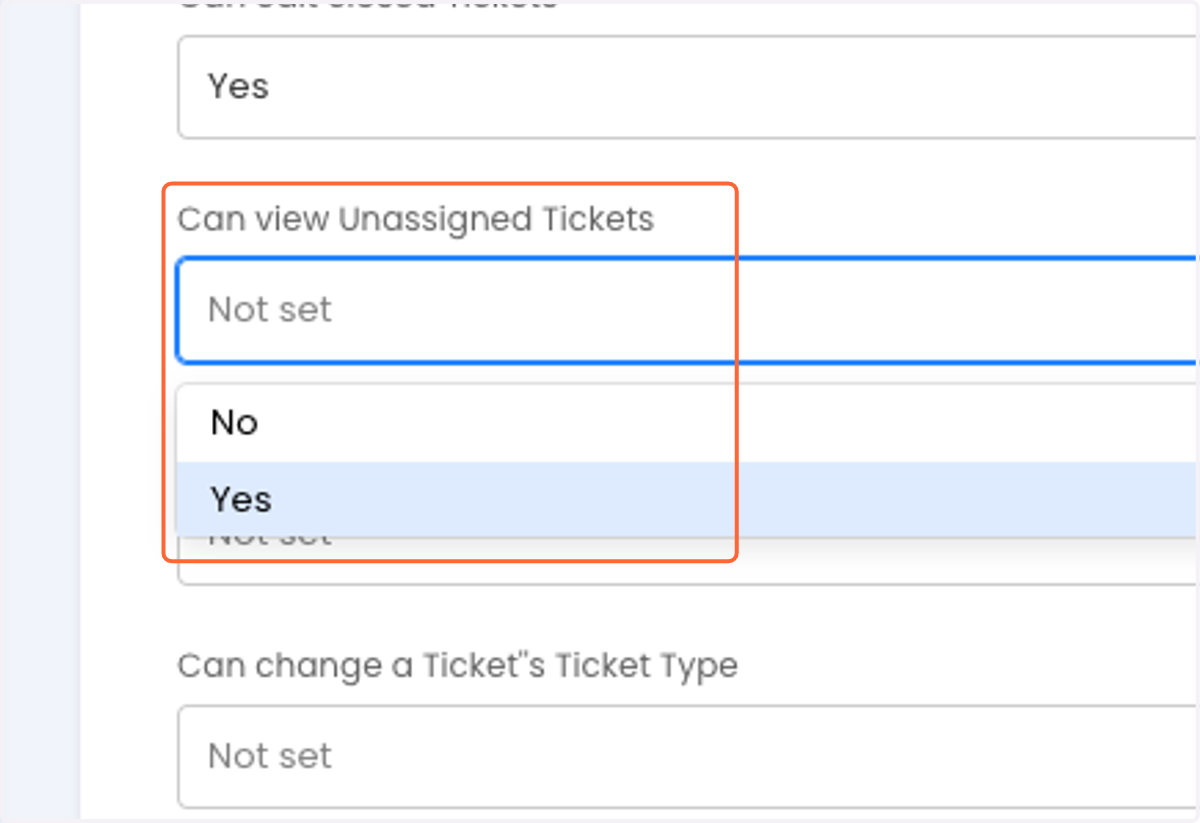
    Select "Yes" for Can view Unassigned Tickets
  28. 28. Select "Yes" for Can view Tickets that are assigned to other Agents
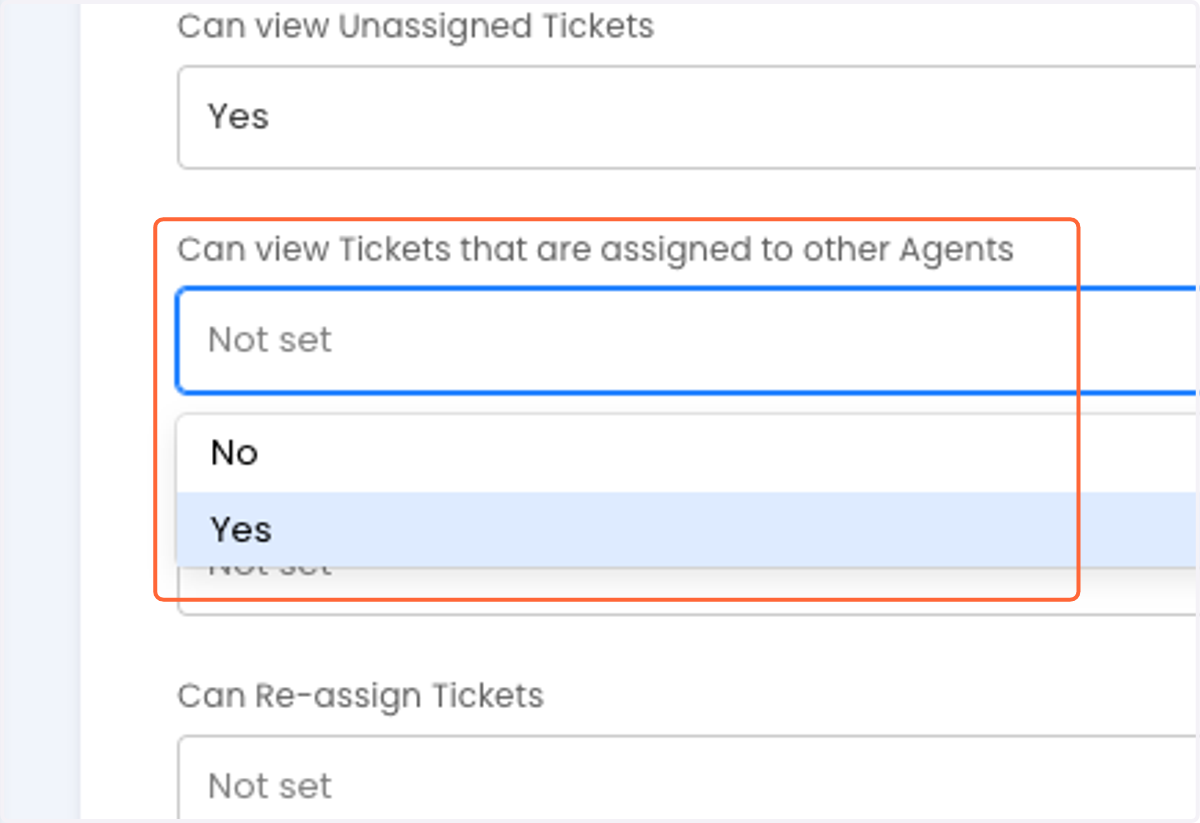
    Select "Yes" for Can view Tickets that are assigned to other Agents
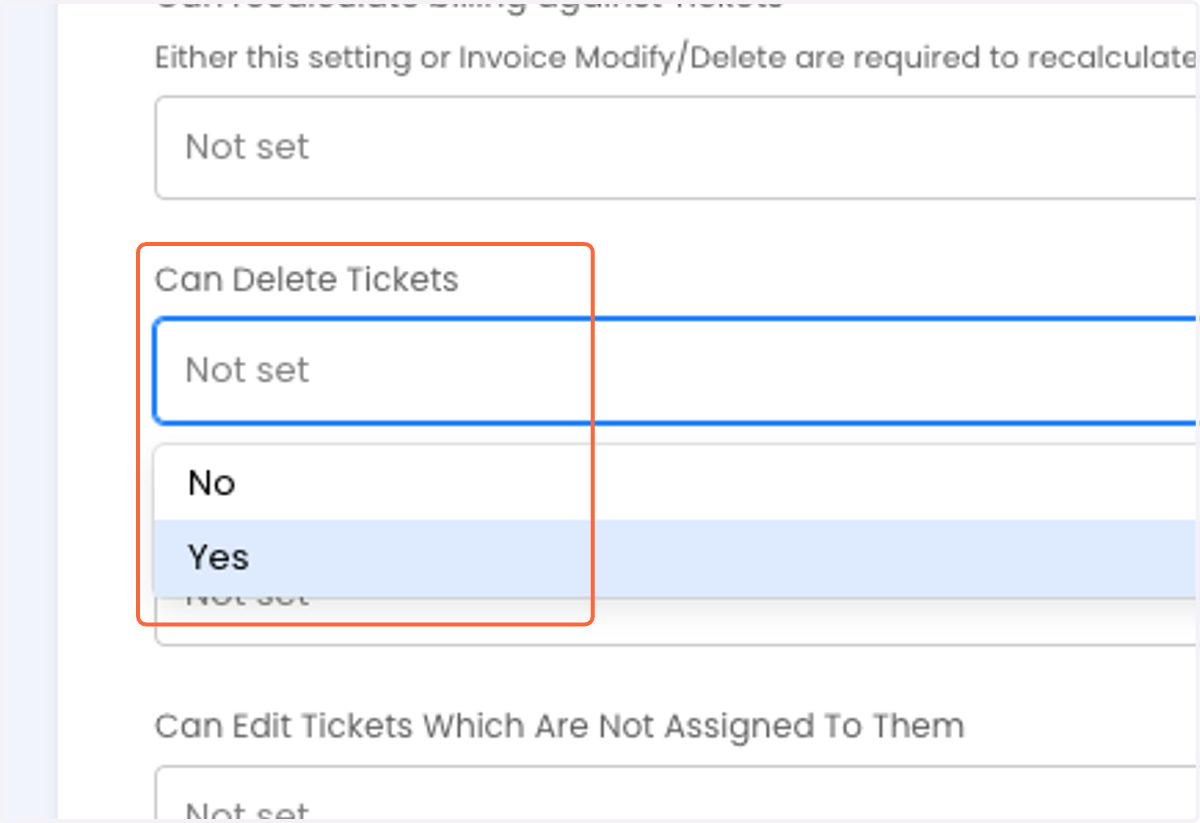
  29. 29. Click on Can Delete Tickets

    Click on Can Delete Tickets
  30. 30. Select "Yes" for Can Edit Tickets Which Are Not Assigned To Them
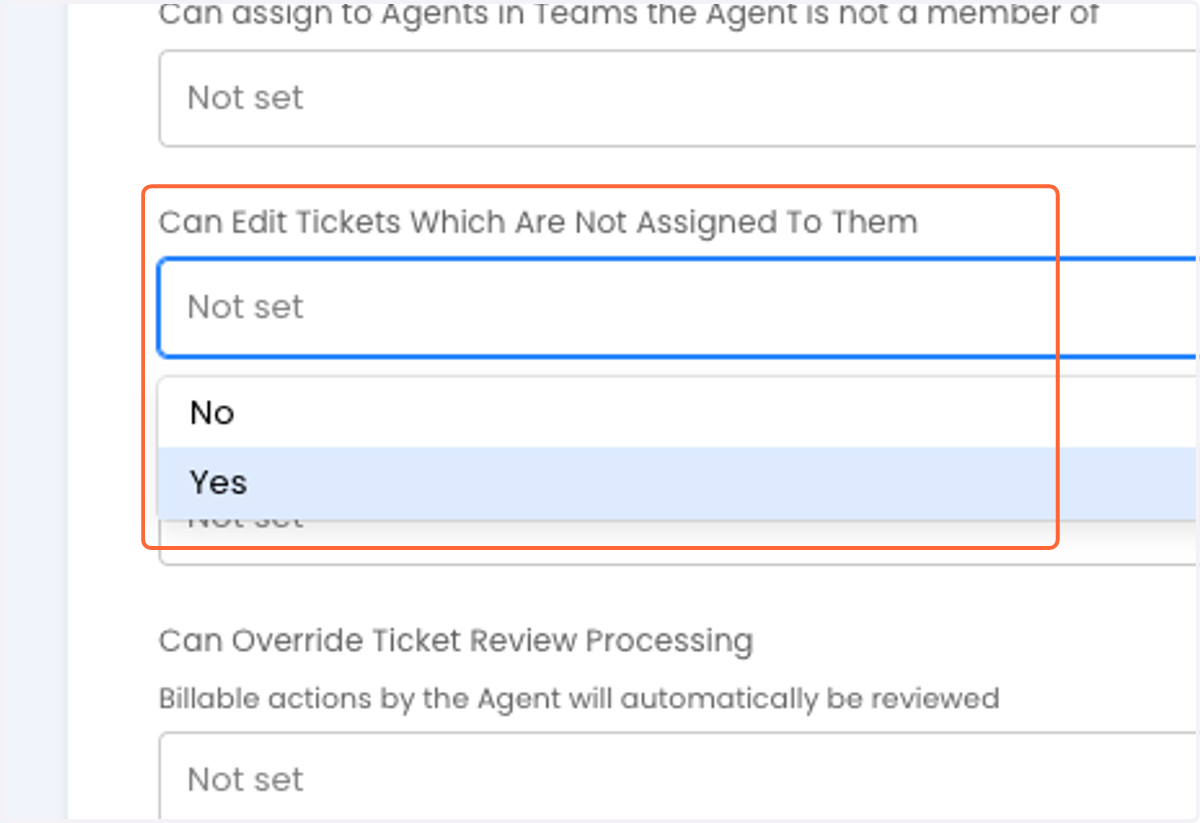
    Select "Yes" for Can Edit Tickets Which Are Not Assigned To Them
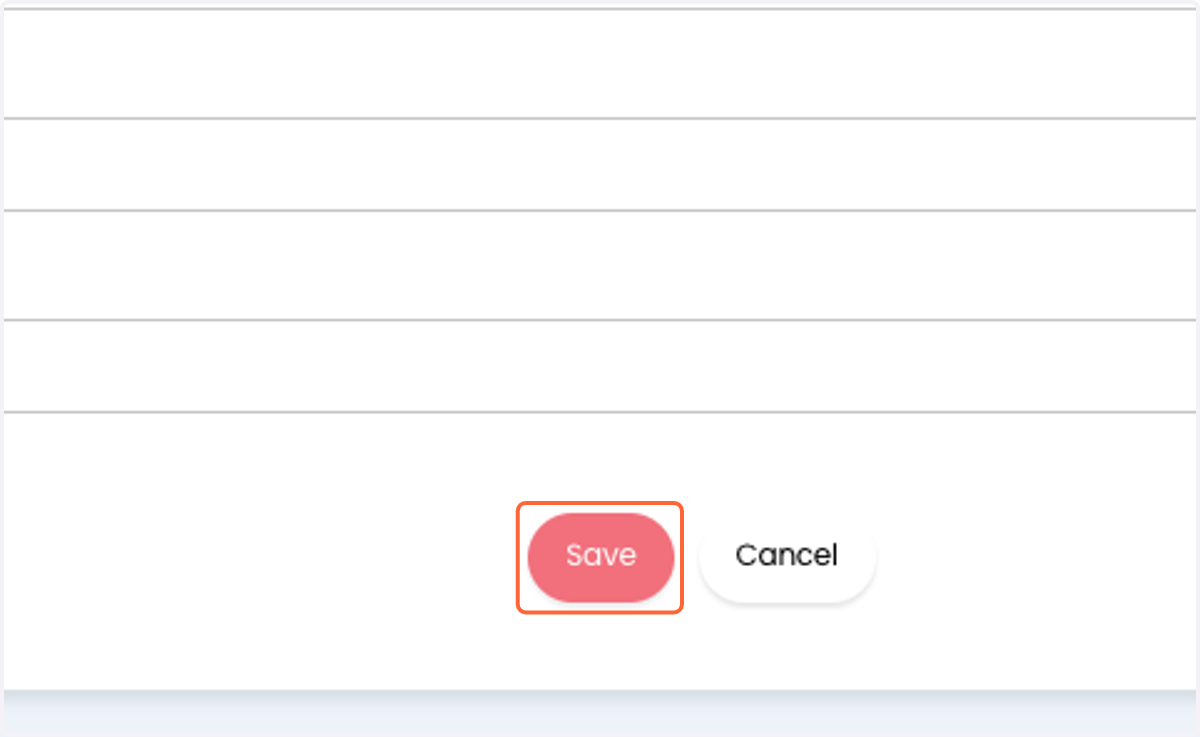
  31. 31. Click on Save

    Click on Save
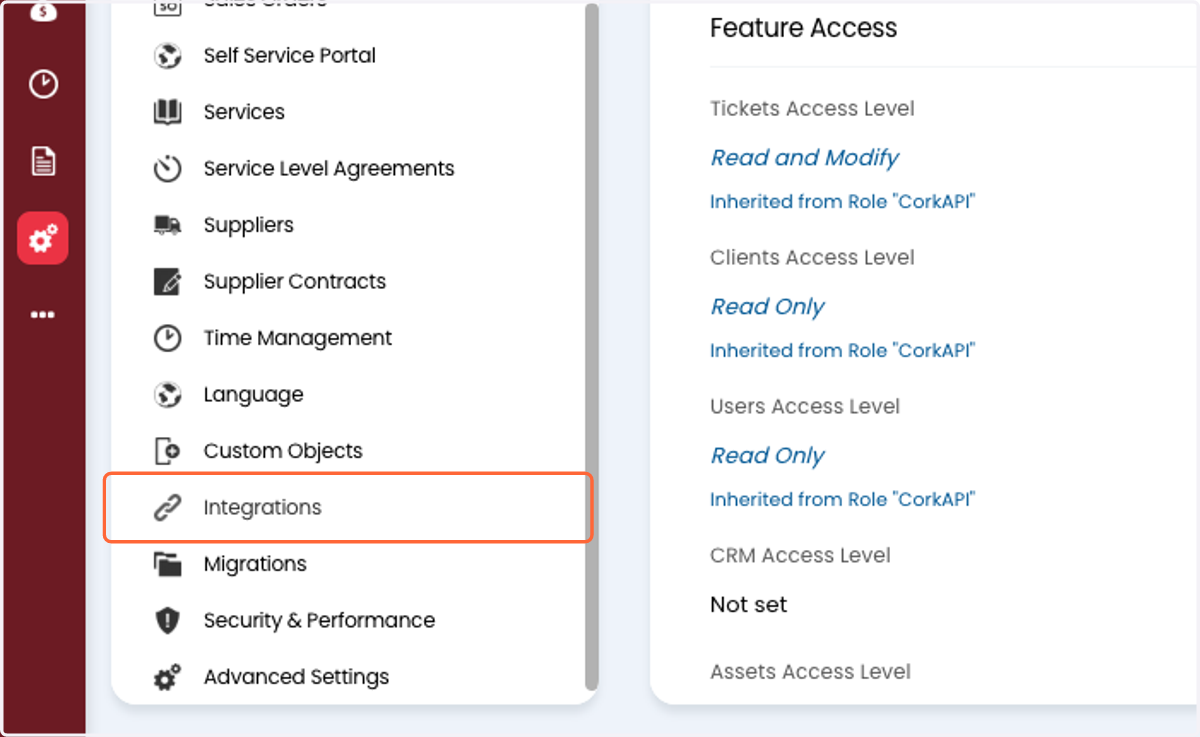
  32. 32. Click on Integrations

    Click on Integrations
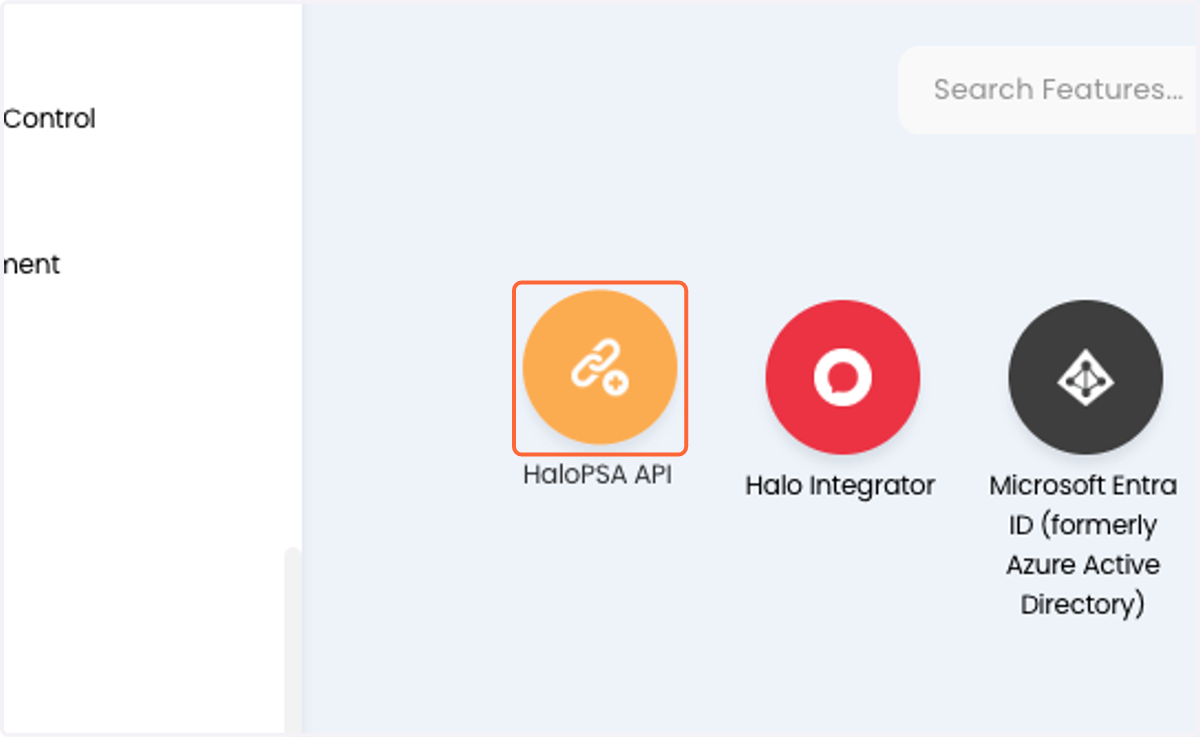
  33. 33. Click on HaloPSA API

    Click on HaloPSA API
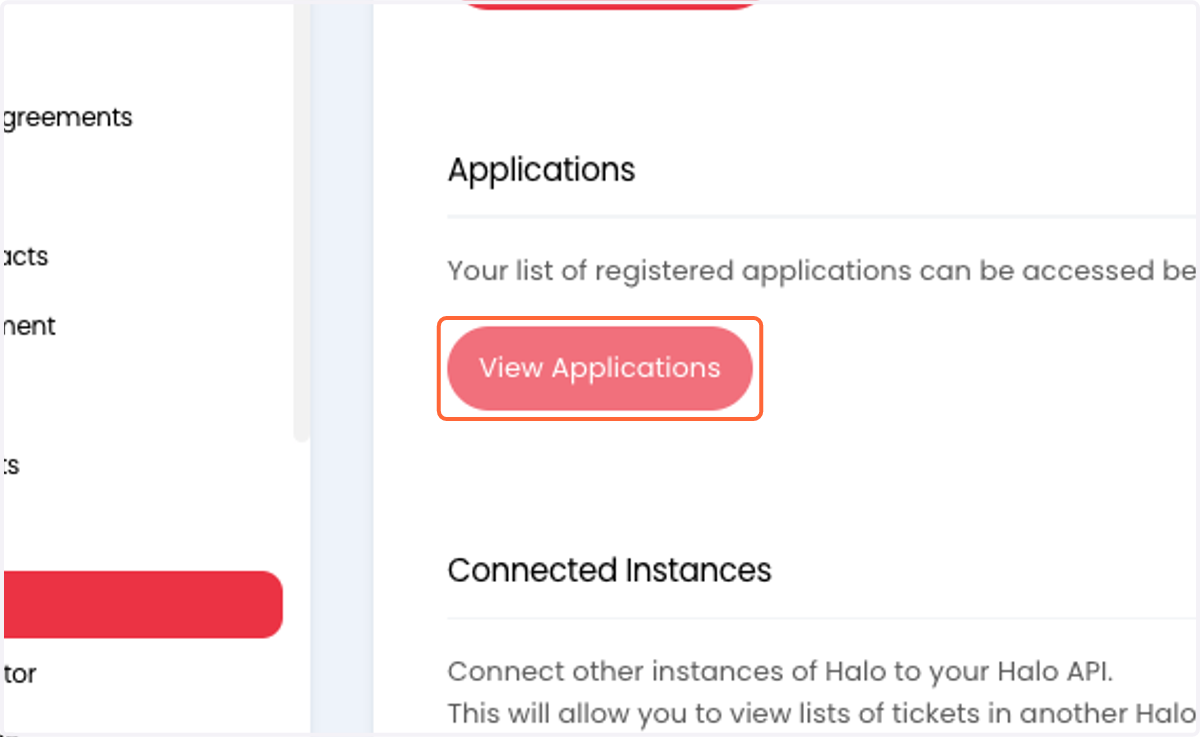
  34. 34. Click on View Applications

    Click on View Applications
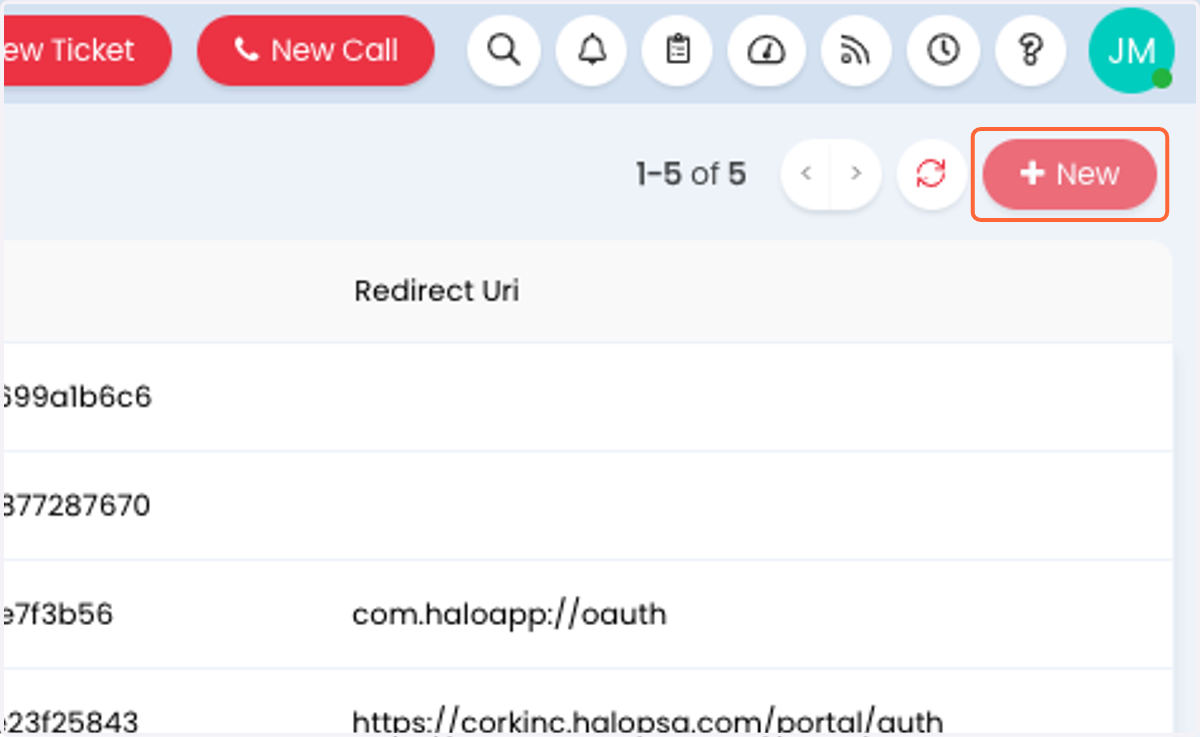
  35. 35. Click on New

    Click on New
  36. 36. Type "Cork API" for Application Name
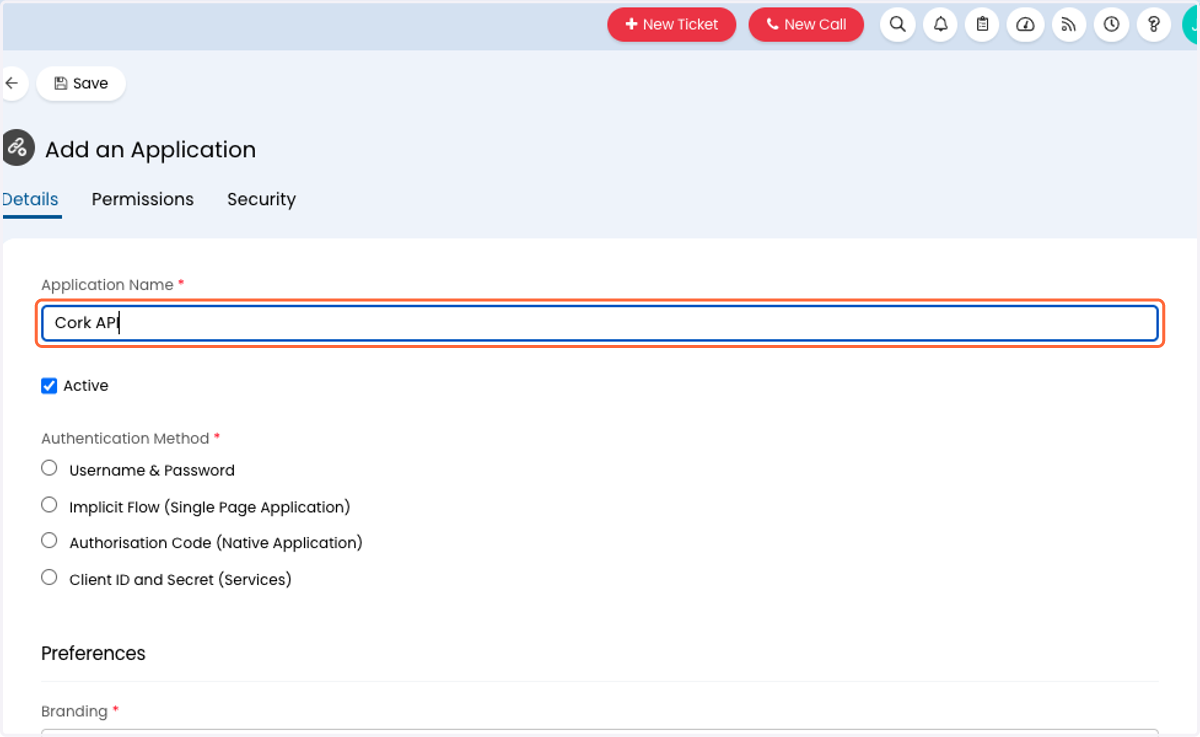
    Type "Cork API" for Application Name
  37. 37. Select Client ID and Secret (Services)
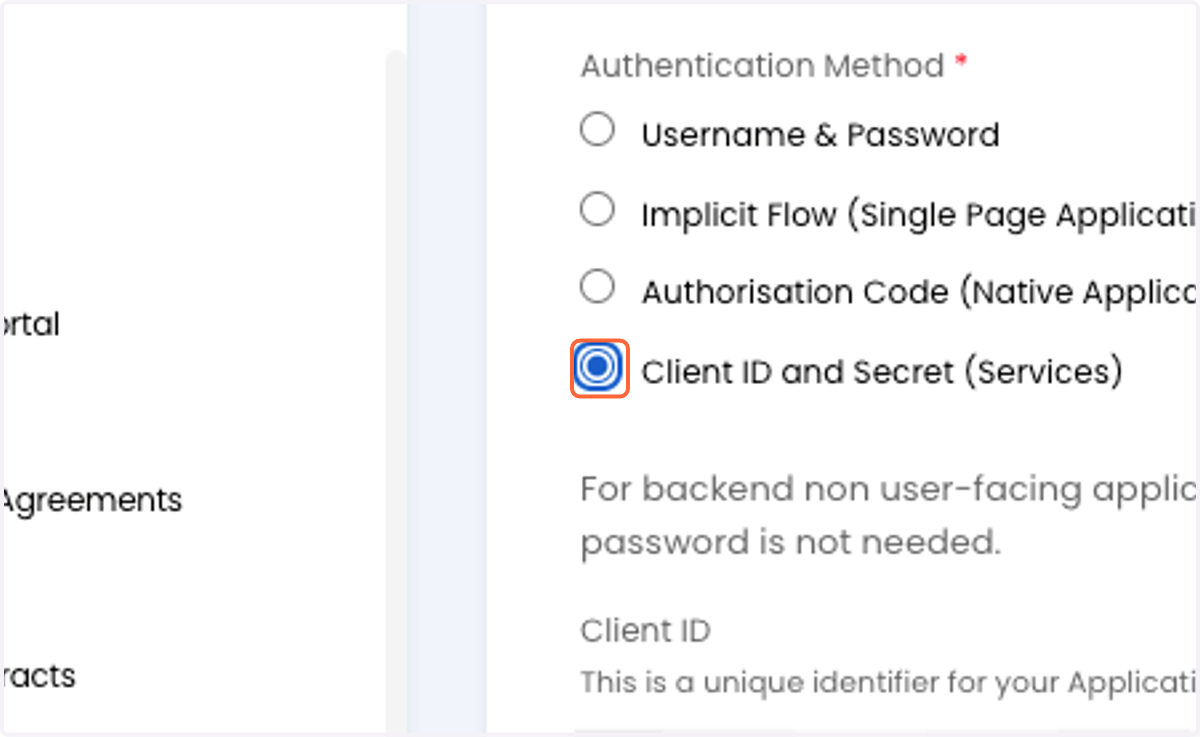
    Select Client ID and Secret (Services)
  38. 38. Select the "CorkAPI" agent as the Agent to log in as
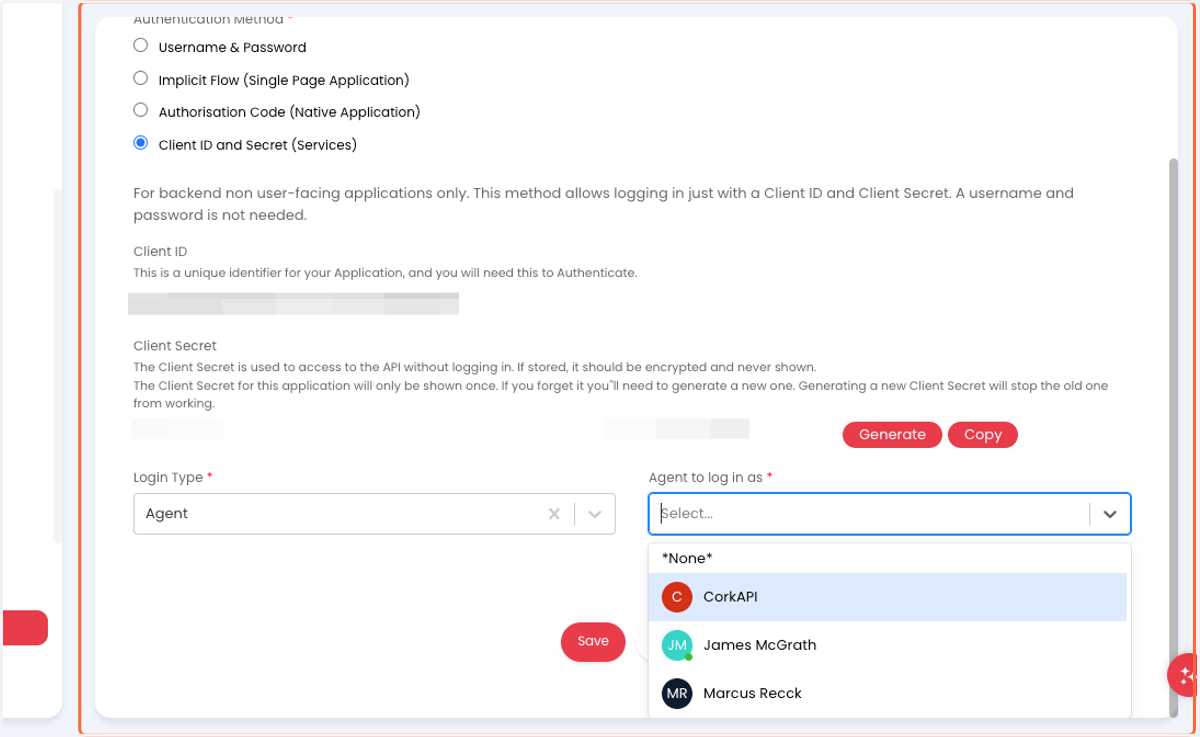
    Select the "CorkAPI" agent as the Agent to log in as
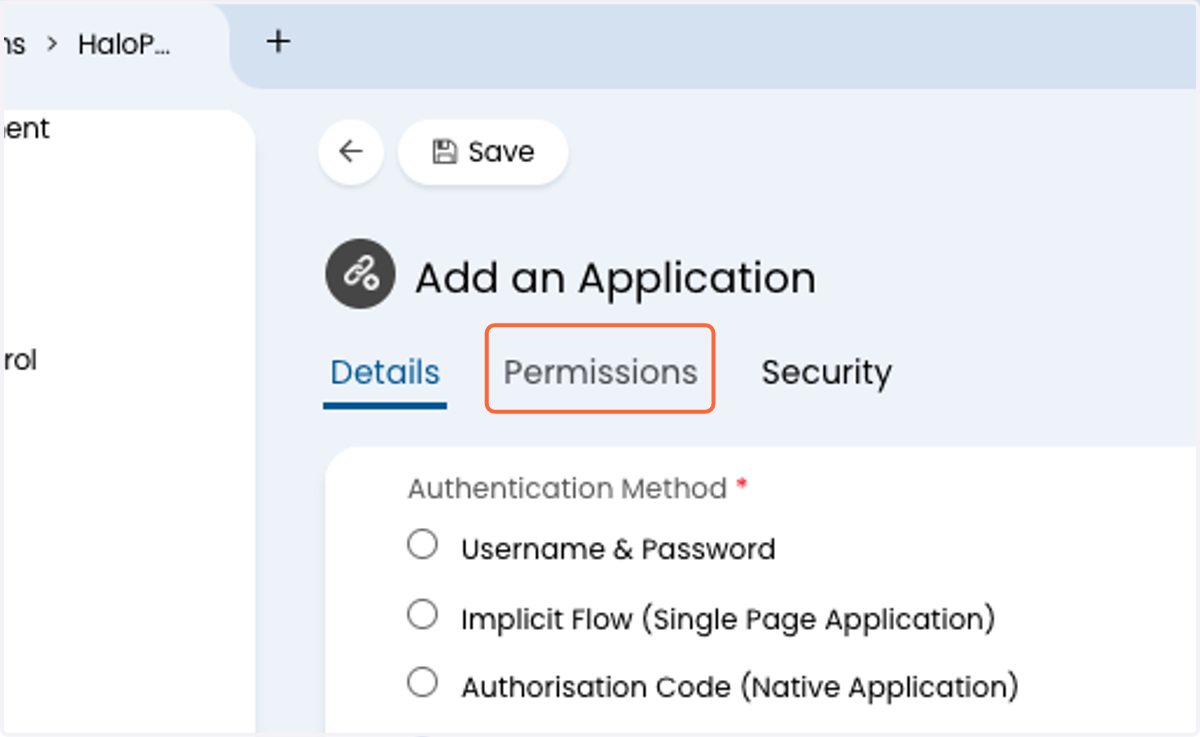
  39. 39. Click on Permissions

    Click on Permissions
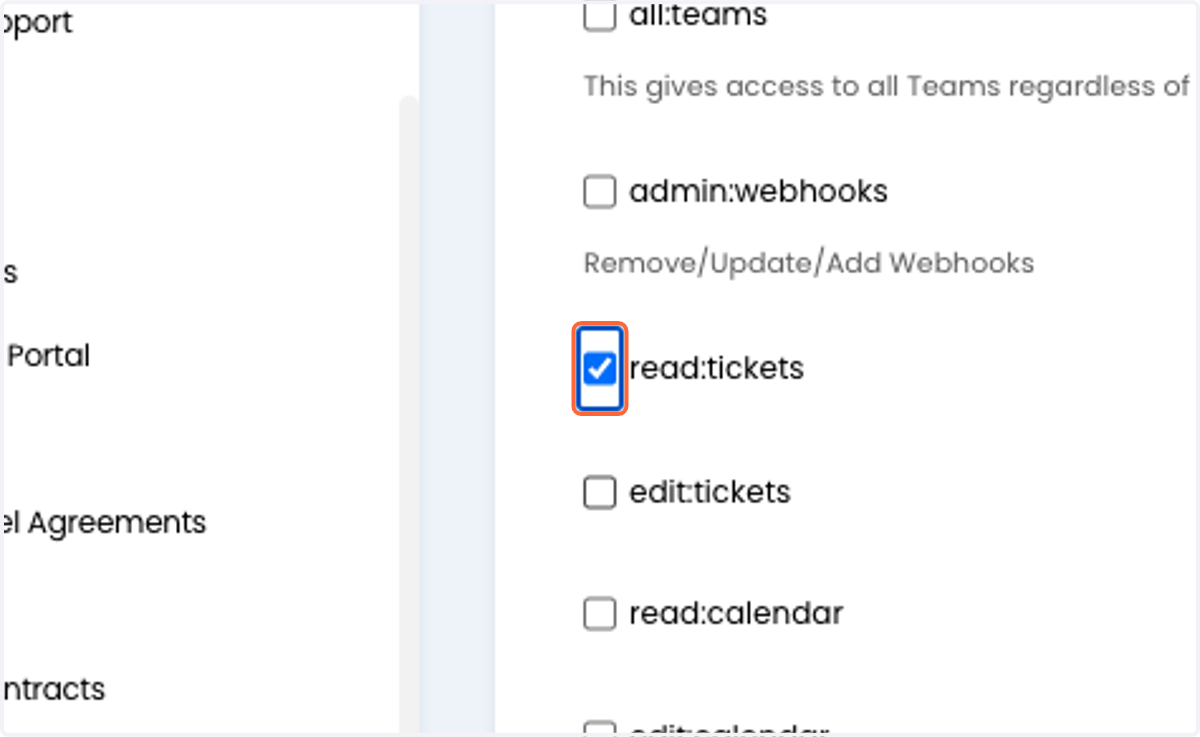
  40. 40. Check read:tickets

    Check read:tickets
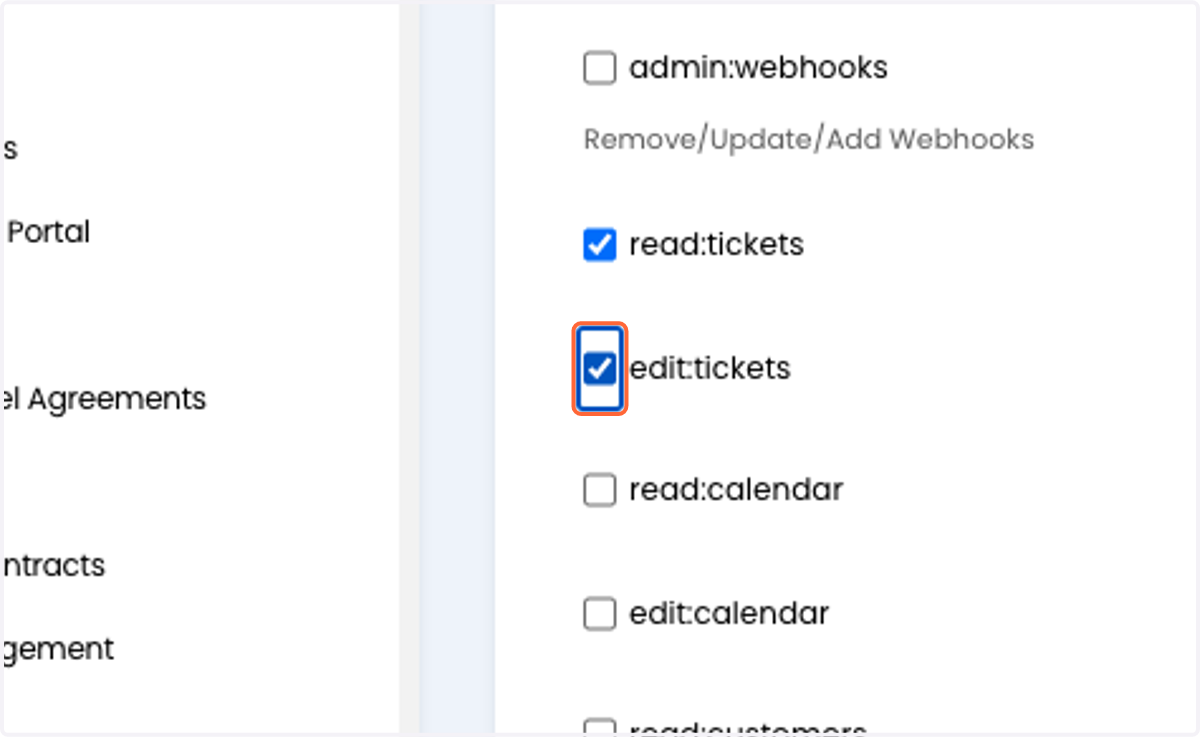
  41. 41. Check edit:tickets

    Check edit:tickets
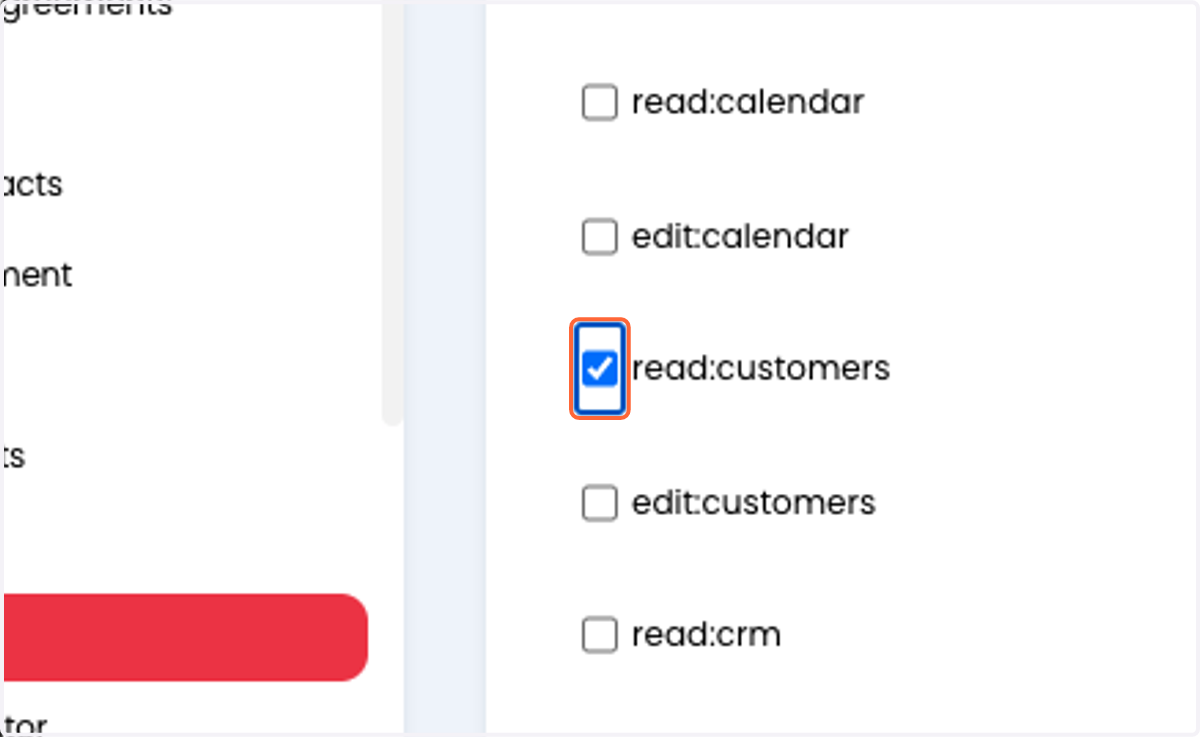
  42. 42. Check read:customers

    Check read:customers
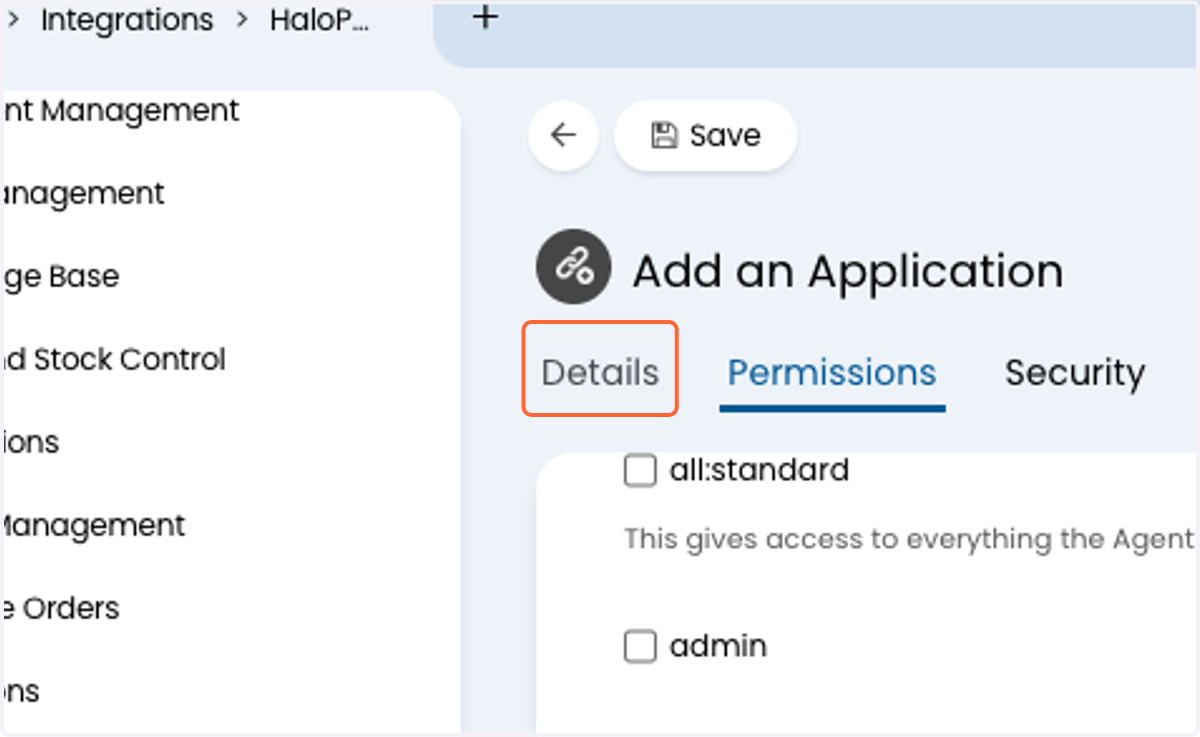
  43. 43. Click on Details

    Click on Details
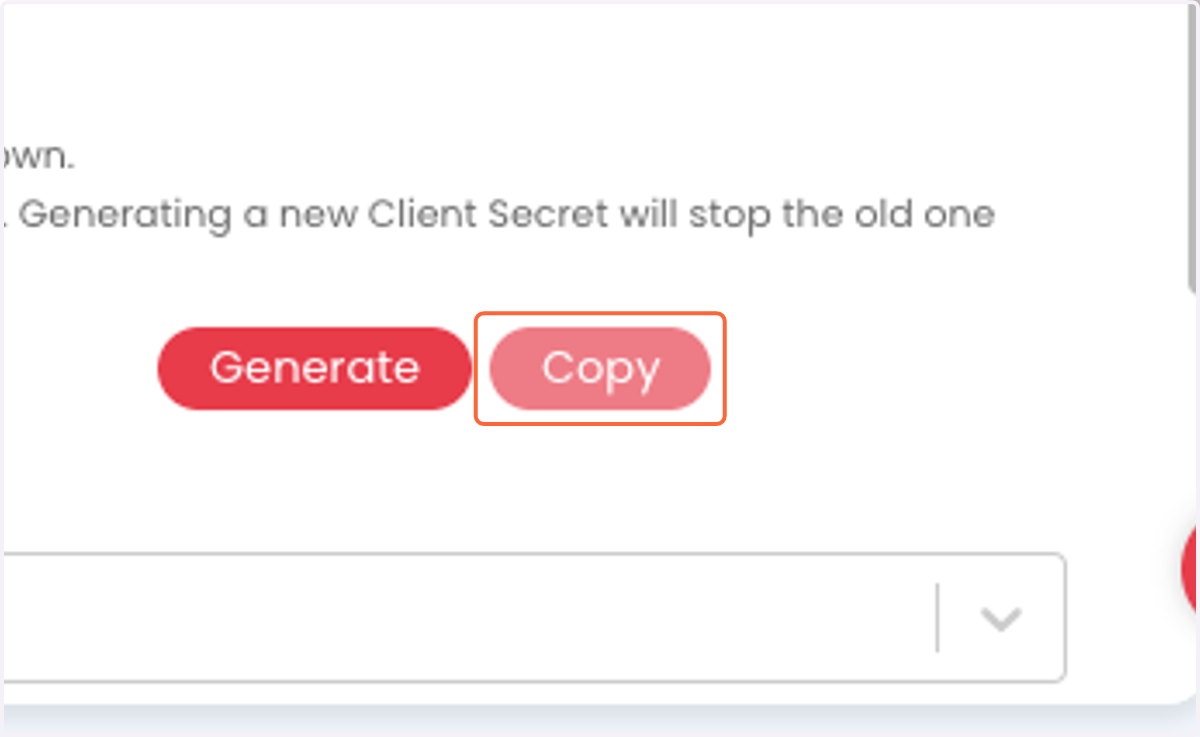
  44. 44. Copy your Client Secret

    Copy your Client Secret
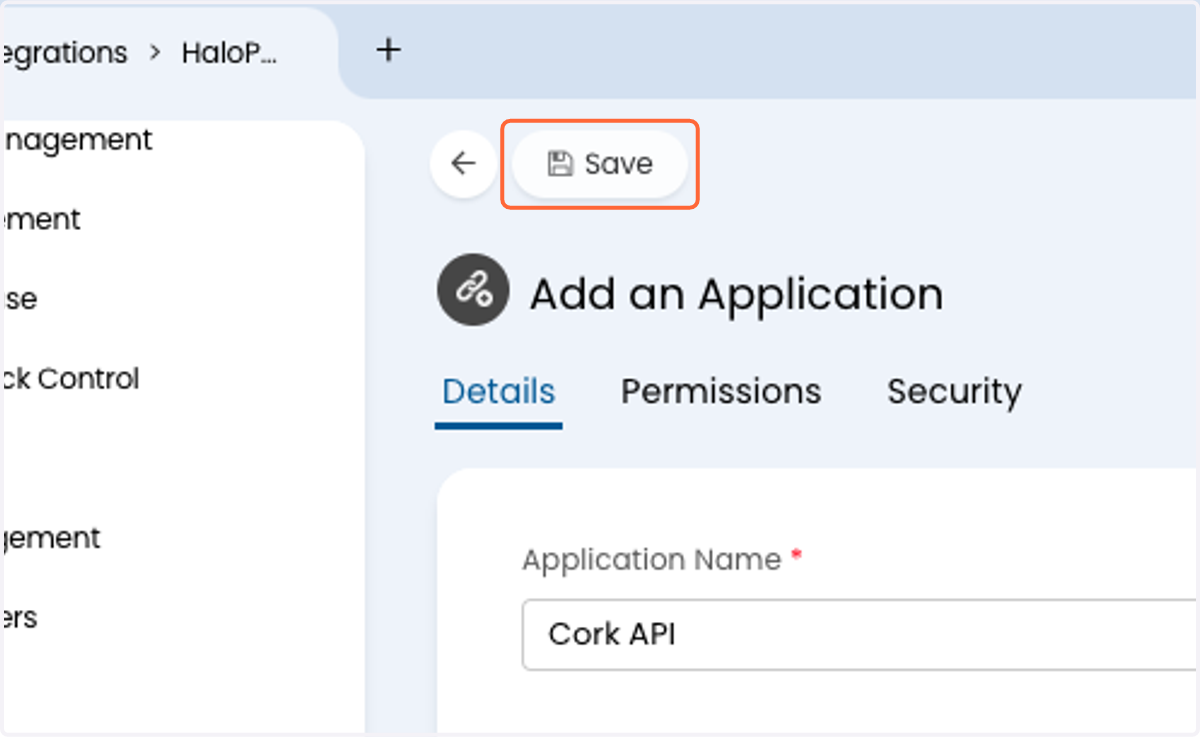
  45. 45. Click on Save

    Click on Save

Cork

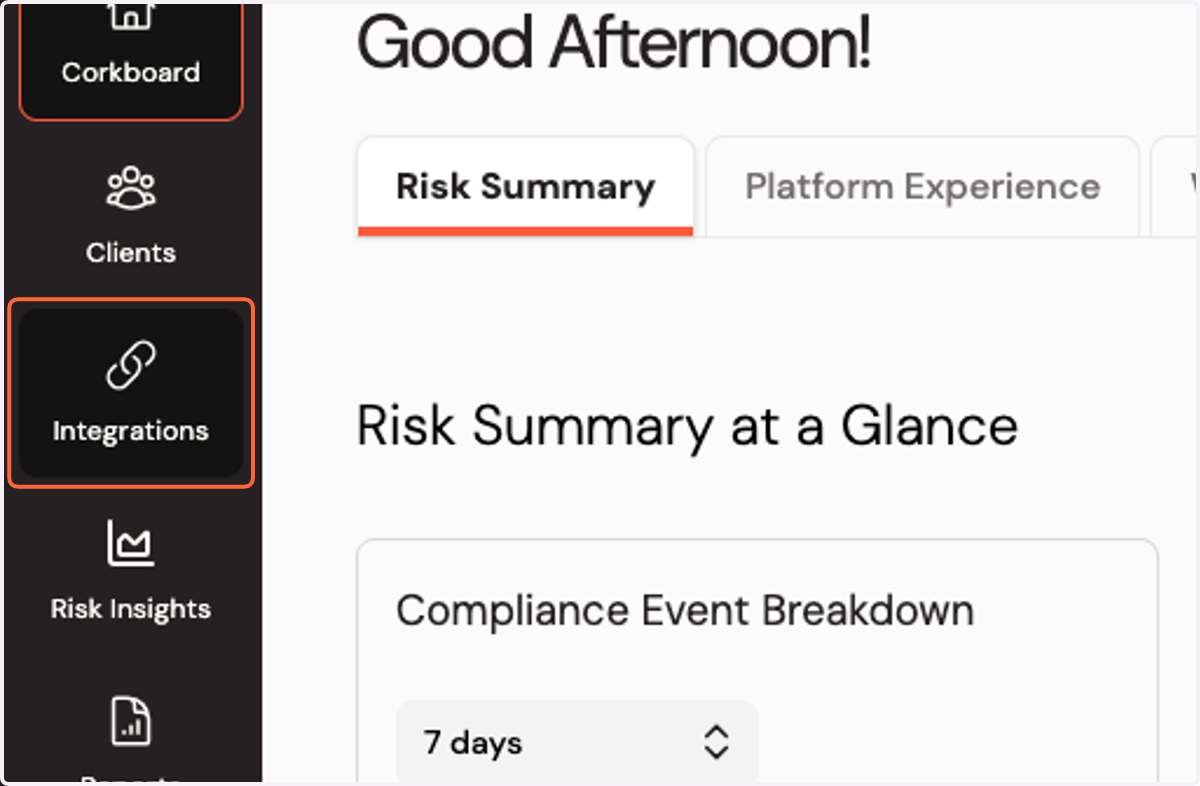
  1. 46. Click on Integrations

    Click on Integrations
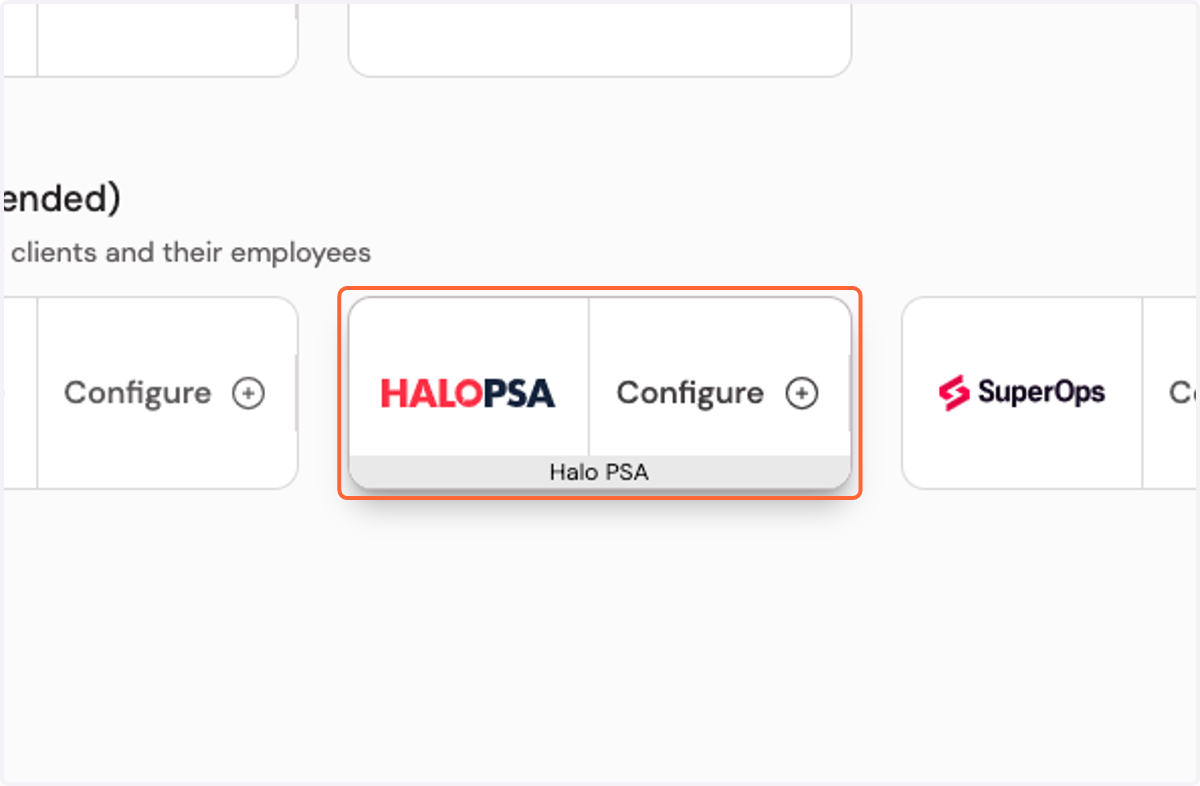
  2. 47. Click on Configure Halo PSA

    Click on Configure Halo PSA
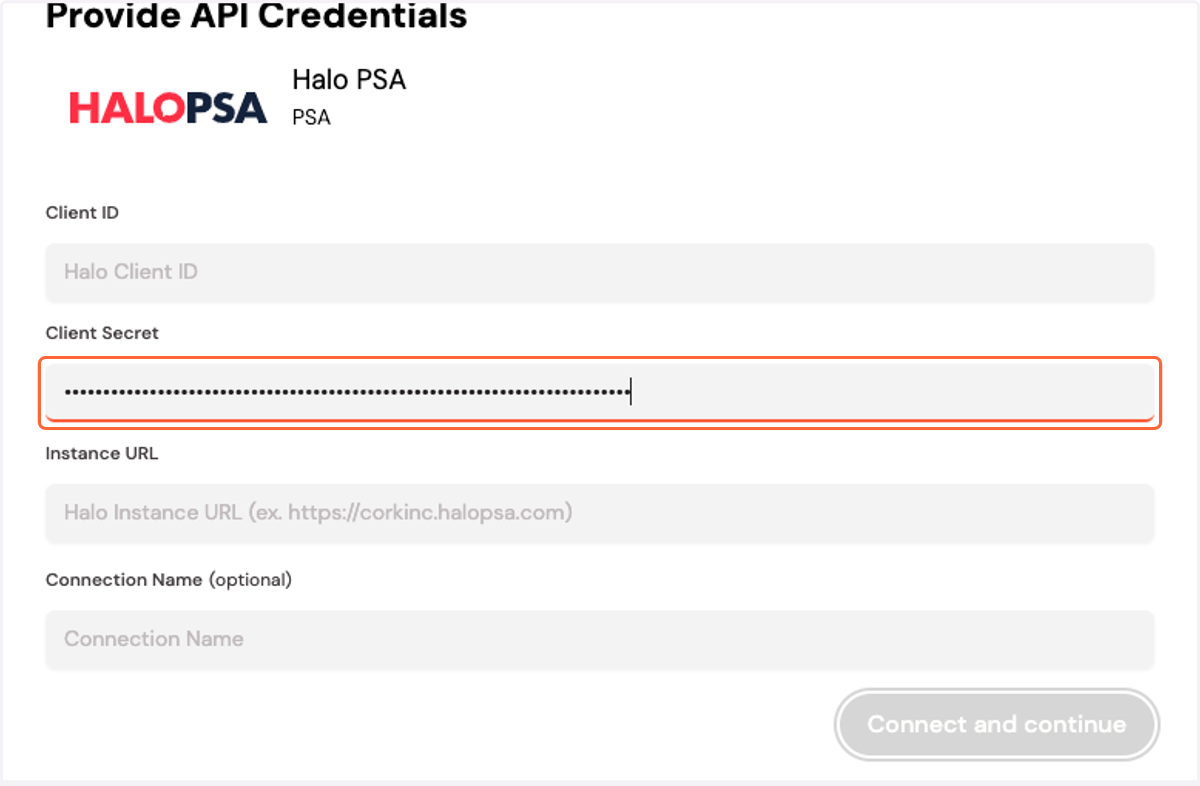
  3. 48. Paste your Client Secret

    Paste your Client Secret

Halo

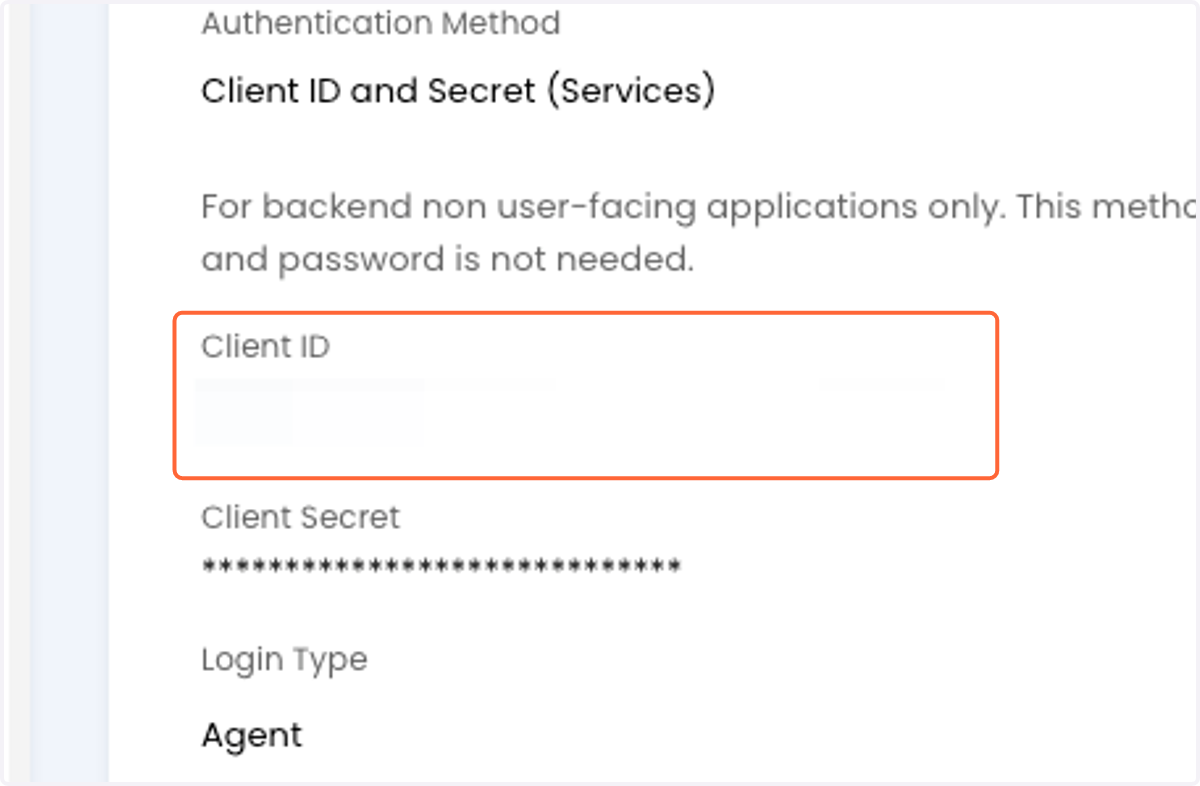
  1. 49. Copy your Client ID

    Copy your Client ID

Cork - Integrations

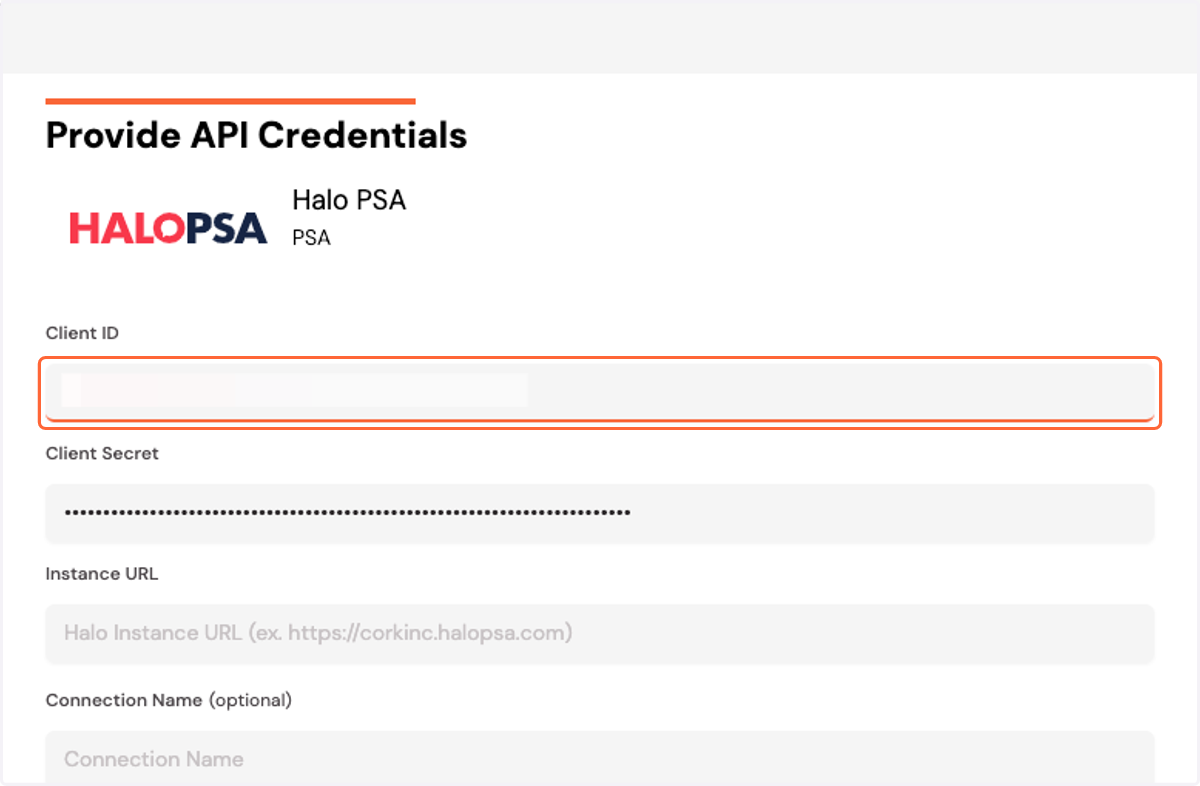
  1. 50. Paste your Client ID

    Paste your Client ID
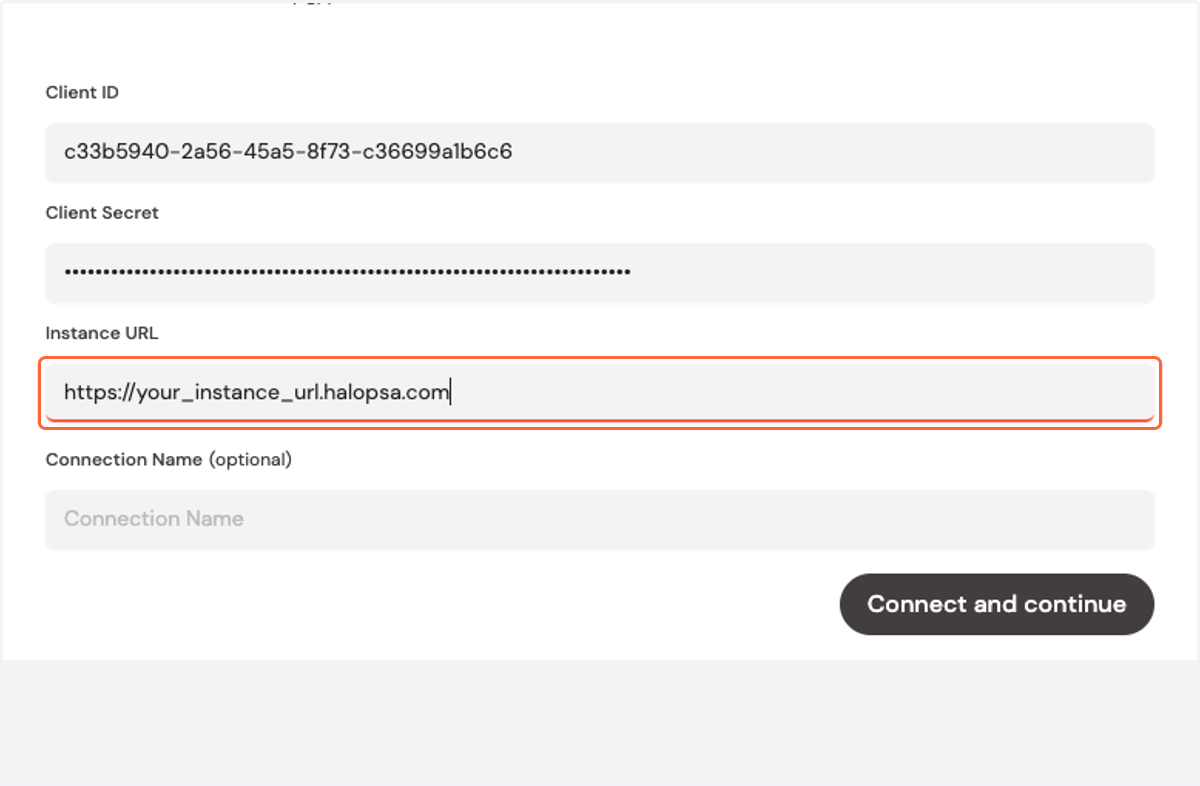
  2. 51. Enter your Halo Instance URL

    Enter your Halo Instance URL
  3. 52. Click "Connect and continue"