Fast DTR Contractor Guide
Your step by step guide to BruntWorks Timekeeping System
Note: To make this walk through interactive, please download the Tango Chrome Extension from https://chromewebstore.google.com/
Just click on each step and it will direct you to the website/s you need to visit and do the task along with the instructions!
If you need help in downloading the Tango Chrome Extension, you can check out this video: https://drive.google.com/file/d/1tnj-T8efzc2meVuZAc_LA4PlfxXDBYph/view?usp=sharing
Fast DTR | Sign In
1. Sign in with your BruntWork email address
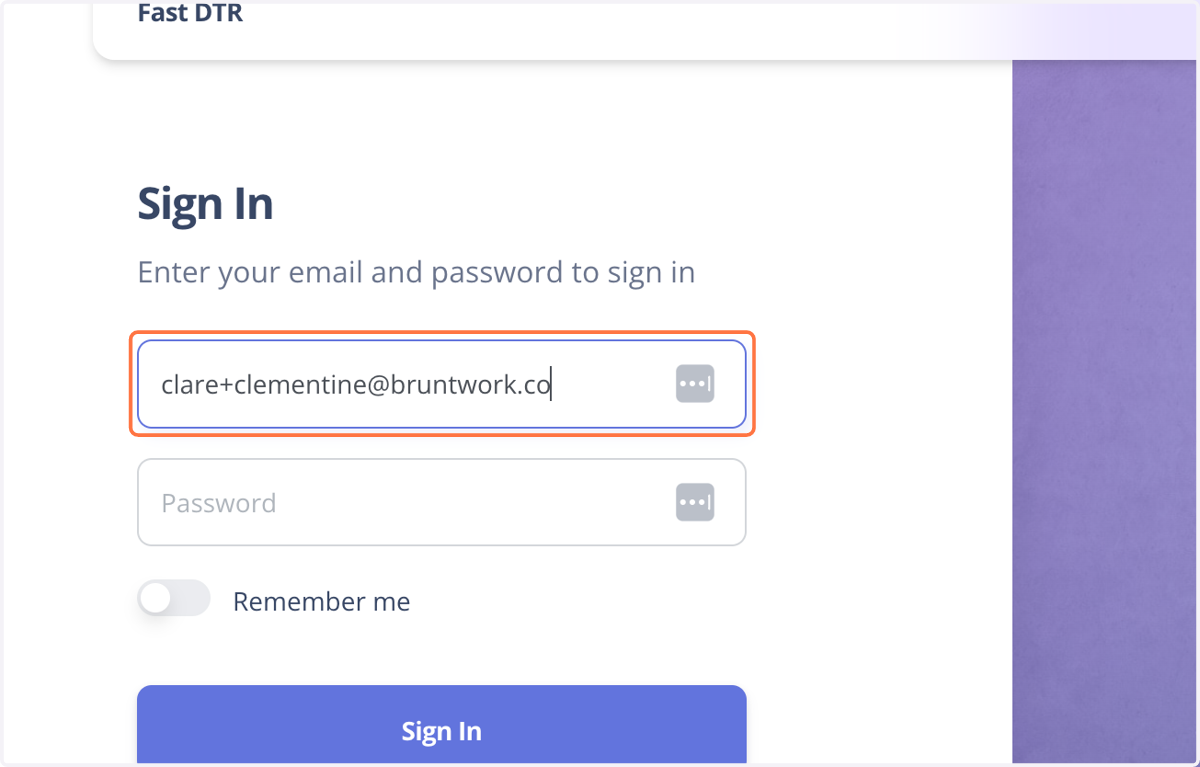
2. Type password
Forgot your password or getting an error message that you have the wrong one?
Click on "Click here" so you can receive a new password in your BruntWork email.
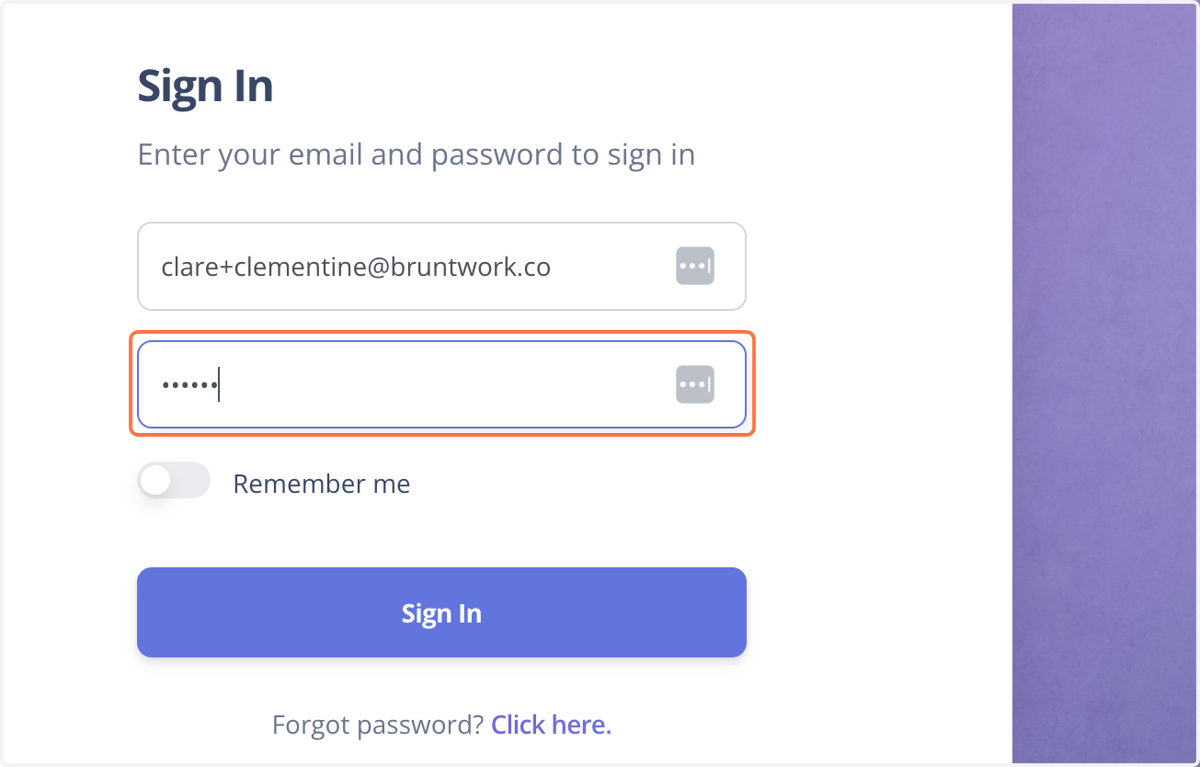
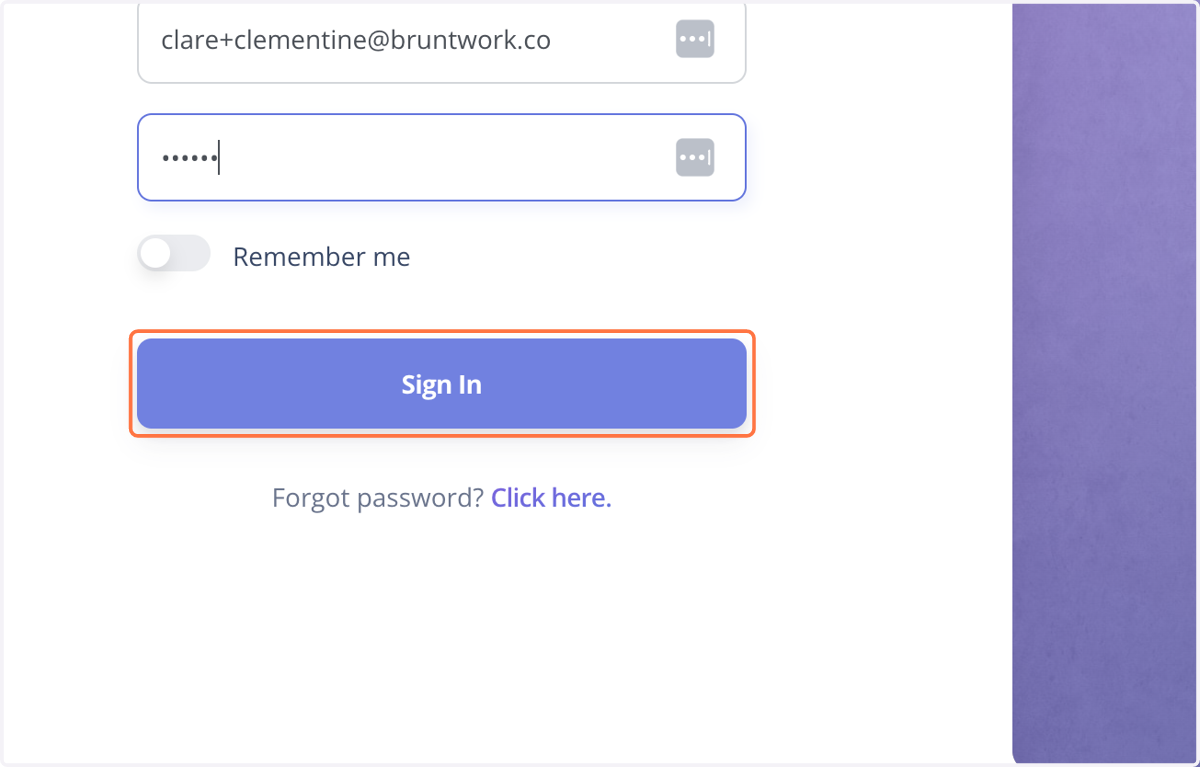
3. Click on Sign In
FAST DTR Interface
4. This is your Fast DTR Interface, you will automatically be in your Dashboard once you've signed in.
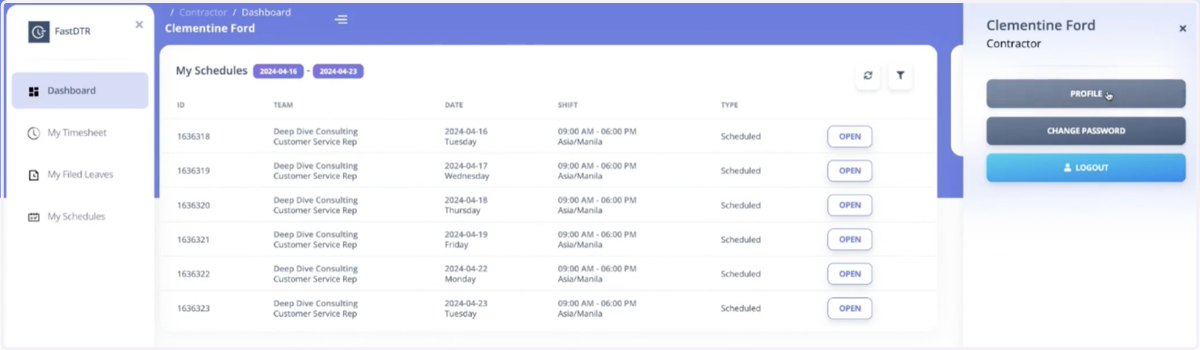
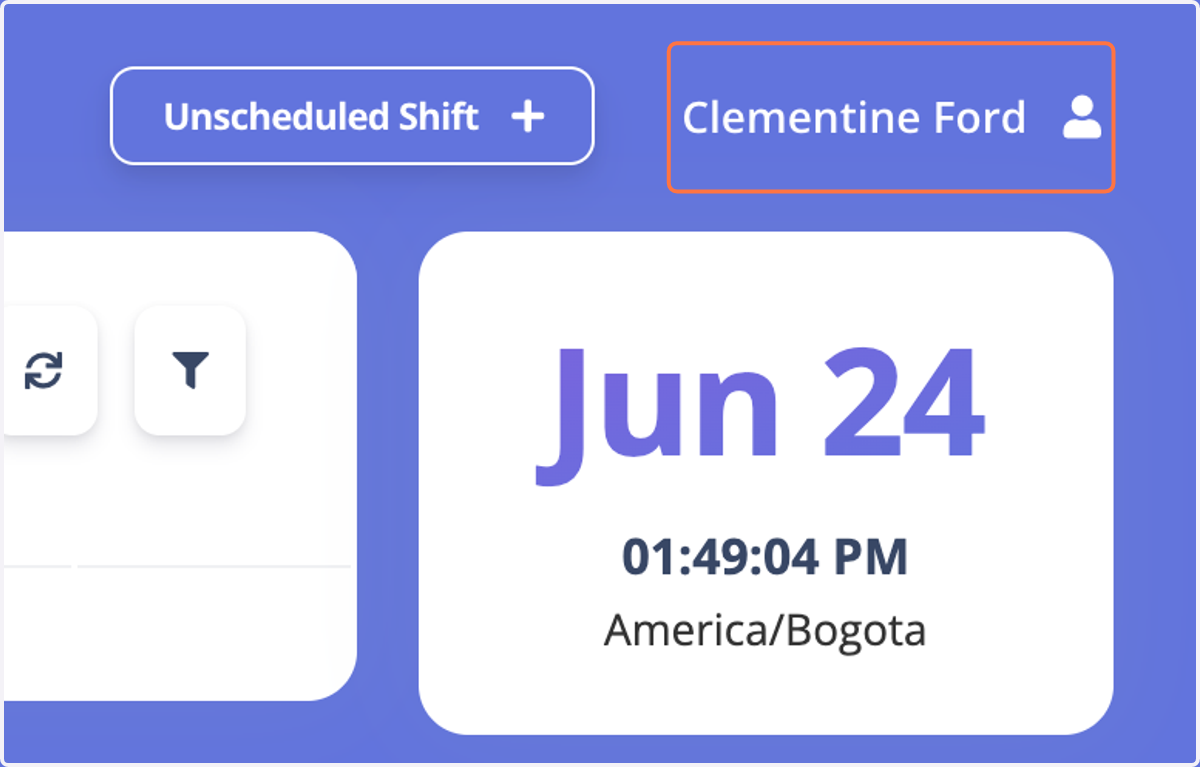
5. On the righthand corner of your Fast DTR interface, click on your name
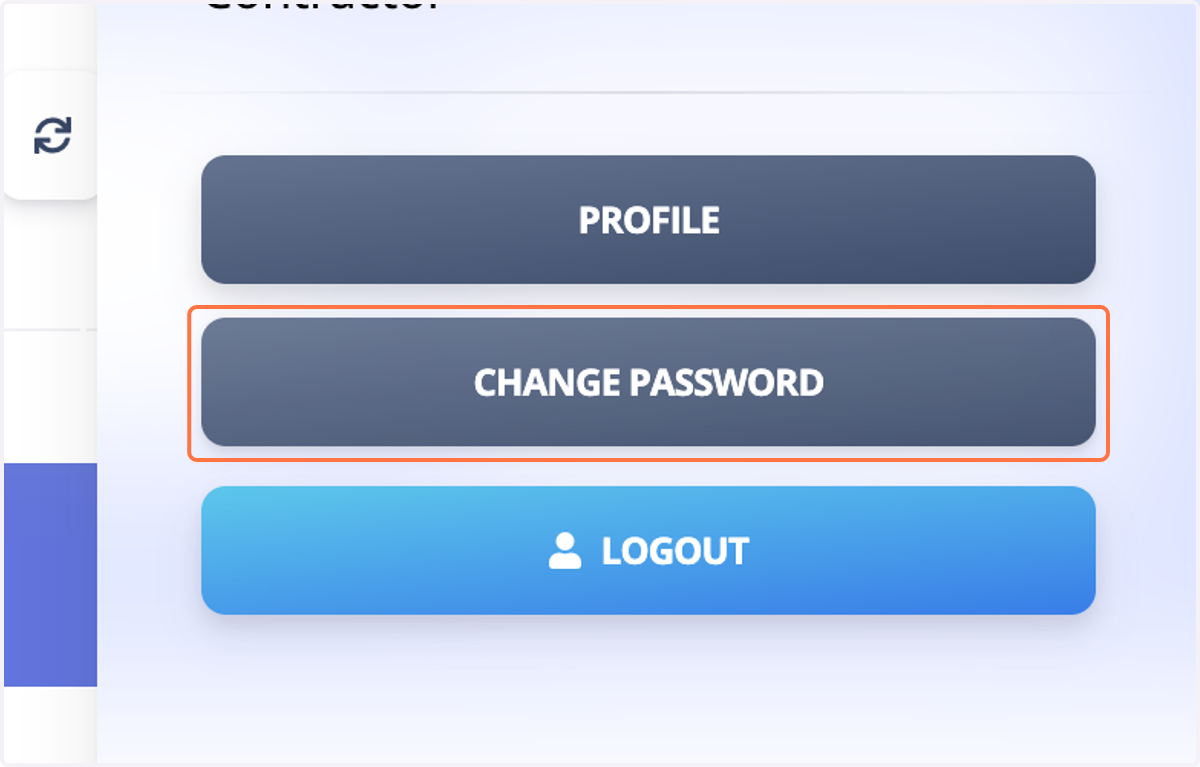
6. In here, you can change your Password. For security purposes, please change your password on your first sign in.
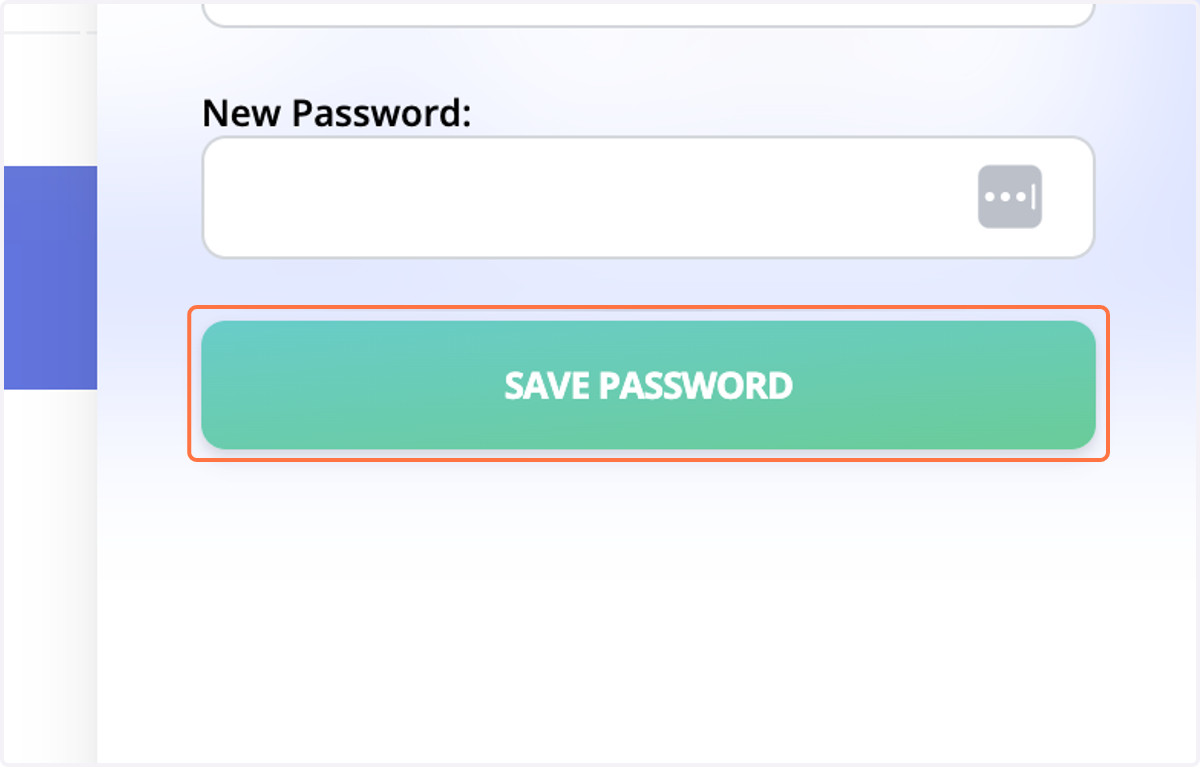
7. Save your Password
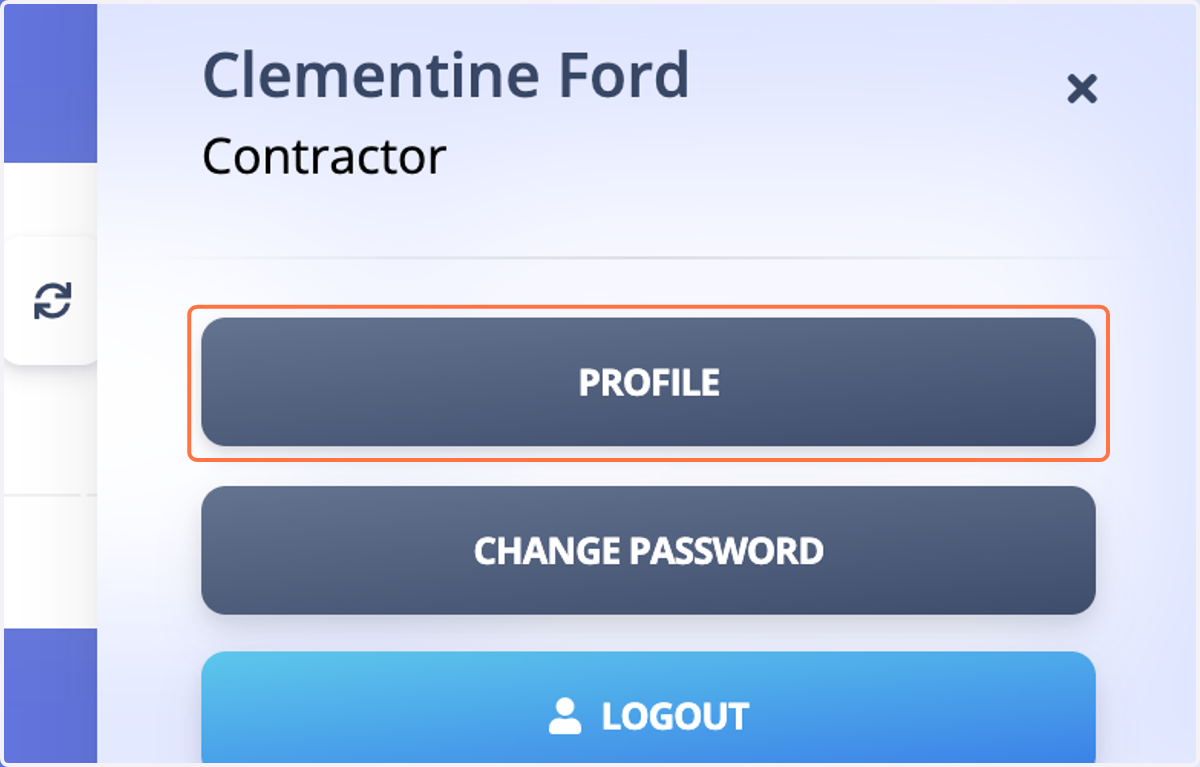
Profile Tab
8. Upon clicking your name, you will see your Fast DTR Profile
9. To show how to navigate the "Profile" button, you may click the link (or copy the link to a different browser) of this video tutorial: https://drive.google.com/file/d/1z5rfLj_PeenH2zSYRNltUpMlDeRip2DV/view?usp=sharing You can read the instructions below as well:
In the User Profile section, you can:
1. Change the Timezone to your preference. The default settings is Asia/Manila.
2. Change your email address
a. The default is your BW email and you can change it to your personal email by clicking the option to "Use personal email" This option is the best one so you can easily see your Fast DTR notifications.
b. In your preferred email address, you will get the following alerts:
when it's time to clock in or out
whenever your timesheets, or leaves get approved, created, deleted, modified or restored.The options to receive these notifications should be turned on.
3. Always, click the Save Profile for the changes/updates to apply.
Dashboard
The Dashboard is where you can see your schedule, and where you can clock in and out. This is the first thing you'll see upon logging in to Fast DTR
10. To show how to navigate the "Dashboard" button, you may click the link (or copy the link to a different browser) of this video tutorial: https://drive.google.com/file/d/1KzdkVulJWXboIAbs6KSkW0mbh-gZPOoC/view?usp=sharing You can read the instructions below as well:
To clock in:
Click the open button of the schedule you are supposed to time in, click "Time in"
It will let you know that you've timed in successfully (At this time, it is ok to close the browser if you prefer to)
Note: You will not be able to time in to previous schedules and only the the ones which apply for the day can be opened.
Once you've timed in to a shift, the options are:
Break out (Click this - and it will time your break until you get back)
Break In (Click this - and it will stop the timer when you went on break)
Time out (Click this to end your day - it will automatically take you to the "My Timesheets" tab so you can view your timesheet for the day
My Timesheet
My Timesheet is where you can see all the records or your Shift History of the timesheets which you have logged in to.
11. Click on "My Timesheet"
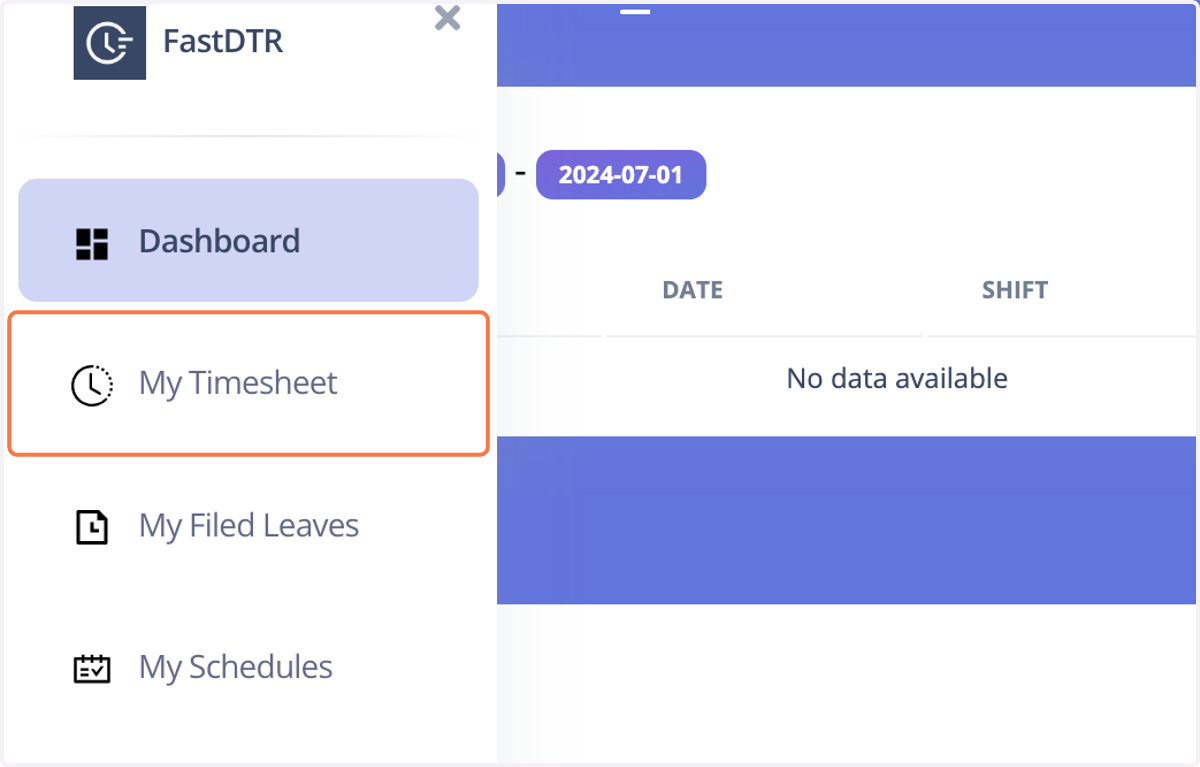
12. To show how to navigate the "My Timesheet" button, you may click the link of this video tutorial: https://drive.google.com/file/d/1KzdkVulJWXboIAbs6KSkW0mbh-gZPOoC/view?usp=sharing You can read the instructions below as well:
After clocking out, you will always be directed to this tab. In here, you will be able to see:
ID - this is a unique ID of the timesheet for your and your SSPs/Managers reference
Name
Planned - How many hours are planned for the specific timesheet
Rate - How much you get paid for the hour
Estimated payment - This is an unrounded amount which is subject to change depending if the SSP/Manager will change/modify the timesheets (ex: Change the # of minutes or hours in the timesheet)
If you click any timesheet open, you will open a window to your right that has every information logged about the timesheet you have opened for your reference.
My Filed Leaves
This is where you can see all the leaves you have filed for (historical or future dated), it is also where you can apply for a leave.
13. Click on My Filed Leaves
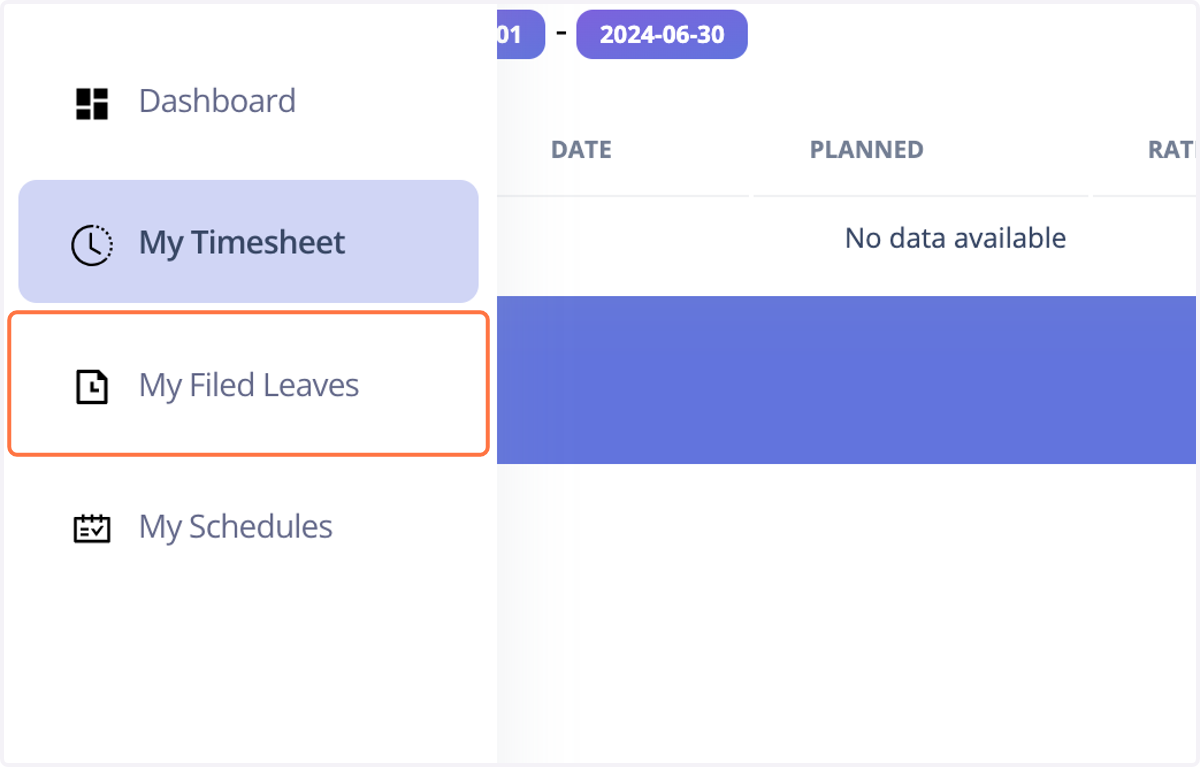
14. To show how to navigate the "My Filed Leaves" button, you may click the link of this video tutorial: https://drive.google.com/file/d/1of8l9wlASziFkLg9hfs7a3LhIi1SWedP/view?usp=sharing You can read the instructions below as well:
To apply for an unpaid leave:
Click on the + button at the upper righthand corner.
Select the "Leave Type" in the drop down menu:
Scheduled shift - select this for a specific shift (You can check the selected shift/s below under My Schedule)
Date Range - if the leaves you will file will be for a specific consecutive days
Whatever the Leave Type you will file, you have to select the "Reason" from the drop down menu.
If you have different clients, all clients will show up in your list, and you have to select the one you are applying the leave for under "Team"
Click Submit
You will be able to see your filed leaves in the list along with the following information:
ID - the unique ID of the leave you filed for your and your SSPs/Managers reference
Team - your client
Date - the date you indicated when you filed the leave
Reason - the reason you indicated when you filed the leave
Status - if the leave is pending for approval or if it has been approved or declined
Filed by - if the leave was filed by you or your SSP/Manager
My Schedule
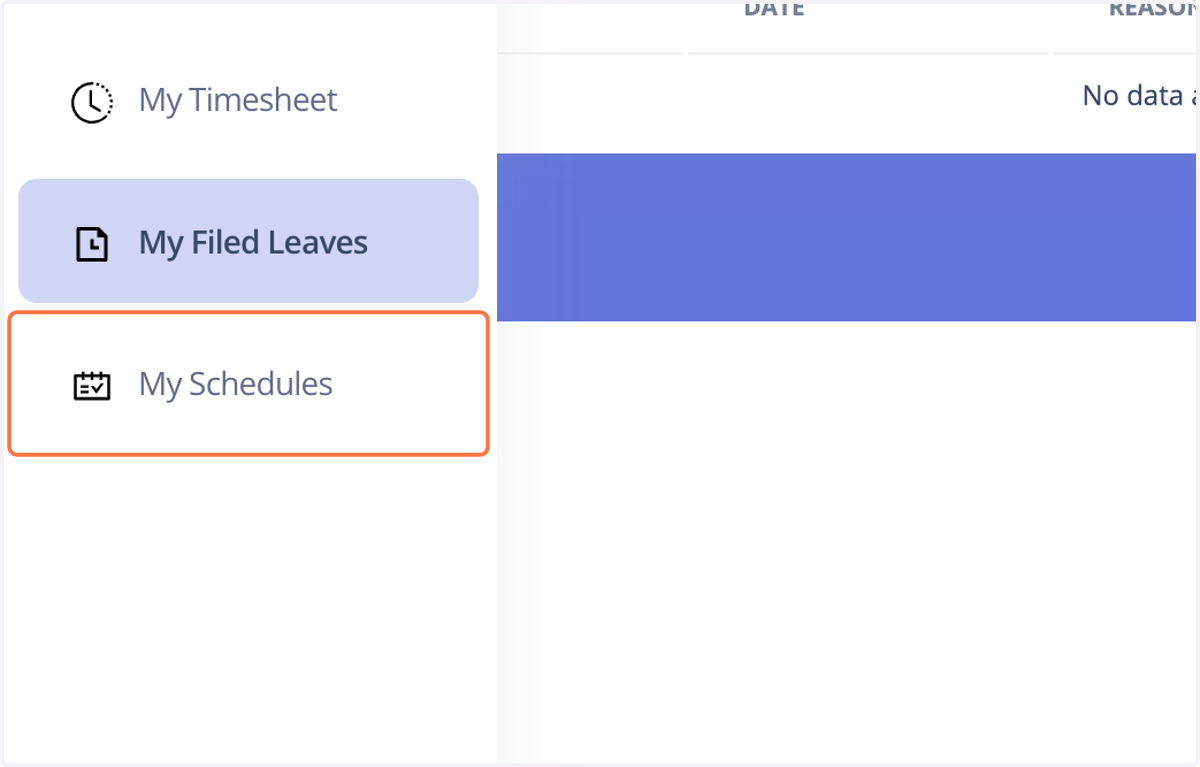
This is a tab where you can see your Schedules. This has the same view as the "Dashboard"
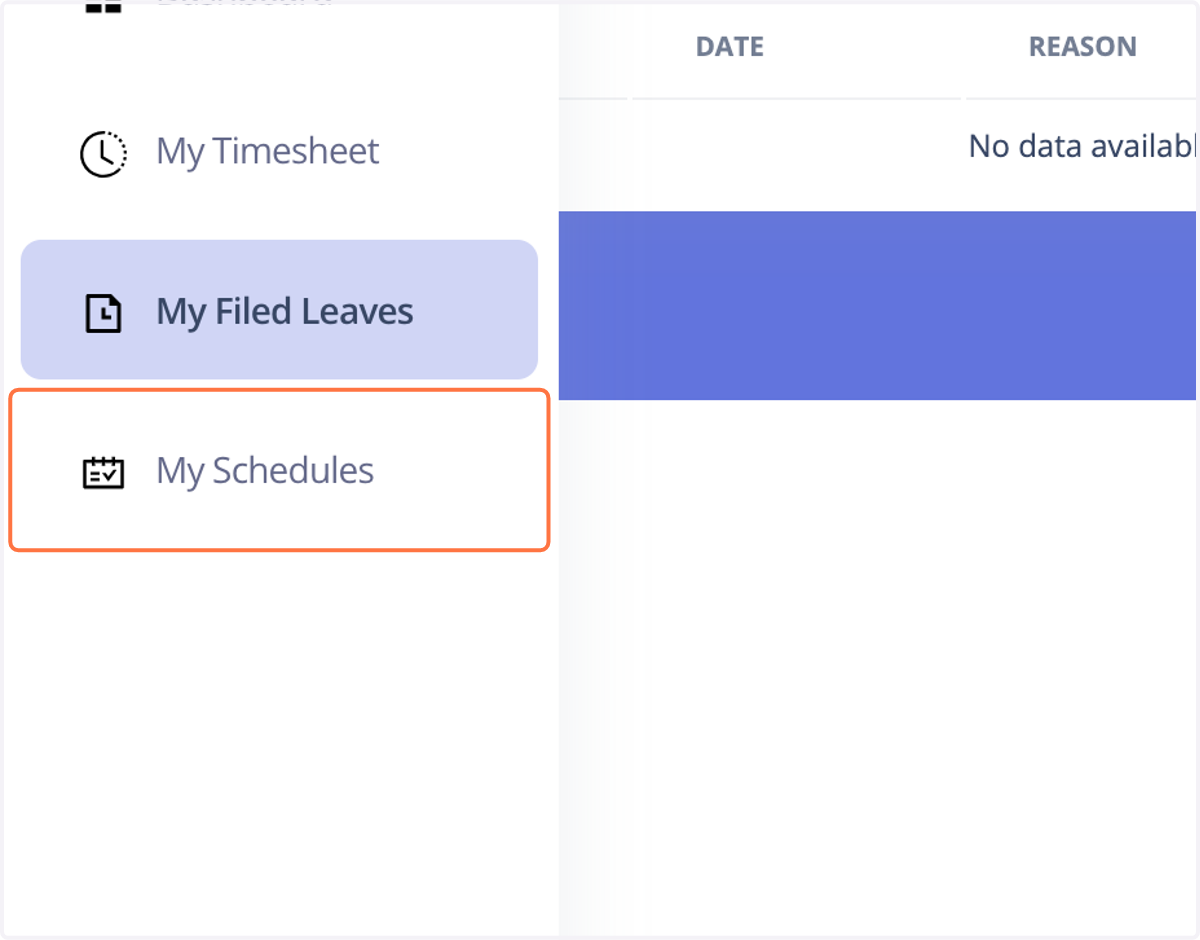
15. Click on My Schedules
In here, you will be able to see your schedule and if you have a leave (and its status) and all the necessary details for each of the schedule plotted for you.
Unscheduled Shift
If for any reasons that you need to log in and you cannot find the shift in your Dashboard and in your schedule because of the following:
Correct schedule has not been plotted by your SSP/Manager
You cannot log in in the shift you want to because of a technical issue or a bug
You are working additional hours
Then you can use the "Unscheduled Shift +" button
16. Click on Unscheduled Shift
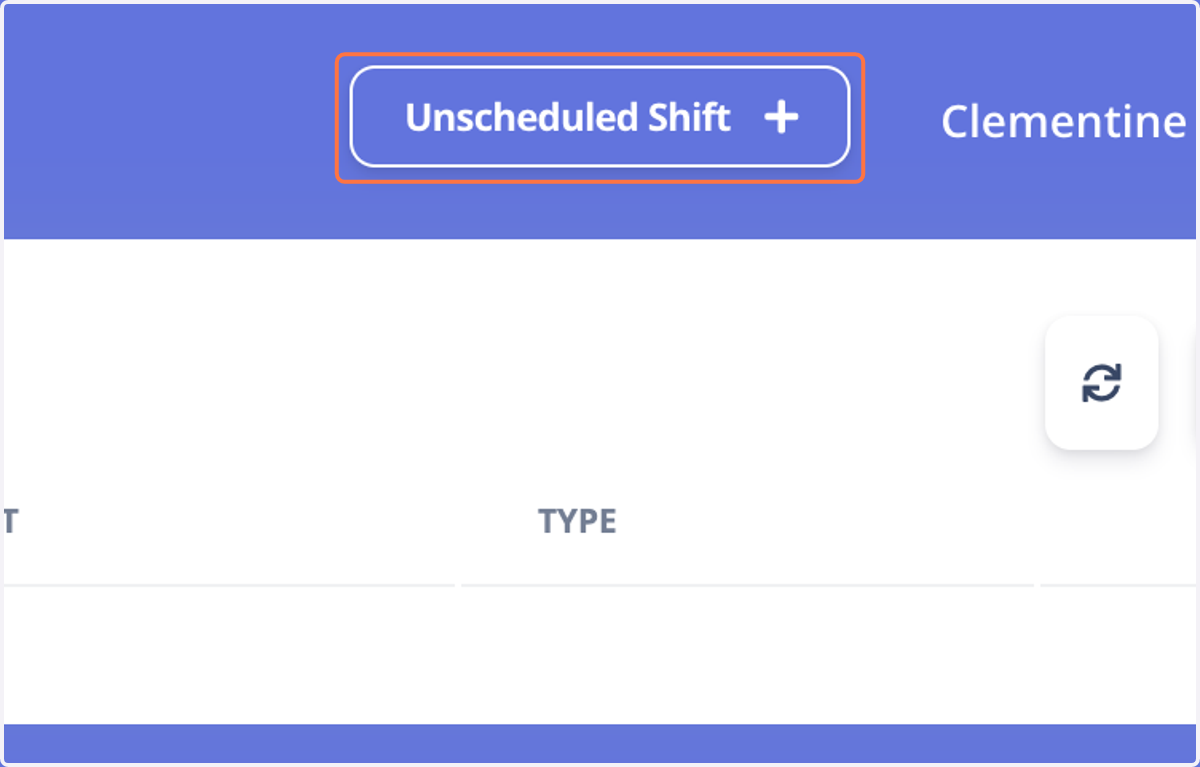
17. To show how to navigate the "Unscheduled Shift +" button, you may click the link of this video tutorial: https://drive.google.com/file/d/1ORKeA7pVs59ohEm1LnJh91NORFvVeJxm/view?usp=sharing You can read the instructions below as well:
Once you have clicked the 'Unschedule Shift +" button on the upper right hand corner, you will be given the option to:
Select the "Team" in the dropdown menu
Select the "Unscheduled Reason"
Im working additional hours
My shift has changed
There's an error with shift or system
Reminder: - For these reasons, you need to upload client approval, error, or shift change screenshot for proof for the Unscheduled Shifts to be approved by your SSP/Manager
Click on "Time in" and you will be be able to see the record of this shift in your 'Shift History"
Break out, Break in and Time out as per usual as you would do in your scheduled shifts.
Fast DTR Filters
Fast DTR has the ability to use the "Filter" feature for easier navigation and is available for all tabs you have in your Dashboard
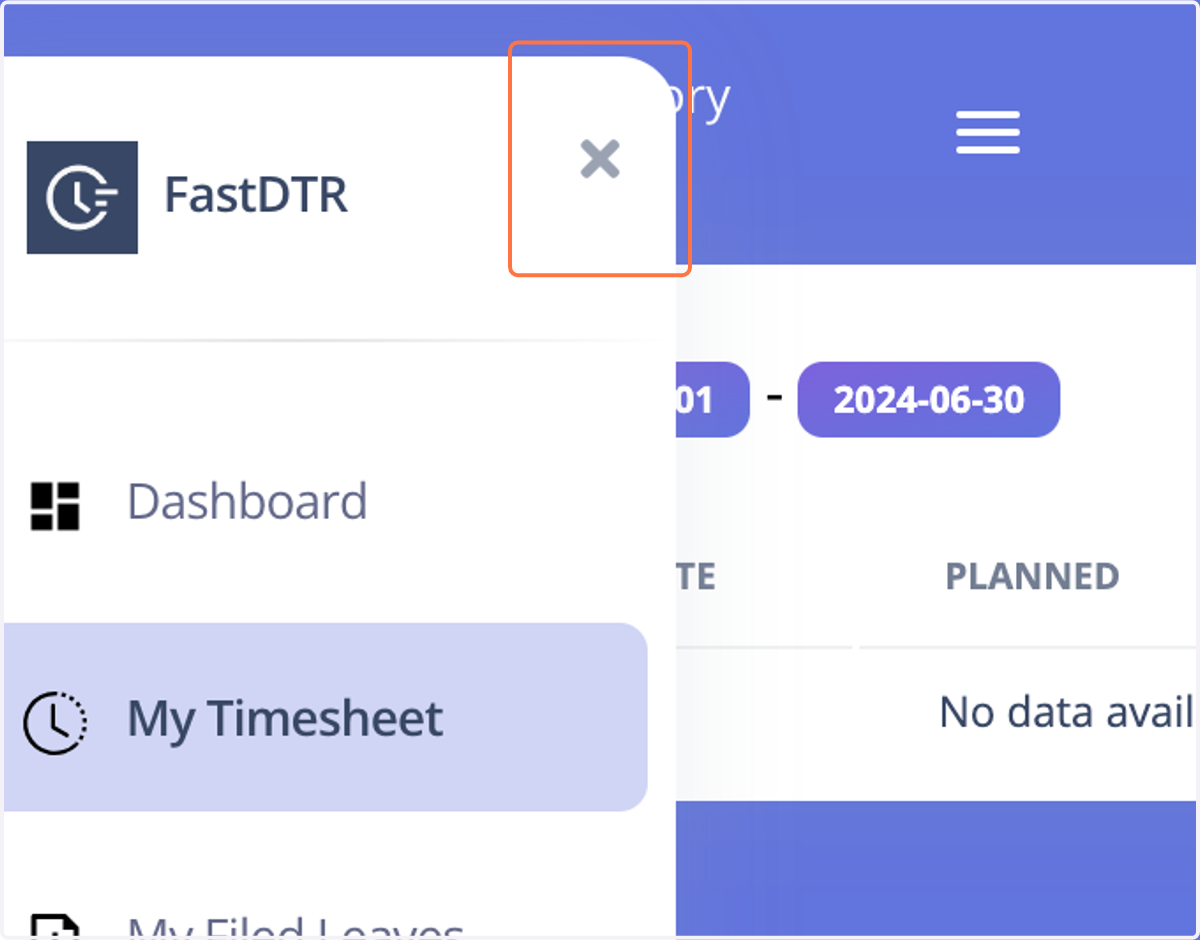
18. In My Timesheets
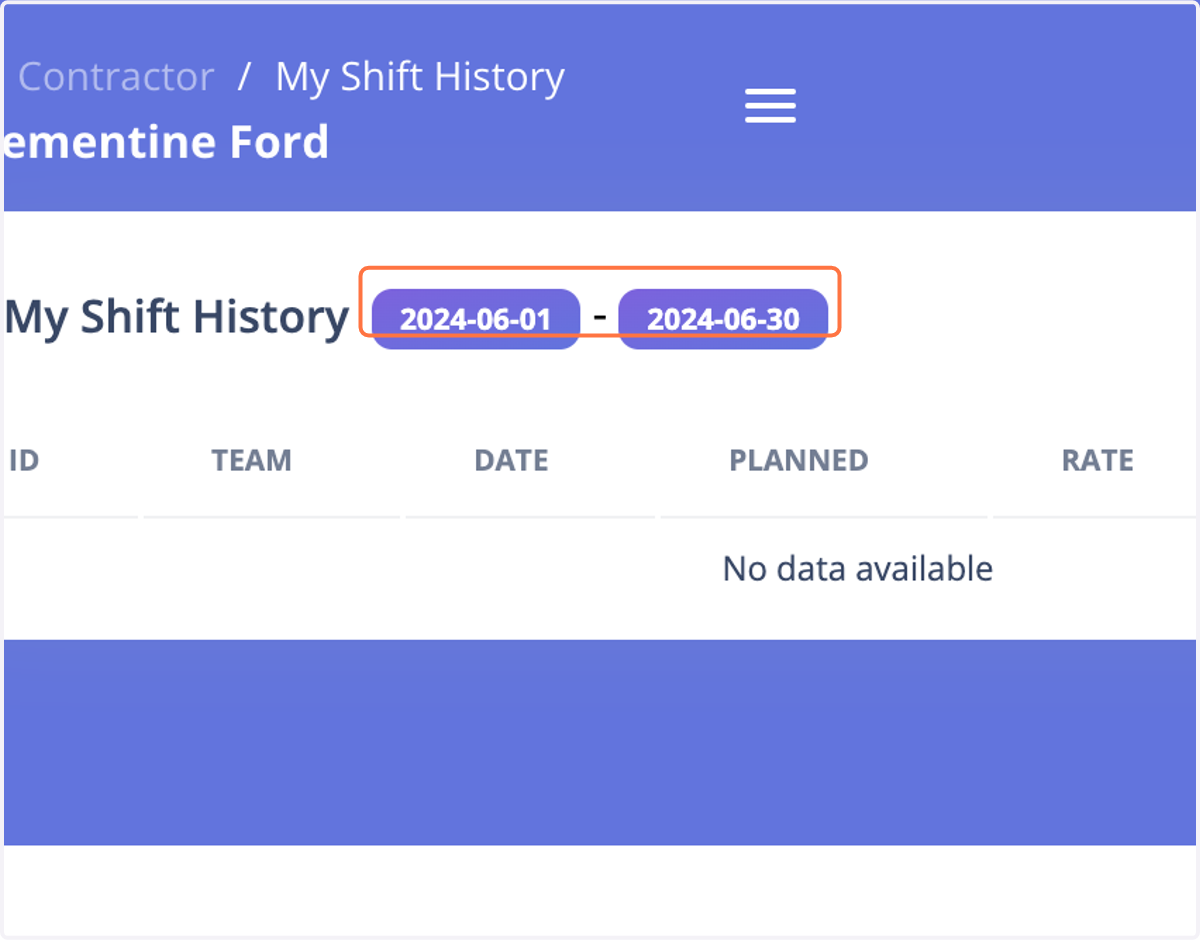
19. In your Shift History
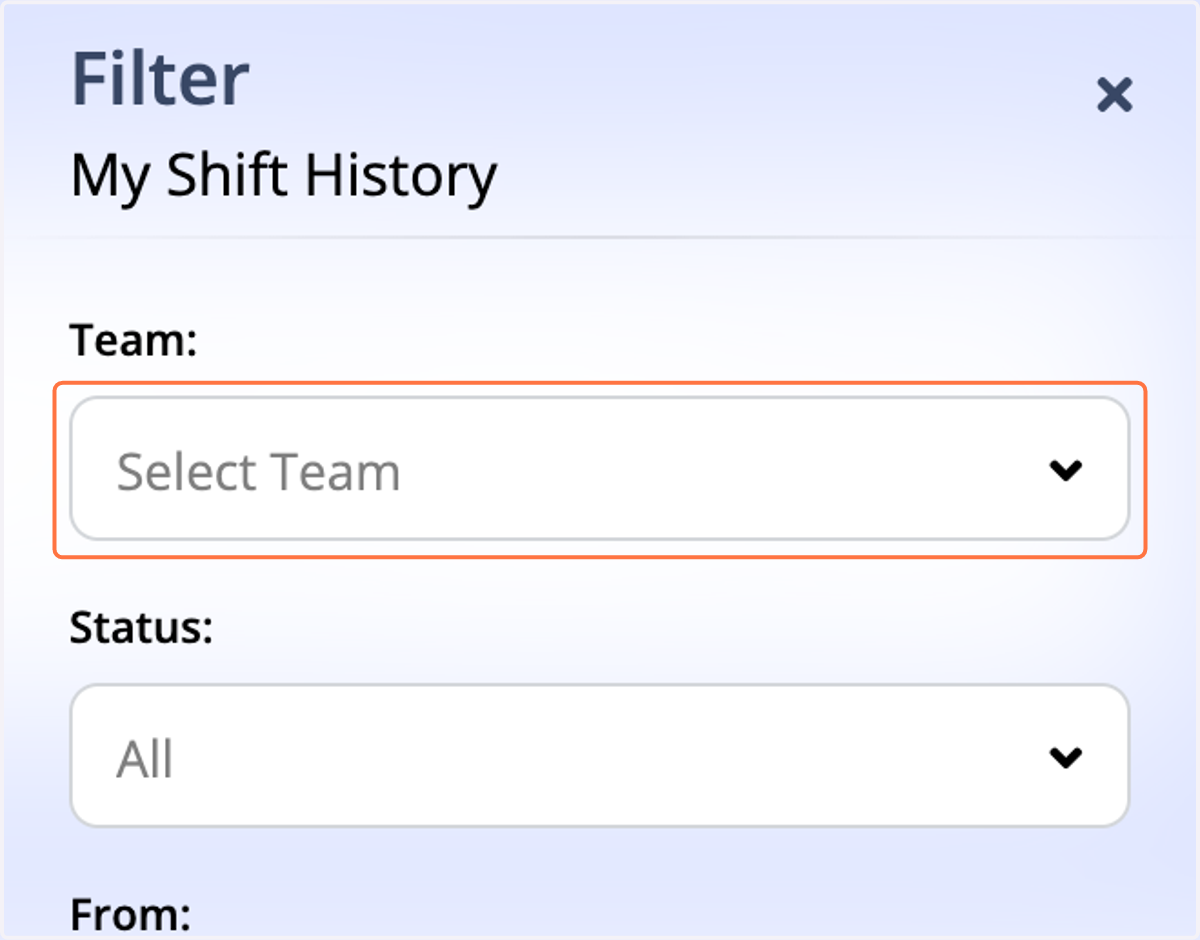
20. Click on Select Team
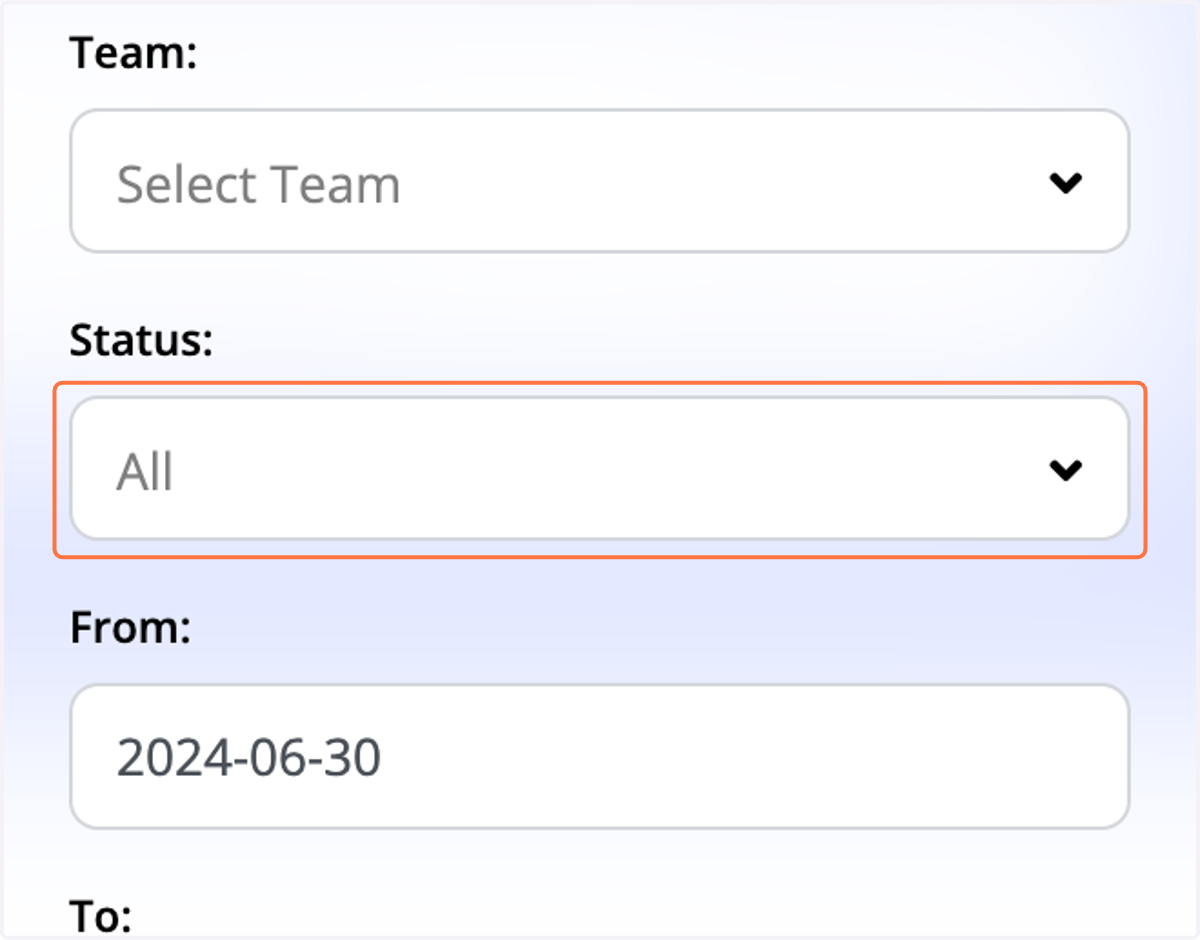
21. Click on All
22. Click on Please select a date
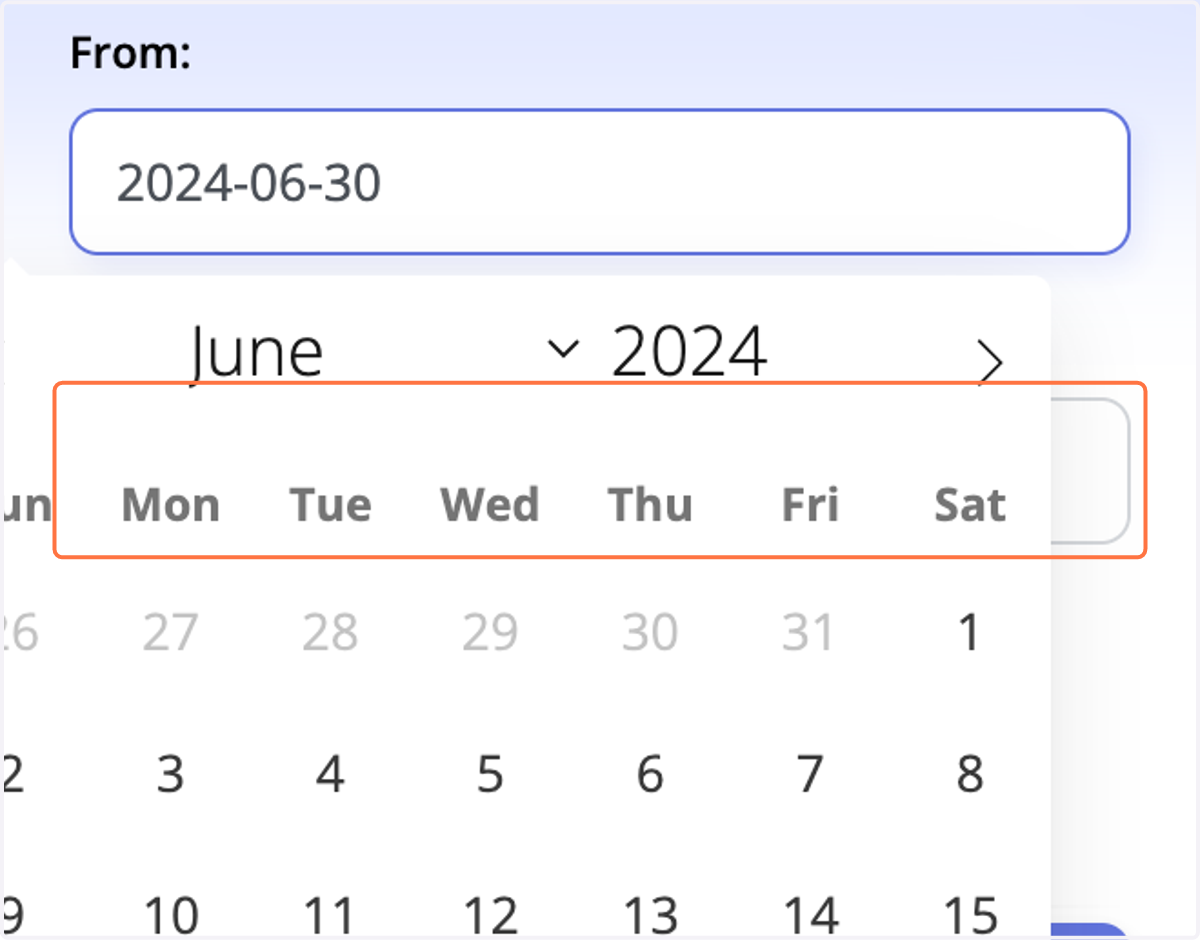
23. Click on highlight
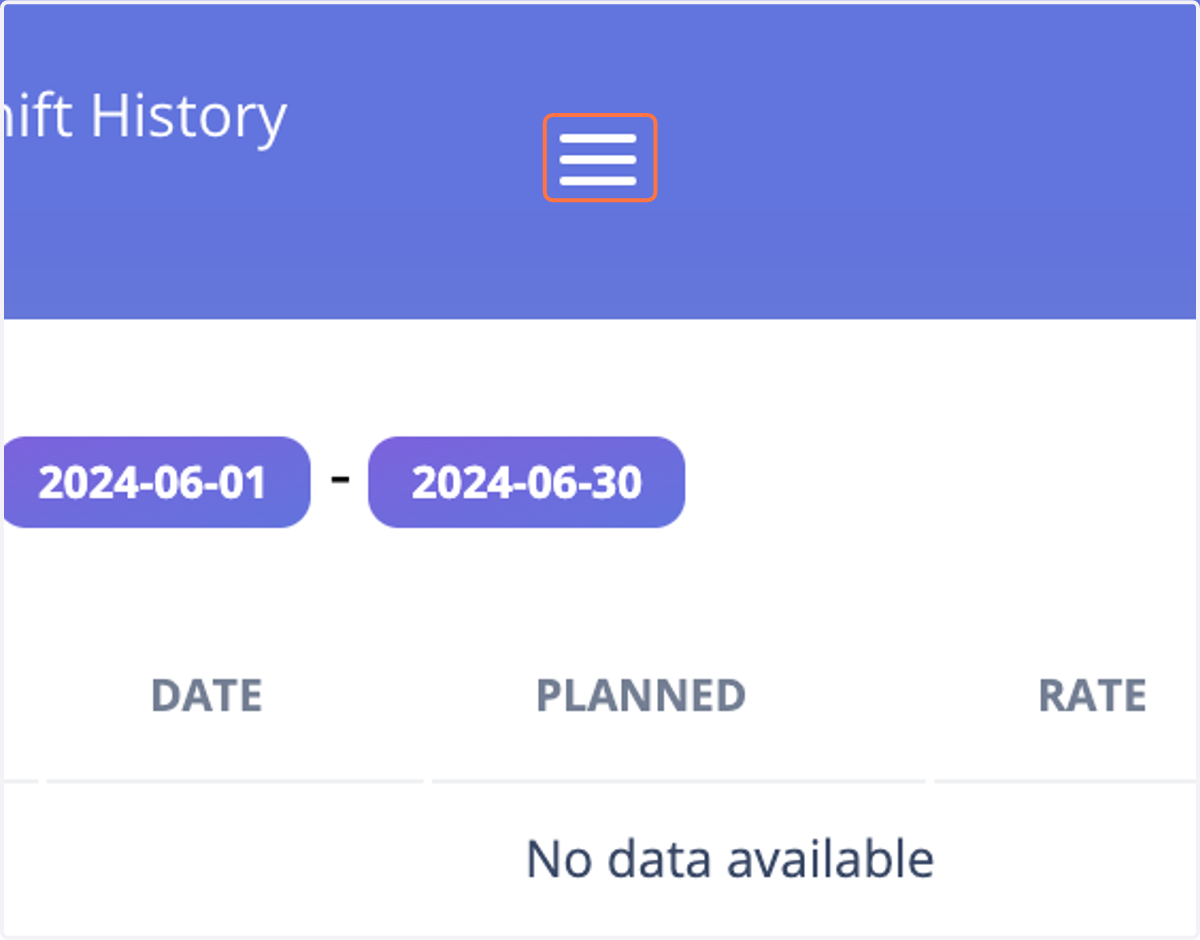
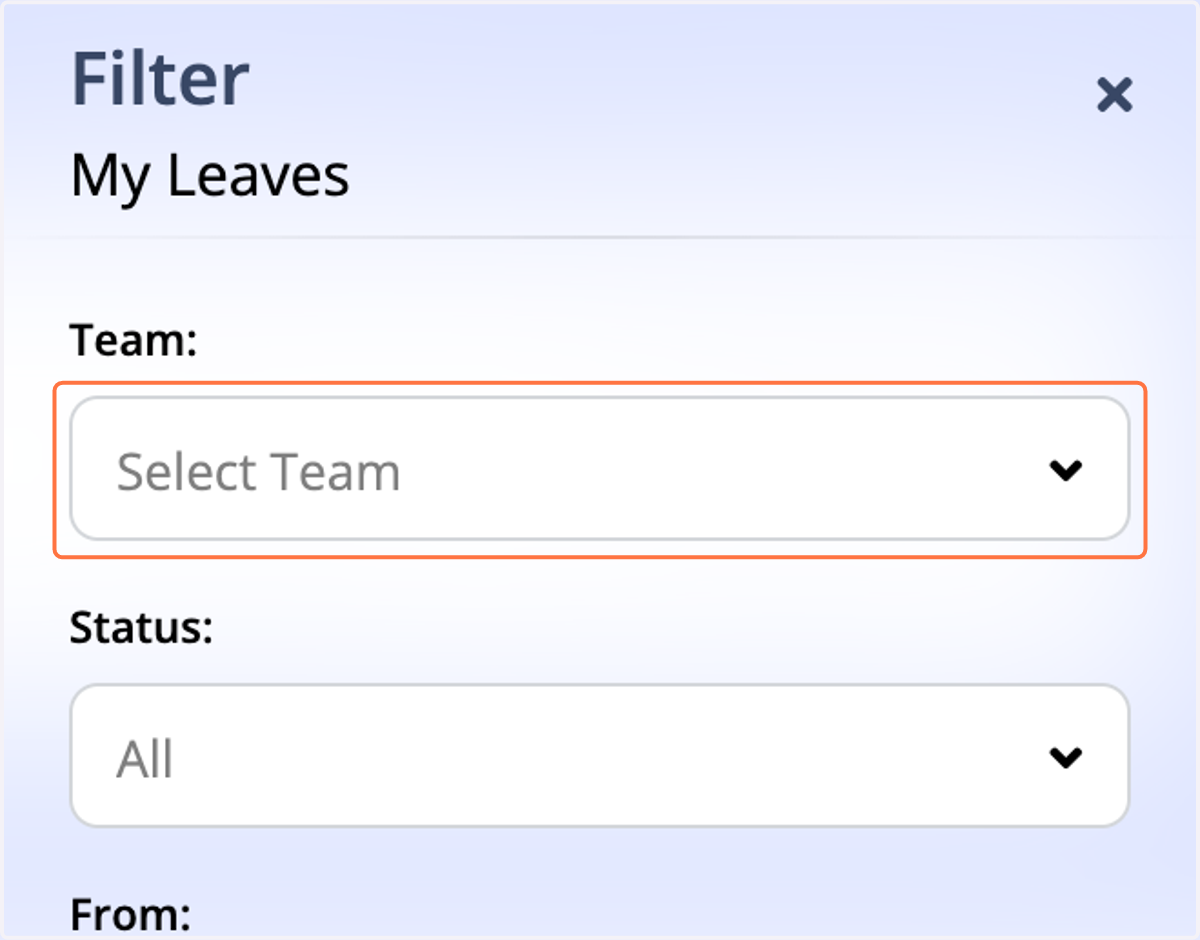
24. In My Filed Leaves
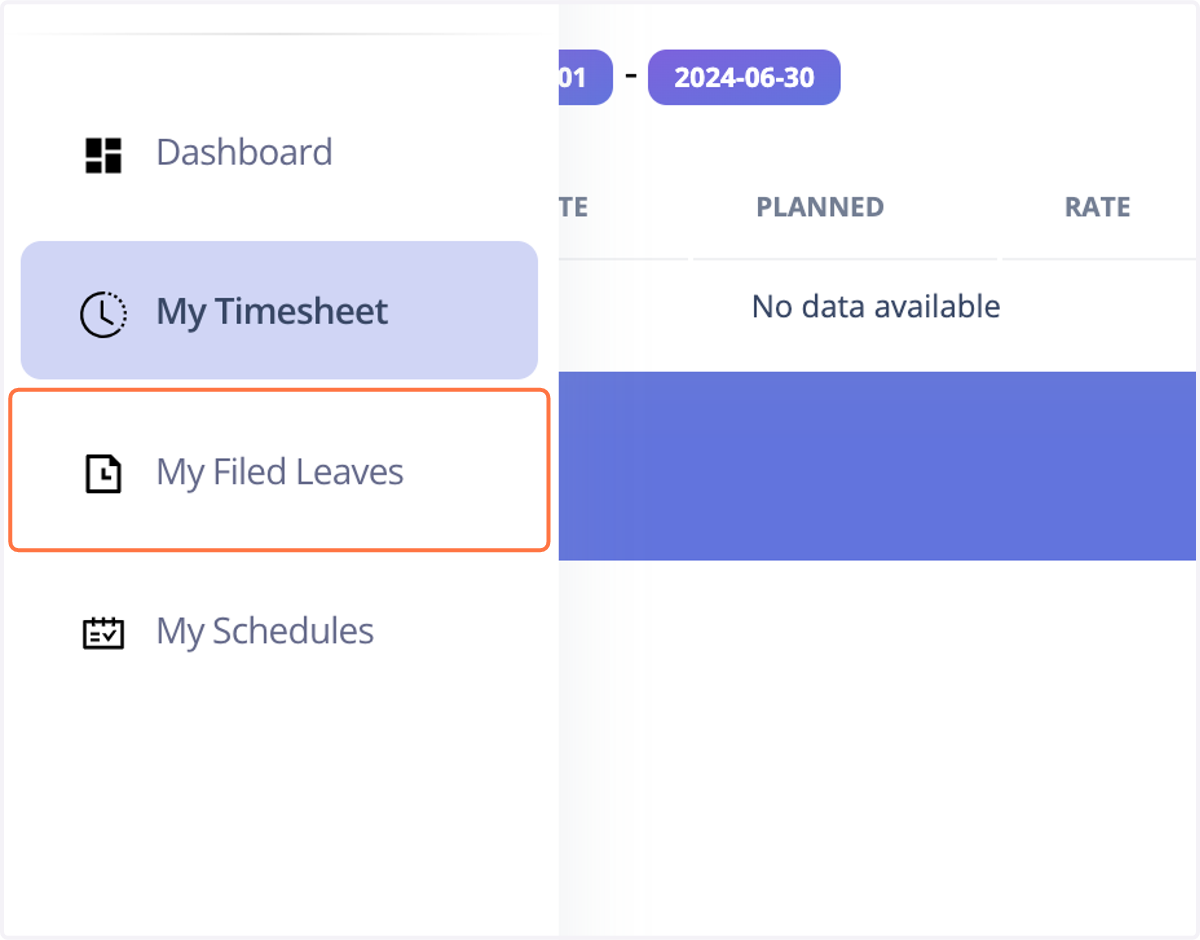
25. Click on My Filed Leaves…
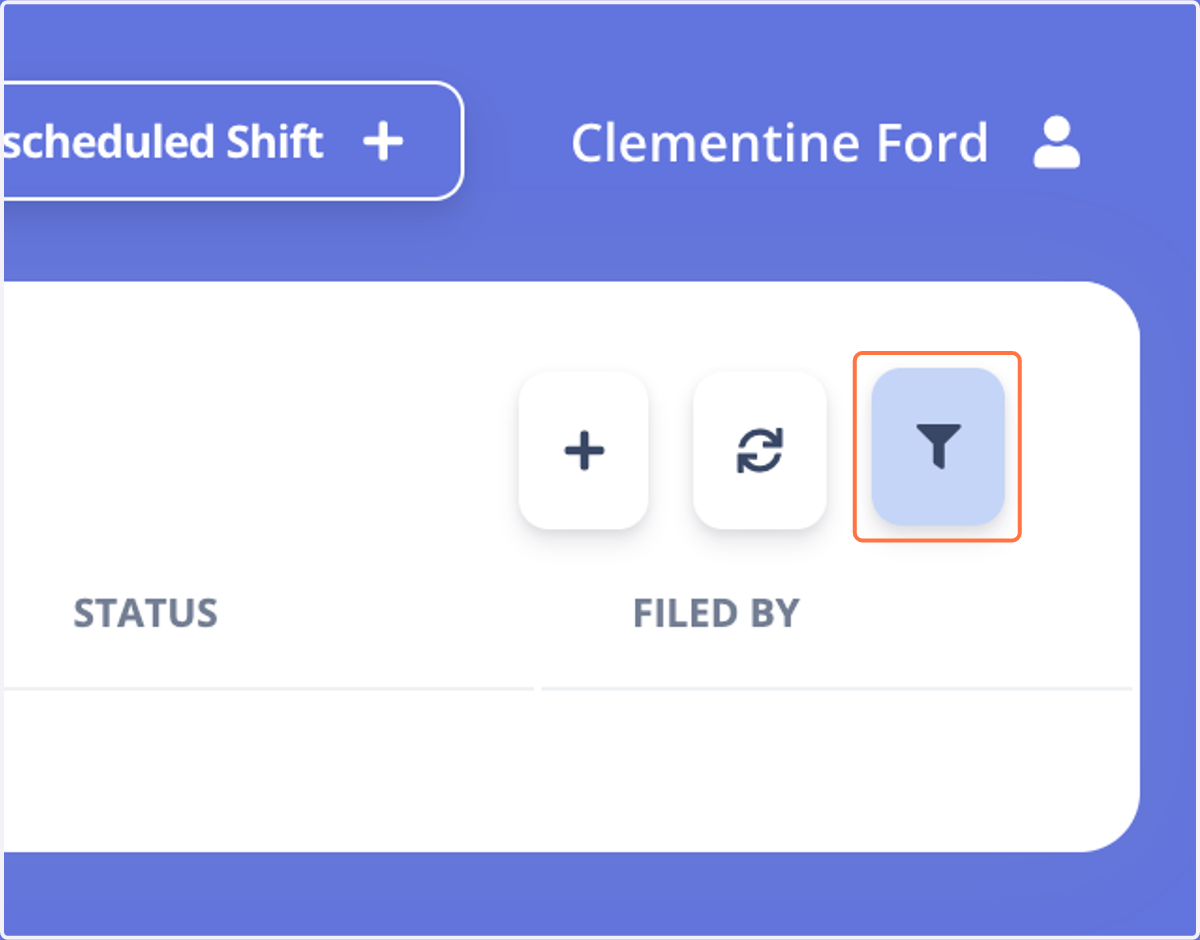
26. Click on Select Team
27. And in My Schedules
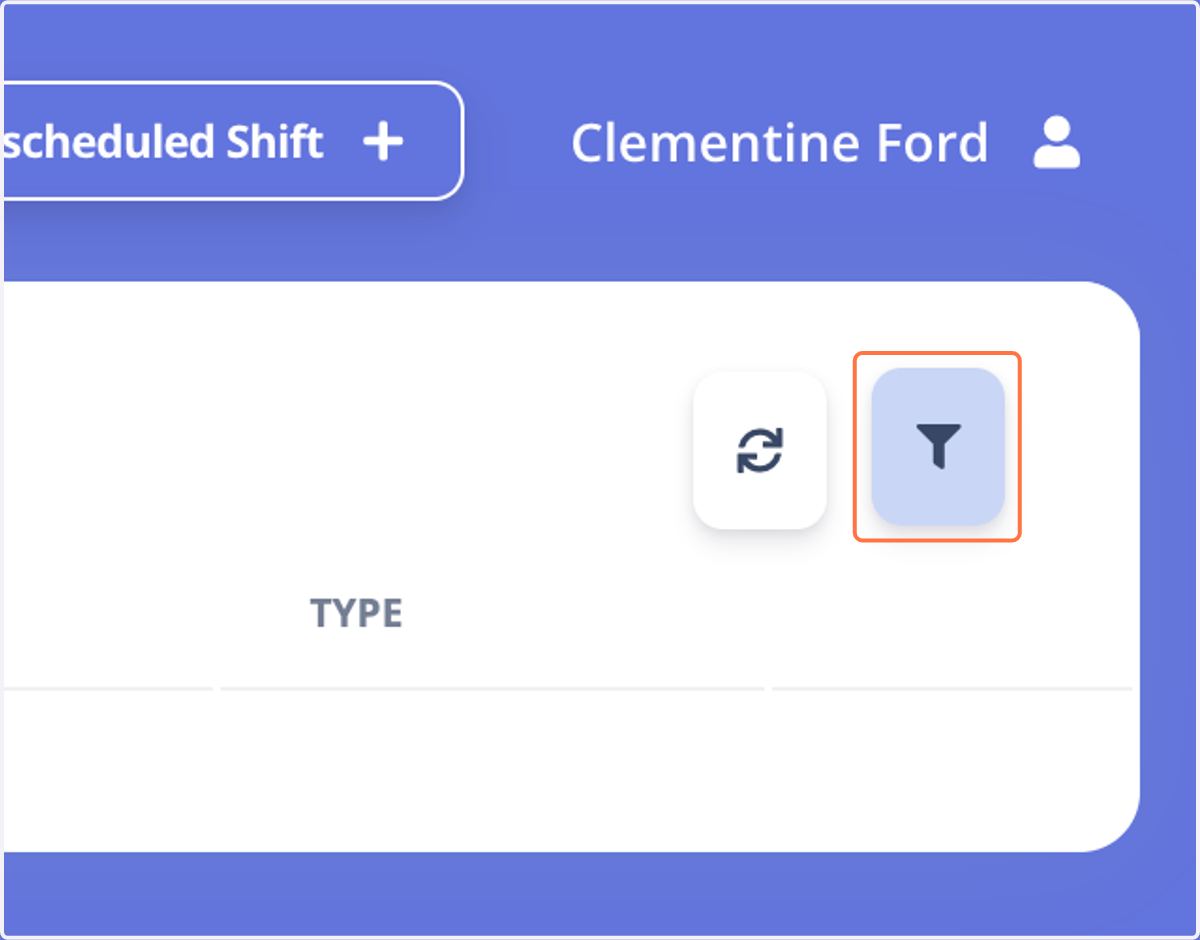
28. You can either click on the funnel symbol to filter
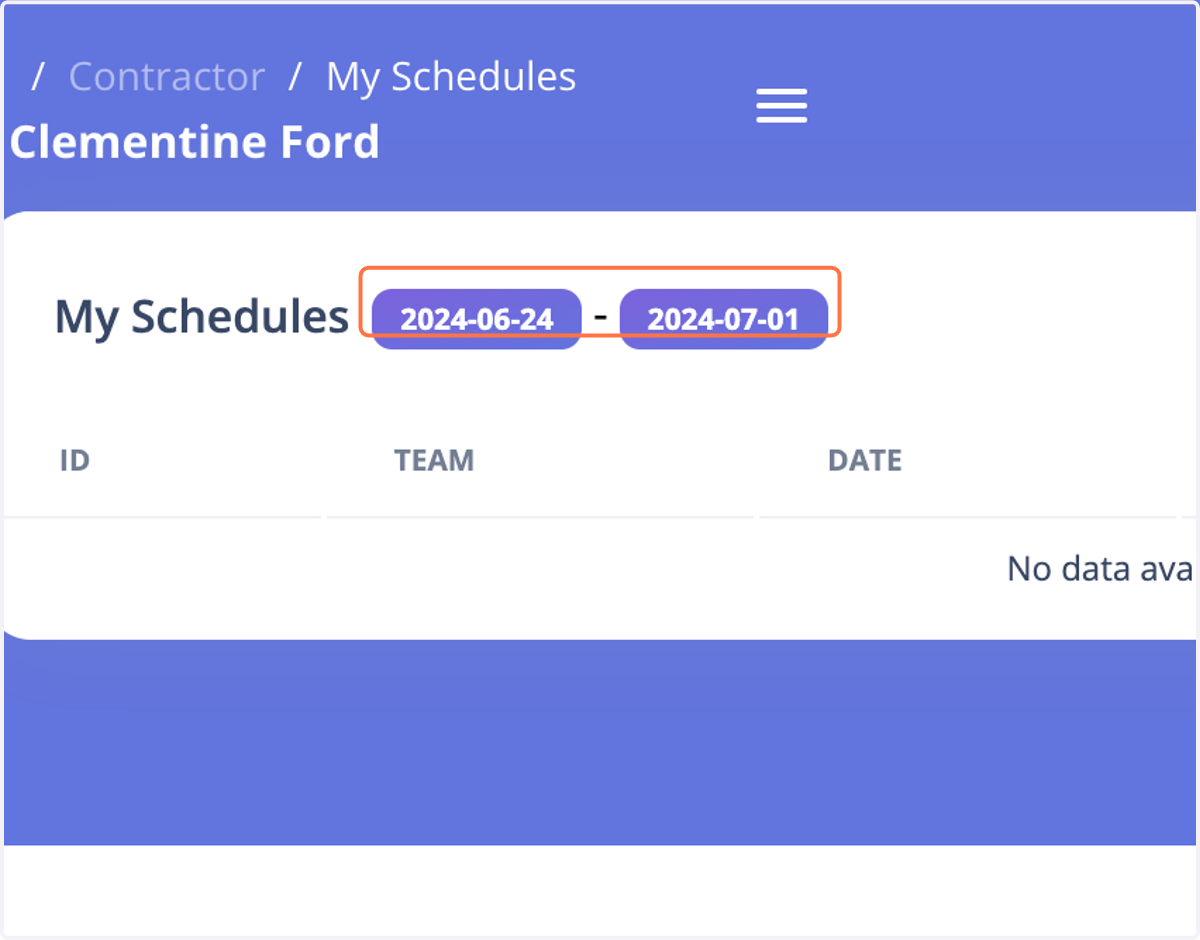
29. Or you can click on the dates in the dashboard
Troubleshooting Steps
Need help with some errors you're encountering? We got you! Just follow the steps below:
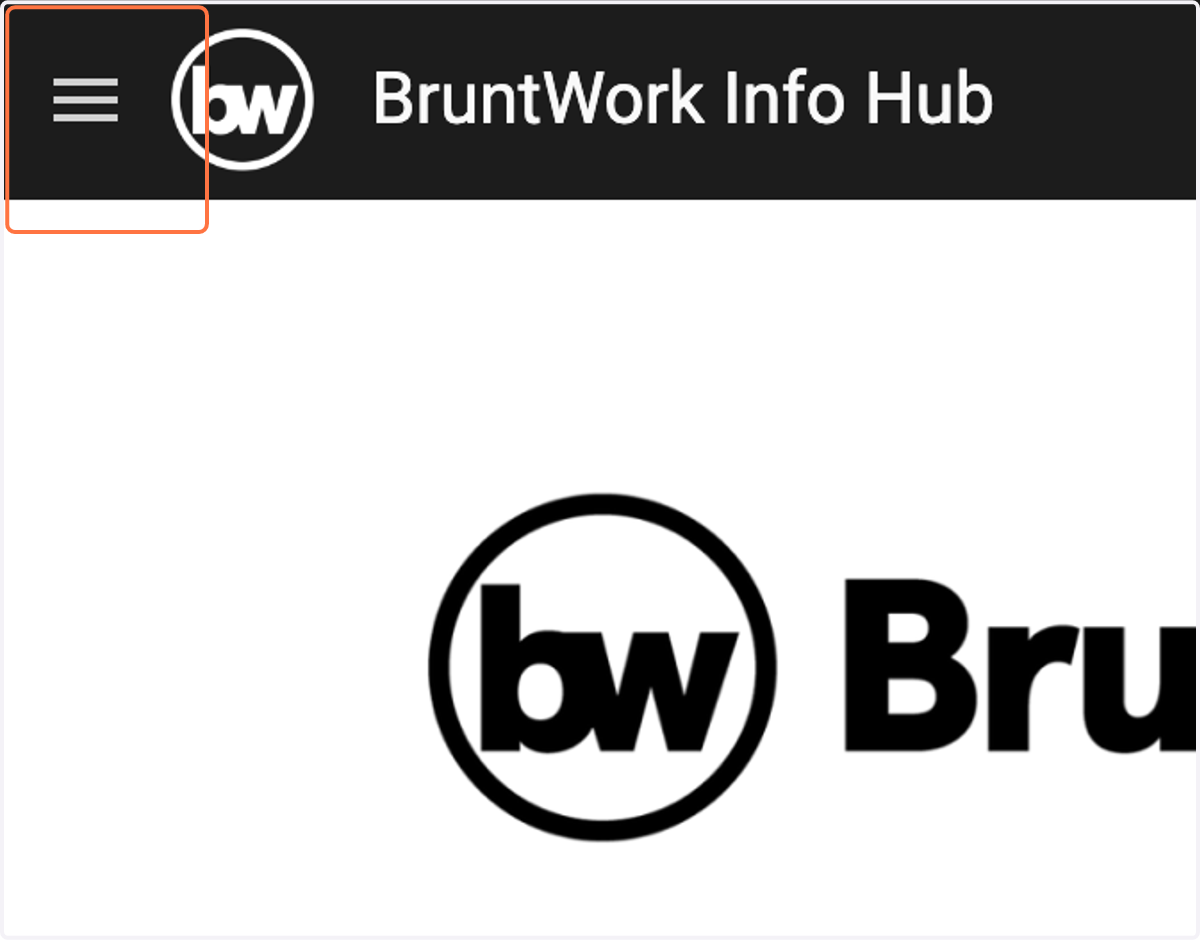
BruntWork Info Hub
30. Click on button
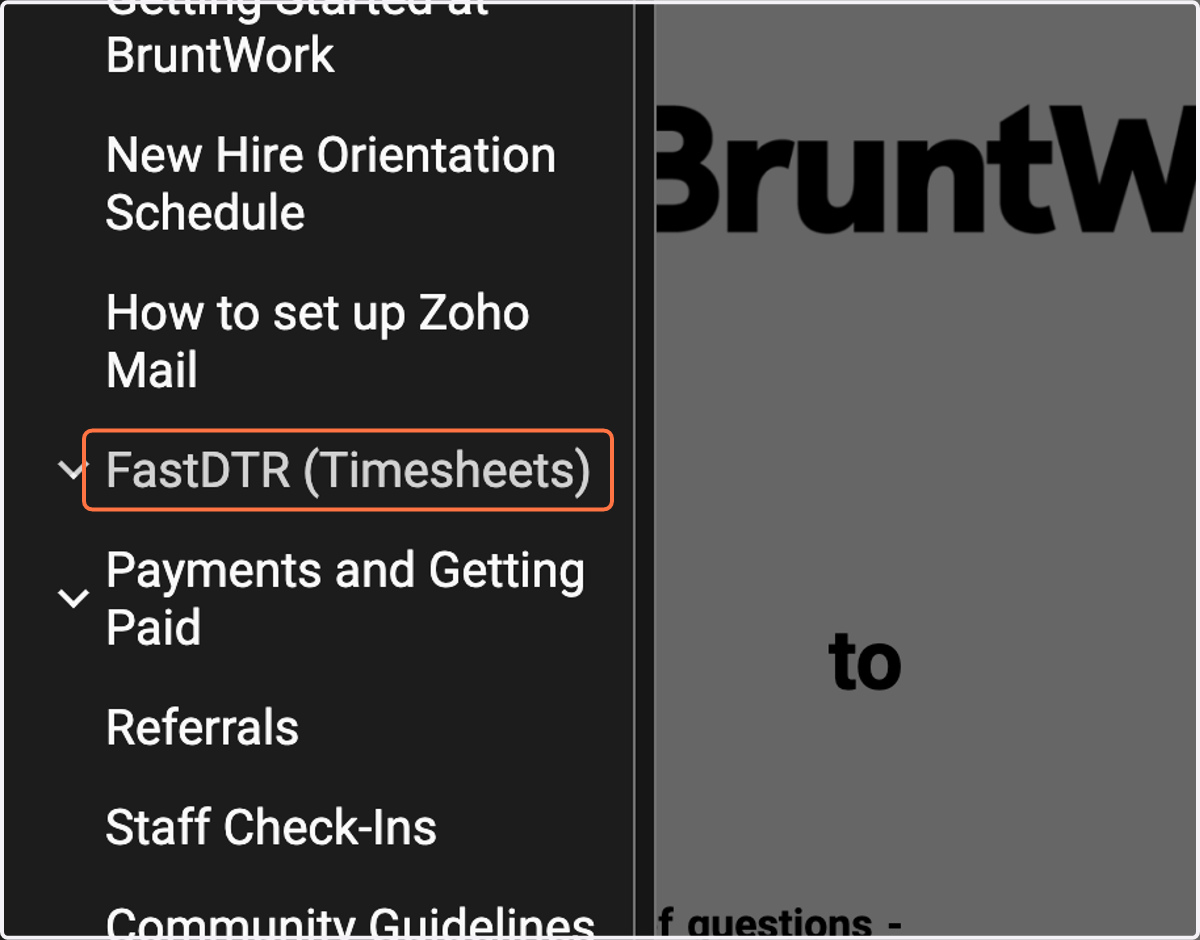
31. Click on FastDTR (Timesheets)
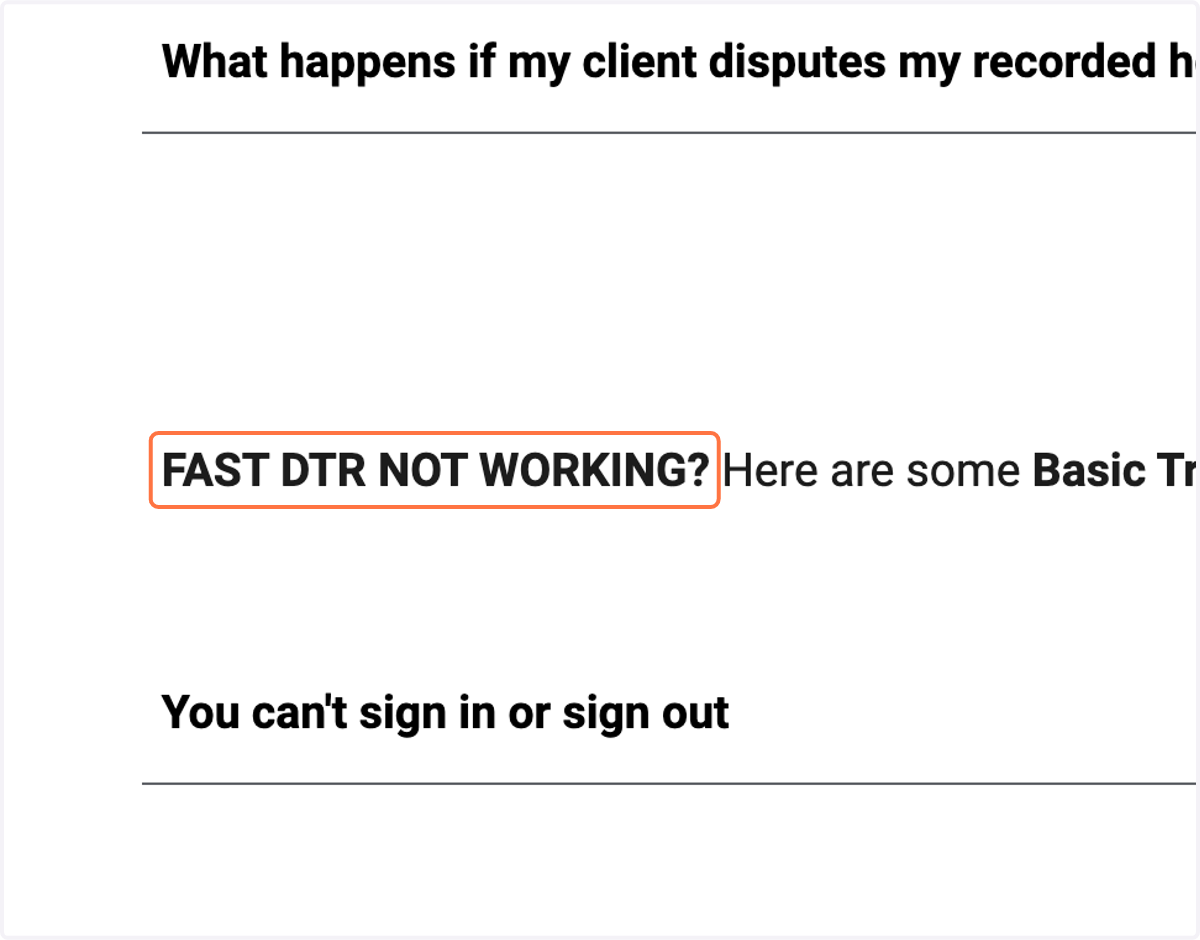
32. Click on FAST DTR NOT WORKING?
FAST DTR Error Form
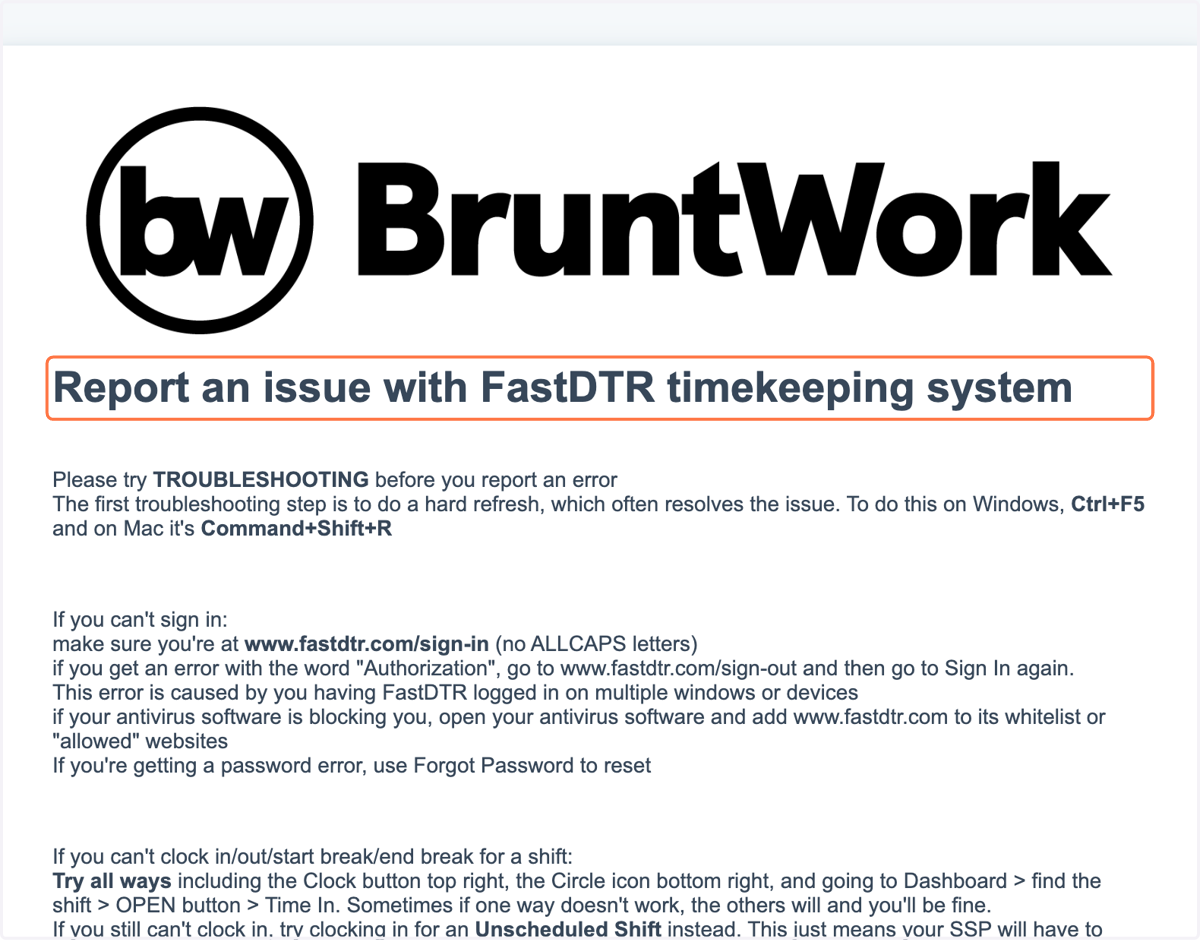
Any other challenges with FAST DTR, please report it in the ERROR FORM.
33. Click on Report an issue with FastDTR timekeeping system
34. Don't forget to let your SSP/Manager know if you can't sign in for your shift. Thanks, BruntWork Team!