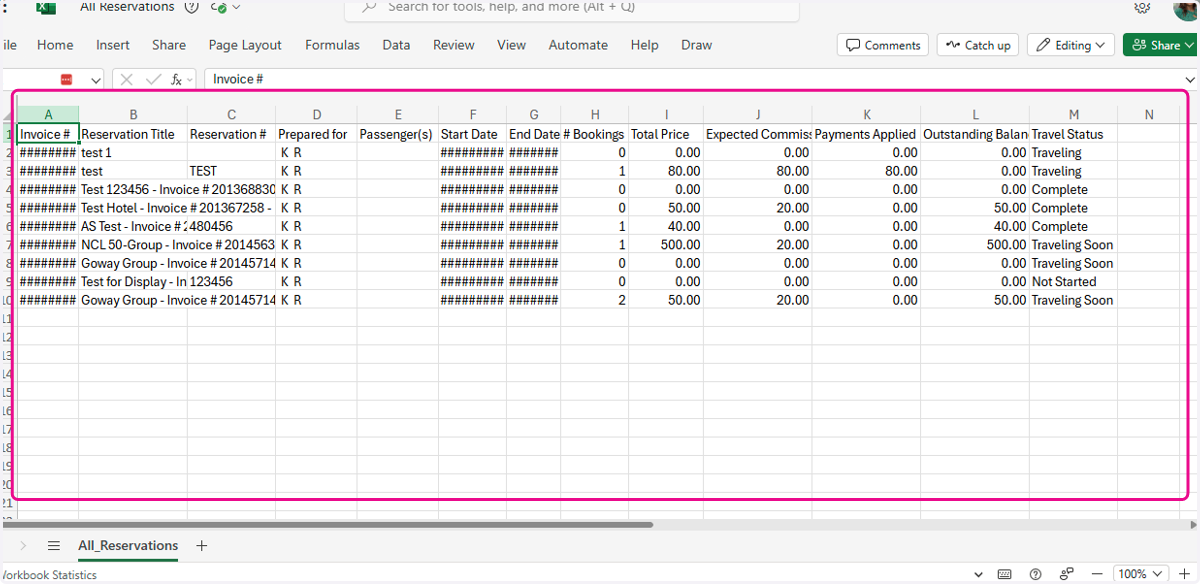
Exporting Data from TPISuitcase
TPISuitcase - All Clients
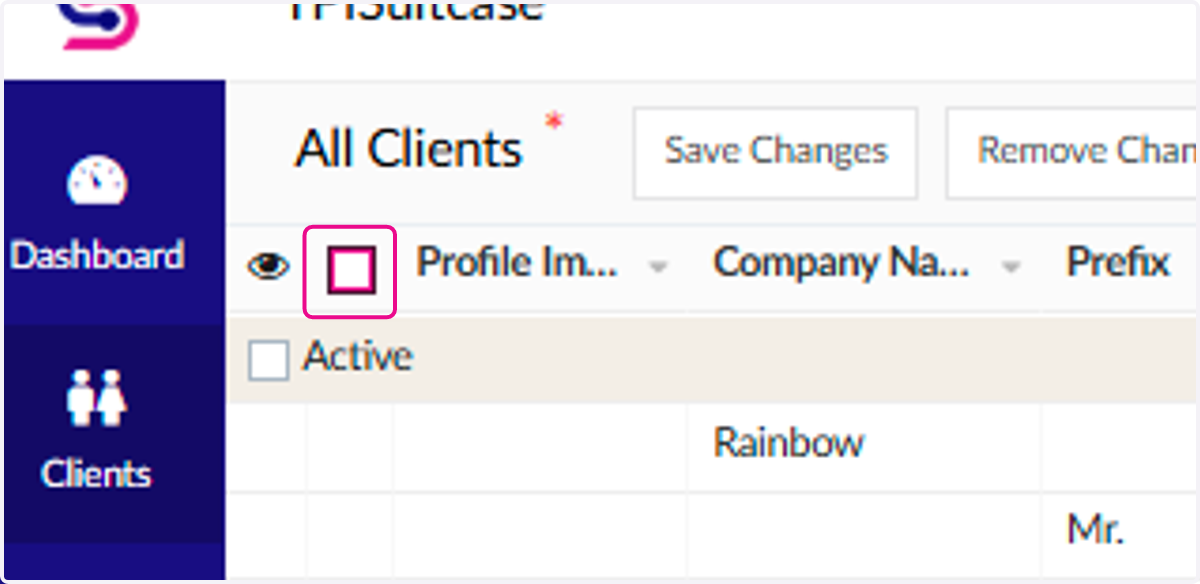
1. Check the box next to the "Profile Image" column at the top to select the complete client list.
If there is a specific segment of clients you would like to focus on, click on the check box next to the corresponding clients/grouped status.
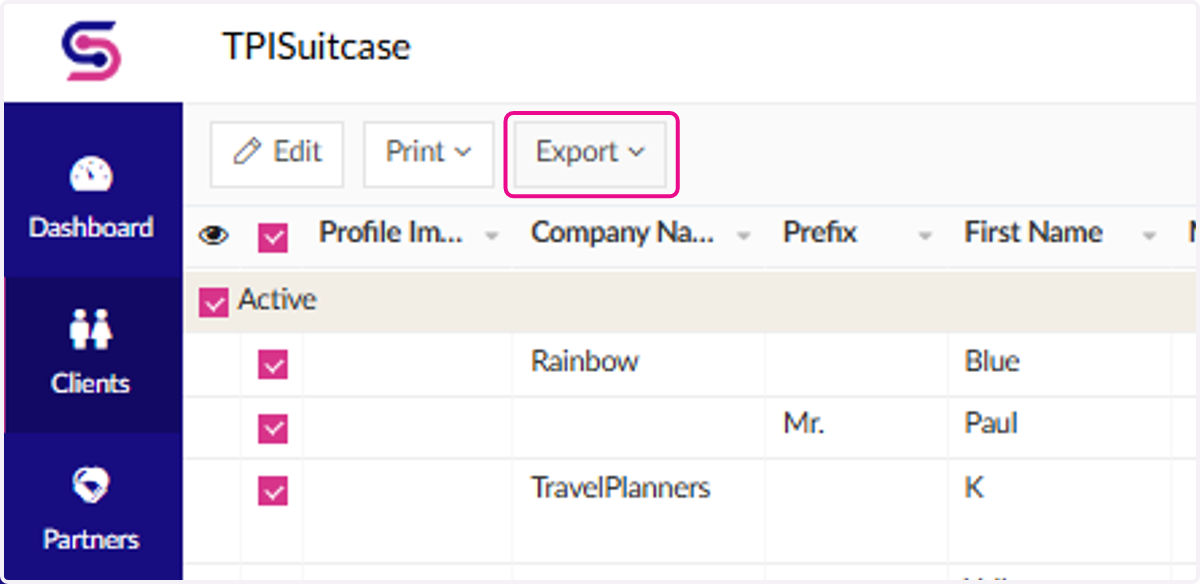
2. Click on the Export button that appears at the top of the page next to the Edit and Print buttons.
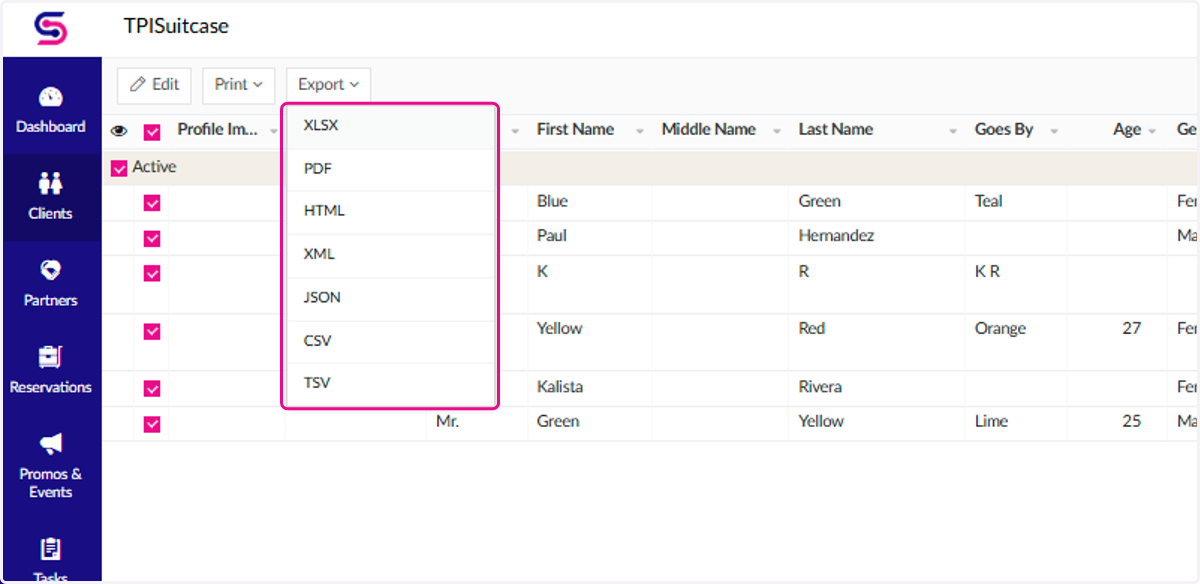
3. Select the format to use for your exported file.
Note: XLSX or XCEL files are going to be the easiest to work with for importing your data into another CRM.
4. Click on File Name to add/edit the file's name that will be saved on your computer.
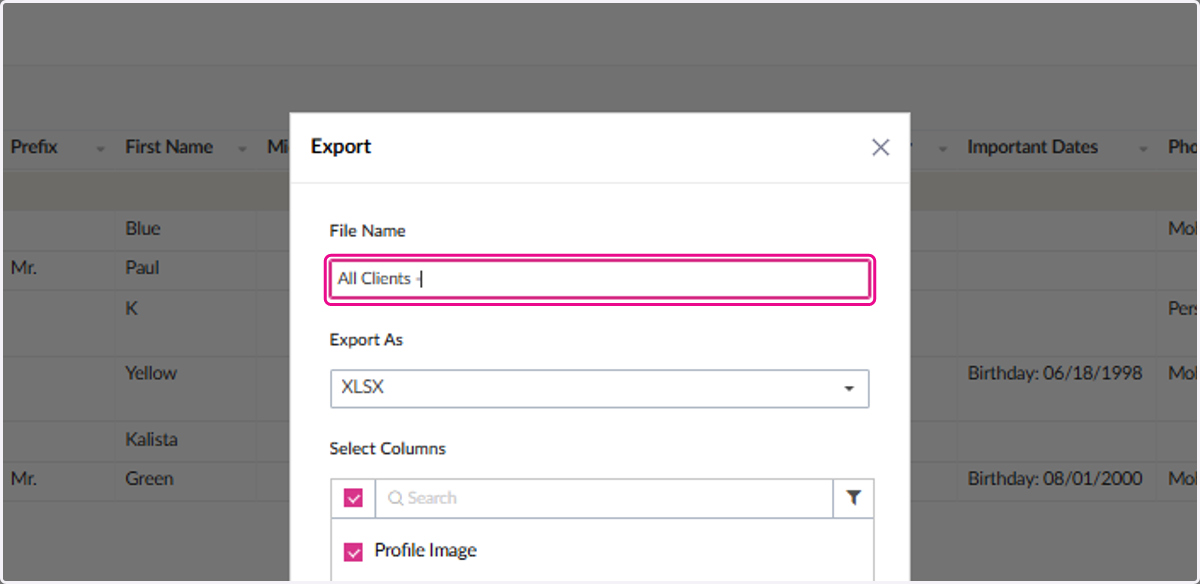
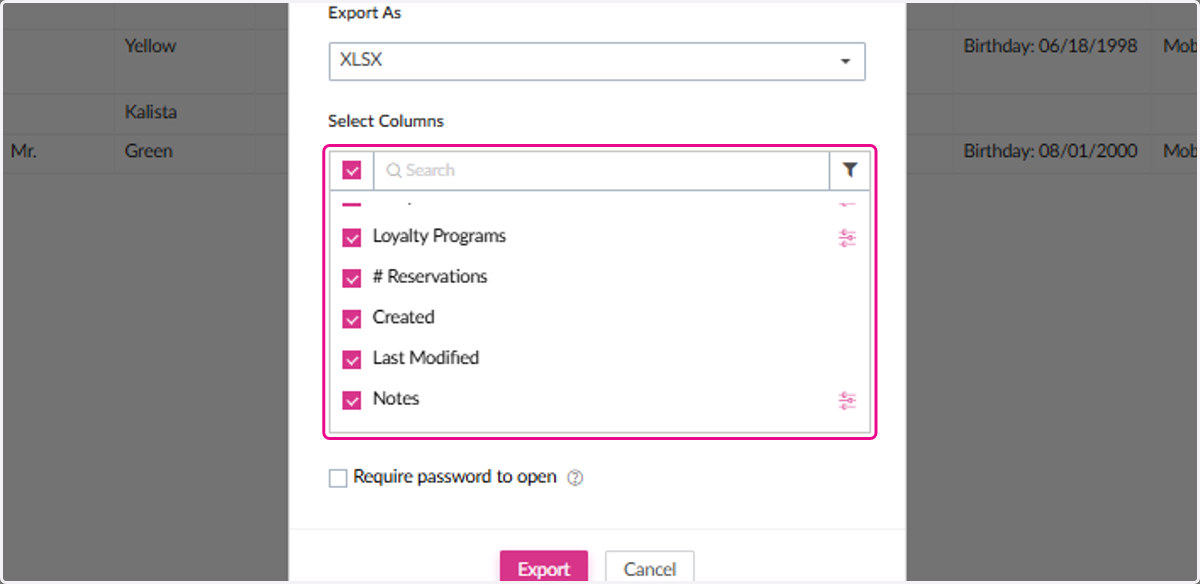
5. Add/Remove any columns desired to be included in the file for each client under the Select Columns section.
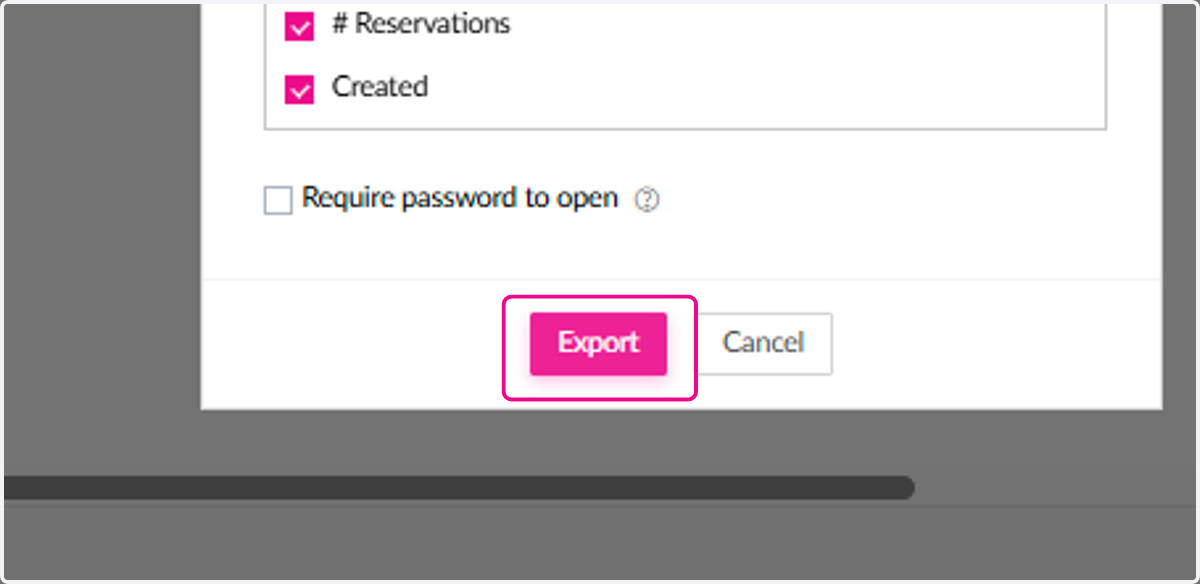
6. Click on Export
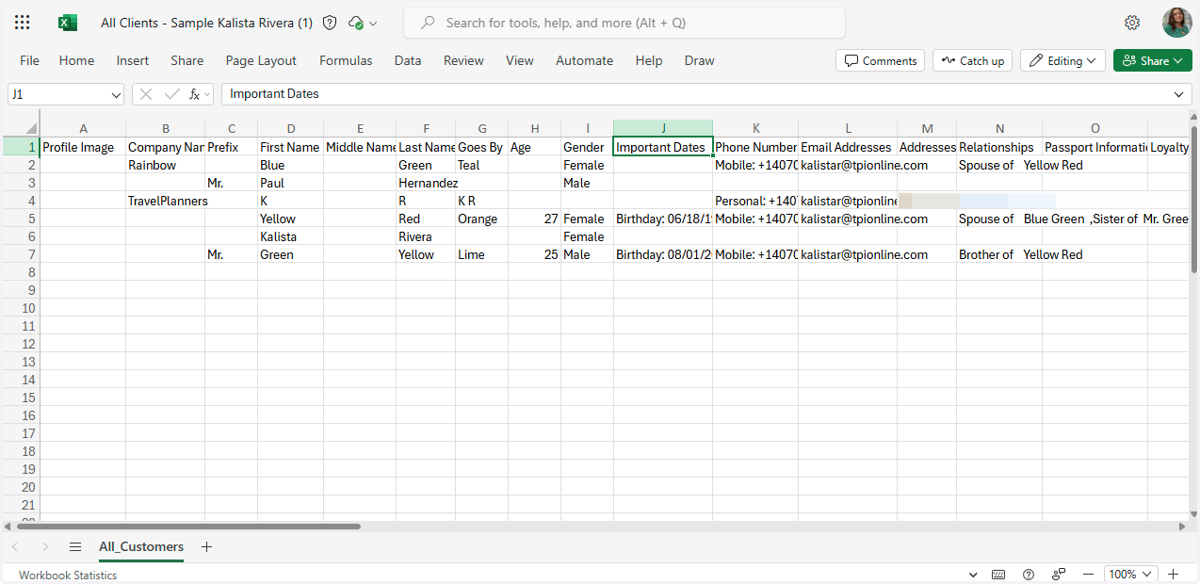
7. Be sure to verify that all of your data transferred correctly in the downloaded file of your choice.
TPISuitcase - All Reservations
8. Click on the Reservations tab from the left-hand navigation bar

9. Select All Reservations from the side menu

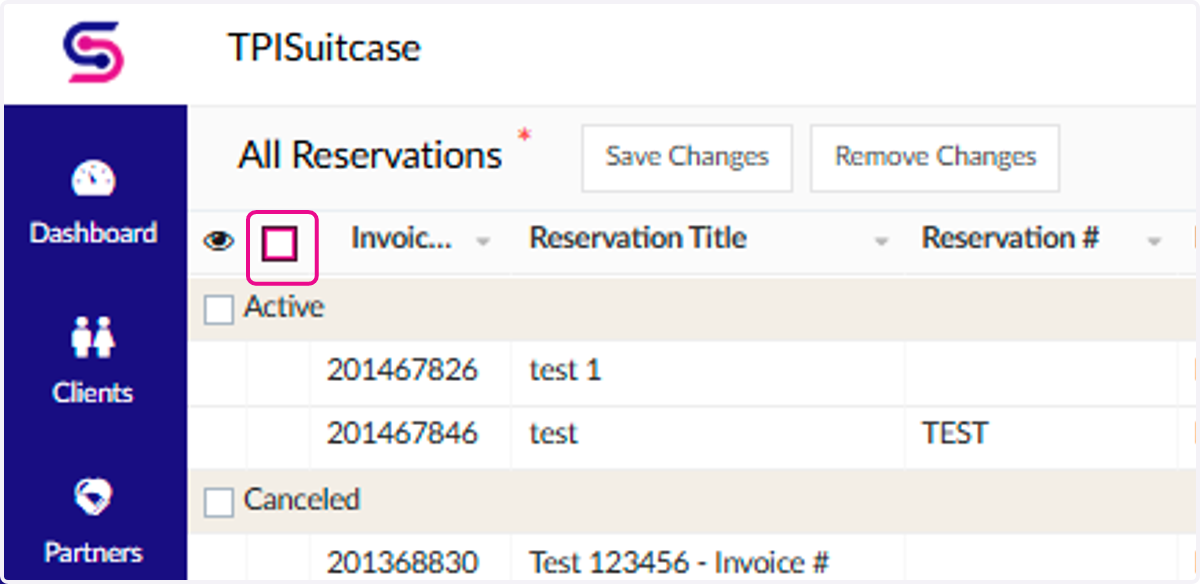
10. Check the box next to the Invoice # column at the top to select the complete list of bookings
If there is a specific segment of bookings you would like to focus on, click on the check box next to the corresponding reservation/grouped status.
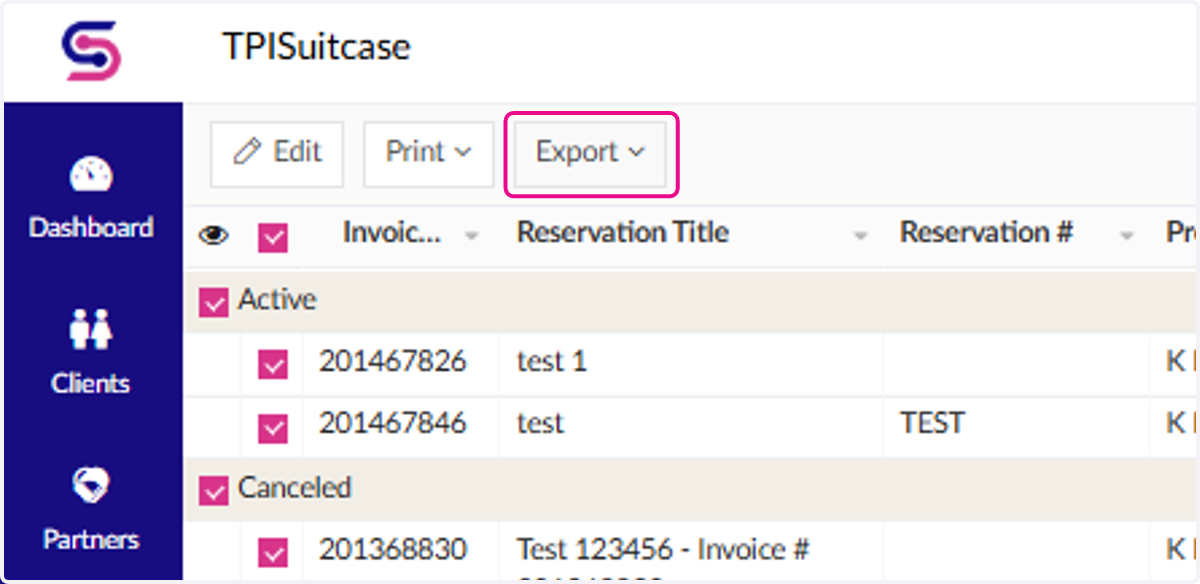
11. Click on the Export button
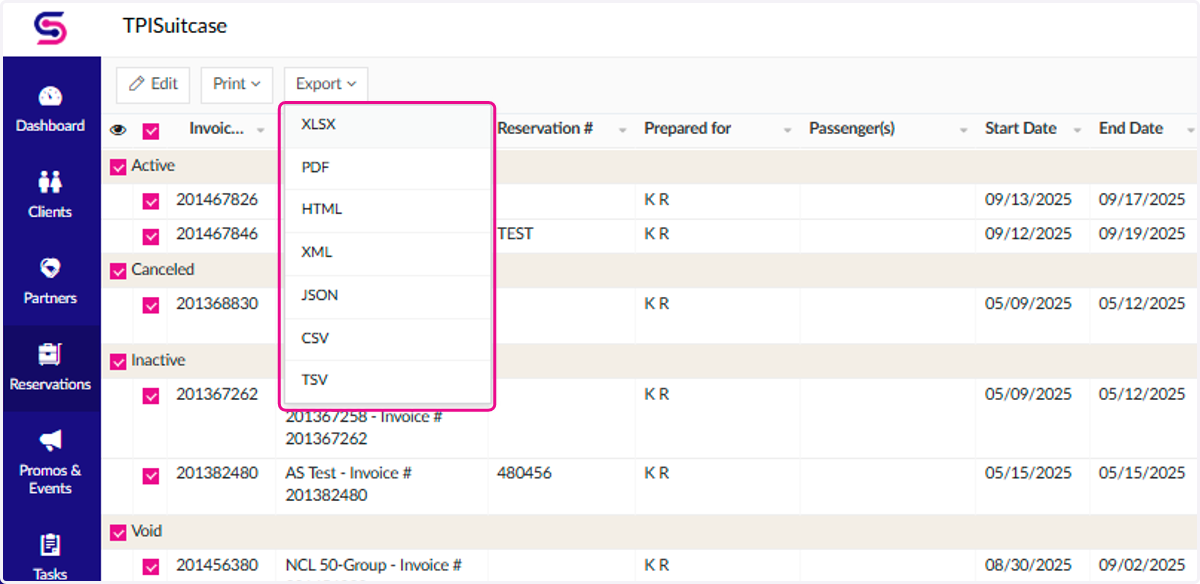
12. Select the format to use for your exported file
Note: XLSX or XCEL files are going to be the easiest to work with for importing your data into another CRM.
13. Click on File Name to add/edit the file's name that will be saved on your computer.
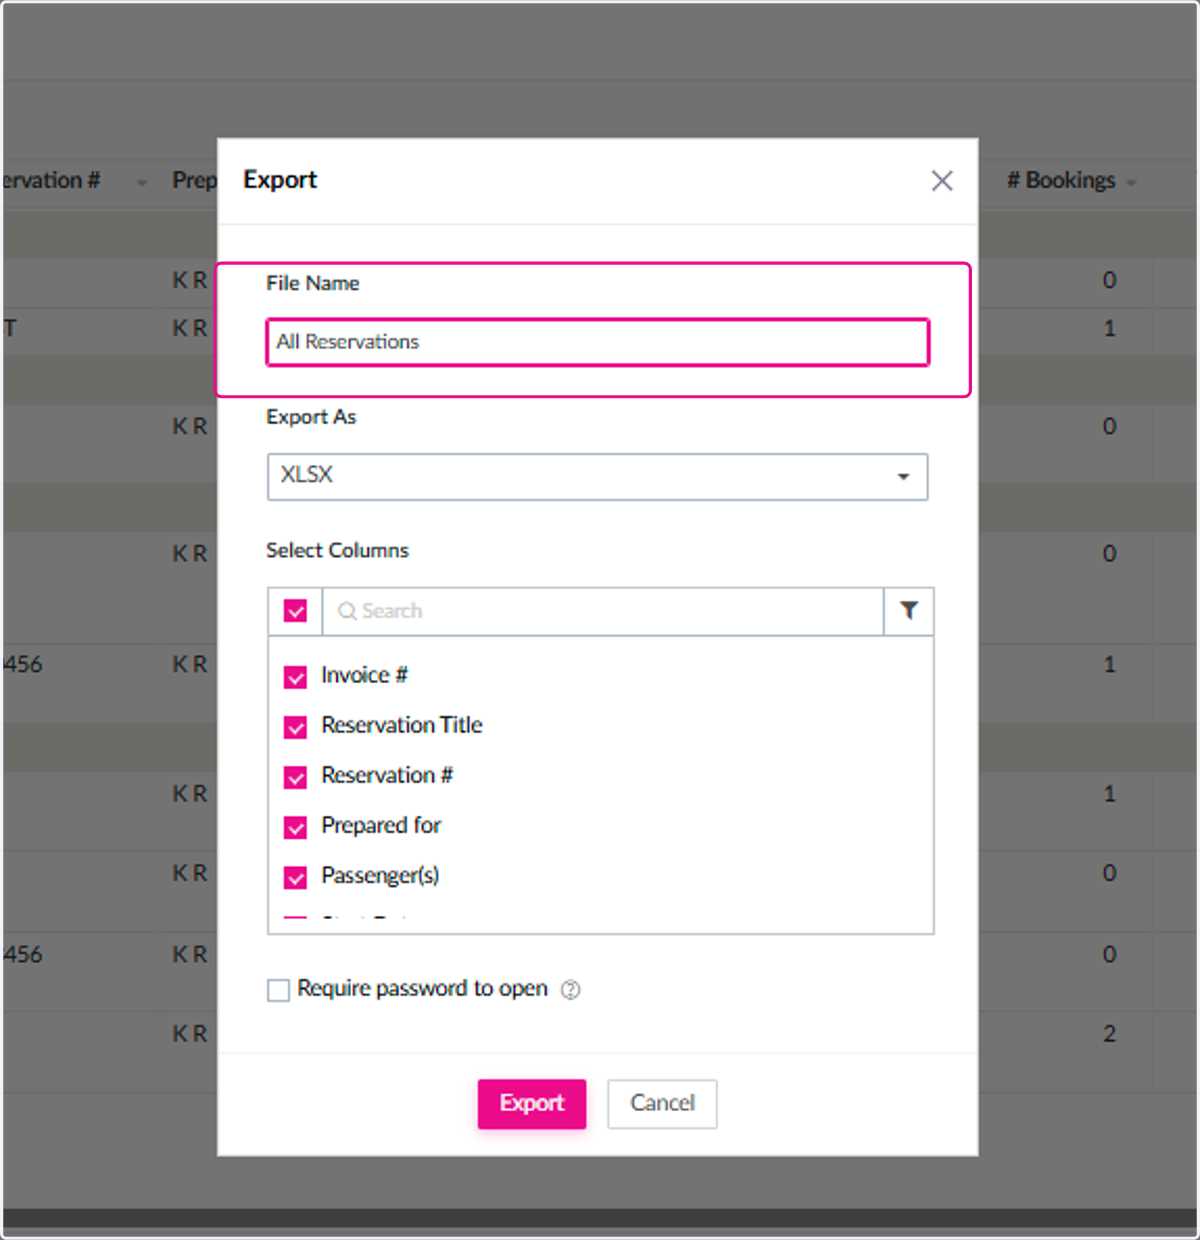
14. Add/Remove any columns desired to be included in the file for each reservation under the Select Columns section
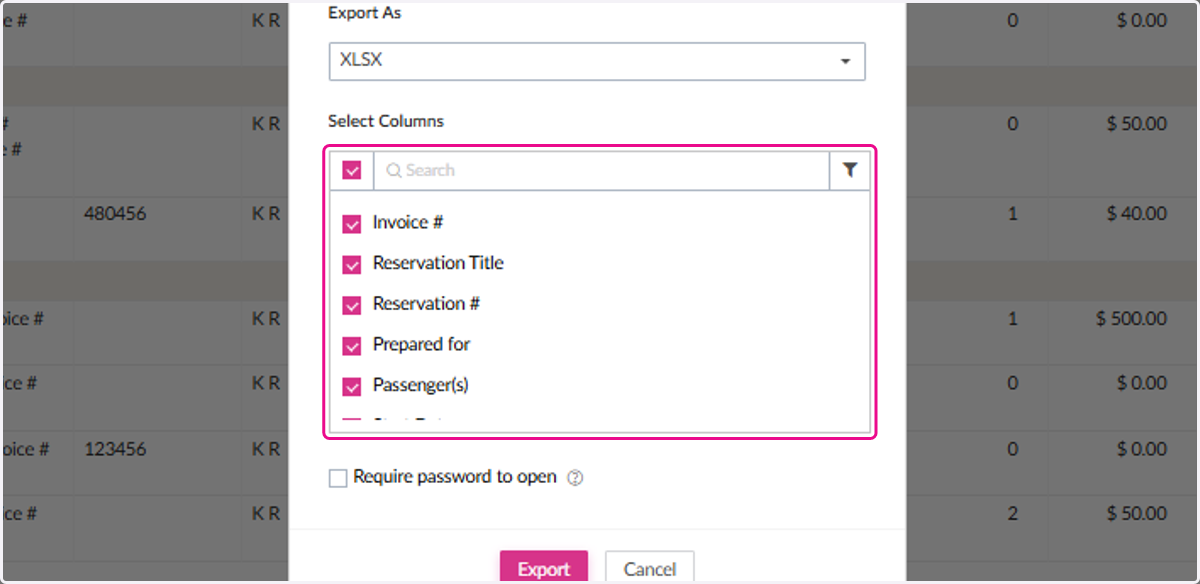
15. Click on Export
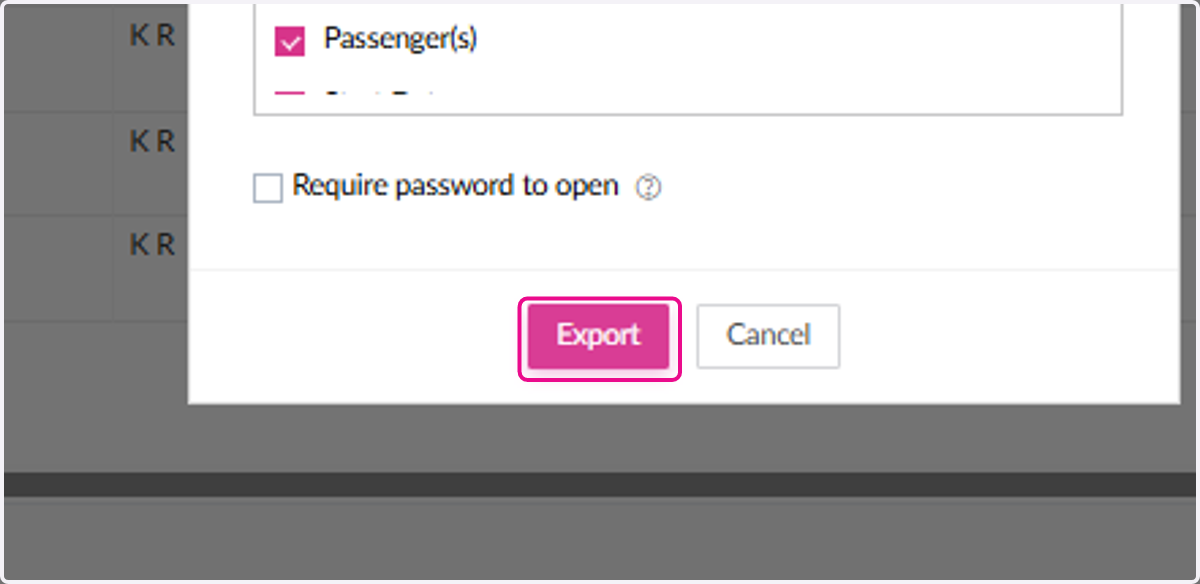
16. Be sure to verify that all of your data transferred correctly in the downloaded file of your choice.