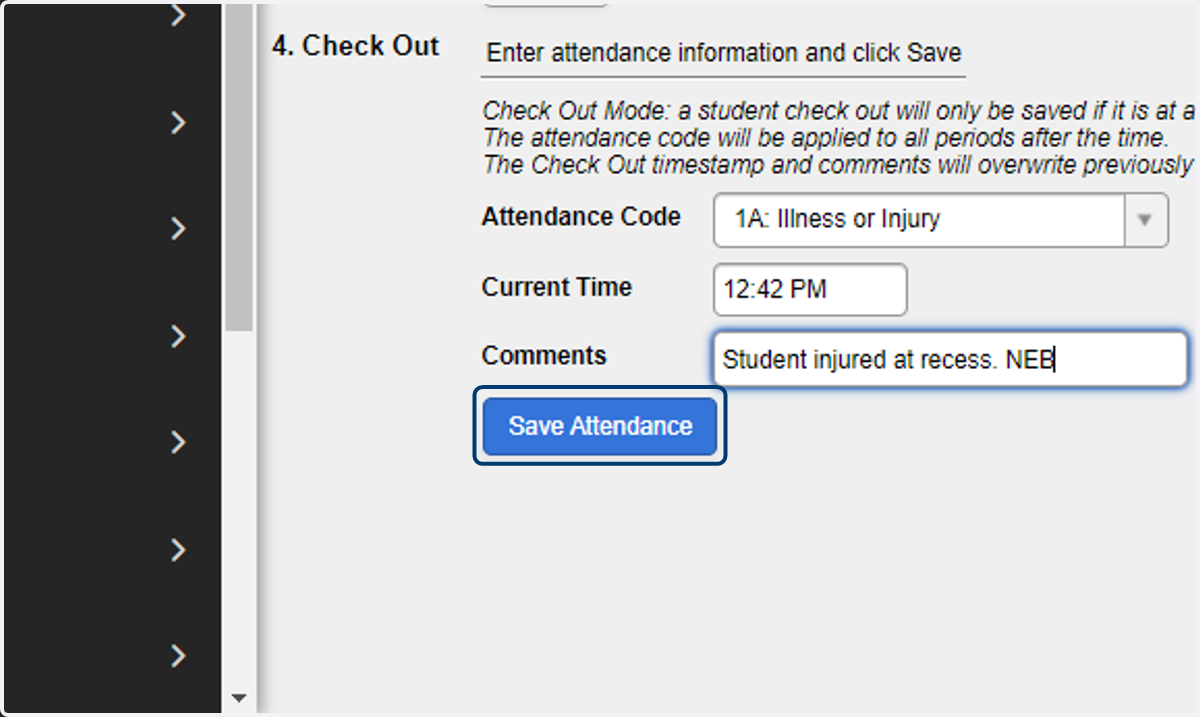
Entering Attendance Using the Check Out Mode for an Individual Student
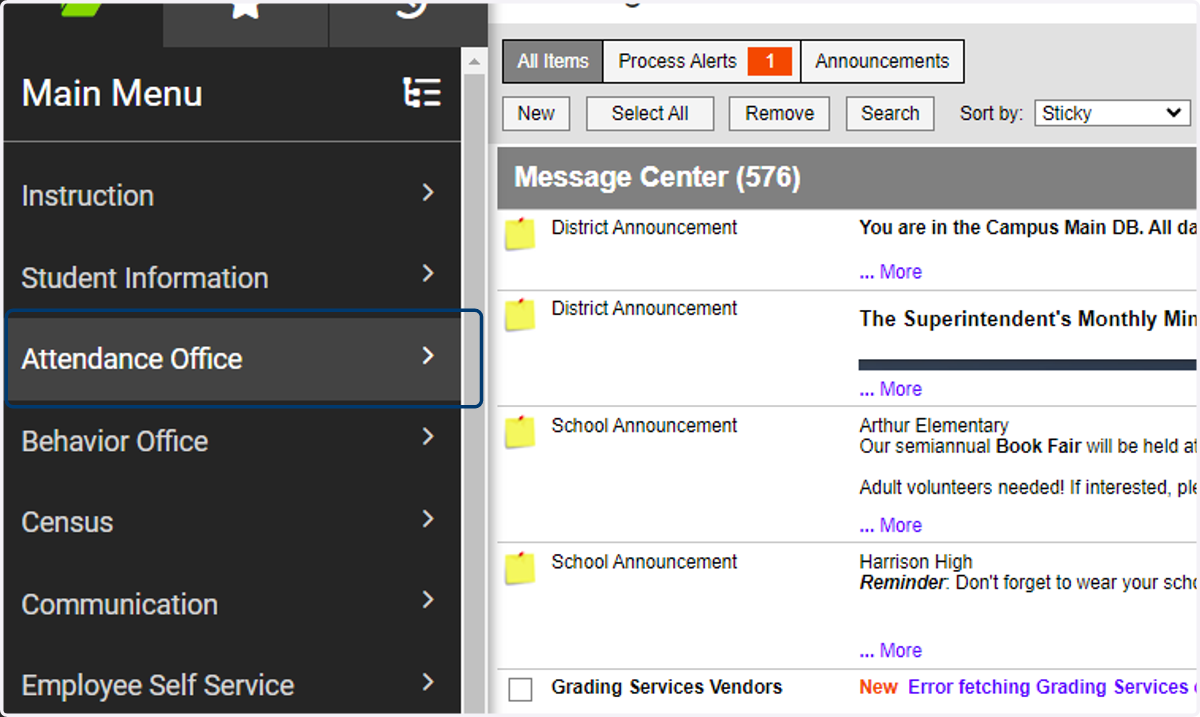
1. In the Main Menu module, select Attendance Office.
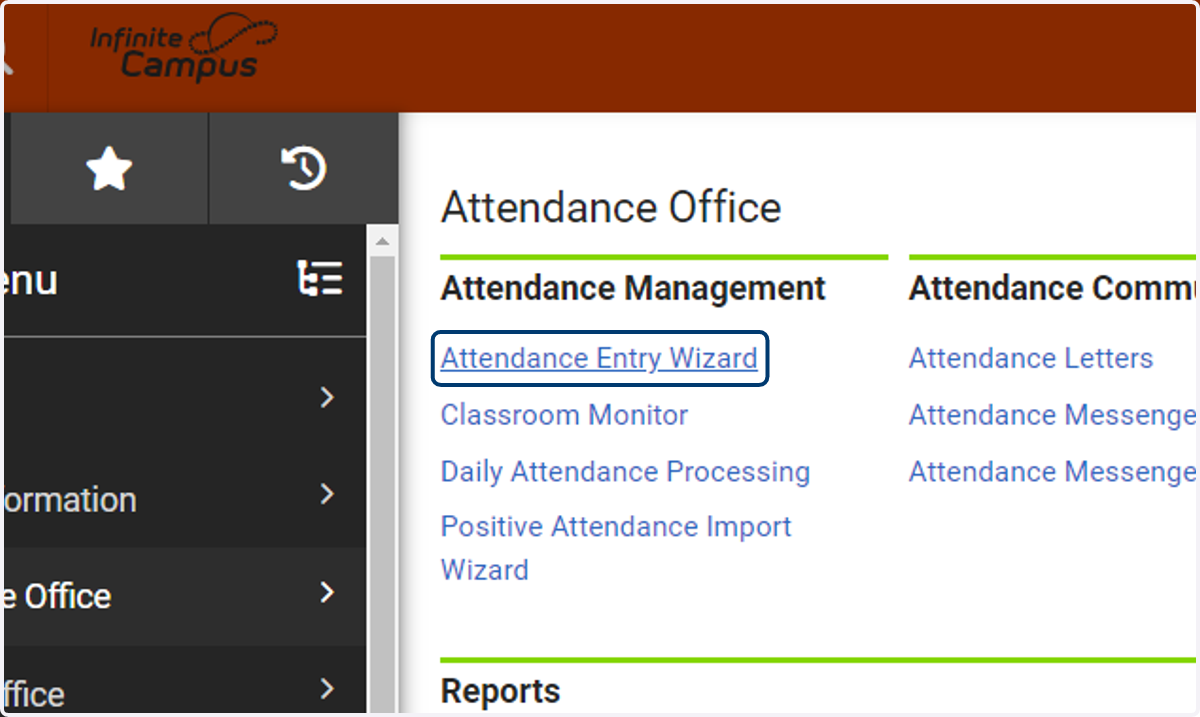
2. Under the Attendance Management category, select Attendance Entry Wizard tool.
3. If the date displayed is correct, continue to the next step. If a different date is needed, click the calendar icon to select a new date.
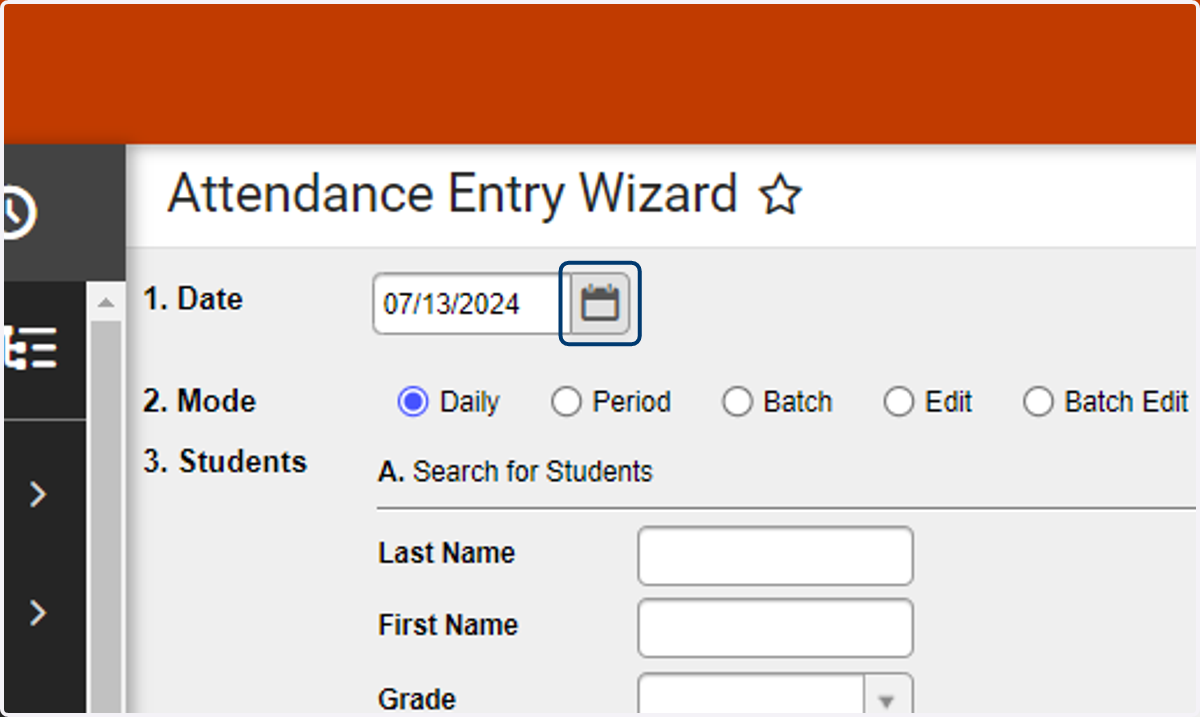
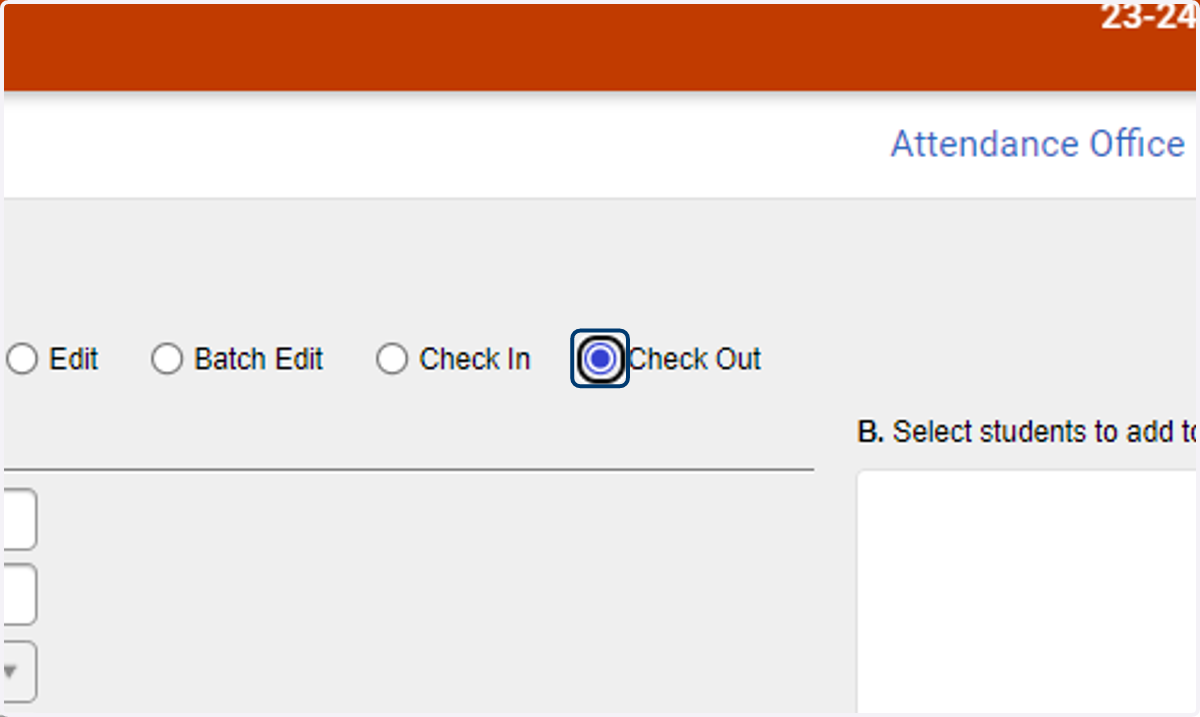
4. Select the Check Out mode radio button.
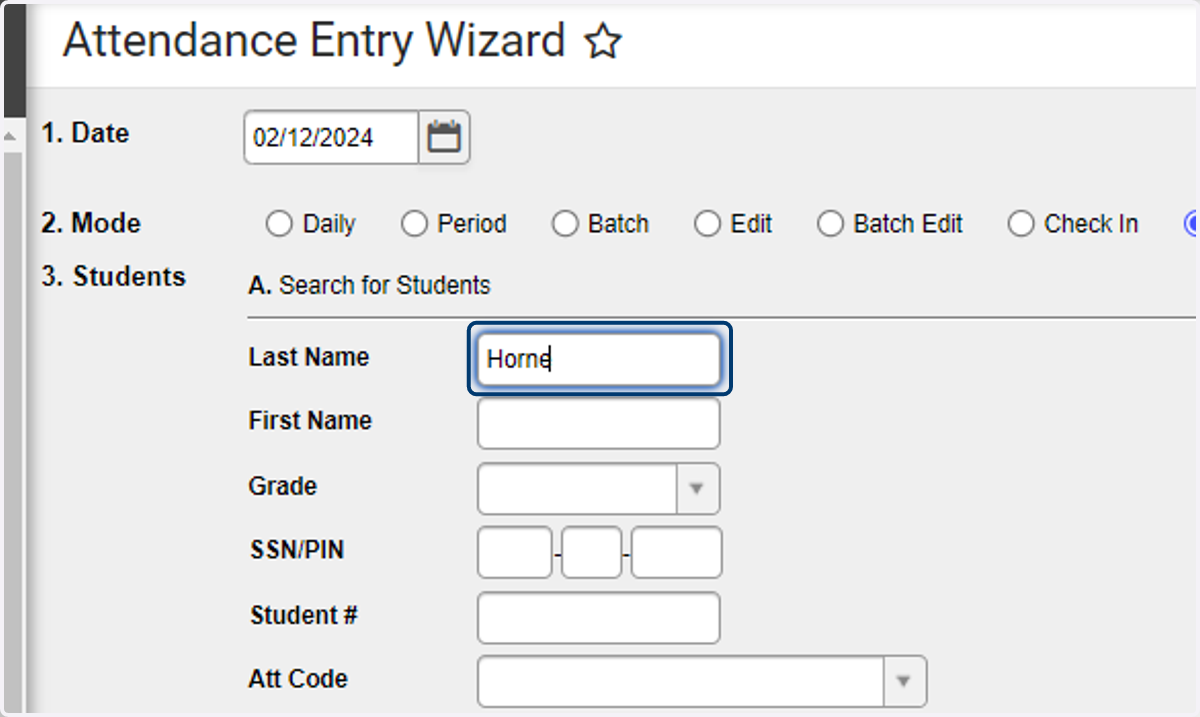
5. Enter the student's last name.
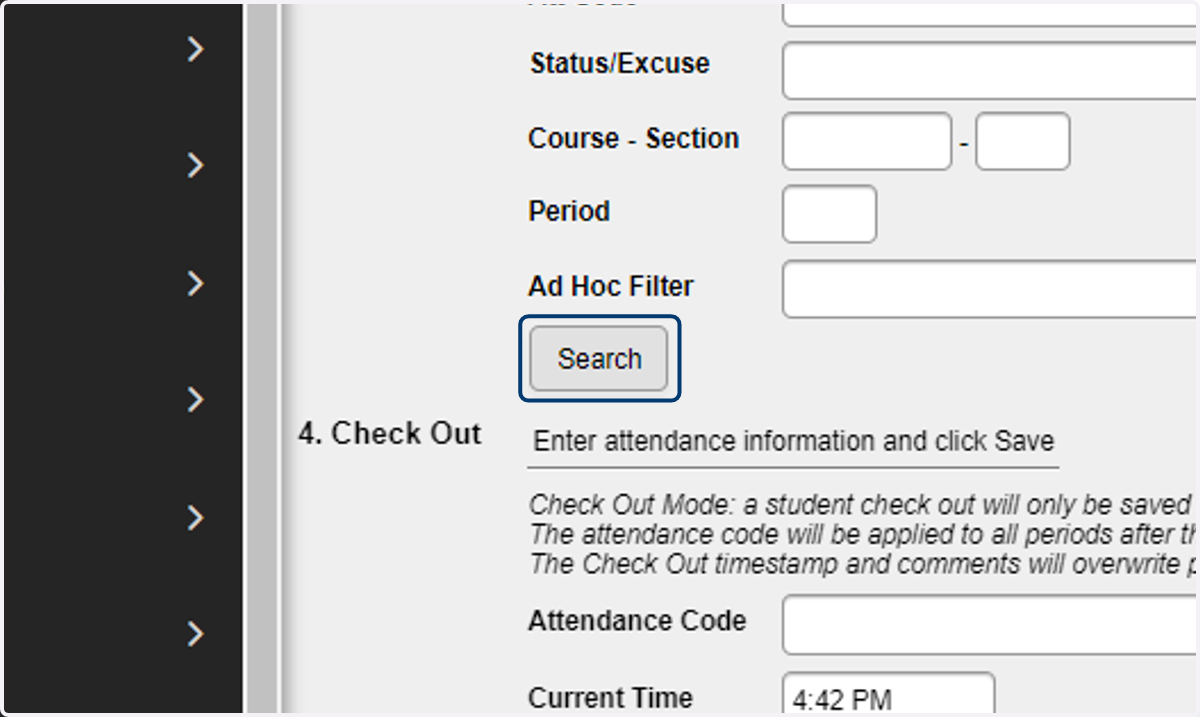
6. Click Search and confirm the name in Column B & Column C is the correct student.
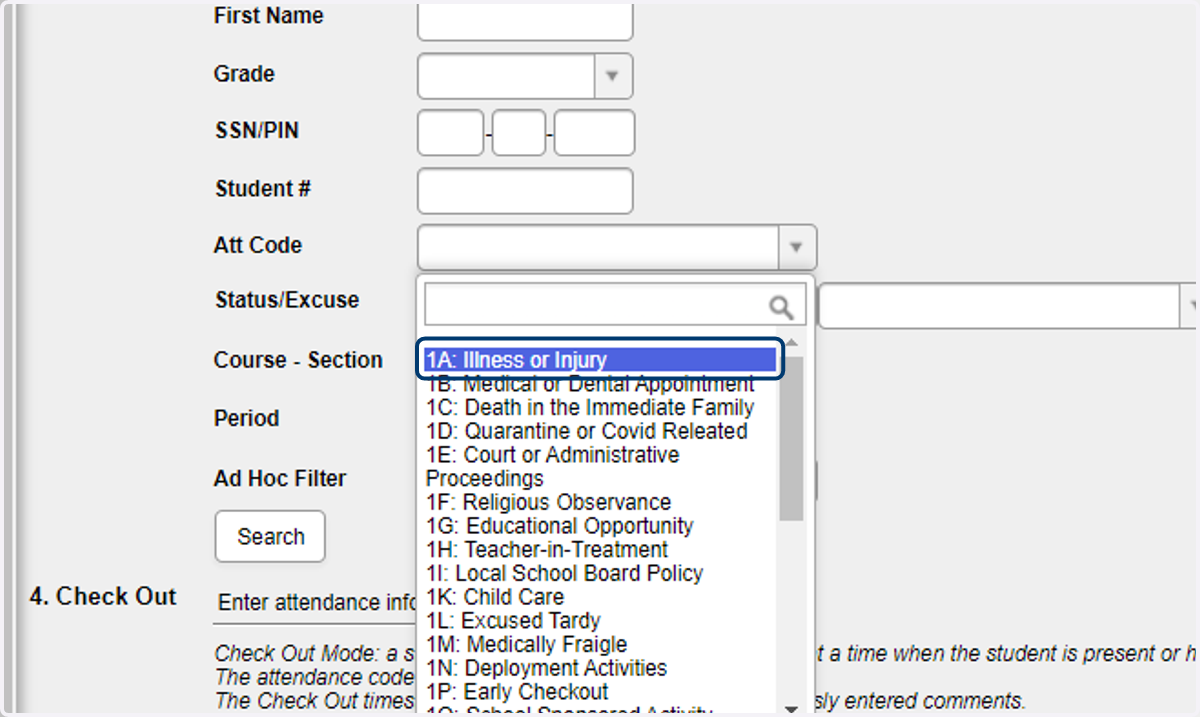
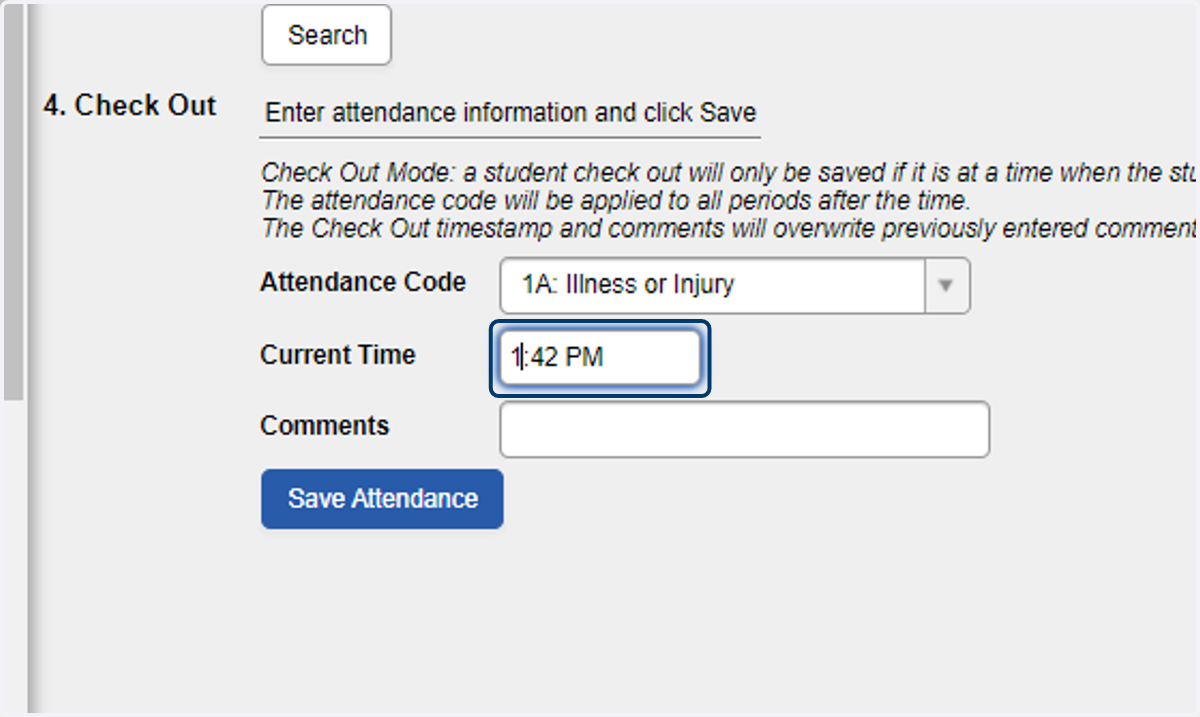
7. In the Check Out section, select the Attendance Code from the dropdown list.
8. Modify the Current Time to reflect the time of student departure.
9. Enter a comment for the attendance change as applicable, if this is a PSU best practice.
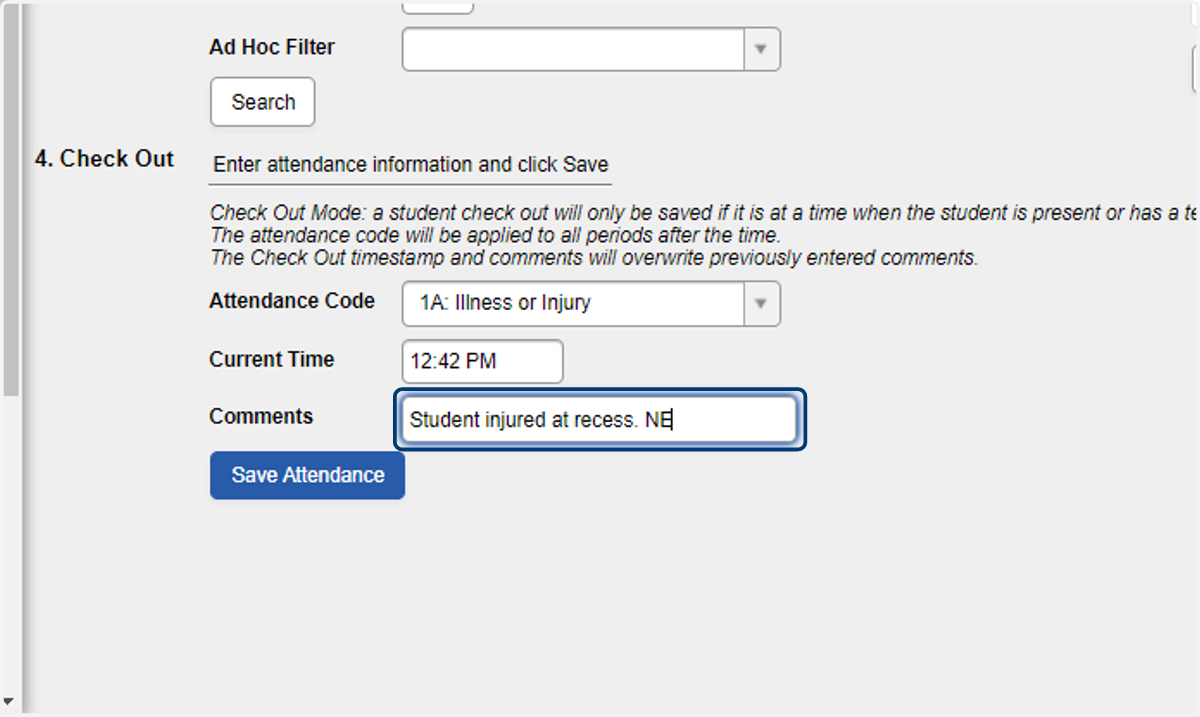
10. Click Save Attendance.