Creating your own project and uploading data to the SkySnap geoportal
Creating your own project and uploading data to the SkySnap geoportal
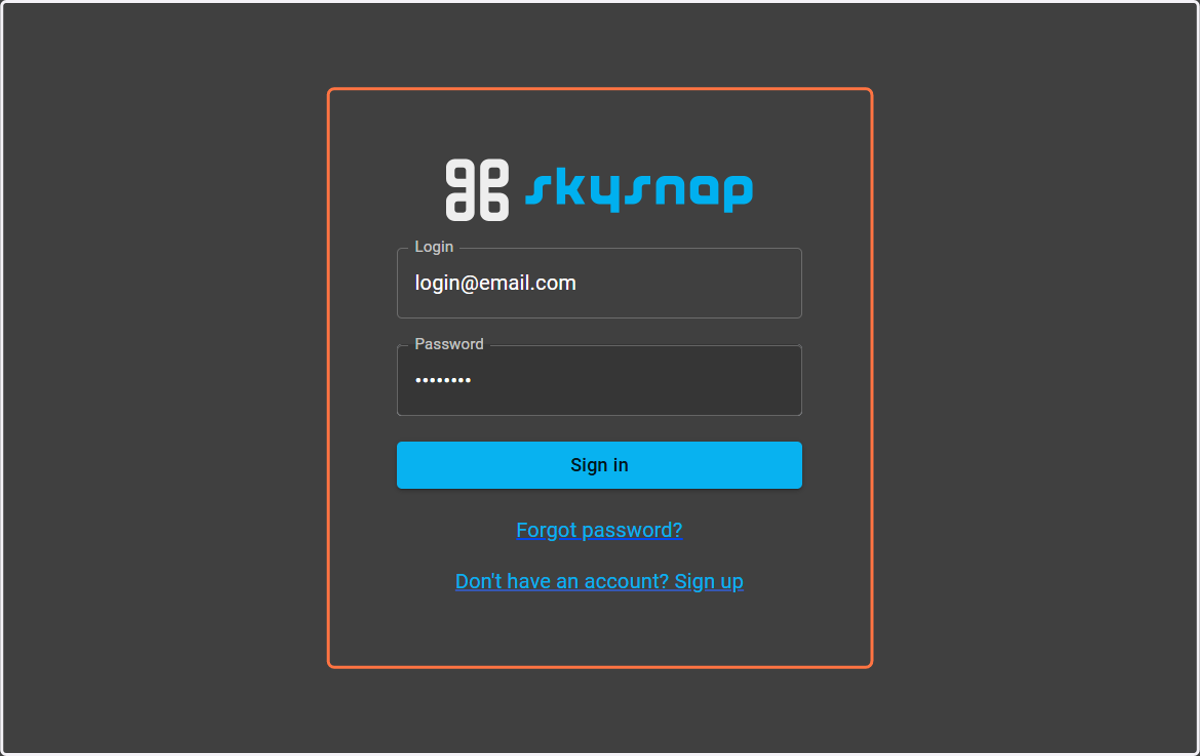
1. Log in to the system by entering your email address as your login and password set during account activation.
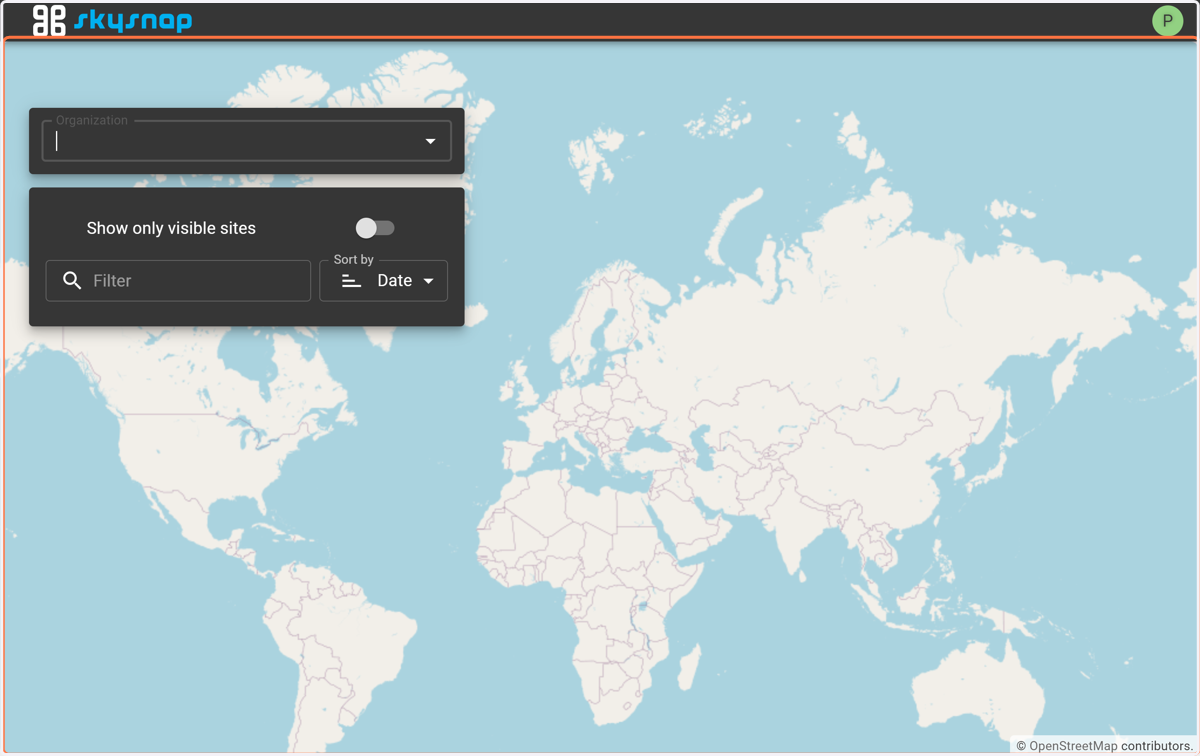
2. You will be redirected to the site (location) selection page.
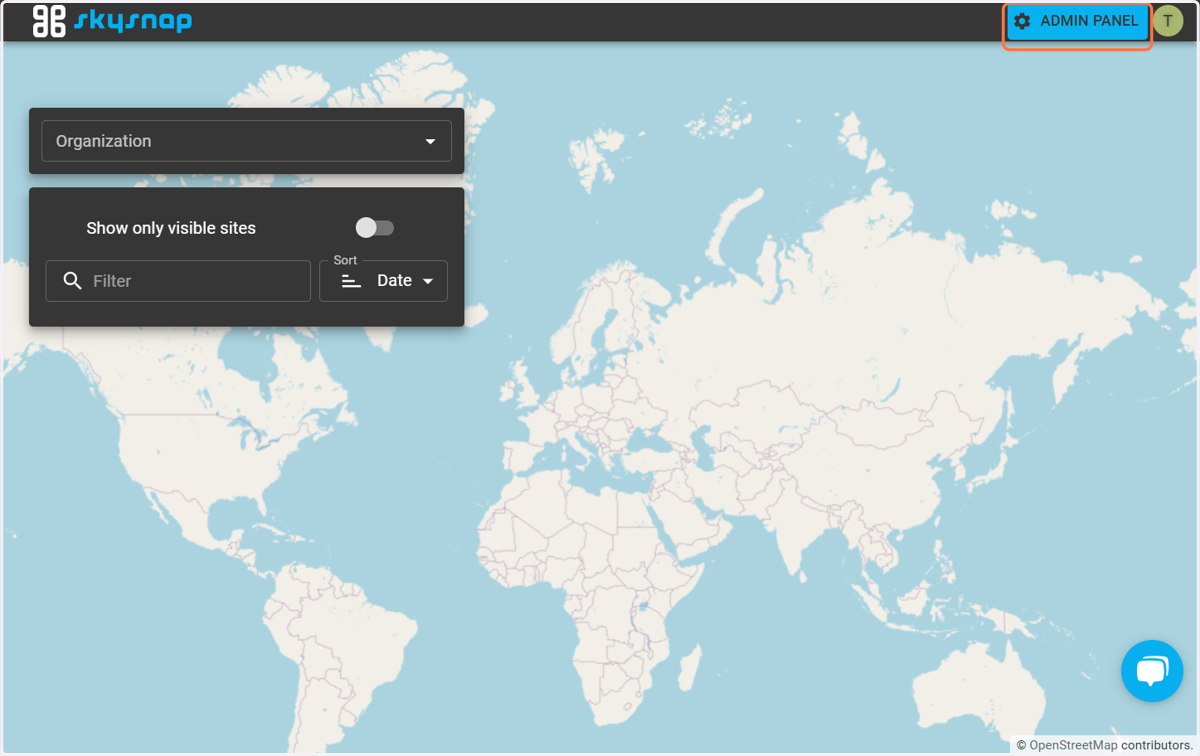
3. Click on the "Admin panel" icon located in the upper right corner of the page. You will be redirected to the data management page in the system.
4. Then you need to log in to the Admin panel using the same login and password that you use to log in to the main system.
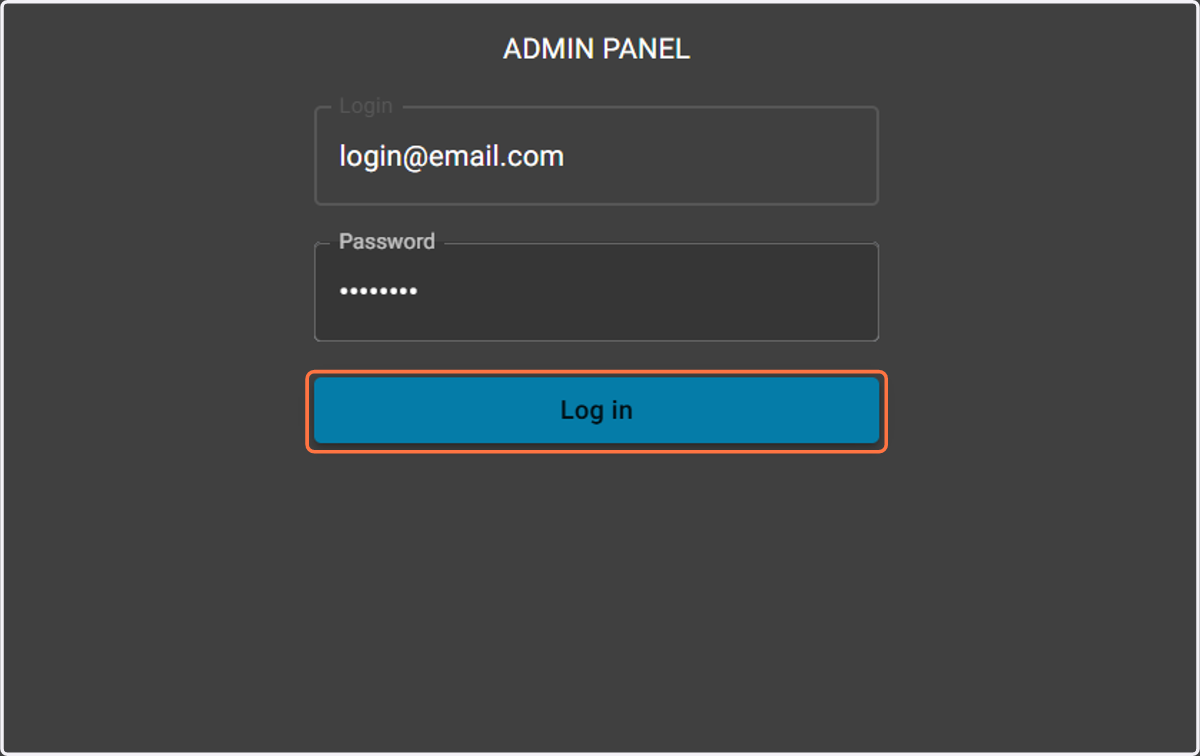
Admin panel
Creating site (location) and project
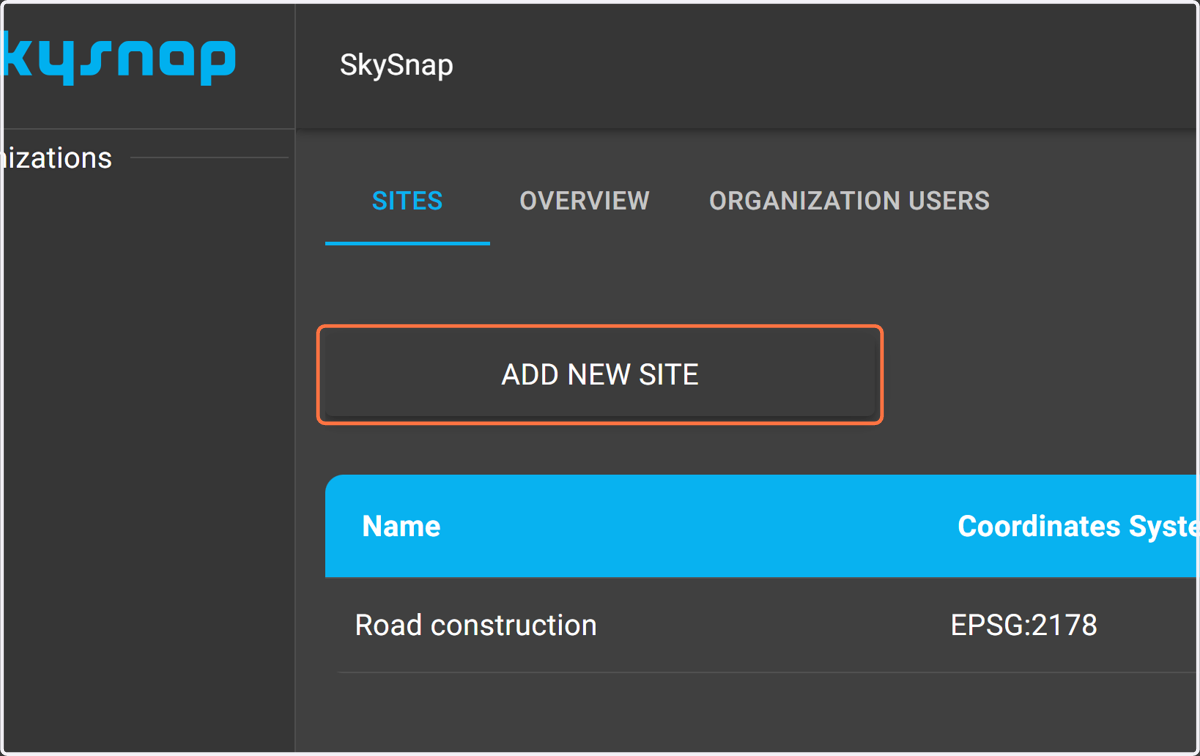
5. In order to create your own site (location), first select the "ADD NEW SITE" button, which will create a new site (location).
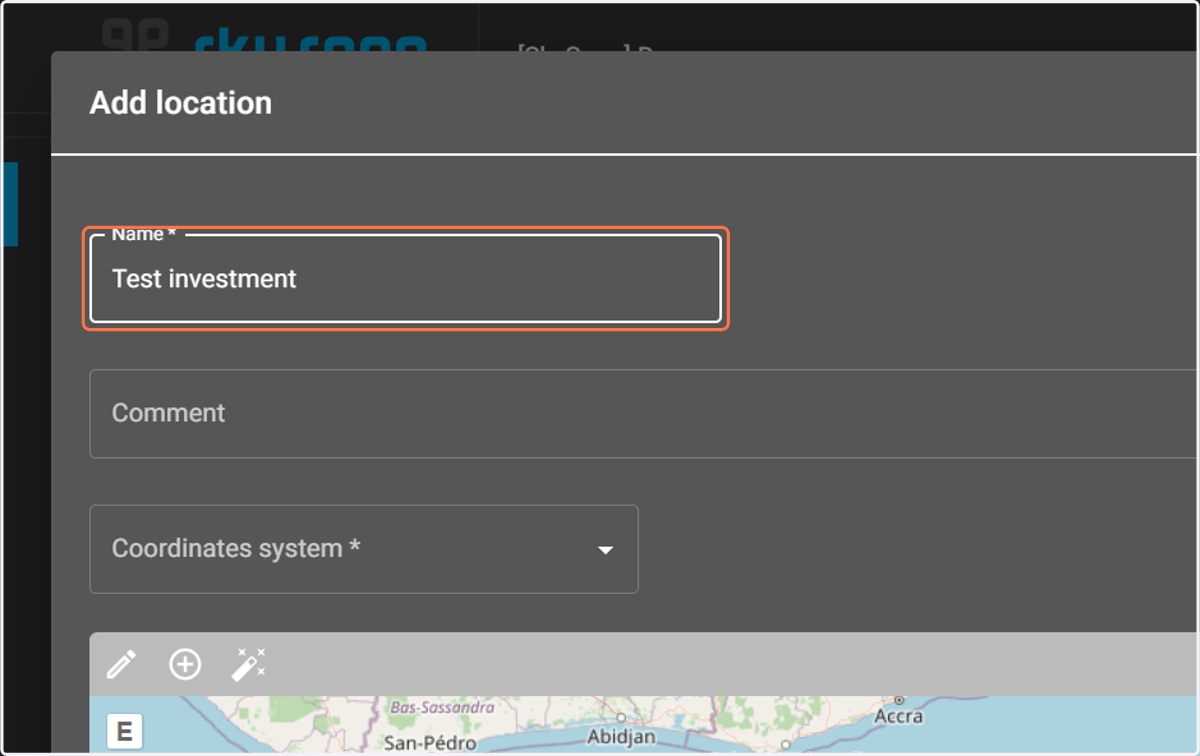
6. Then, enter the name of the site (location) - it should have at least 4 characters and a comment (optional).
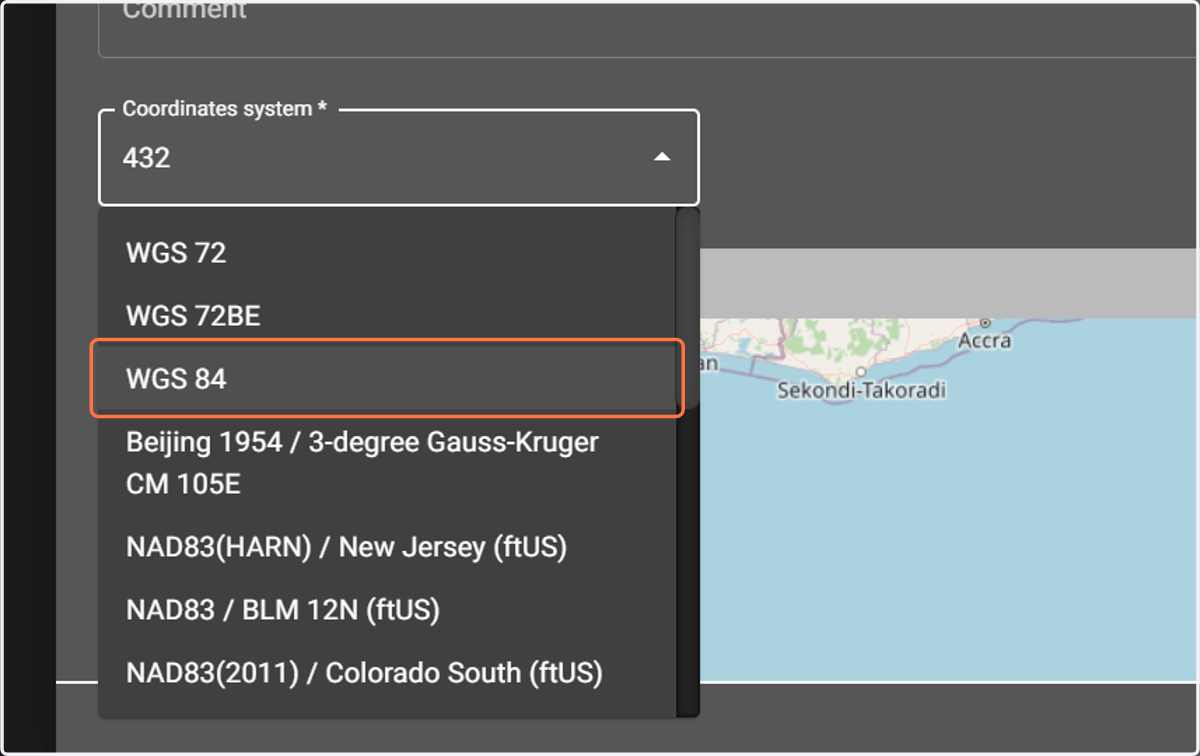
7. In the next step, you should select the site (location) coordinate system.
NOTE: If you know the EPSG code of the system, you should enter it and wait a moment for the values to be filled in the drop-down list, then select one of the coordinate systems.
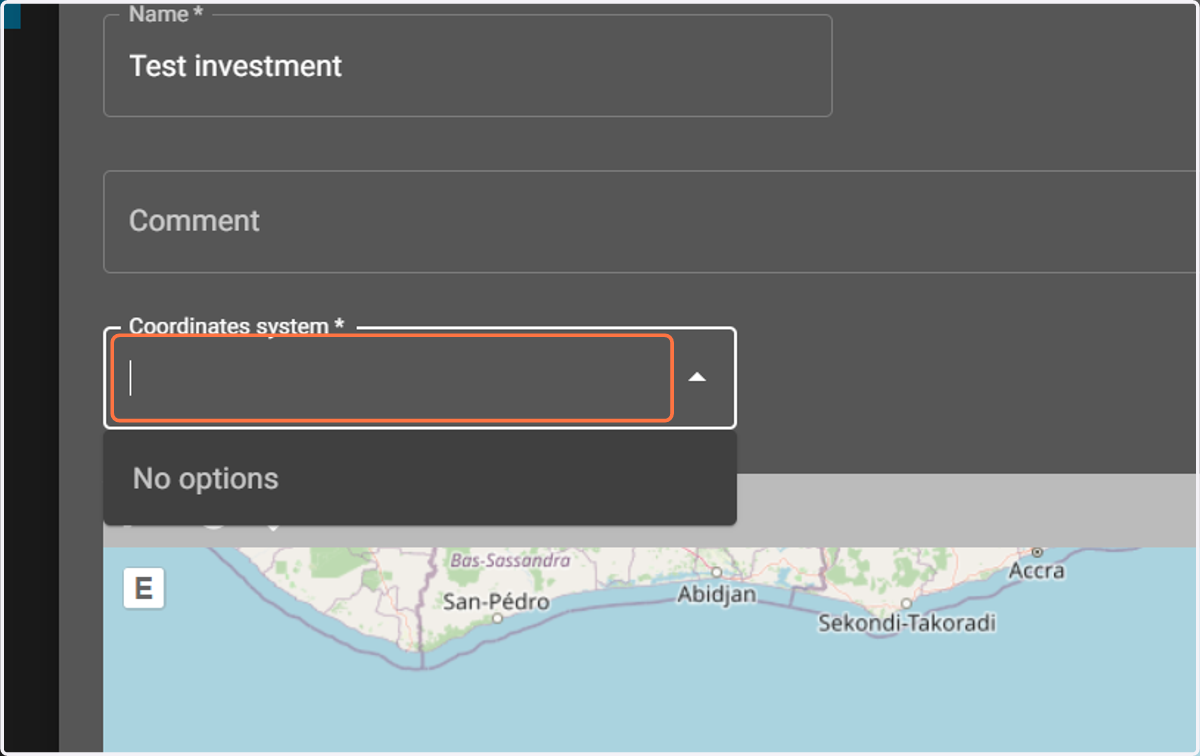
8. Example of setting site (location) coordinate system.
When user enters the EPSG 4326 code, they will receive information in a drop-down list about coordinate systems that match the description. Select appropriate coordinate system.
NOTE: The coordinate system is assigned to the entire site, which means that all data imported to this site should have selected system. If you have any doubts about which system to choose, write to us at app@skysnap.com.
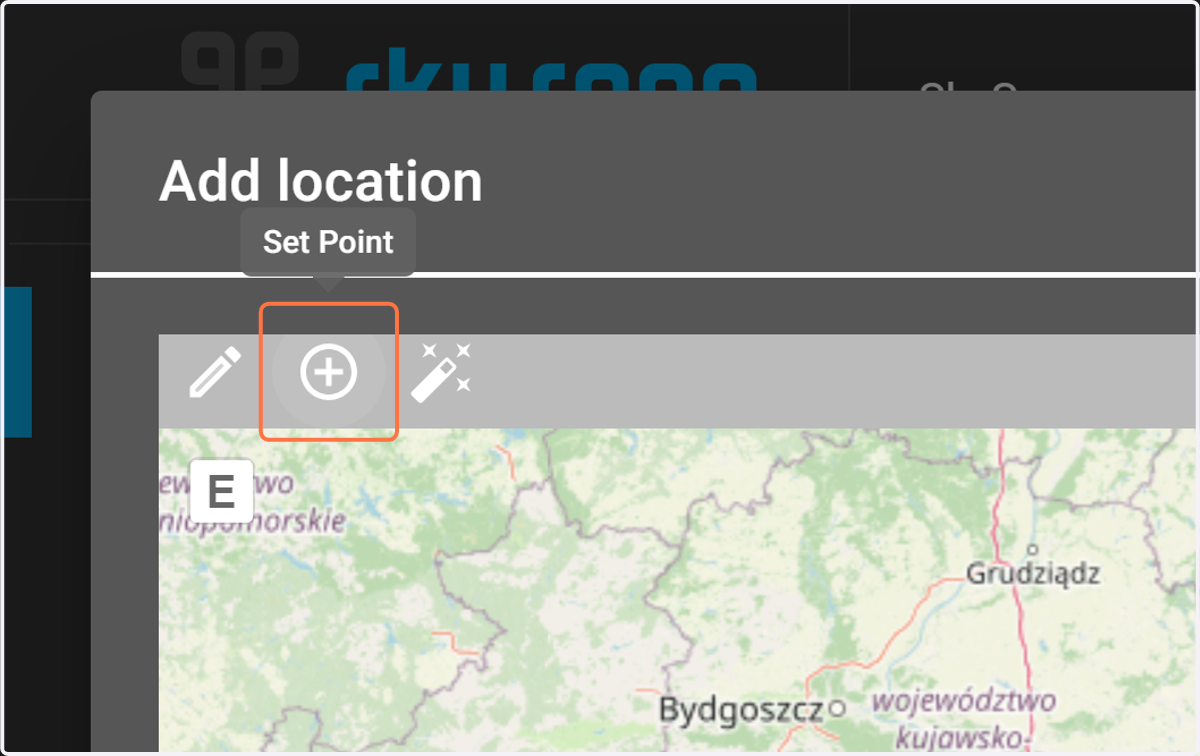
9. Set the site location on the map
Locate your site on the map and select the "Set Point" icon to place a pin. This will allow the site location to be displayed correctly on the map in the investment view.
NOTE: If you accidentally select the wrong location, click the "Set Point" button again and select a new location by clicking on the appropriate place on the map.
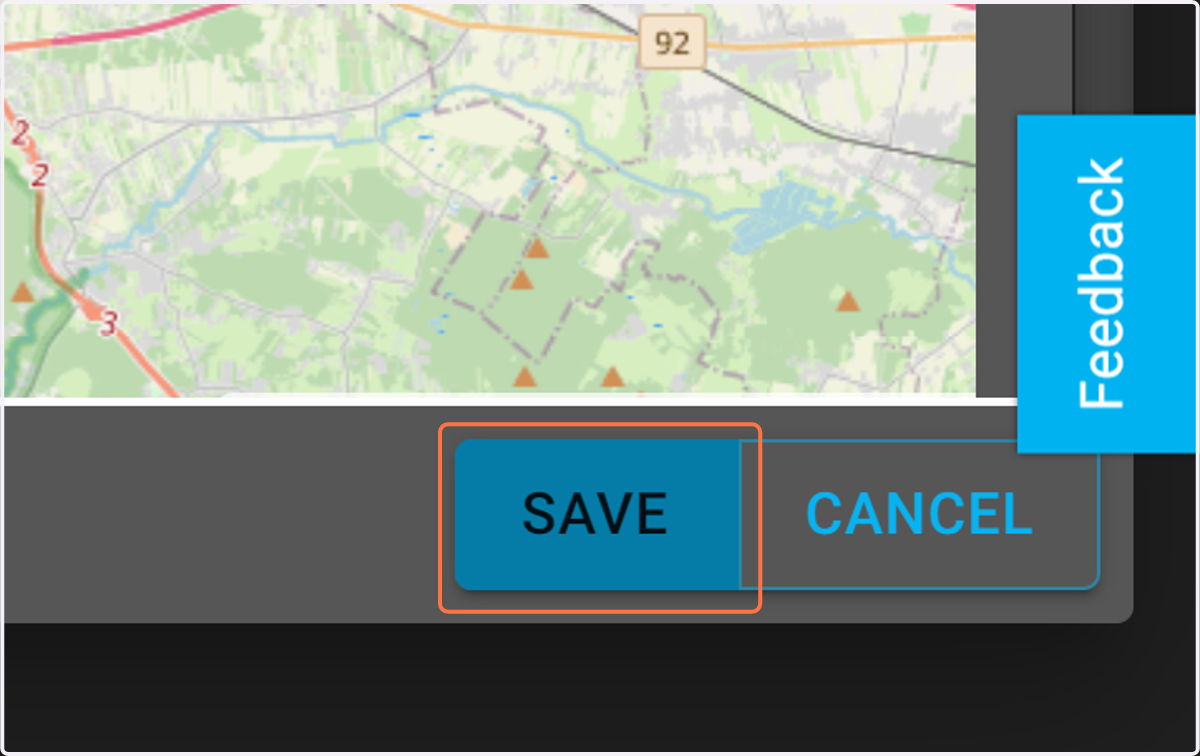
10. Confirm your selection with the "Save" button.
11. Once the site (location) is created, it appears on the list.
The next step will be to create a project in the site. To do this, click on the site you have created.
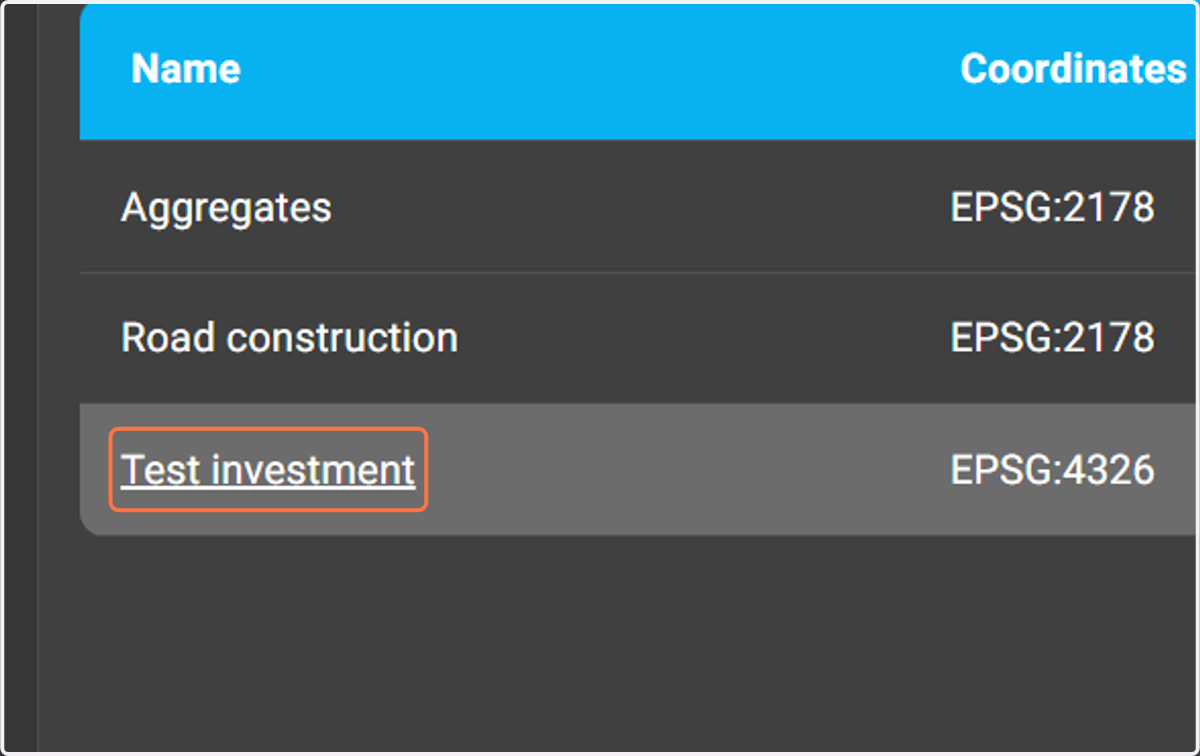
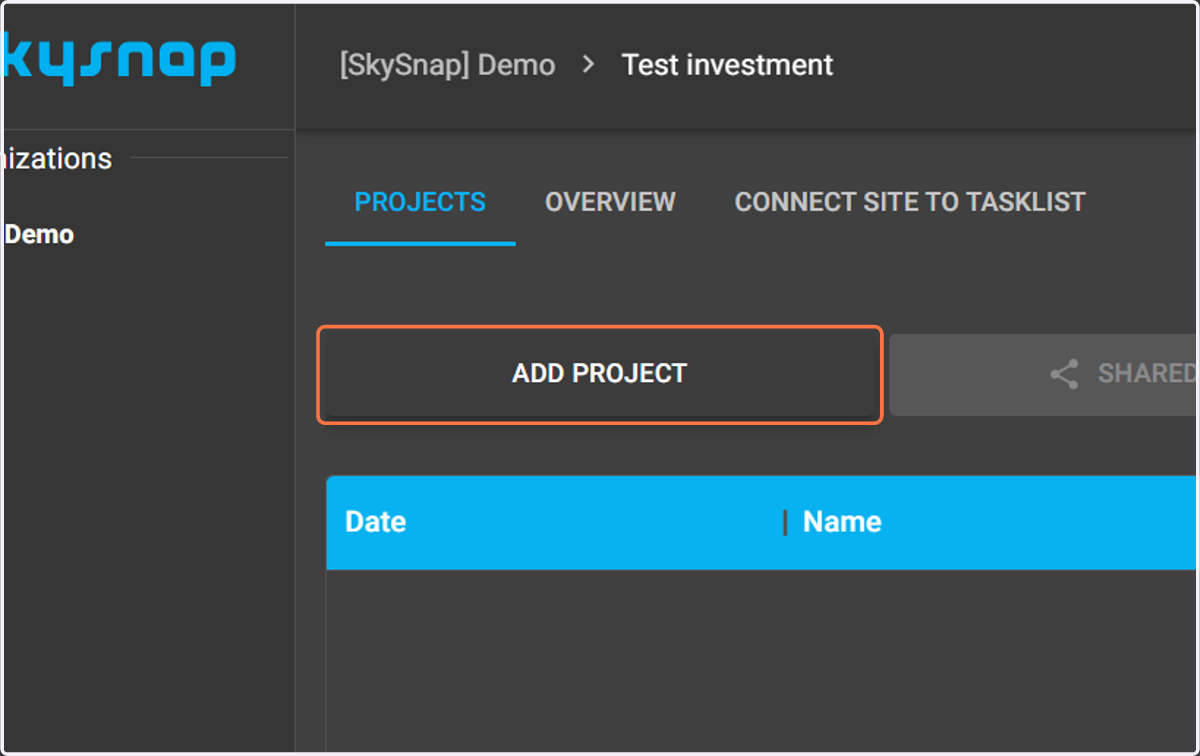
12. Then select the "ADD PROJECT" button.
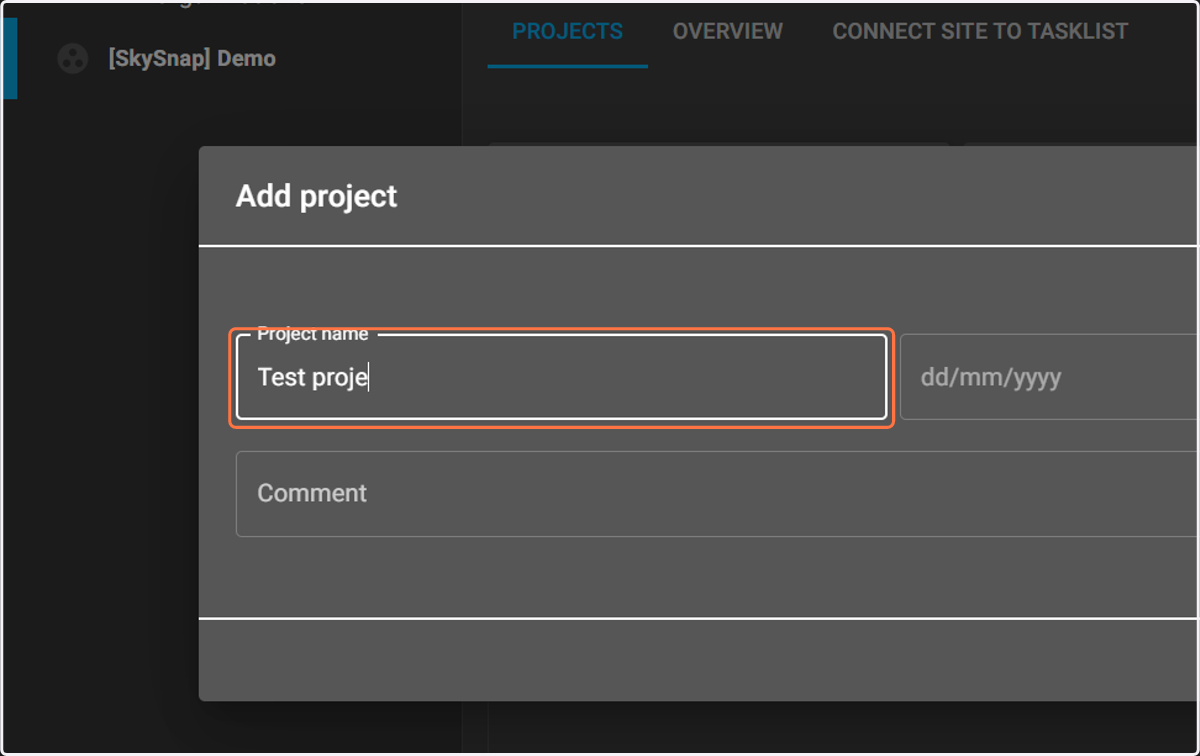
13. Enter name (minimum 4 characters) and pick project date (this can be, for example, the day of collecting drone data).
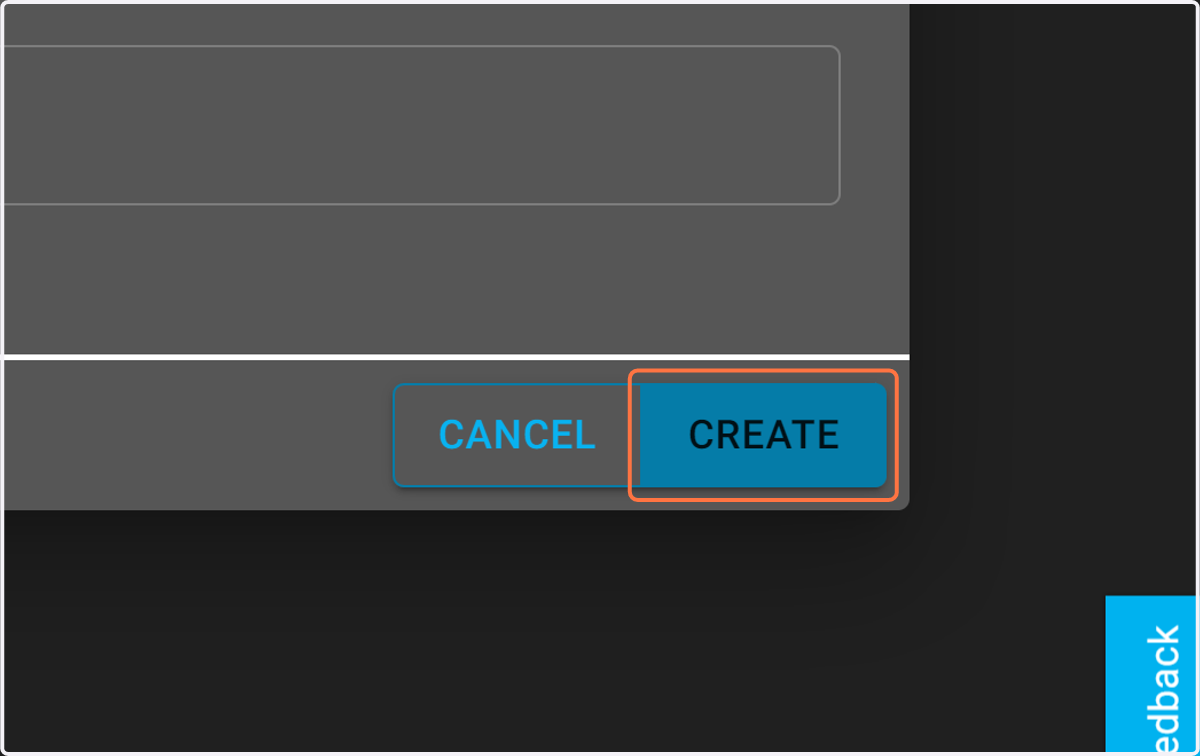
14. Select the "Create" button to confirm the project creation.
Uploading data.
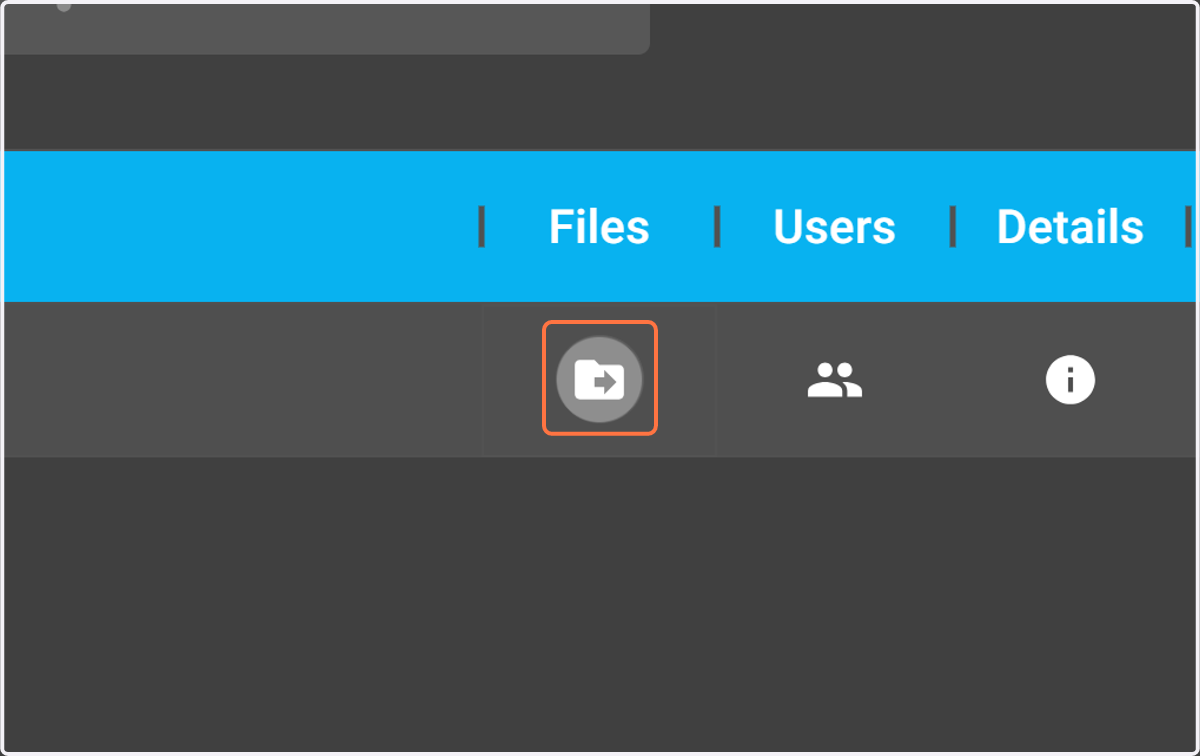
15. In the project management view, select the "Files" icon to enter the file management panel.
In the file view on the left side you can see a drop-down list of available data types. After selecting the appropriate type, the files uploaded to the system containing the selected data type will be displayed, e.g. Rasters (orthophotomaps or elevation rasters, LandXML files, point clouds).
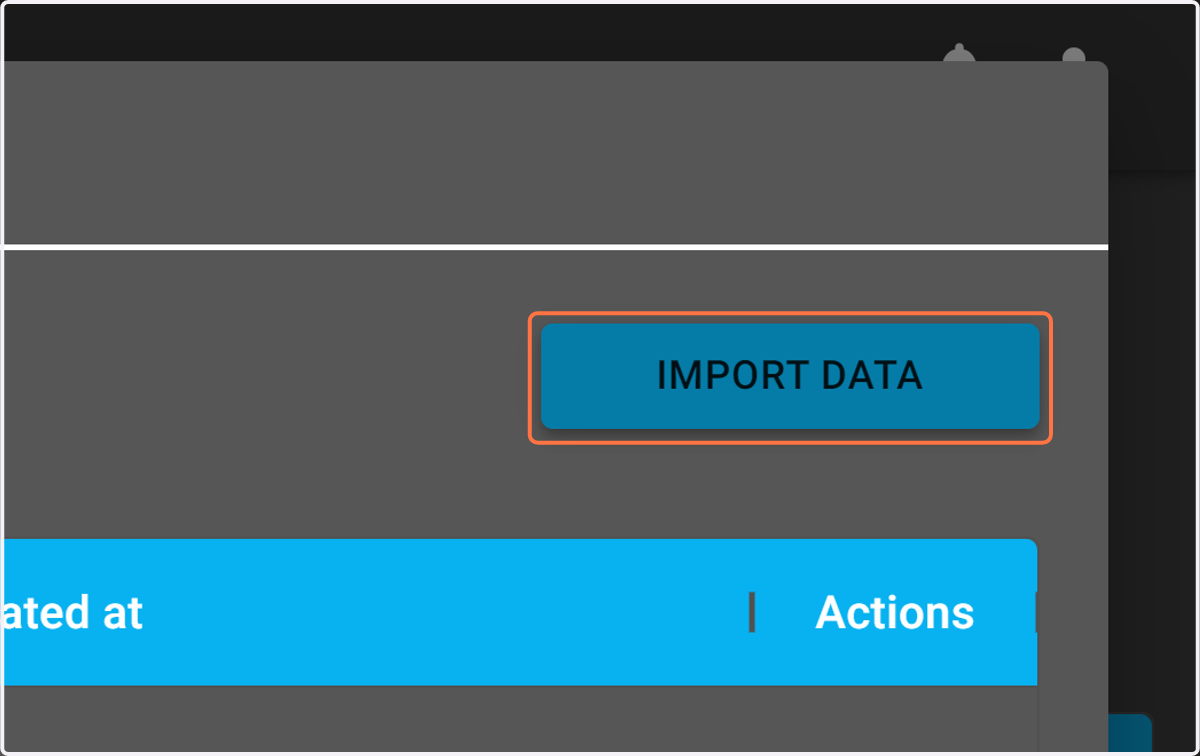
16. To upload data, select the "IMPORT DATA" button.
17. Then select the type of data you want to import.
We can choose from:
Vector data - vector data .geojson, .shp files (shp files should be prepared in the form of a compressed ZIP file)
Rasters - raster data divided into orthophotomaps and elevation rasters. .tif, .geotif files.
CADs - .dxf and .dwg files
LandXML - .xml files containing terrain surfaces
Point clouds - point clouds in .las and .laz format
Mileages - road axes to automate the settlement of earthworks. If you are interested in automation, contact app@skysnap.com and we will help you prepare files with axes in the appropriate form.
NOTE: When uploading data, you can only select one file type at once. That is, if you want to upload an orthophotomap and a point cloud, you need to do it separately, e.g. first upload the orthophotomap, confirm the upload, and then select the "Point Cloud" type, select the point cloud and confirm again.
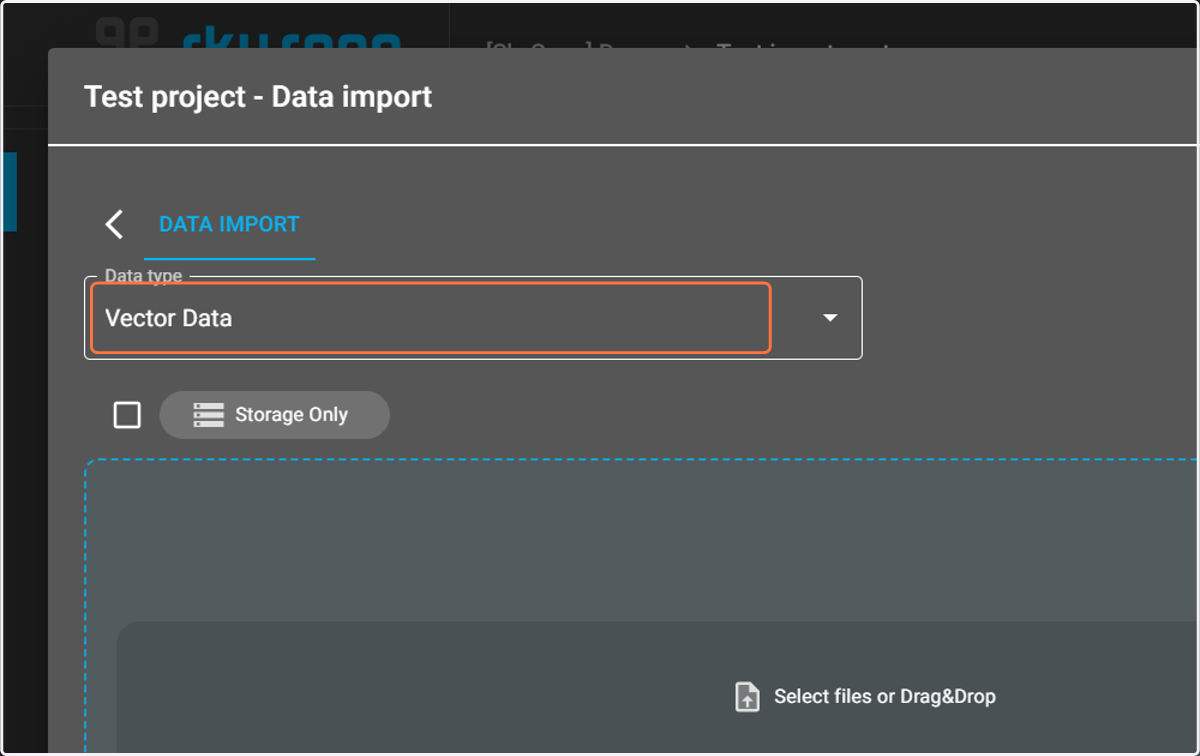
18. EXAMPLE - uploading an orthophotomap.
After selecting the “DATA IMPORT” button, choose the Rasters data type.
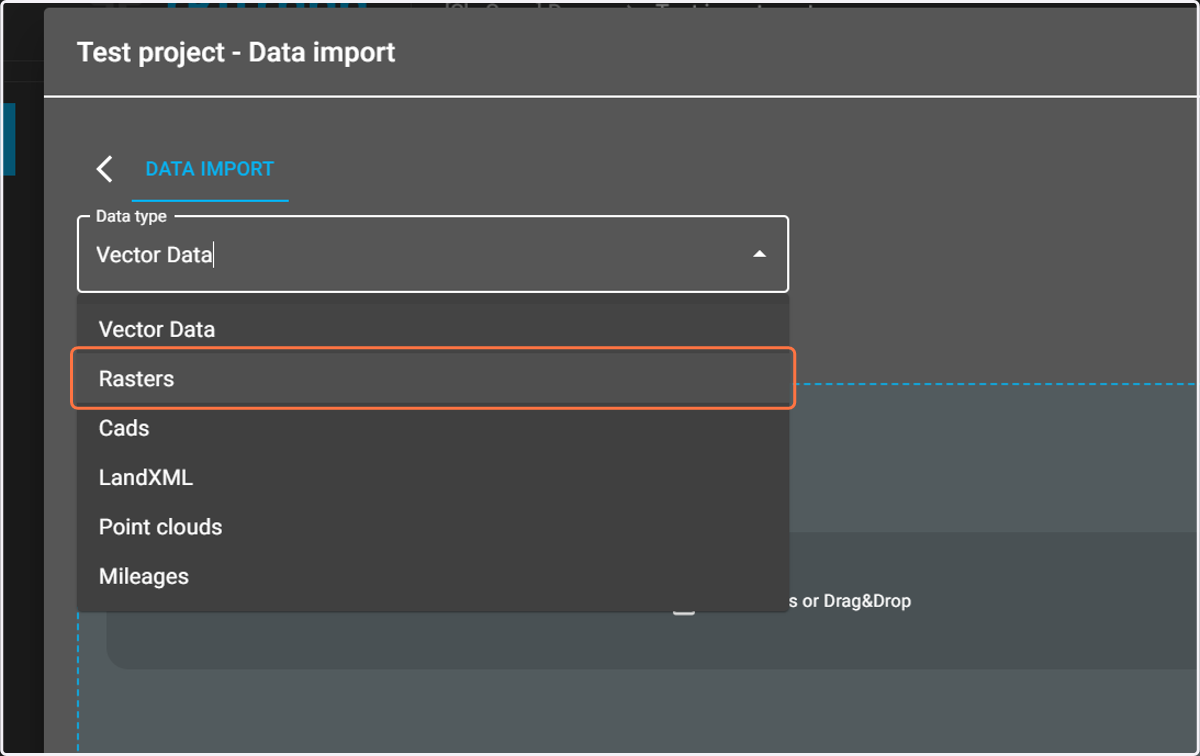
19. Then select the raster type as "Orthophotomap".
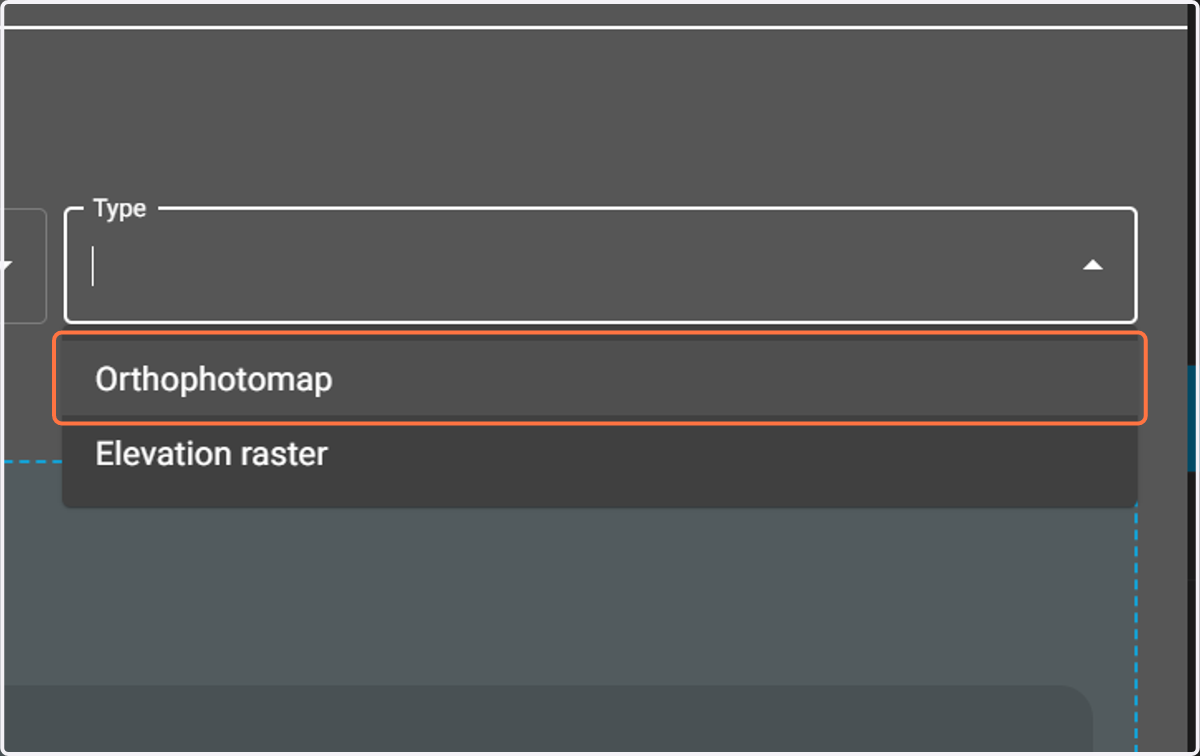
20. Uploading a file with an orthophotomap.
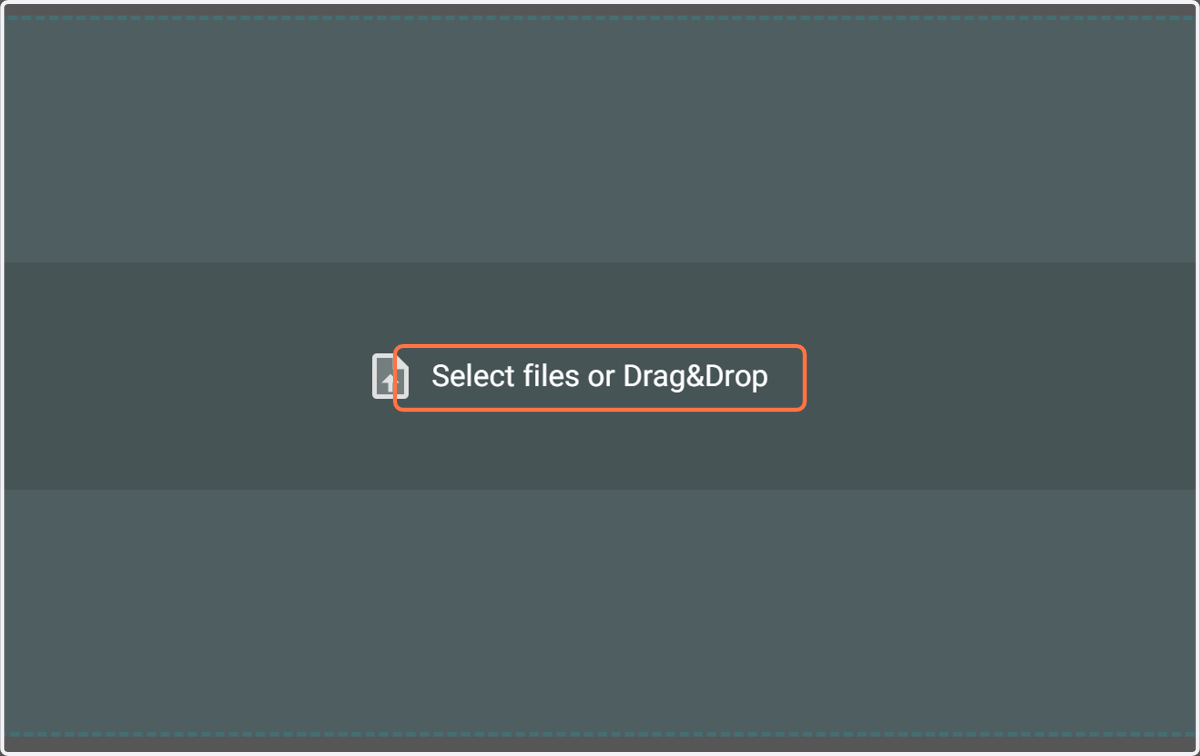
Drop the file onto the field marked with a blue dashed line or click the Select files button to select the file/files of interest from your computer.
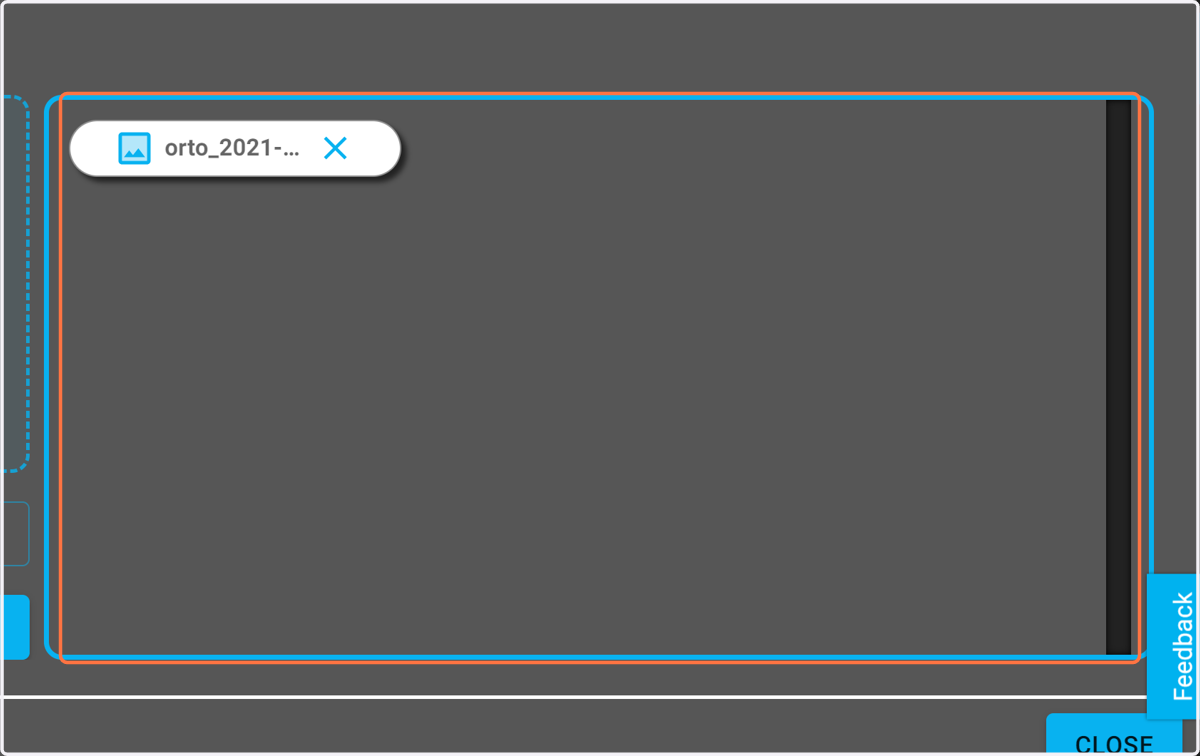
21. Once you have selected the appropriate file, it will appear in the list (example below).
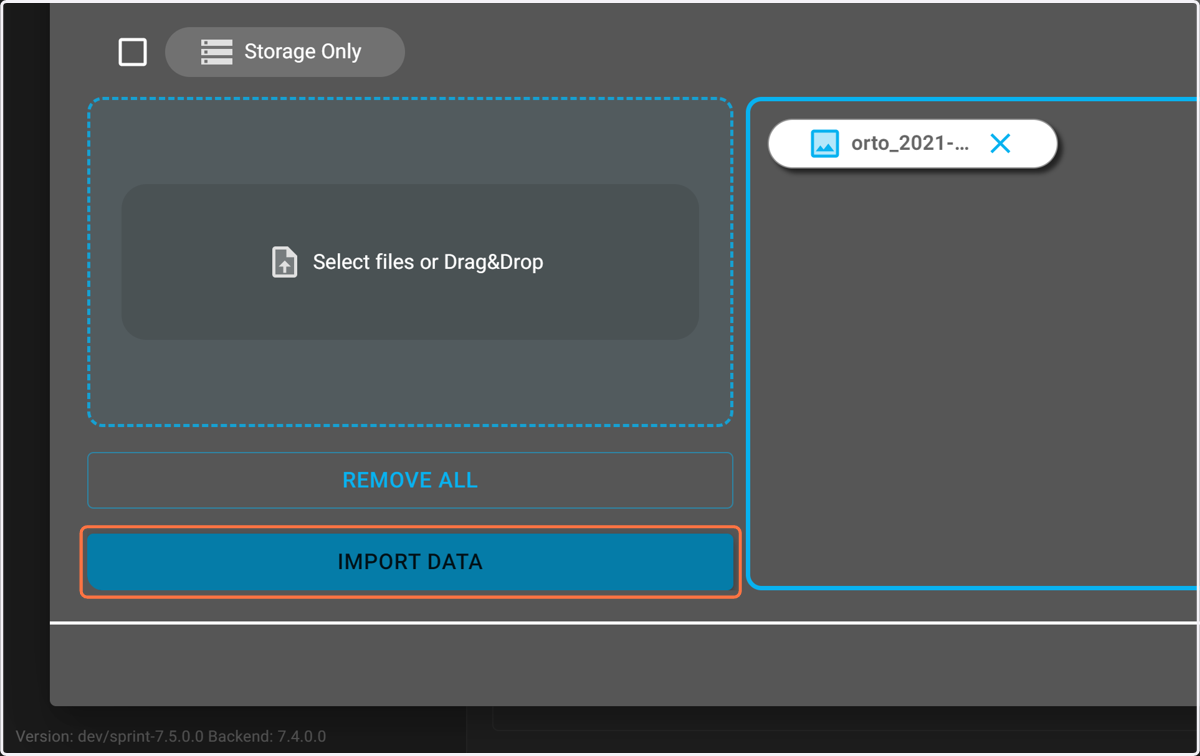
22. Then select the "IMPORT DATA" button.
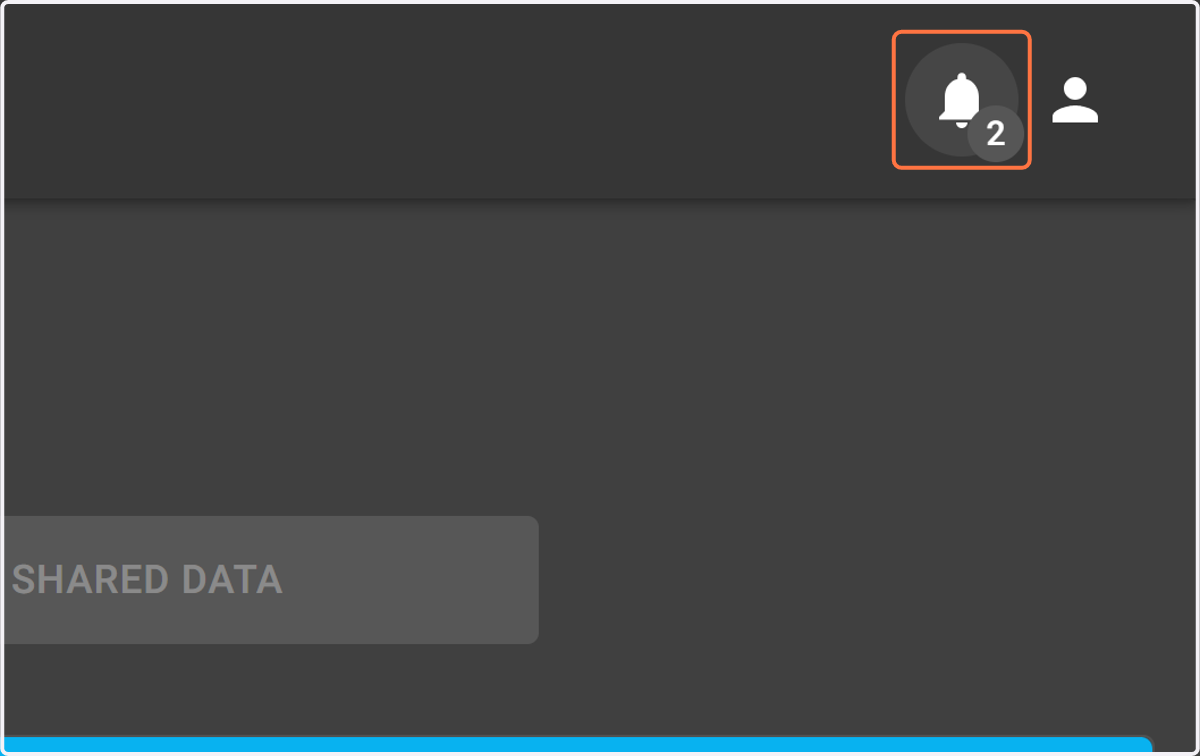
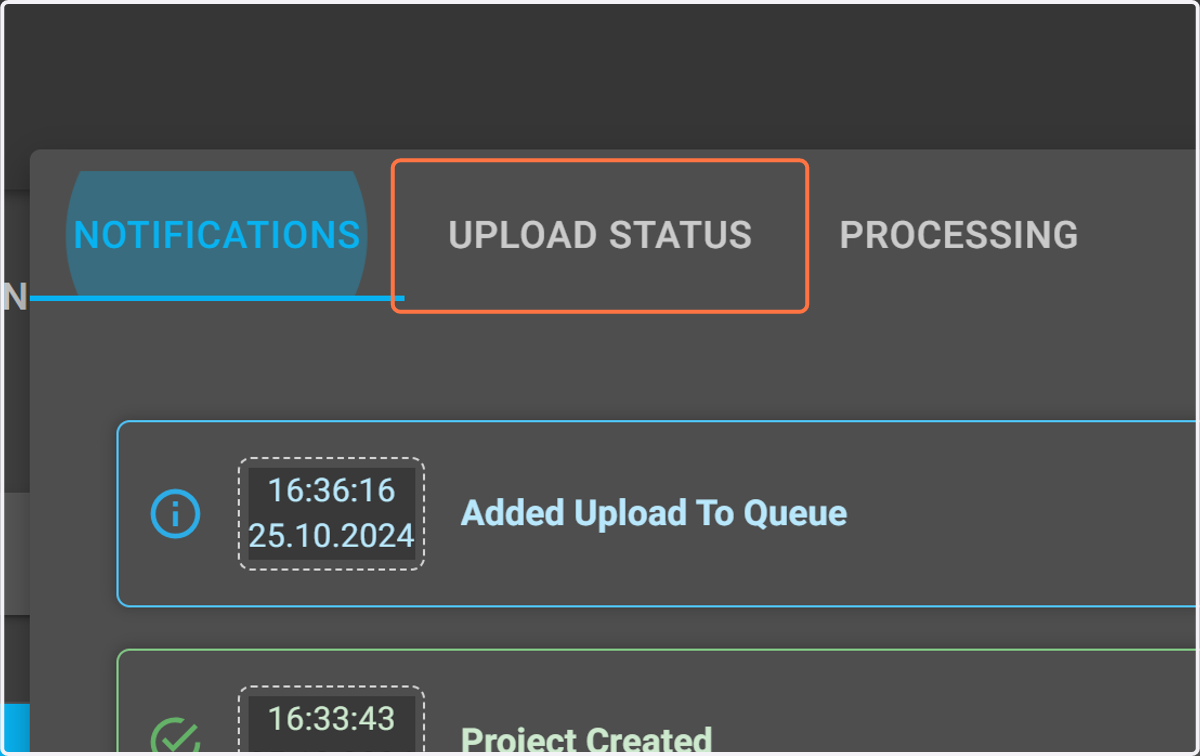
23. Data is being uploaded to the system, and the file upload progress can be viewed by selecting the bell button in the upper right corner of the screen.
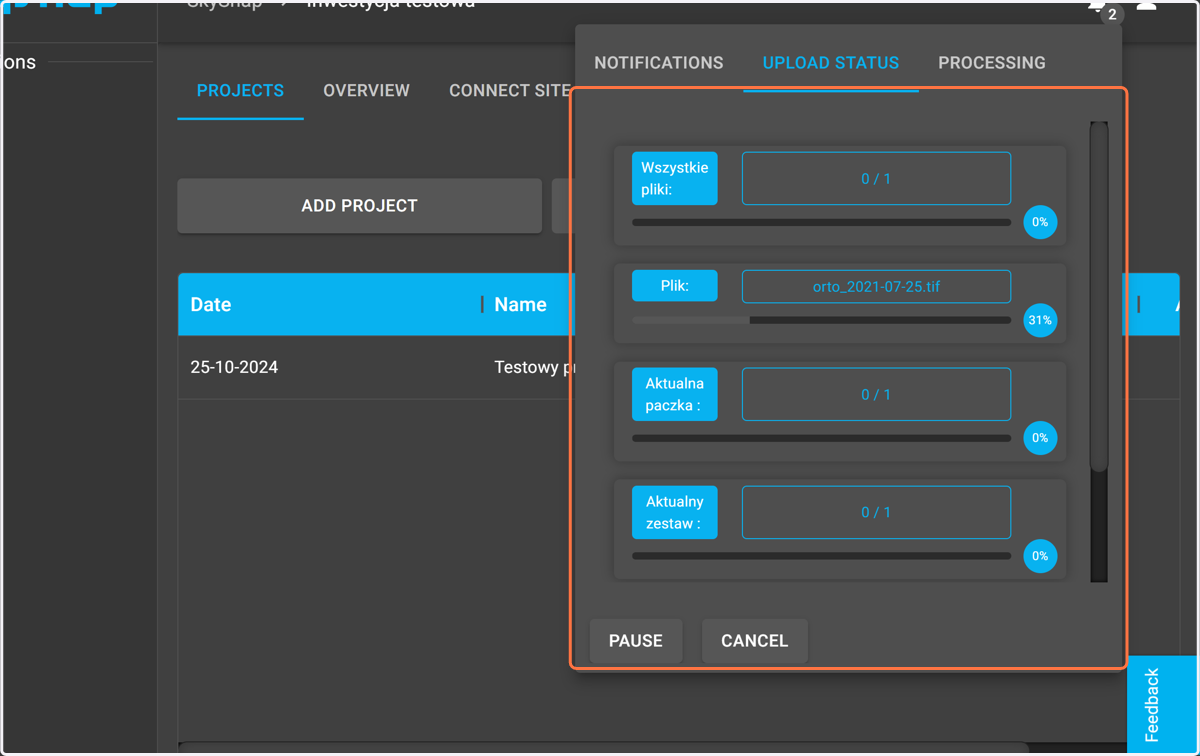
24. Then go to the "Upload status" tab.
25. In this view you can see the progress of data uploading.
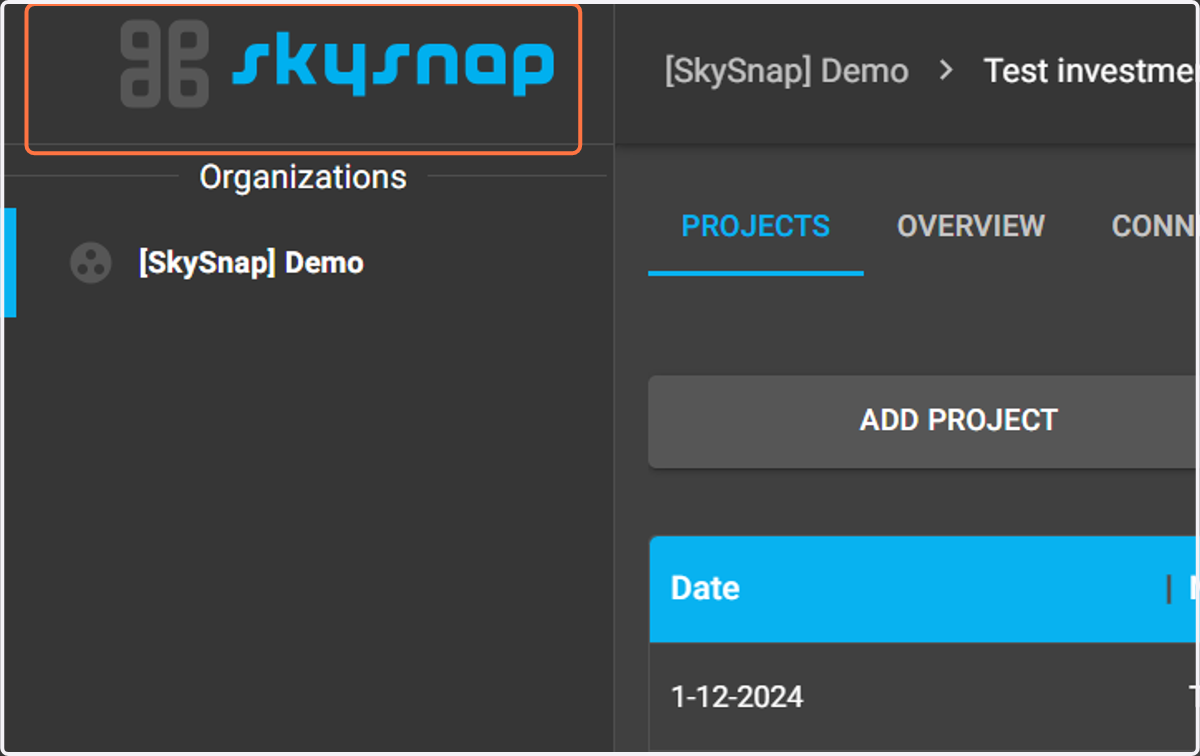
26. If the file upload is completed, you can go back to the main application view by clicking on the "SkySnap" logo in the upper left corner.
27. Select the organization with the name of your company from the drop-down list.
NOTE: If you have not provided your company name, this will be your email address
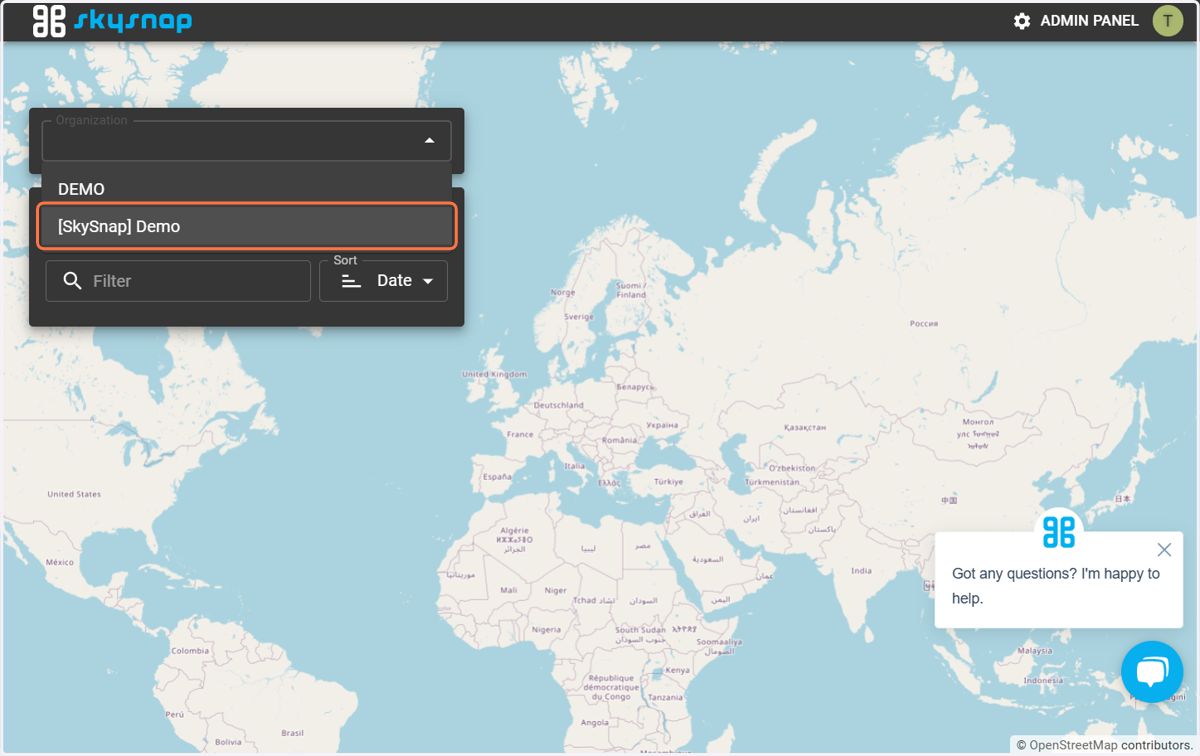
28. After selecting an organization, a list of your sites (locations) is displayed.
Sites are linked to pins on the map. The position of the location on the map depends on the place that was selected when creating the site.
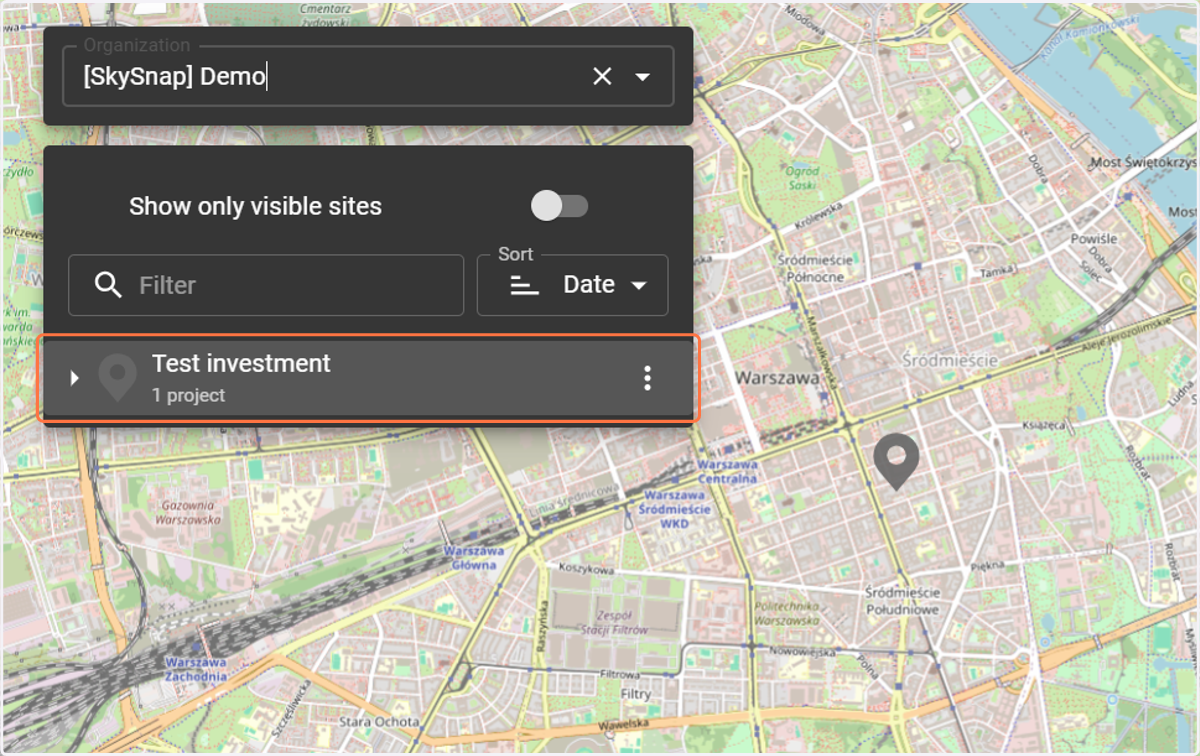
29. After selecting the site (location), move on to the first previously created project.
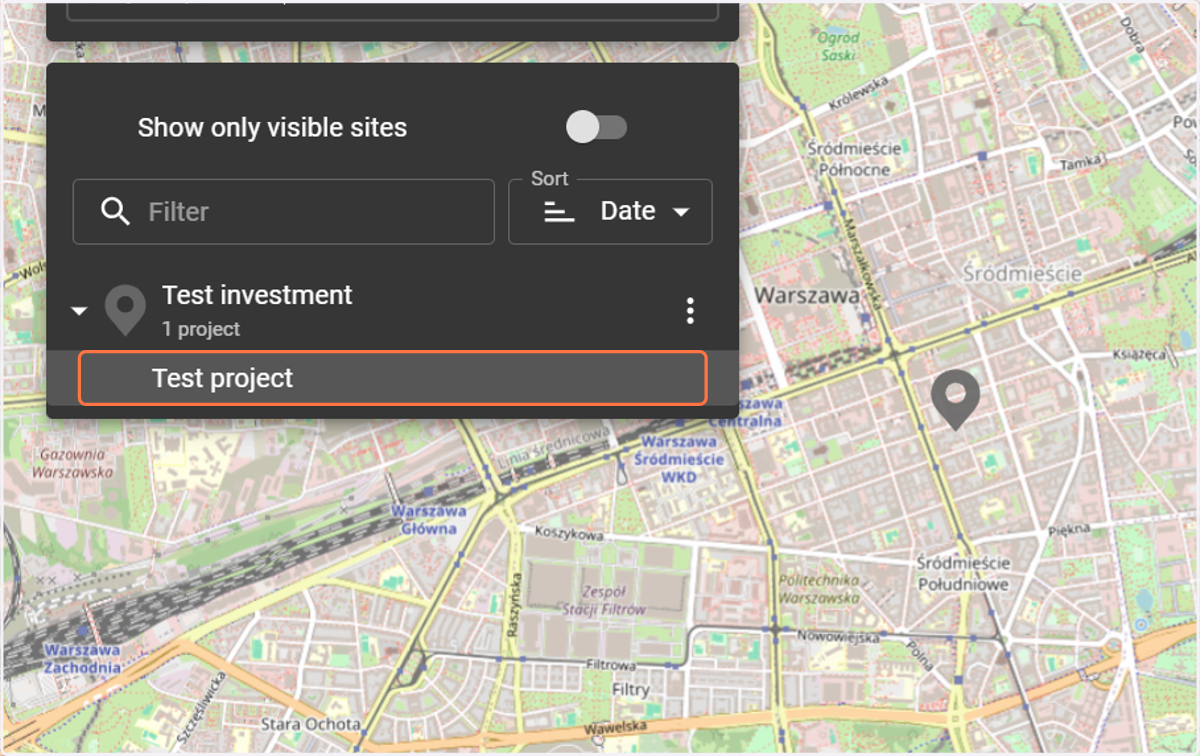
30. You can see the project screen, where you should see the data imported into the system. In this view you can analyze data, take measurements and generate reports.
After clicking on the "Layers" tile on the left sidebar, a list of imported data is displayed. As for the point cloud, a "3D" button will appear in the right navigation panel.
NOTE: If the data has been imported and you still don't see it in the project, it may mean that it is still processing. The length of processing depends on the type and size of the data. For data covering several hectares, this process takes a several minutes.