Creating a Trailblazer Data NFT on zEdgeStorage with IPNS
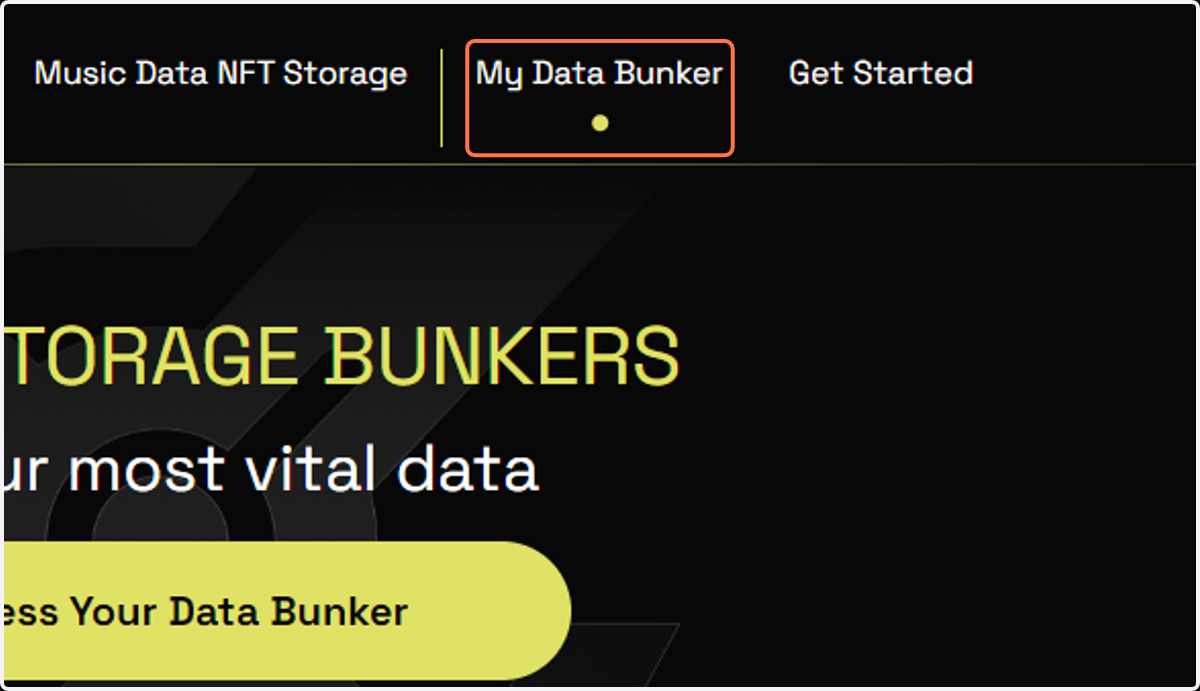
1. Click on My Data Bunker
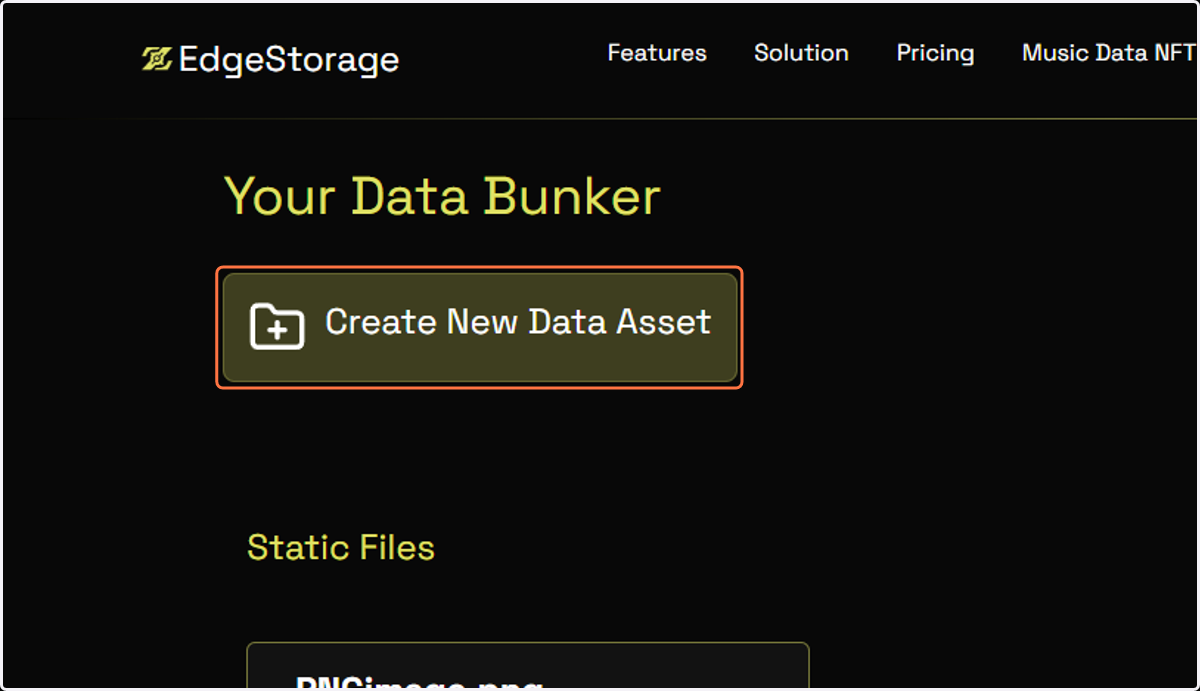
2. Click on Create New Data Asset
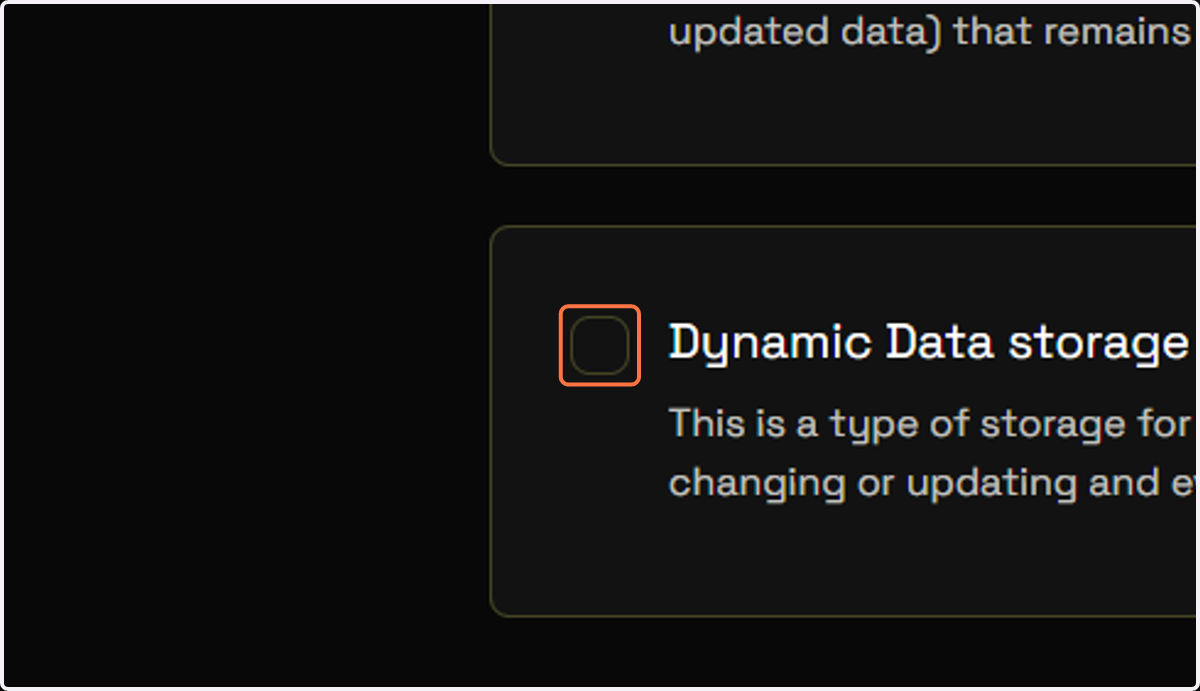
3. Click on Dynamic Data storage…
4. Click on Next
5. Click on Trailblazer Data NFT…
6. Click on Next
7. Click on Decentralized / Web3 Storage…
8. Click on Next
9. Click on IPNS + IPFS
10. Click on Start uploading
11. Fill in the Name and Creator fields for the dataset.
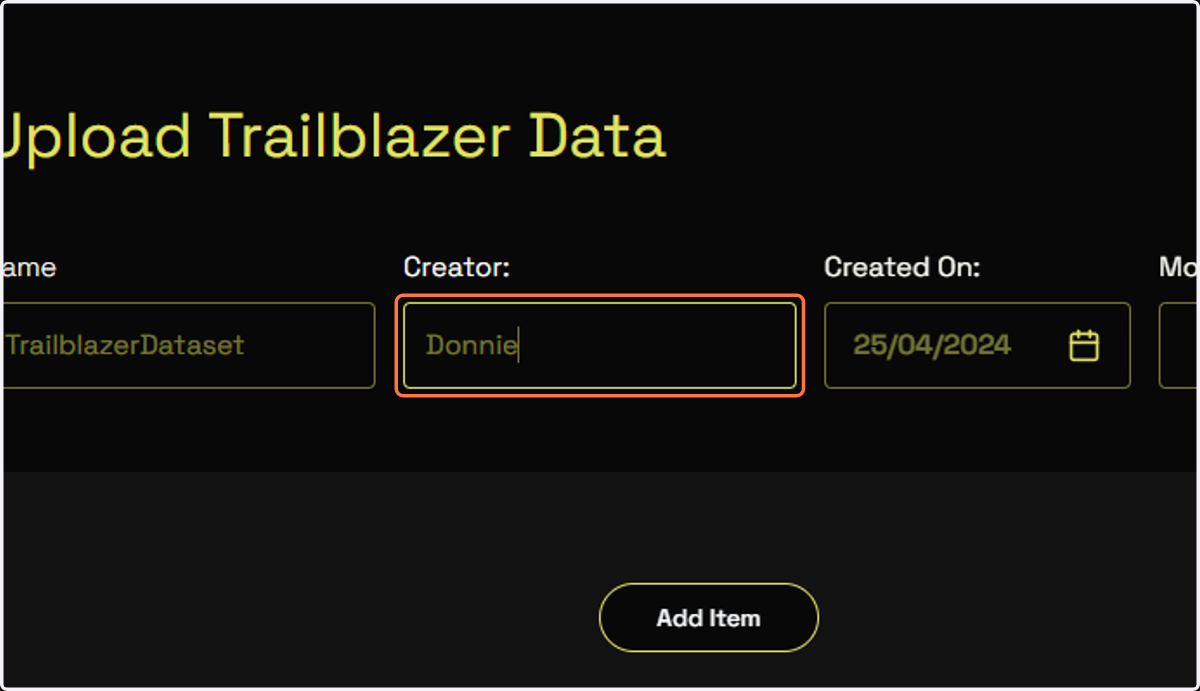
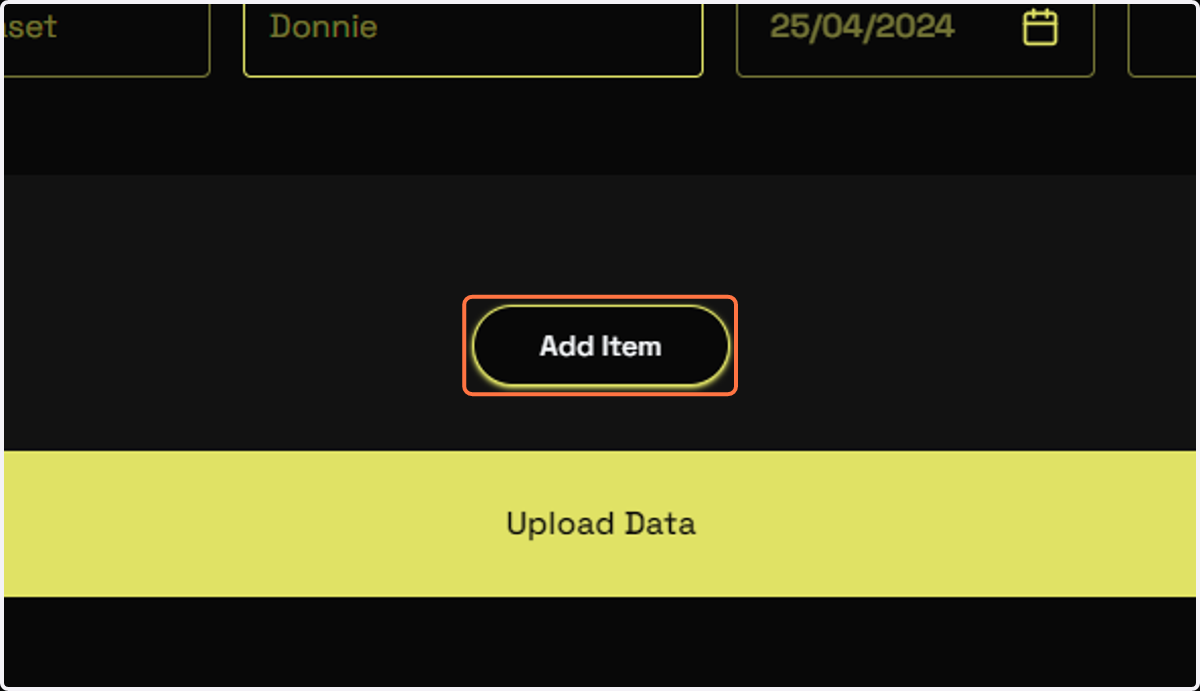
12. Click on Add Item, we are going to add a survey and a quest to our Trailblazer dataset.
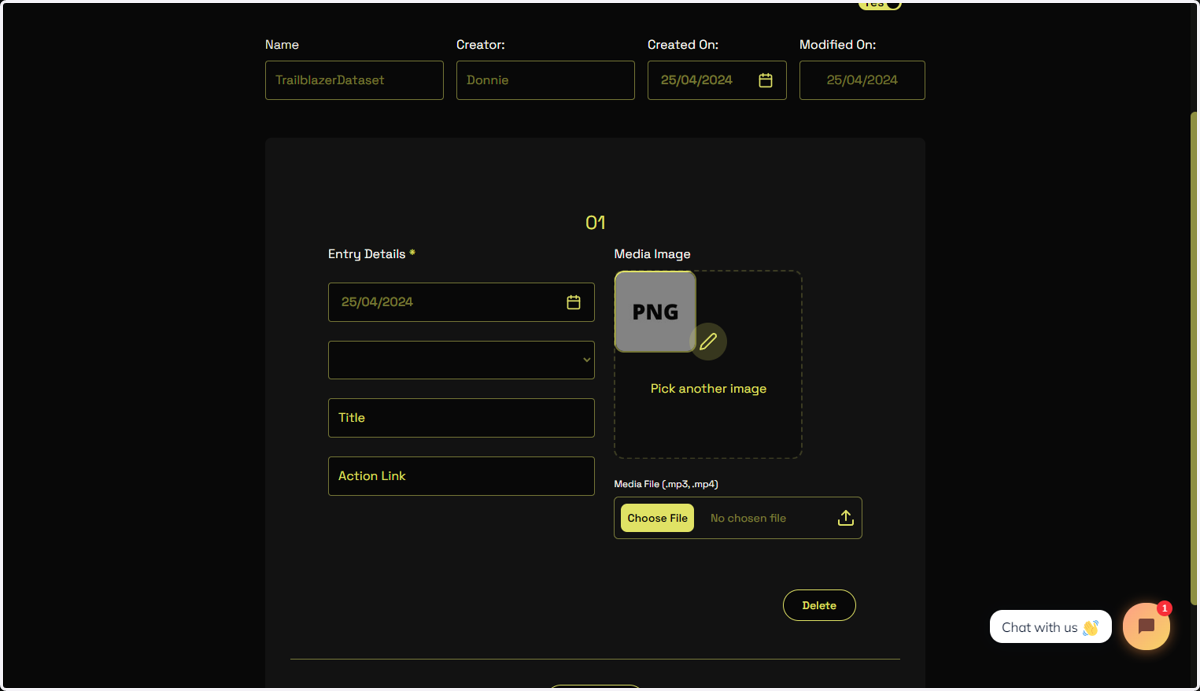
13. Select "Item 1.jpg" from file upload menu
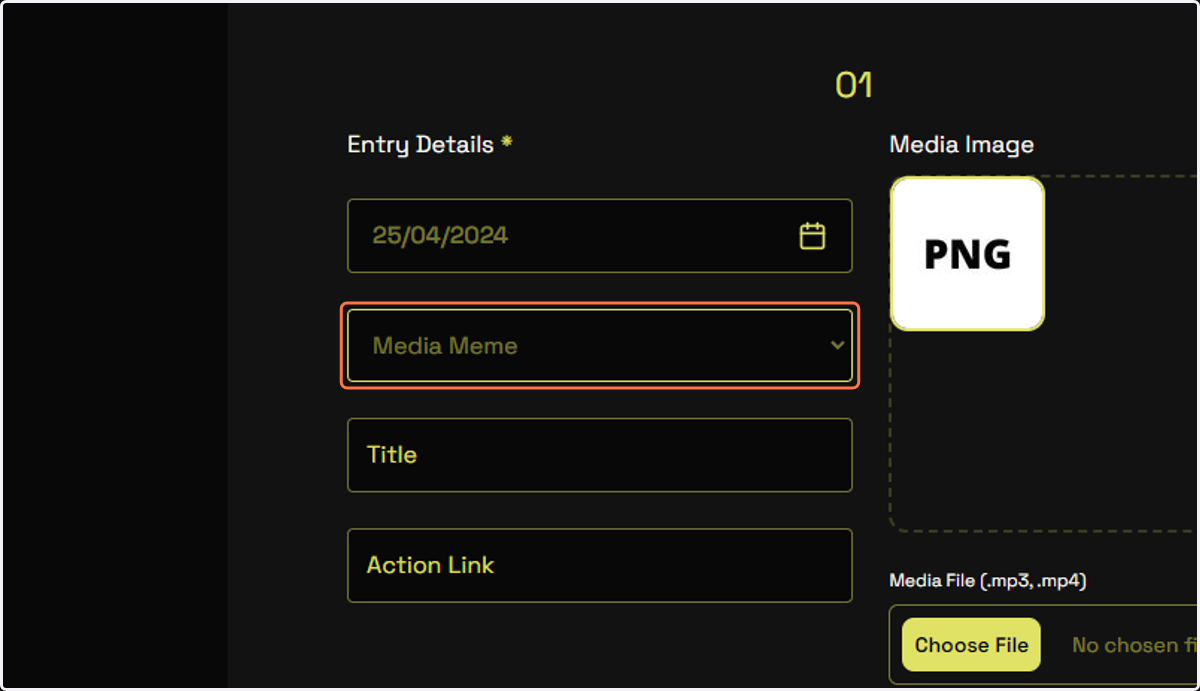
14. Select Media Meme
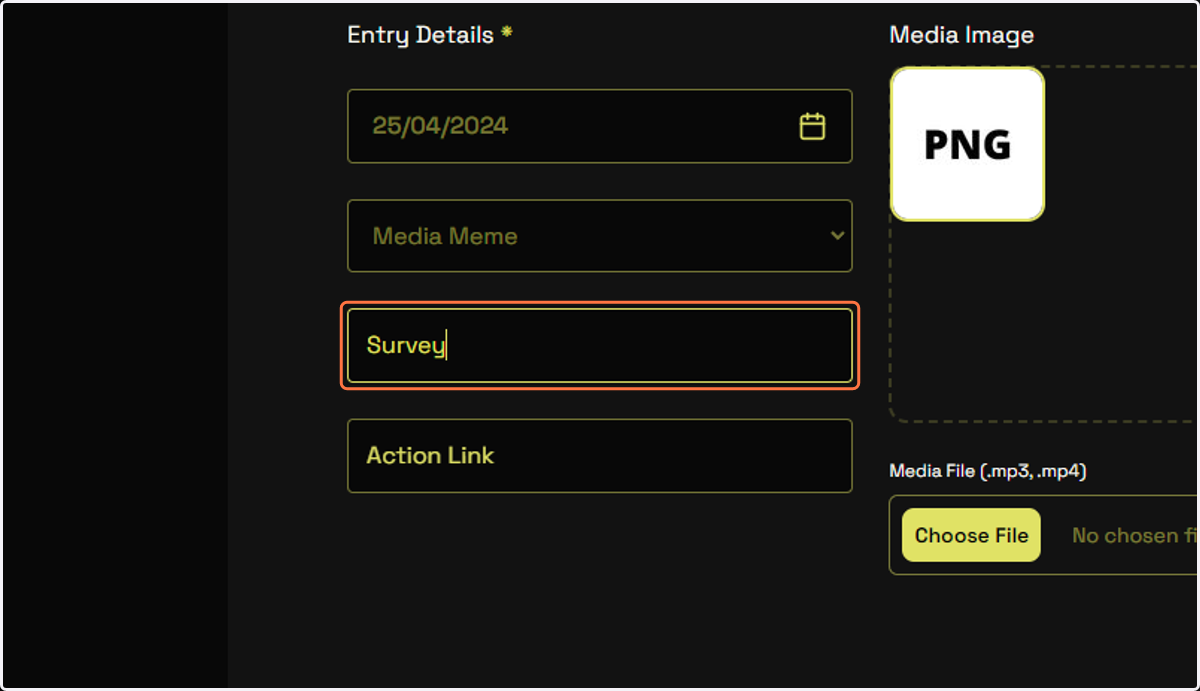
15. Type "Survey"
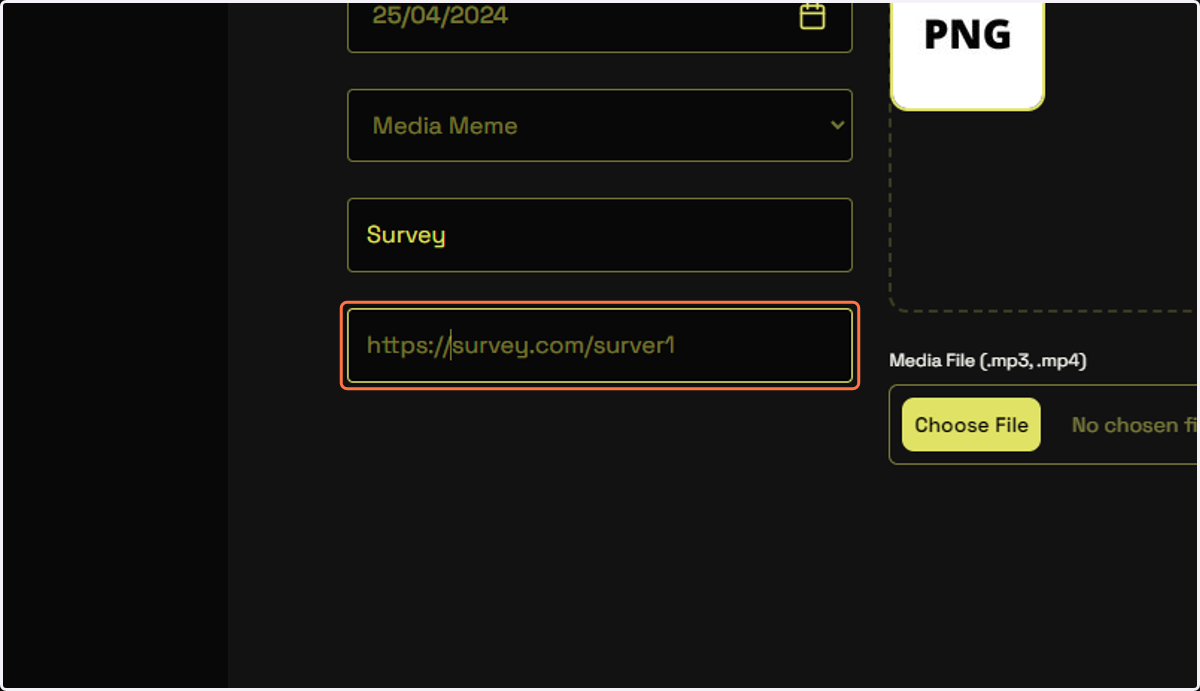
16. Type "https://survey.com/survey1"
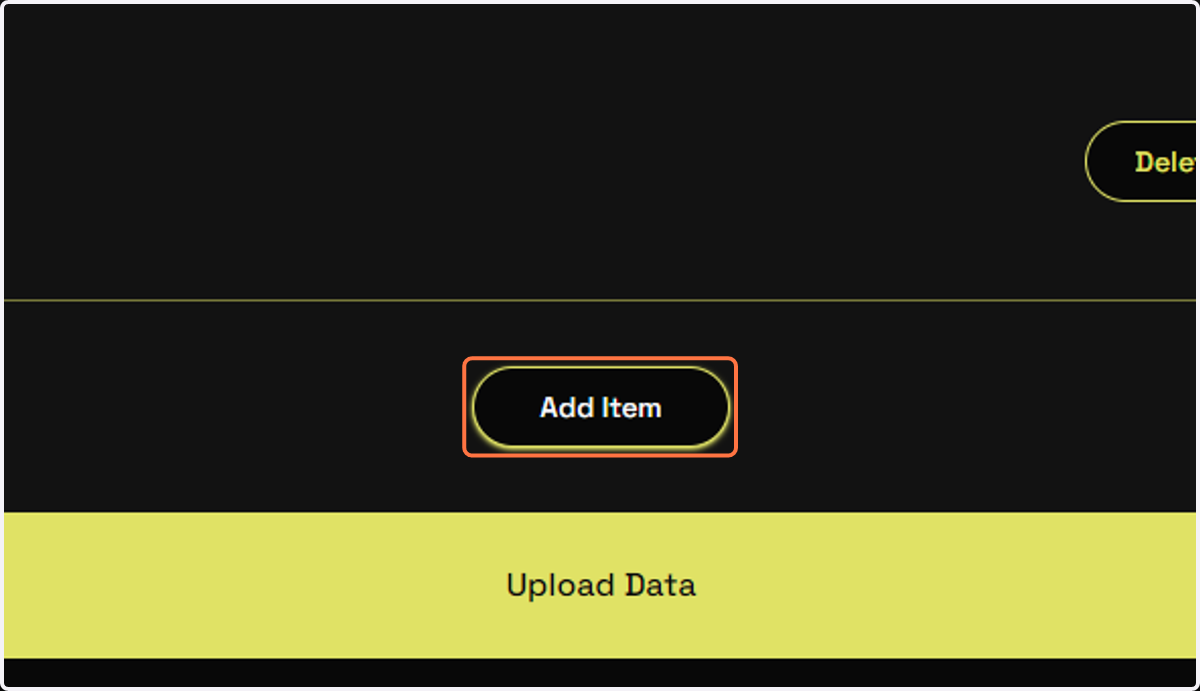
17. Click on Add Item
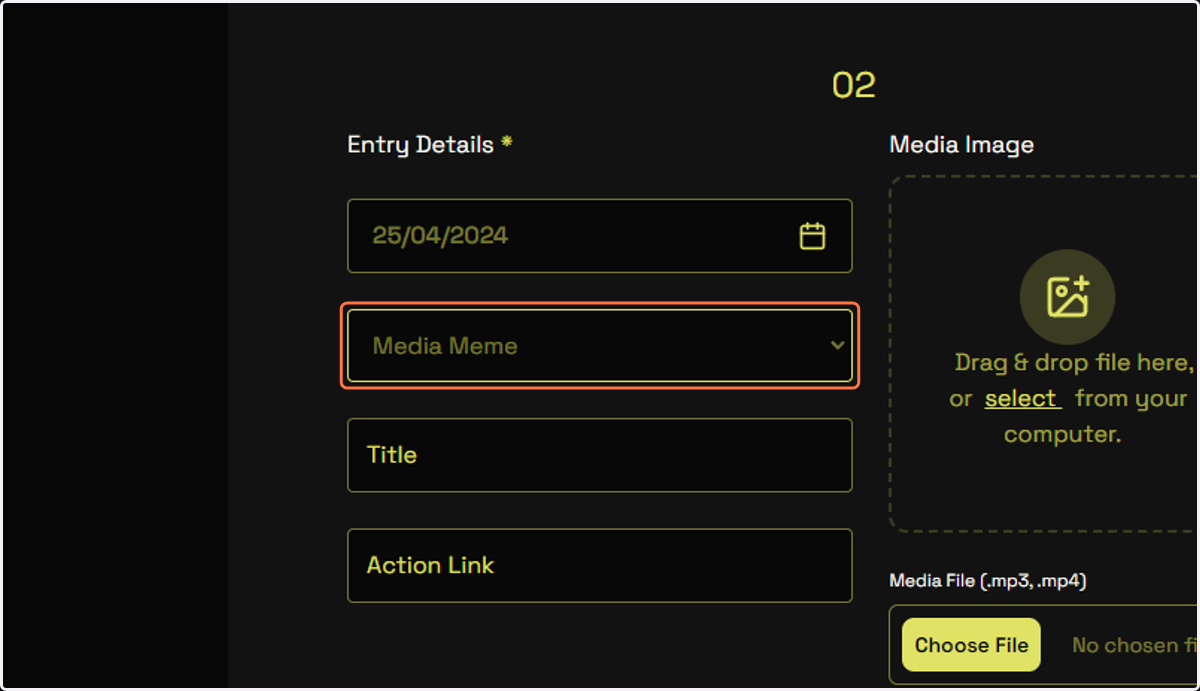
18. Select Media Meme
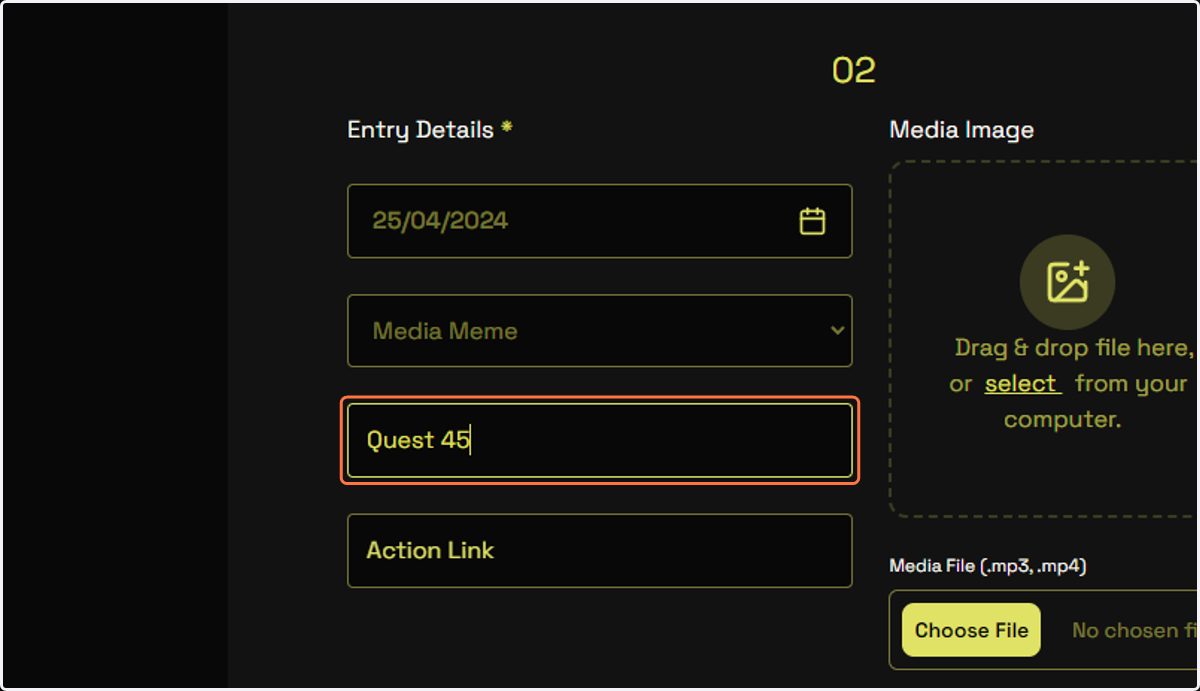
19. Type "Quest 45"
20. Type "https://galxe.com/quest43"
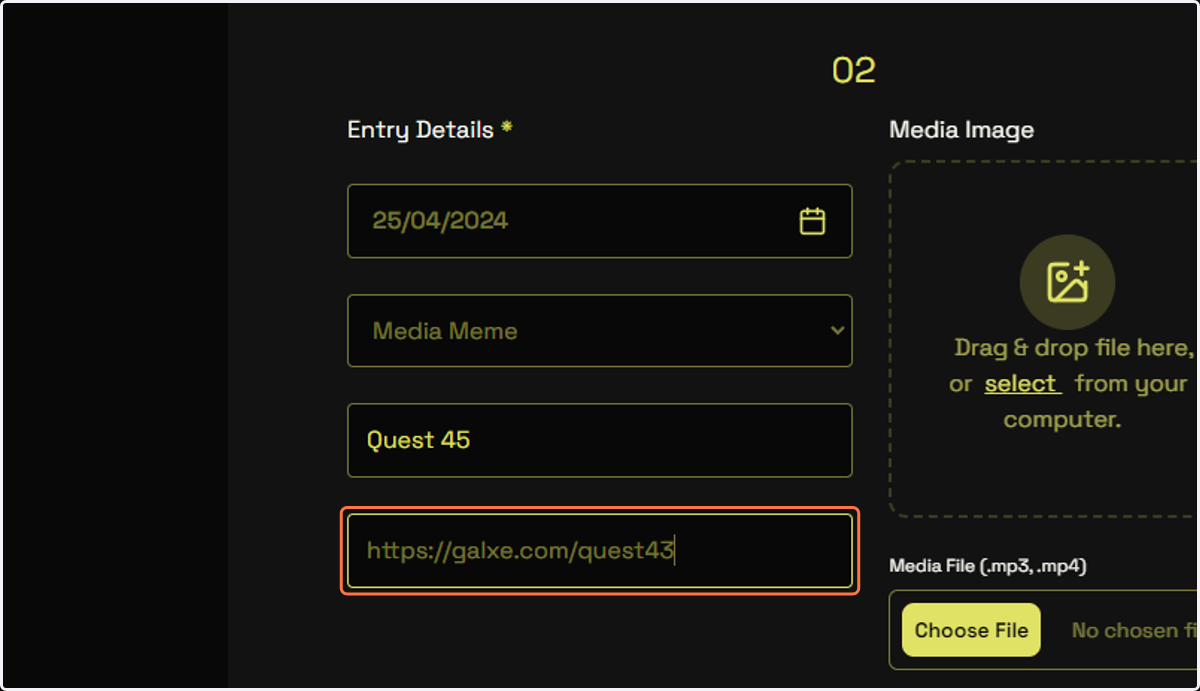
21. Select "Item 2.png" from file upload menu
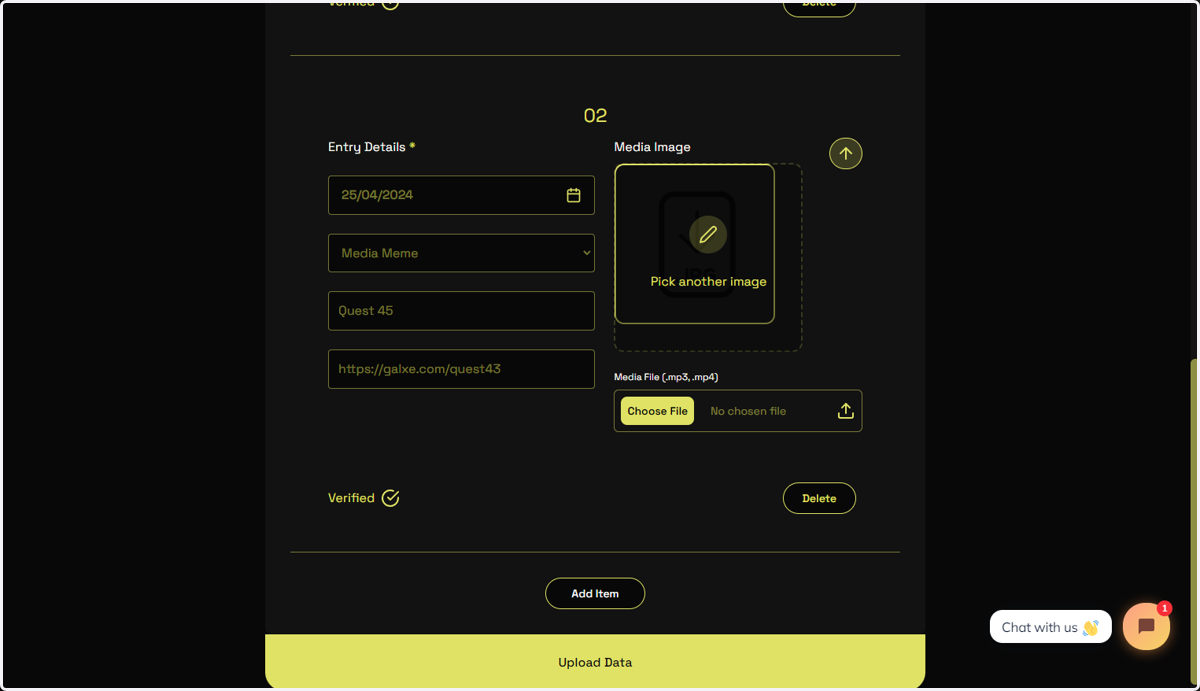
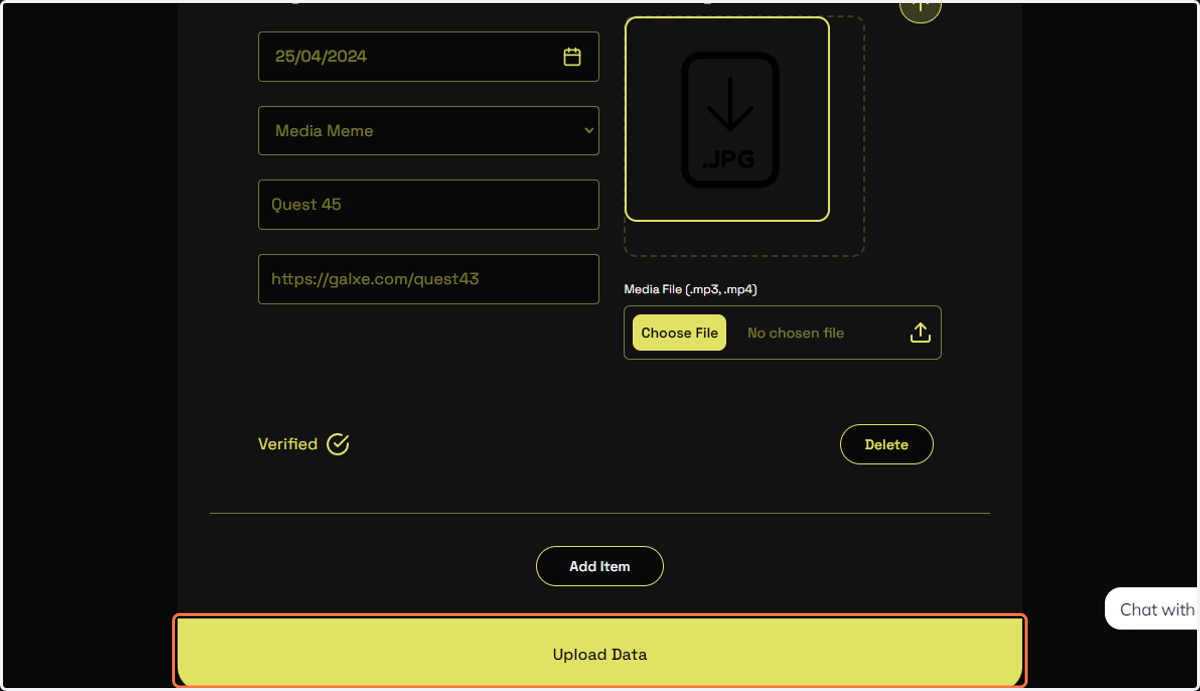
22. Click on Upload Data
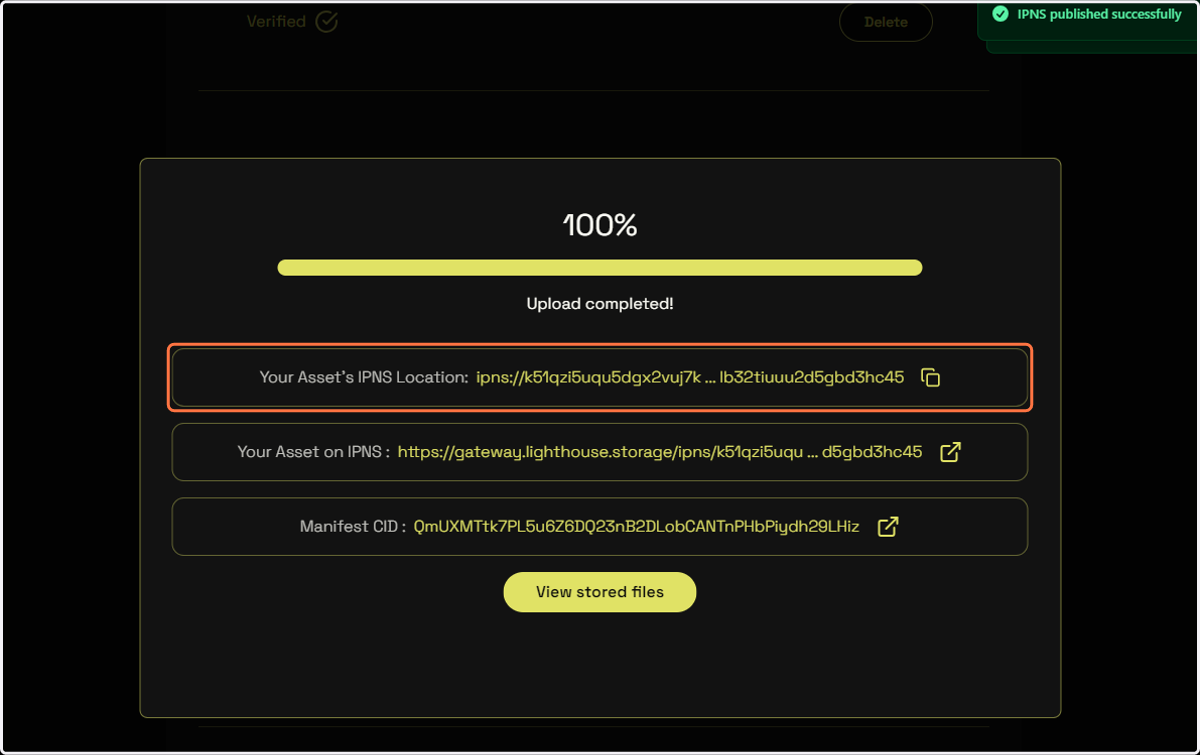
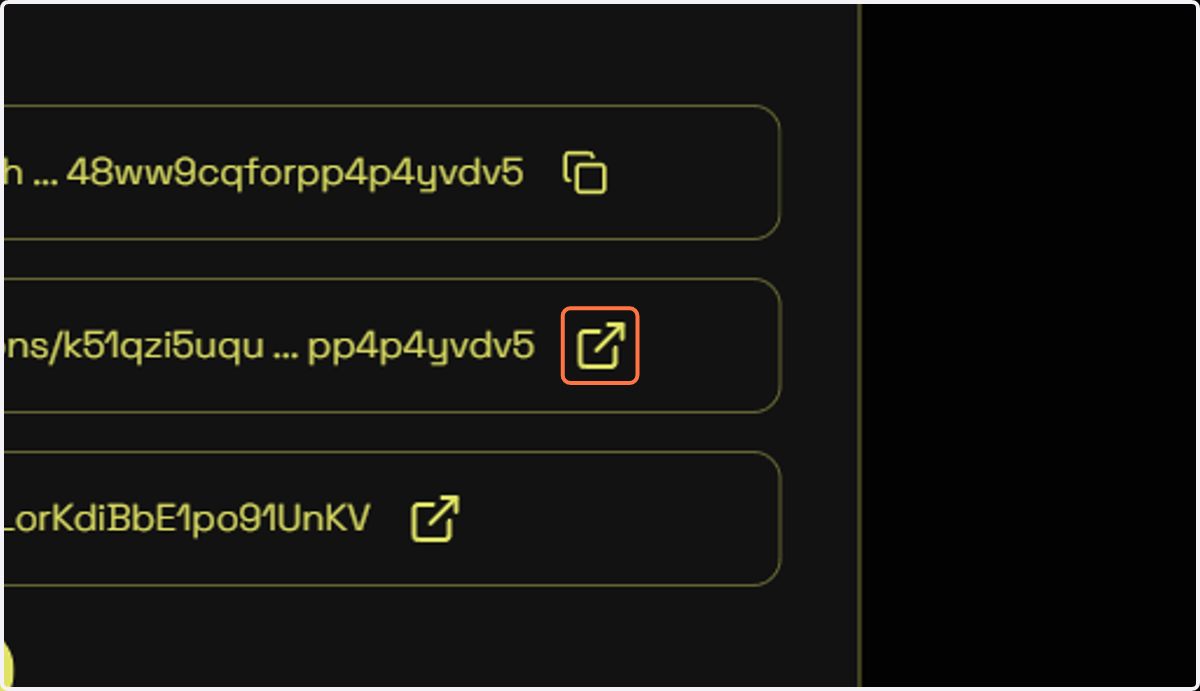
23. Click on the IPNS copy icon to use as your IPNS URL while minting your Data NFT.
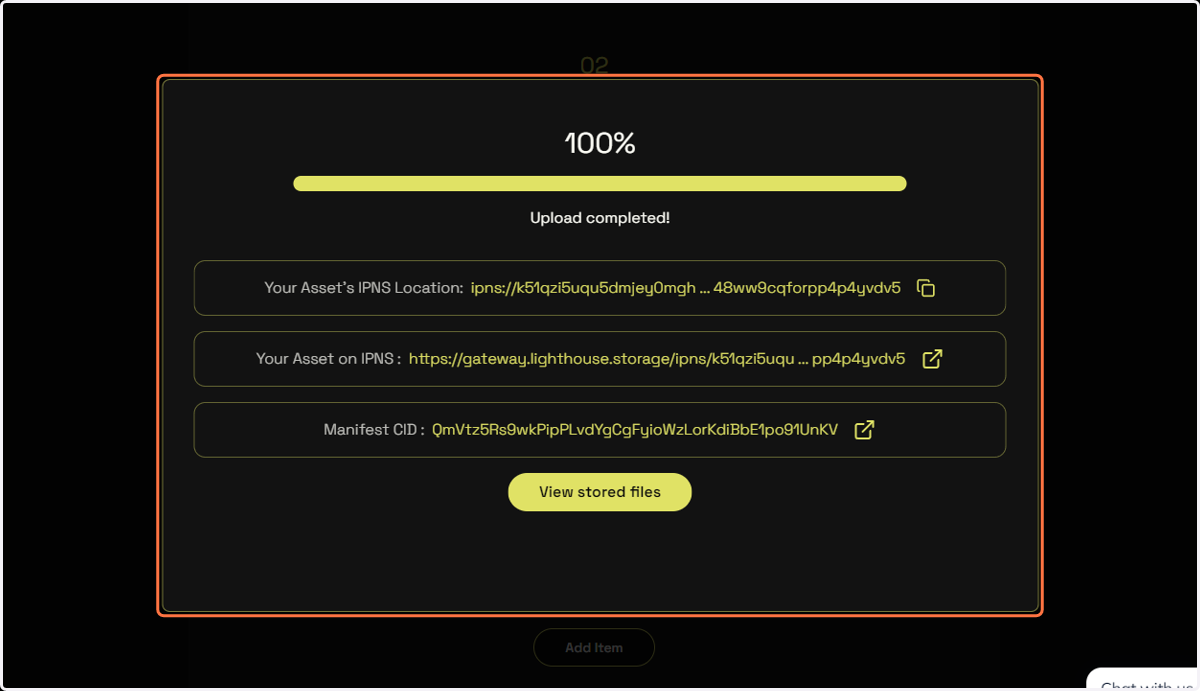
24. Click on the IPNS redirect to view the Trailblazer manifest file containing the 2 items.
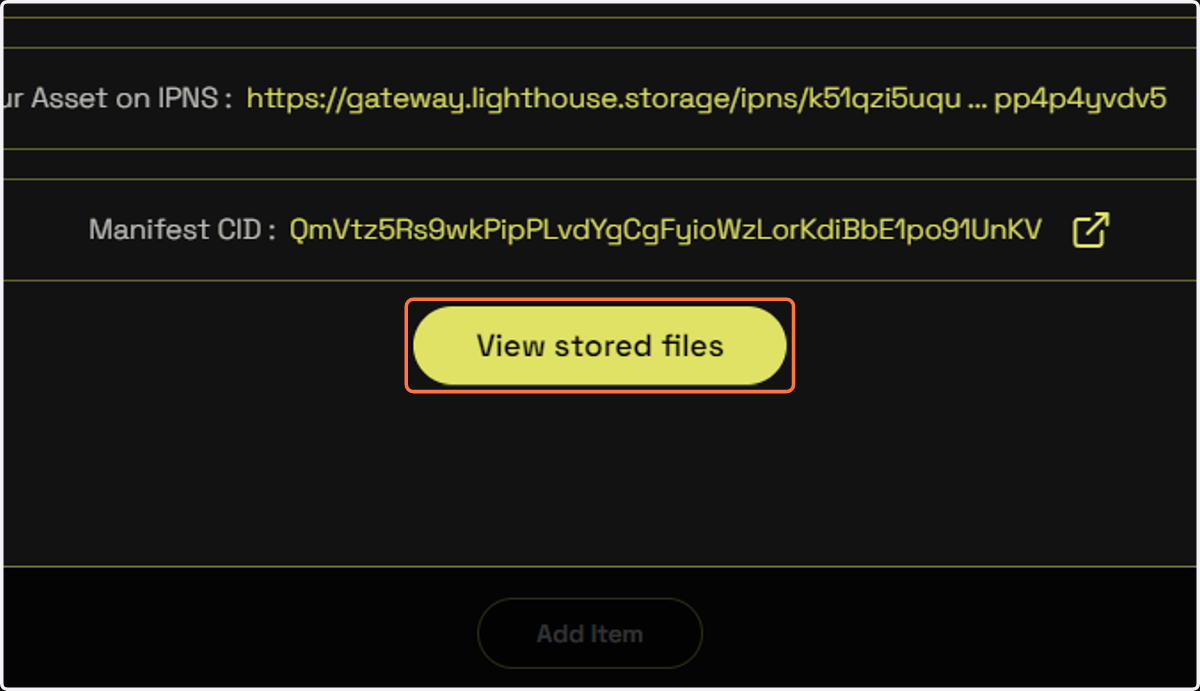
25. Click on View stored files to see your repository of Datasets.
26. Click on My Data Bunker
27. Select the Trailblazer dataset and then the edit icon.
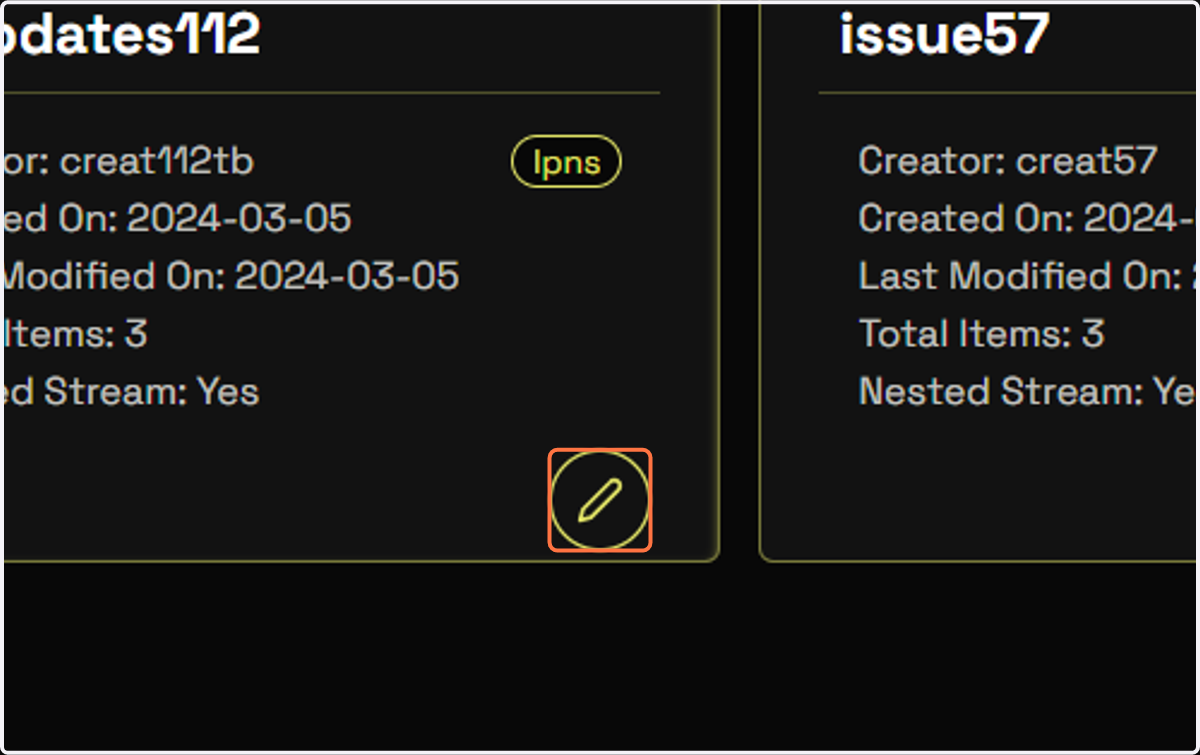
28. Update the Trailblazer items as required.
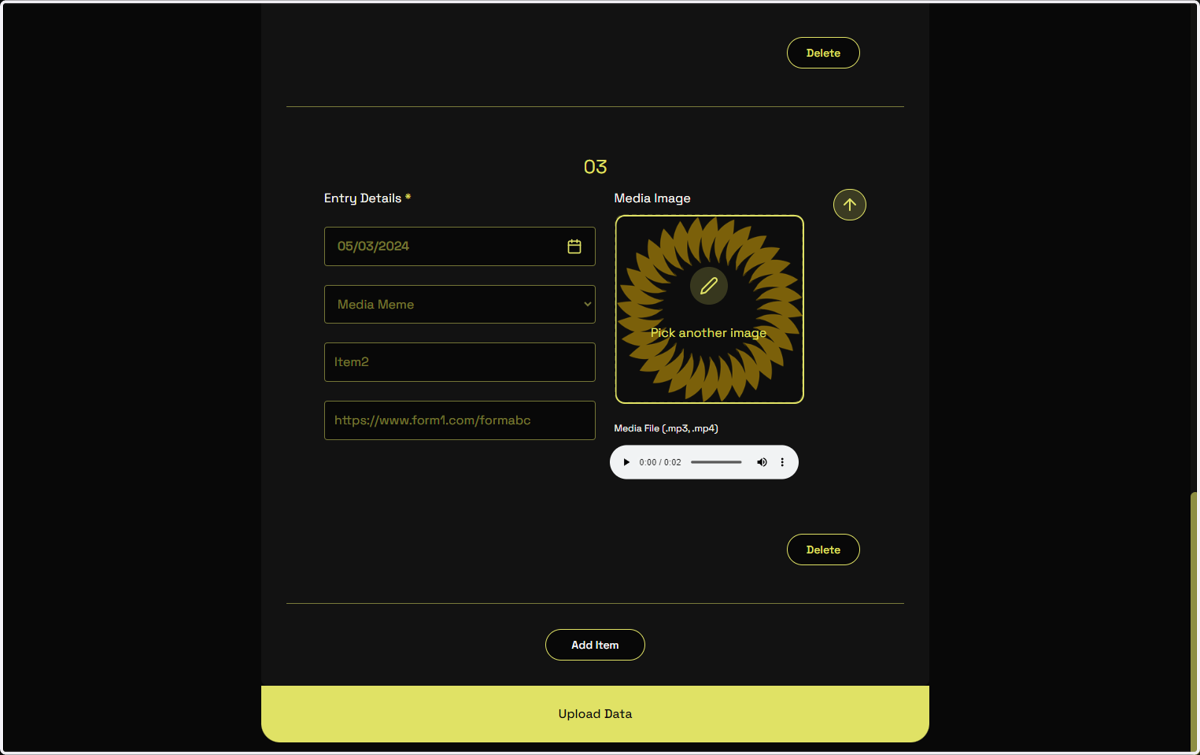
29. Click on Upload Data once done.
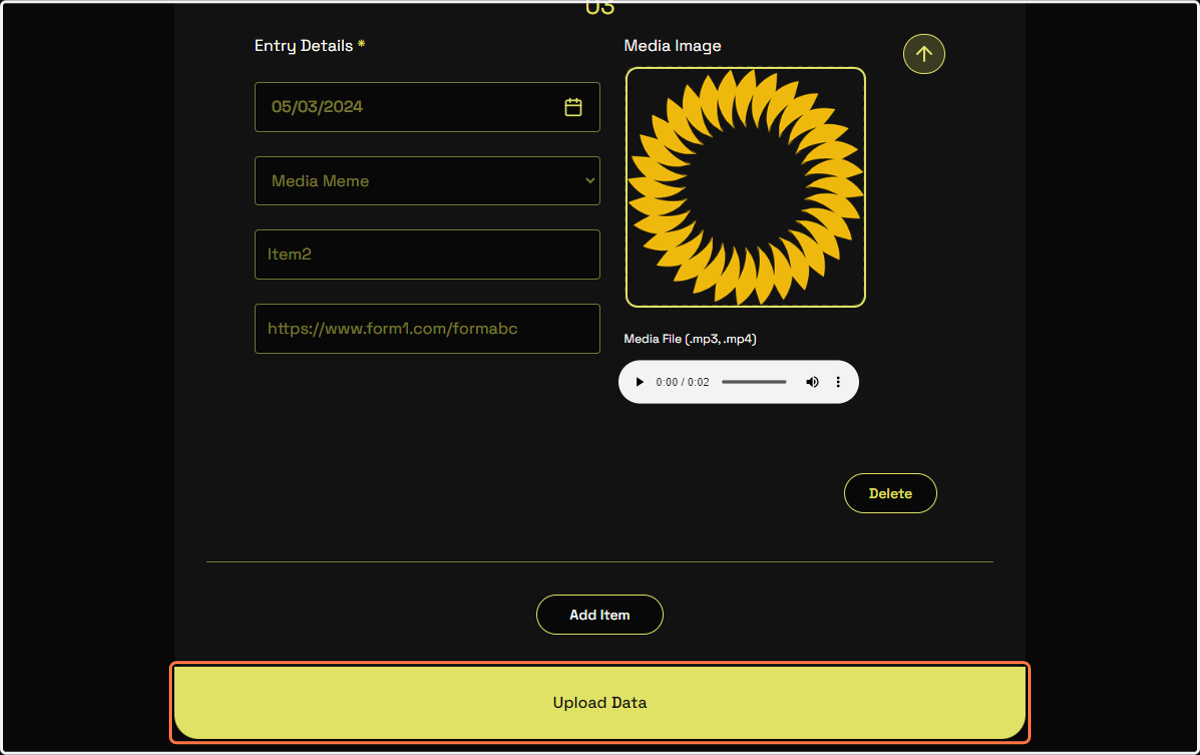
30. You can utilize the IPNS location. Note that the IPNS location stays the same irrespective of the updates done to the dataset.