Create Audio Release in ABC
ABC
1. Start a New Release
Go to the Catalog section.
Click on “Create New Release” to begin uploading your music.
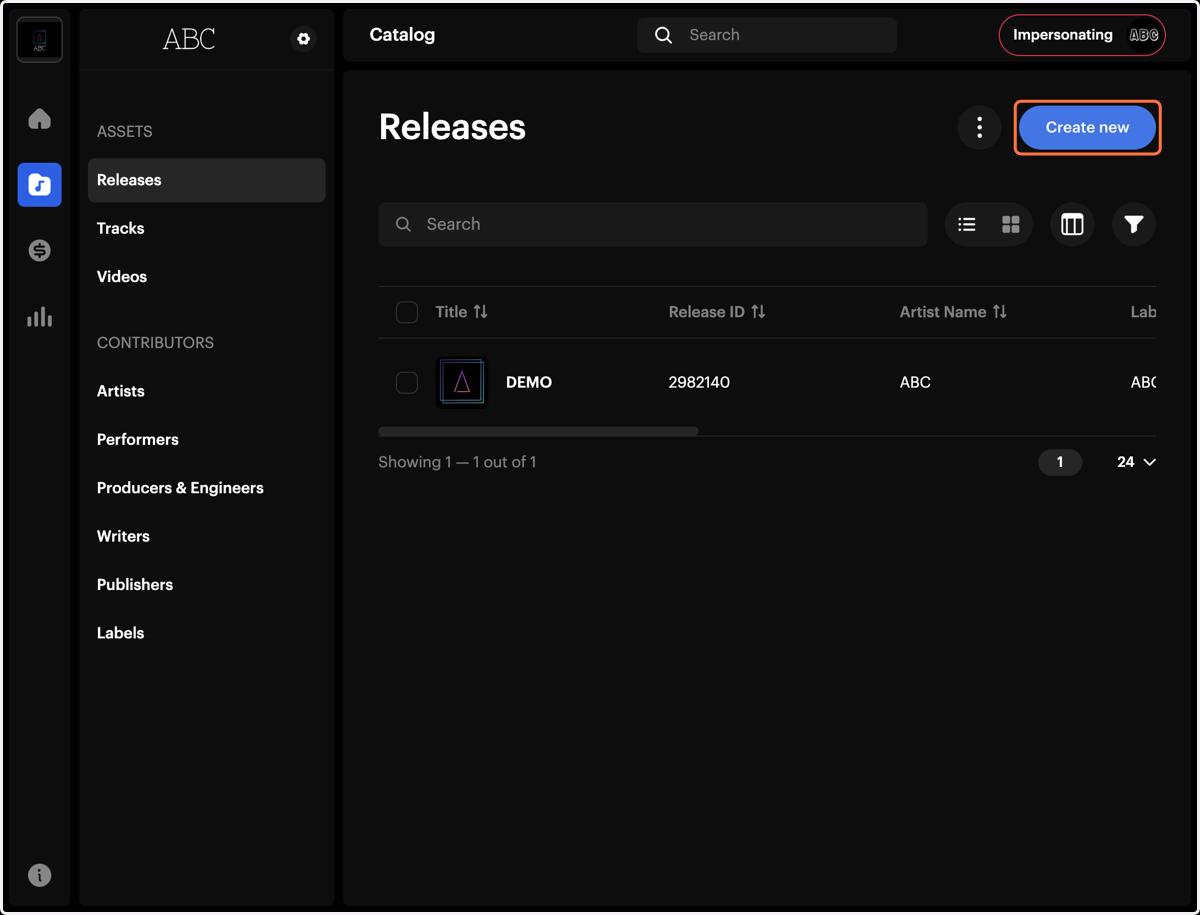
2. Step 1: Upload Your Music FileClick on Upload new tracks
Start by uploading your music file from your computer.
Requirements:
Format: WAV
Channels: 2 (Stereo)
Bit Depth: 16–24 bit
Sample Rate: 44.1 kHz minimum
Duration: More than 2 seconds
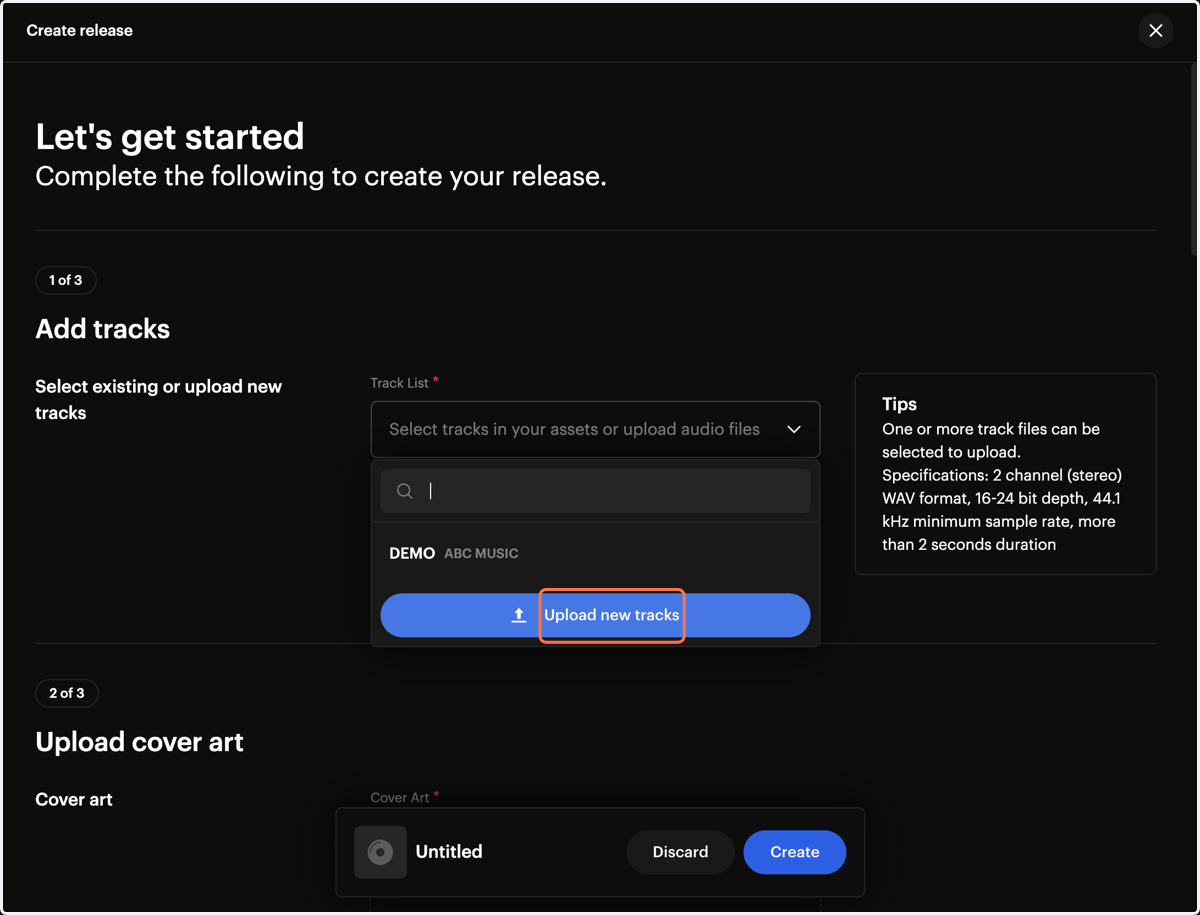
3. Step 2: Enter Track Metadata
Go to the track metadata editing section to fill in all the required information about your track (title, artist, ISRC, genre, etc.)
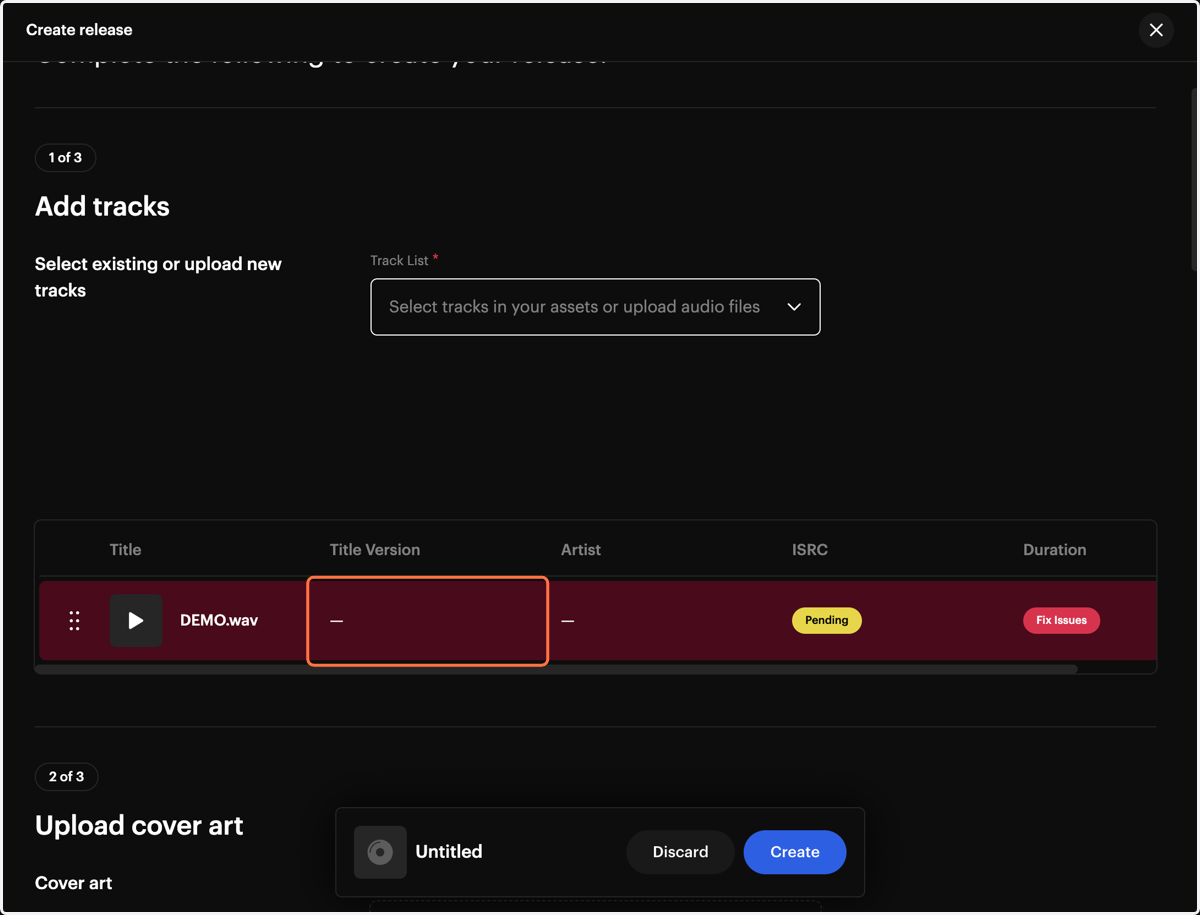
4. Step 3: ISRC Selection
If this is a migration of a previously released track, select “Yes, I have an ISRC” and enter it in the field.If not, select “No” and the system will automatically assign a new ISRC for your track.
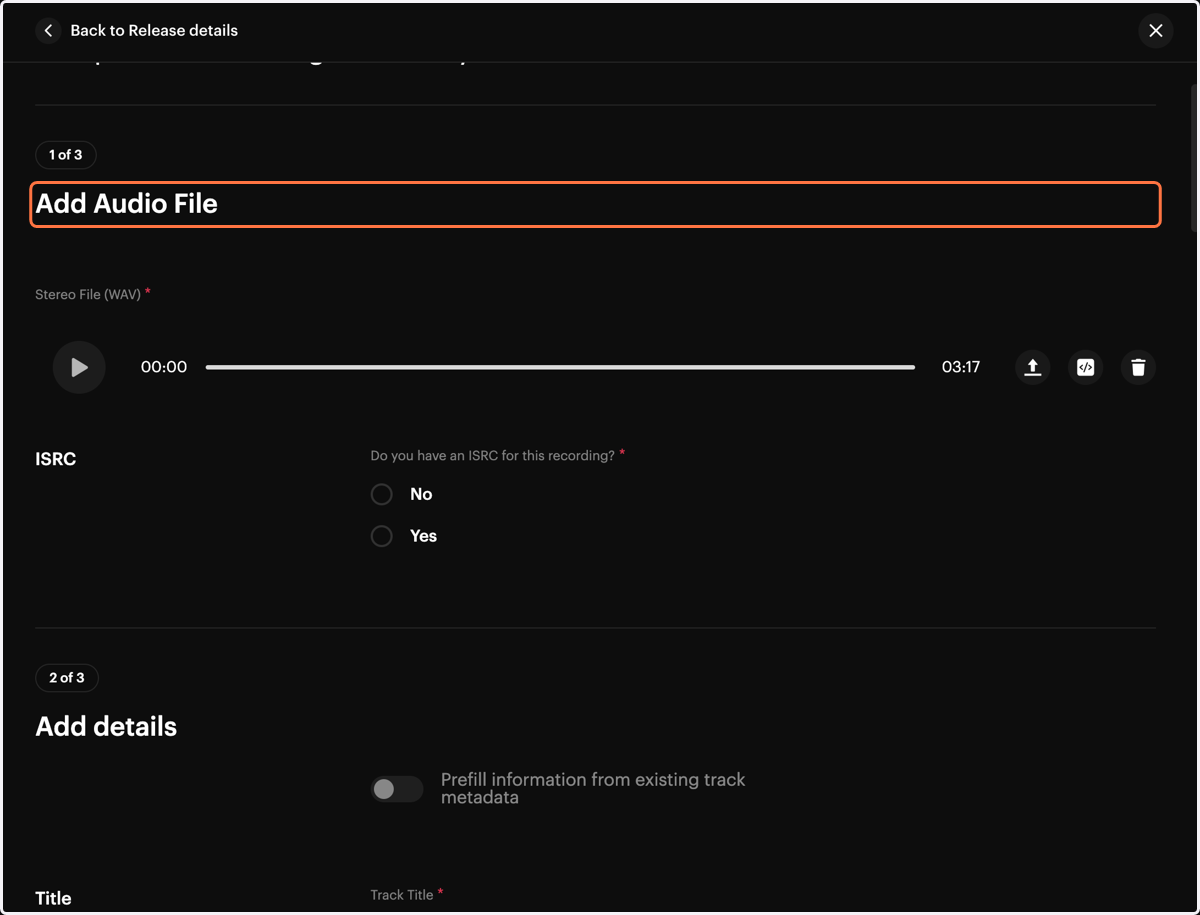
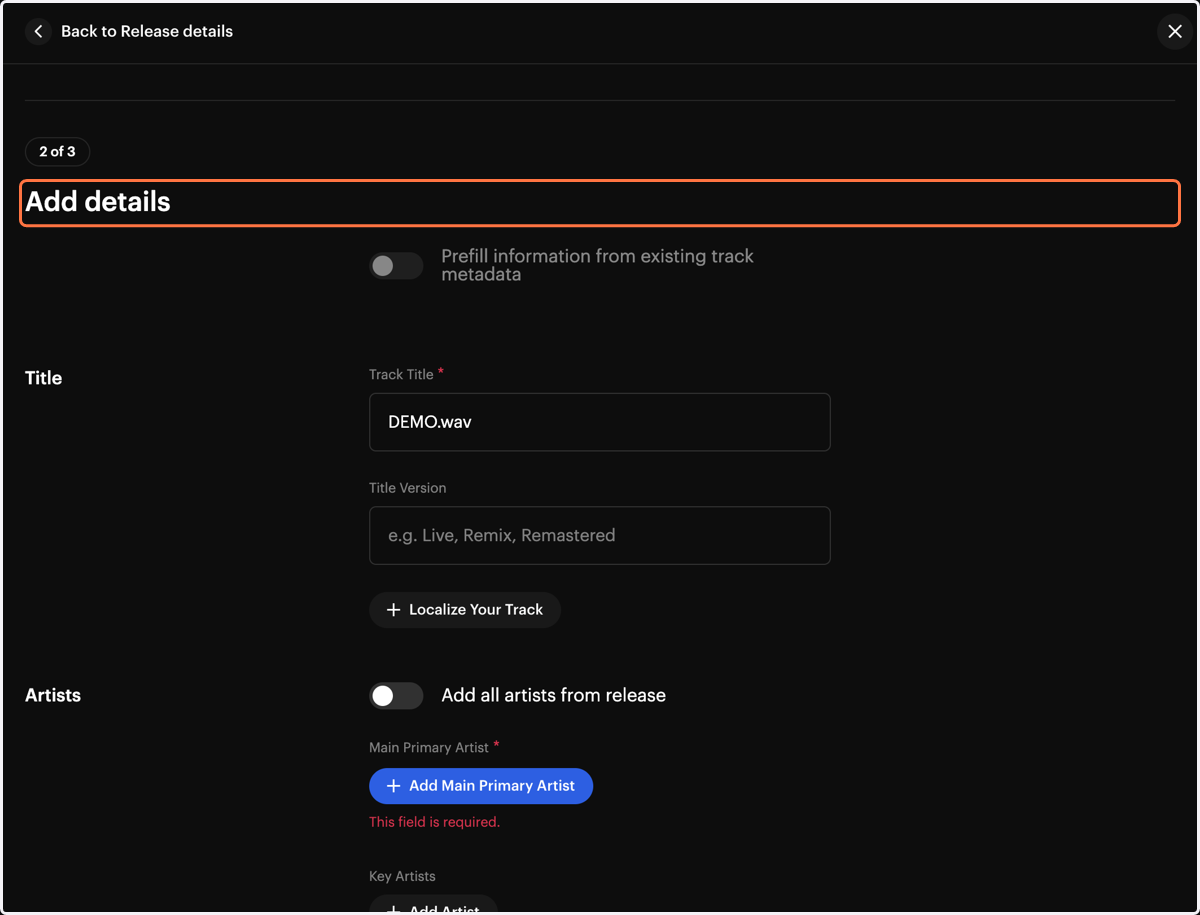
5. Step 4: Add Track Details
Enter the Track Title.
Select the Version (e.g., Live, Remix, Remastered, etc.) if applicable.
Add the Artists involved in the release.
If the artist is not yet created, click “Create a New Artist” and fill in the required details (name and optional profile links such as Spotify, Apple Music, Meta).
Add the Producers and assign their roles.
6. Step 5: Fill Required Fields
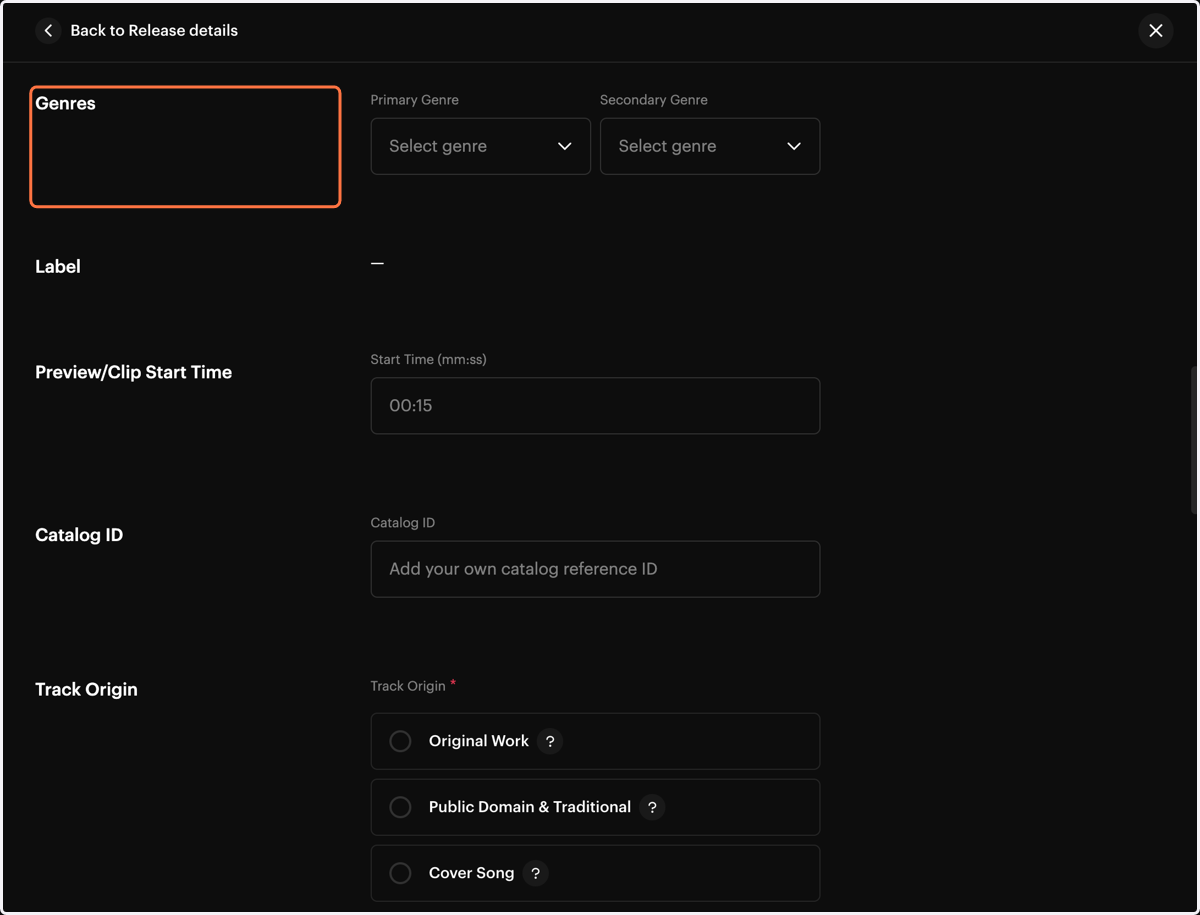
Make sure to complete all mandatory fields for your track:
Genre → Select the main genre.
Subgenre → Select the most accurate subgenre.
Preview Time → Choose the Preview/Clip Start Time (mm:ss). If no value is entered, the preview will start at the 15th second by default.
Track Origin → Select the appropriate origin of the track.
7. Step 6: Copyright & Track Properties
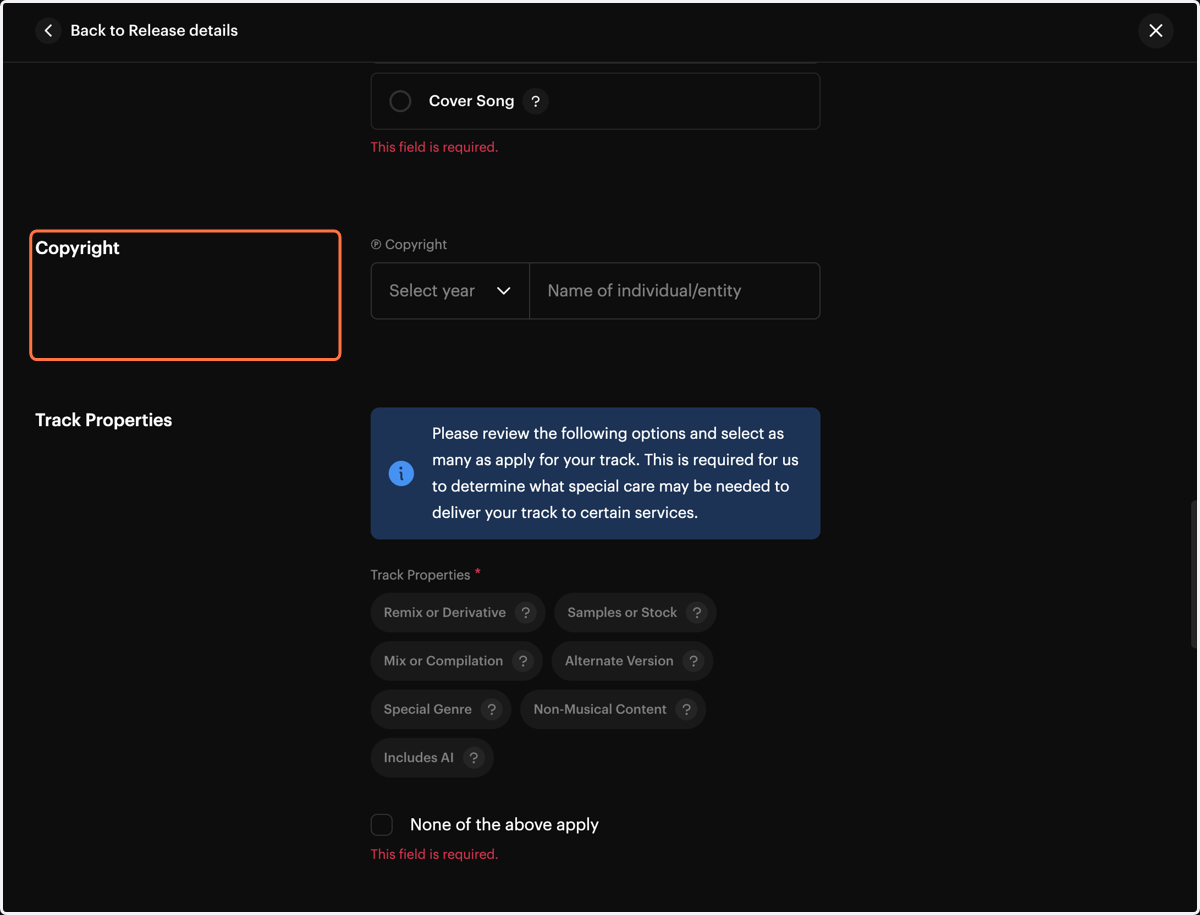
Copyright (C-Line / P-Line):
Enter the copyright holder information and select the year.
If this is a re-release, make sure the copyright year is not later than one year after the original release date.
Track Properties
8. Step 7: Lyrics Information
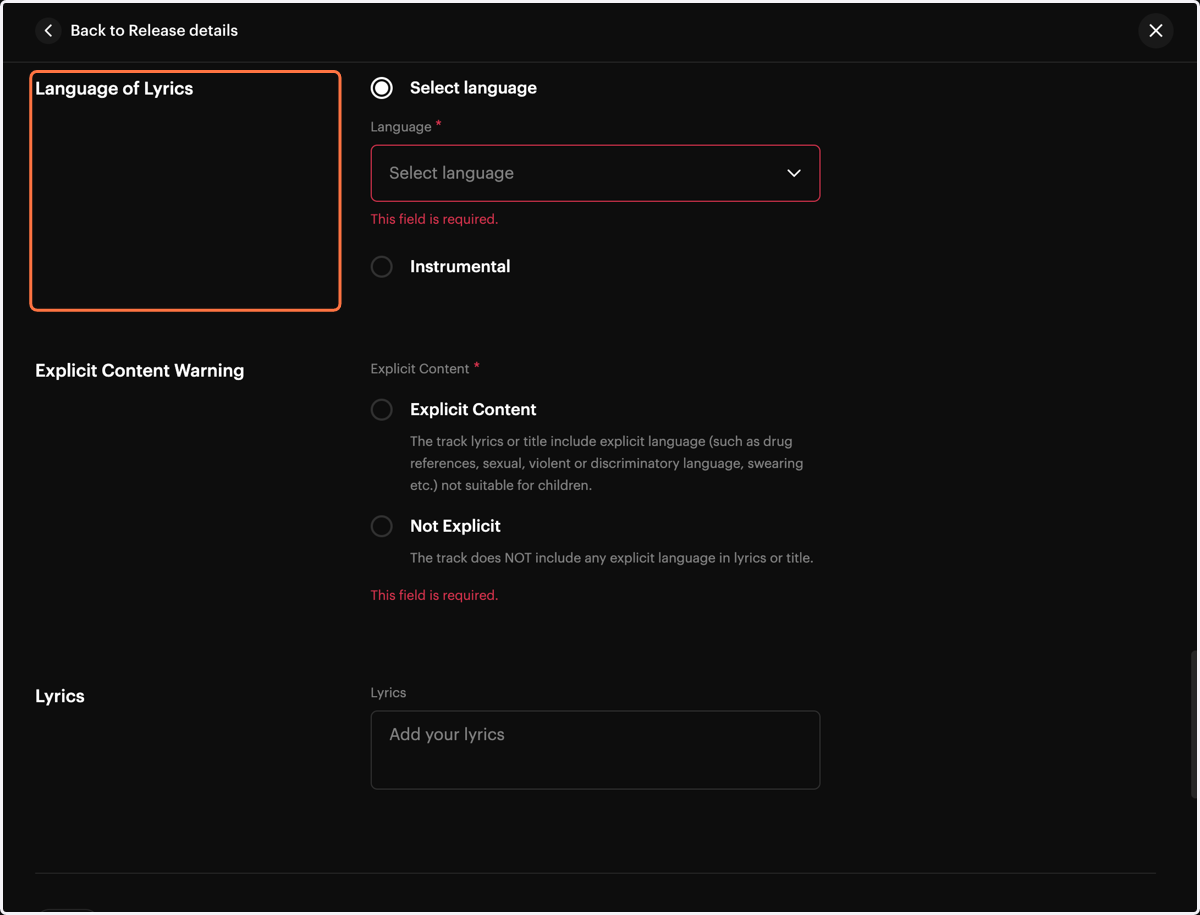
Lyric Language: Select the language of the lyrics.
Explicit Content Warning: Indicate whether the lyrics contain explicit content (Yes/No).
Lyrics Availability: Specify if the lyrics are available to be uploaded.
9. Click on
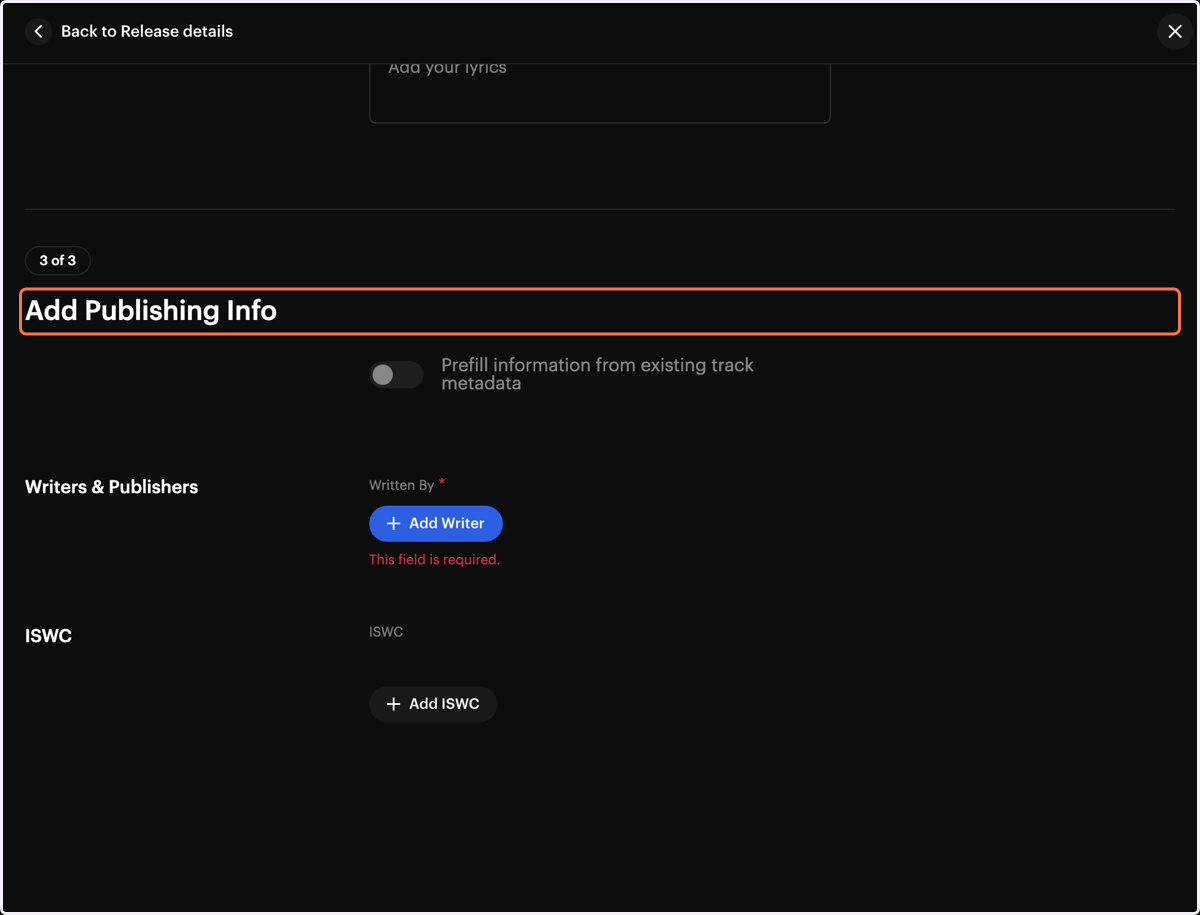
Step 8: Add Publishing Info
Click on “Select Writer”.
Assign the role of each writer (e.g., Composer, Lyricist, etc.).
Enter the percentage share for each writer.
⚠ The total must always add up to 100%.Every release must have at least one Composer and one Lyricist.
10. Step 9: Select Cover Art
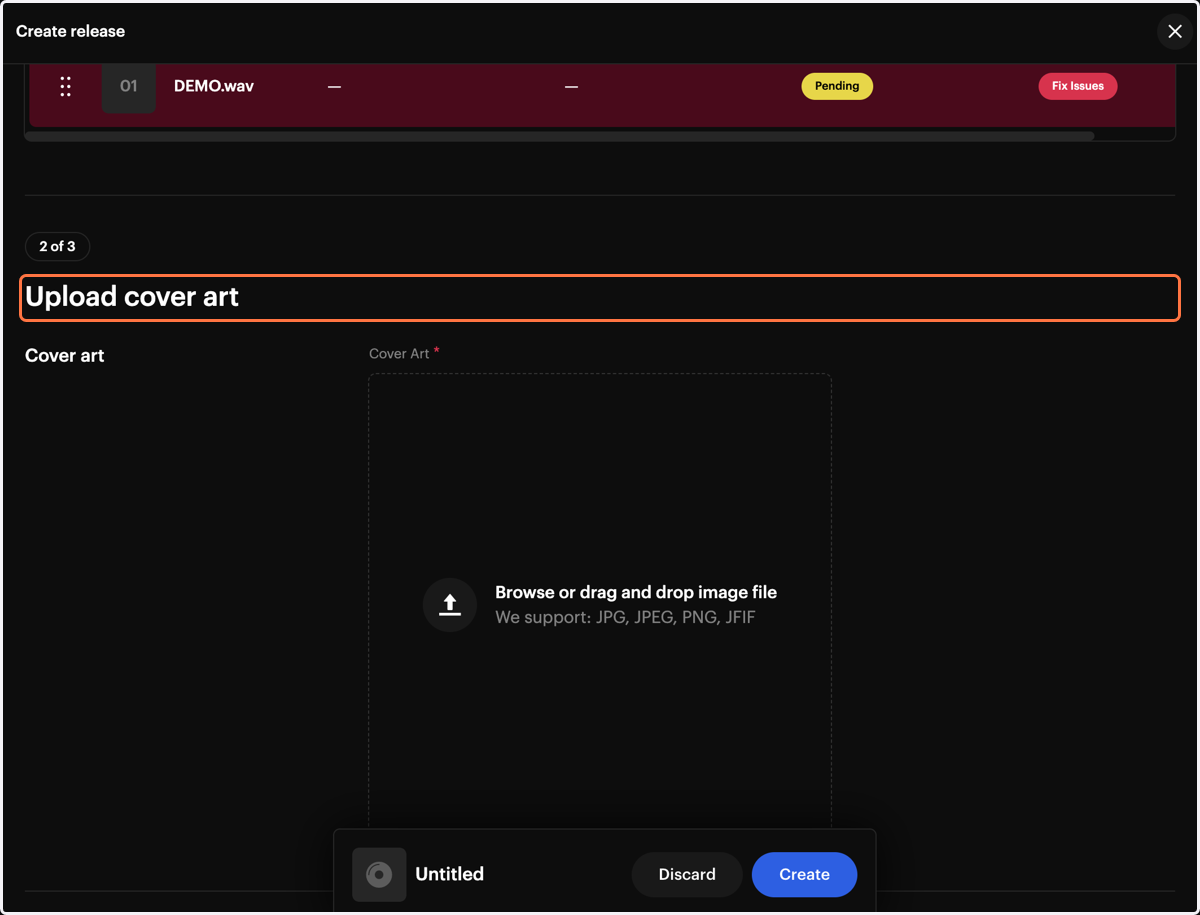
Go back to the Release section and upload the Cover Art for your release.
Requirements:
Format: JPG or PNG
Minimum size: 3000 x 3000 pixels
High-resolution, square image (1:1 aspect ratio)
No blurry images, logos, or low-quality graphics
11. Step 10: Complete Mandatory Release Detailsn Add release details
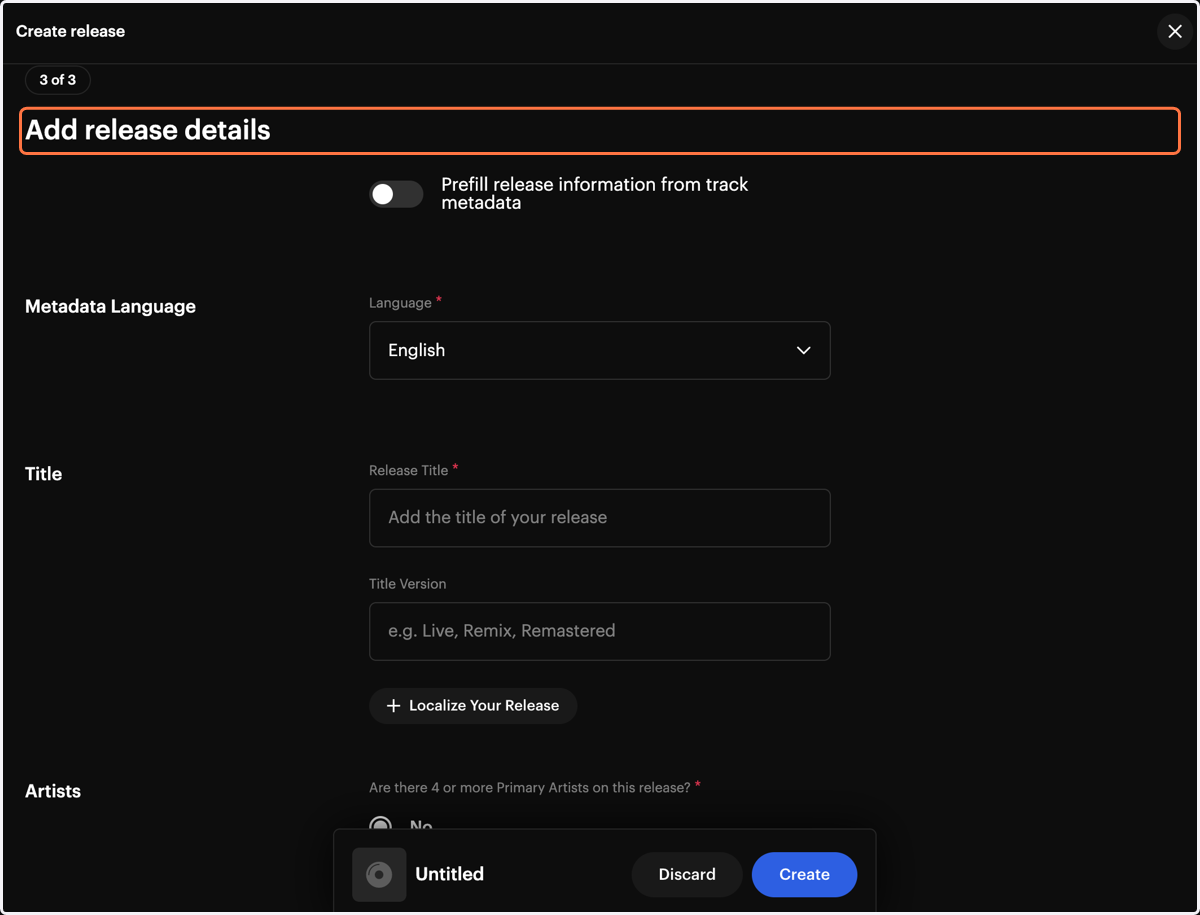
Make sure to fill in all required fields for your release:
Metadata Language: Select the language for the release metadata.
Release Title: Enter the release title. ⚠ This must match the track title exactly.
Artists & Producers: Add all contributing artists and producers to the release.
12. Click on CreaStep 11: Previous Release Informationte release…
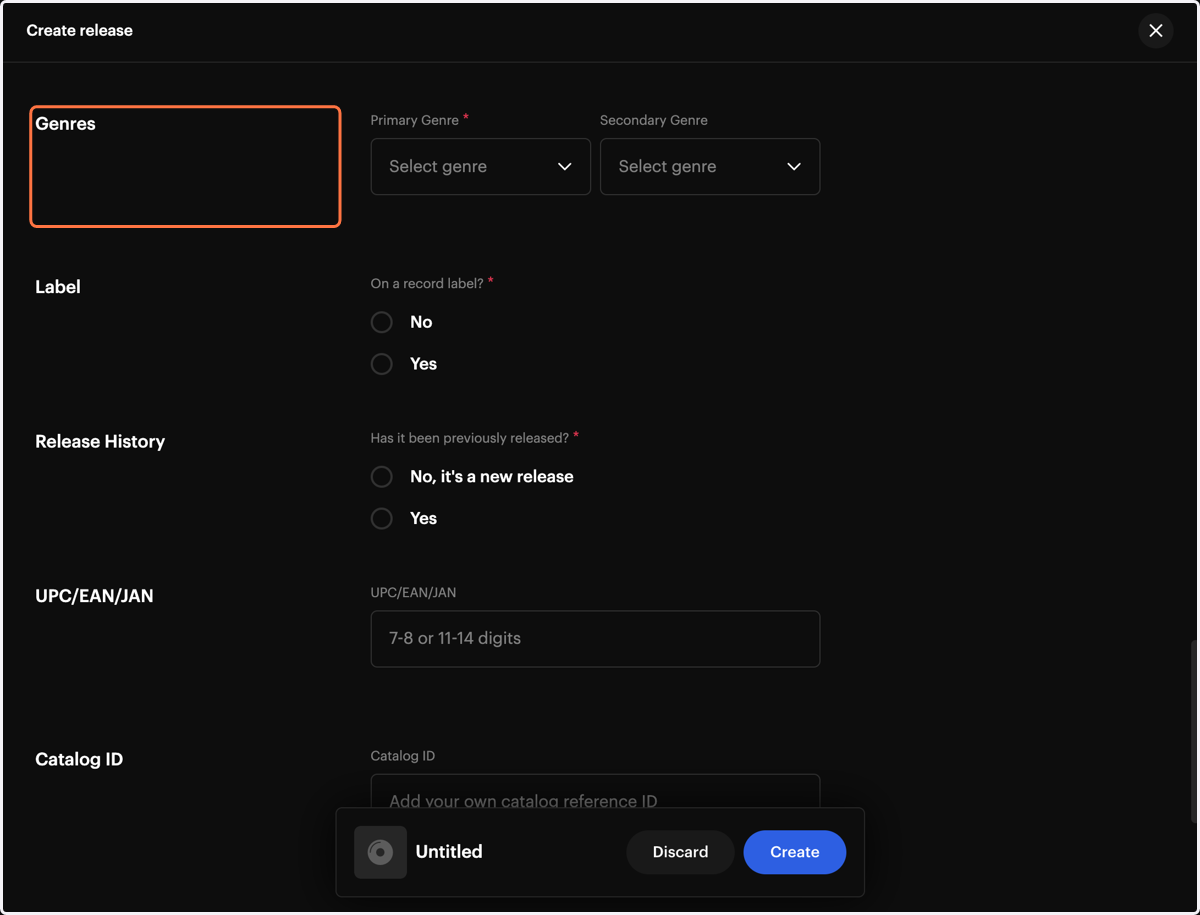
Genre: Select the main genre of the release.
On a Record Label: Indicate whether the release was recorded under a record label.
Was this release previously released?
If Yes, select the original release date.
If No, leave it blank or select “No, it’s a new release”.
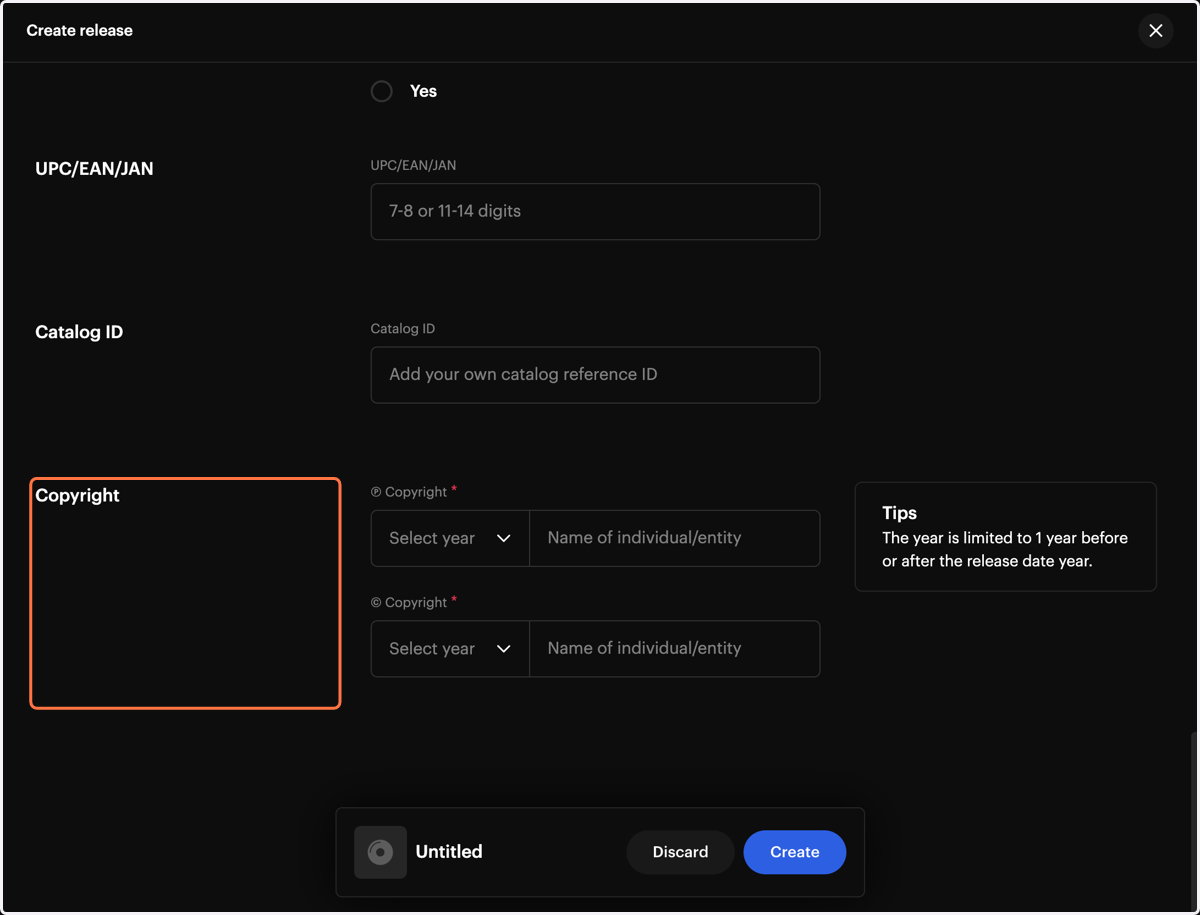
13. Step 12: Copyright Information
C-Line / P-Line: Enter the copyright information for your track.
C-Line: Copyright of the composition.
P-Line: Copyright of the sound recording.
Year: Select the correct year for each copyright.
⚠ If this is a re-release, make sure the year is not later than one year after the original release date.
14. Step 13: Create Release for Distribution
Once all the track and release details are completed, click “Create Release”.
This will save your release in the system and make it ready for distribution.
