Course Registration and Payment Instructions (Open Enrollment Courses)
Important - Please Read All Instructions Below before Proceeding
Below are step-by-step instructions to log into your existing Okta account, enroll, and pay for classes. These instructions are for open enrollment classes only.
Before proceeding, be sure you have identified the course(s) you would like to enroll into. If you have yet to make that decision, please take some time to browse our course catalog.
Disable your web browser pop-up blocker before attempting to register for class. Instructions to disable your pop-up blocker can be found here.
If you already have an Okta account, you may proceed to the instructions below. If you do not yet have an Okta account, please create one by selecting "New Okta User" here.
Log into Juilliard Okta
1. Input your personal email.
This is the email you have on file for your student profile.
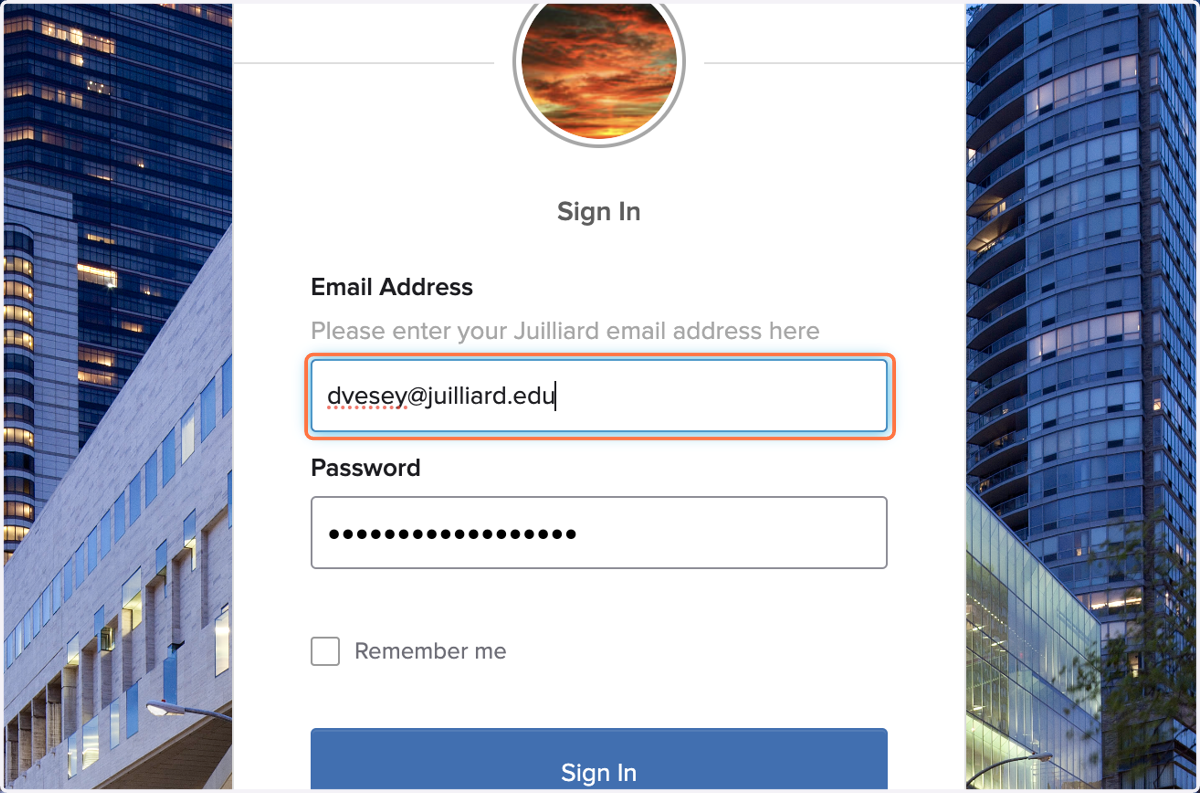
2. Type password
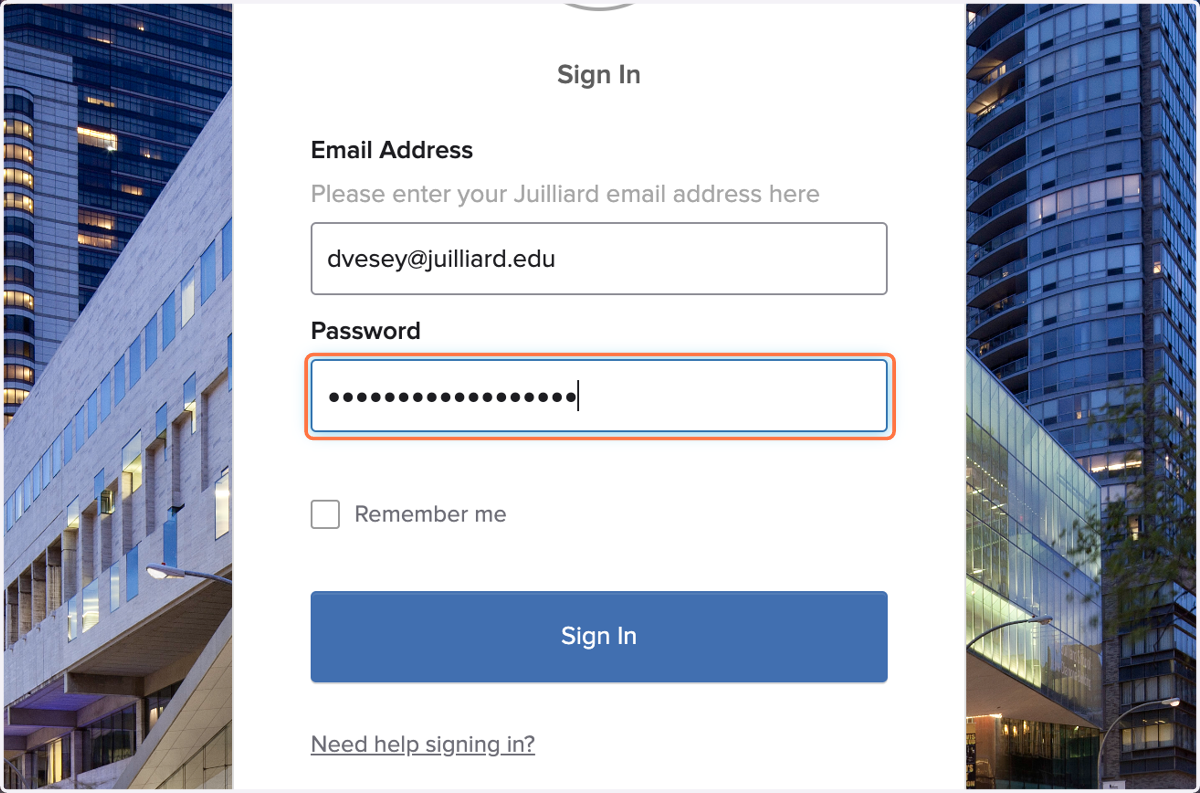
3. Check Remember me to save this information.
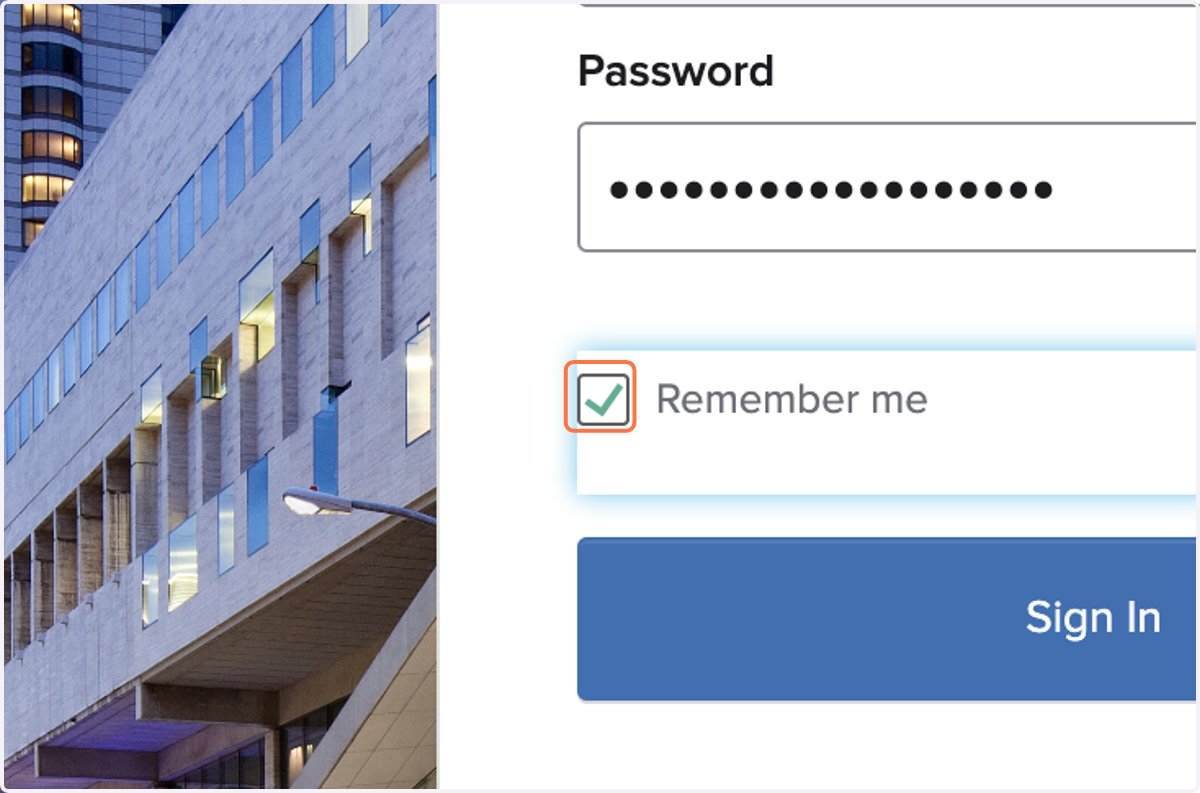
4. Click on Sign In
If you have an Okta account but forgot your password, or do not know if you have an Okta account, please email servicedesk@juilliard.edu. They will be able to provide log in instructions to access your account.
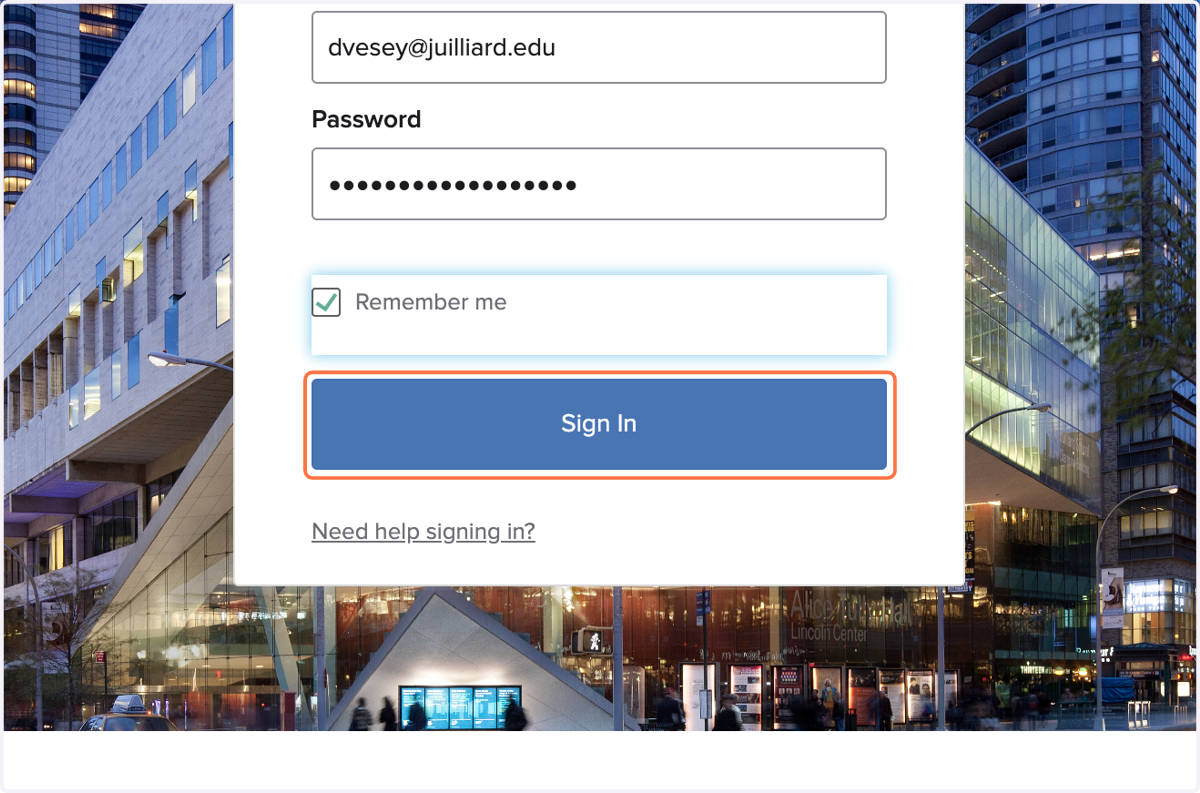
5. Once logged into Okta, select Juilliard | Cadence (Students)
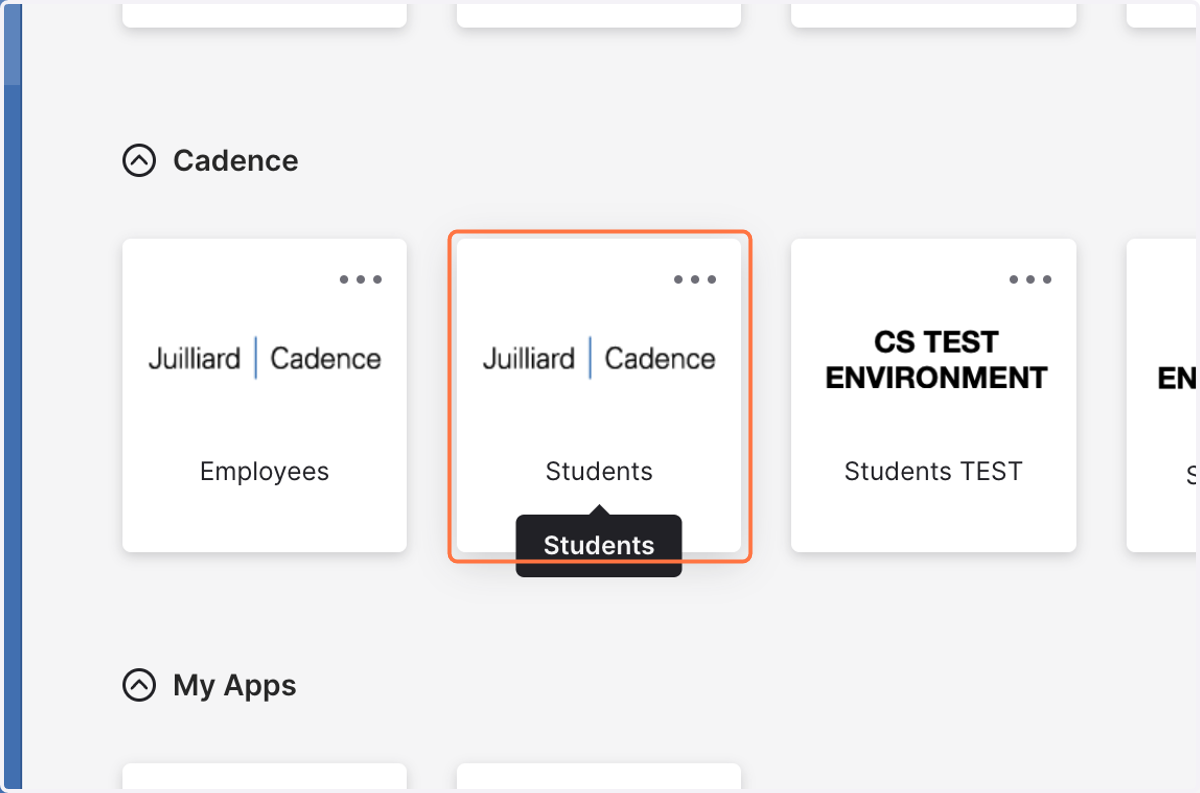
6. Click on Register for Extension Classes
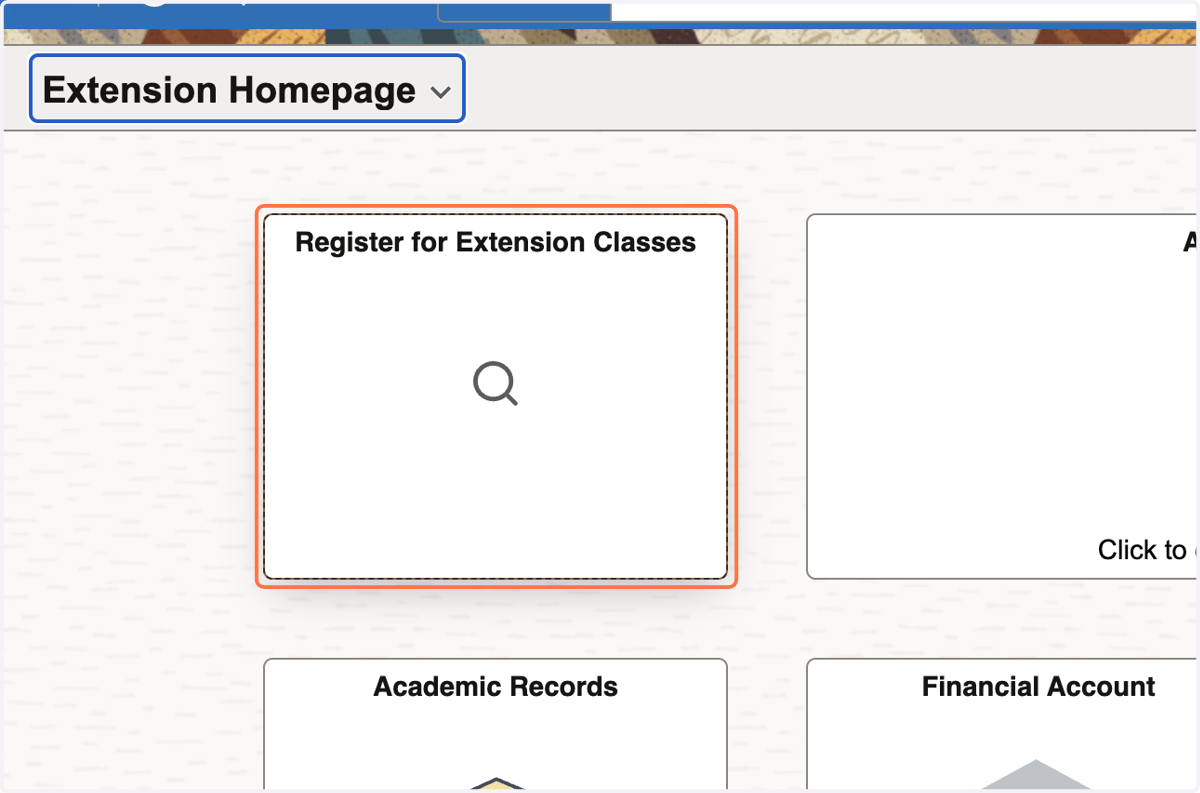
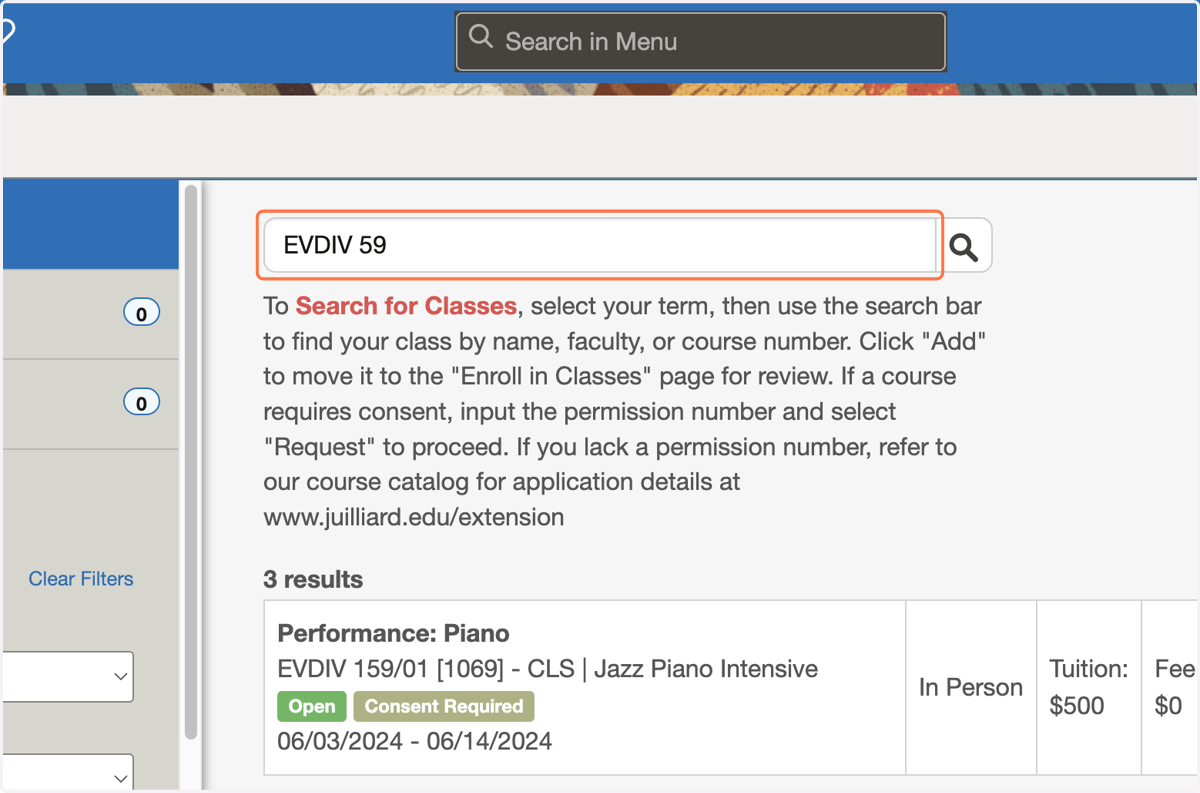
7. Locate your class by course number (ex: EVDIV 59)...
Do not include symbols such as "-" as the search will not be able to locate the course with this included.
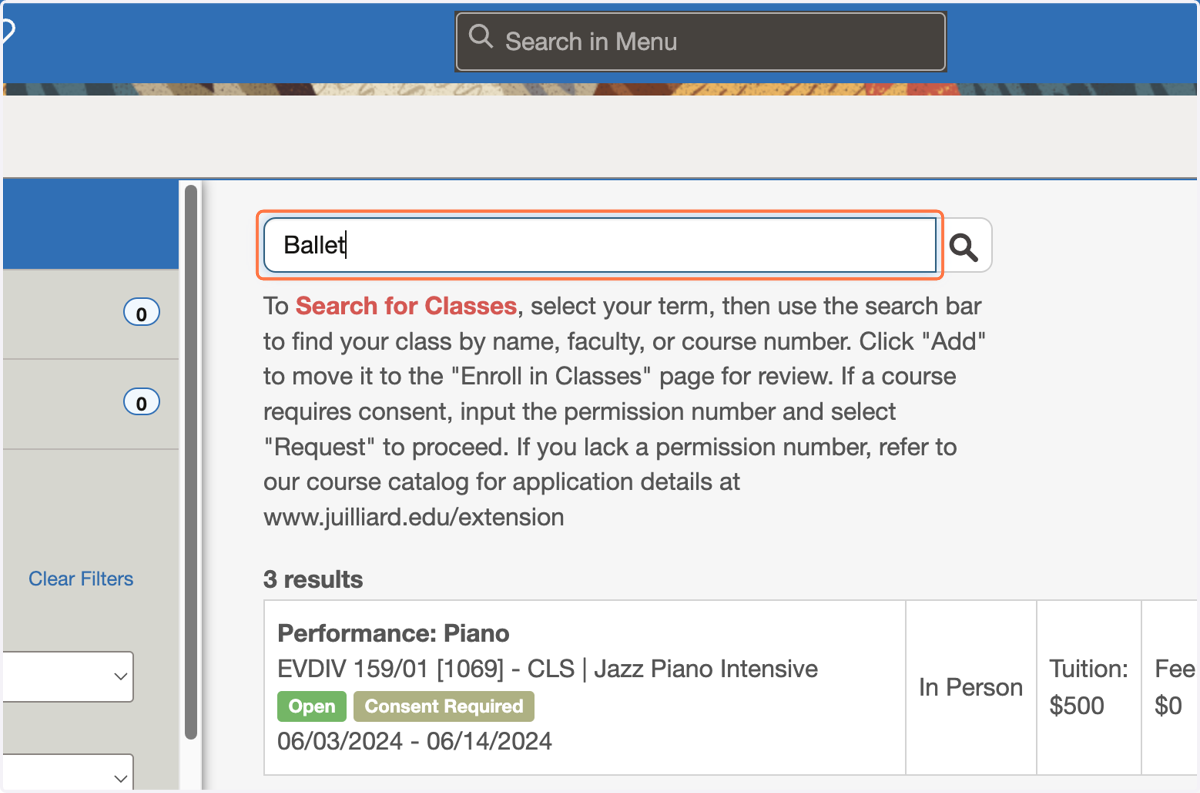
8. Or search by words included in the course name...
9. Or search by faculty name (first and/or last name).
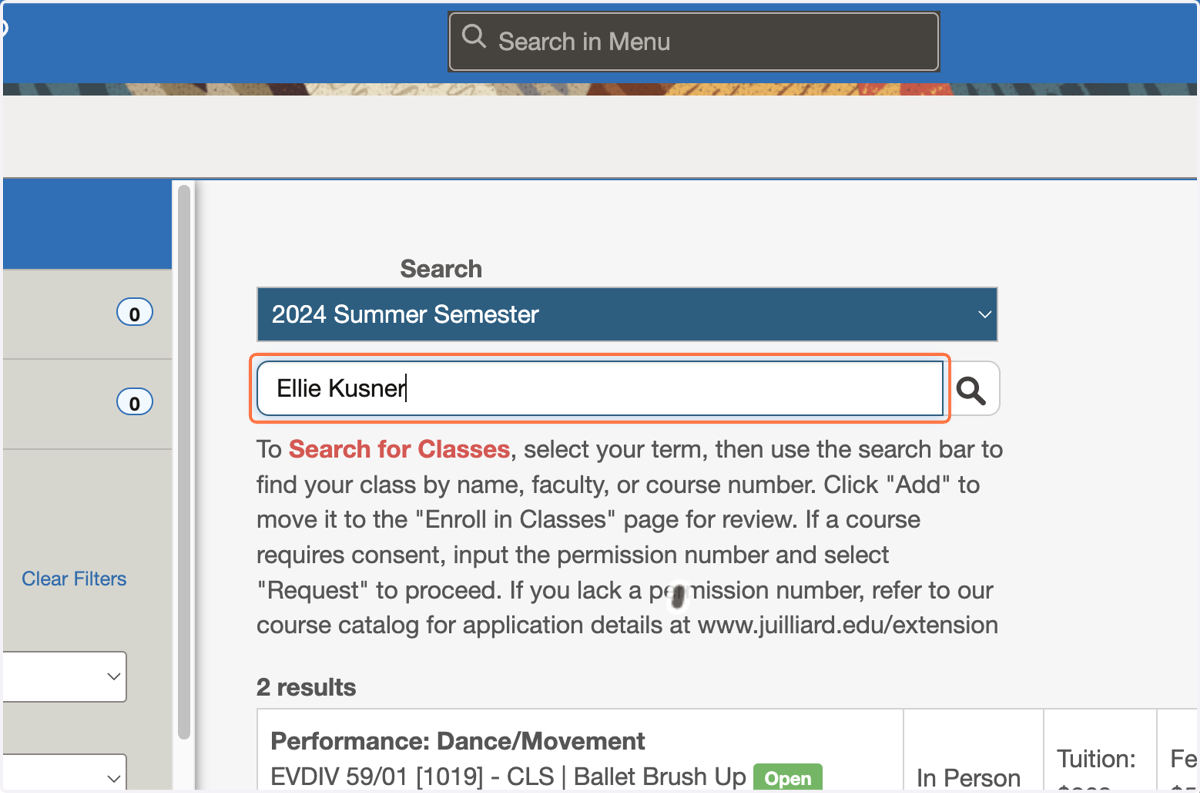
10. Locate and select the correct class section
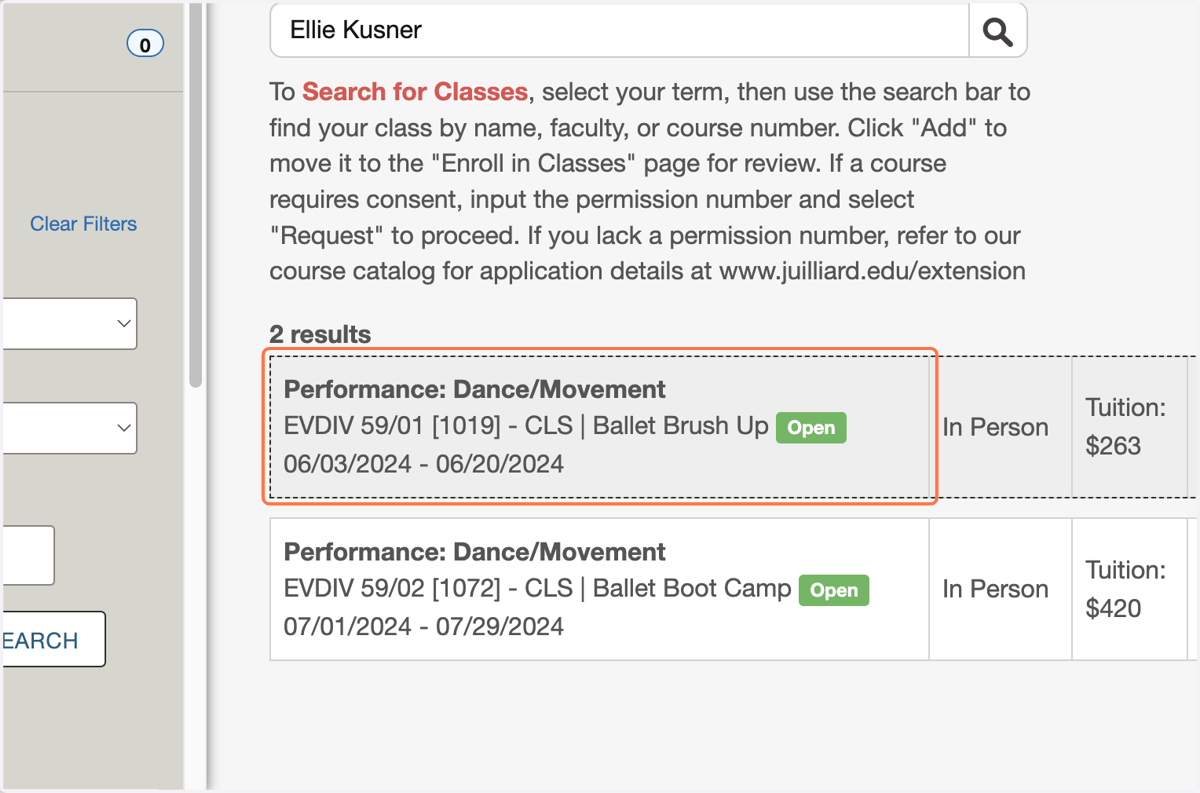
11. Click on ADD
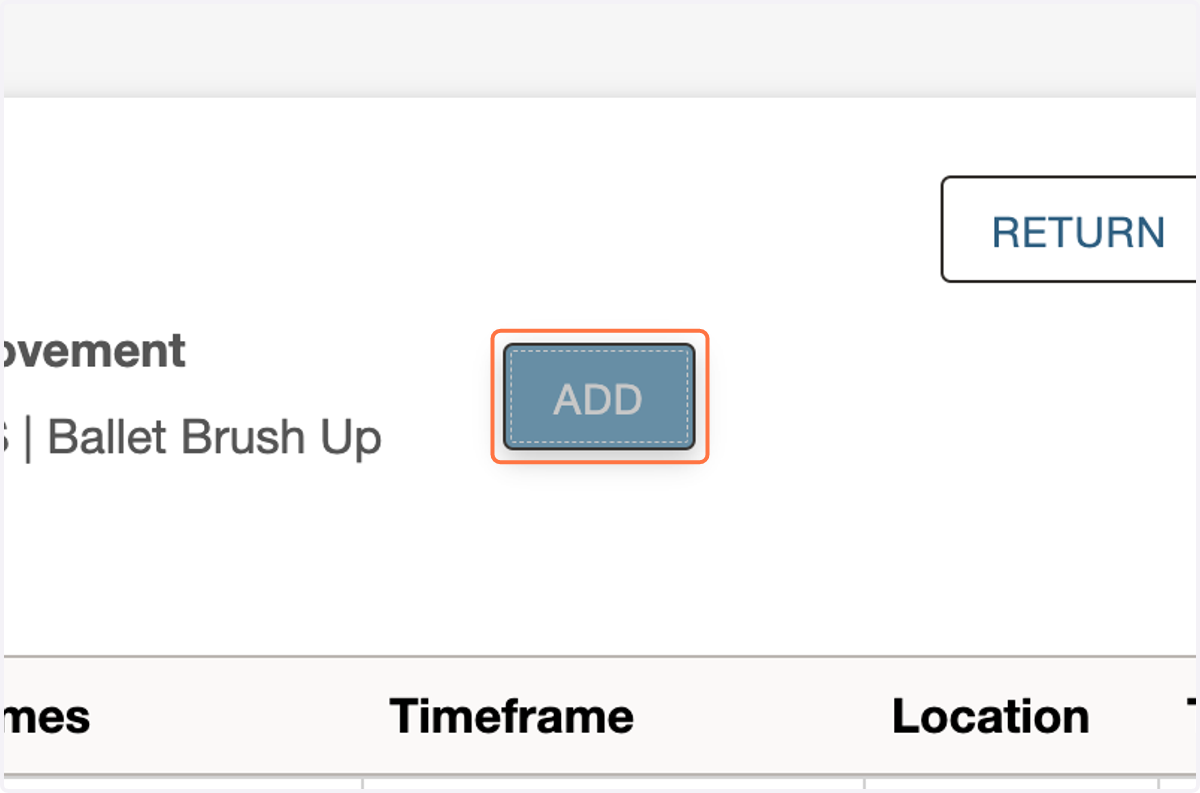
12. Click on YES
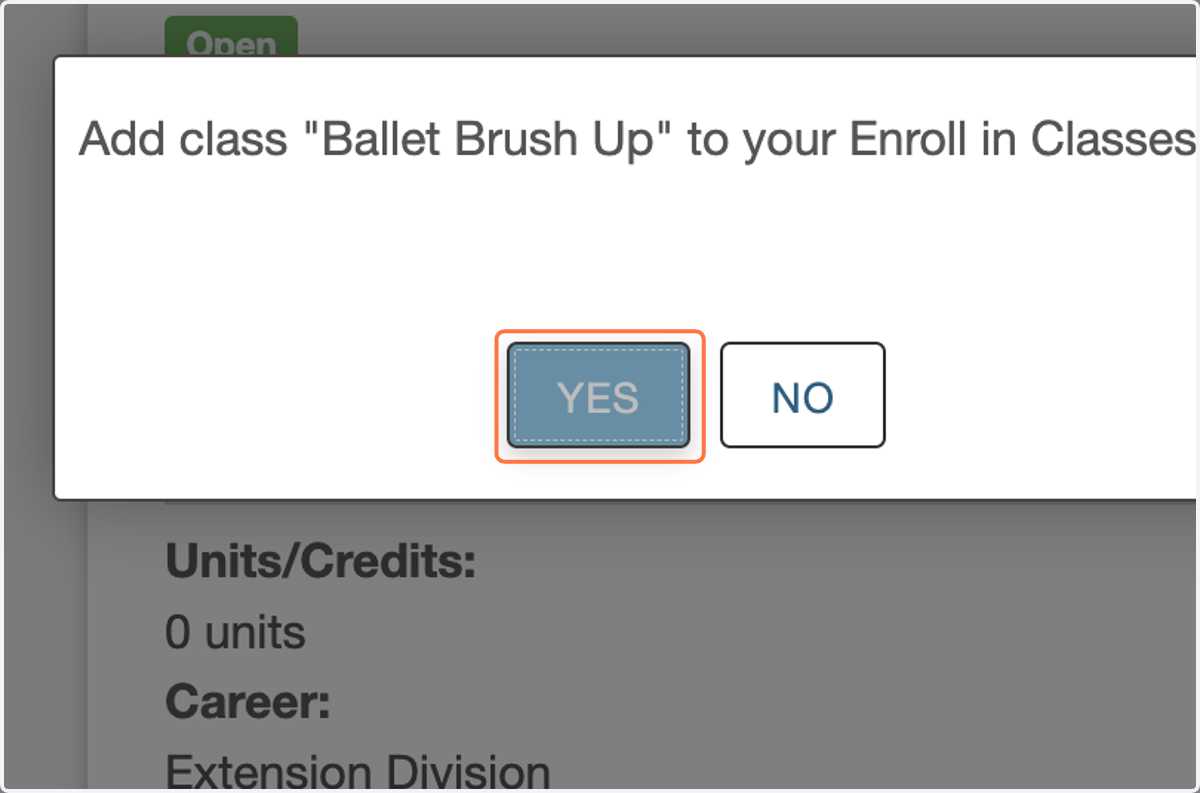
13. Click on ENROLL IN SELECTED CLASSES
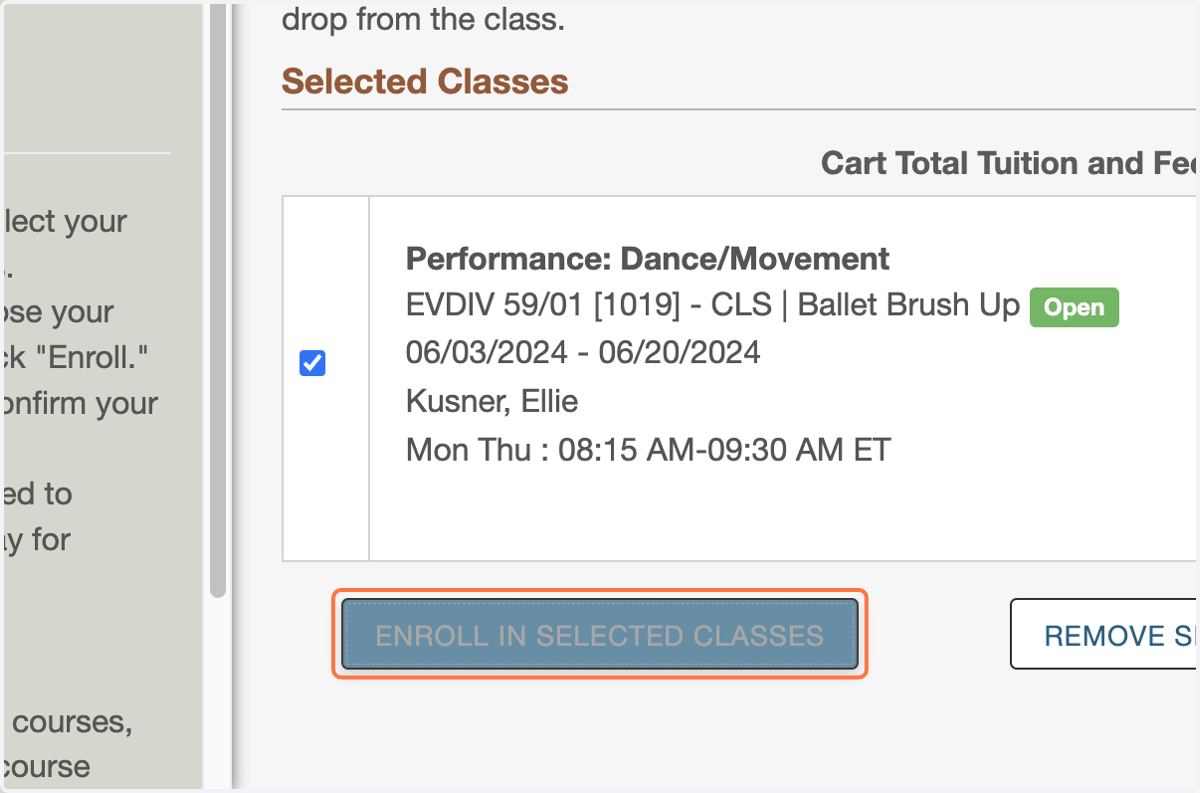
14. Click on YES
Note you will have 60 minutes from selecting Yes to pay for classes in full.
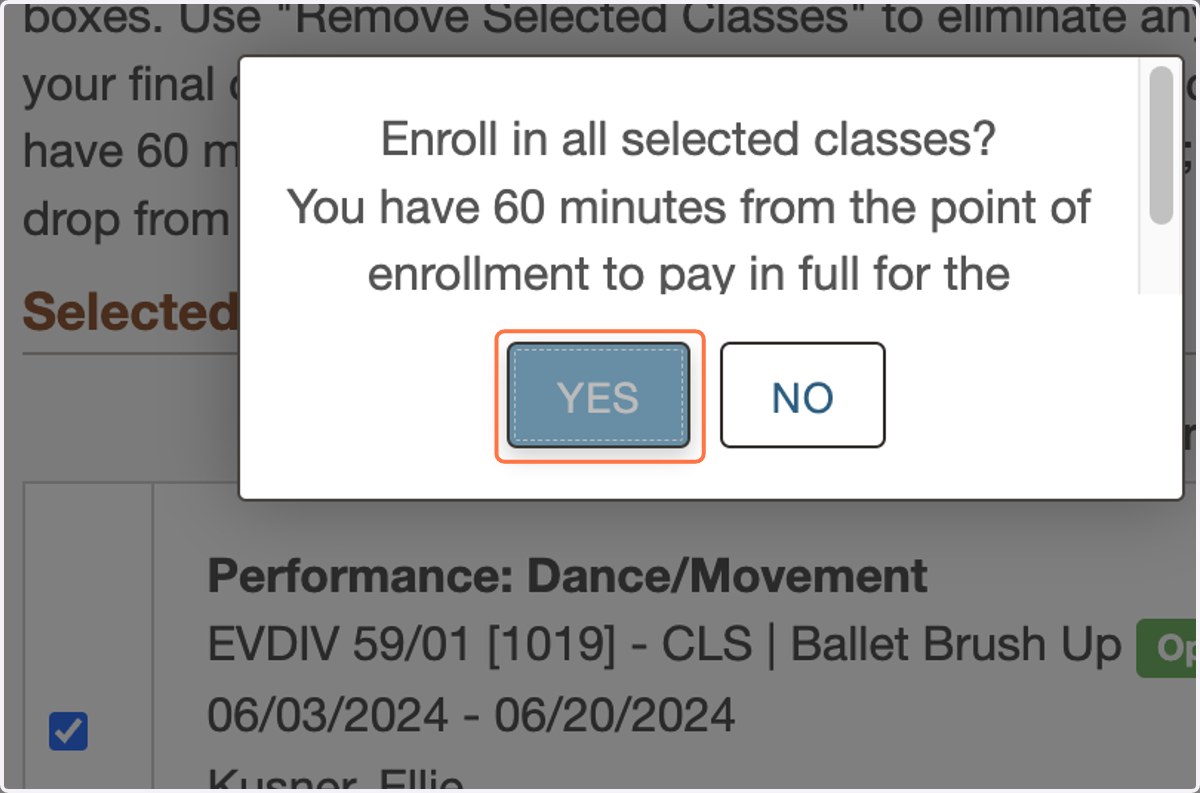
15. Once successfully enrolled, your classes will move from the "Enroll in Classes" page, which now has 0 classes to the Review My Classes page, which now has 1. This means you have successfully enrolled in your class(es)!
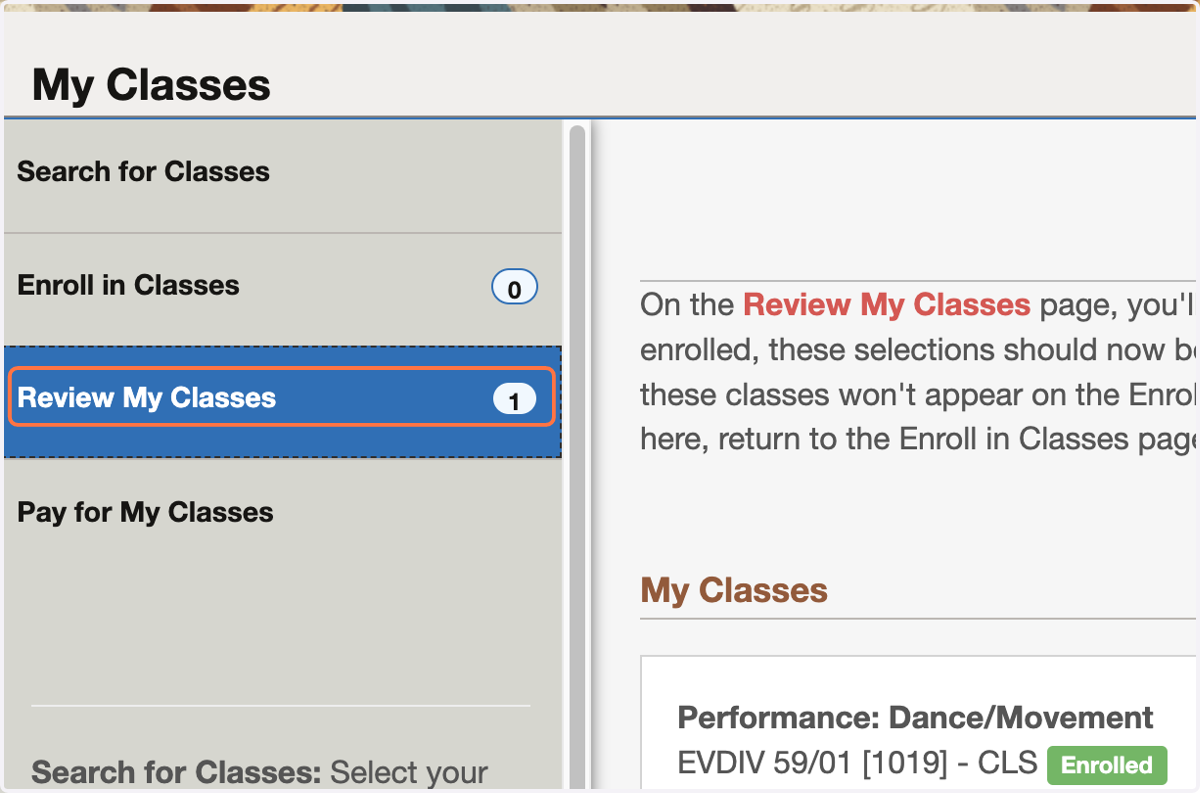
16. Click on PAY FOR CLASSES
17. The Pay for My Classes page is where additional (optional) fees will appear including our practice room and library access fees. If no fees appear (as is the case below), proceed to "Continue to Payment."
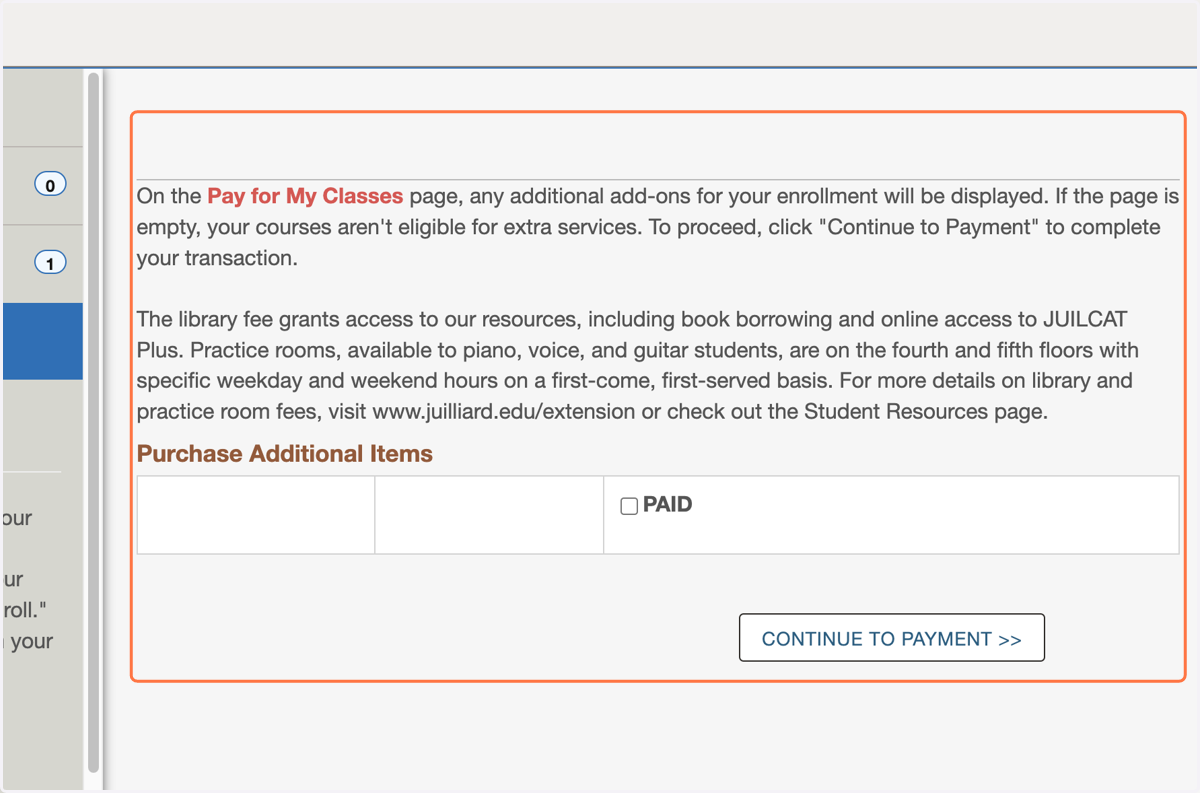
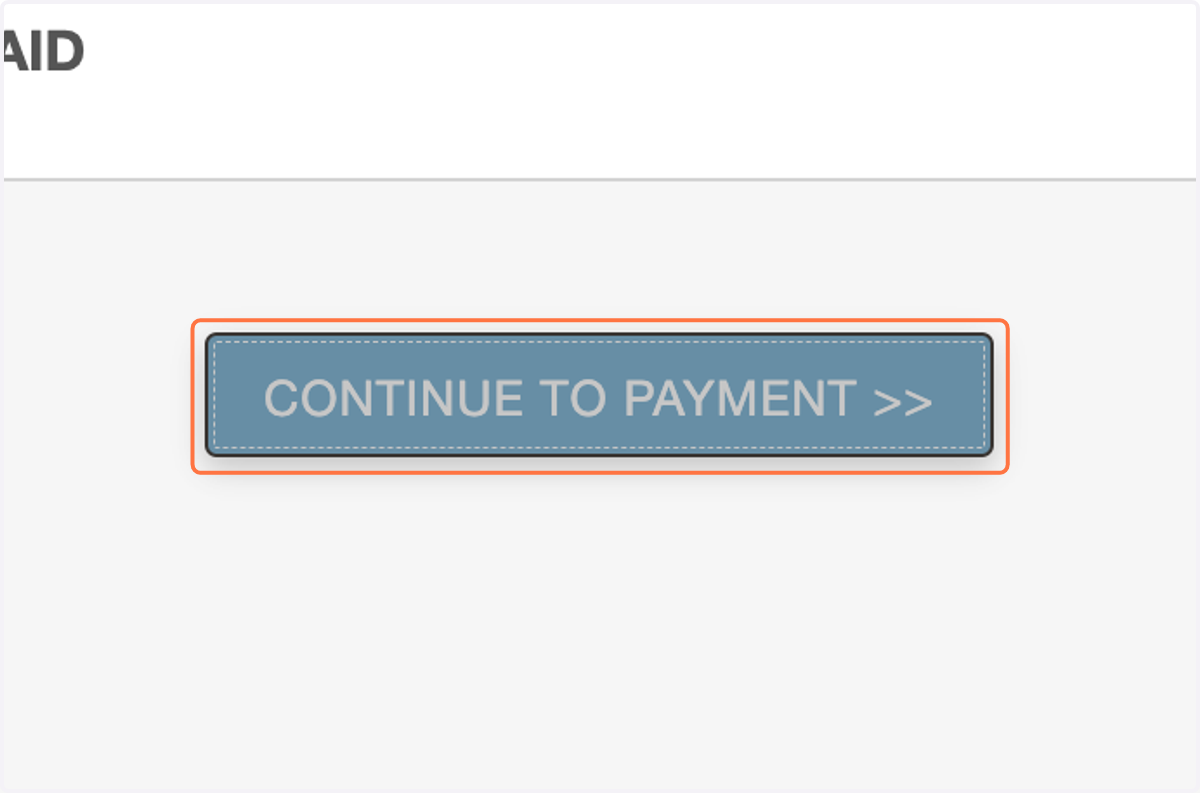
18. Click on CONTINUE TO PAYMENT >>
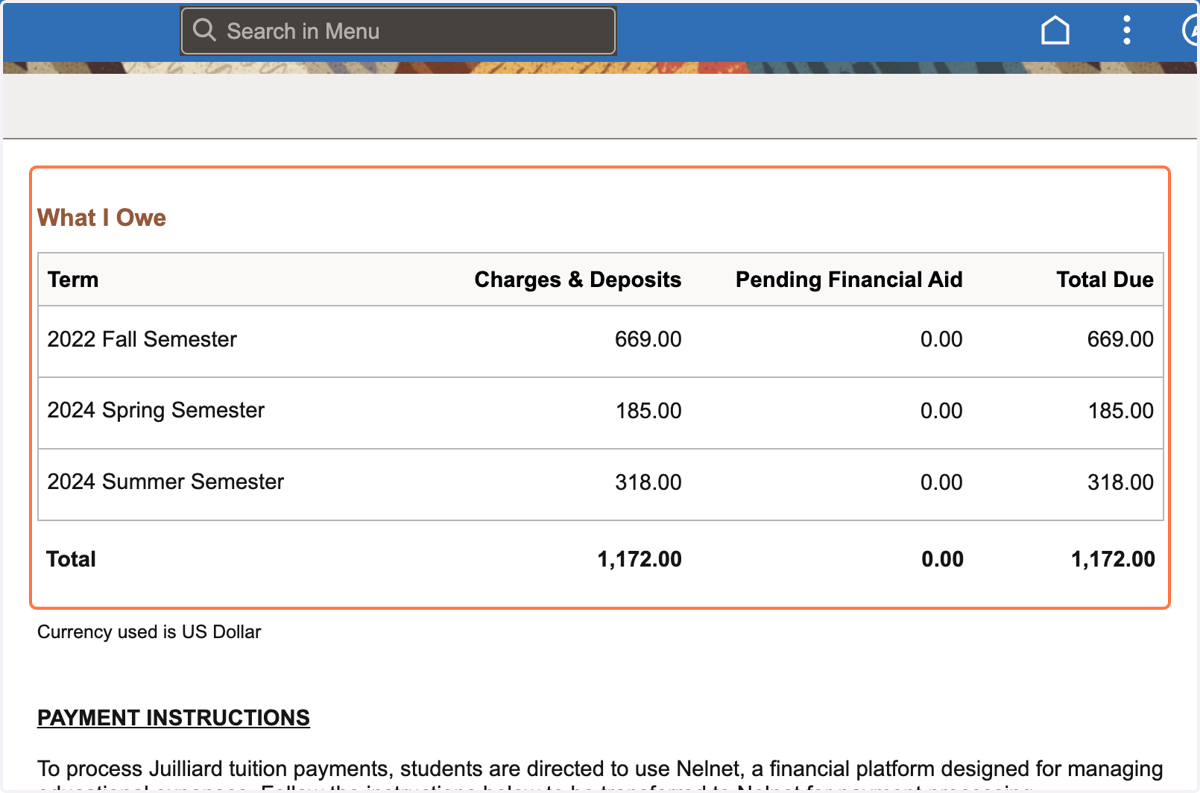
19. Your tuition breakdown by semester will display hgere.
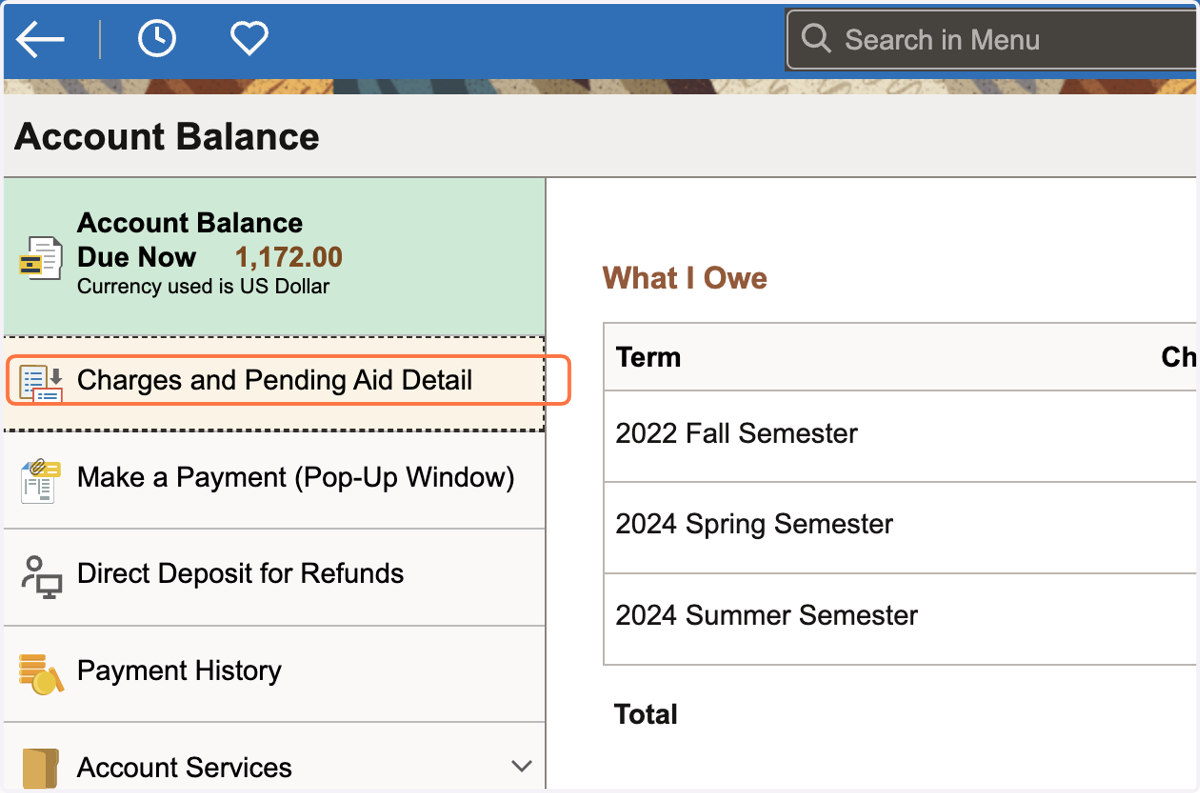
20. To see your tuition breakdown, select Charges and Pending Aid Detail
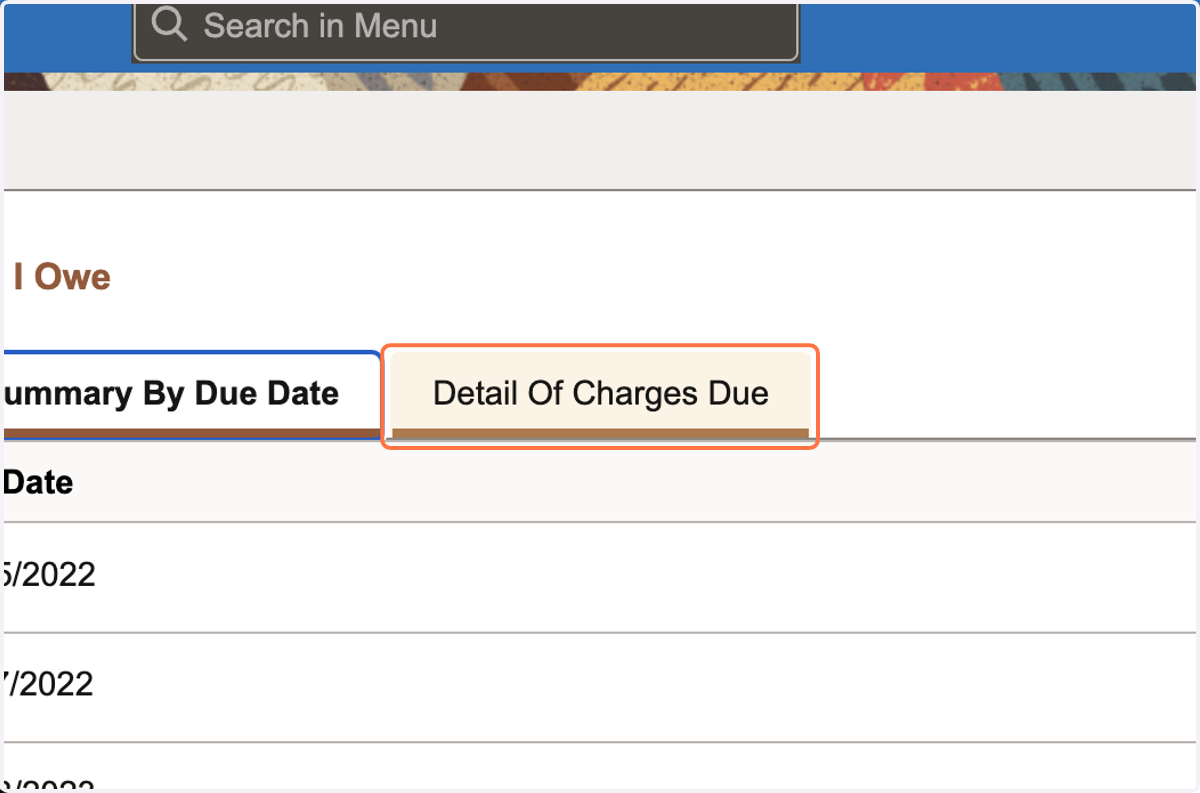
21. To see your tuition breakdown, select Detail Of Charges Due
Account Balance
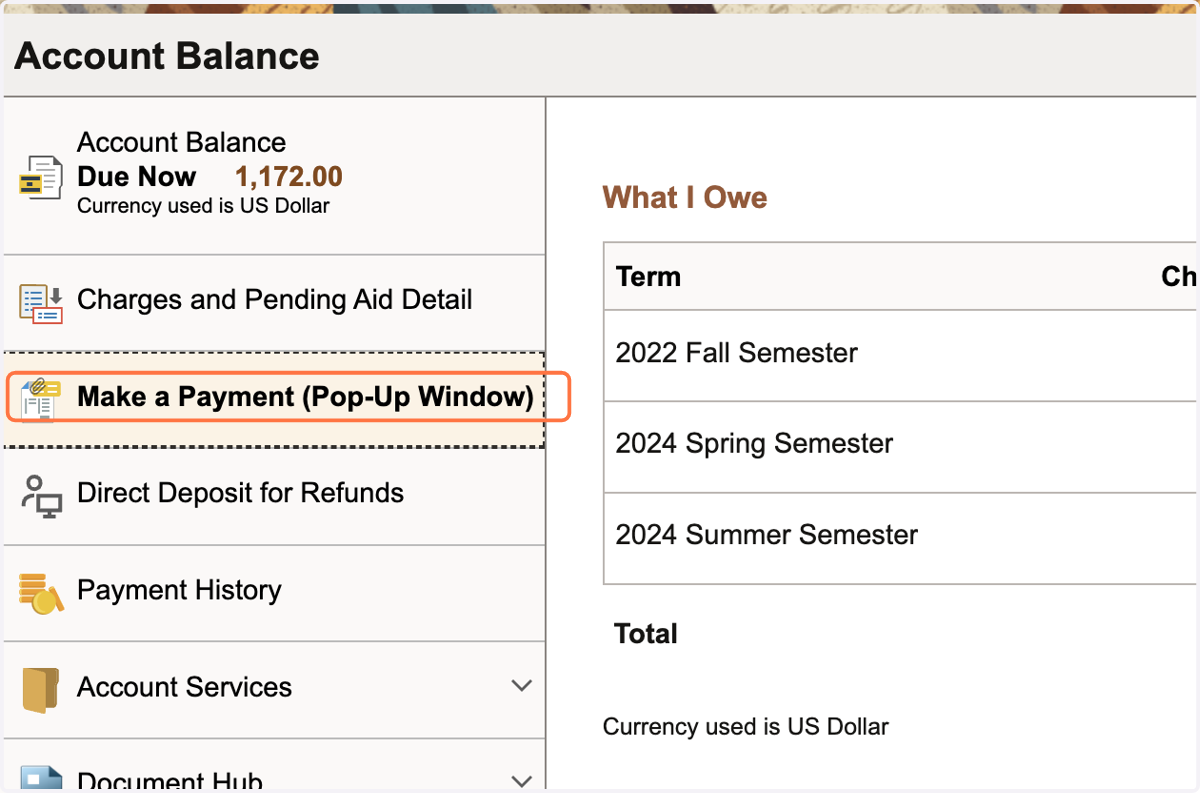
22. Once ready to make payment, select Make a Payment (Pop-Up Window)
If you have a pop-up blocker enabled on your browser, you will be unable to proceed.
23. If this is your first time in our payment portal, you may need to complete a short registration page before you can proceed.
After registering your account, your display should look similar to the image below.
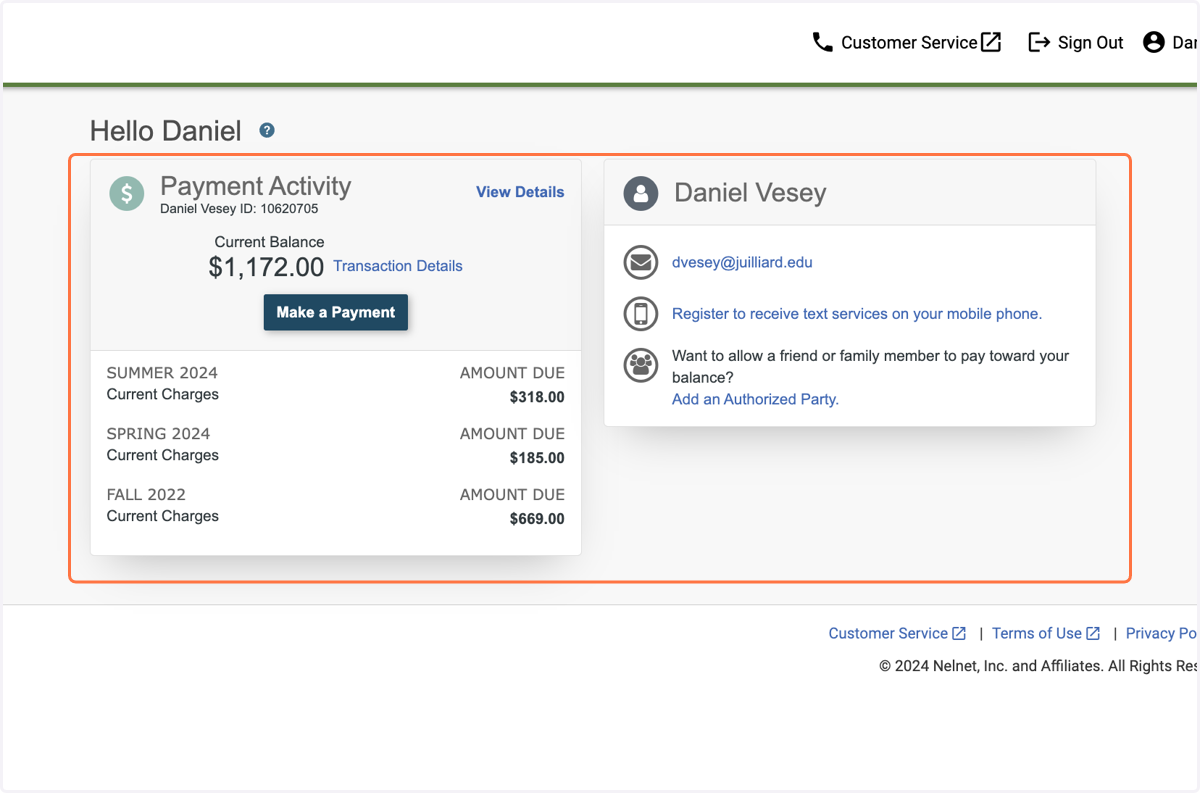
24. Click on Make a Payment
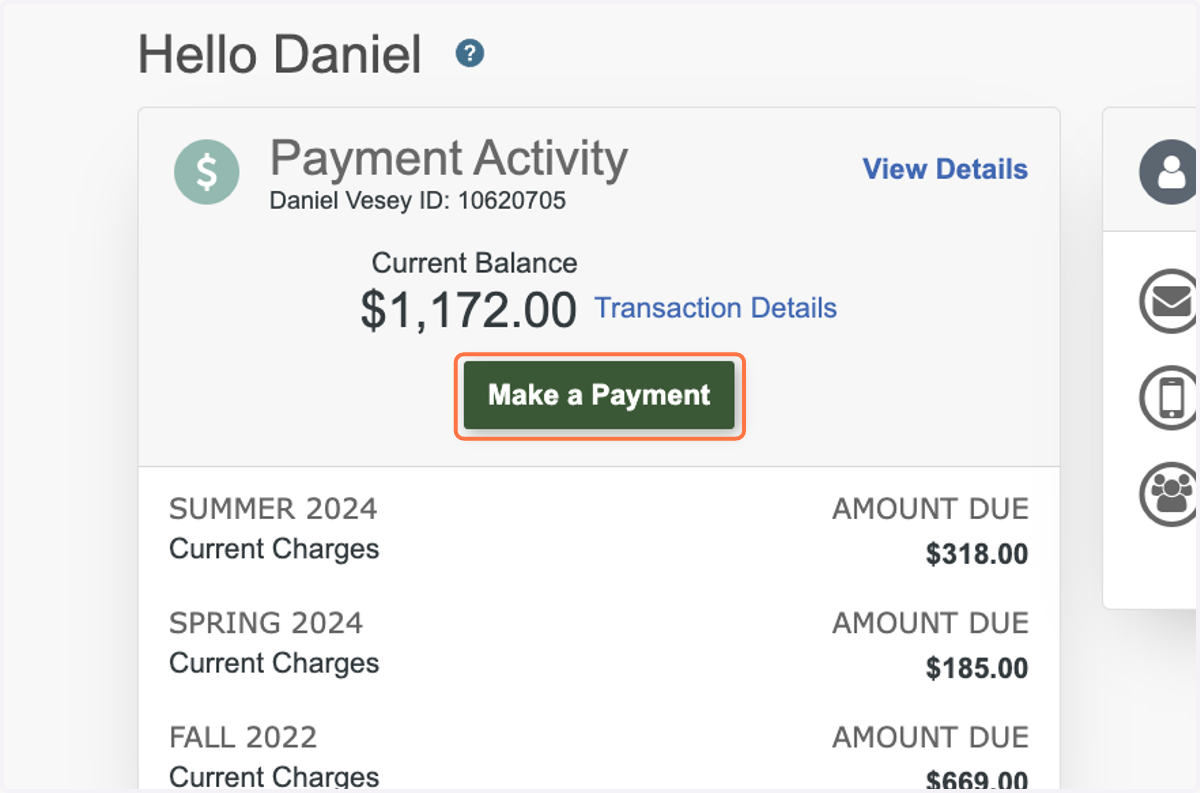
25. Click on Make A Payment…
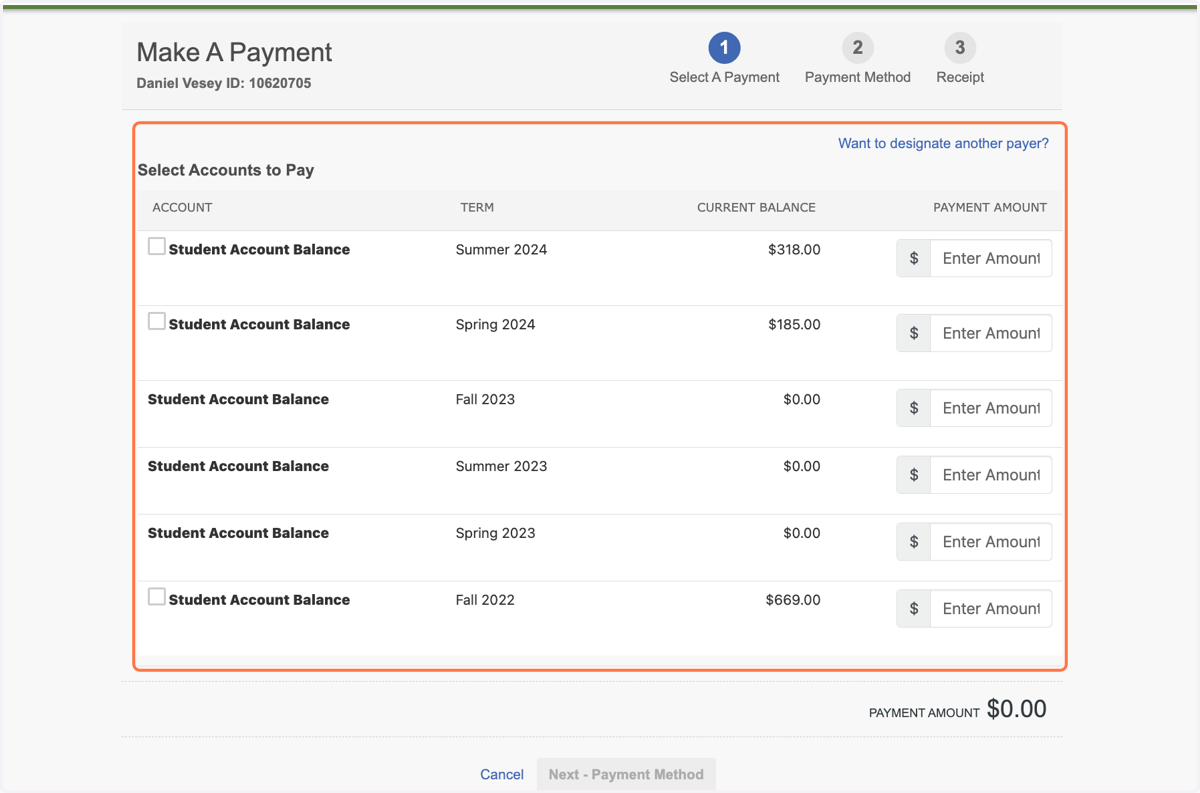
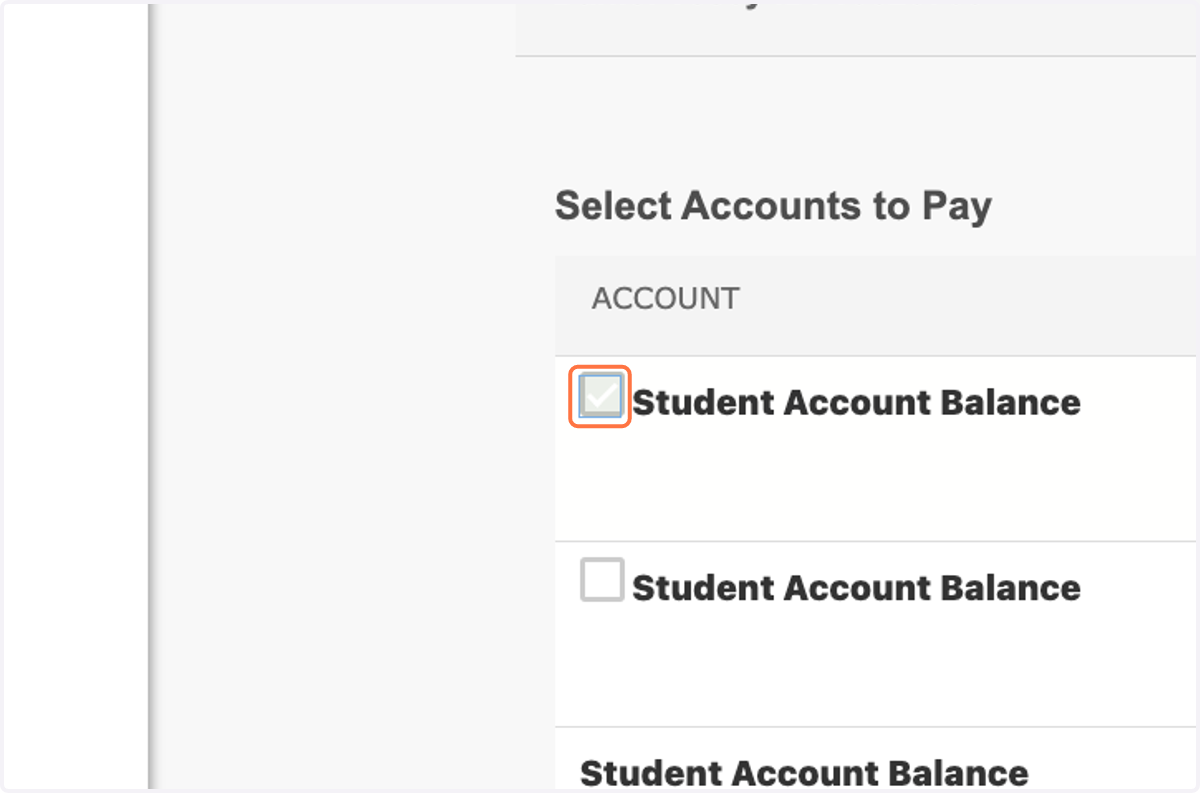
26. Select the checkbox next to Student Account Balance for the terms for which you owe tuition. Your Payment Amount total should automatically adjust.
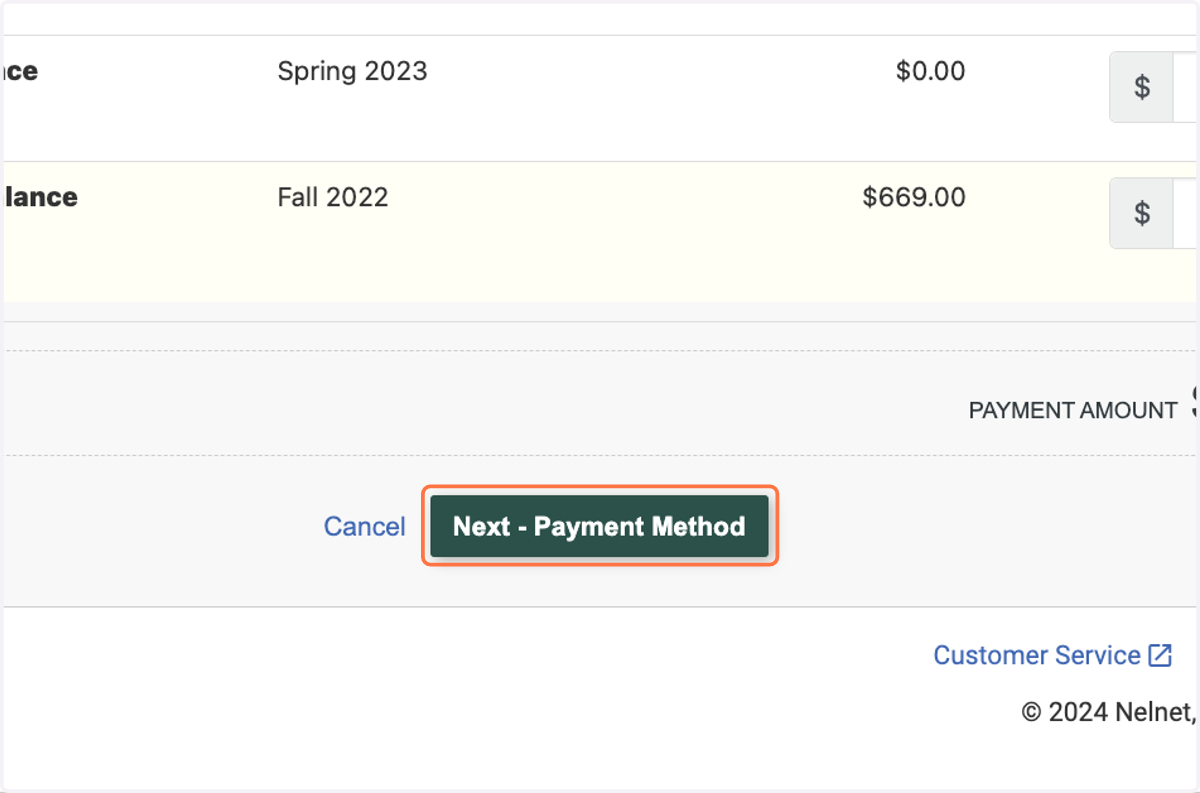
27. Click on Next - Payment Method
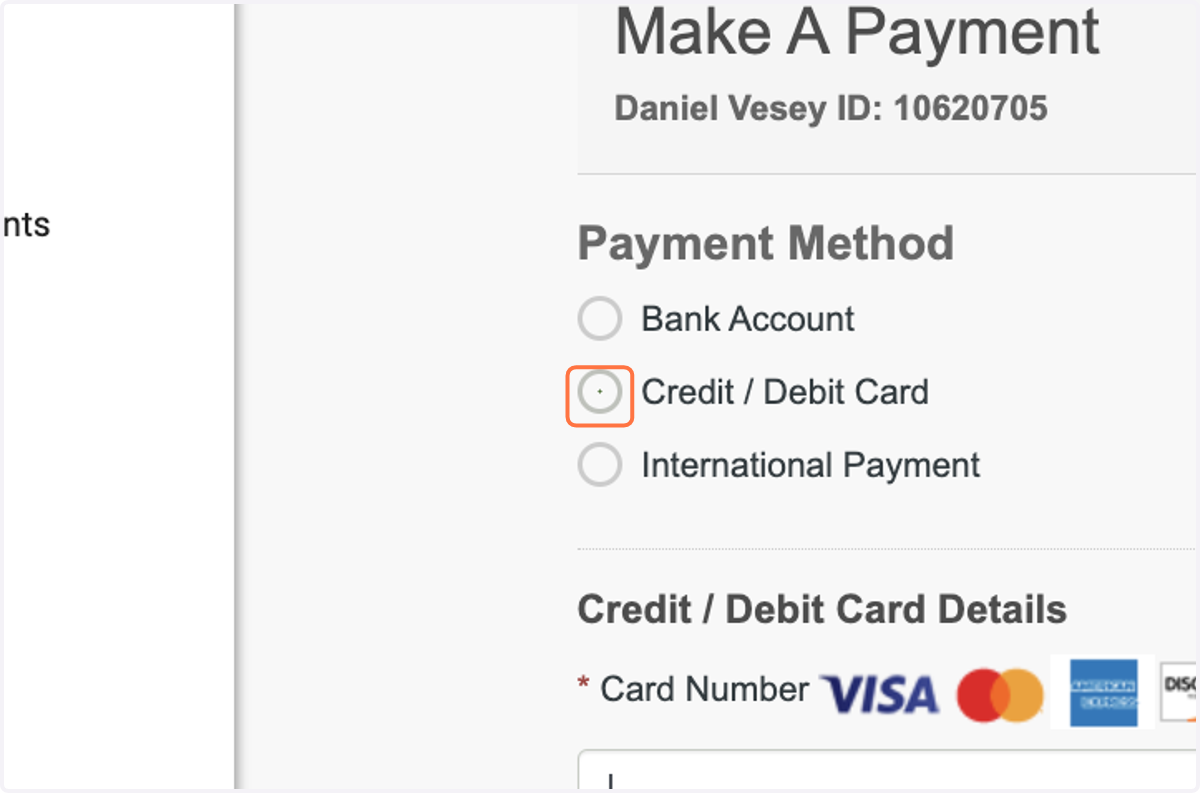
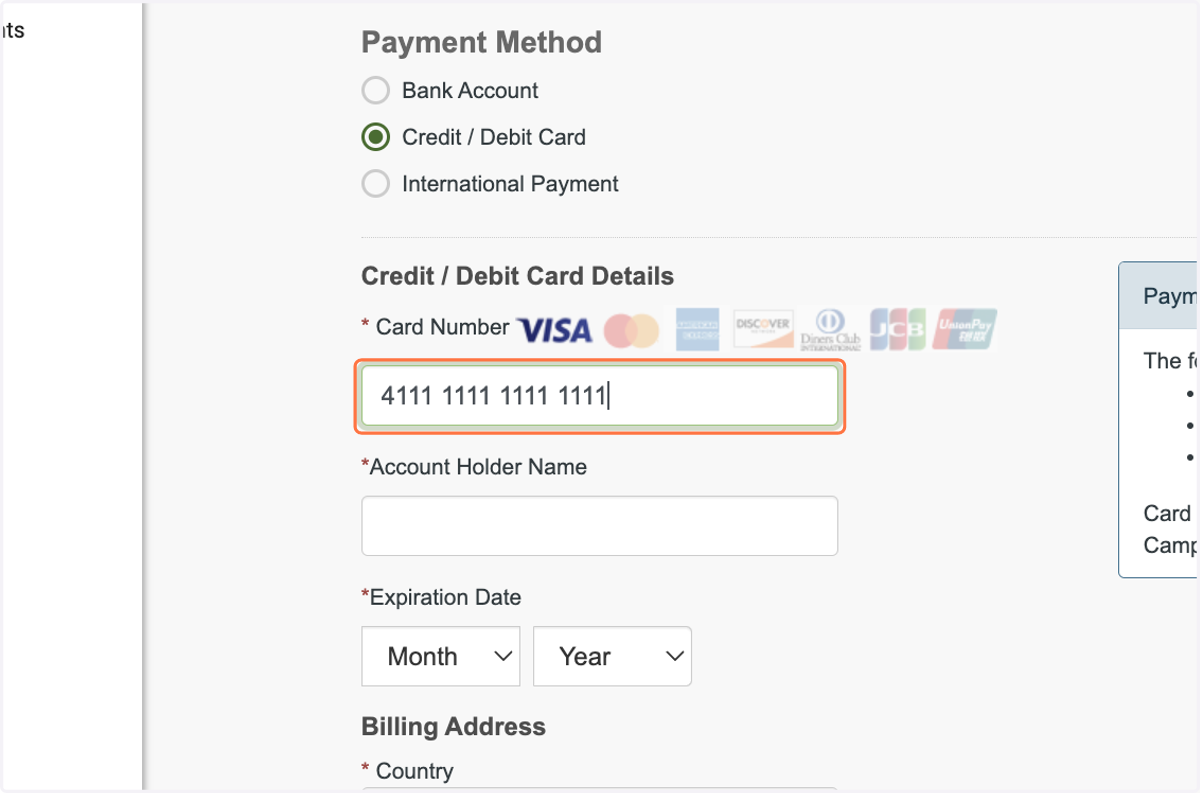
28. Select Credit / Debit Card
Note credit / debit card transactions are subject to a 2.85% service fee.
You may also pay by inputting your Checking / Savings account information with valid routing and account numbers. The service fee does not apply to checking / savings account transactions.
29. Input your credit / debit card number
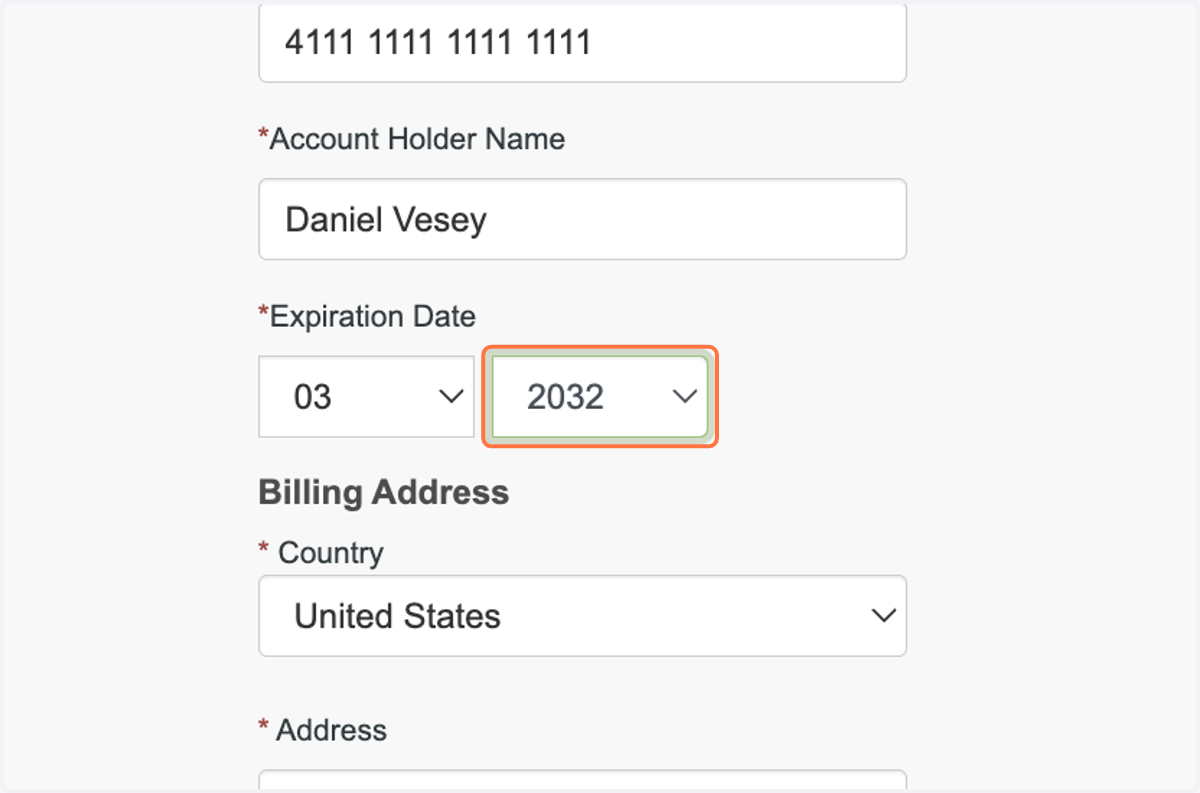
30. Credit / Debit Card expiration mm / yyyy
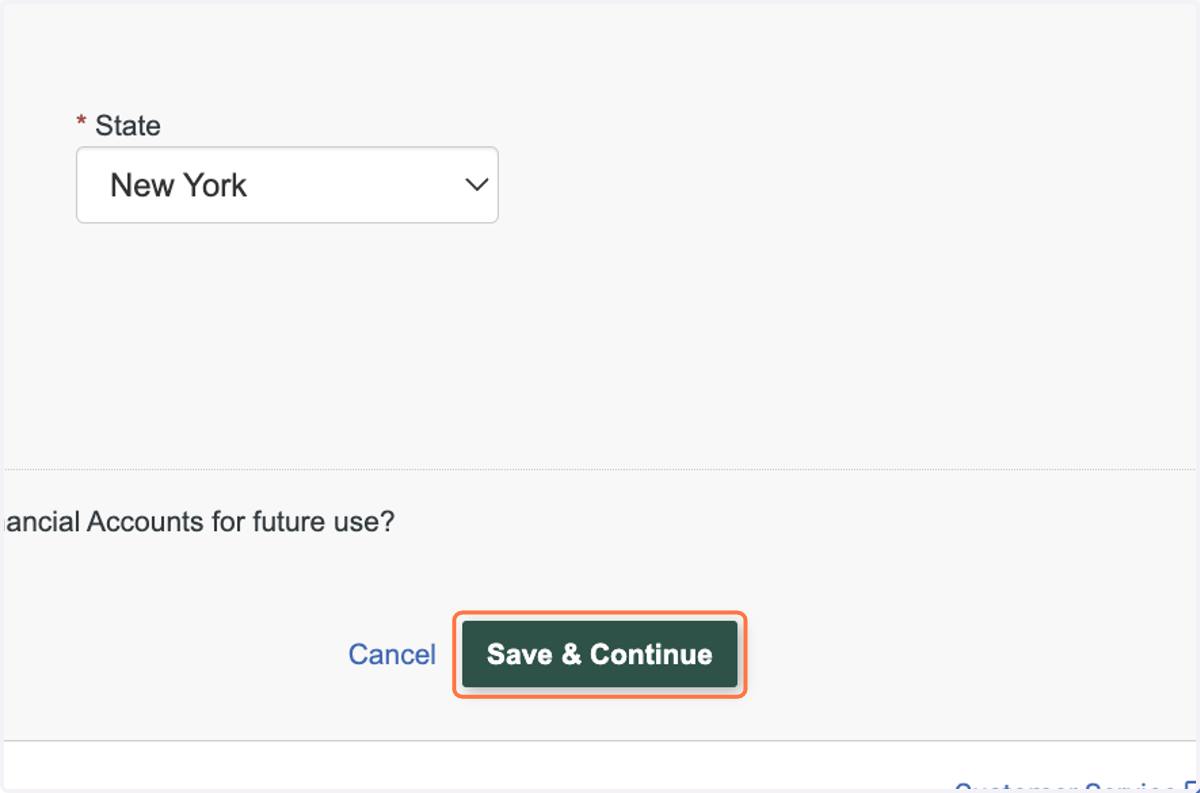
31. Click on Save & Continue
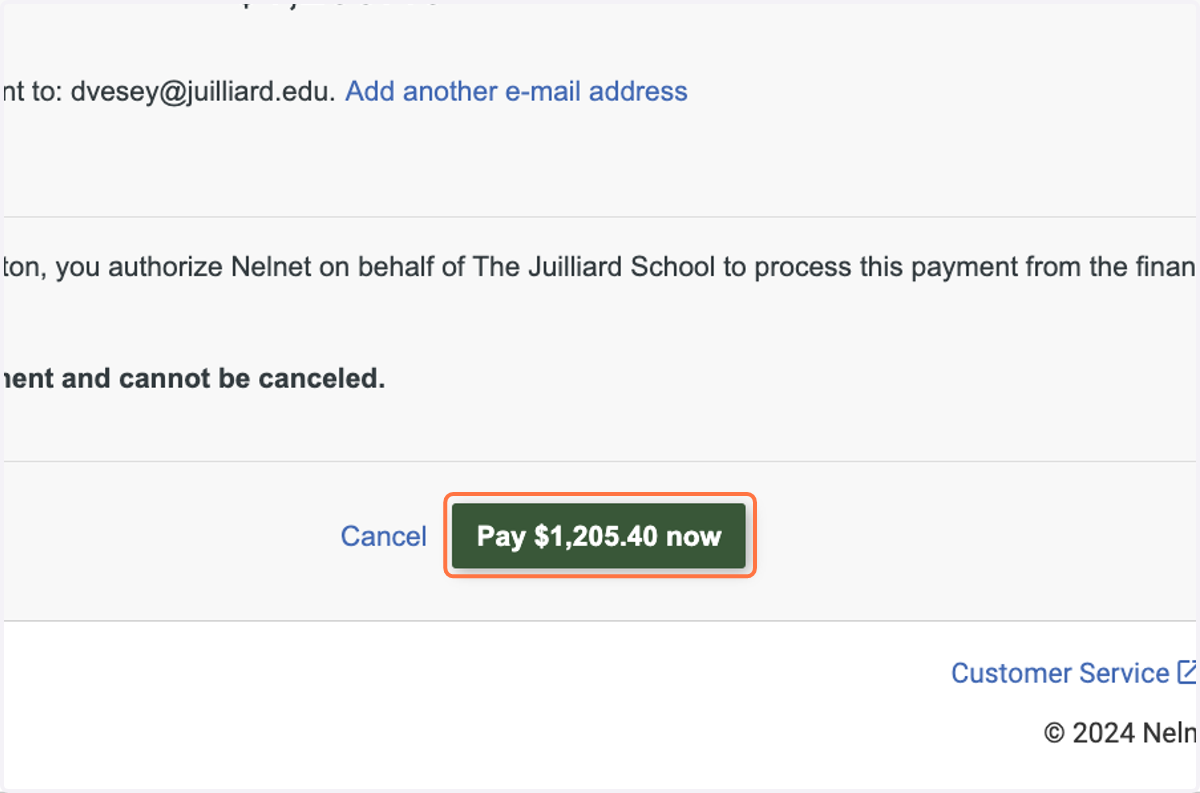
32. Click on Pay $1,205.40 now
Upon successful and full payment, you will receive a payment confirmation email immediately. Within 15 minutes you will receive a second enrollment confirmation email titled "Welcome Letter" from Juilliard Extension.
33. Contact
If you run into any issues you may email our office at extension@juilliard.edu or by calling (212) 799-5000 ext. 273