Connect Simpro to DirectMail Platform
Configure your Campaign (Optional)
If you're sending a multi-piece campaign, we recommend using our Drip Campaigns feature. It makes it easy to build and manage your multi-touch mail sequence, while providing clear visibility into which step each recipient is currently on.
Integrations | DirectMail Portal
You can connect from either PCM or Simpro. These directions show you how to connect from PCM to Simpro.
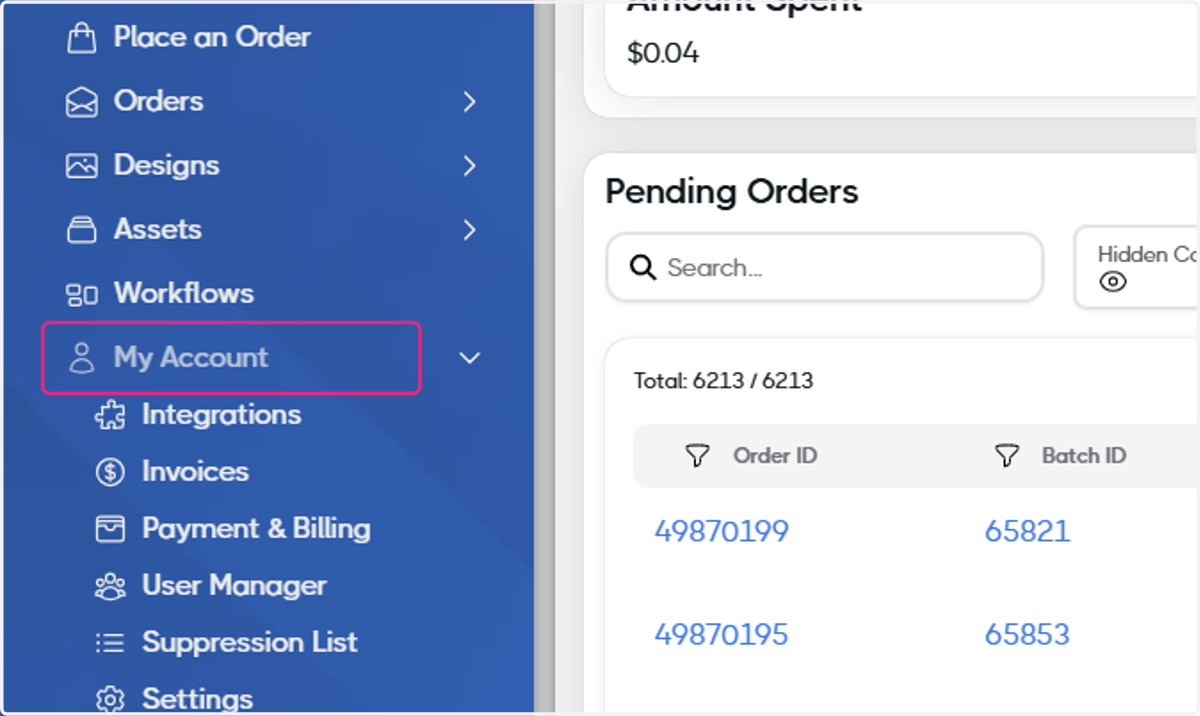
1. Click on My Account
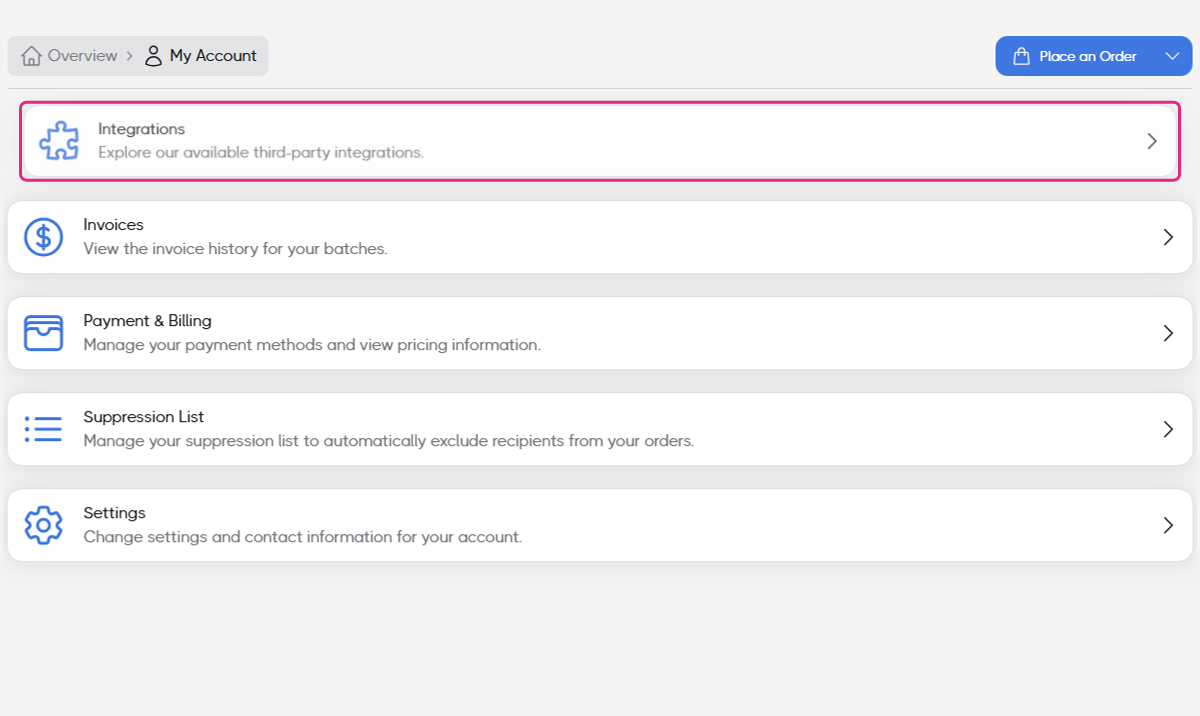
2. Click on Integrations…
Create your first Workflow
In this example, we will show you how to automatically drop recipients from Simpro into one of your drip campaigns. However, you can mix and match any Simpro trigger and action in our workflow engine. The options are limitless!
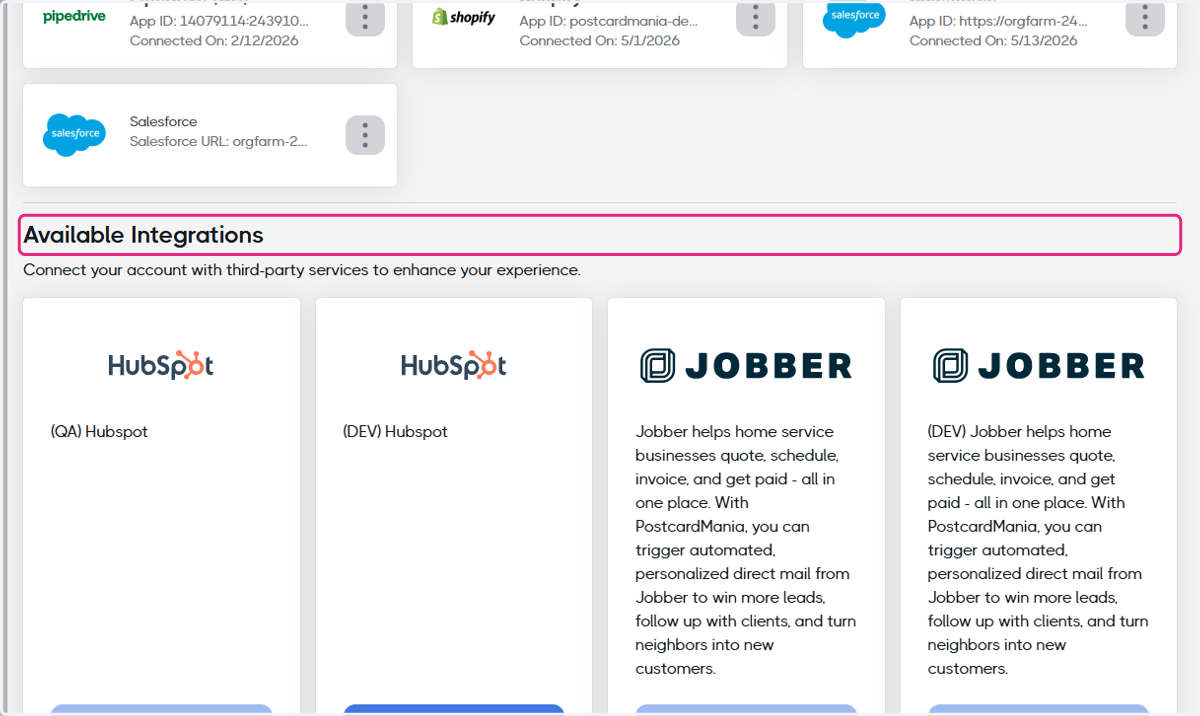
3. Scroll down to Available Integrations
General Setup
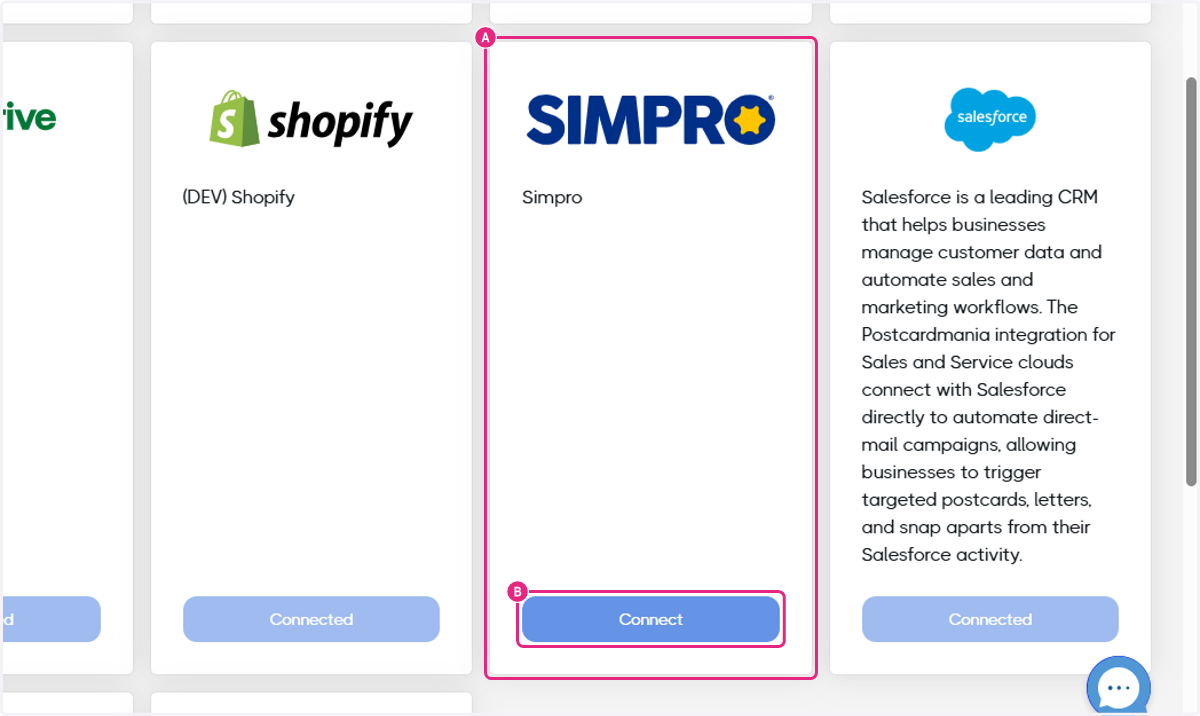
4. A. Click on Simpro…
4. B. Click on Connect
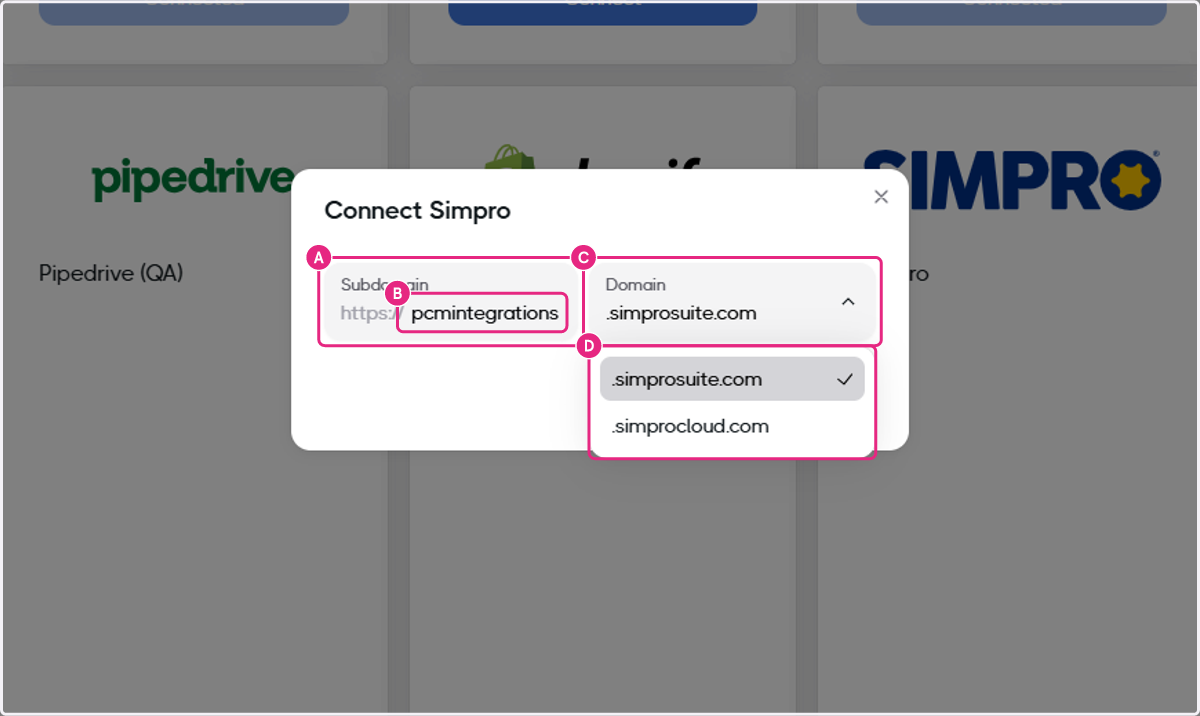
5. A. Click on Subdomain…
5. B. Type pcmintegrations
5. C. Click on Domain dropdown
5. D. Select either Suite or Cloud
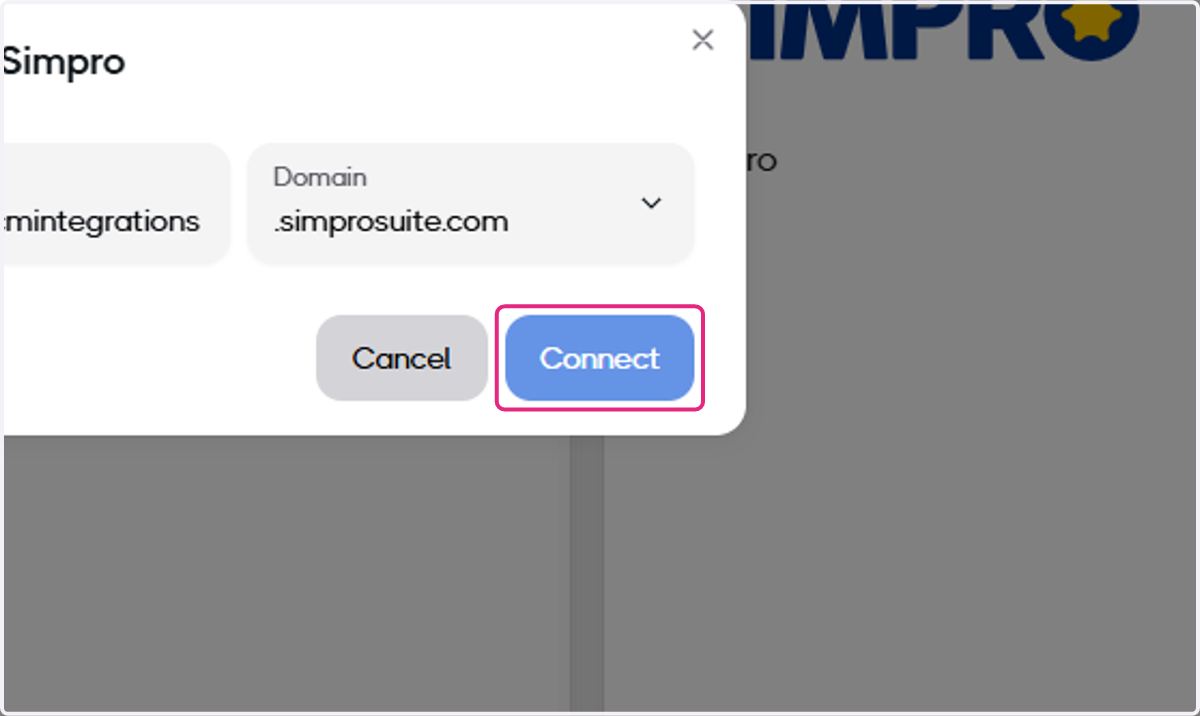
6. Click on Connect
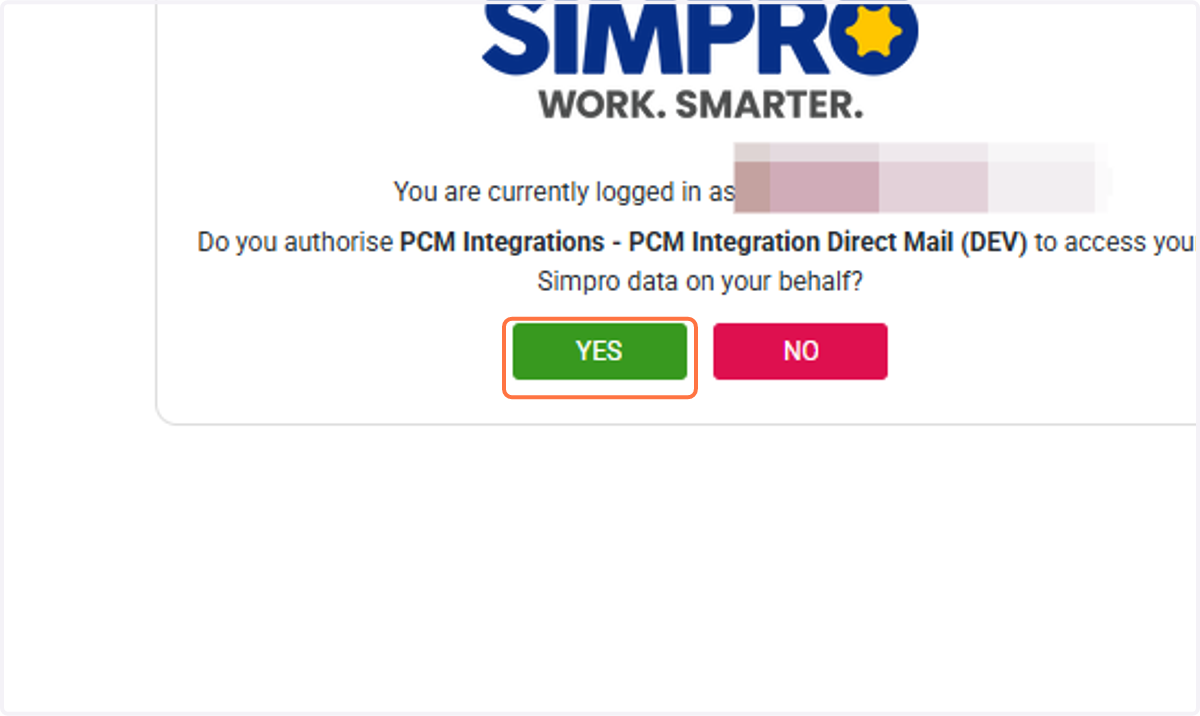
Simpro - Log In
You will be redirected to log into Simpro if you are not already logged in.
7. Click on YES to authorize access to your Simpro
If you have a multi-company design, you will be presented with a dropdown to choose which companies to connect.
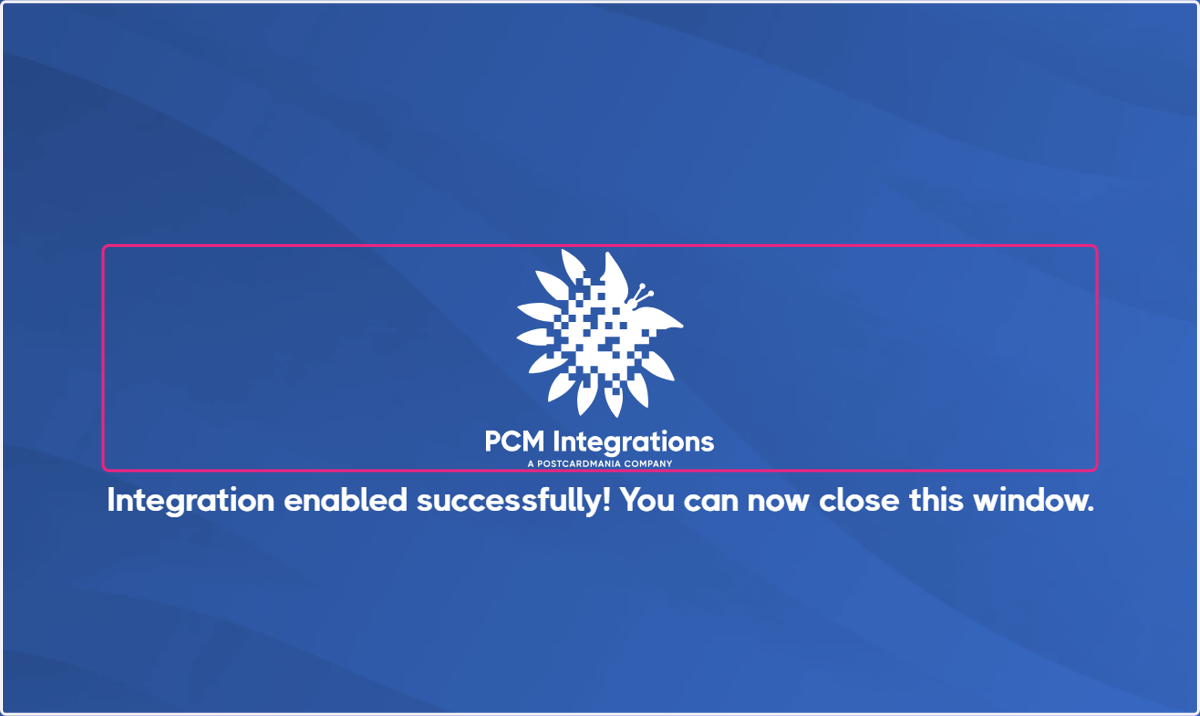
8. Success!
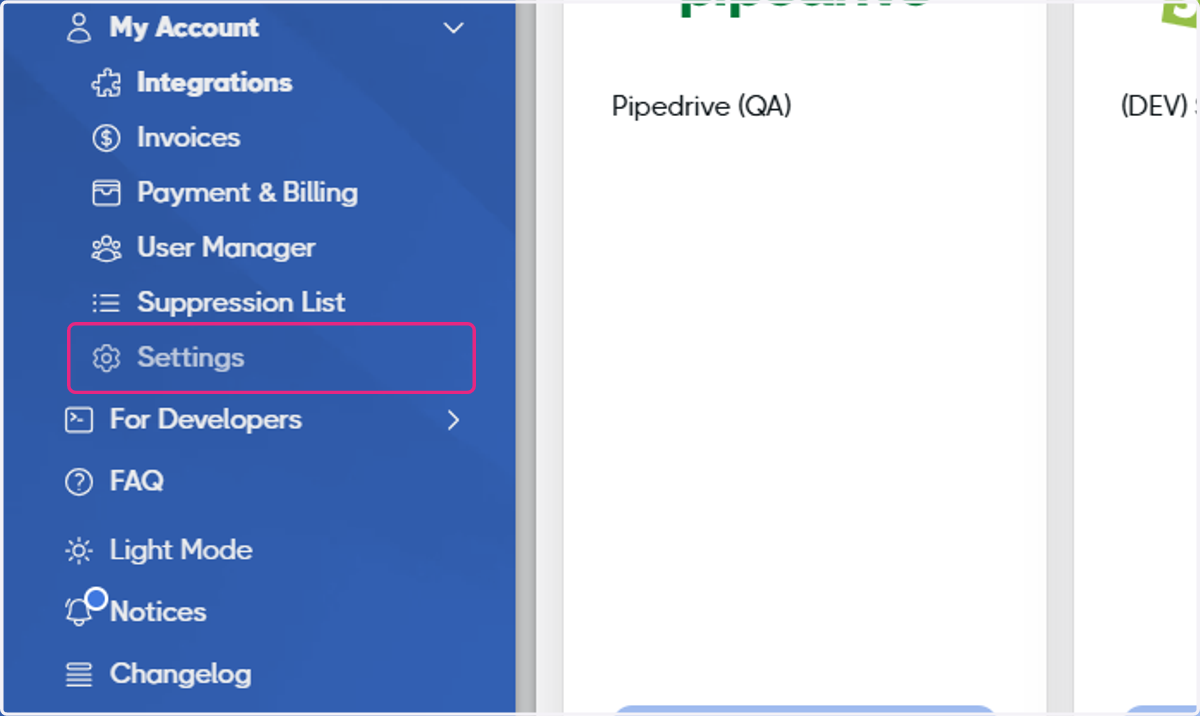
9. Update you Settings
Set you return address and other company information, choose your duplicate handling and address verification logic, etc.
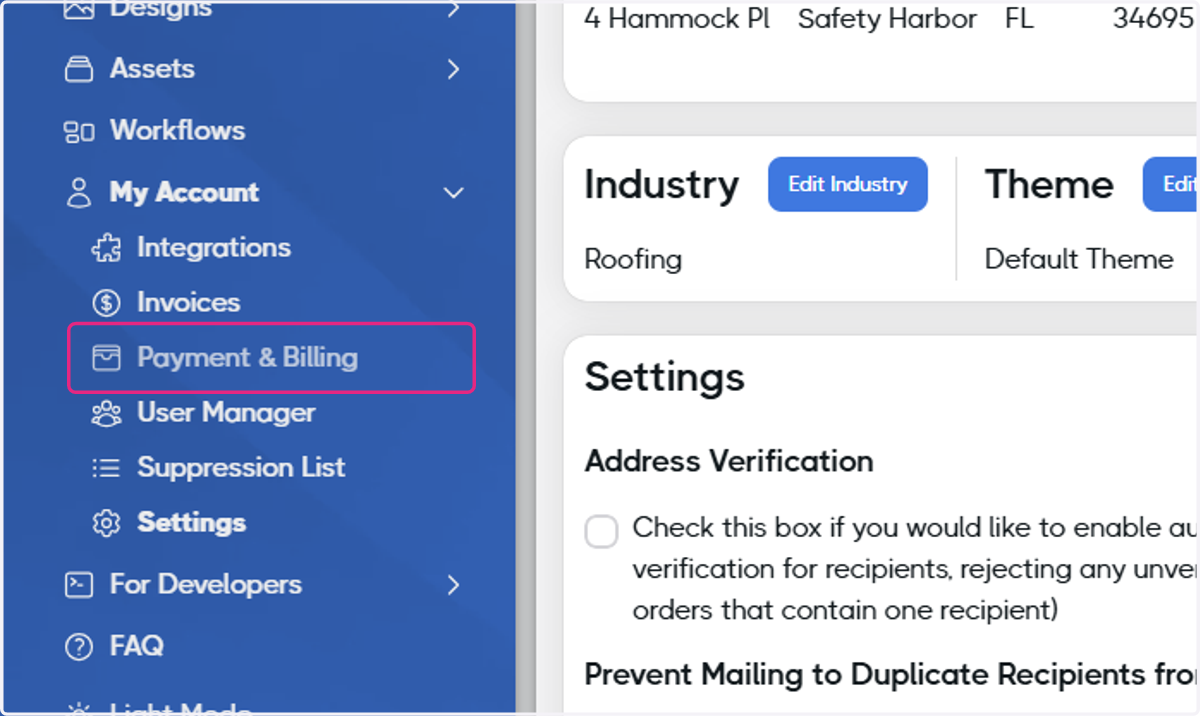
10. Set your Payment & Billing information
Provide your credit card for billing and set a budget type
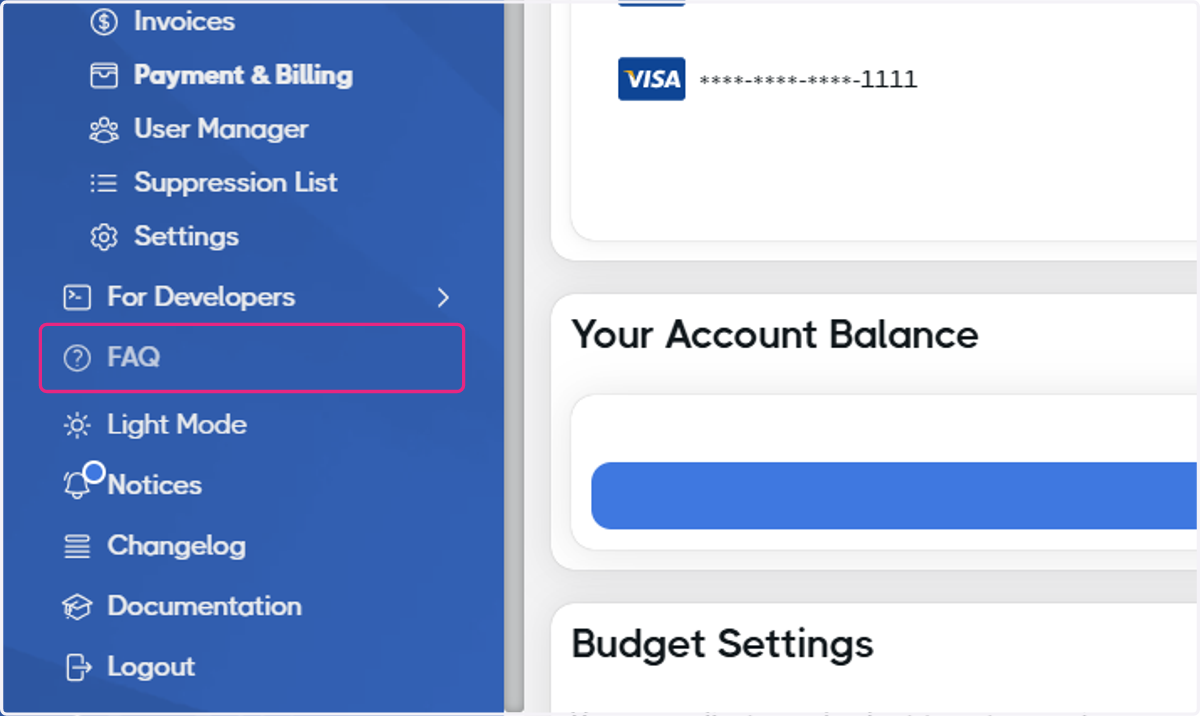
11. The FAQ is here to help!
The FAQ has many more walkthroughs just like this one to help you along your way!
12. Set up your Design
You have multiple options for your design including creating a design using our in-app editor, uploading your own print ready art, or even HTML.
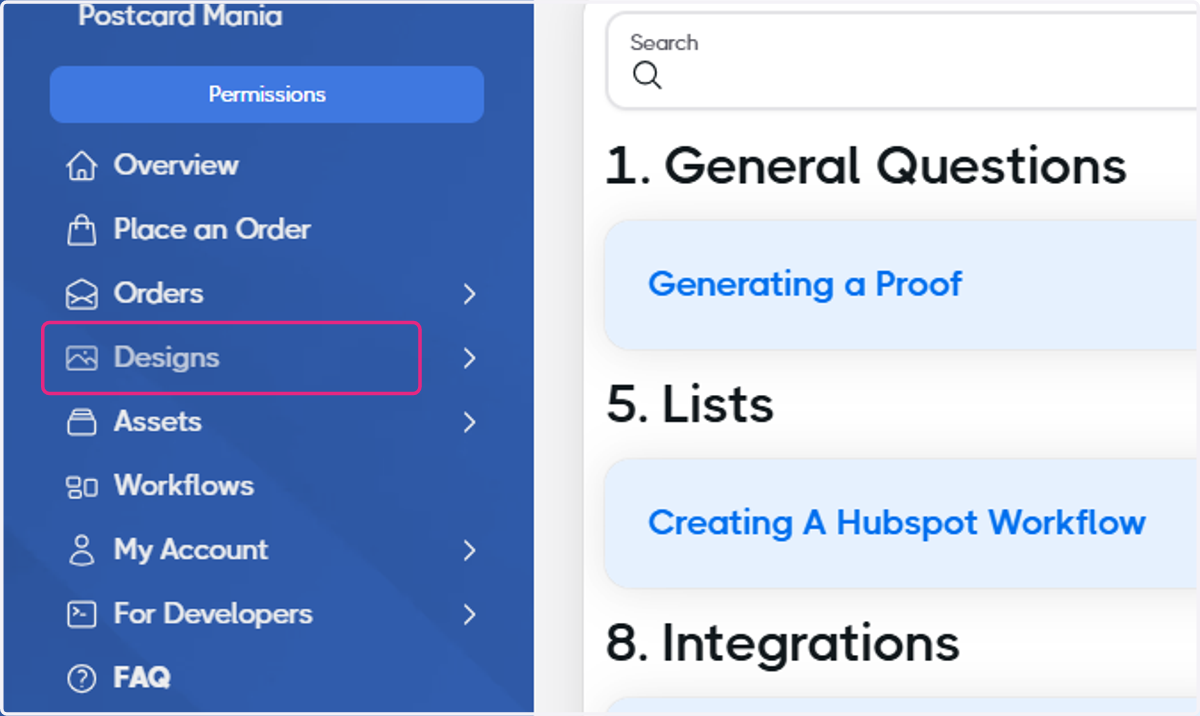
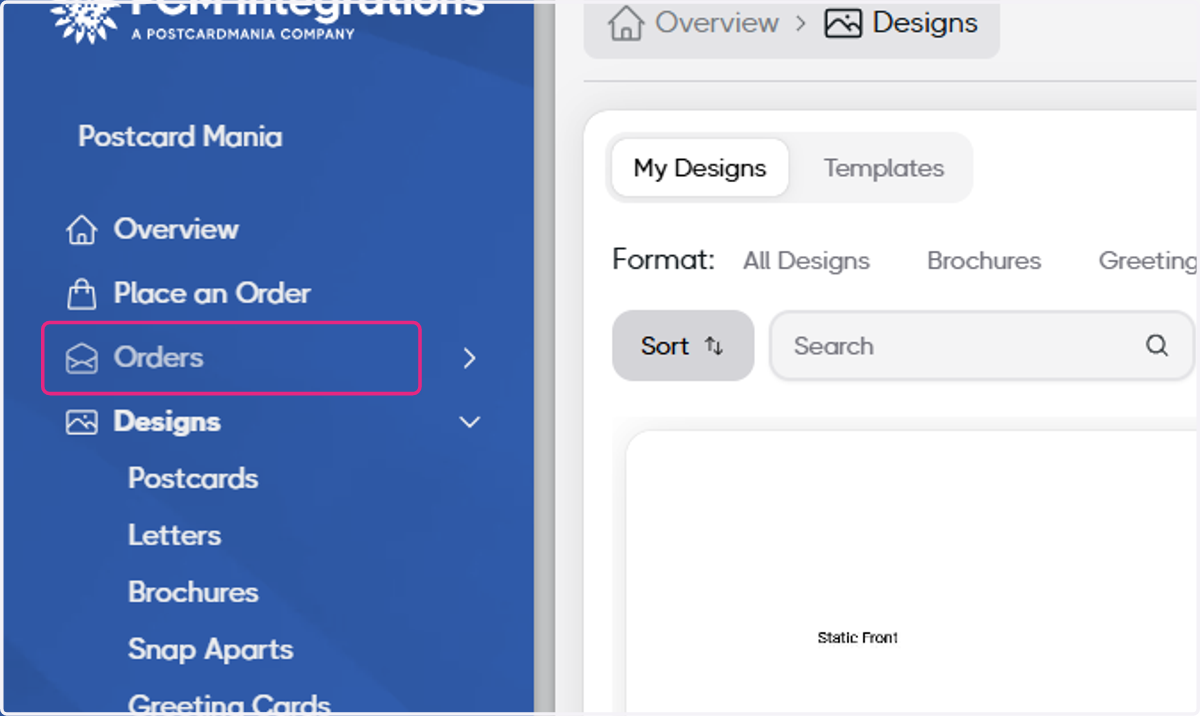
13. Click on Orders
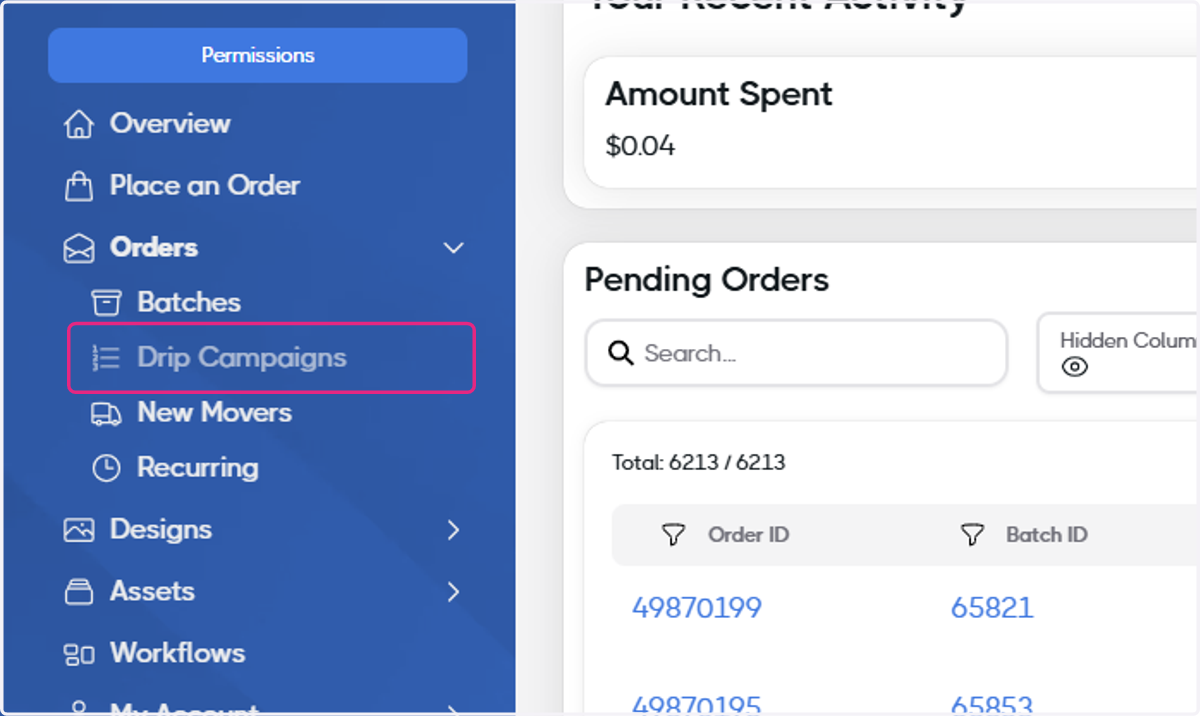
14. Click on Drip Campaigns
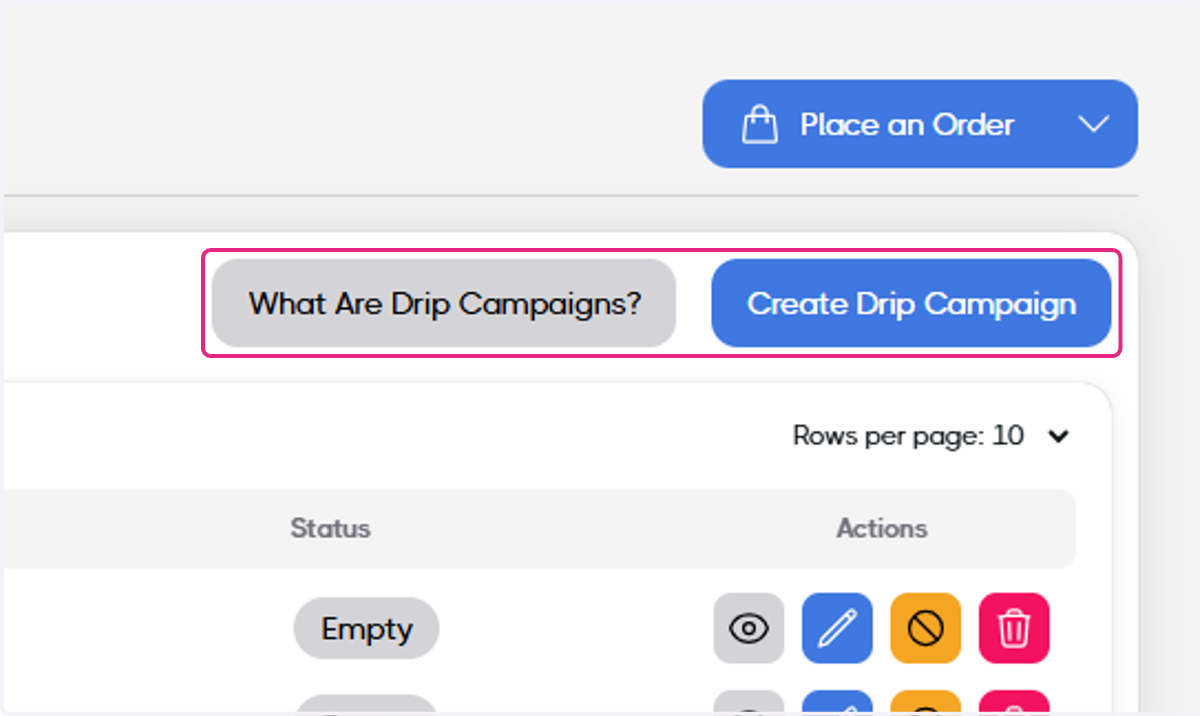
15. Click on Create Drip Campaign
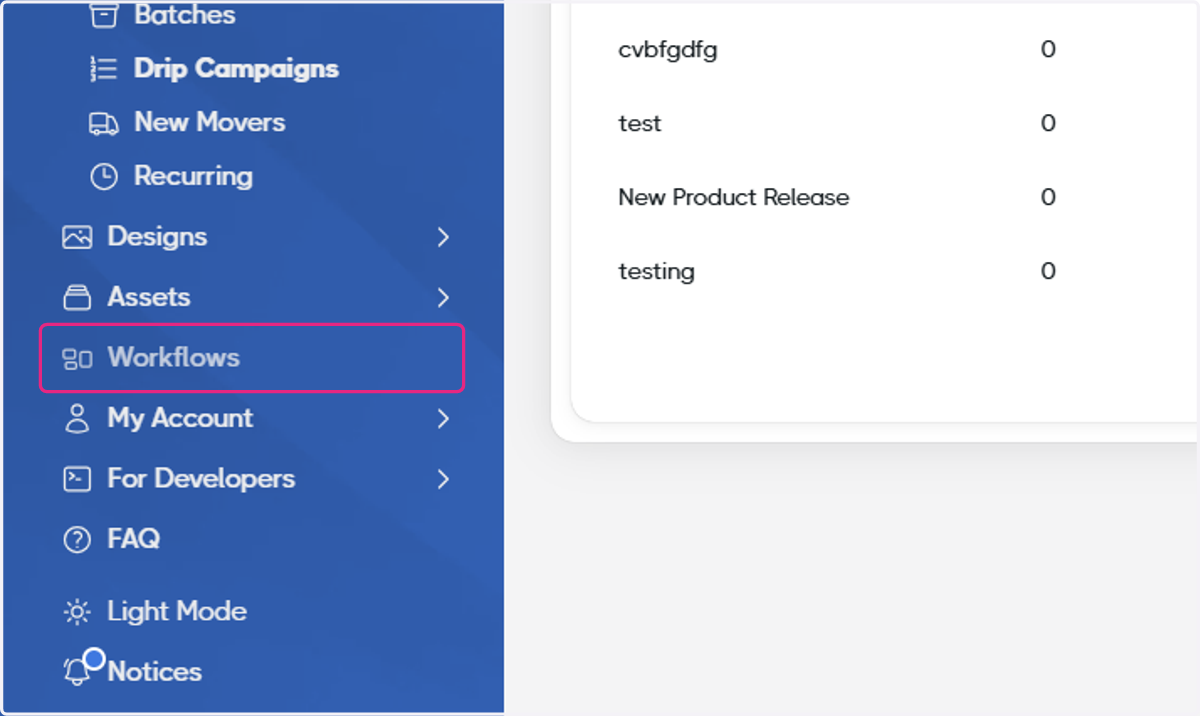
16. Click on Workflows
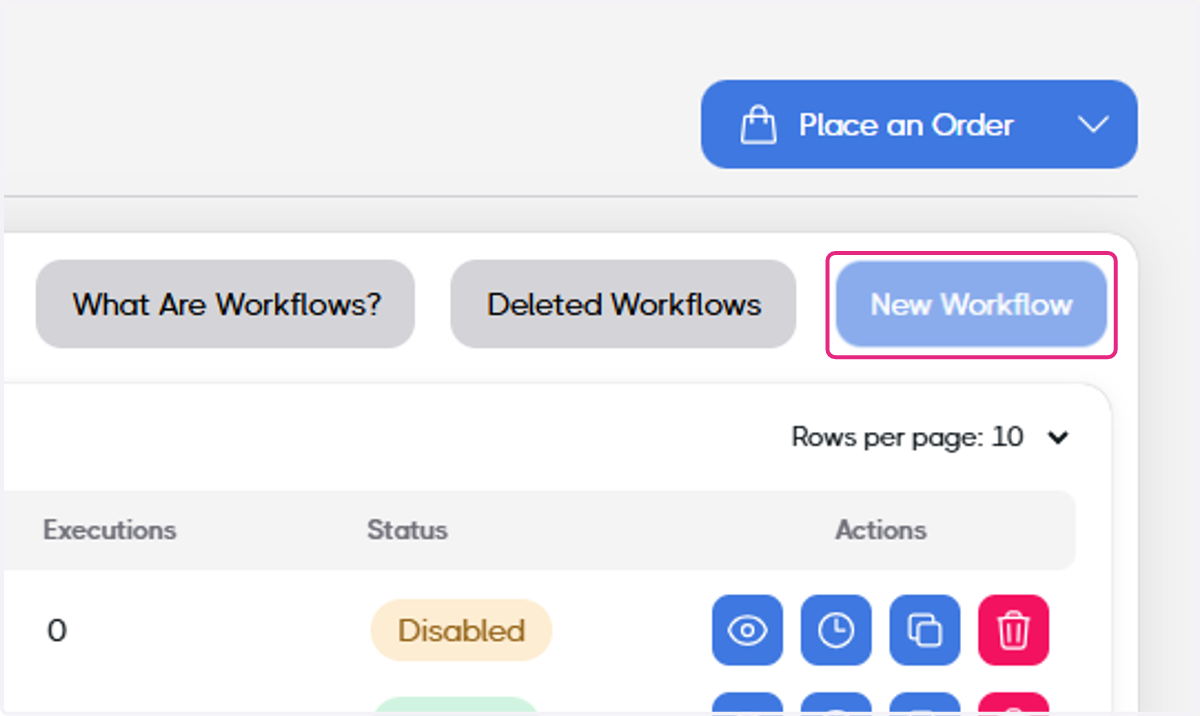
17. Click on New Workflow
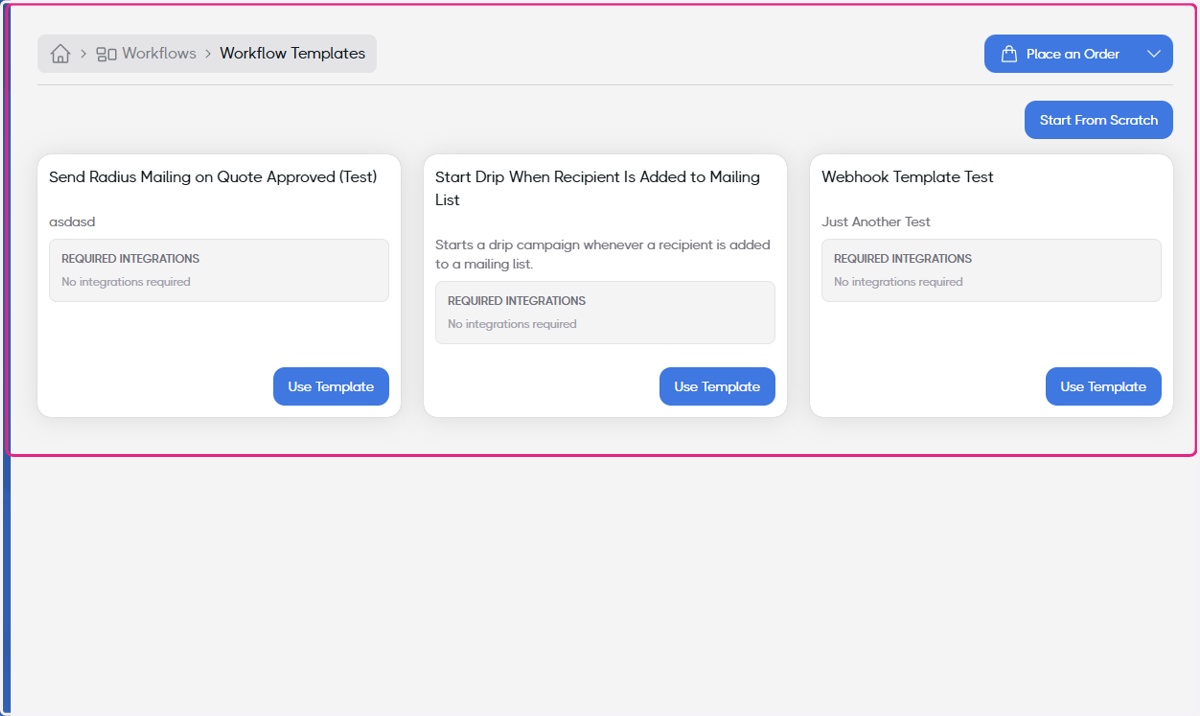
18. Choose whether you will use one of our templates or start from scratch
19. Here is an example the "Send Mail on Job Created" workflow
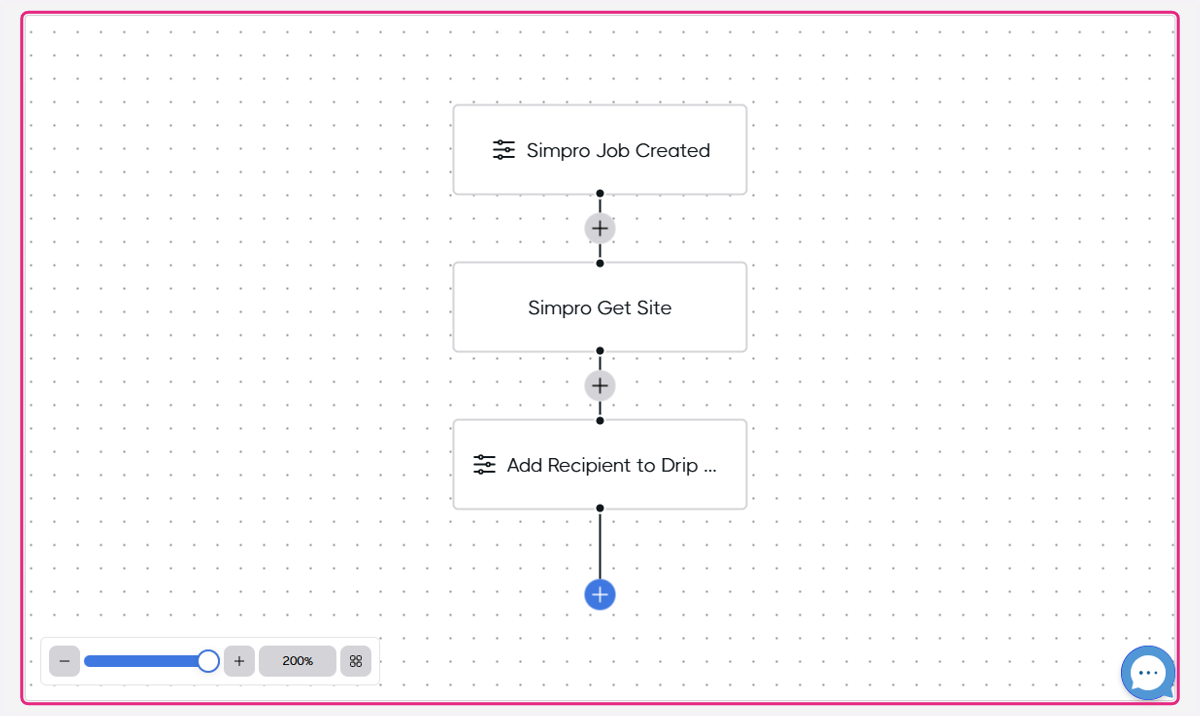
20. The trigger is Simpro Job Created
Anytime a Simpro job is created, the workflow will triggered.
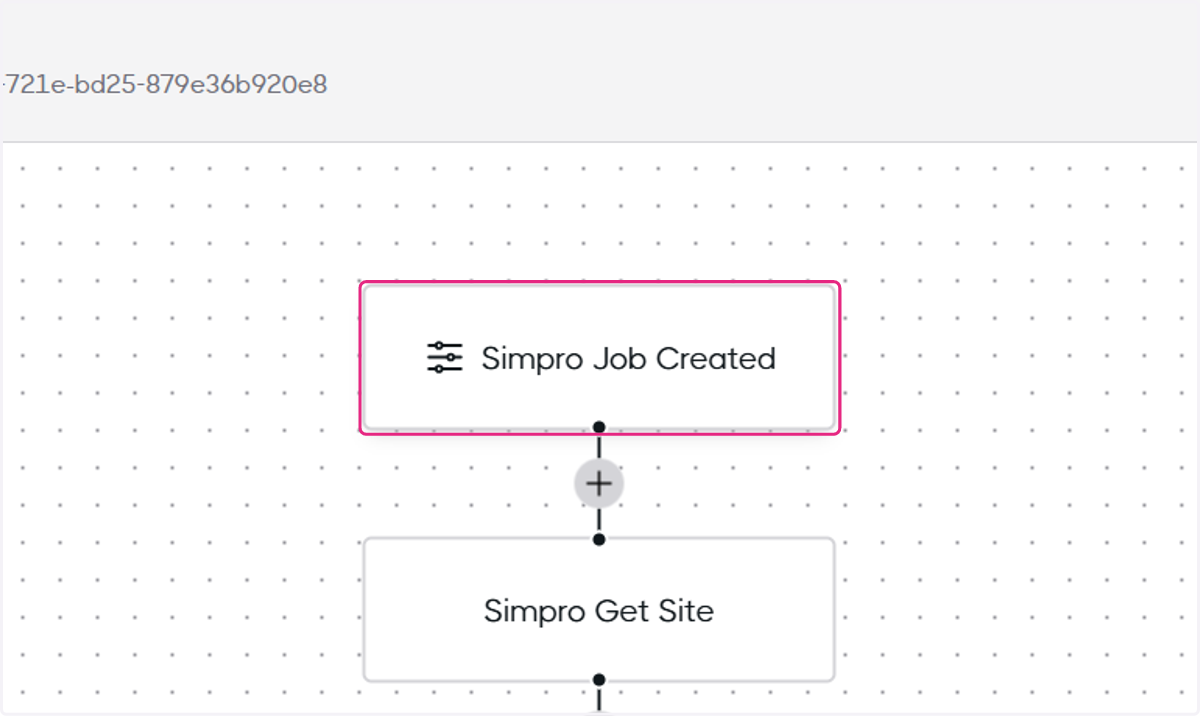
21. Simpro Get Site
PCM will check the Simpro site to obtain the location of the Job and ensure we have the correct address information for mailing.
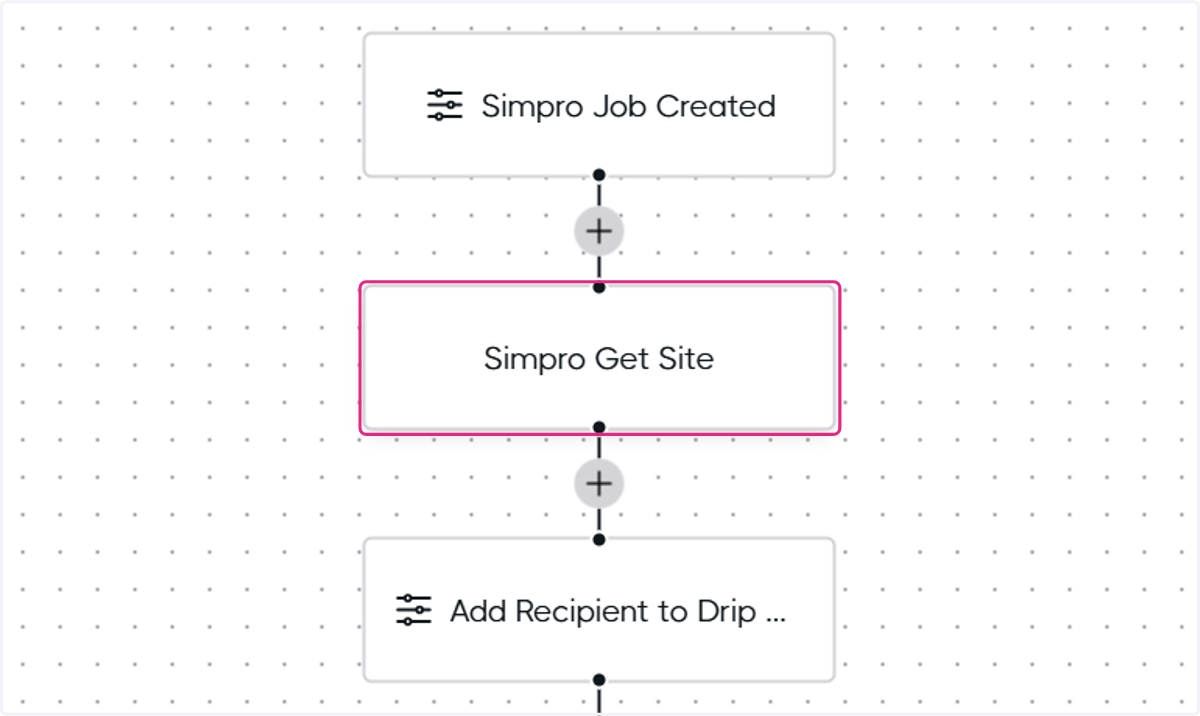
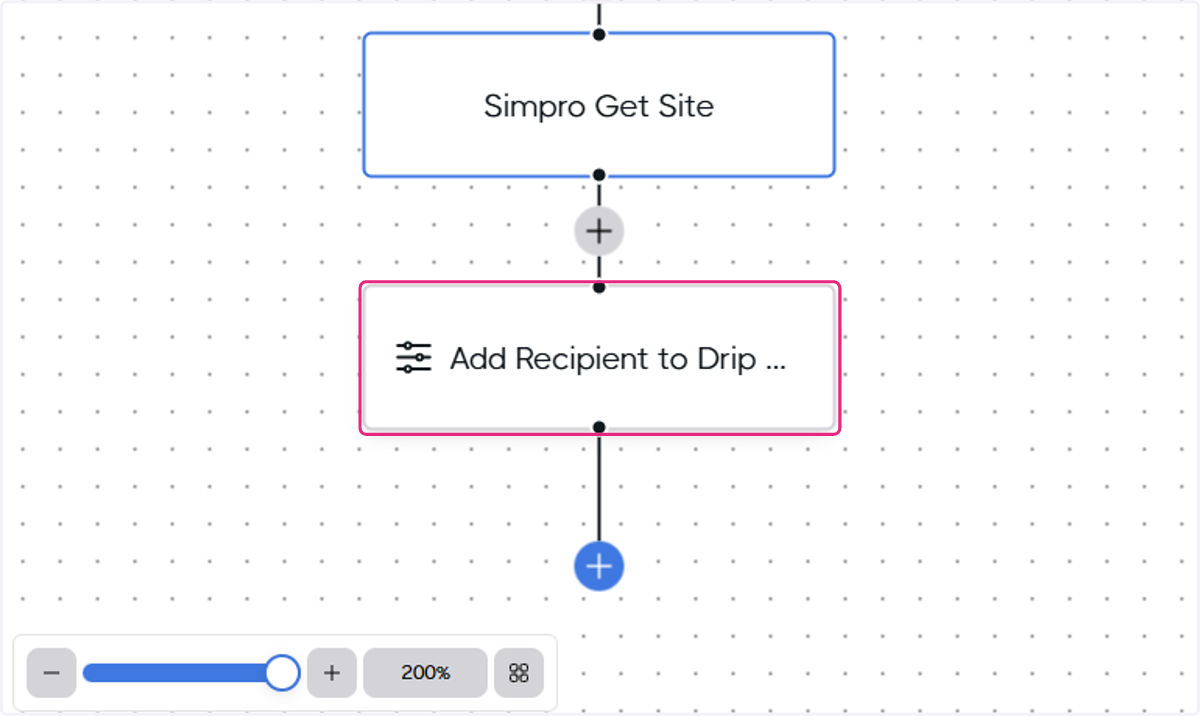
22. The Recipient will be added into the existing Drip Campaign
23. Make sure all your fields are mapped appropriately
You can choose the map your fields to the Job or to the Site depending on which address or information you want to use. You must choose the drip campaign from the dropdown menu.
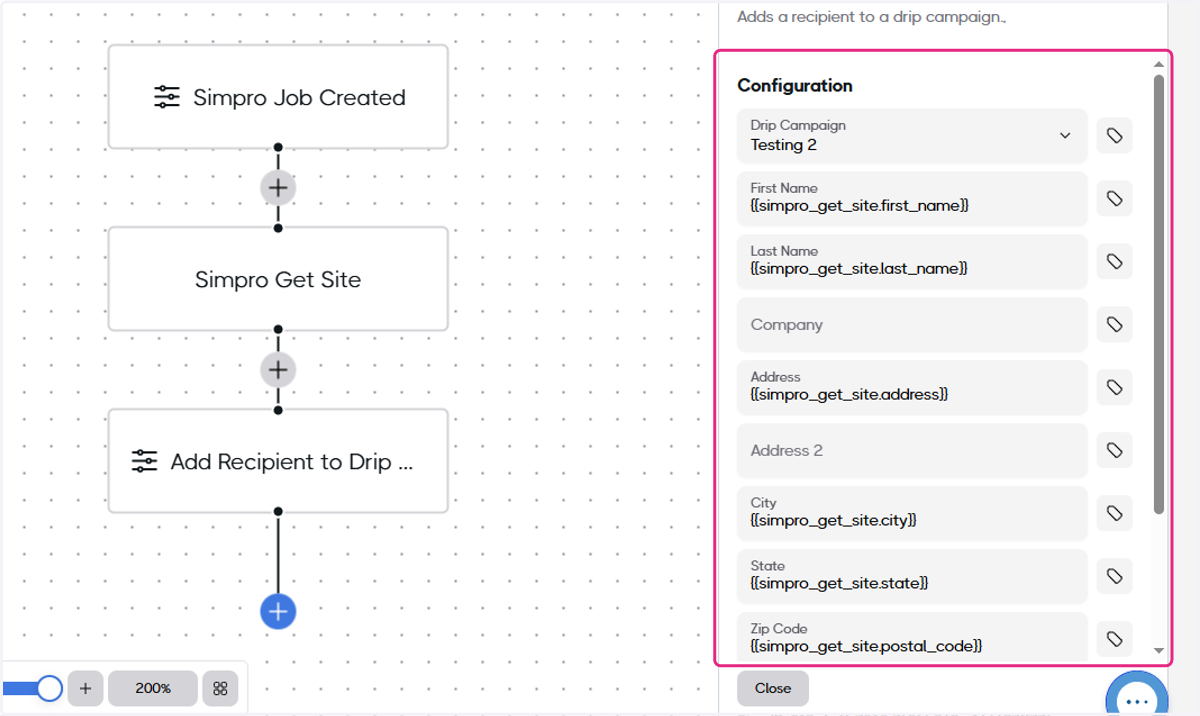
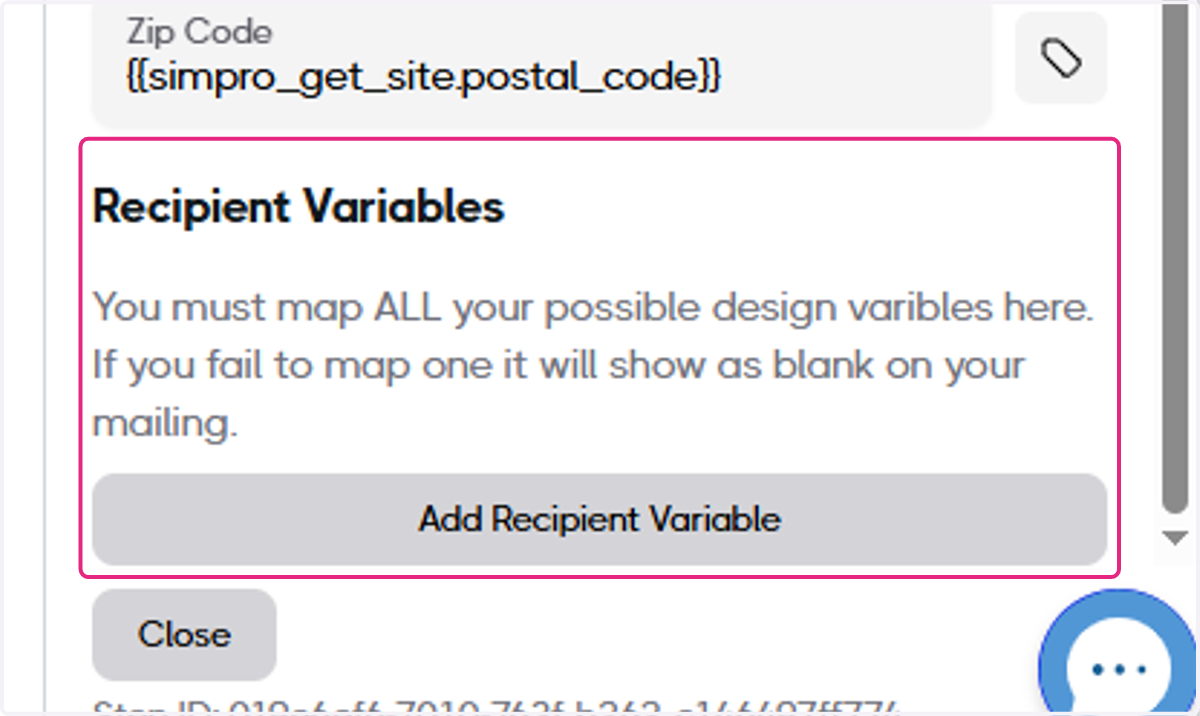
24. Make sure to add recipient variables if you have custom variables in your design
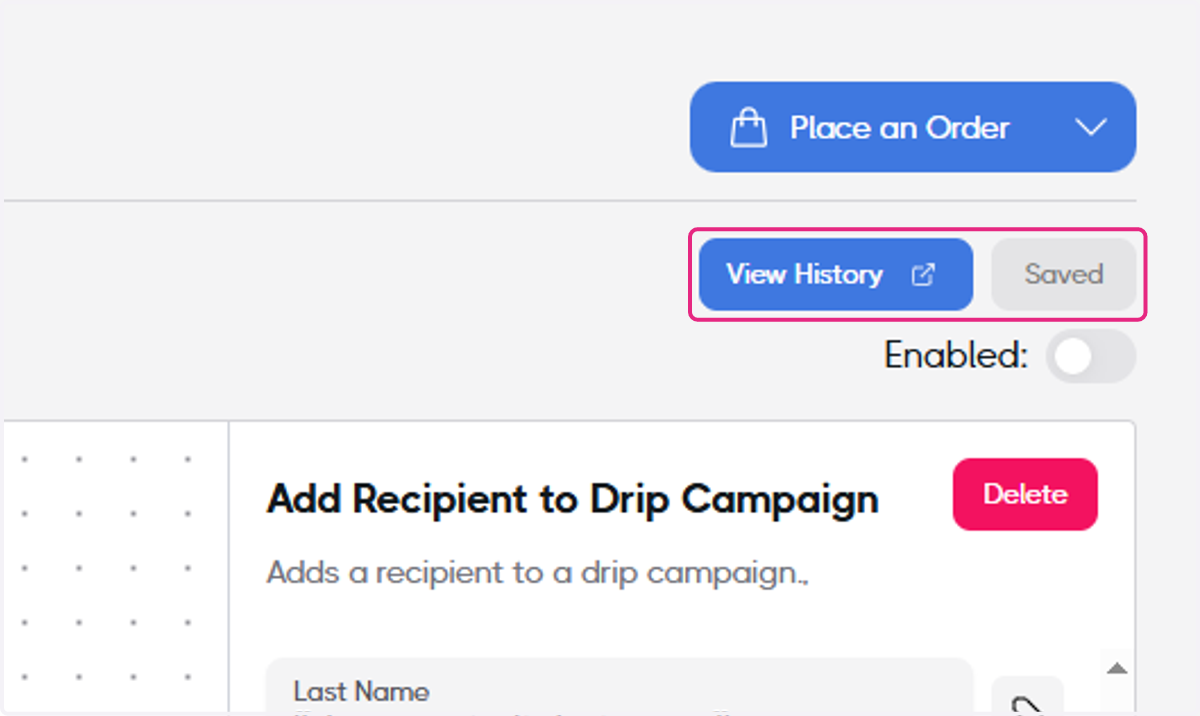
25. Save your Workflow
26. Toggle the enable switch to On
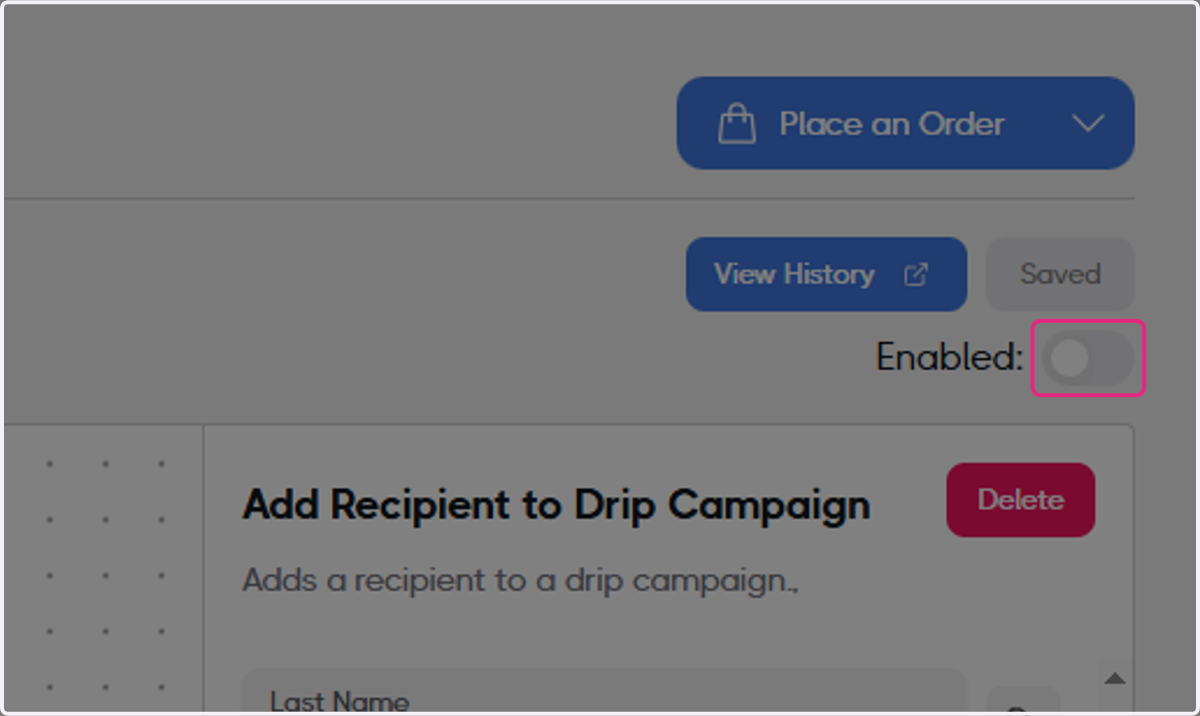
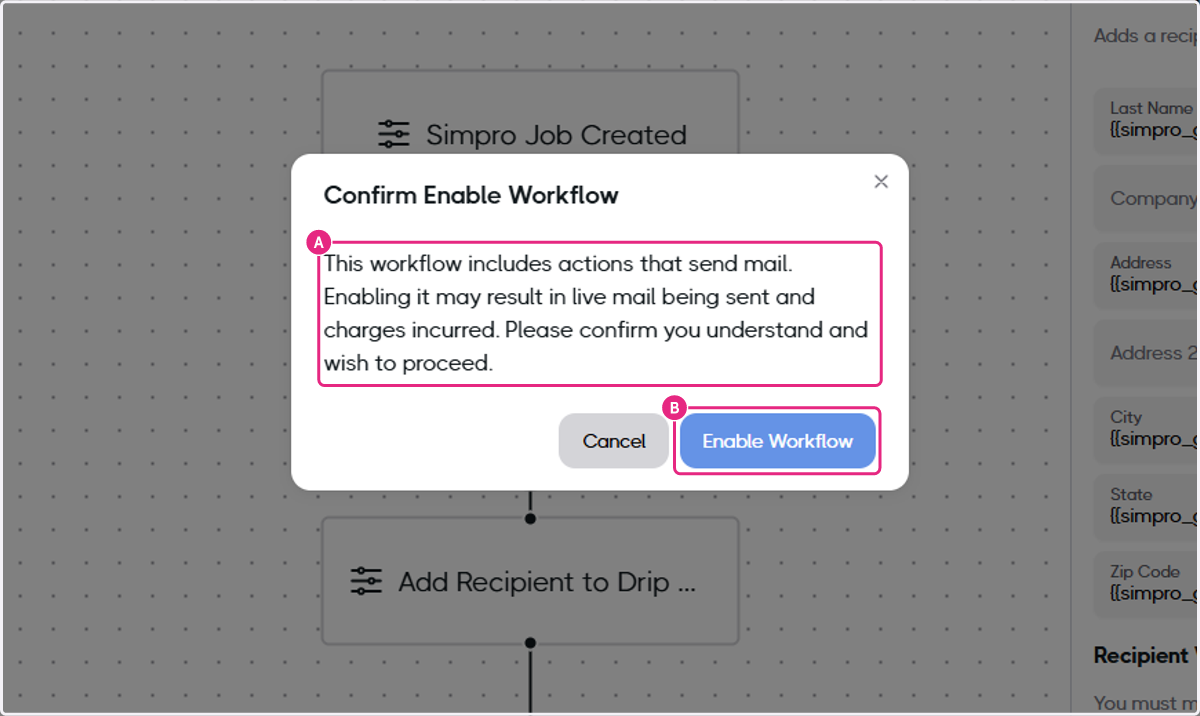
27. A. Confirm
27. B. Click on Enable Workflow