Confirming Reservations in 25Live System
25Live
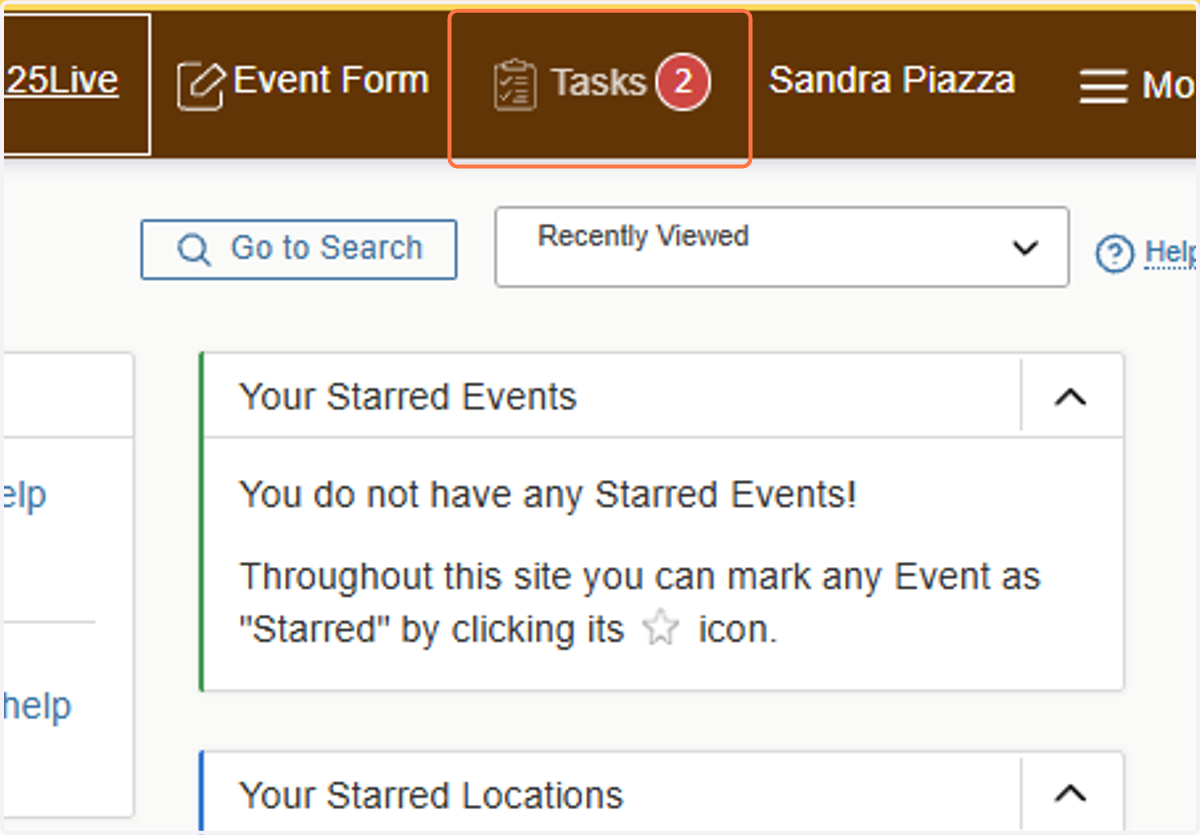
1. Login to 25Live. Select Tasks Tab
Once logged in select the "Tasks" tab and icon on the top banner. The little red icon with numbers indicates how many reservations have been submitted and need to be processed.
2. Select Reservation You Want to Process
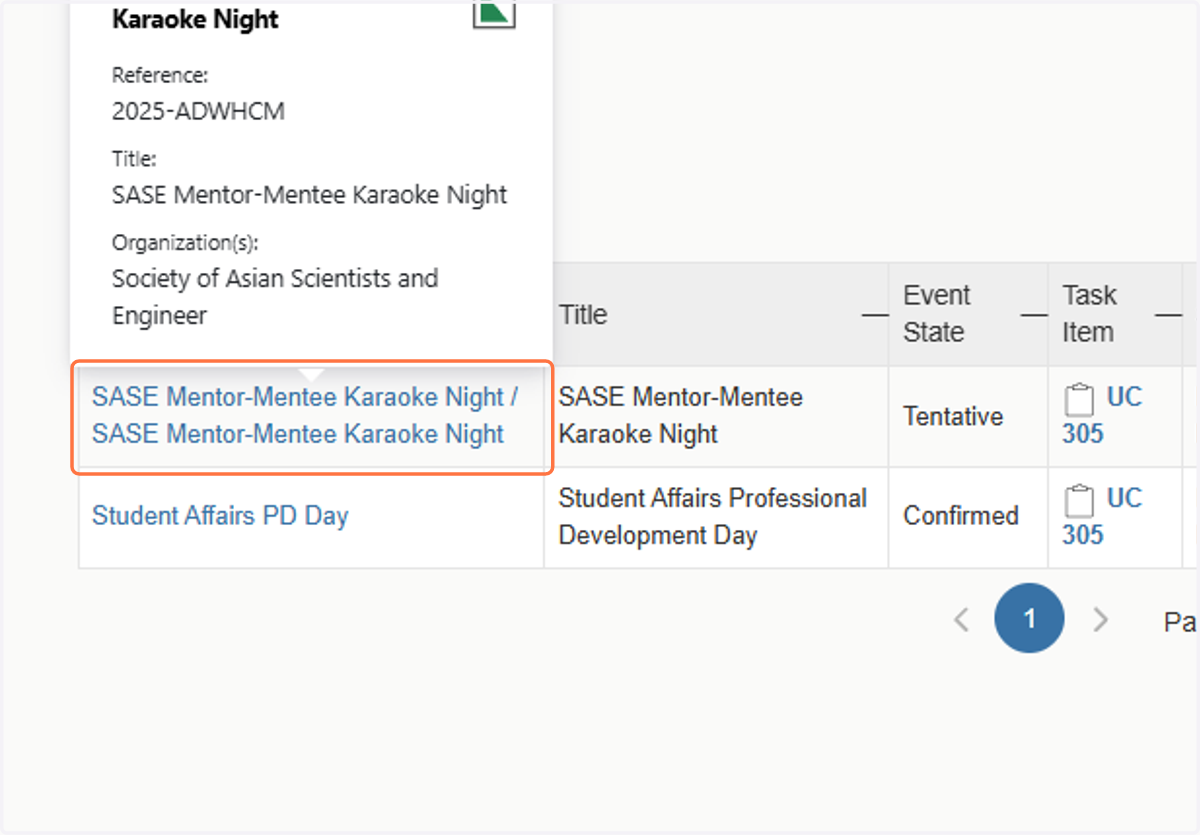
Once in the "Tasks" tab, select the event that you want to process. Note: reservations are shown in the order they are submitted. Submissions come from both the 25Live website directly, and the Event Planning Form on LINC(Student Organization Management Software)
3. Click Edit Event
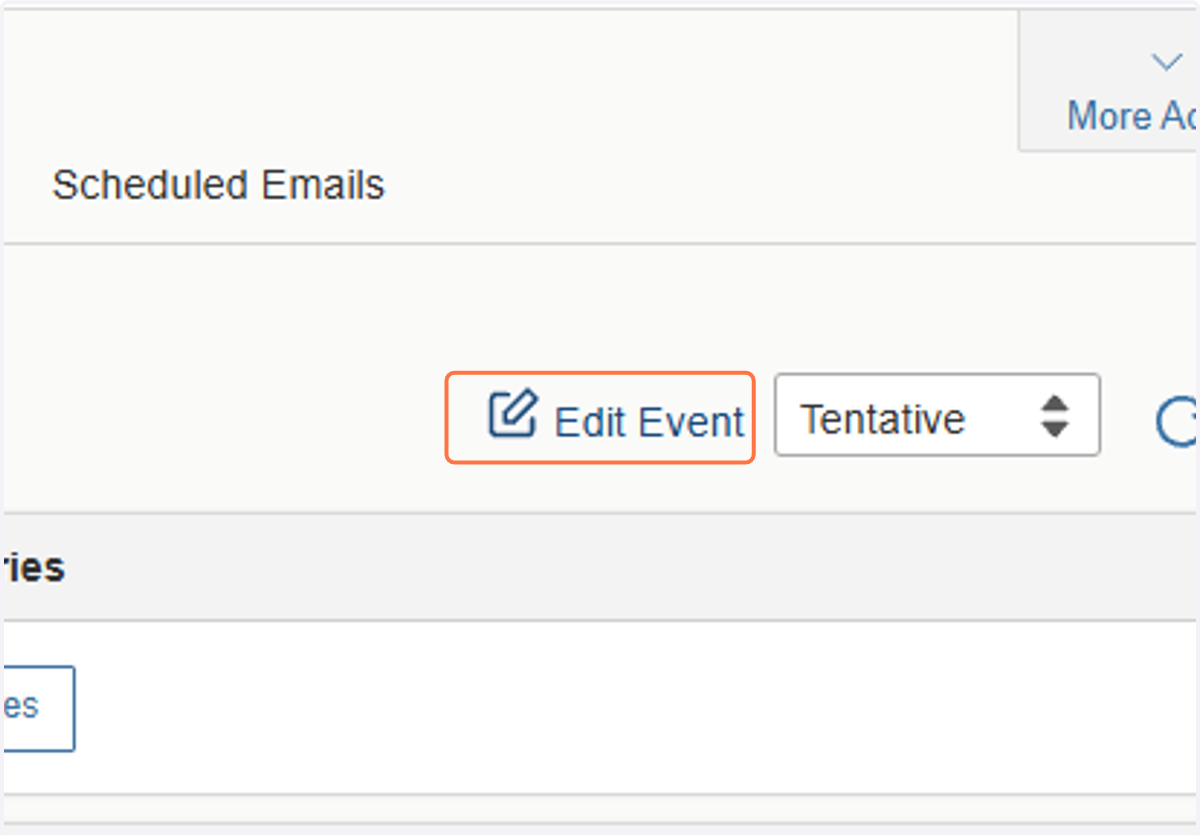
When you select the reservation you would like to process, it will take you to a landing page which provides an overview of the reservation. Every reservation comes in the "Tentative" state. Only those with granted permissions are able to change the "Tentative" to confirmed. As a reservation coordinator you can do this. Before you confirm the reservation, however, you will want to edit a few items. Select Edit Event.
4. Select Event Type
You'll want to select what type of event the reservation is. There are a variety to choose from. Select the one that best fits the reservation submission.
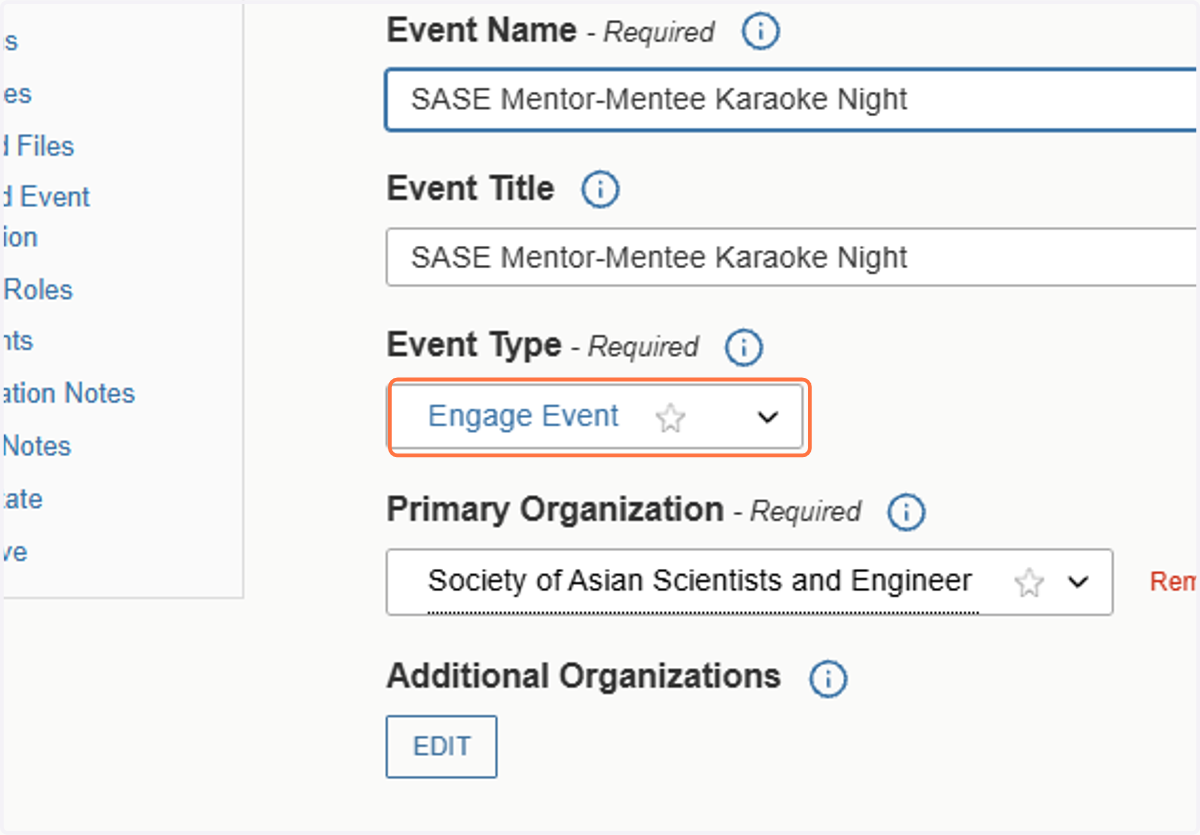
5. Select Event Type that Best Fits Description of Reservation Submission
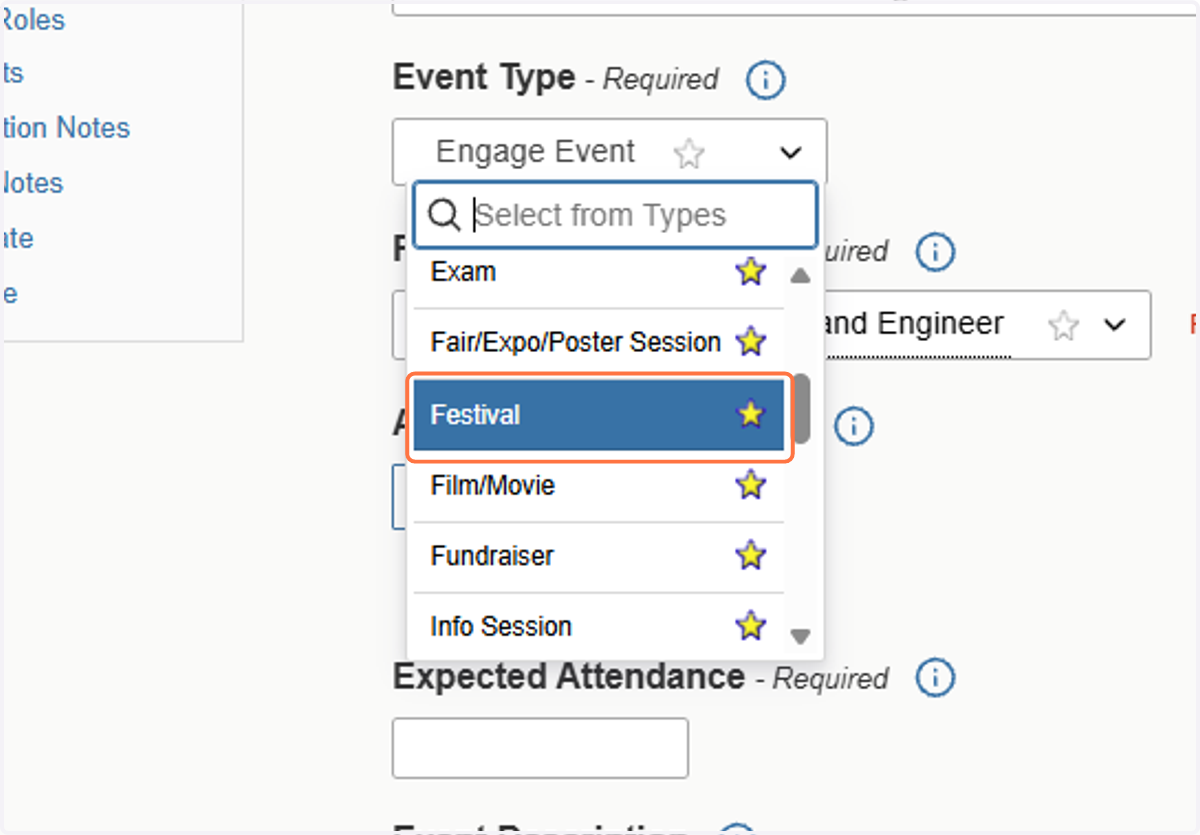
6. Add or Confirm the Expected Number of Attendees
In most cases the submission will have the number of attendees expected for the event. However, if the number does not fit the space(too large or too small) it may be best to follow up with the person that submitted the reservation to confirm.
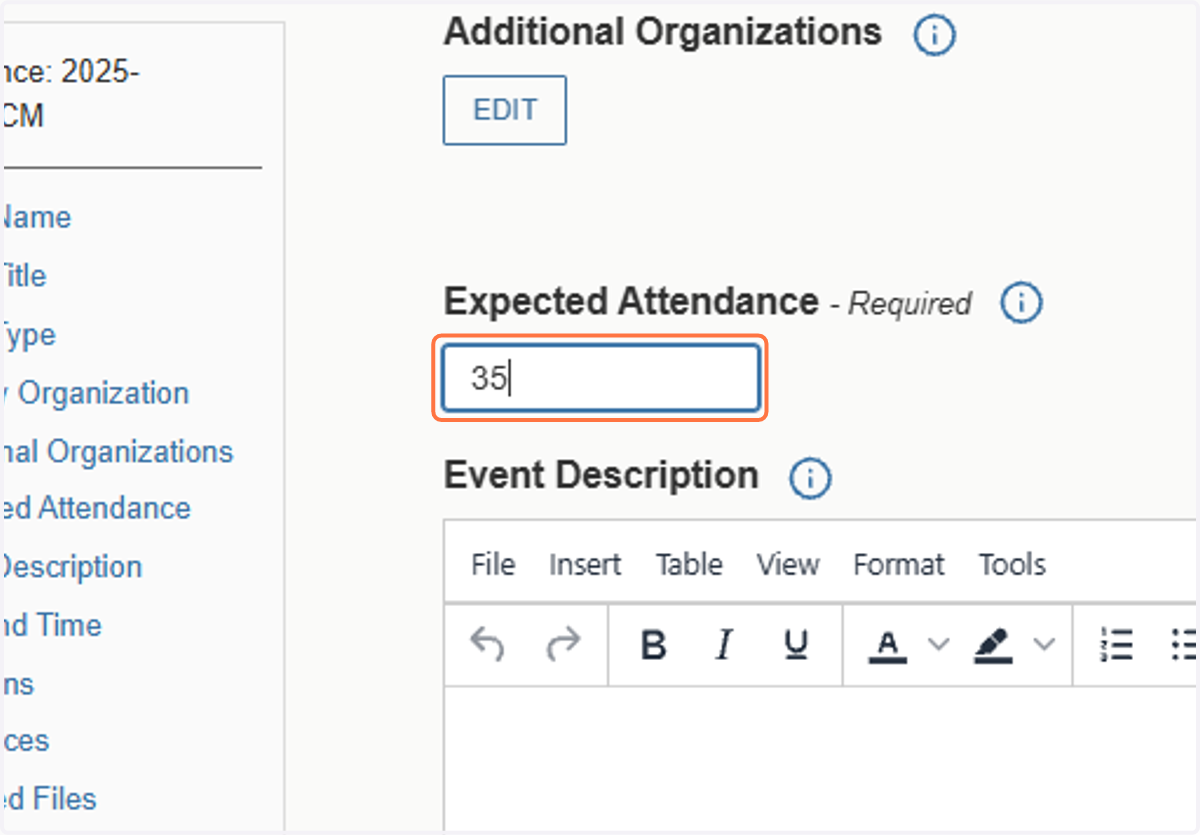
7. Review Date and Time
This will already be pre-selected by the person that submitted the reservation, however, it is always good to review to make sure it does not coincide with other major programs happening in your space, or is being held during a time when the building is closed or inaccessible.
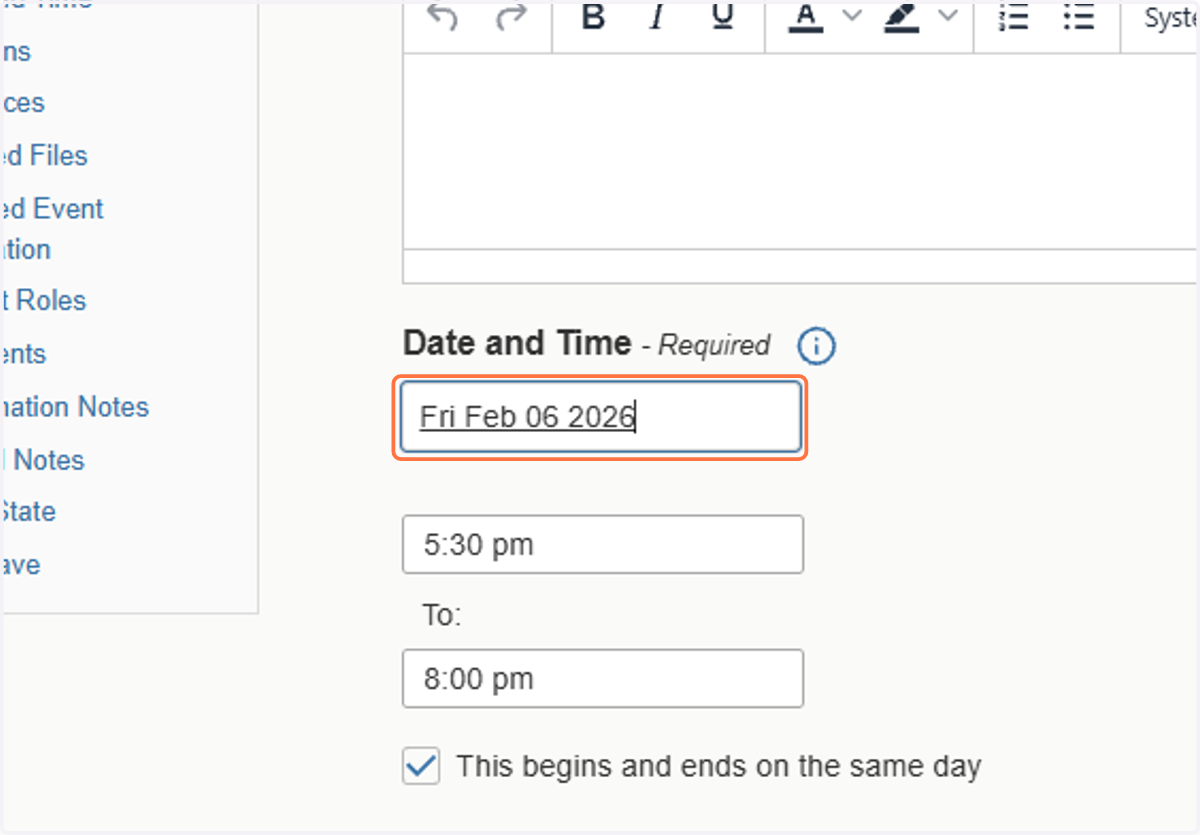
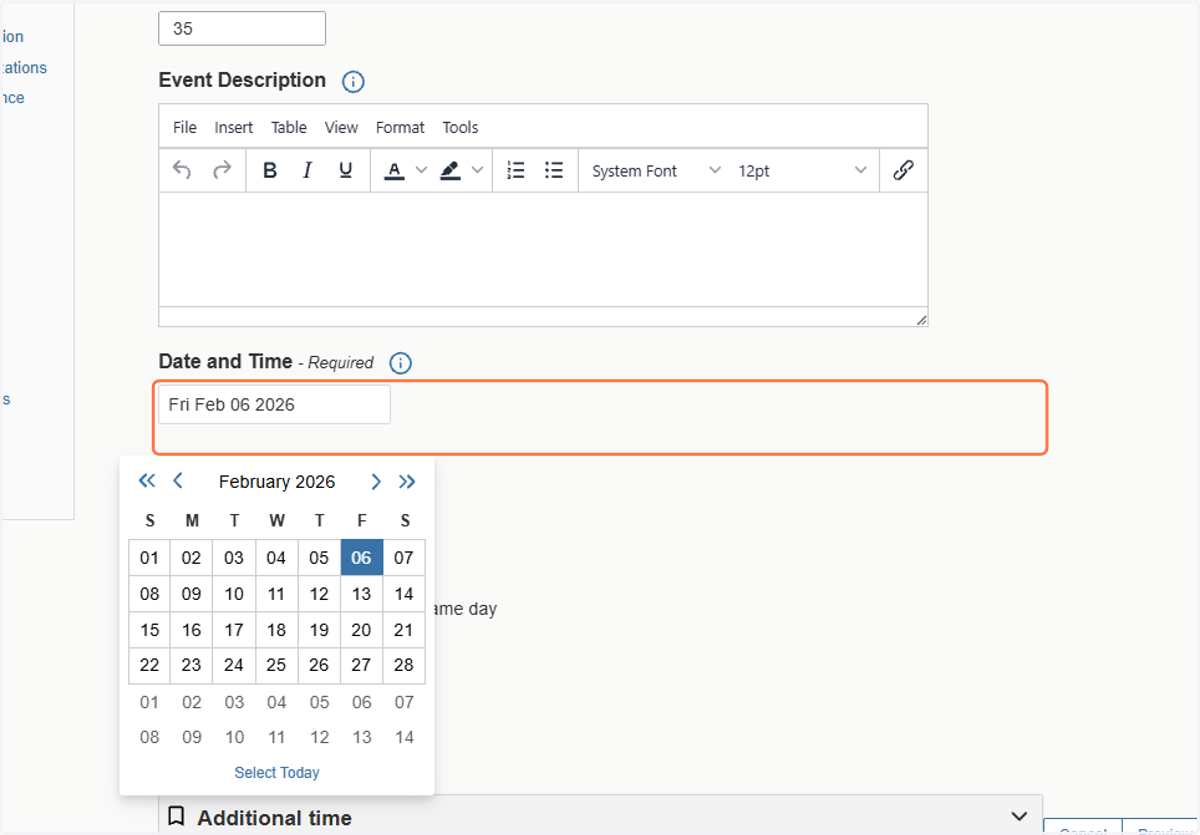
8. Review Date and Time(View from when you click on the date)
If you need to change the date, this is how you would select a new one.
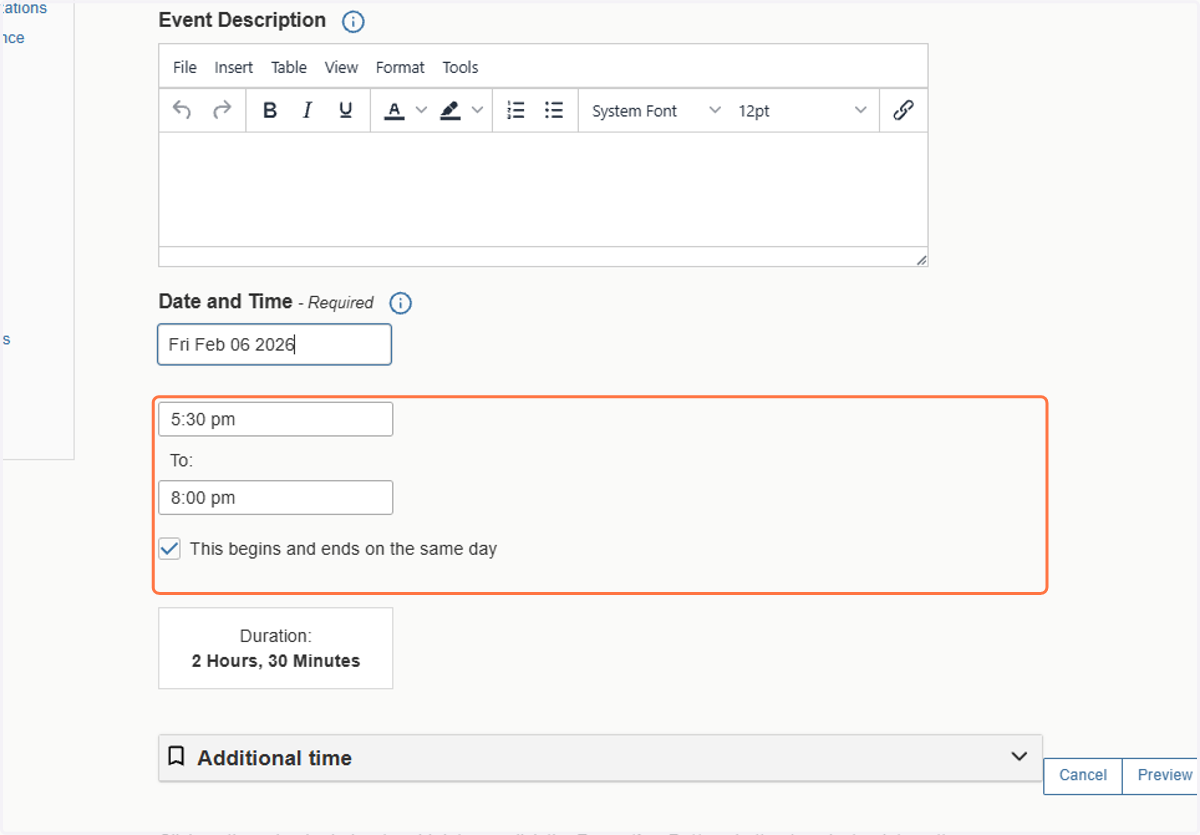
9. Review and Confirm Time of Event
This should be the actual that the event is occurring. Sometimes the person submitting the reservation will include extra time for set up and tear down. That can be placed in a different spot. If the timing appears off (too long typically), confirm that this is the actual start and end time of the event via email.
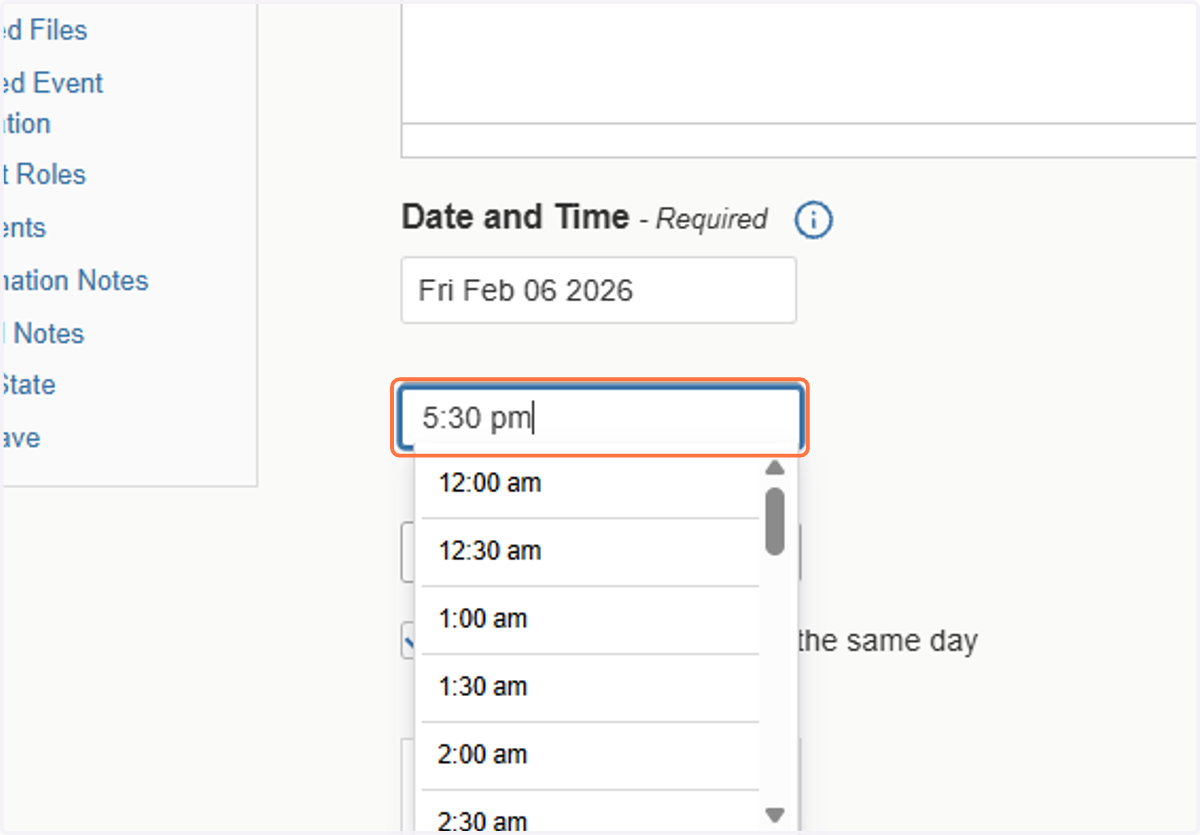
10. Changing Time of Event
If you need to update the time of the event simply click on the time and select the correct start/end time. The drop down will give you 30 minute intervals. If it is more specific you can type the time in manually.
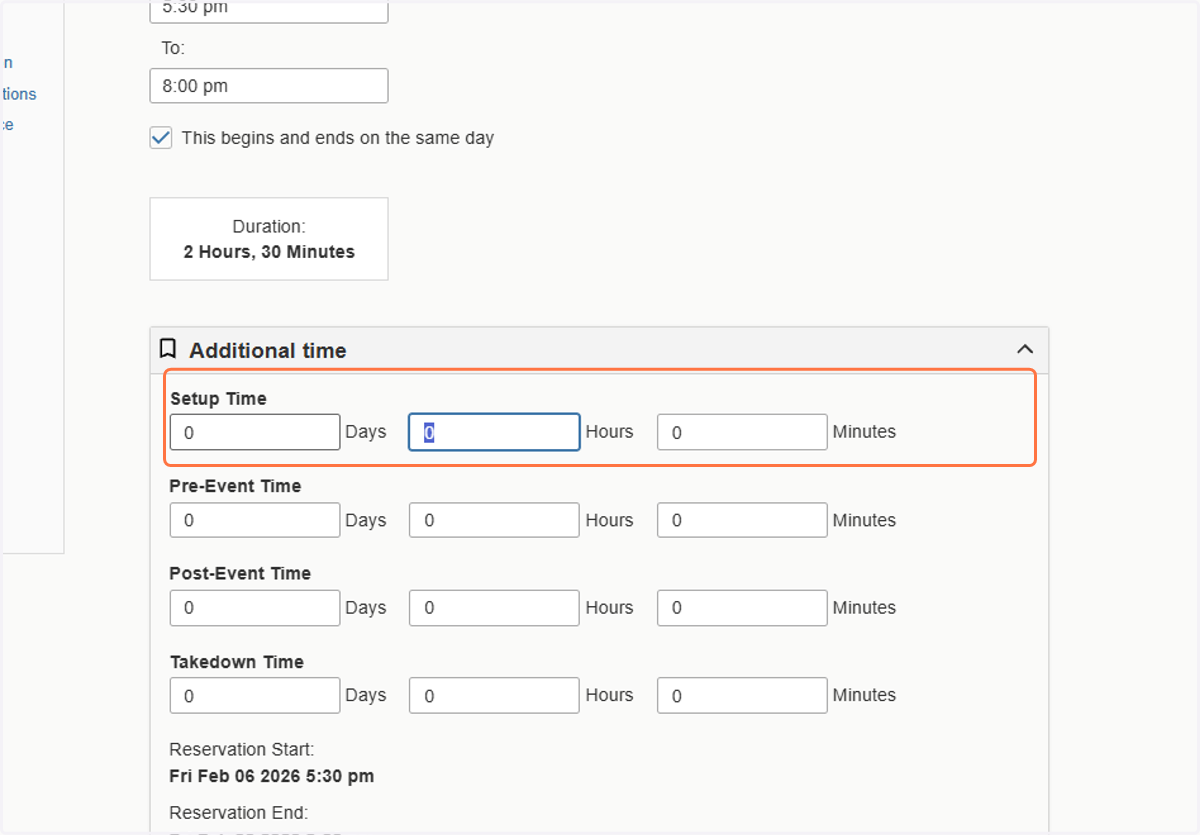
11. Adding Additional Set Up Time
This is the space where you can add additional time if set-up/tear-down is needed. Setup/Takedown should be reserved for any additional time that your reserving office needs to set the space. For example: if you need time to set up furniture or AV, or having a cleaner come in to reset. The Pre-Event and Post-Event times are for the customer. If the customer is requesting an additional hour to set up decorations for an event, add that to the pre-event time. If they want an additional 30 minutes because they know that attendees will linger after the event has concluded add that to the post event time. The times can be typed in manually.
12. Confirming/Reviewing the Number of Occurrences of Events
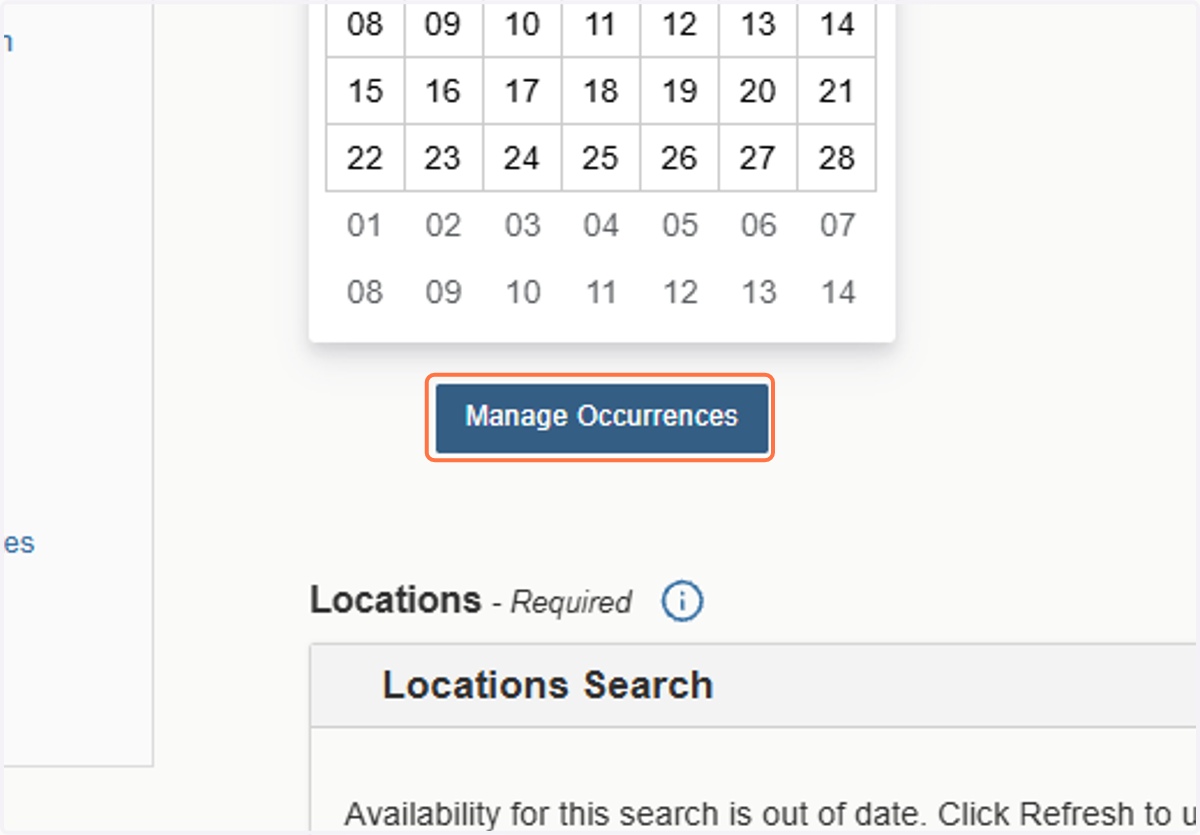
Some reservations include multiple occurrences of the same event. To verify or edit click on the manage occurences tab.
13. View Multiple Occurrences
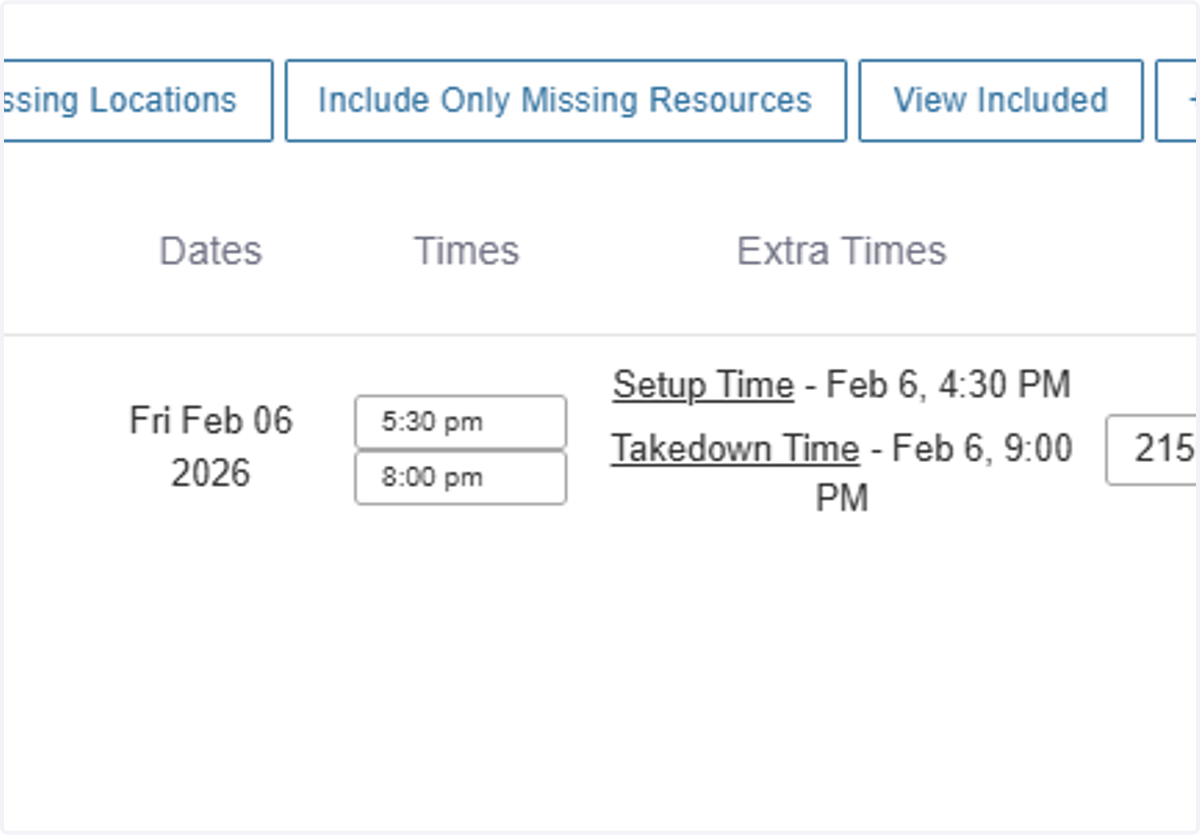
If multiple occurrences have been selected, this is where they will be displayed. You can also add an occurrence by clicking on the right tab that says "add occurrence". On occasion, some customers may submit a reservation with multiple locations and dates, or forget to include a location. This will be viewable in this area.
14. Confirm and Review Location
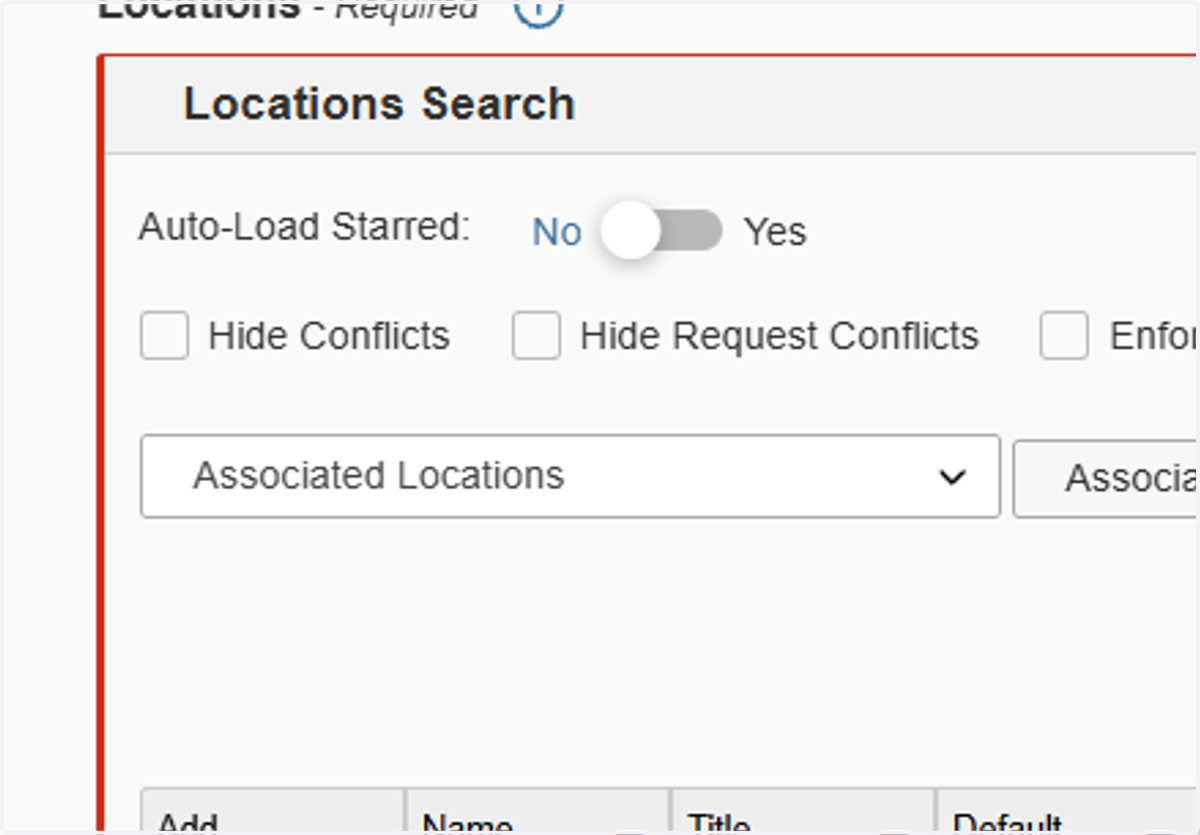
If the customer has selected a reservation it will be listed under "locations" if they have not this is where you can search and find a space for them. If a location needs to be changed this is also where you would edit that.
15. Review and Confirm Resources
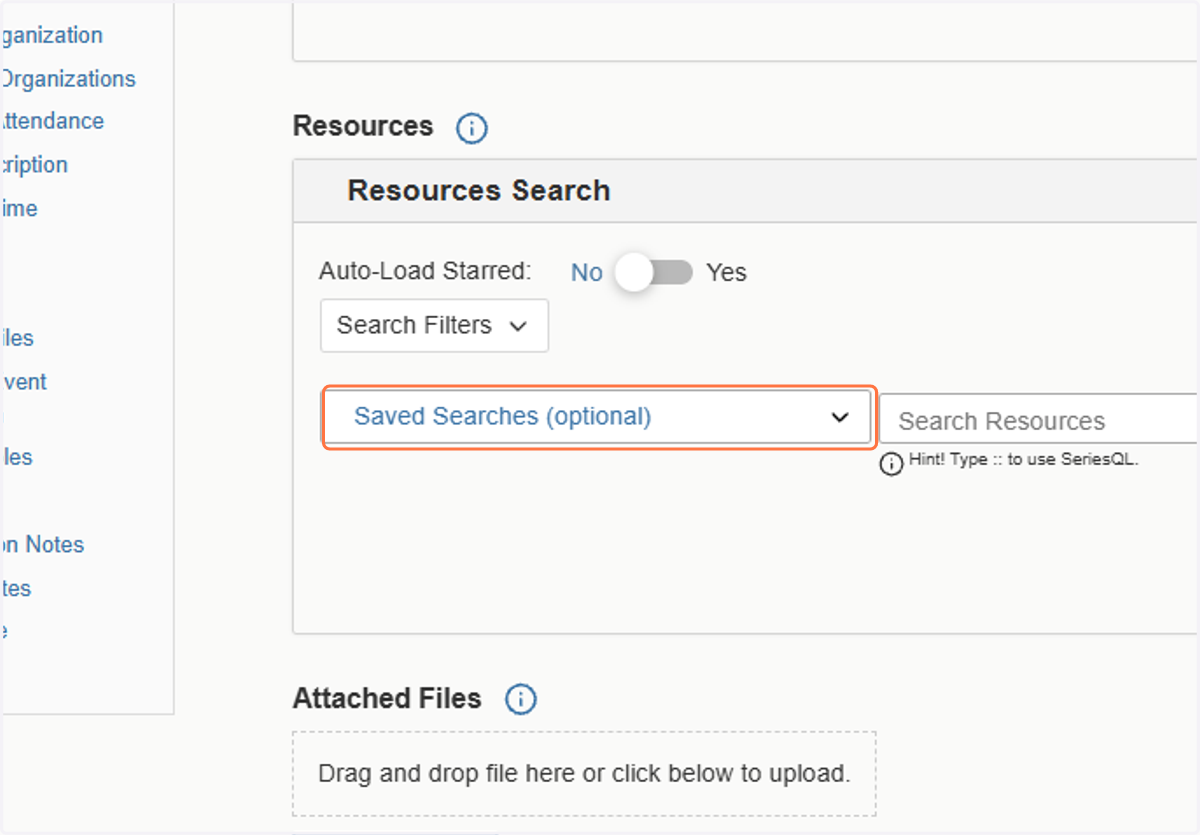
You will next be able to review and confirm any resources selected by the customer. This includes items that are located in the space, or needed for the space. As an example: tables, chairs, AV equipment, podium, stage, etc. Some resources you may have available and have your team set up prior to the start of the event. Others may require a work order. If a resouce is selected that does not align with the space(ex: stage in a conference room), this allows you the opportunity to follow up via email to confirm what is needed and recommend an alternative location if necessary.
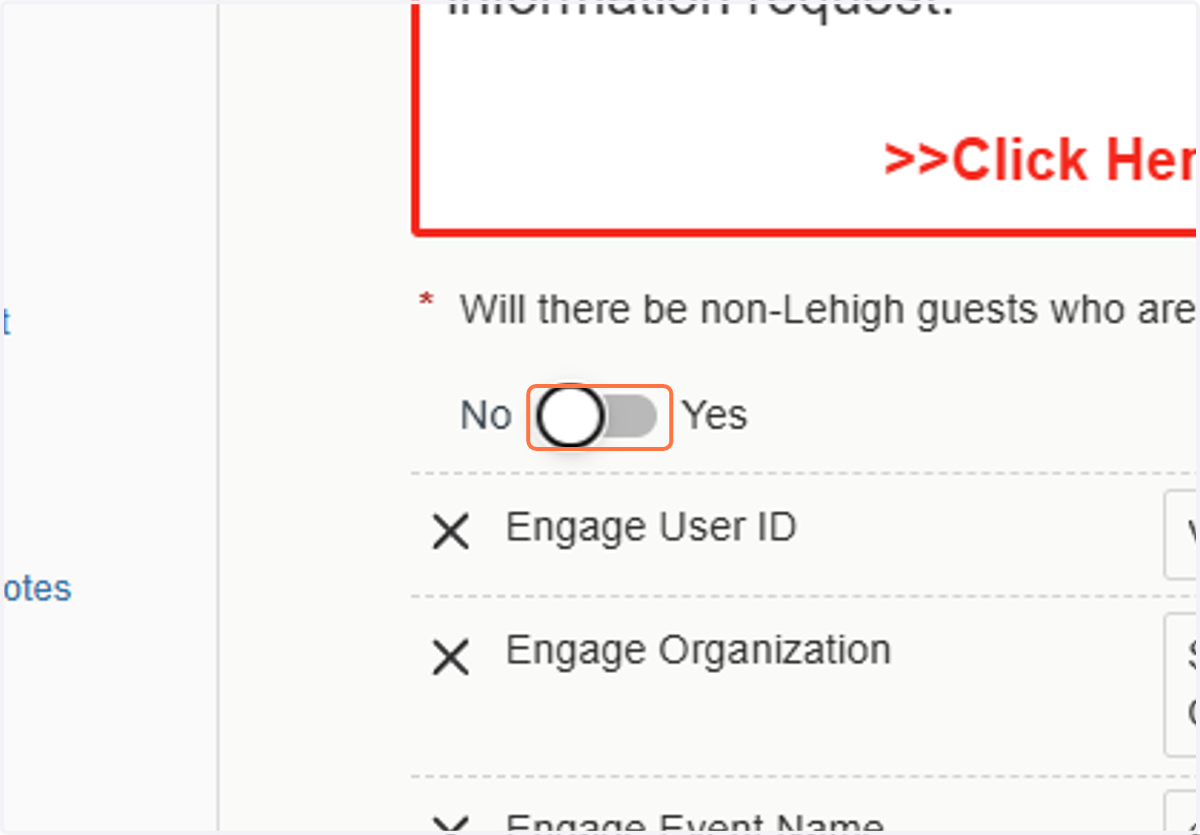
16. Identification of Minors at Event
To comply with our Protection of Minors policy, we ask that all people submitting reservations identify if there will be minors who are not Lehigh students at the event. If there is you will need to connect the customer with the Protection of Minors committee.
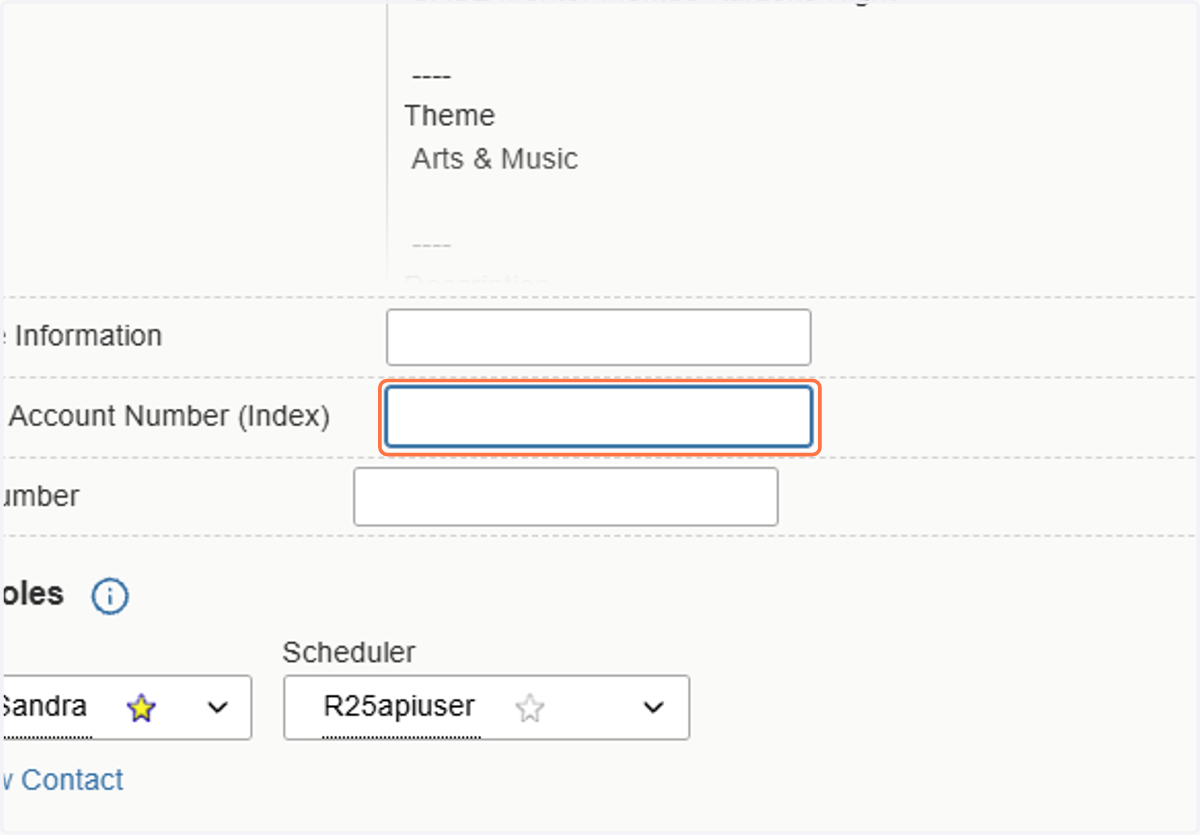
17. Adding Lehigh Account Number (Index)
If you charge for your space, you will need to confirm that the customer has included an account index to charge for the fees that will be incurred.
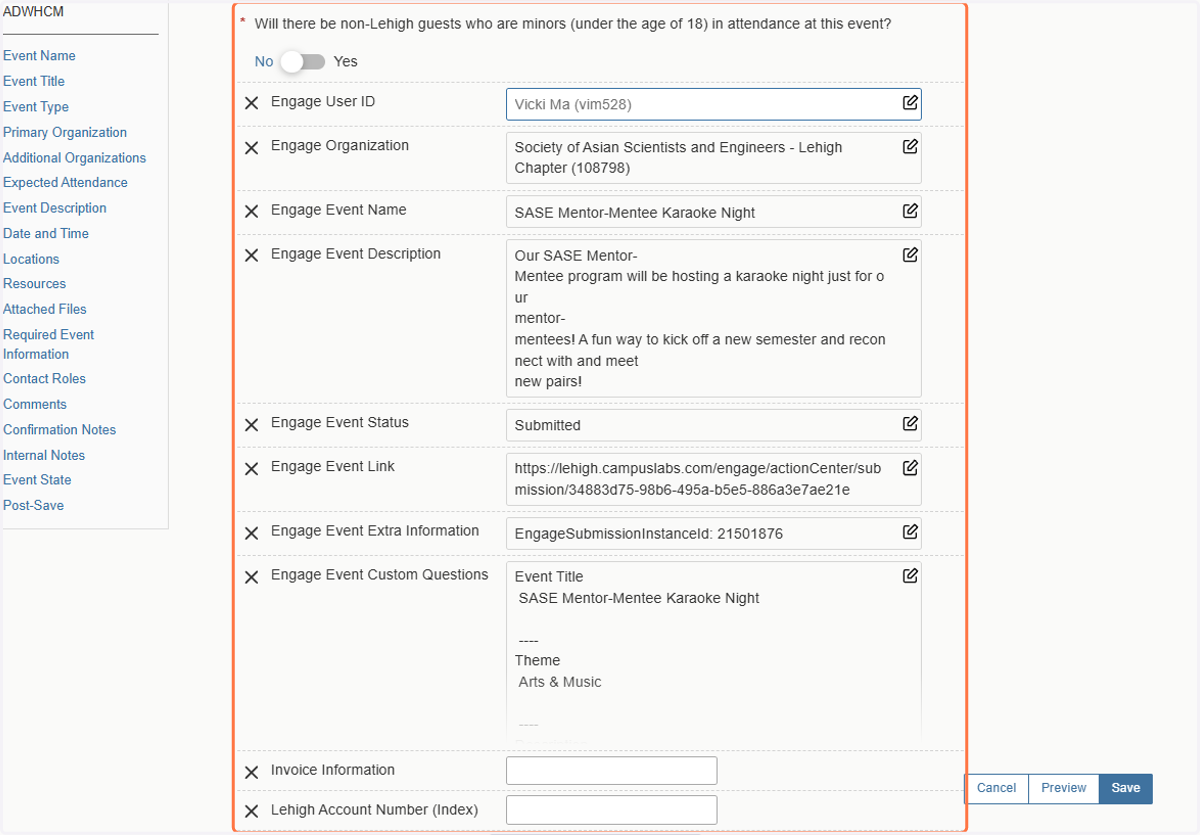
18. Engage/LINC Information
If an event is submitted through Engage(Or known on campus as LINC), the information will be provided in this space. If it is submitted through 25Live directly it will not be included
19. Change Roles
It's important to change the roles of the reservation. The requestor should be the customer requesting the reservation. The scheduler should be you.
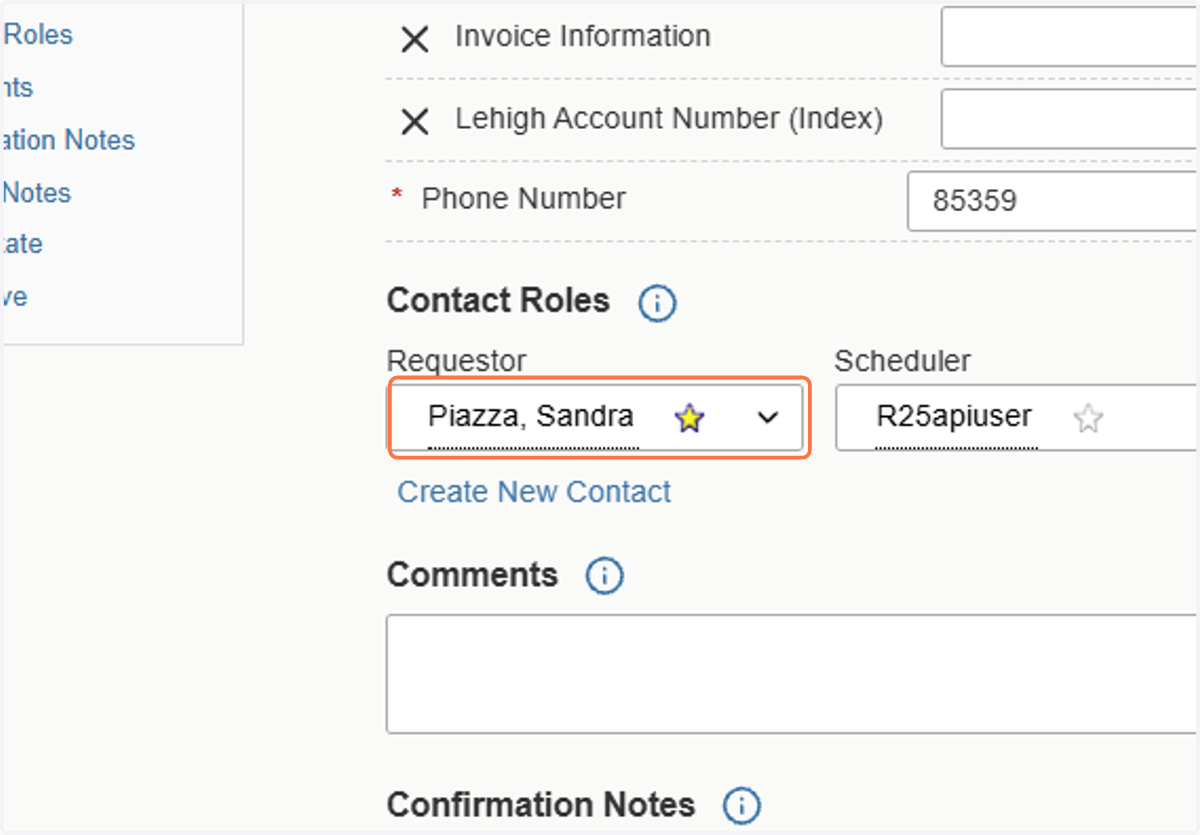
20. Changing Roles
To change the role, click on the drop down arrow and type in the name or email of the person you want to assign that role and then select them when they appear.
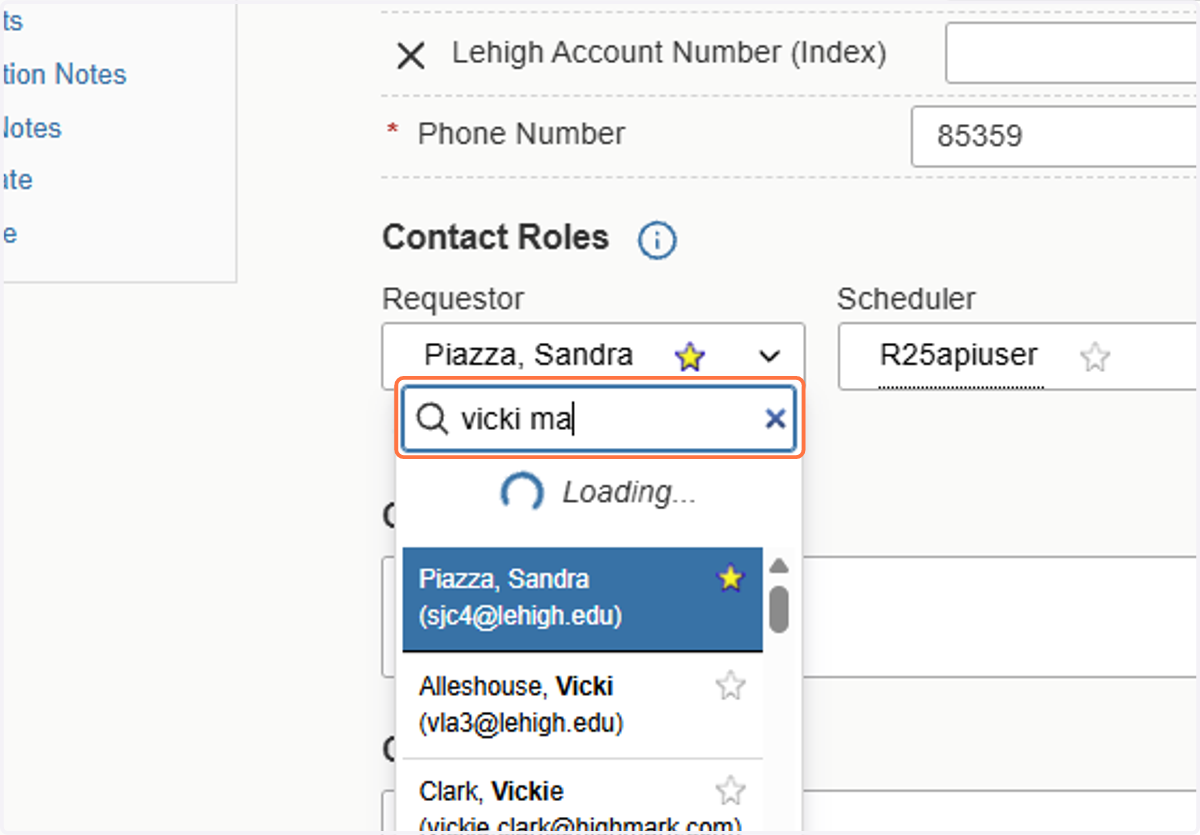
21. Adding comments, confirmation notes, and internal notes
You can add context and documentation in these boxes. Comments are for any notes that need to be addressed prior to the confirmation of the reservation. Confirmation Notes are the any notes/documentation that is relayed after the reservation is confirmed. And internal notes are notes that are only viewable by those with permission to review/confirm the reservation.
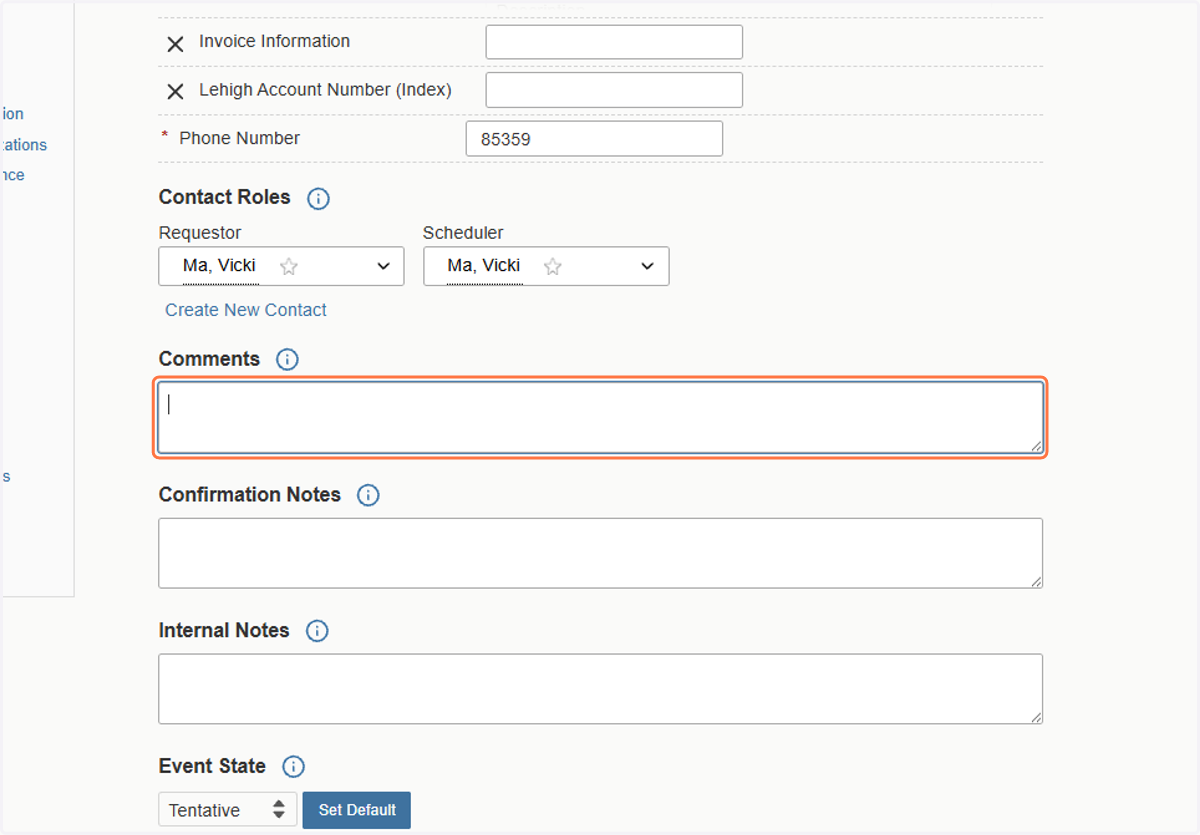
22. Confirm Event
When you are finished editing the event and have followed up on all concerns or questions, change the state of the event to confirmed.
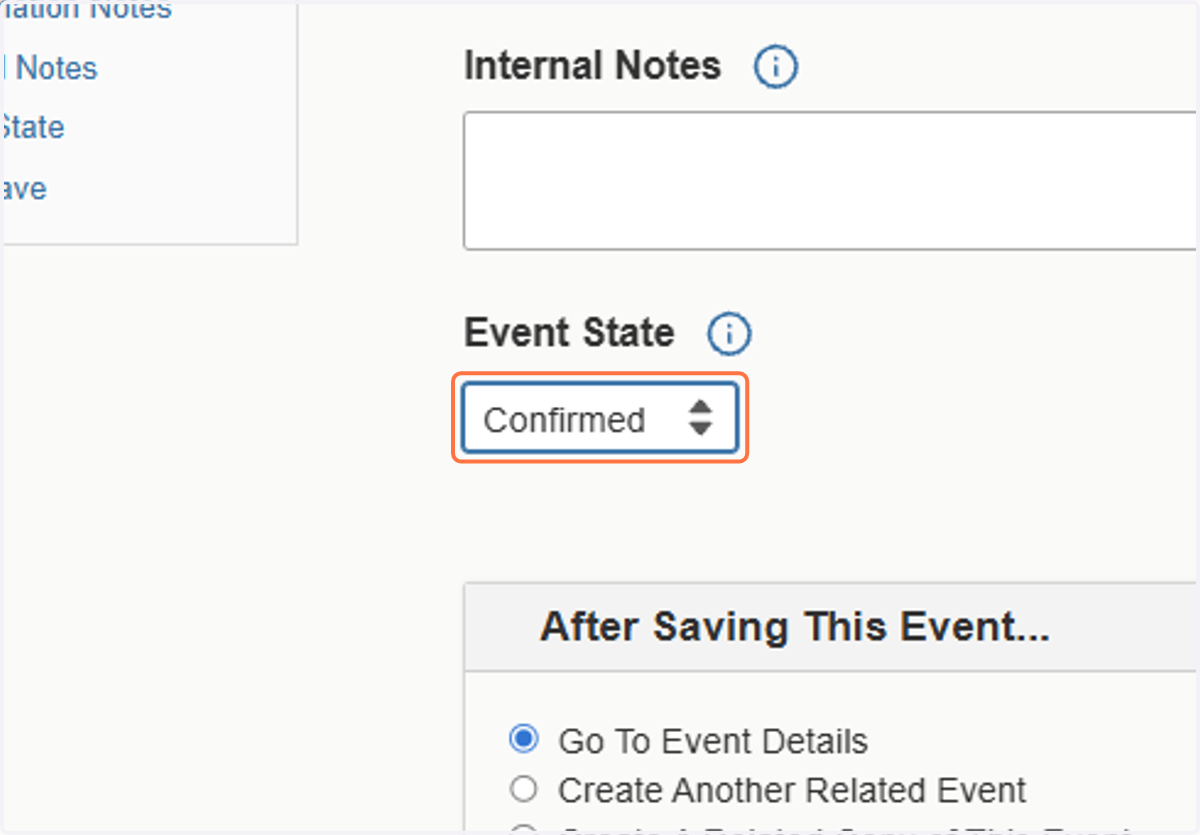
23. Save the Reservation
Press save to save the button to save any and all work that has been done in the reservation. Save each time you are editing even if you do not confirm the reservation completely in one sitting.