ClubSpark Admin: Create a Padlock instruction website
A great way to help casual members prepare for casual tennis at your venue is to create a sub-page connected to your main Book a Court website. This will help anyone prepare on how to use the padlock so they can get onto the court sooner.
Building a sub-page is easy and fast!
Clubspark / Admin / Home
1. Let's Begin

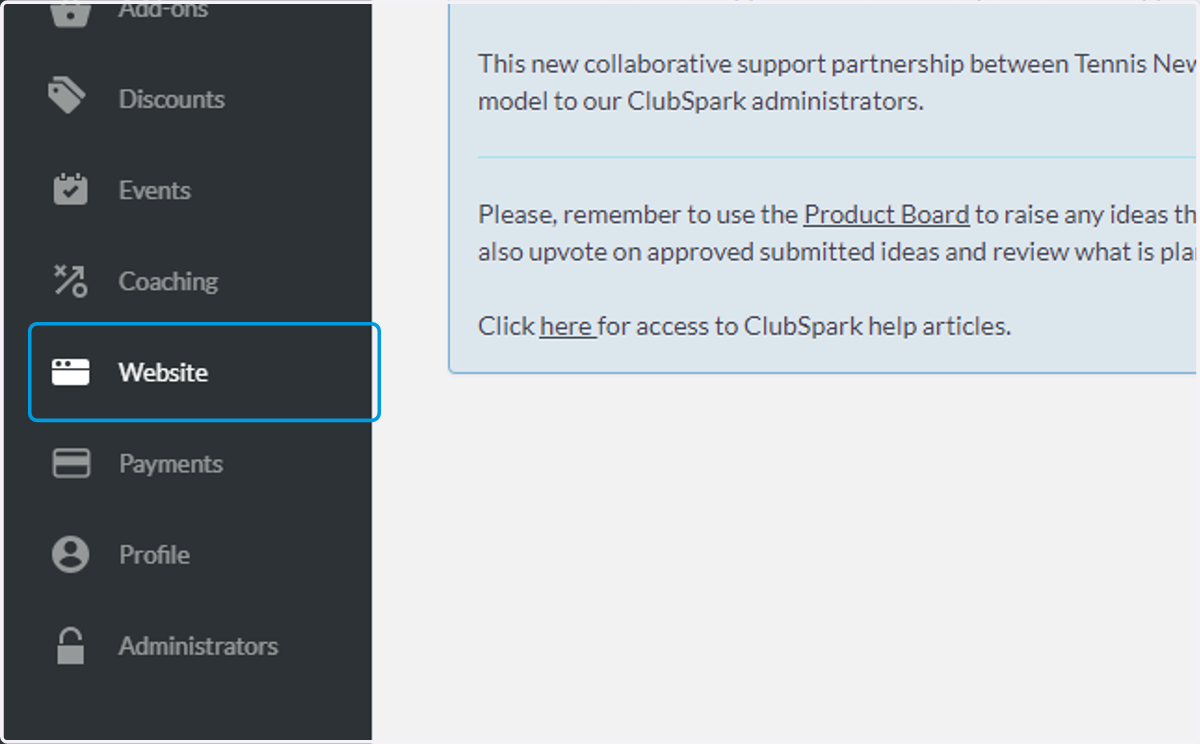
2. On the admin dashboard click Website
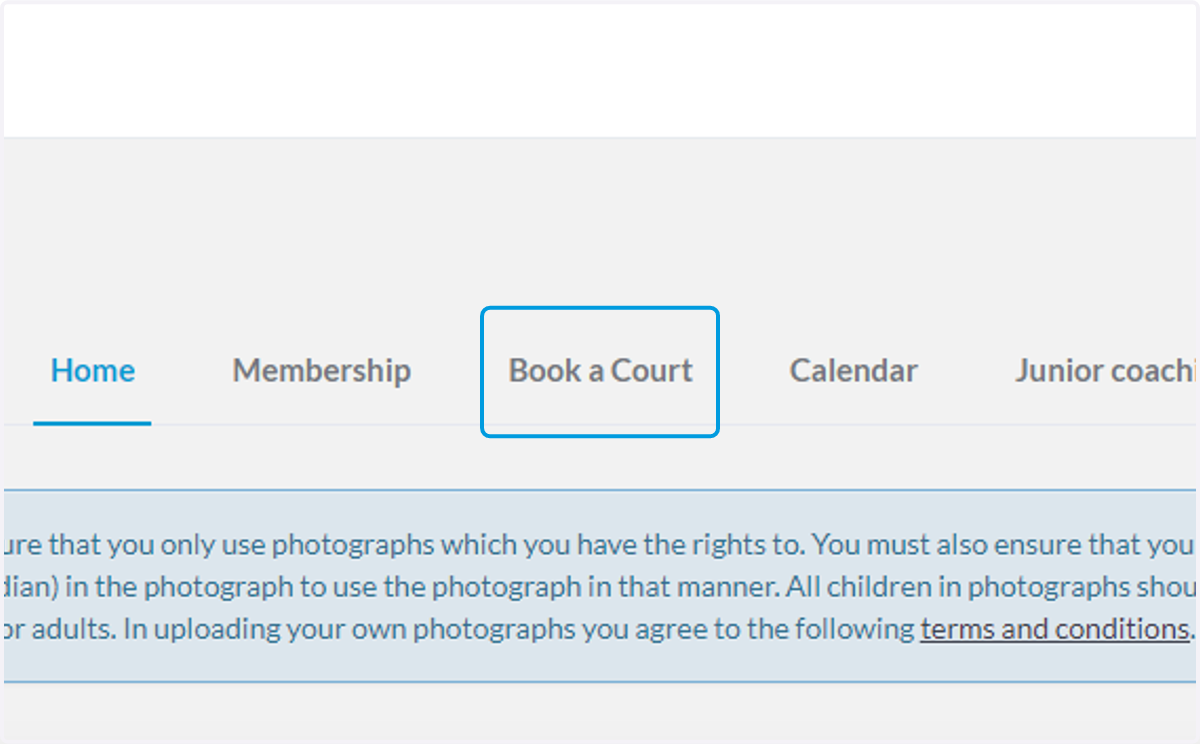
3. Click on the Book a Court tab
In some cases you may have this under a different name.
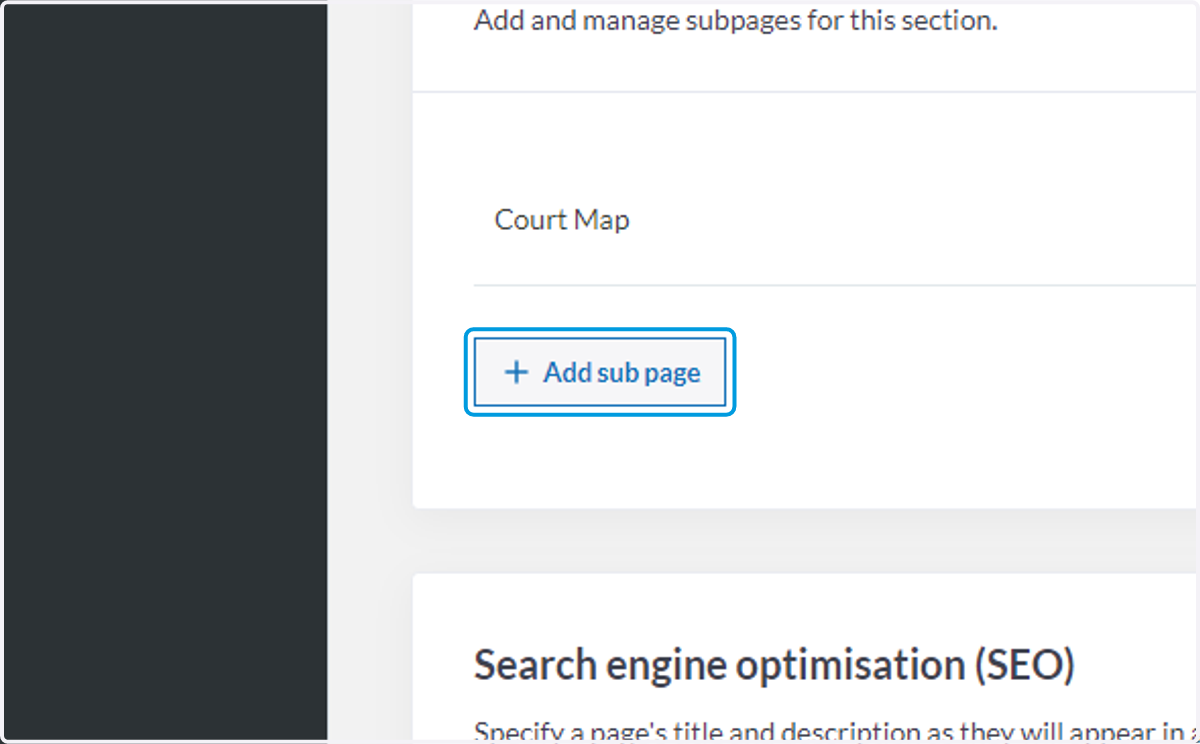
4. Scroll and click on Add sub page
5. Type "How to Book"
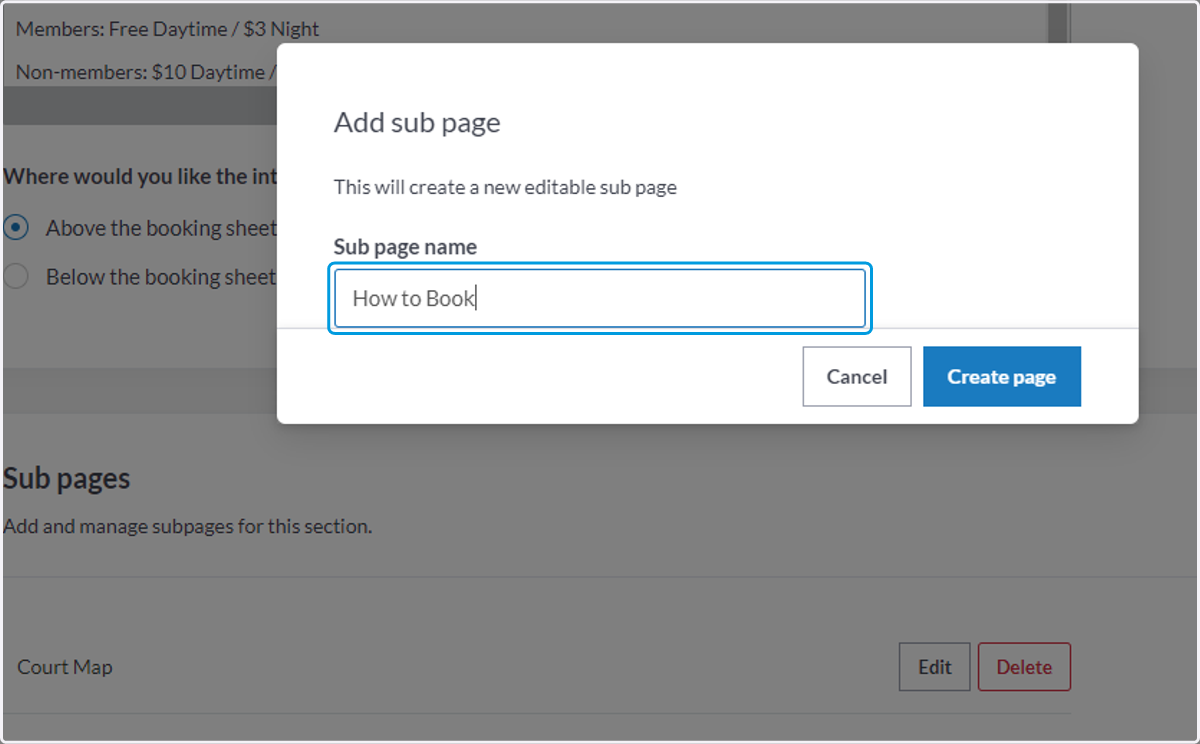
6. Click on Create page
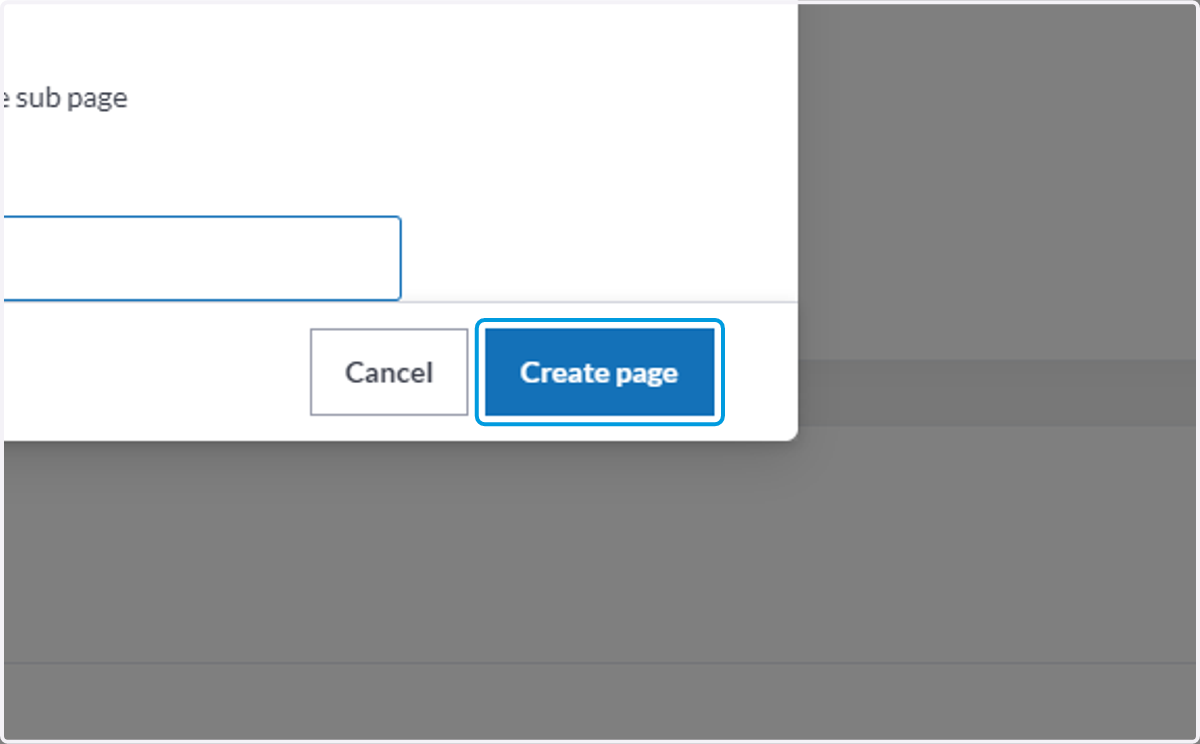
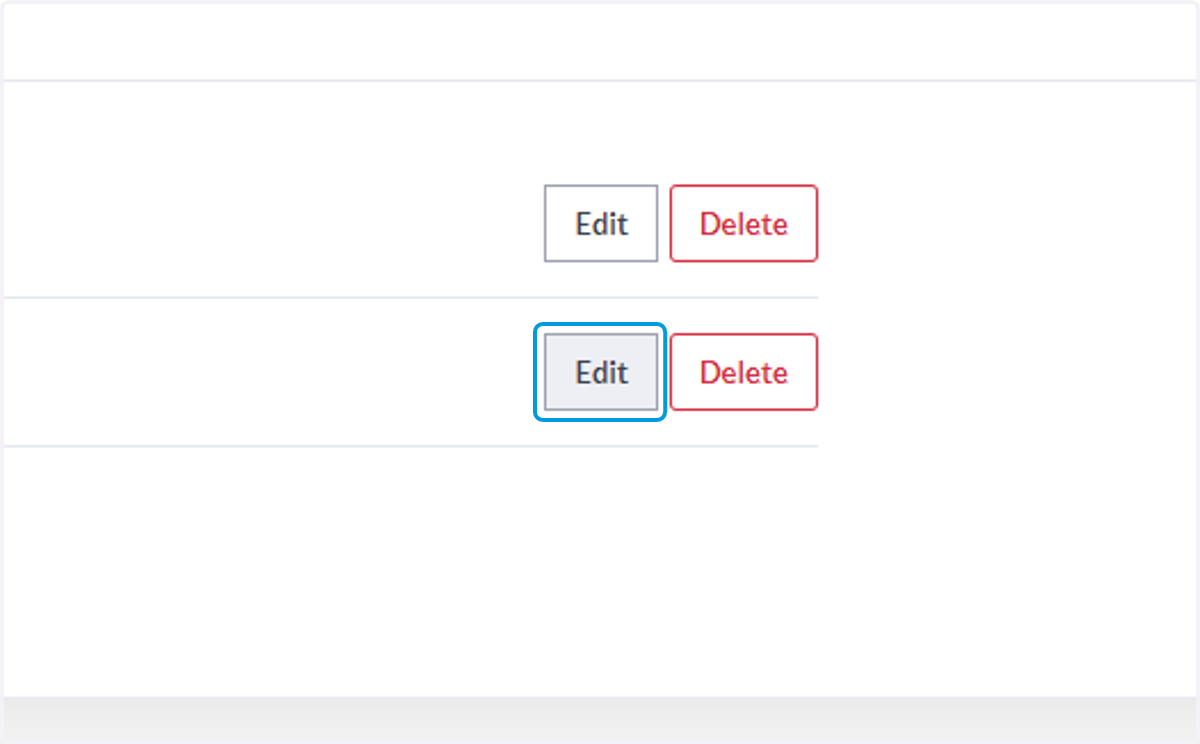
7. Click on Edit next to the page you have just created
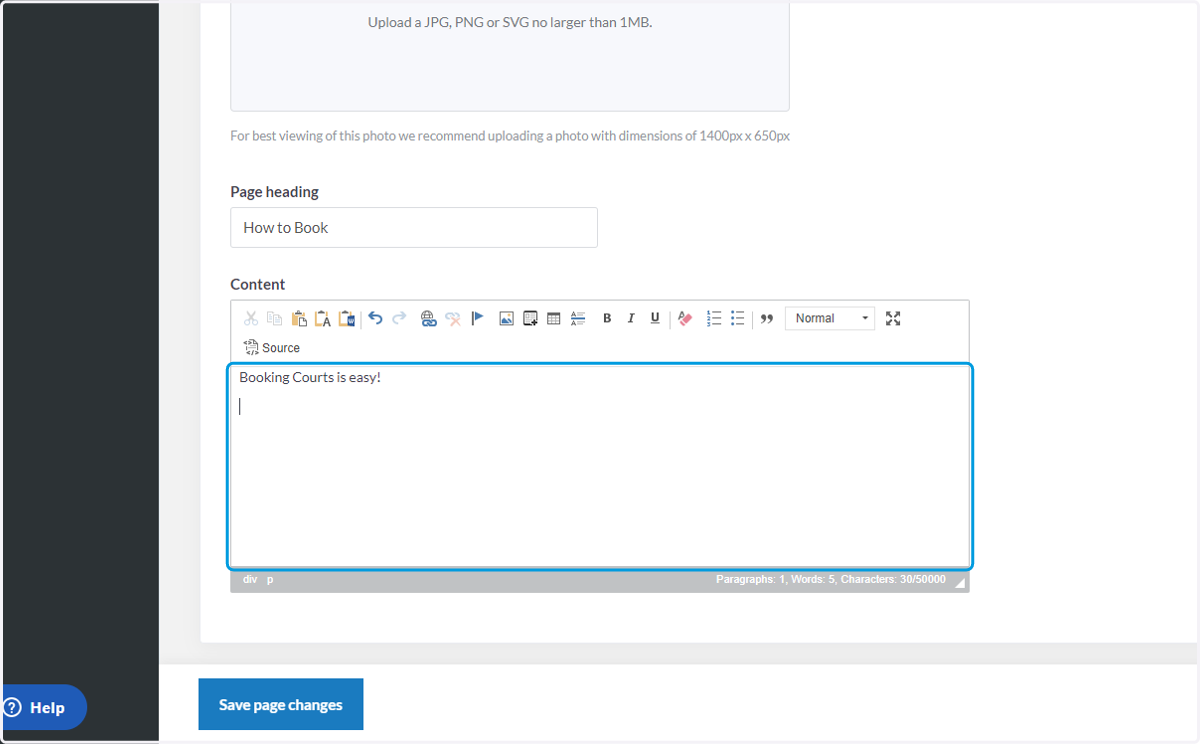
8. Enter the body of the page, you can customize your phrase
With the Padlock Access solution, there are 4 easy steps when utilizing the lock, we have provided an example:
After your booking has been made, arrive at the gate at your booking time.
Tap any button on the lock to wake it up (The lock will light up)
Enter your PIN code followed by the UNLOCK key
Lift the shackle from the lock, open the gate and play!
Clubspark / Admin / Booking / Court Map
9. Click on Rich Text Editor, PageText
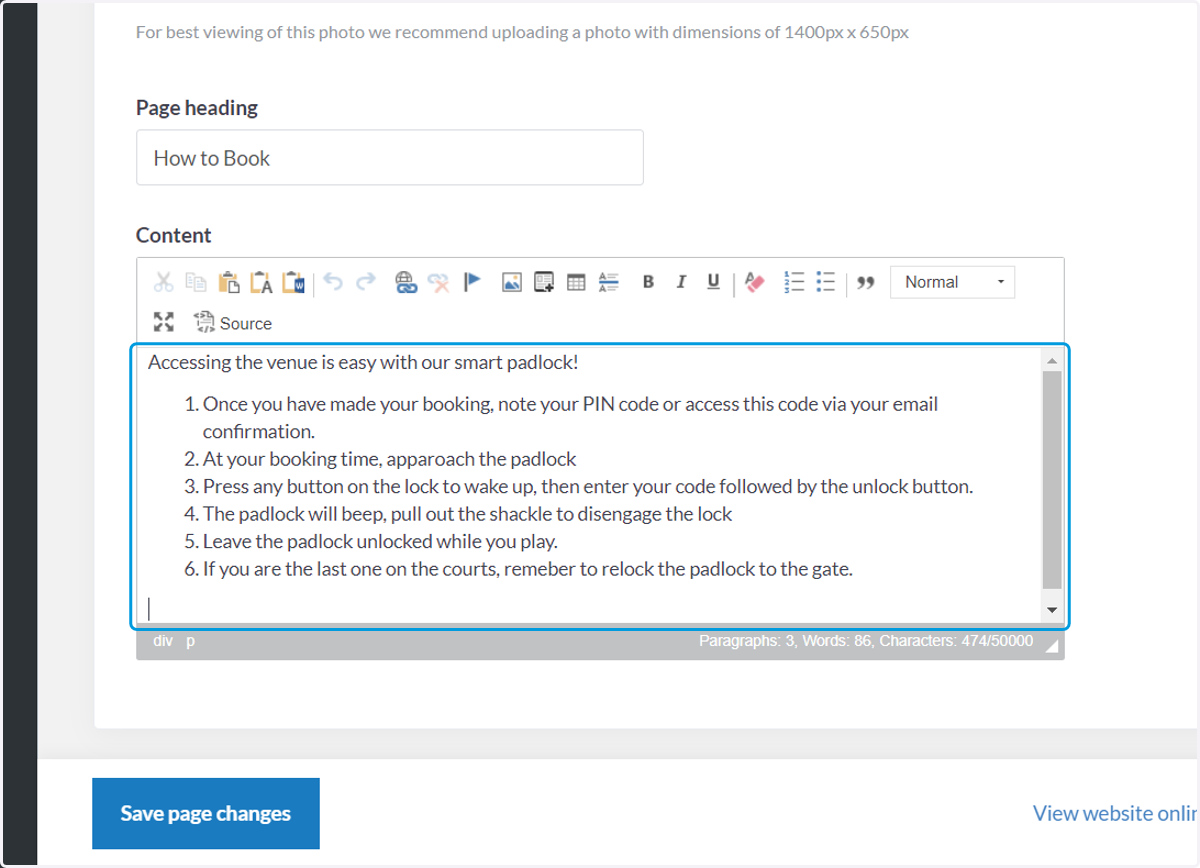
10. To upload an image on the page click the little "photo" icon
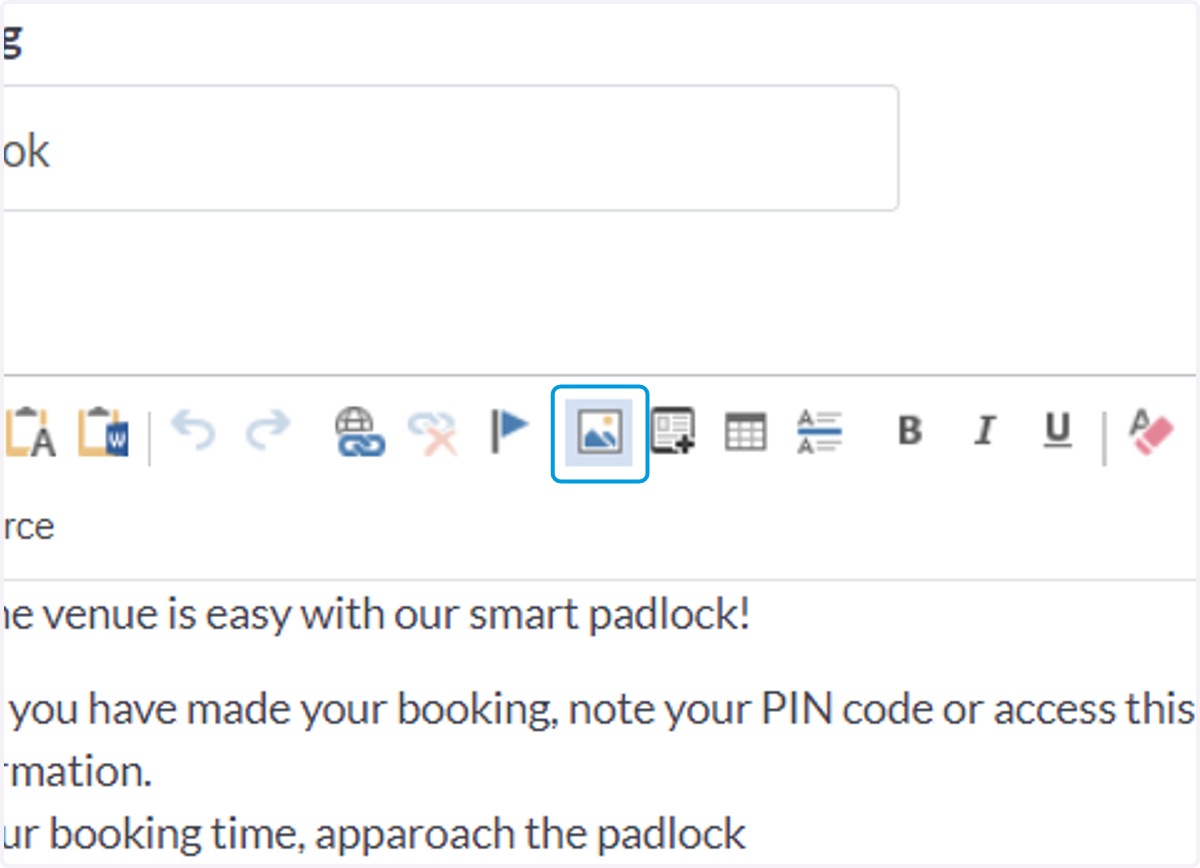
11. Click on Browse Server
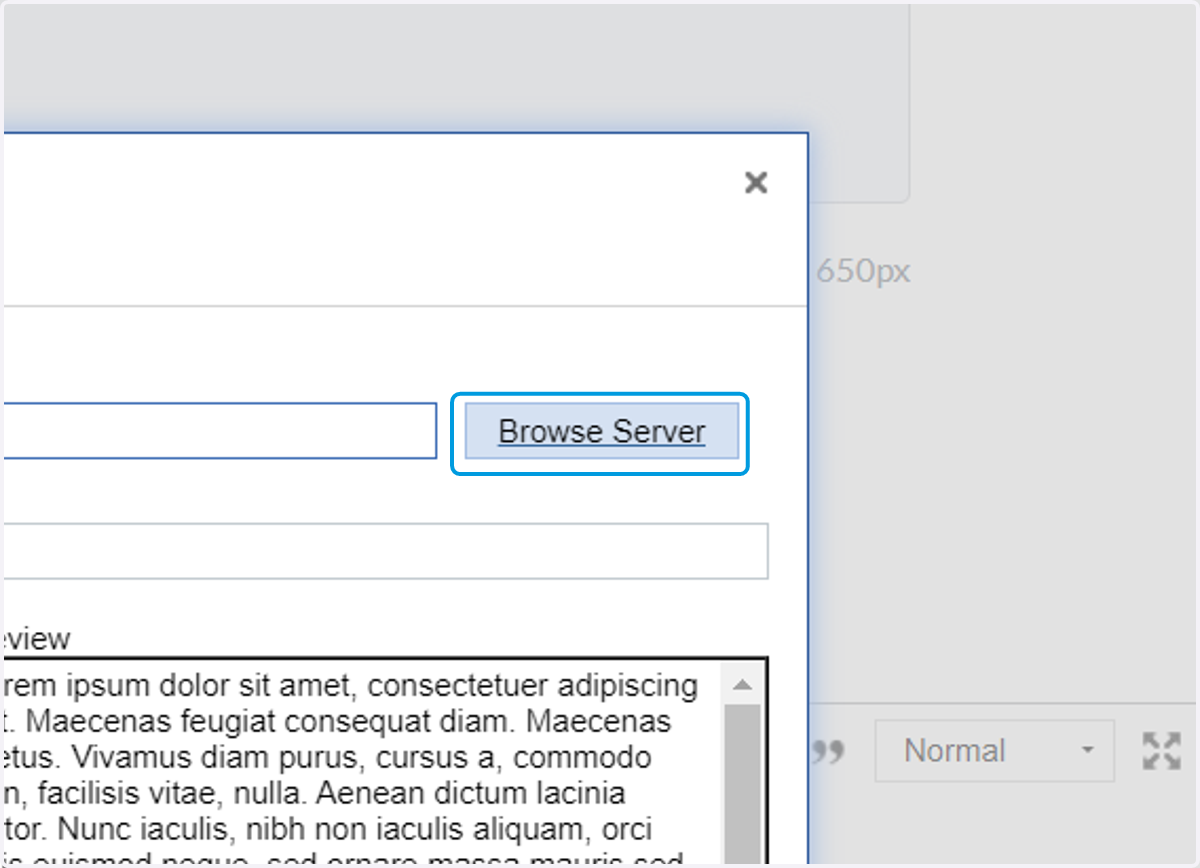
12. Click on Upload and locate the photo on your computer
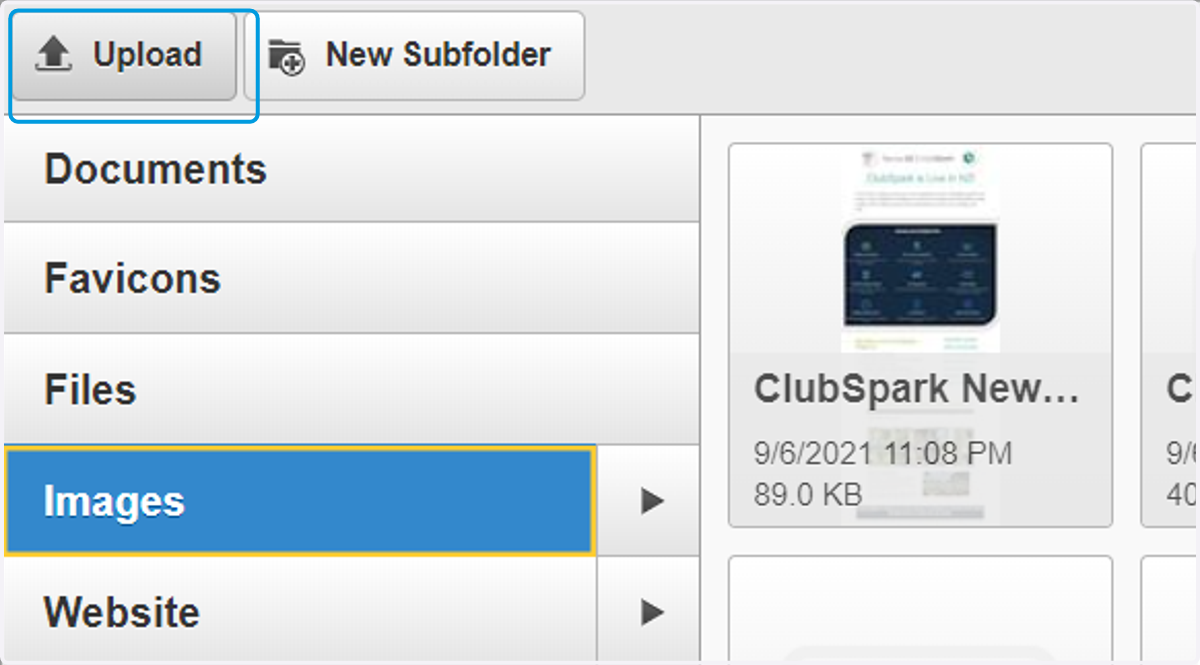
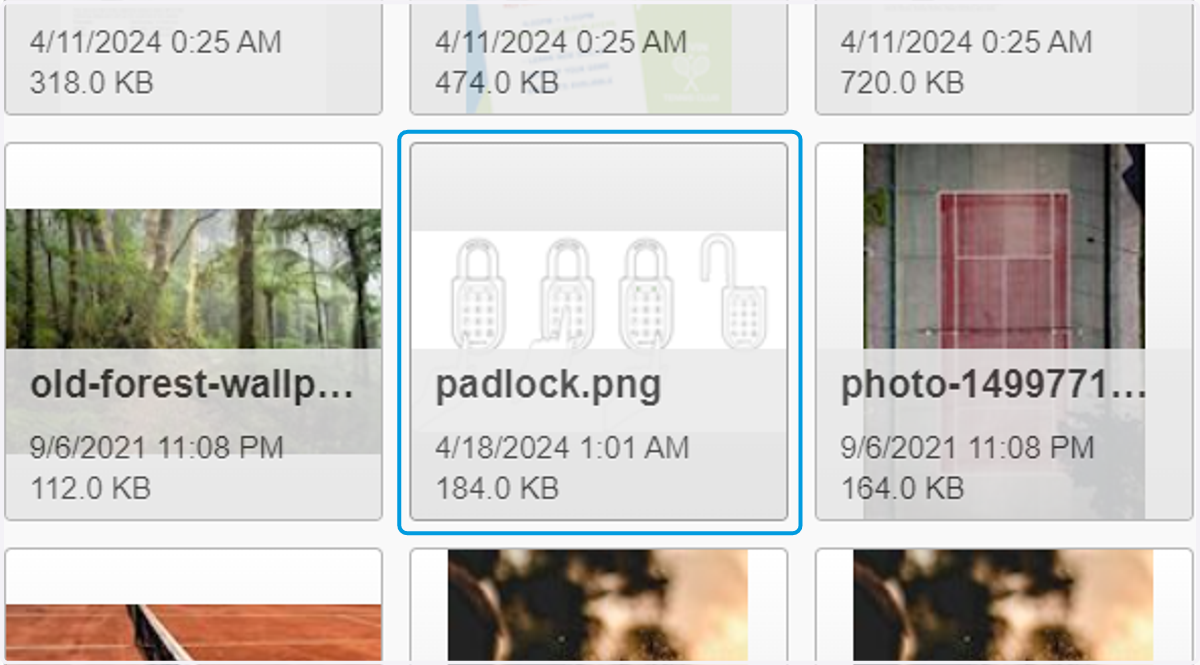
13. Click on the uploaded image
14. Click on Choose
15. Click on OK
16. To switch the page on, click Show in Navigation
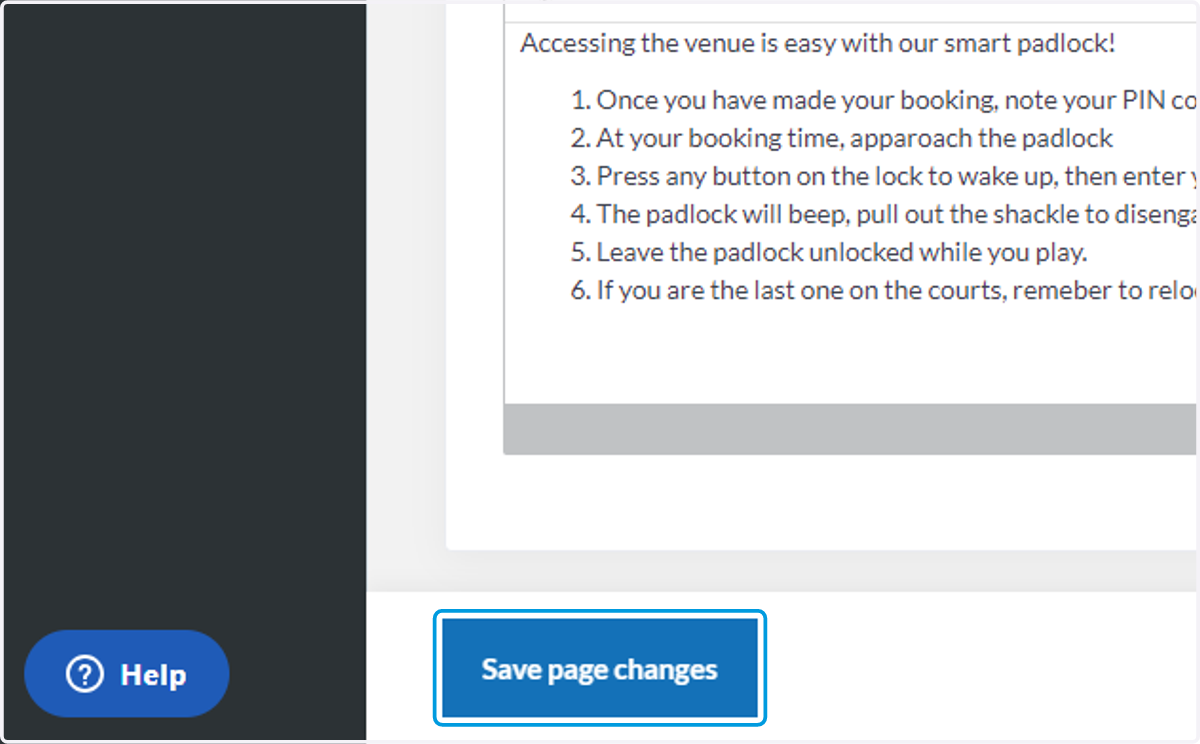
17. Click on Save page changes