Categorising your website cookies
To view your cookies and categorise any unclassified cookies you'll need to navigate to the cookie feature in your website manager.
You can do this via the link in your email, or directly within the manager (see step 1 below)
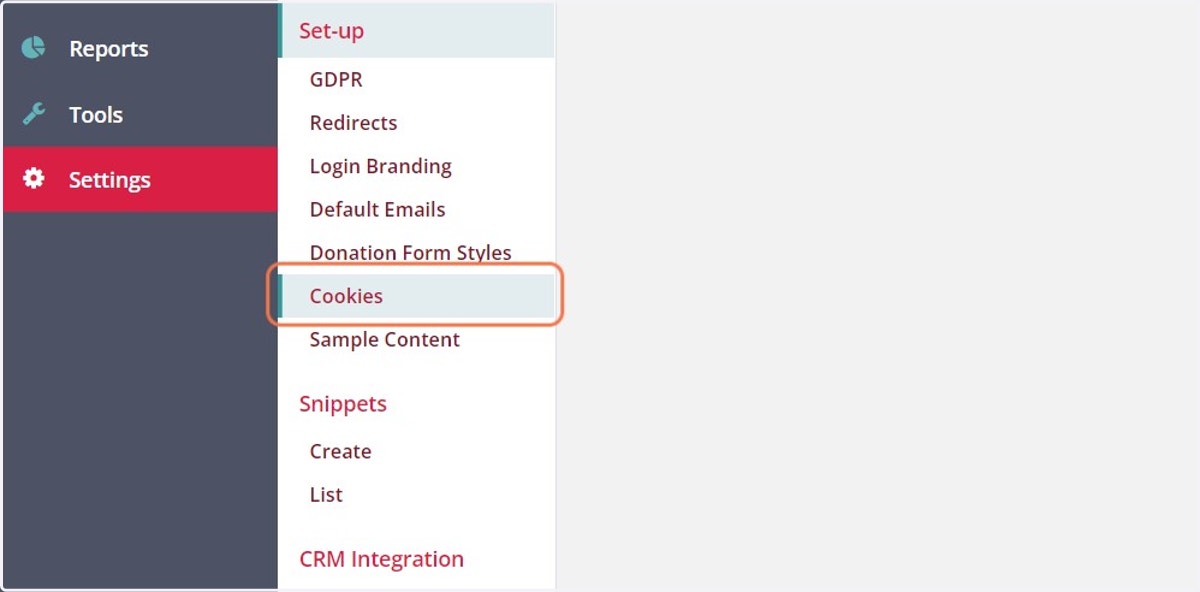
1. Navigate to cookies within your website manager
Find your cookies under Settings > Set-up > Cookies
2. You'll see a list of your cookies listed under their classification
We'll automatically classify cookies that we know about, especially if they're from the website's core functionality. You'll need to check any cookies applied by third parties that you might have implemented on your website.
To learn more about classification please see our help article here: Access Charity Websites: Categorising unclassified cookies (force.com)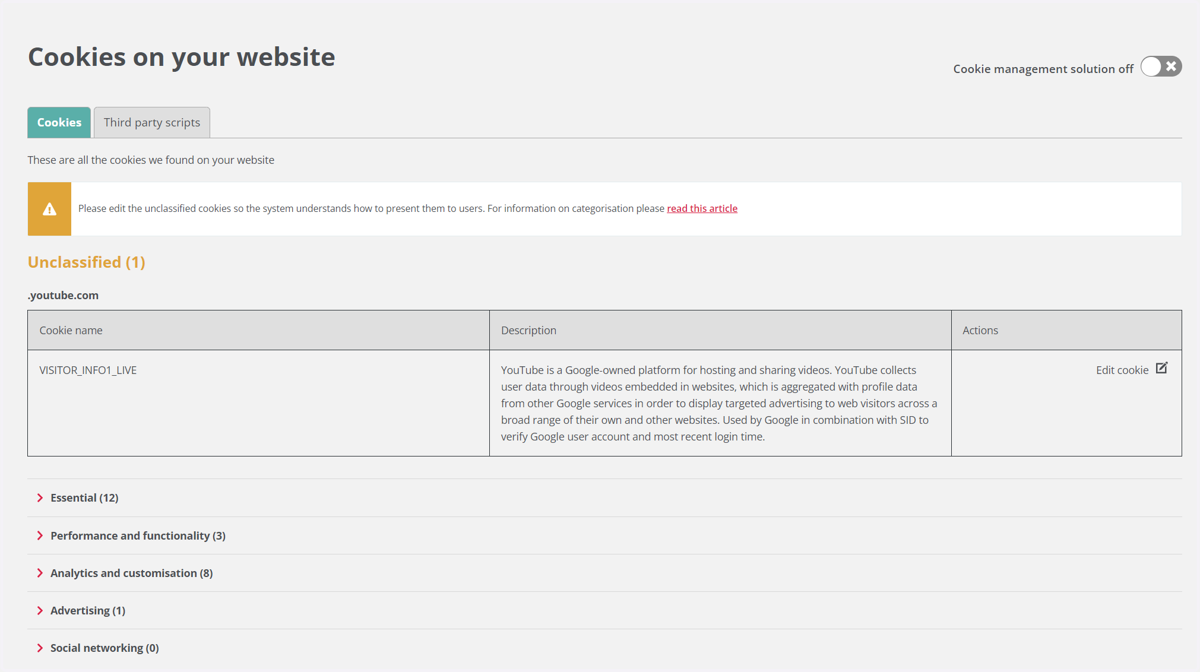
3. How to find out what a cookie is for
Your cookies should be organised under the URL of the website they belong to. In this example it's YouTube.
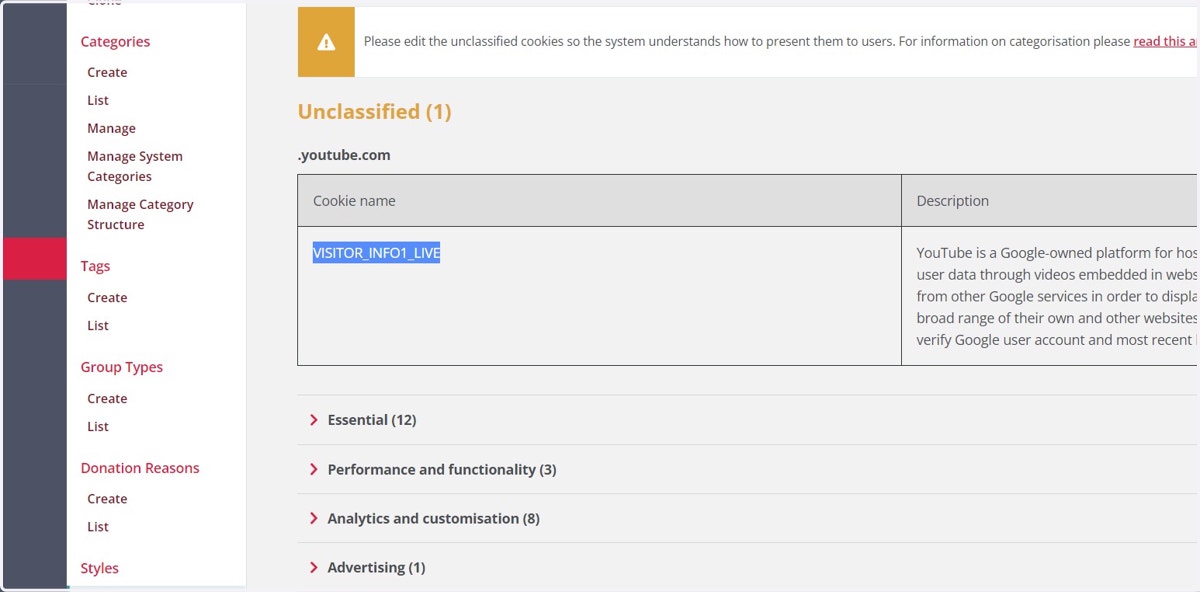
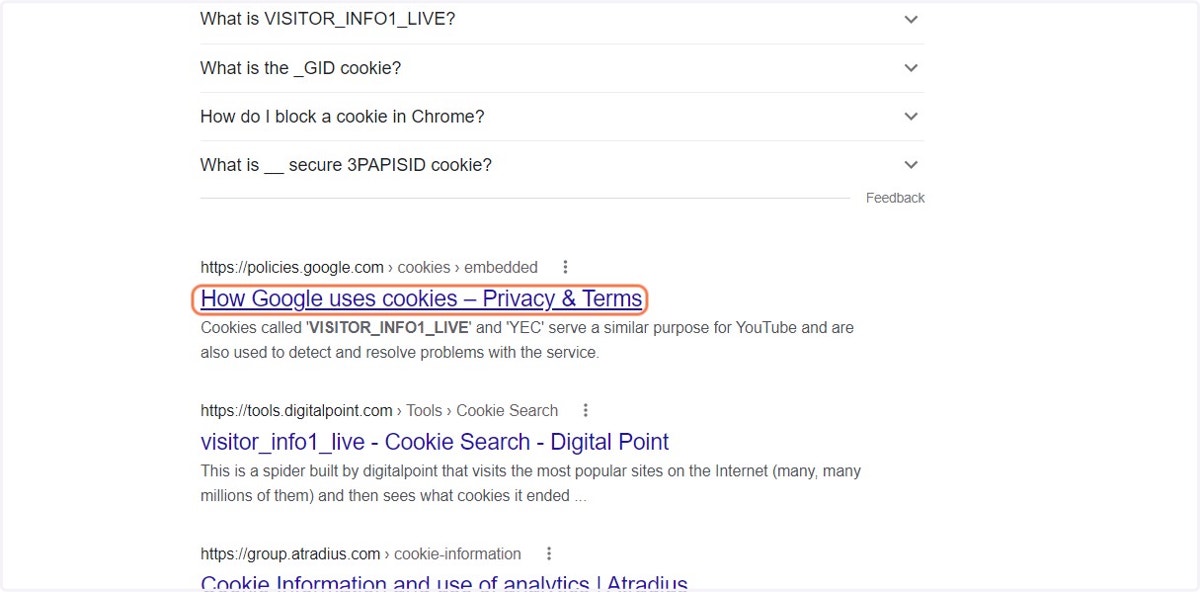
4. Copy and paste the cookie name into a search engine
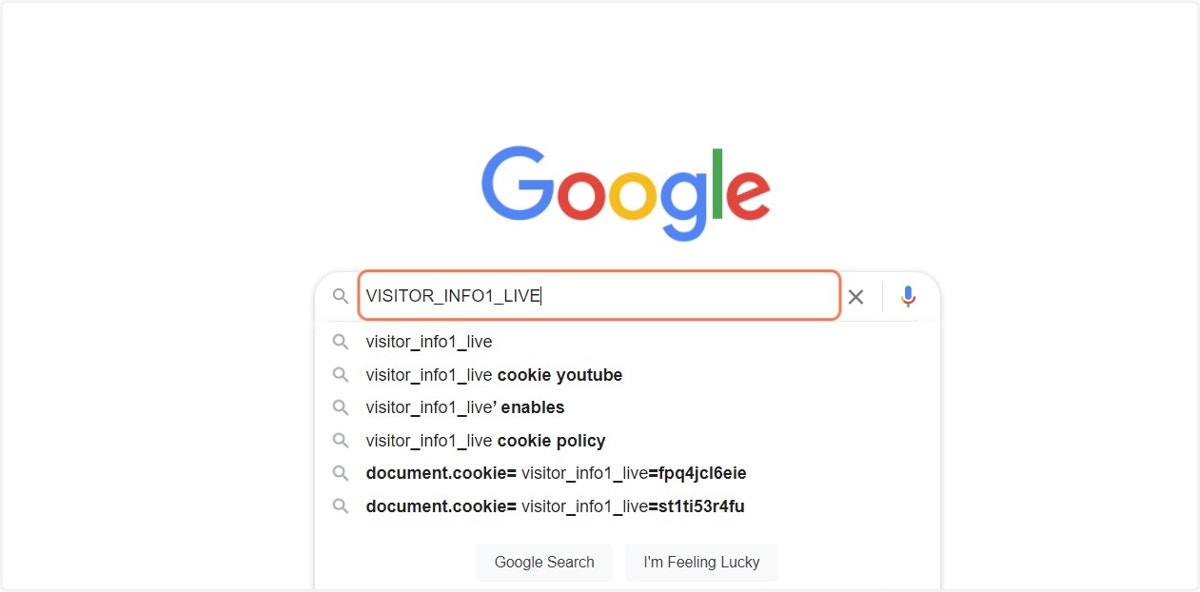
5. Navigate to the relevant search result
YouTube is owned by Google so this is the most relevant in this case
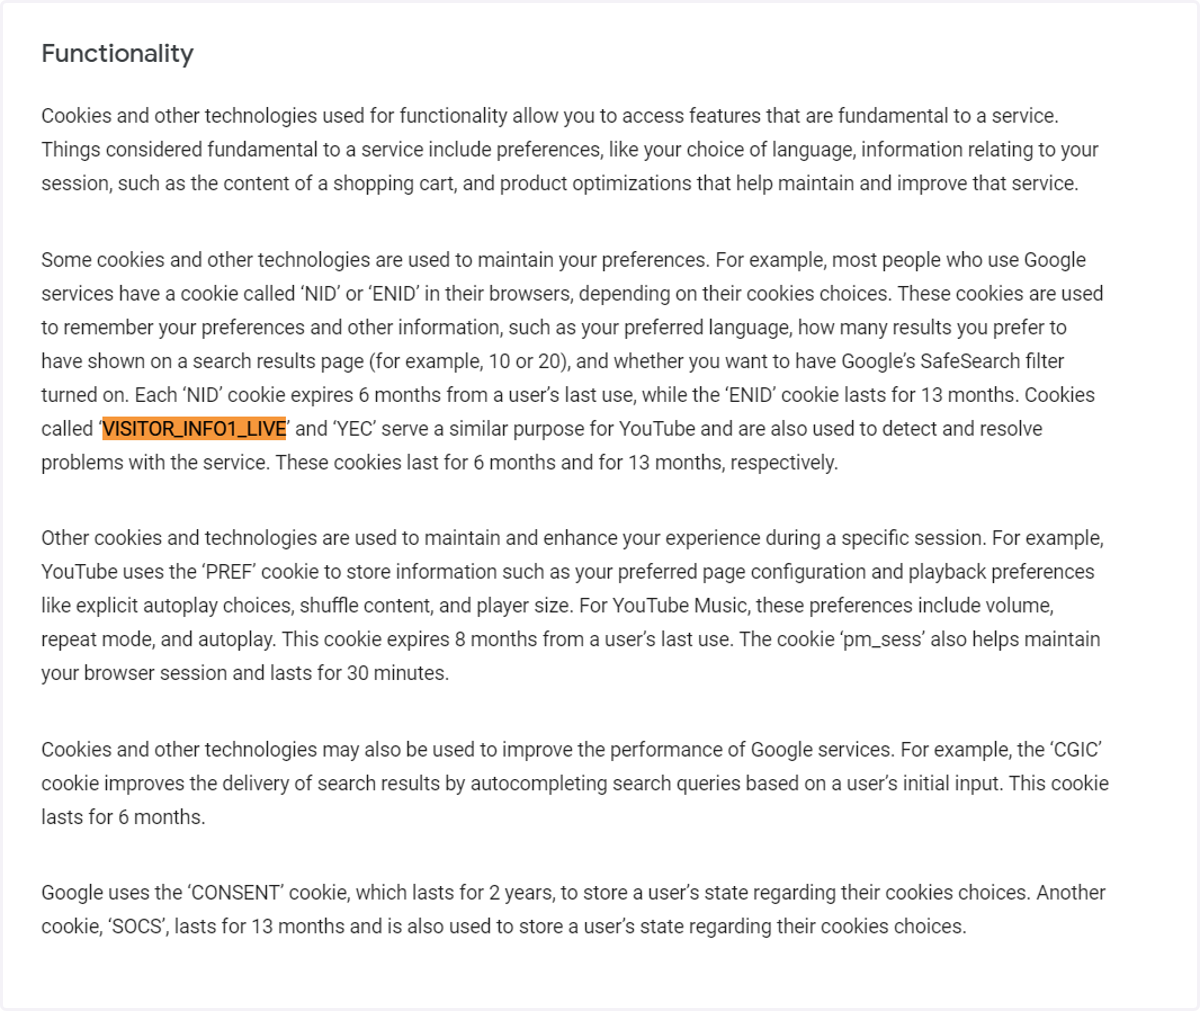
6. Use Ctrl+F to search for the cookie
There might be many cookies with similar-looking names, so searching for the exact match is recommended.
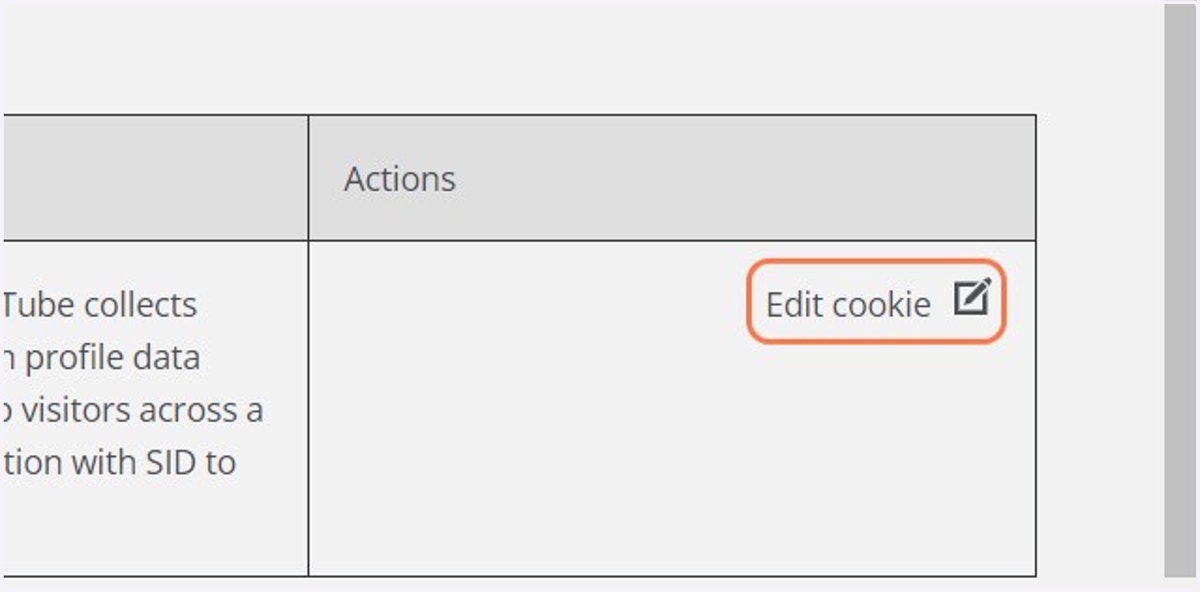
7. Back in the manager click on Edit cookie
8. Configure the cookie details as needed
It's usually enough to copy the description directly from the third party website as that should explain what the cookie is for.
You can select the classification and cookie type from the drop-down menus, and choose to include a URL back to the third party privacy policy if you so wish.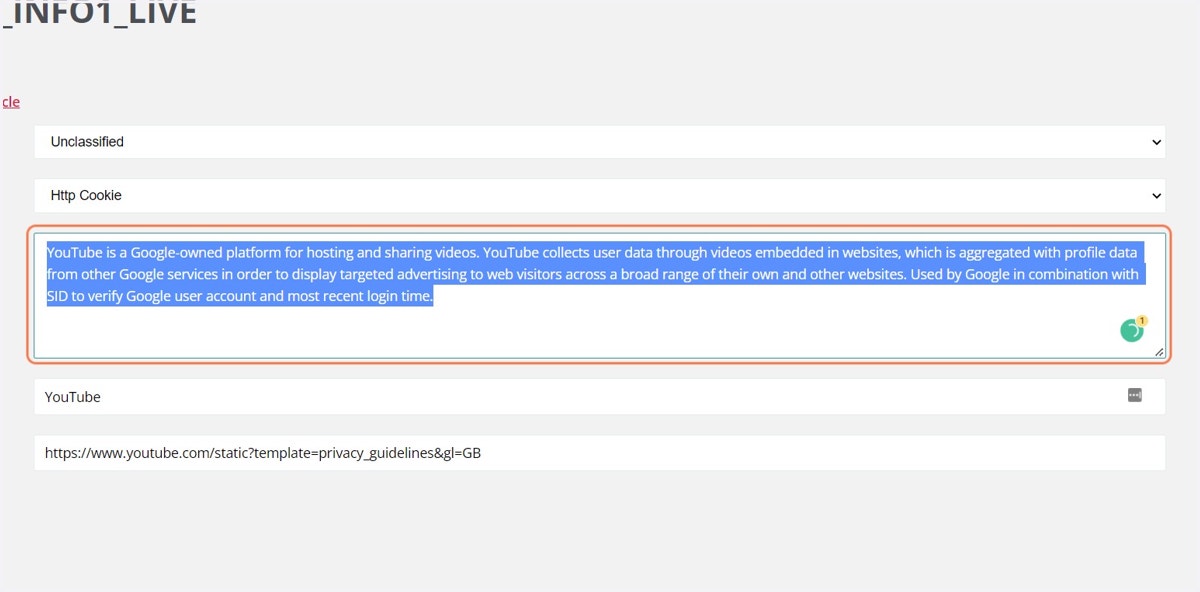
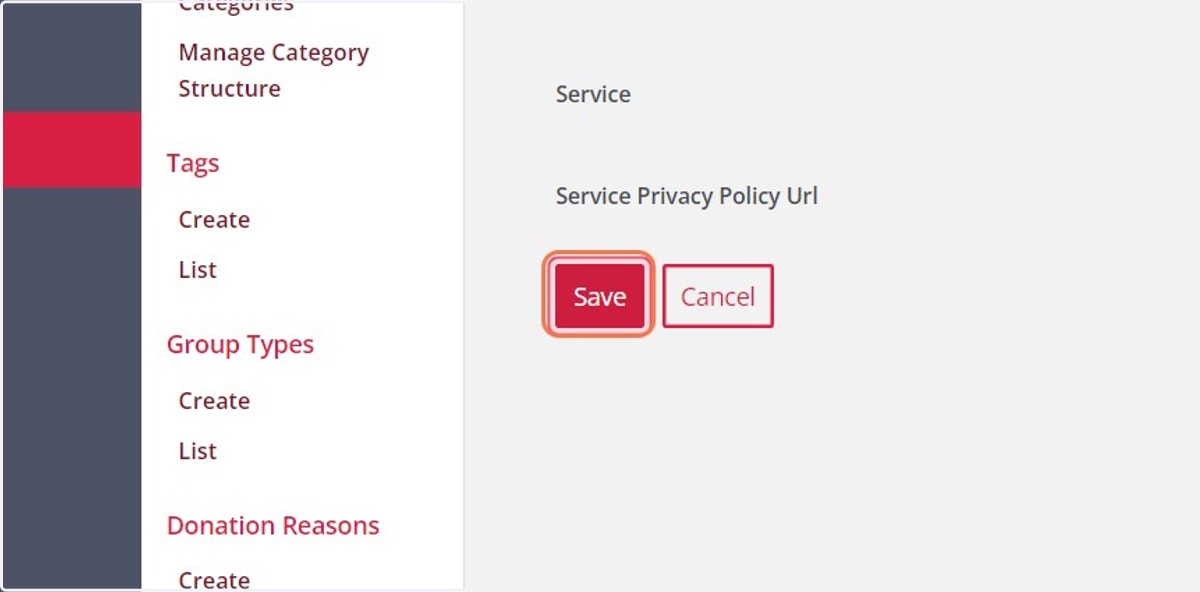
9. Make sure to save your changes
Force
10. Well done! It's time to turn on your new banner