Assigning, Creating, & Adding Asset Type
Assigning Asset ........... Steps 1-10
Creating Asset ............ Steps 1-3 and 18-24
Adding Asset Type ....... Steps 1-3, 18-20, and 27-31
Returning Asset .......... Steps 1-3 and 11-15
Login to your account
1. You may have the link on your start widget
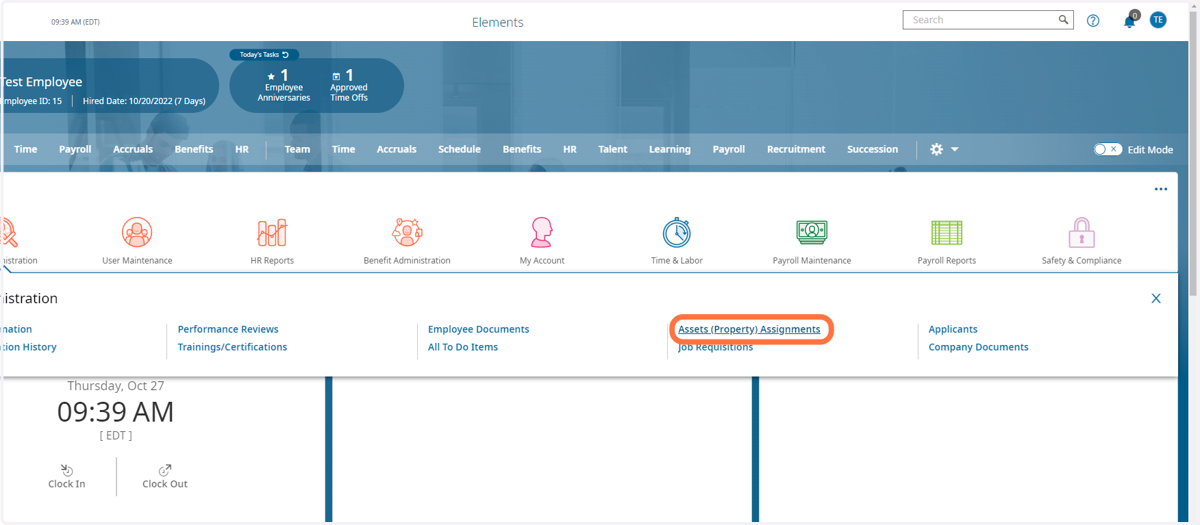
Depending on how your account has been customized you might have this option or a similar one on your start widget. If you do not have this option please search for Asset Assignments in the search bar at the top right of your screen and move to step 3.
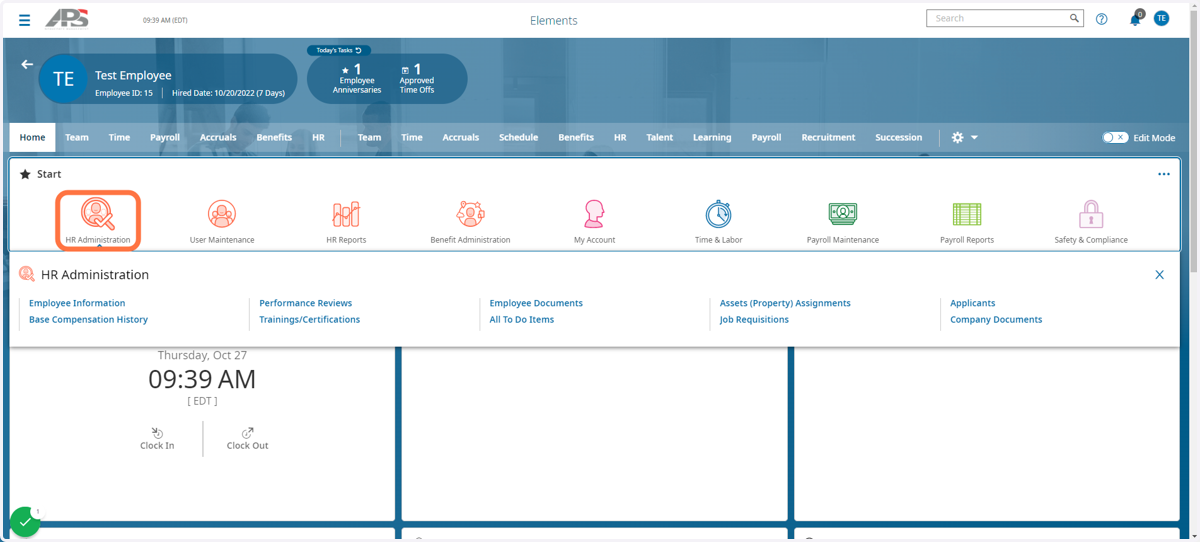
2. Click on Assets (Property) Assignments
3. Click on Add New
** To Create Company Asset Move To Step 18 **
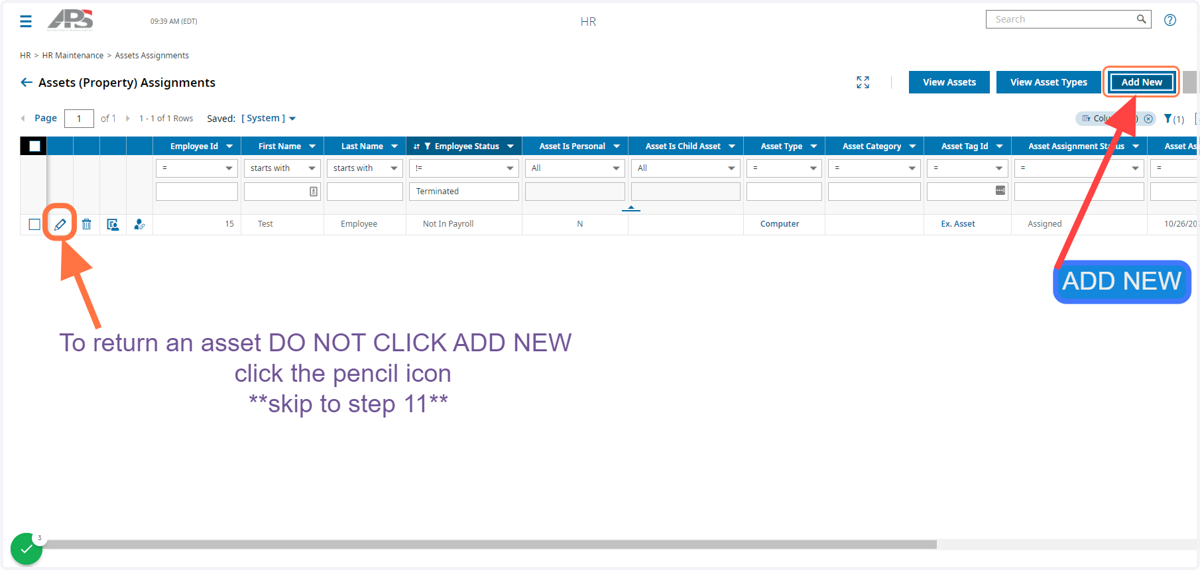
4. Click the Browse Icon Under Employee
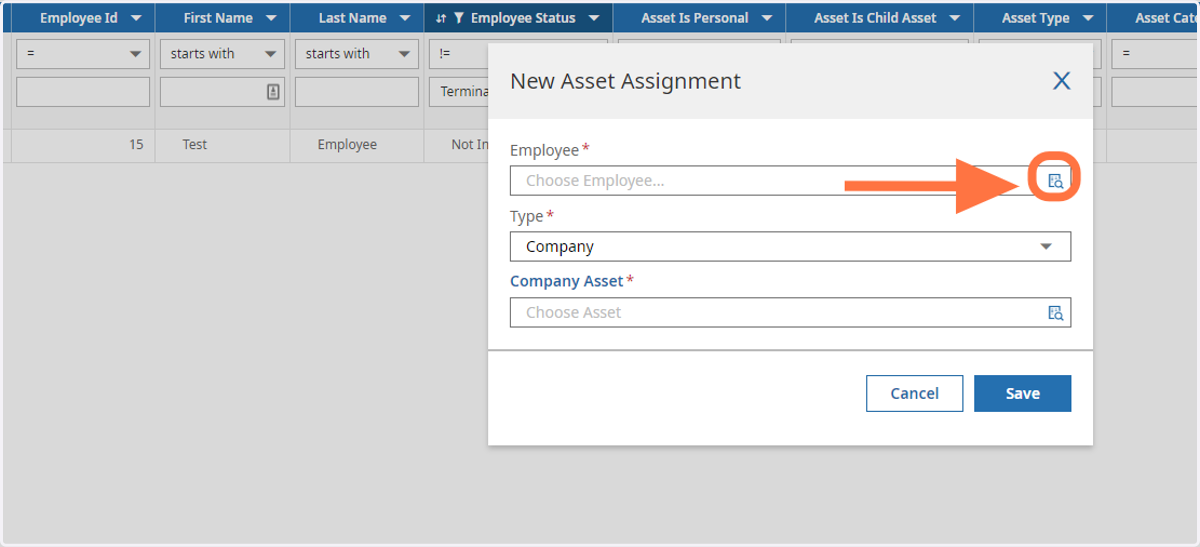
Saashr
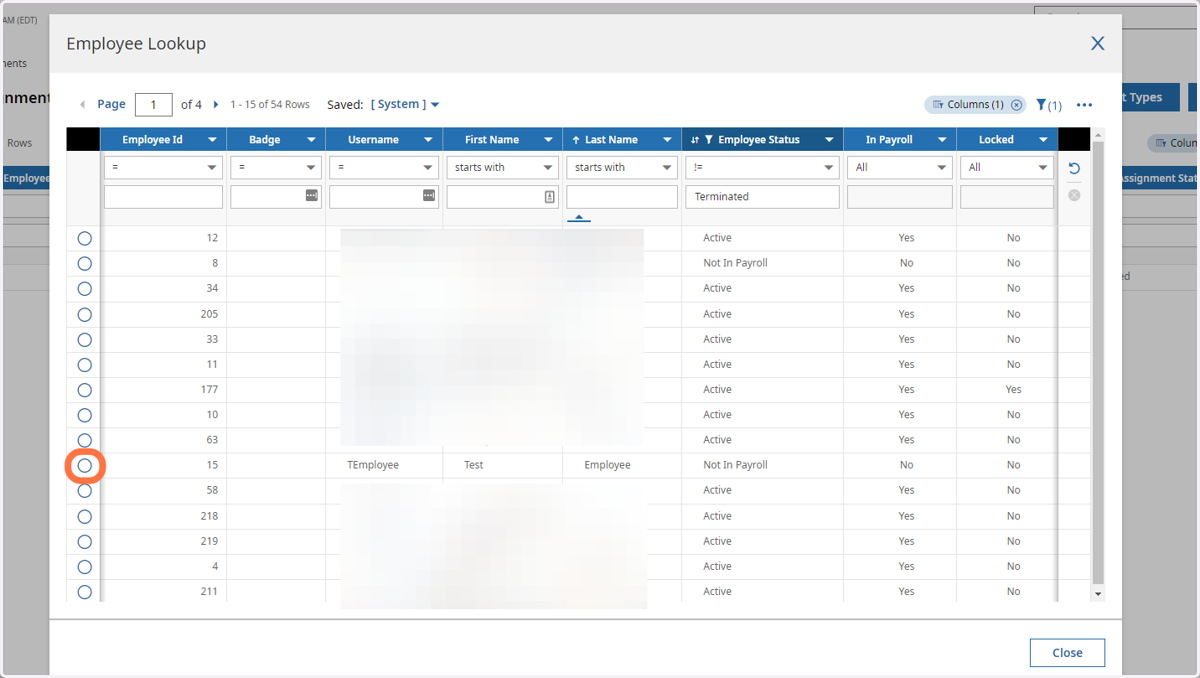
5. Select The Employee
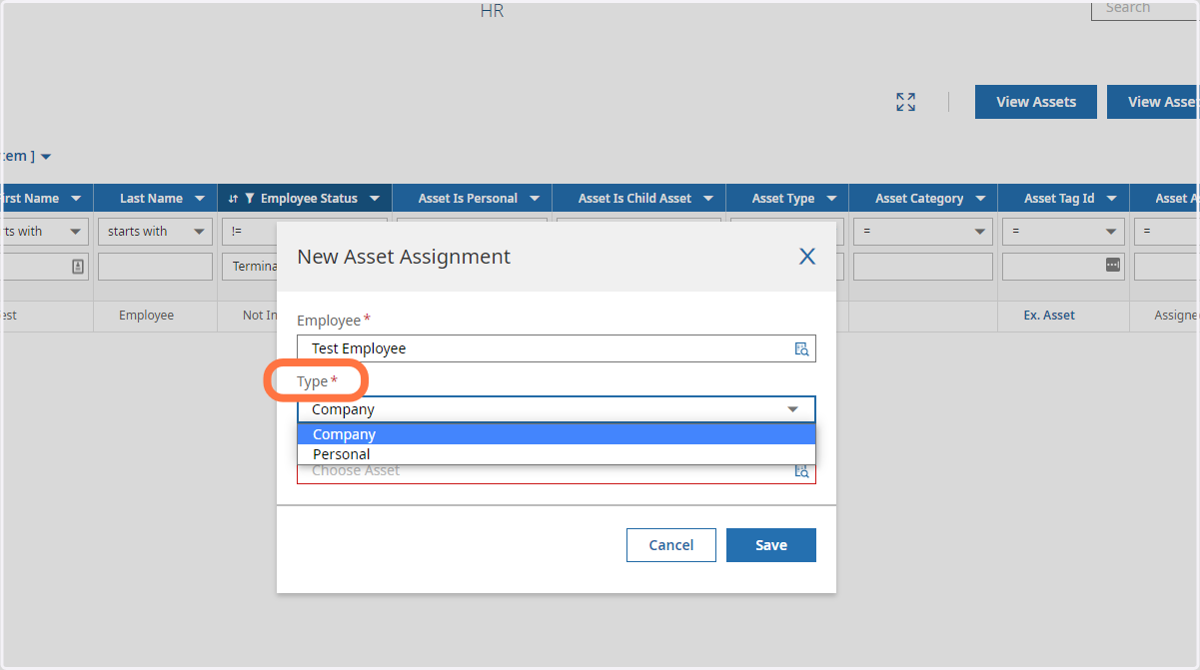
6. Select Company Type
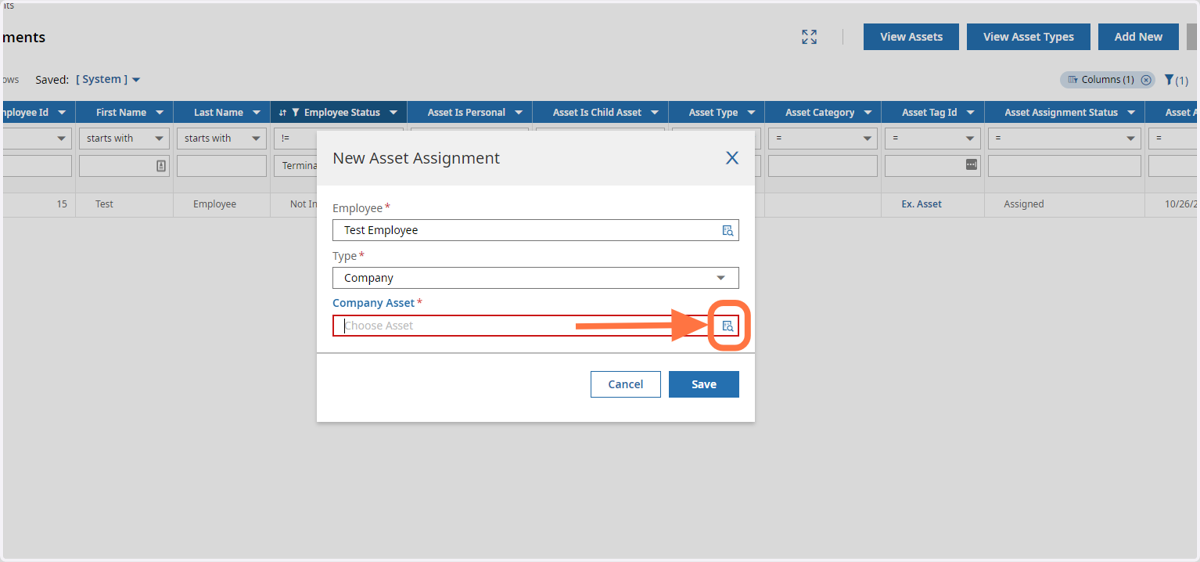
7. Select Company Asset
8. Click Save
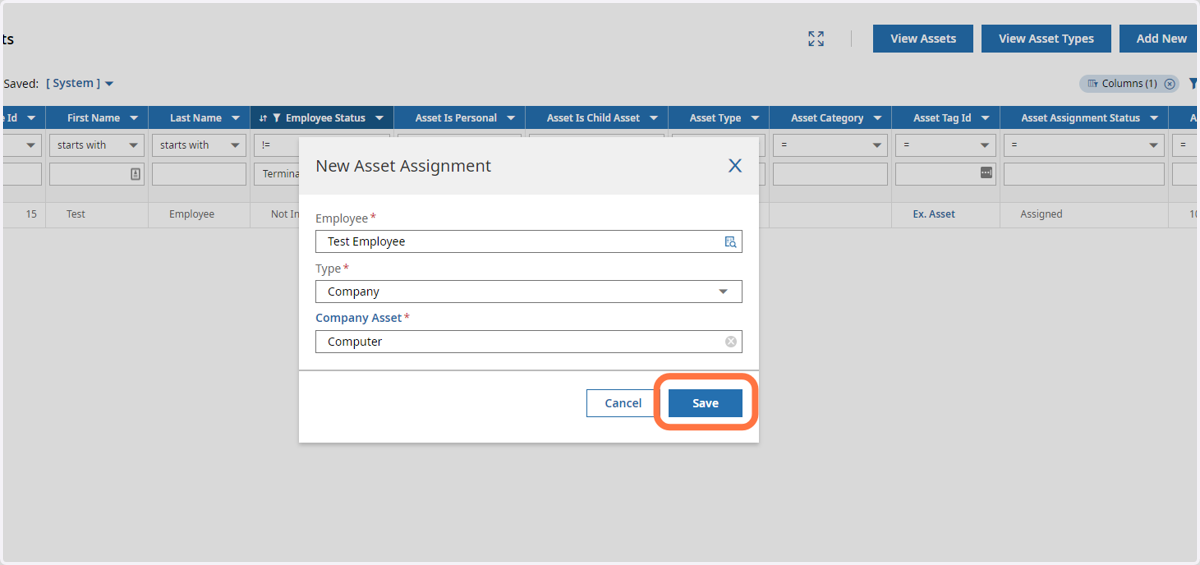
9. Add Expected Return Date (Optional)
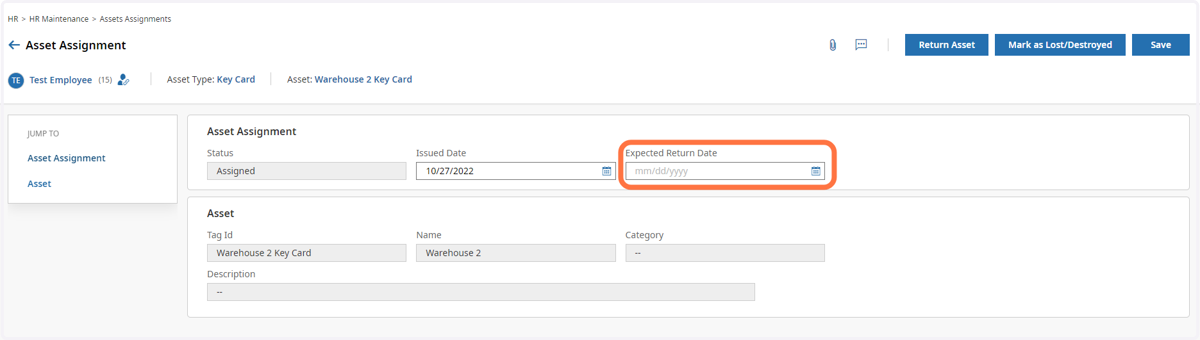
10. Click Save
** Move To Step 11 to Return Asset**
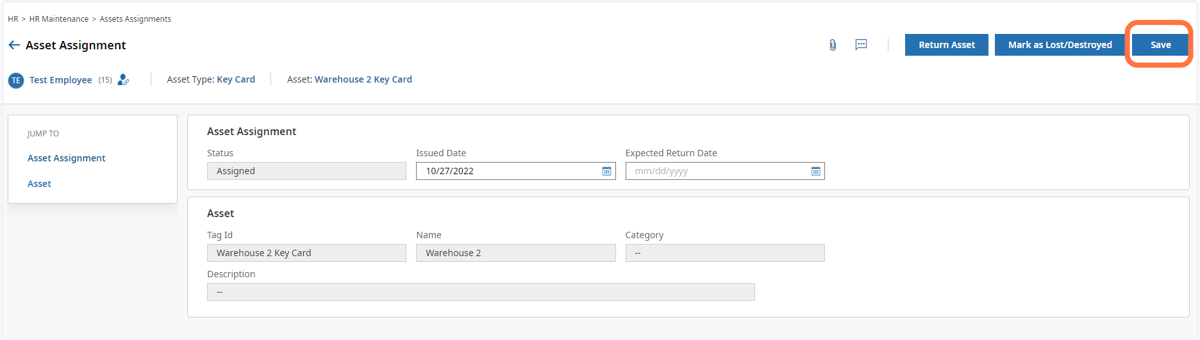
11. Click On Return Asset
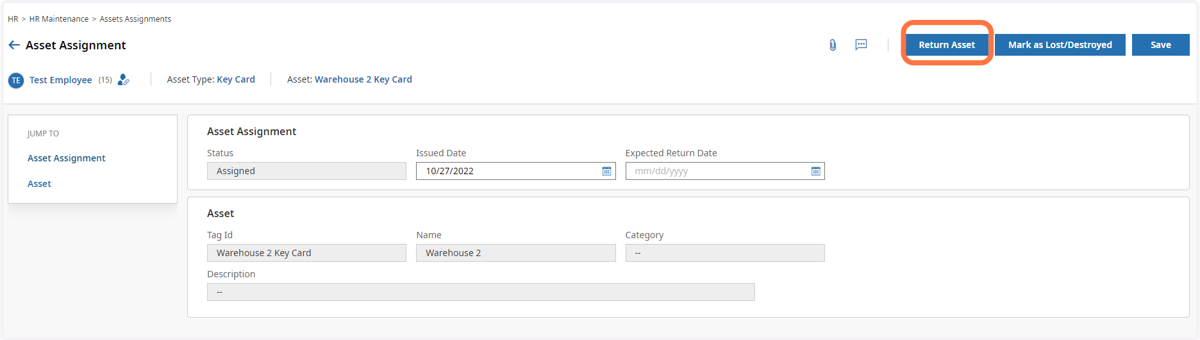
12. Fill Out Return Asset Date
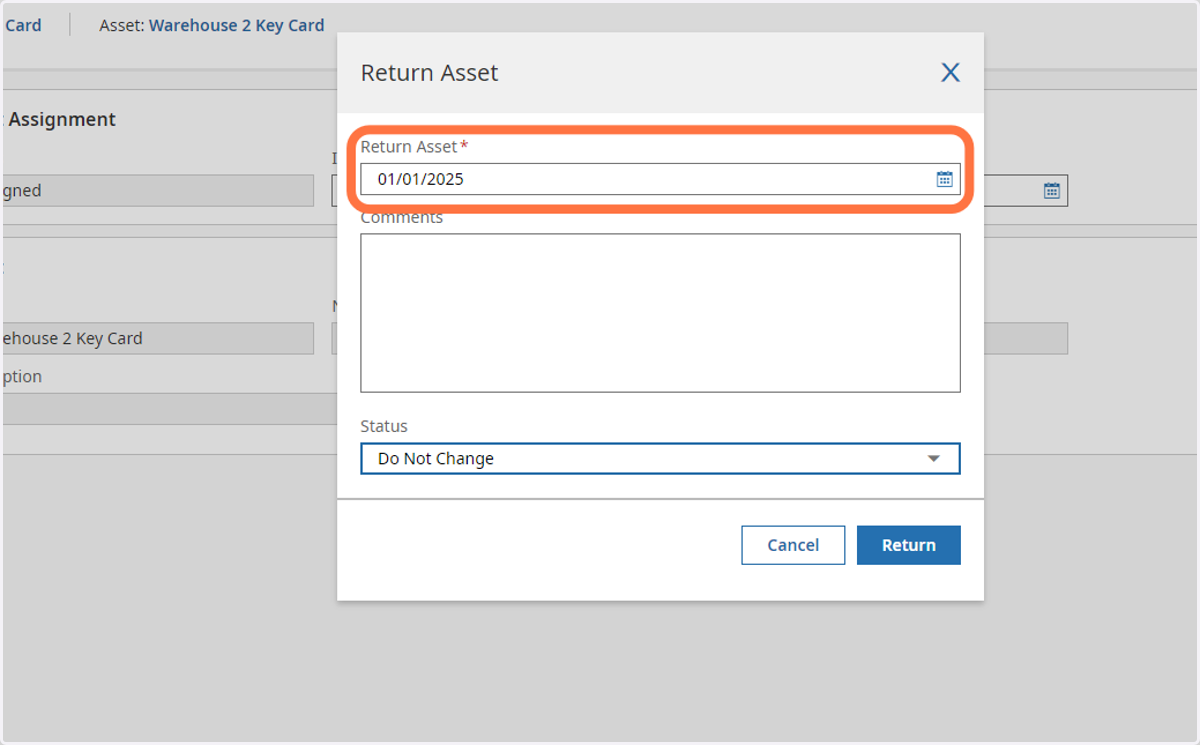
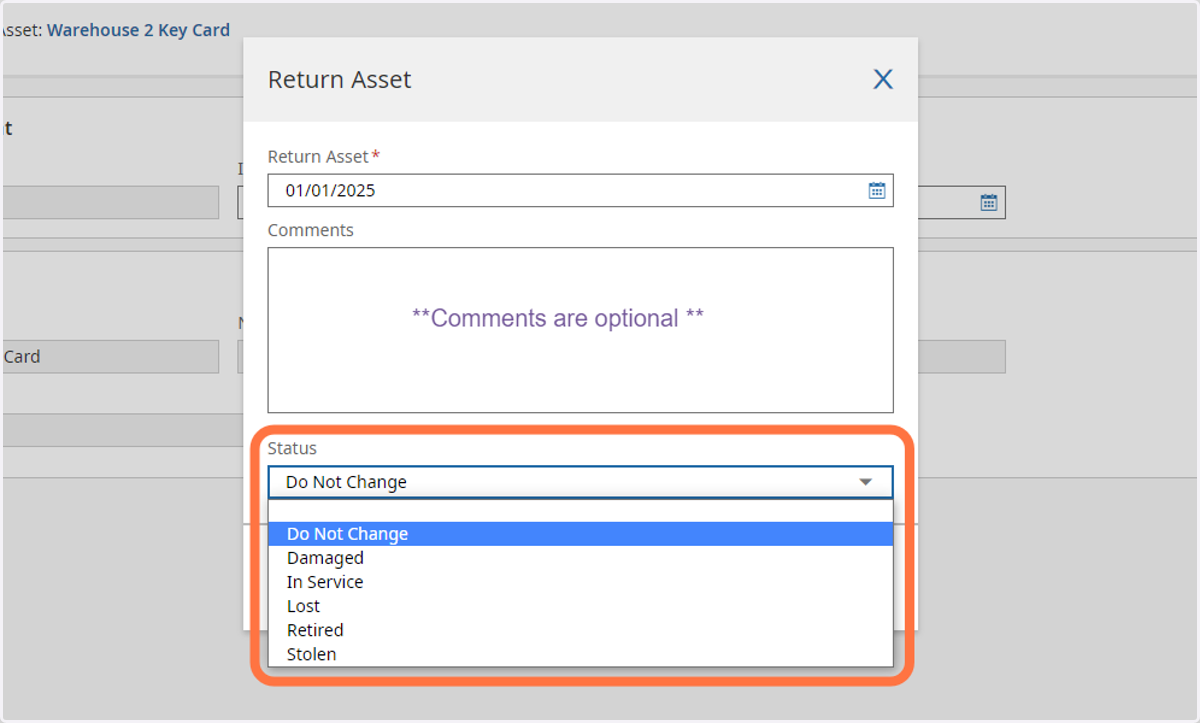
13. Select Status
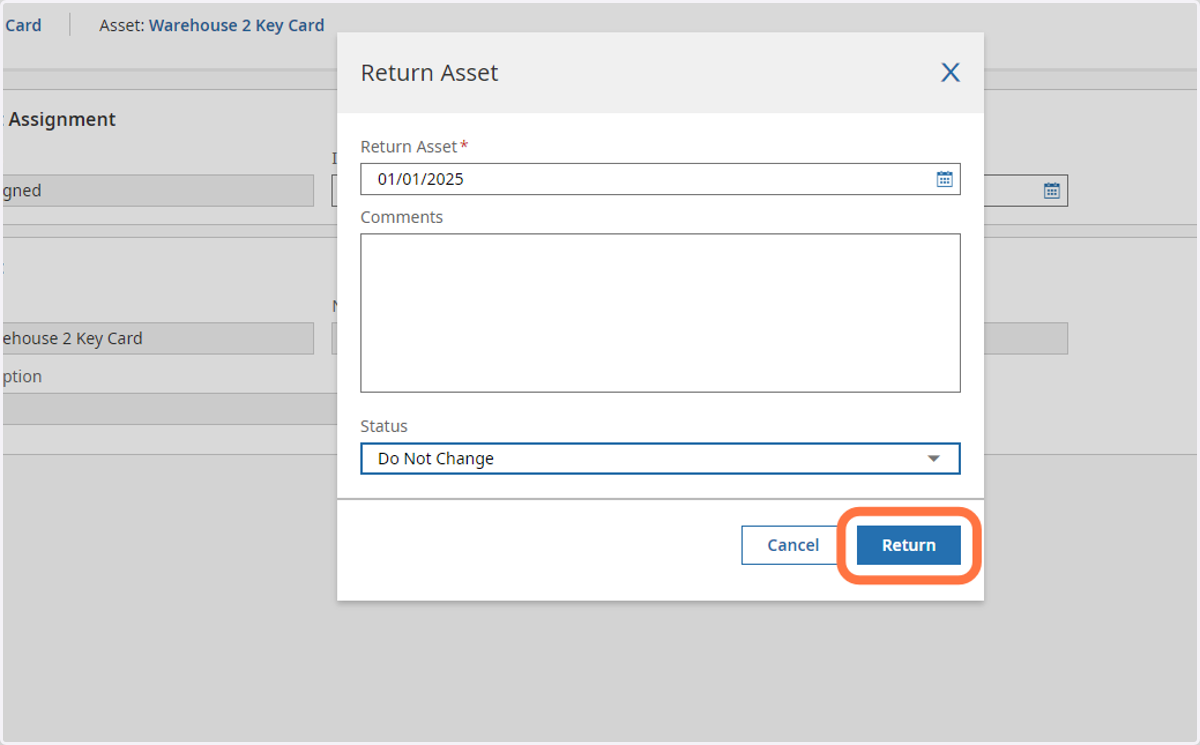
14. Click On Return
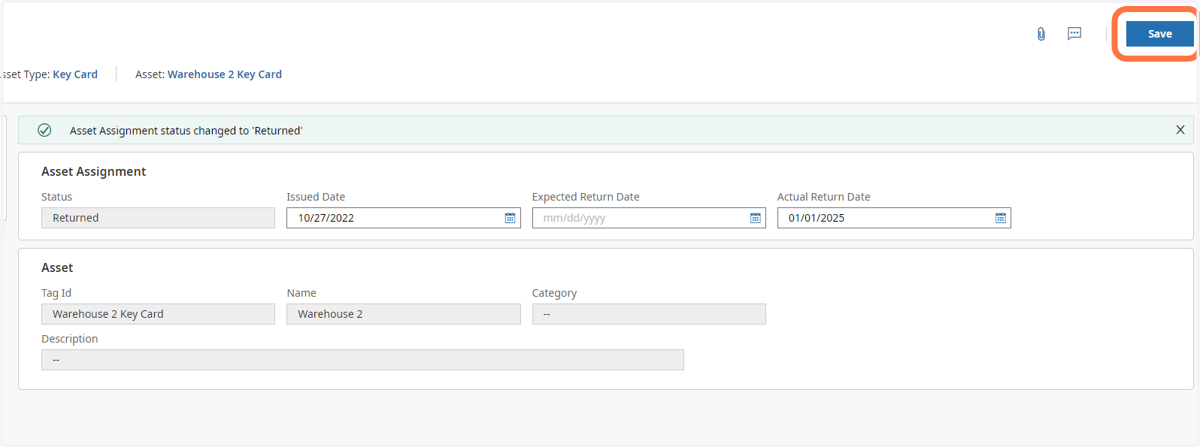
15. Click Save
** Move To Step 16 To Create Asset Type **
16. Click On The Back Button
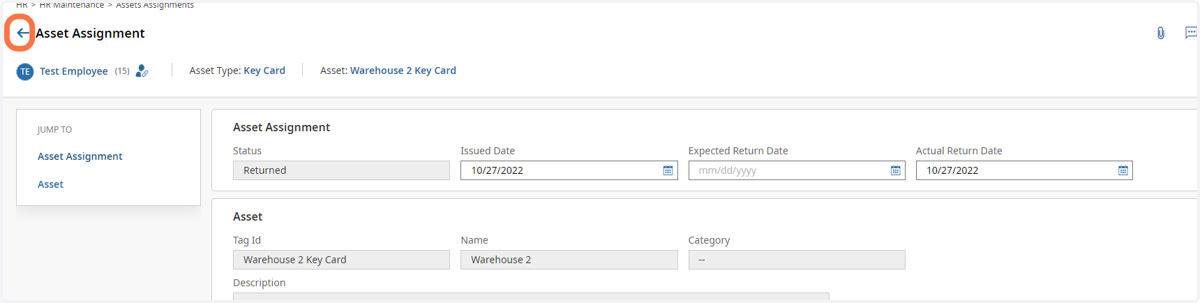
17. Click On Add New
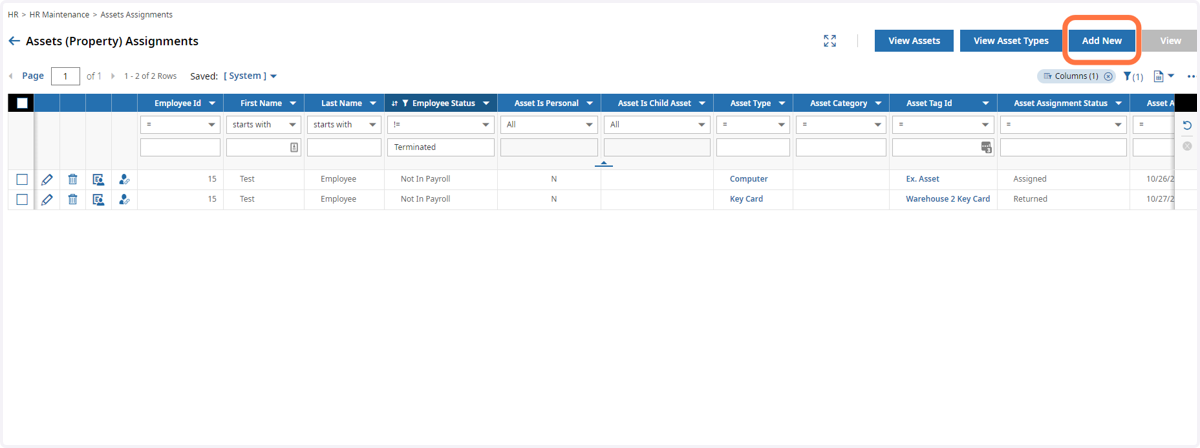
18. Click on Company Asset
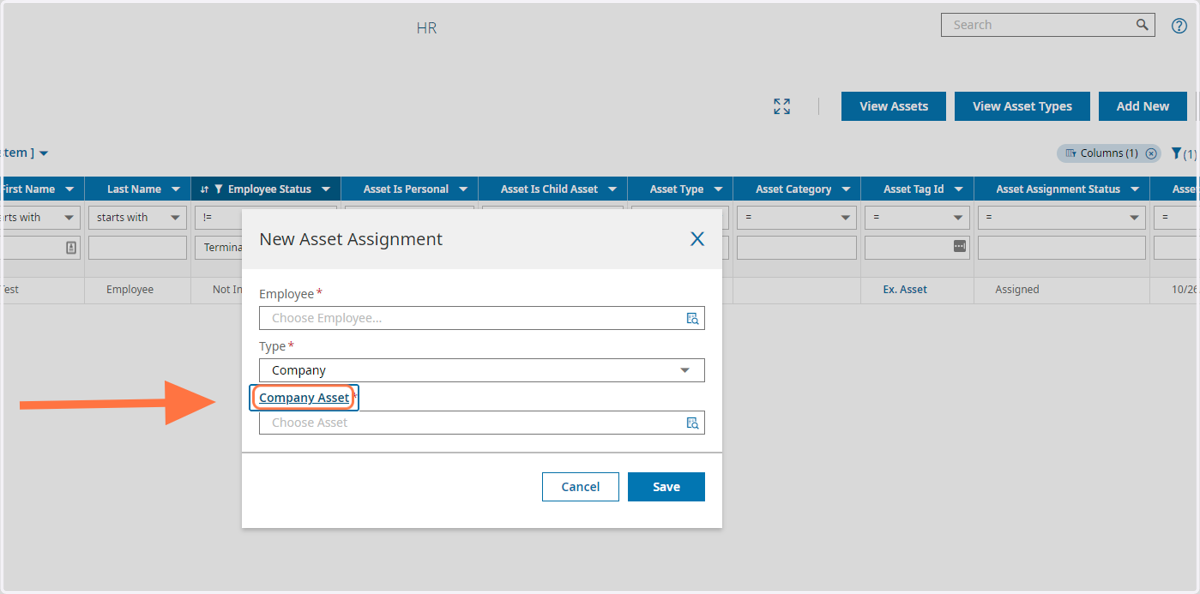
19. Click On Add New
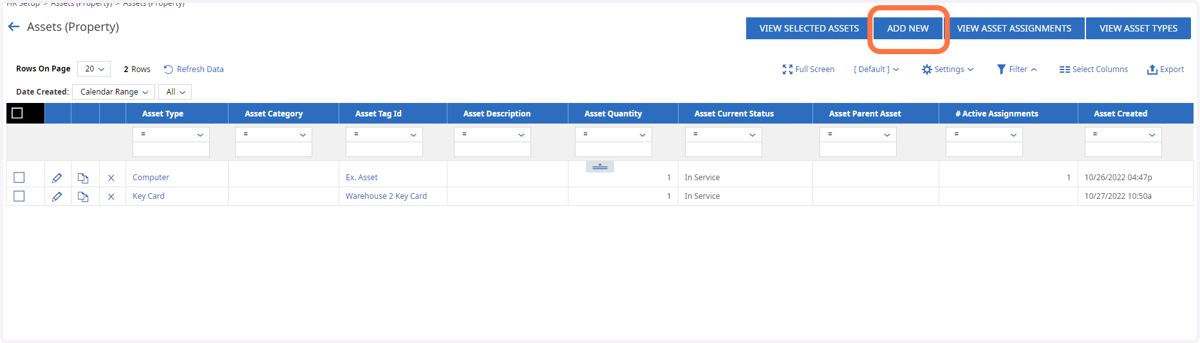
20. Select Asset Type
** Move To Step 24 To Create Asset Type **
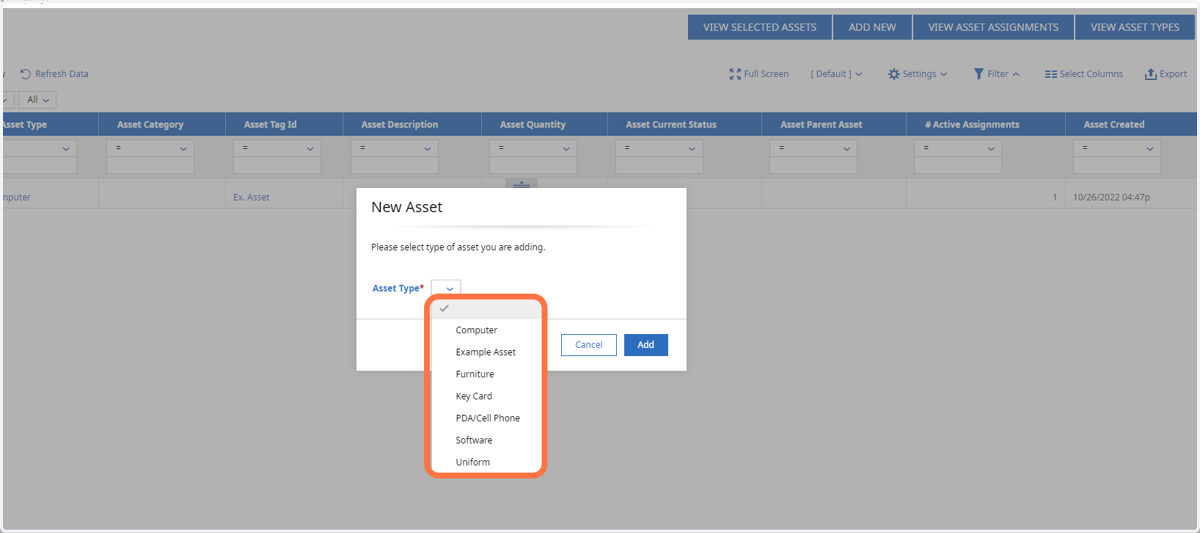
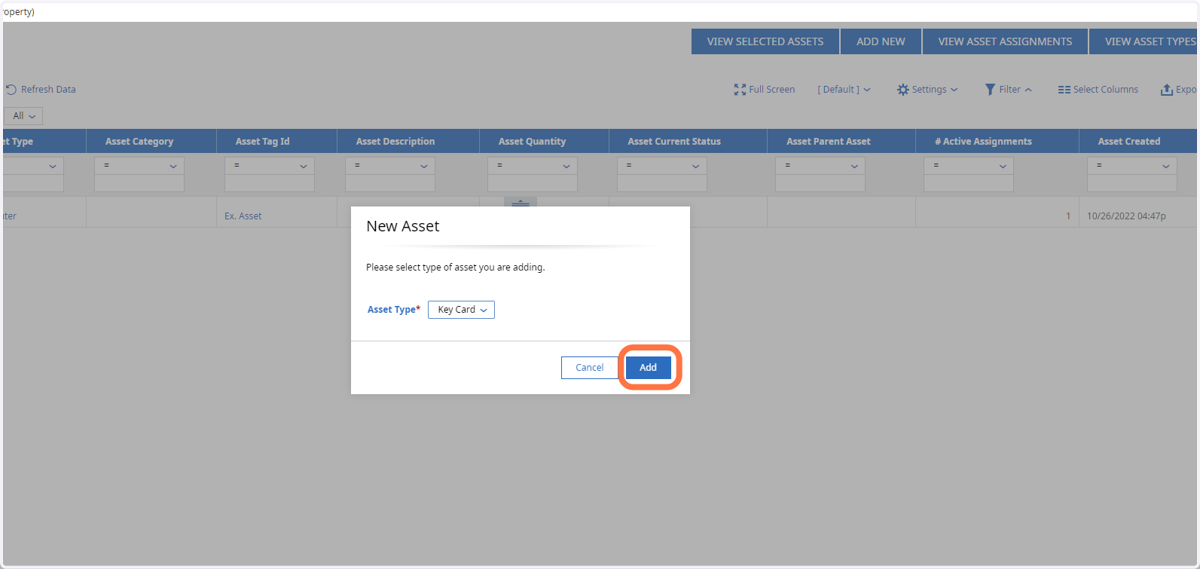
21. Click Add
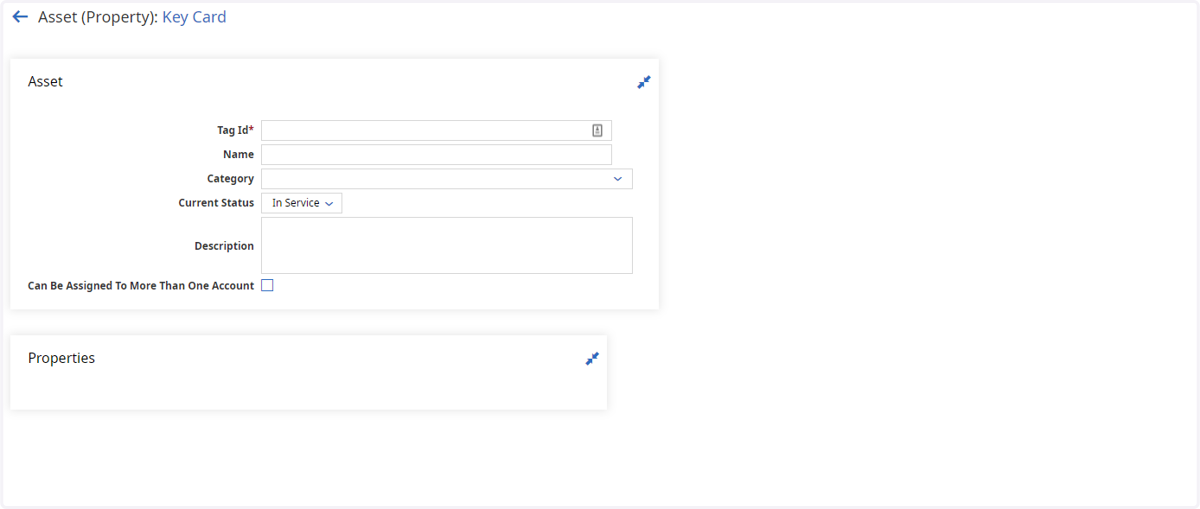
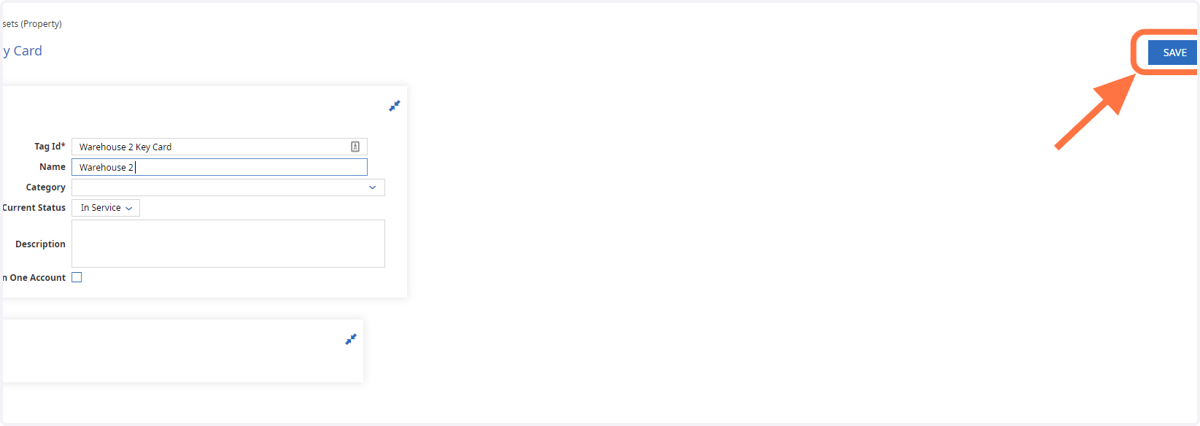
22. Create Tag Id
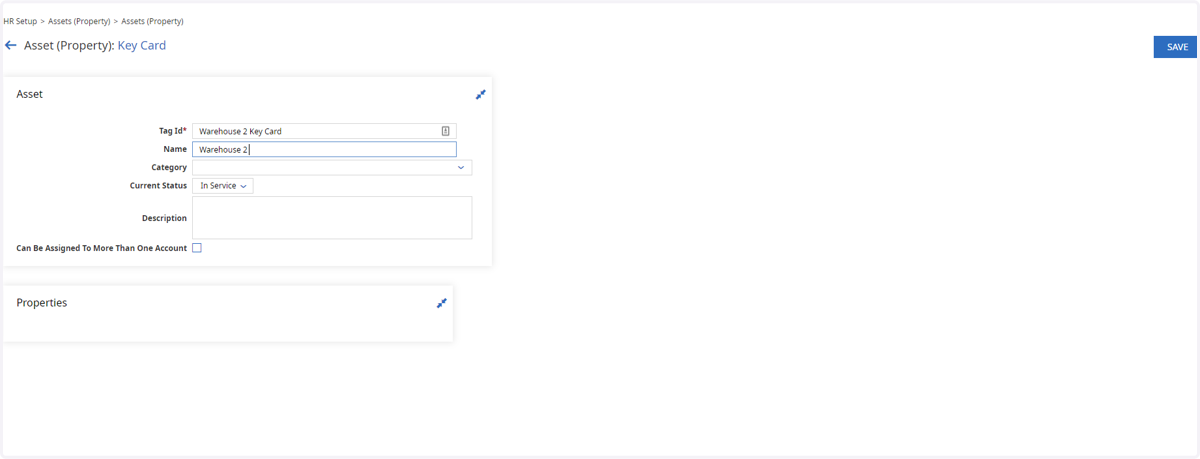
Warehouse 2 Key Card used as example.
23. Create Name (Optional)
24. Click on Save
** Move To Step 26 To Create Asset Type **
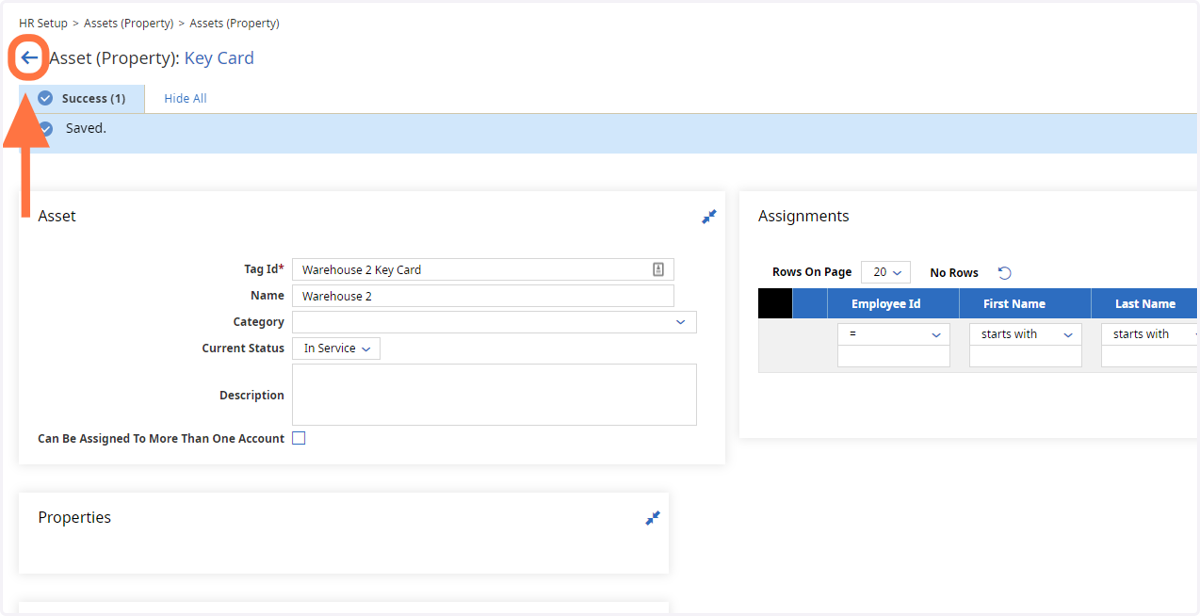
25. Click The Back Button
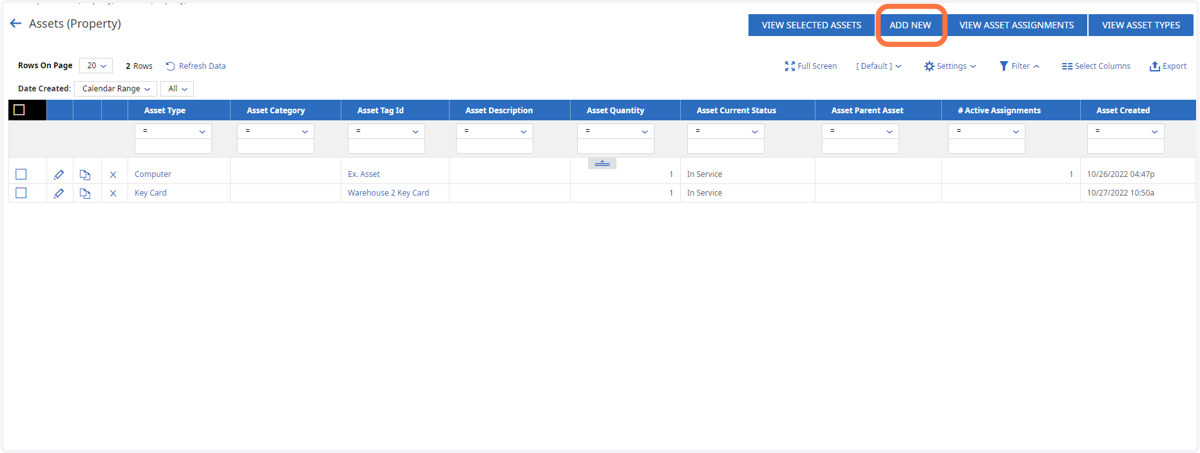
26. Click Add New
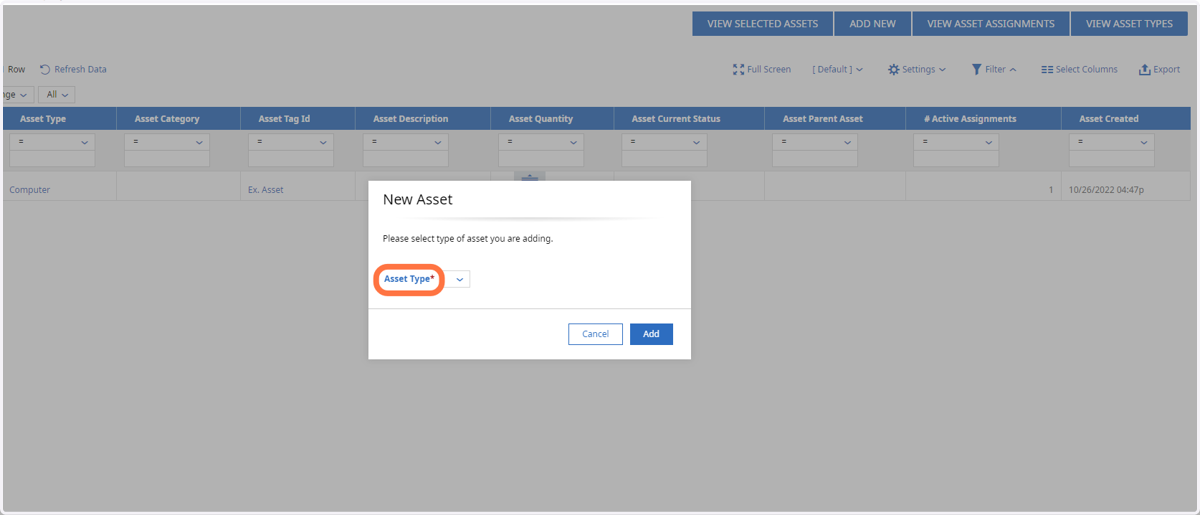
27. Click on Asset Type
28. Click on ADD NEW
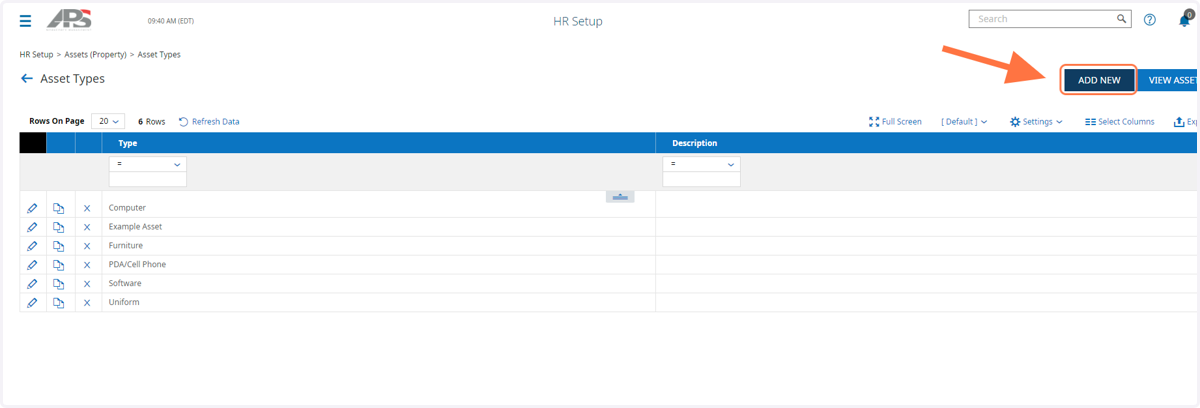
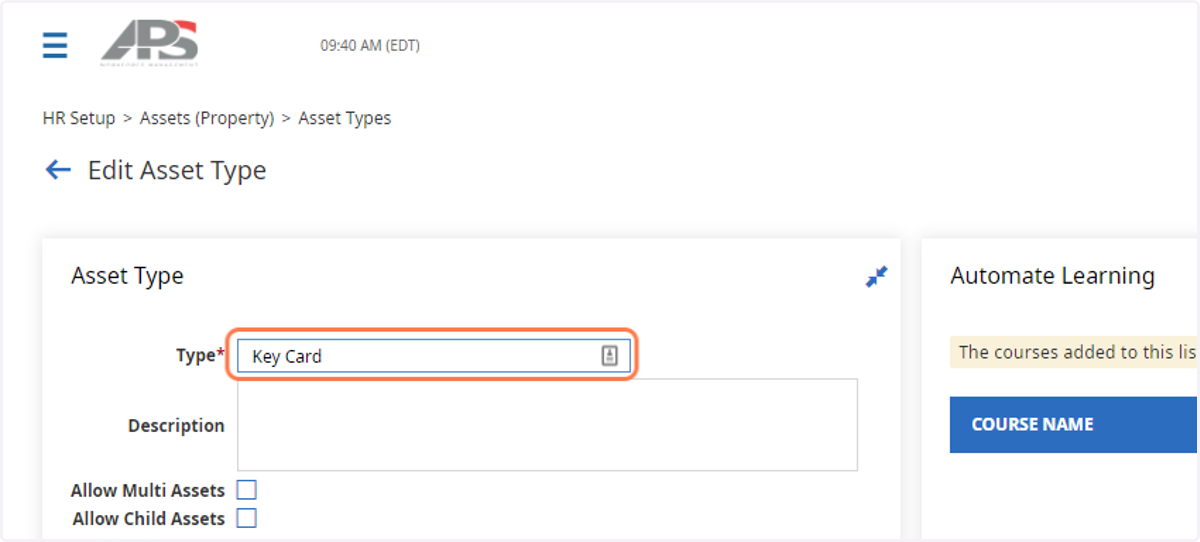
29. Create Type Name
Key Card is used as our example.
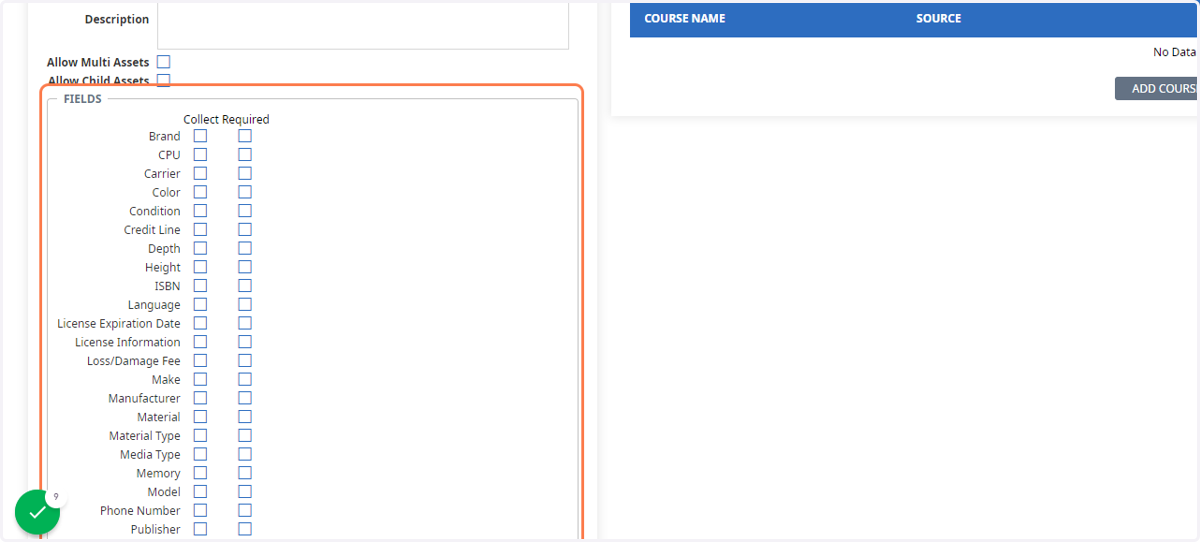
30. Fill In The Fields That Apply… (Optional)
31. Click on SAVE