Adding data to the MSP Startup Guide: A Step-by-Step Tutorial
Home | MSP Startup Guide
Go to https://mspstartupguide.com/
1. Go to the directory of the type of data you want to add
Resources are things people can use. They could be anything from funding to an accelerator to an educational program.
Organizations are the hosts of resources. They are the entities in our ecosystem that are here to help you.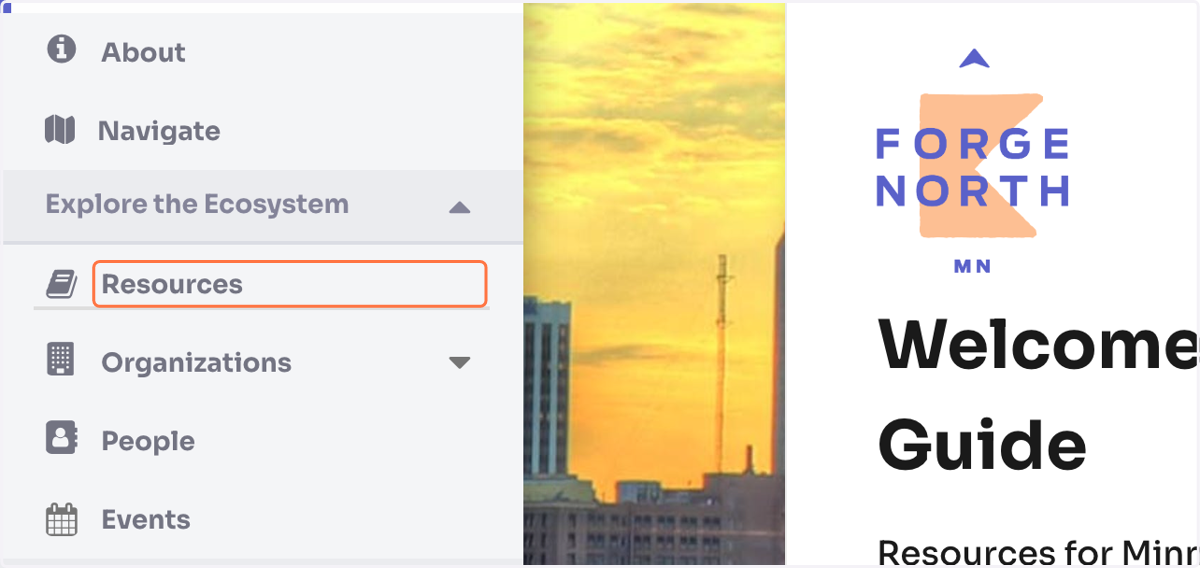
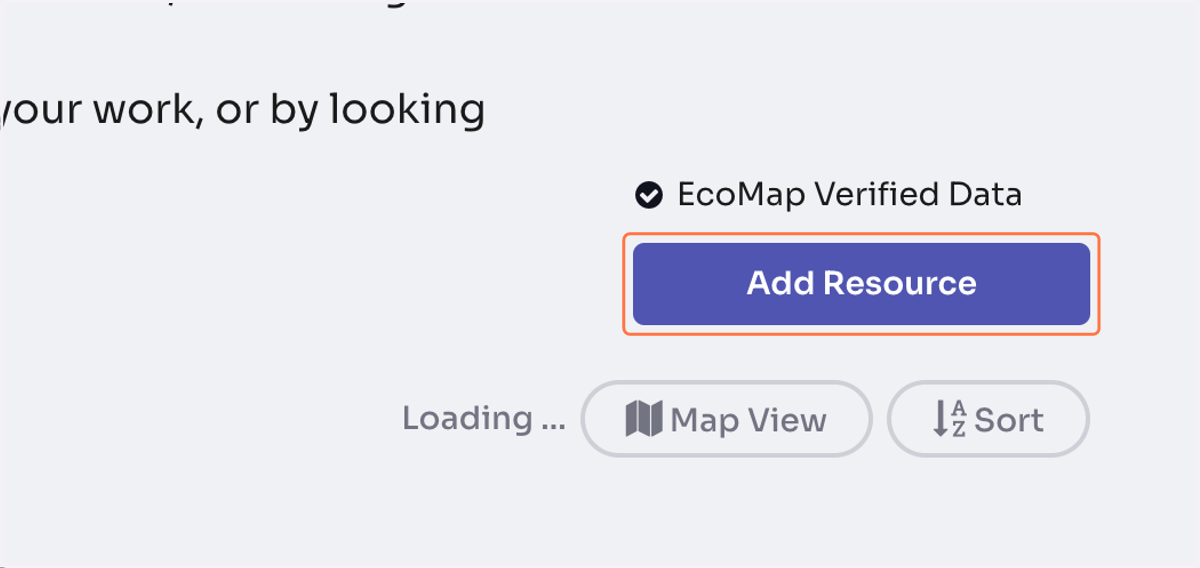
2. Once you're in the directory, click the Add button.
3. Make sure the data you're adding isn't already there
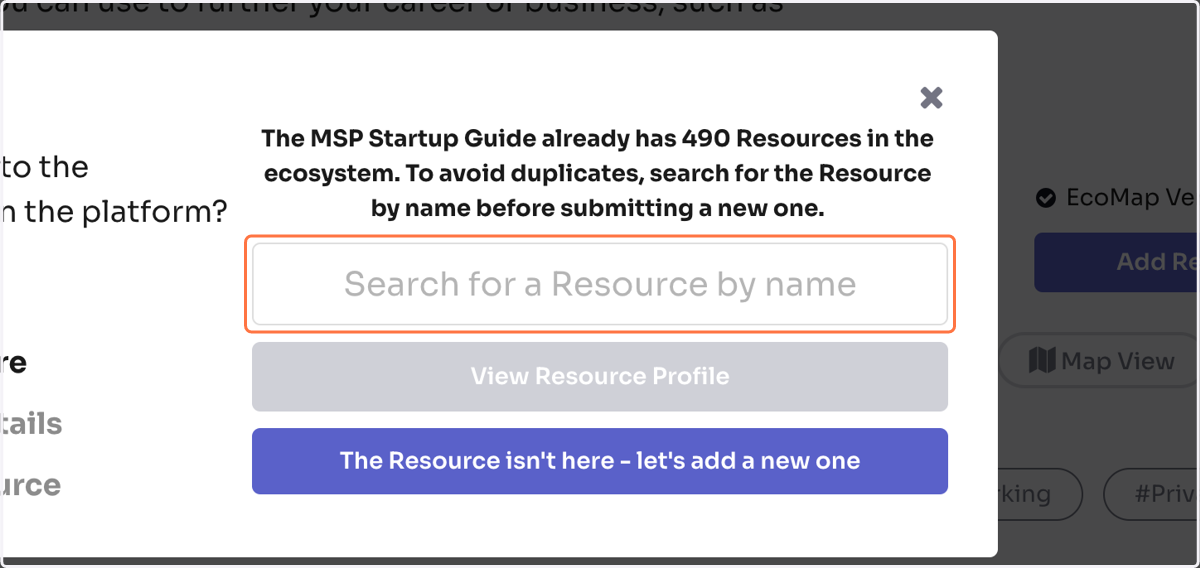
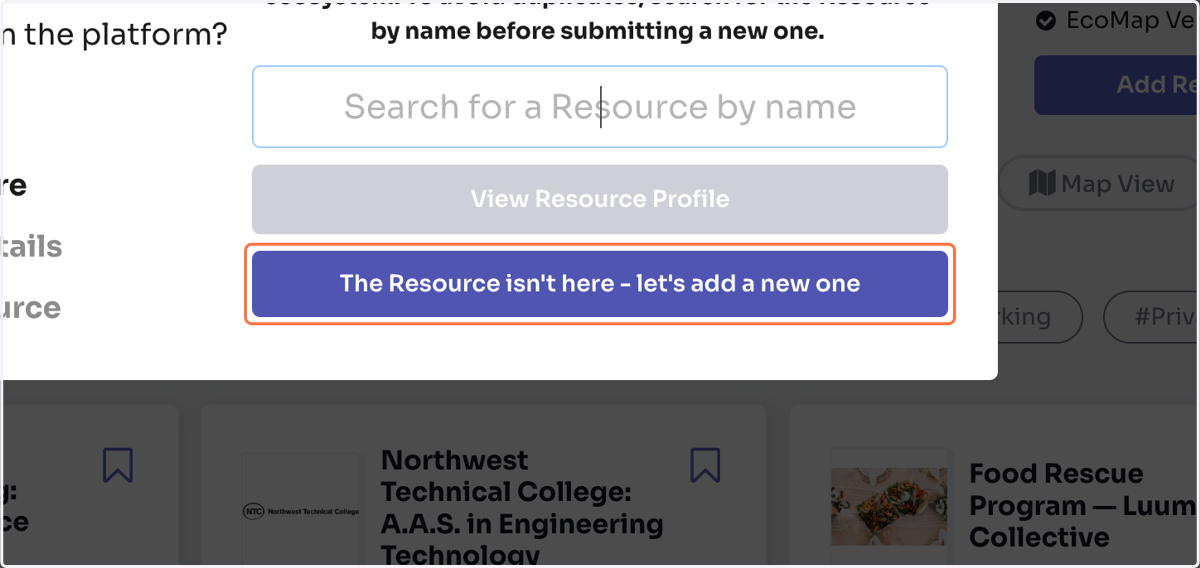
4. Click on The Resource isn't here - let's add a new one
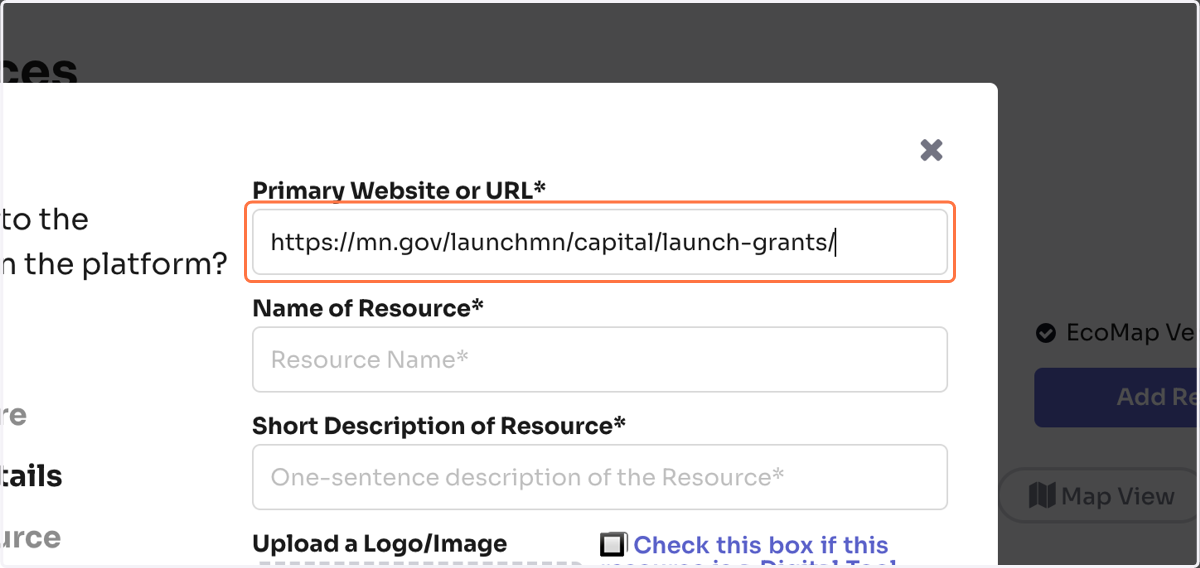
5. Paste the URL of the data you're adding. The required fields will autopopulate.
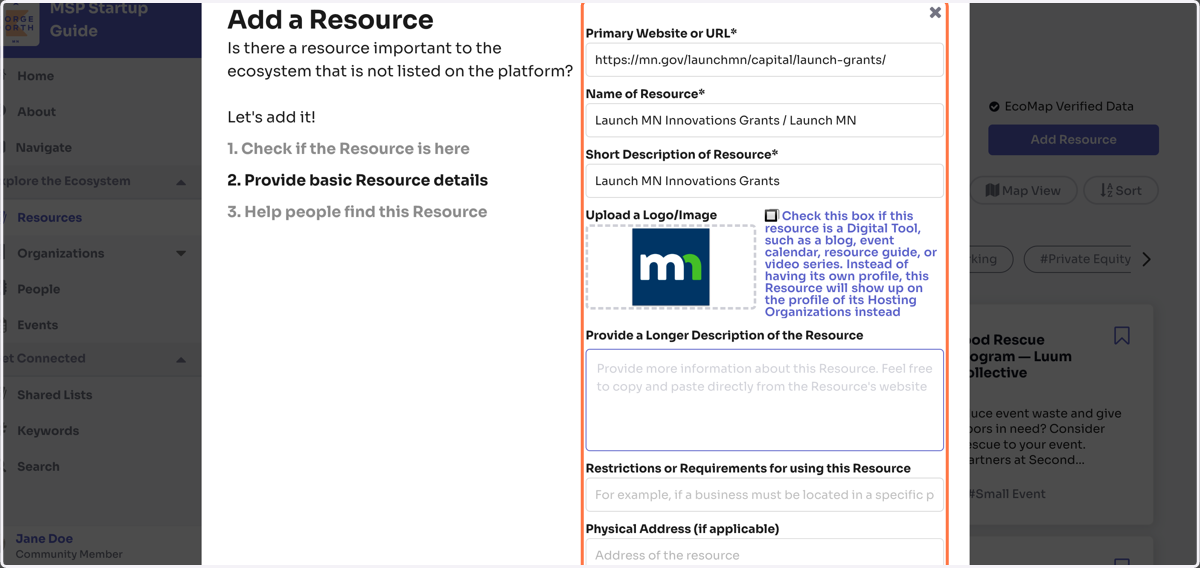
6. Check the information and add anything that's missing
7. Click the arrow to go to the next step

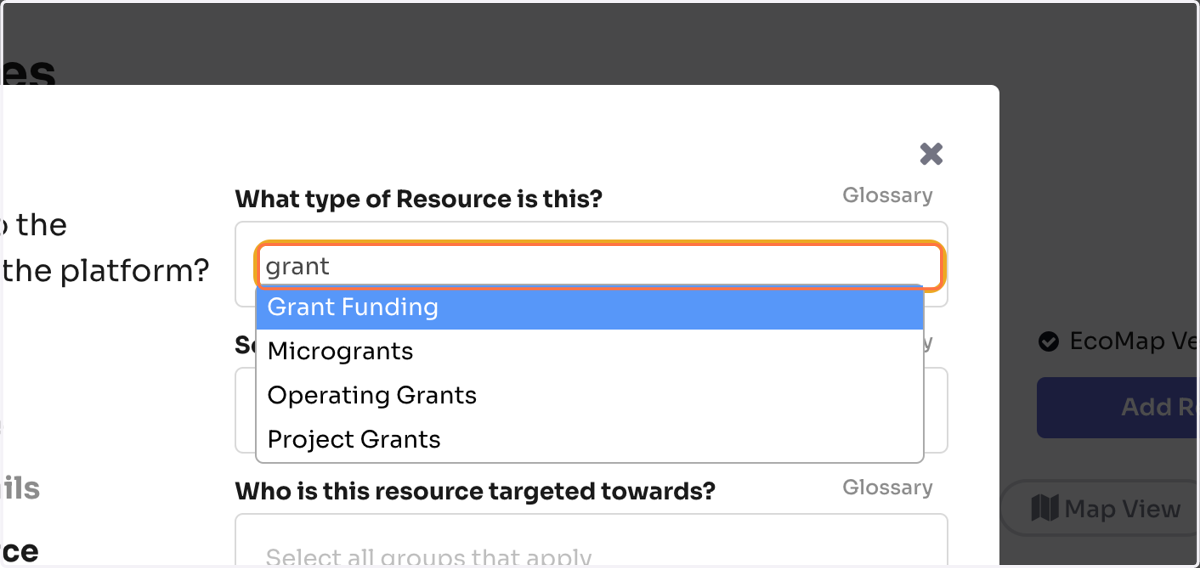
8. Answer the questions to make your Resource/Organization/etc discoverable
Make sure to answer these questions thoroughly and accurately. This is what allows your community members to find what you're adding.
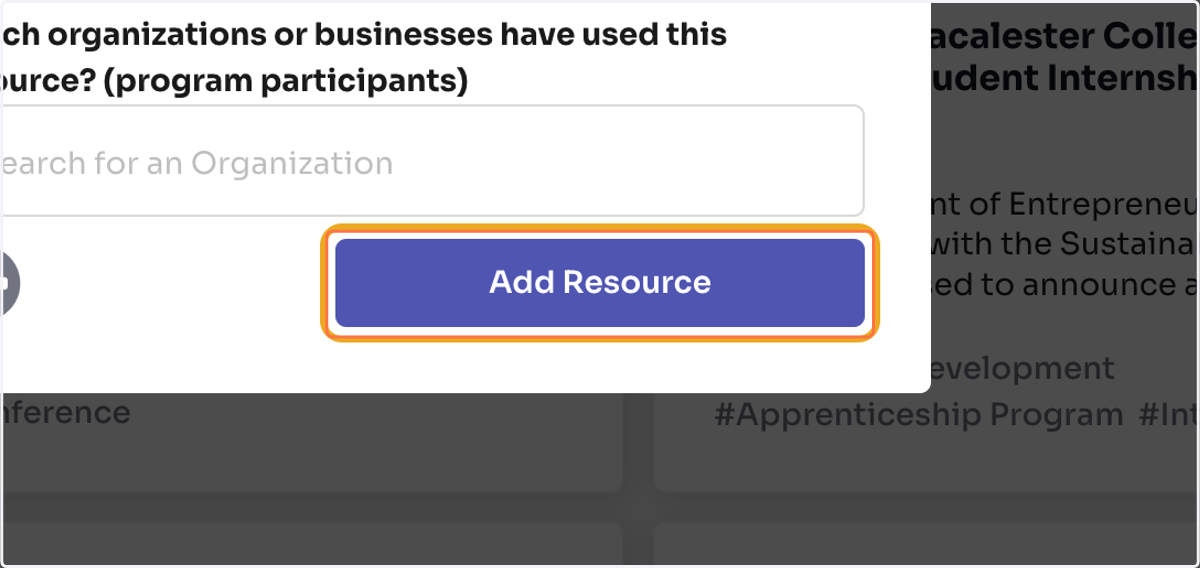
9. Click on Add. Your admins will review what you've added and approve or reject it.