Check in Neighbors on Plentiful: Step-by-Step Instructions
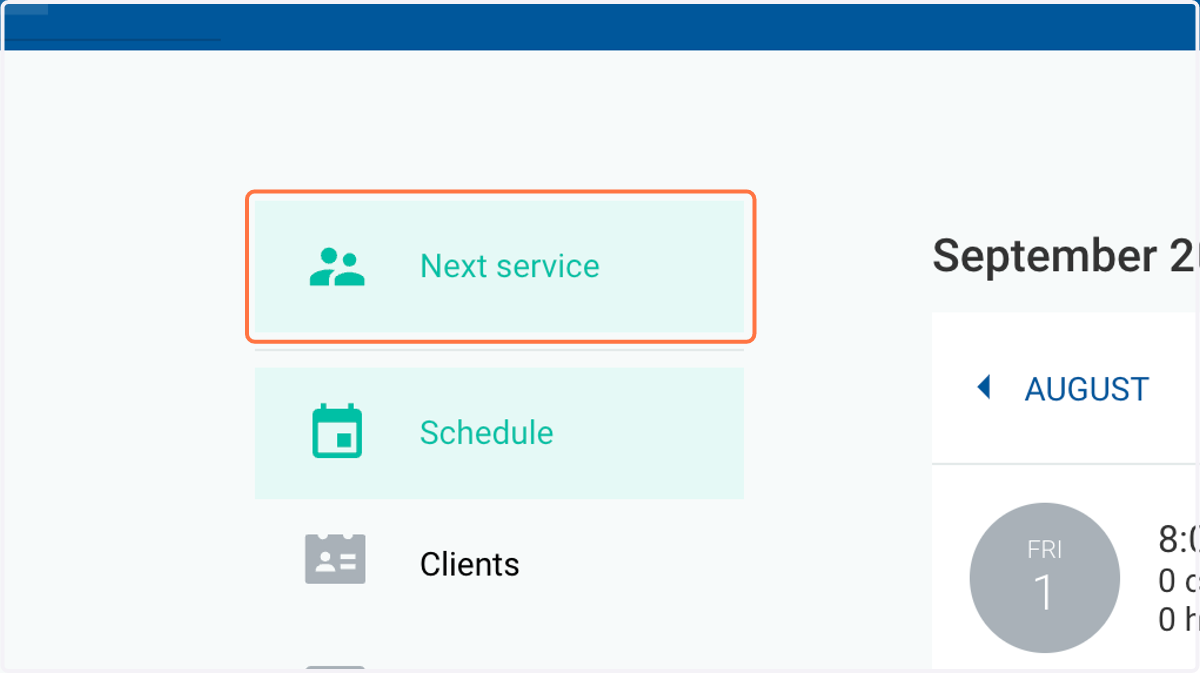
1. Click on NEXT SERVICE.
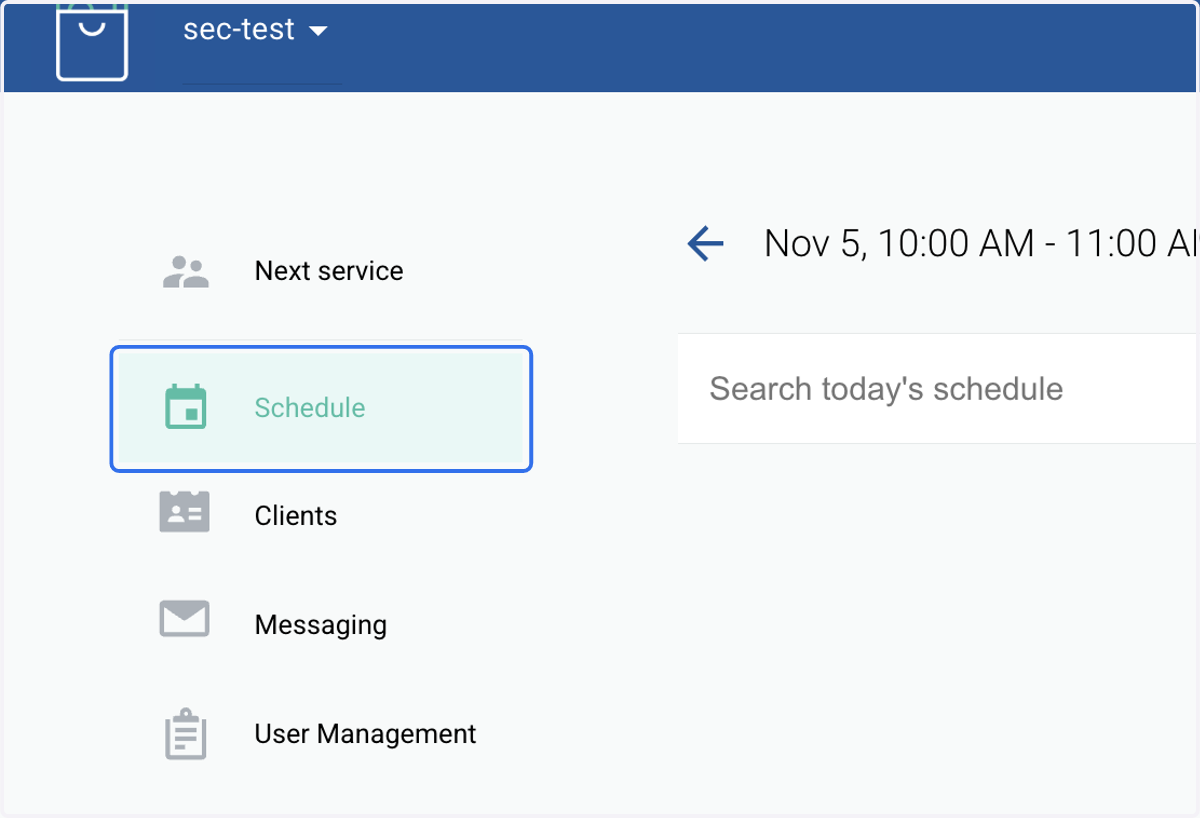
2. Click on SCHEDULE
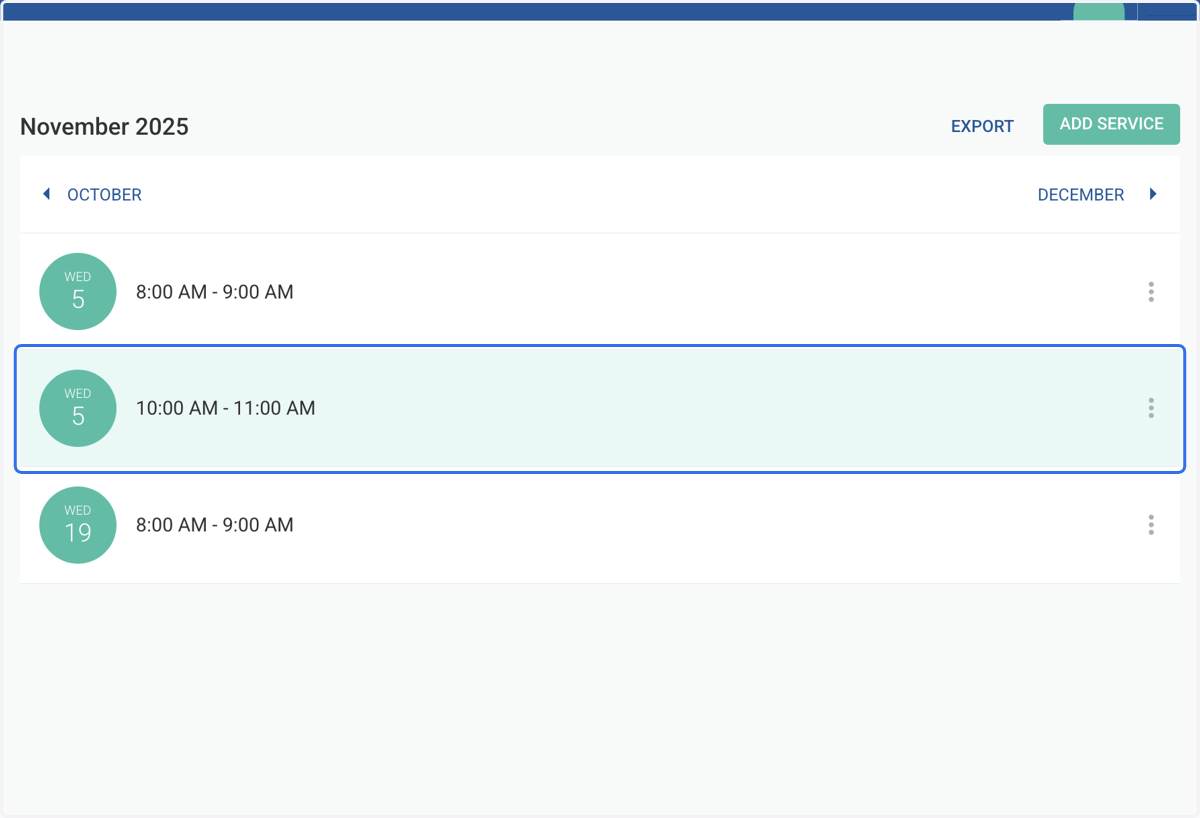
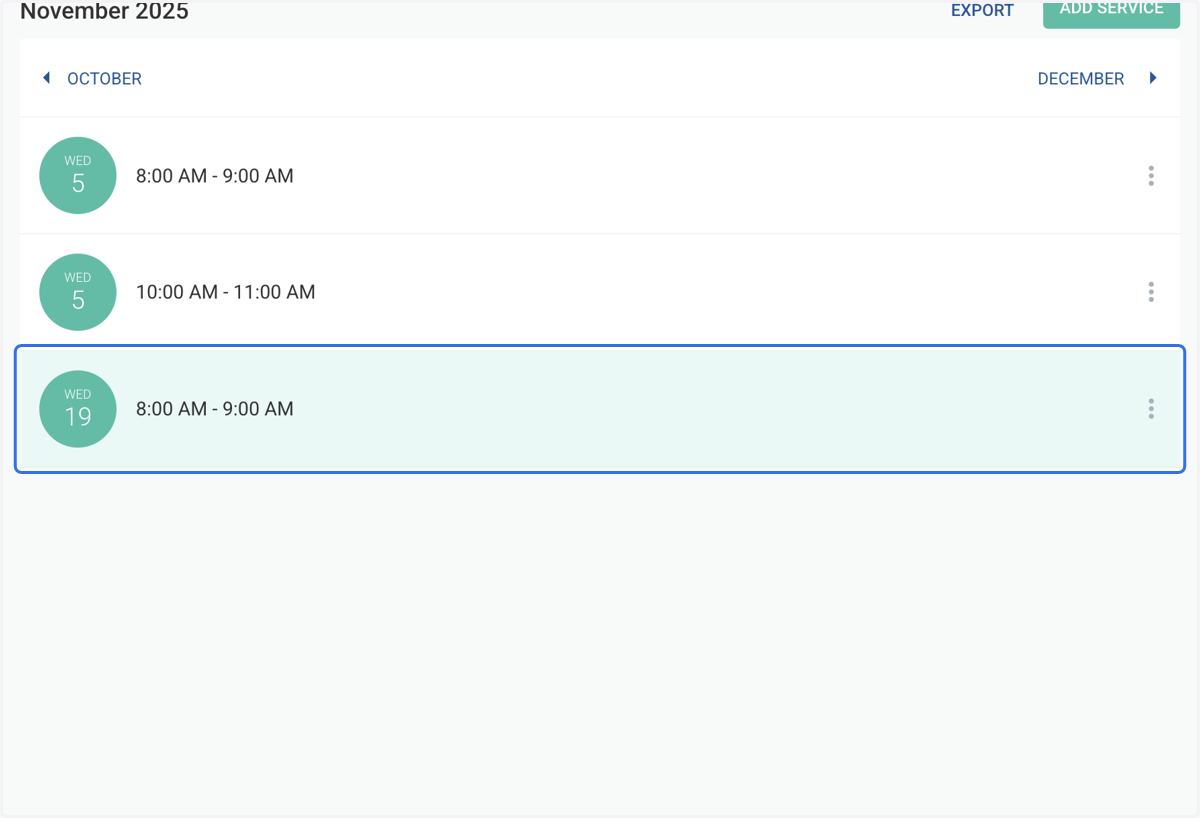
3. Click on the service you would like to check people into
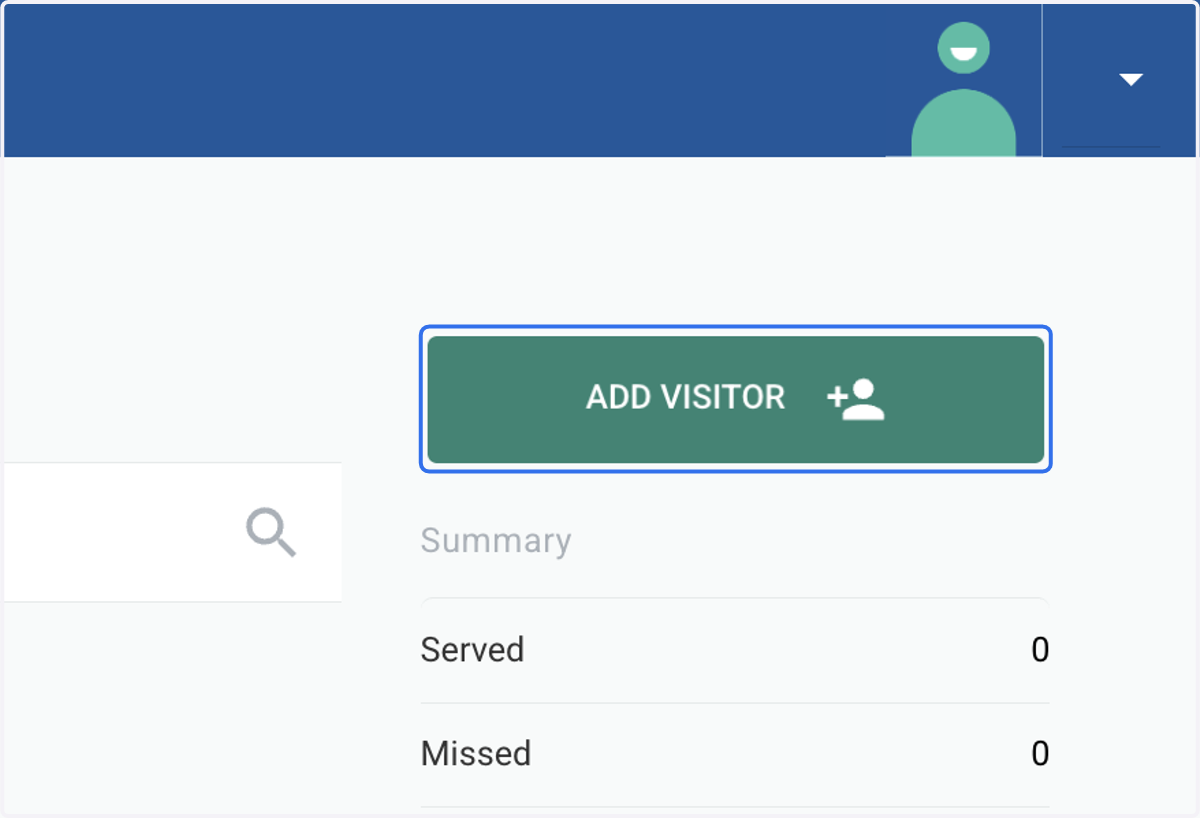
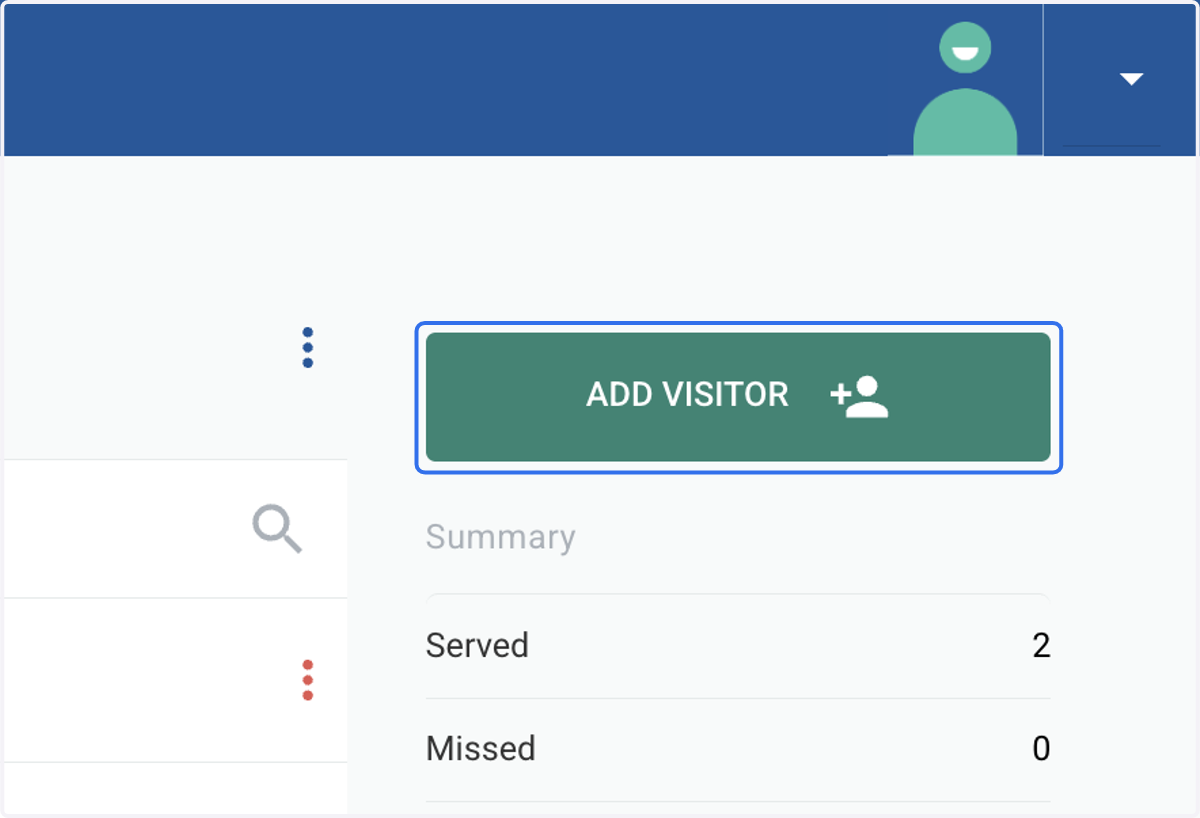
4. Click on ADD VISITOR
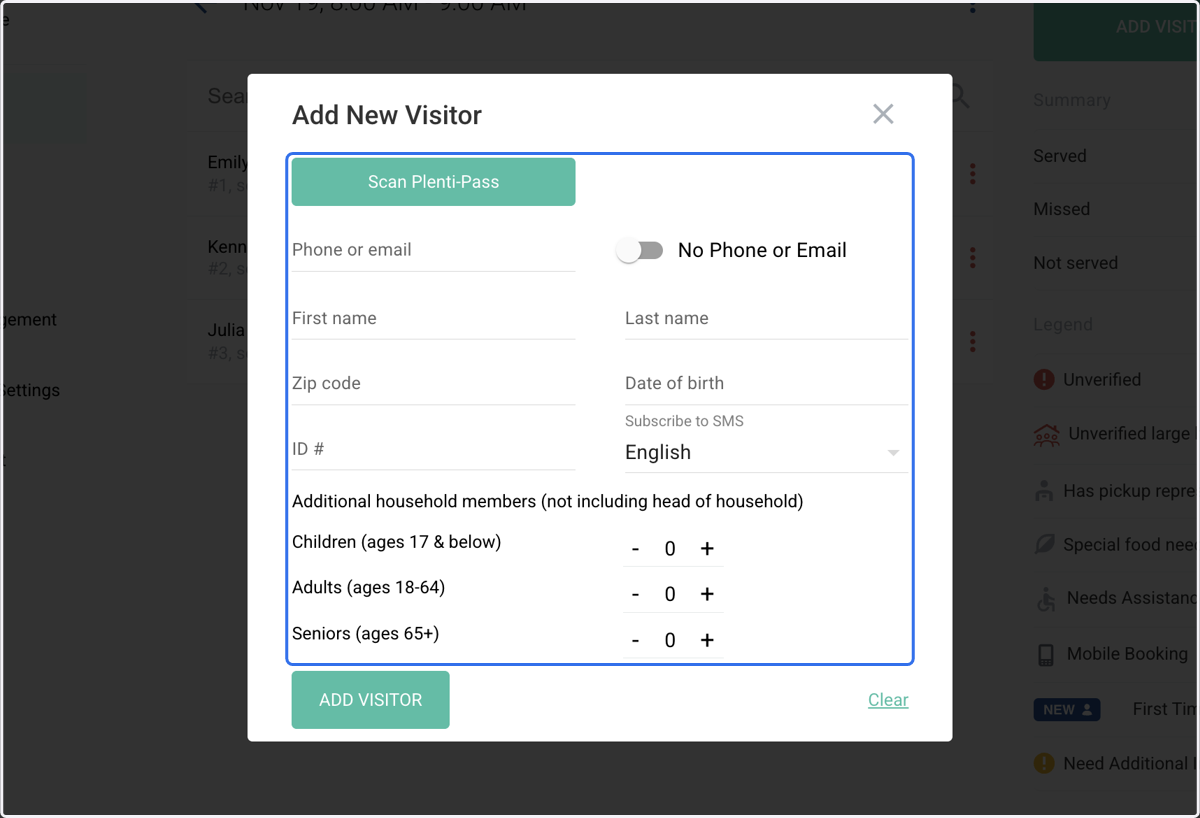
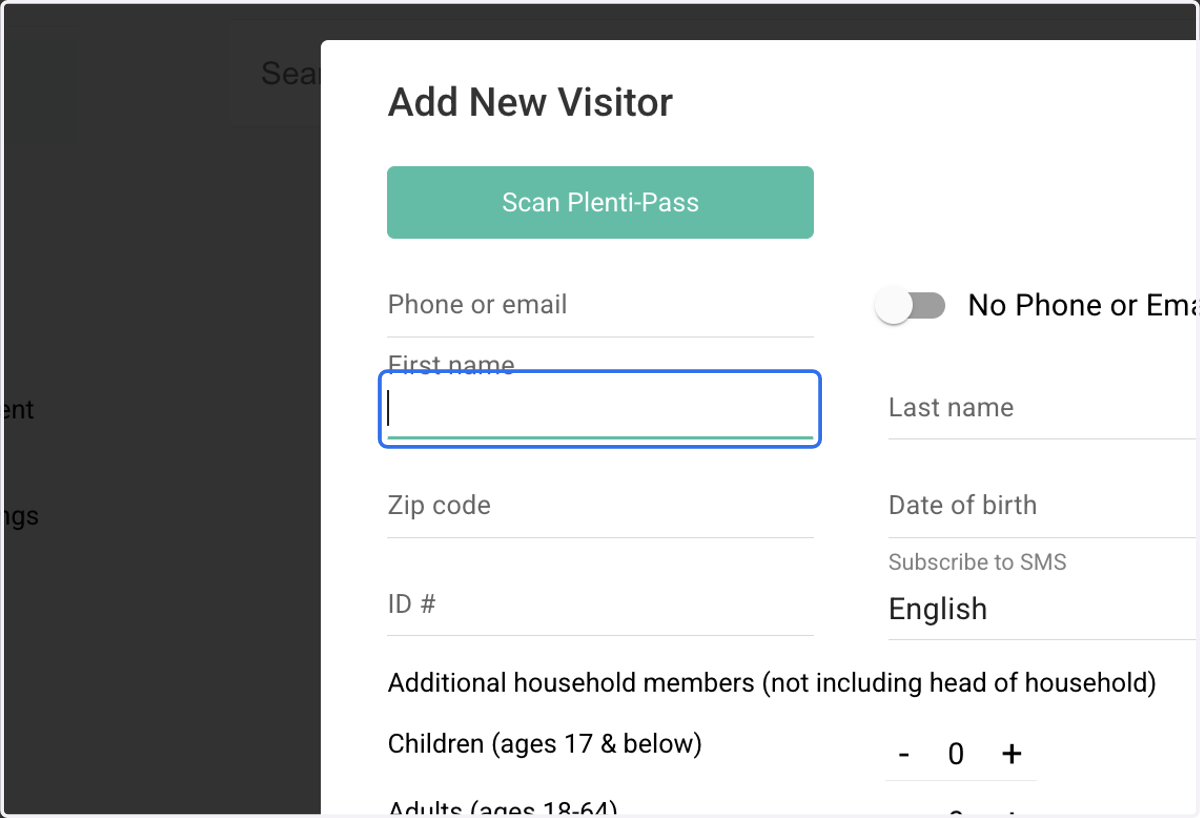
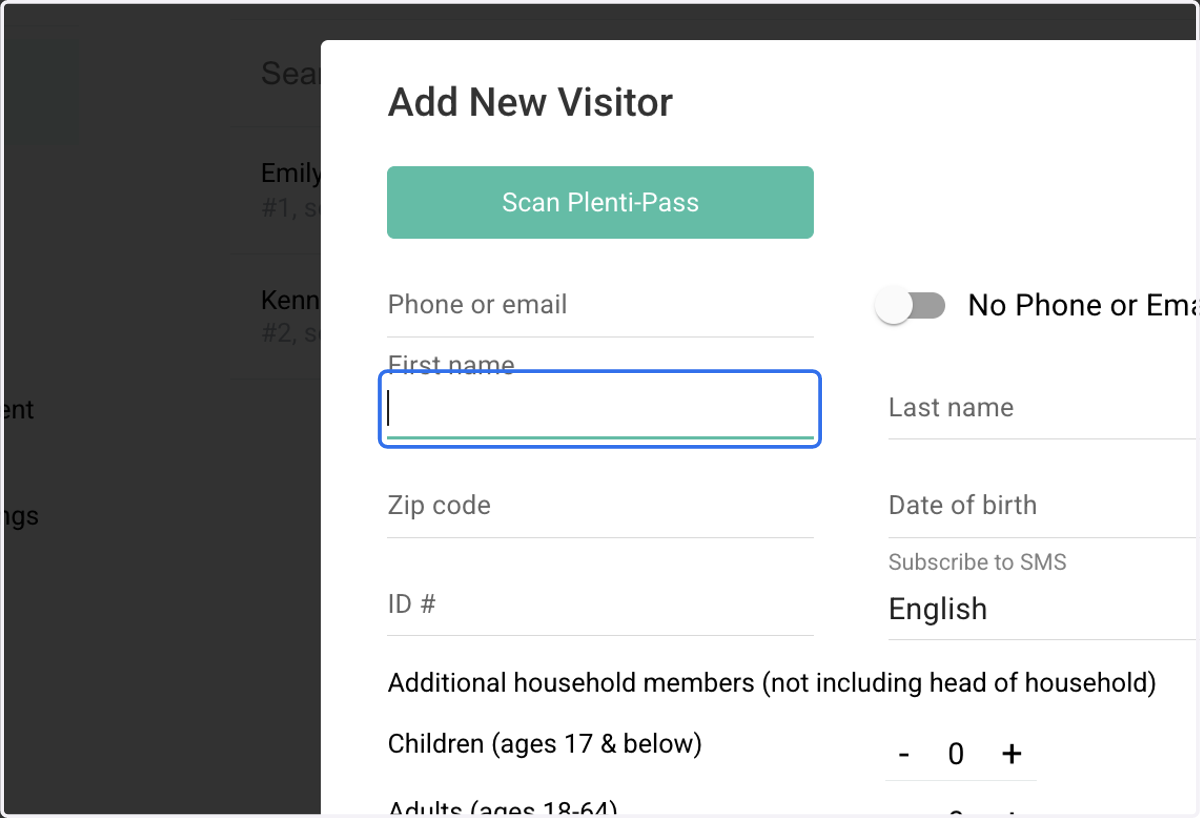
5. Type in the person's first name. Click above to continue.
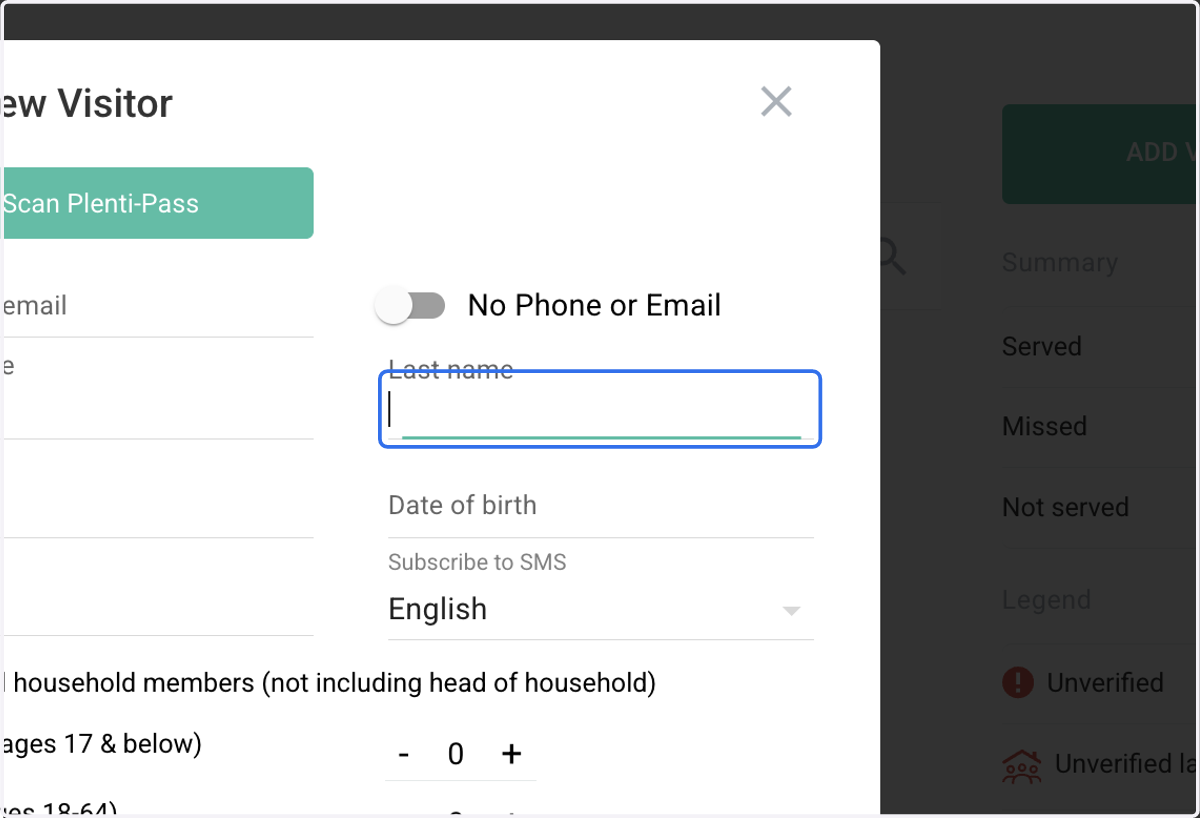
6. Type in their last name. Click above to continue.
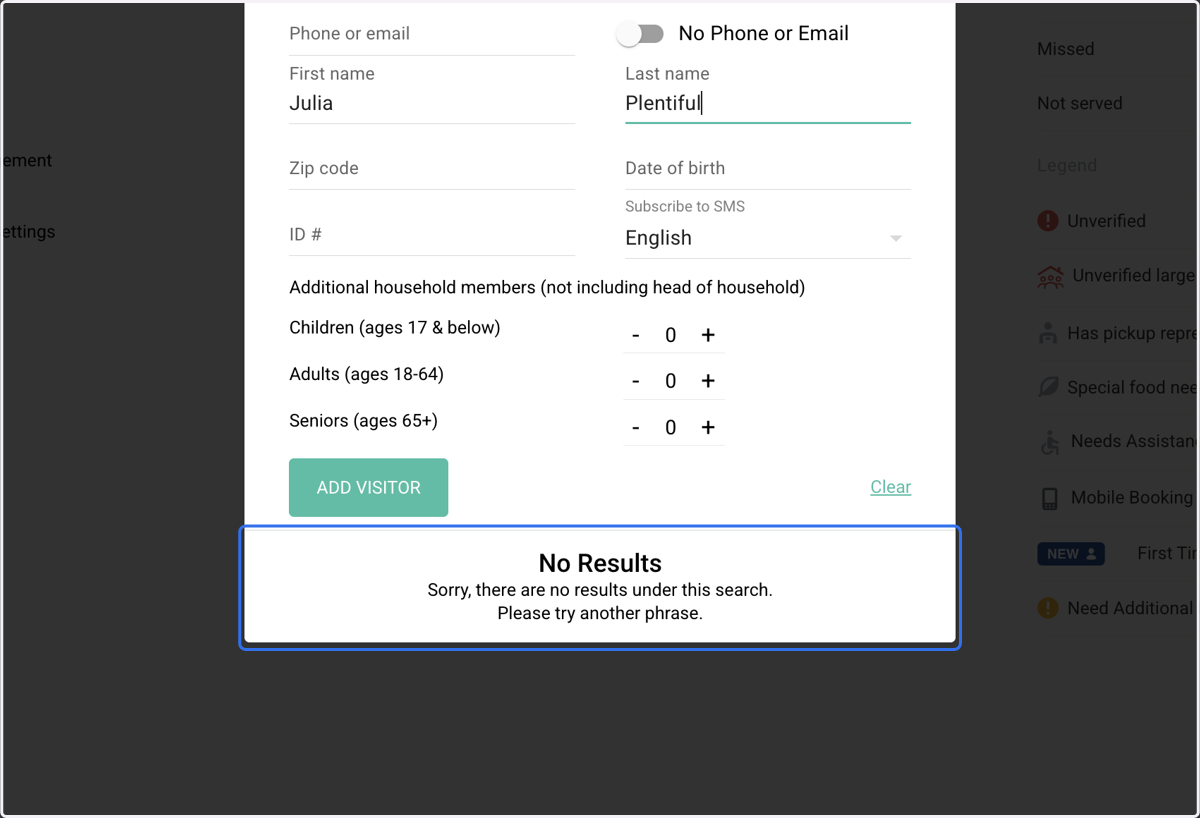
7. We see that there are no results, so that means this is a first time visitor. Click on No Results…
8. Enter their phone or email address. This will allow you to send them messages. Click above to continue.
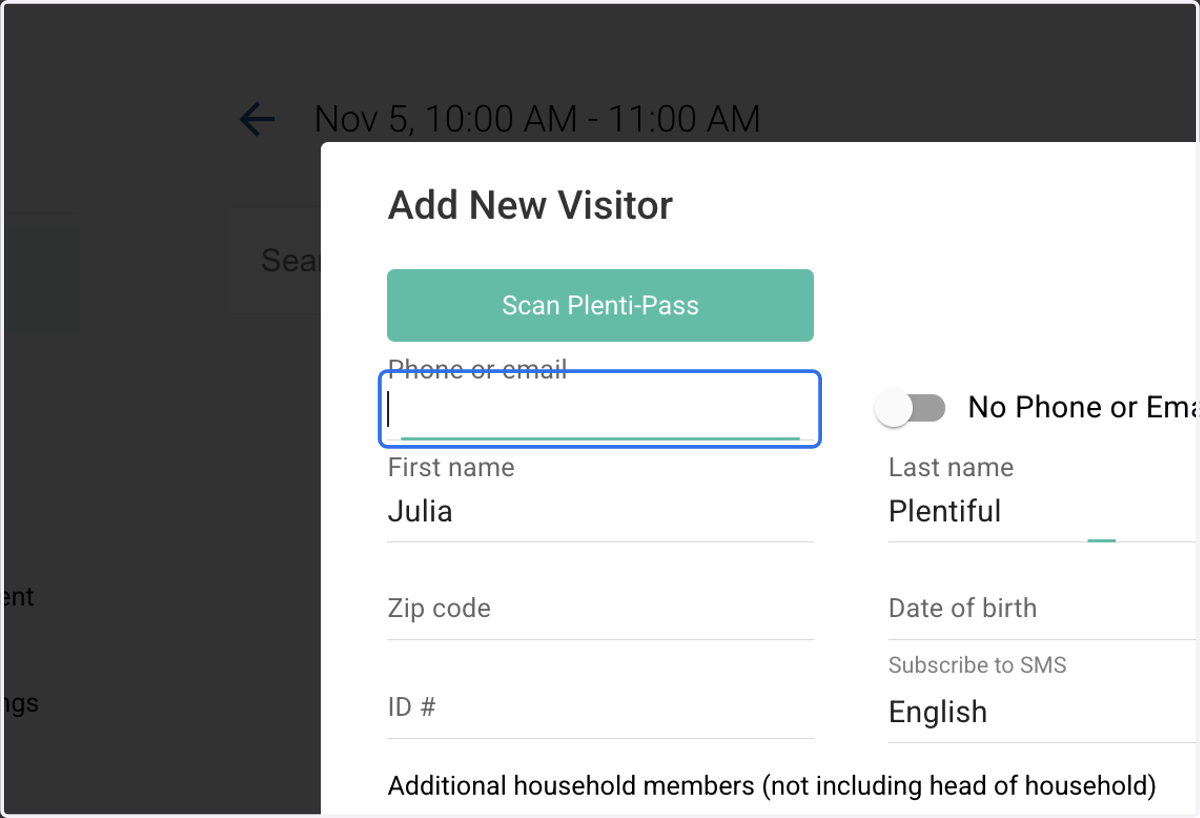
9. If someone does not have a phone number or email address, or prefers not to share one, toggle the "No Phone or Email" option.
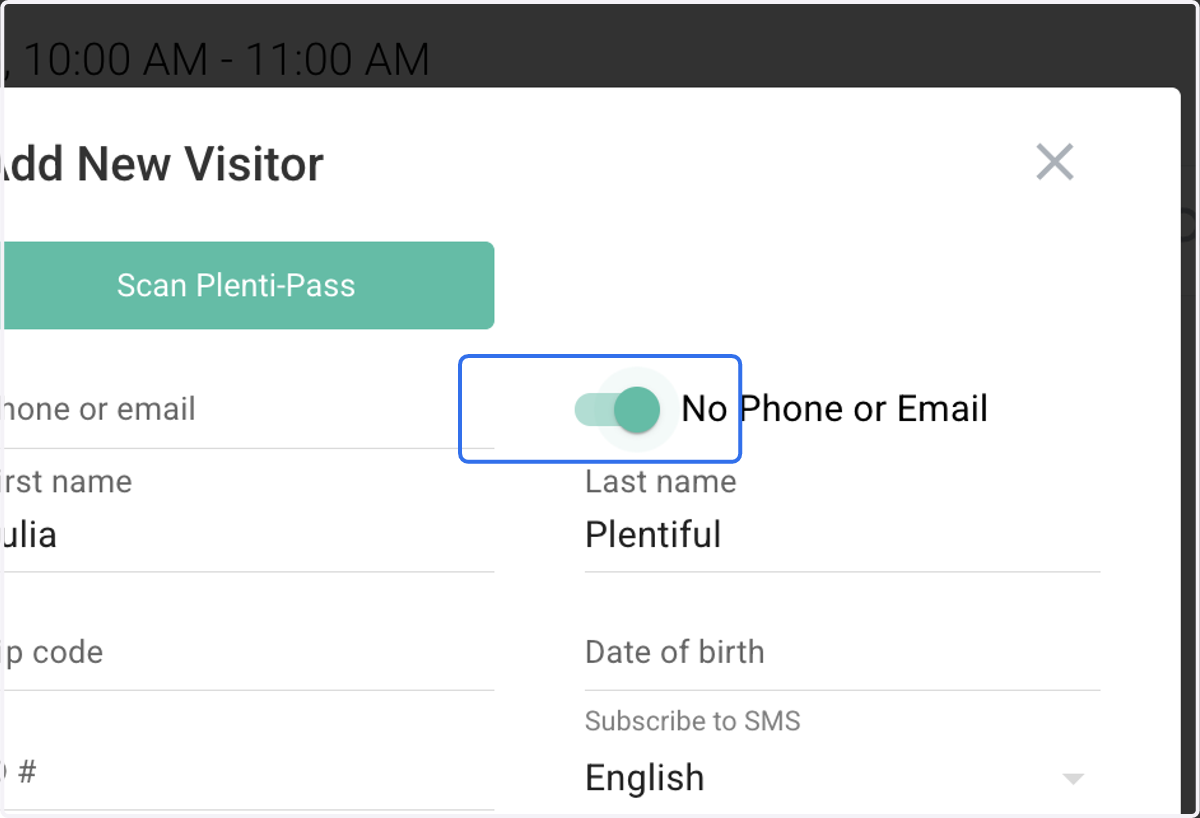
10. Enter a zip code. Click above to continue.
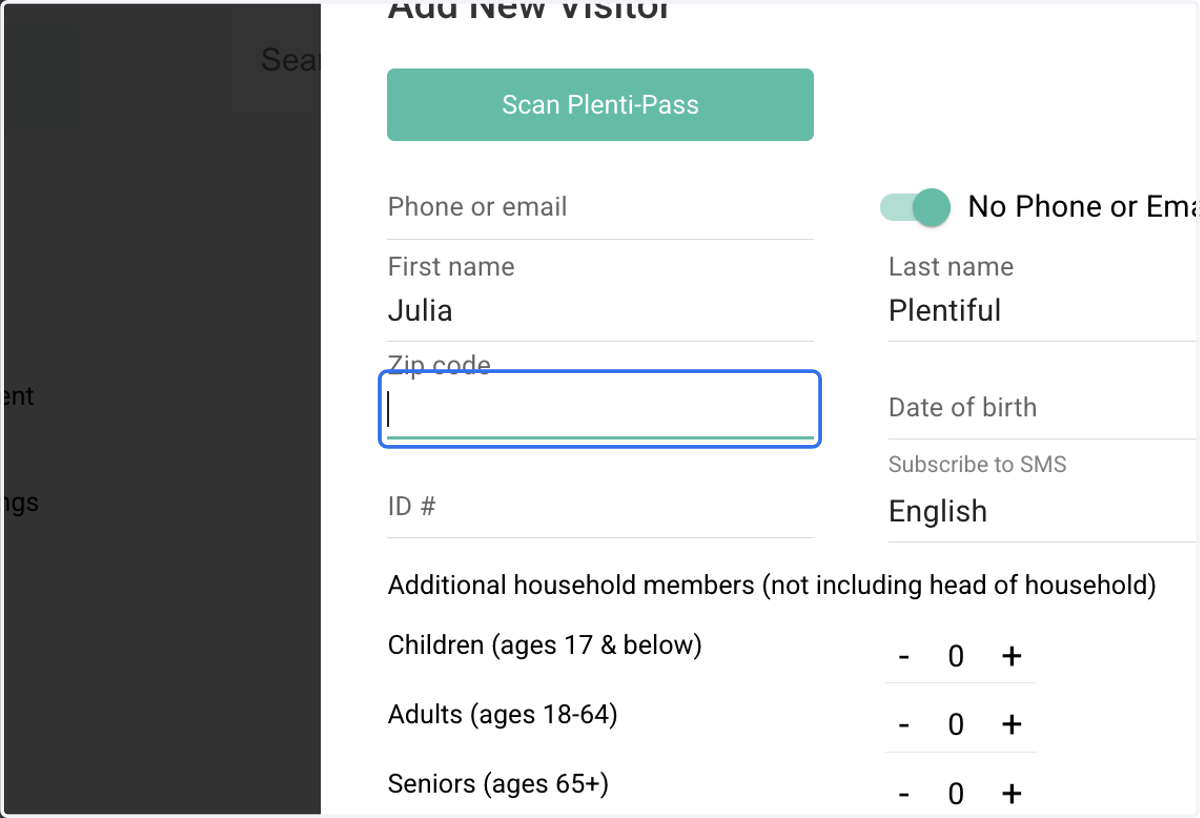
11. Plentiful automatically considers every person checked in as an adult. If they are not an adult, please enter a date of birth. Plentiful will then categorize them automatically based on their age. Click above to continue.
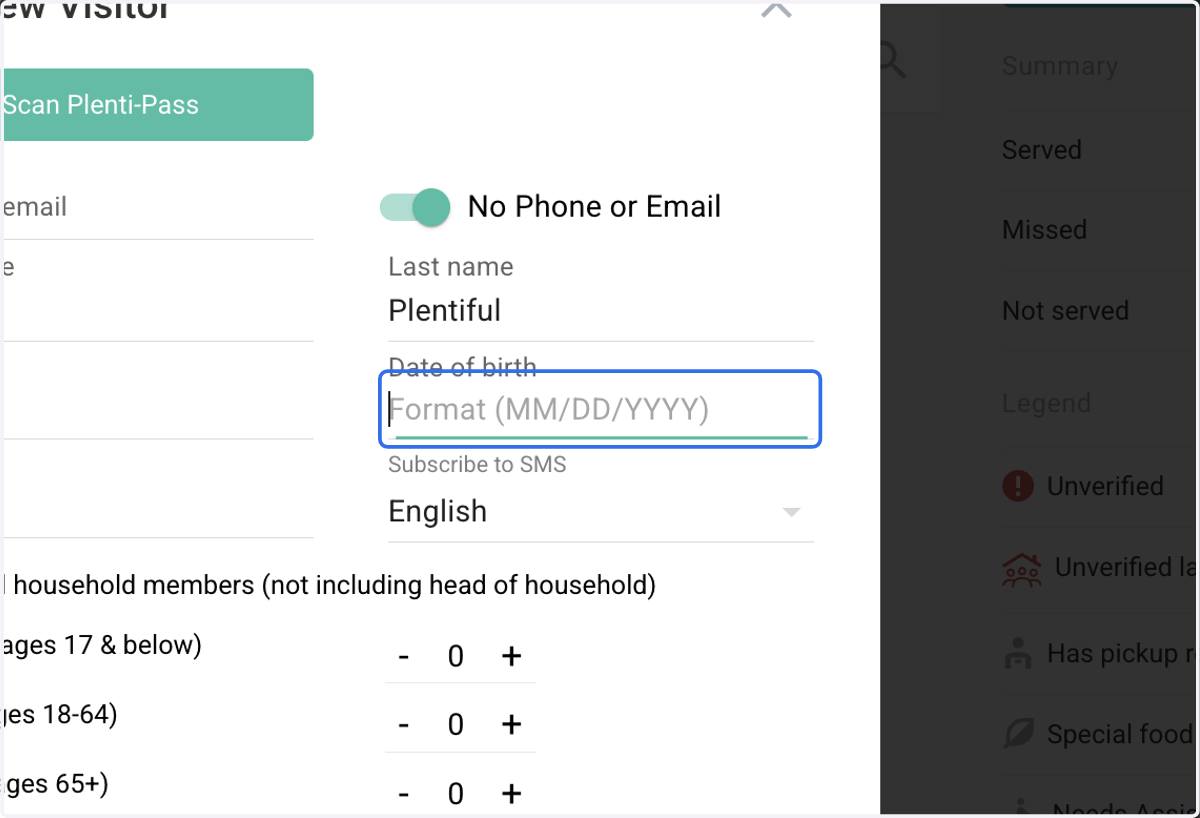
12. If you use an ID system, you can enter that number here. Most pantries don't use an ID system, and leave this blank. Click above to continue.
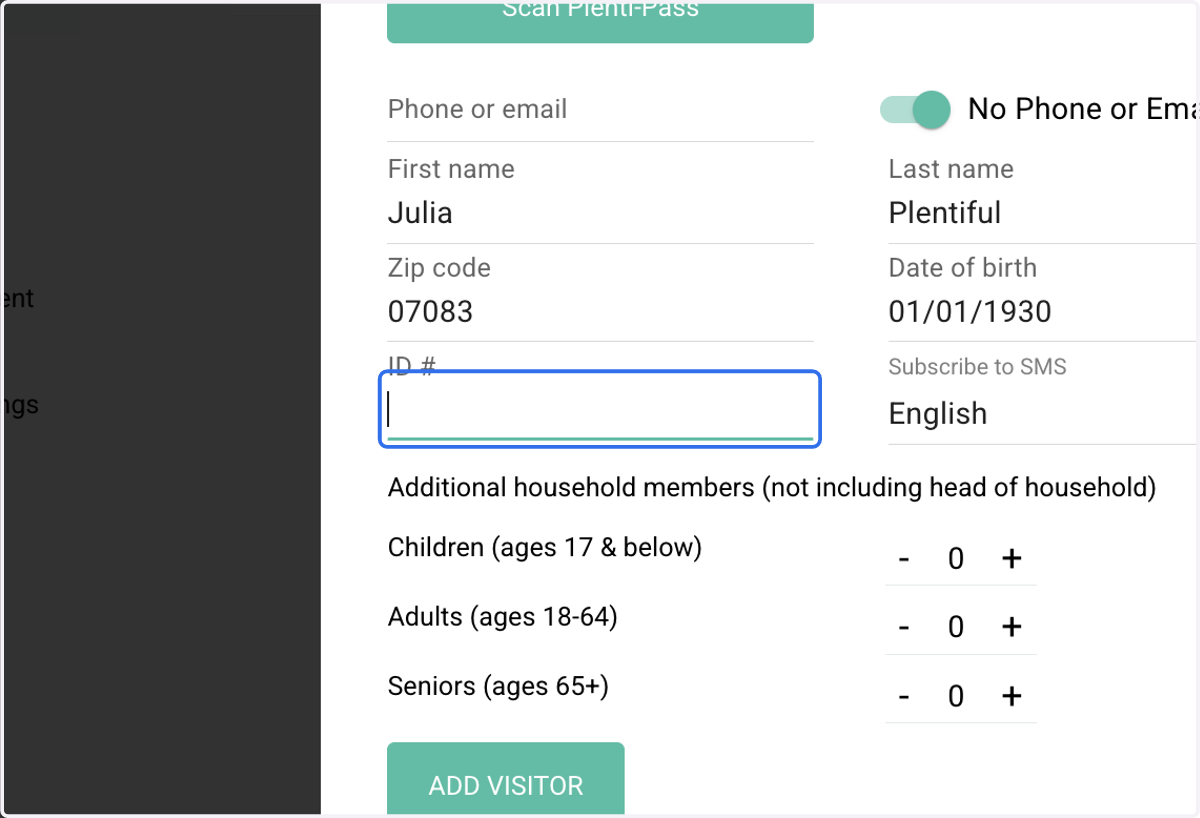
13. Click on the "Subscribe to SMS" drop down. This will allow you to choose their preferred language.
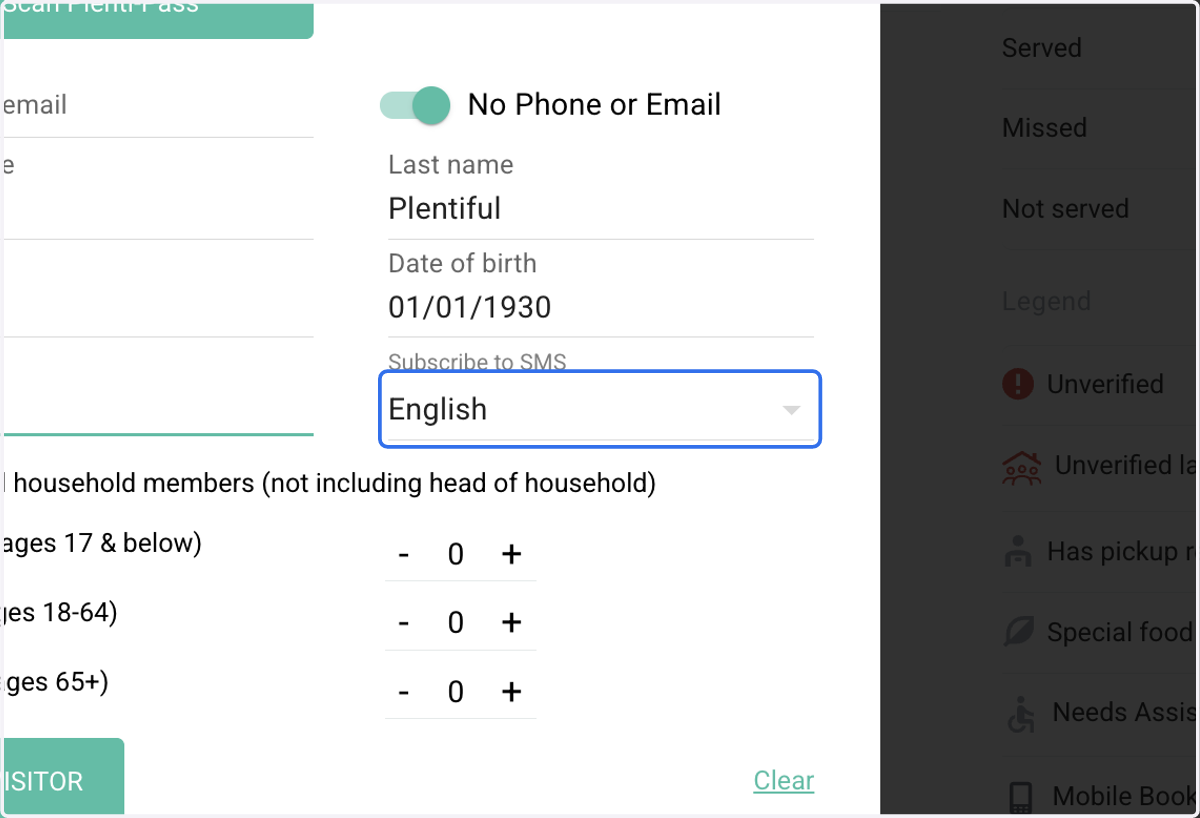
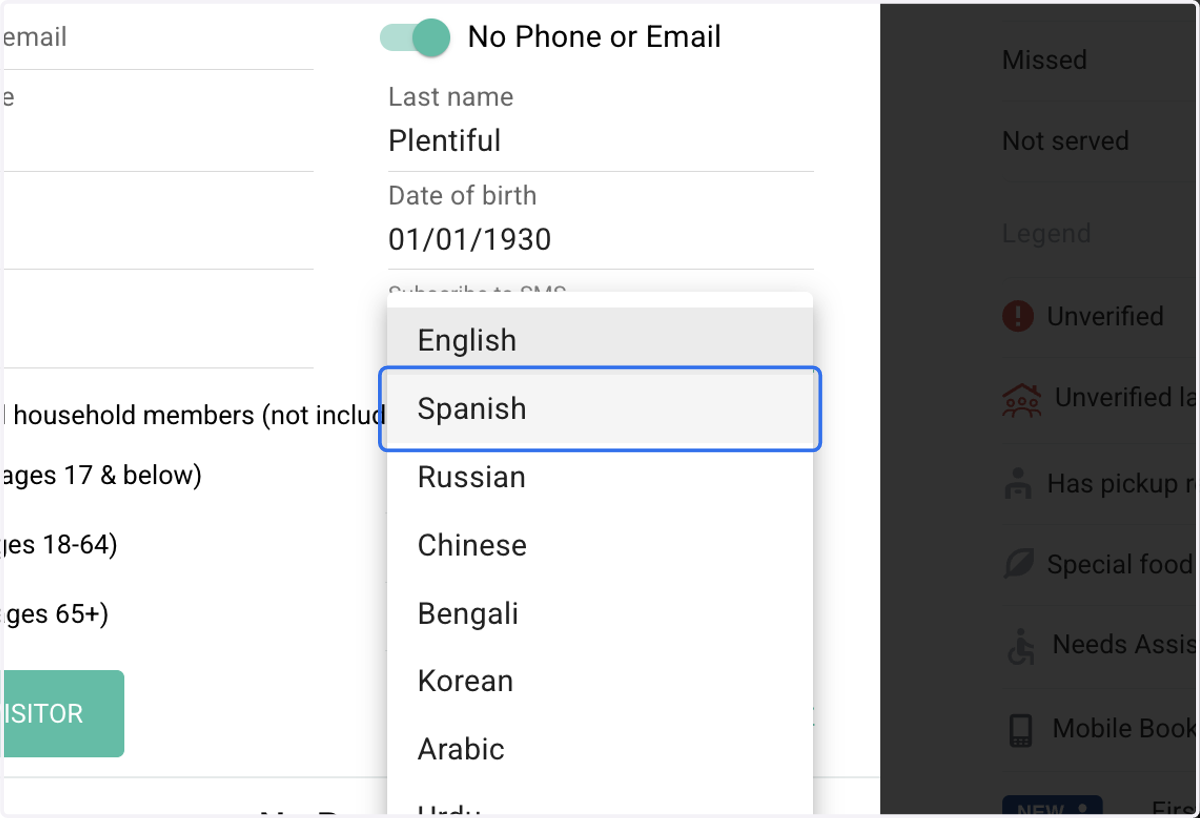
14. Plentiful is available in 9 languages. This will allow any messages you send to be automatically translated into the language you select. Select their preferred language here.
15. Enter their household size here by clicking on the plus sign next to the age group.
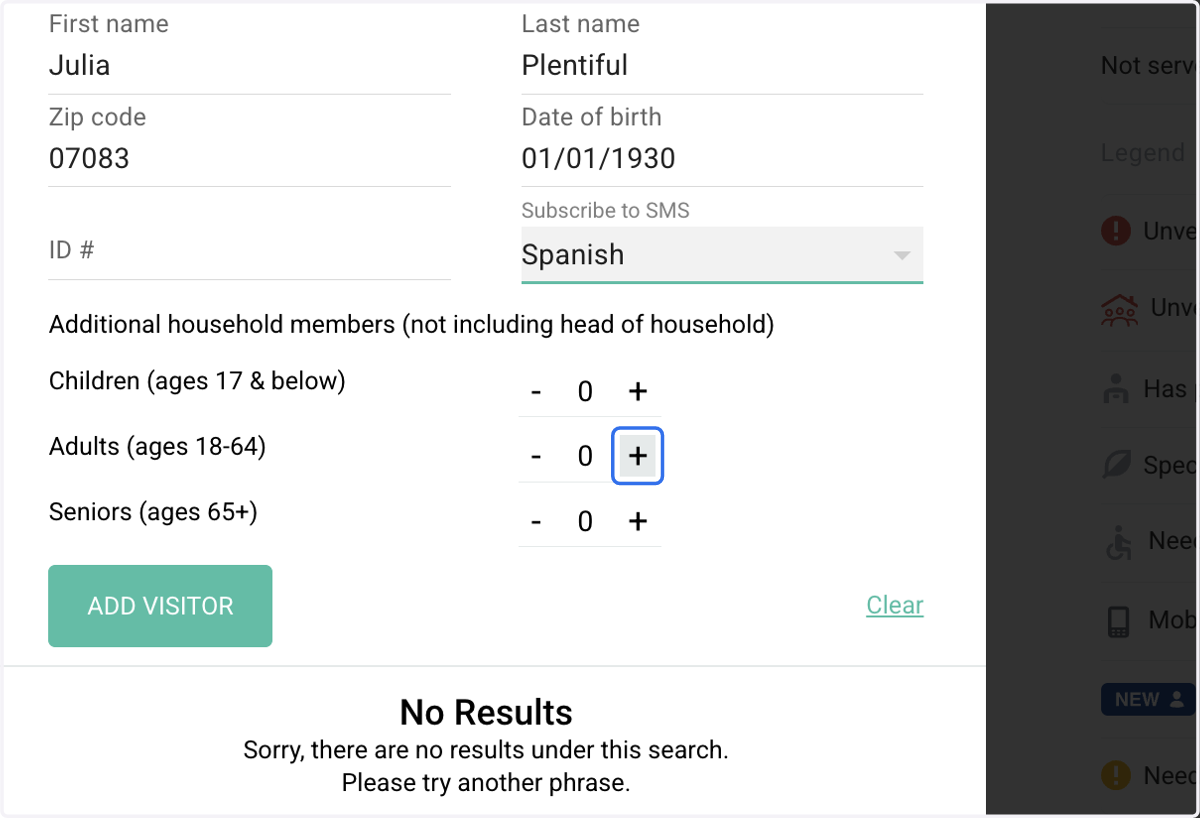
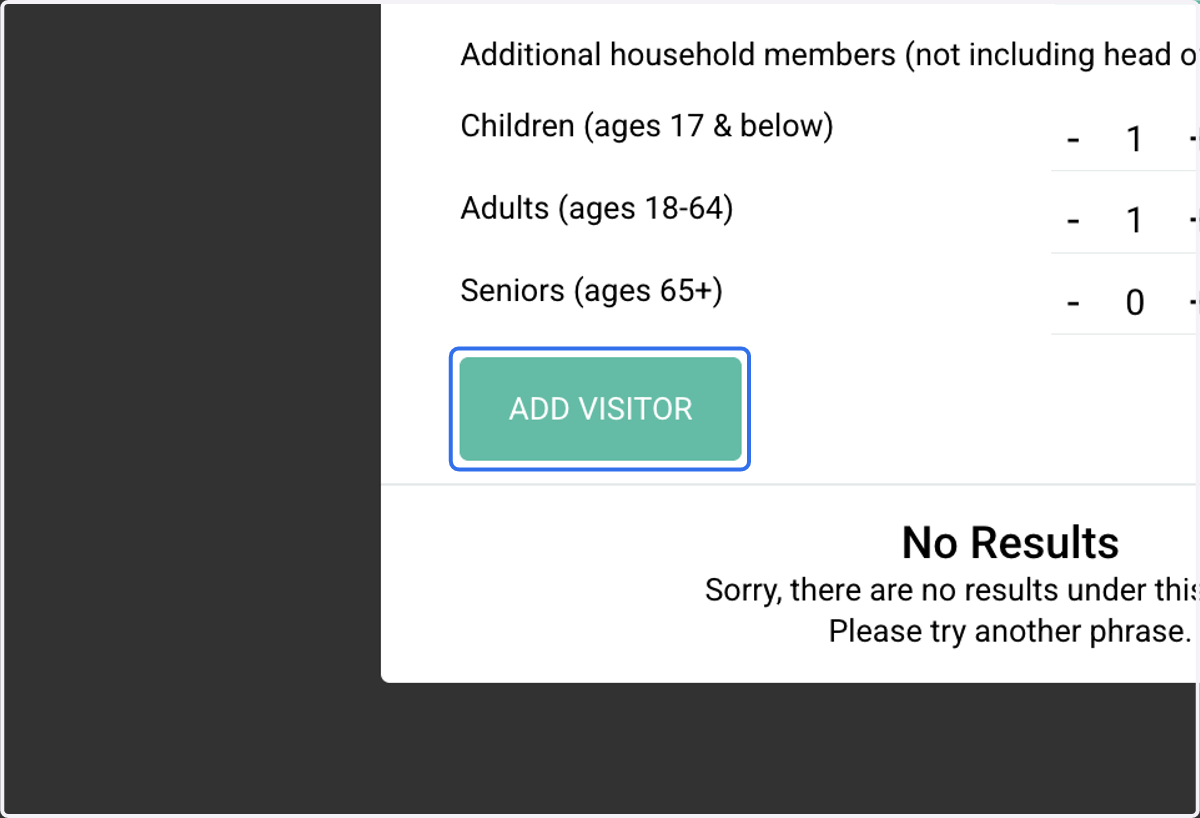
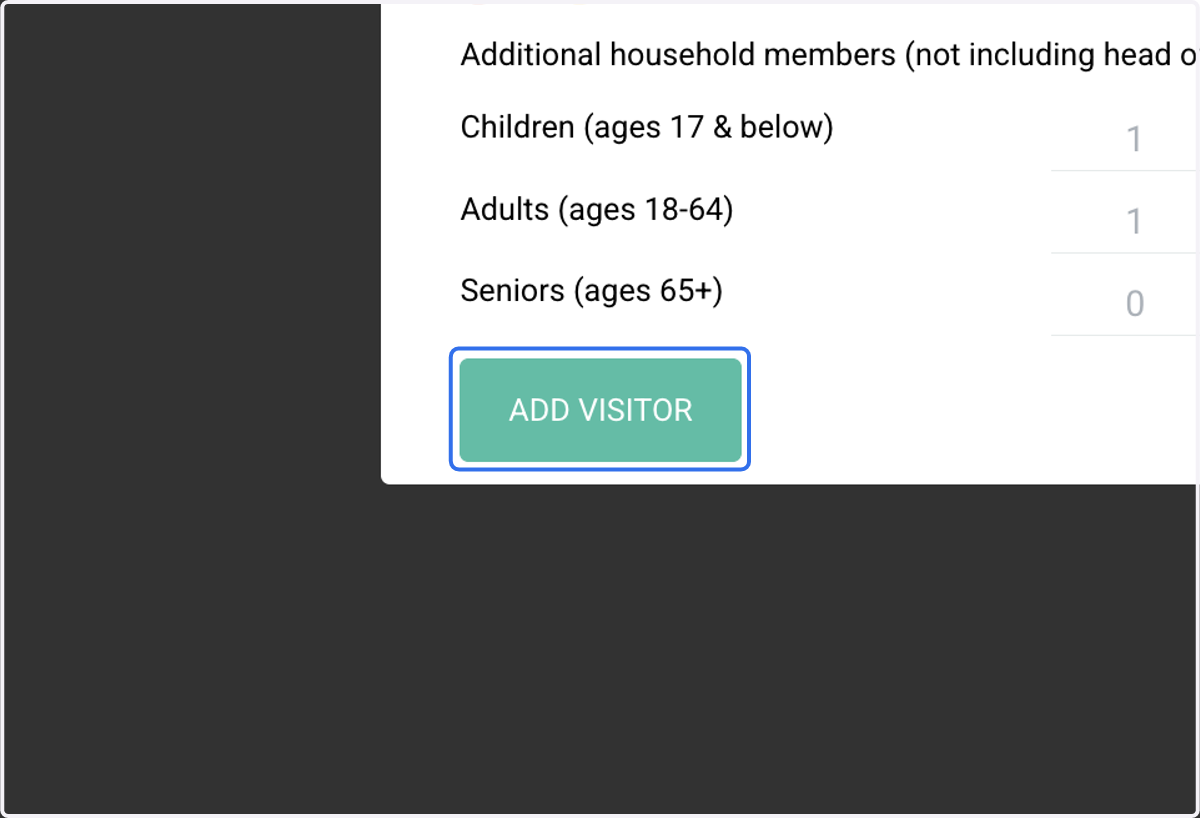
16. Click on ADD VISITOR
17. Click on another service date
18. Click on ADD VISITOR
19. Type in their name. Click above to continue.
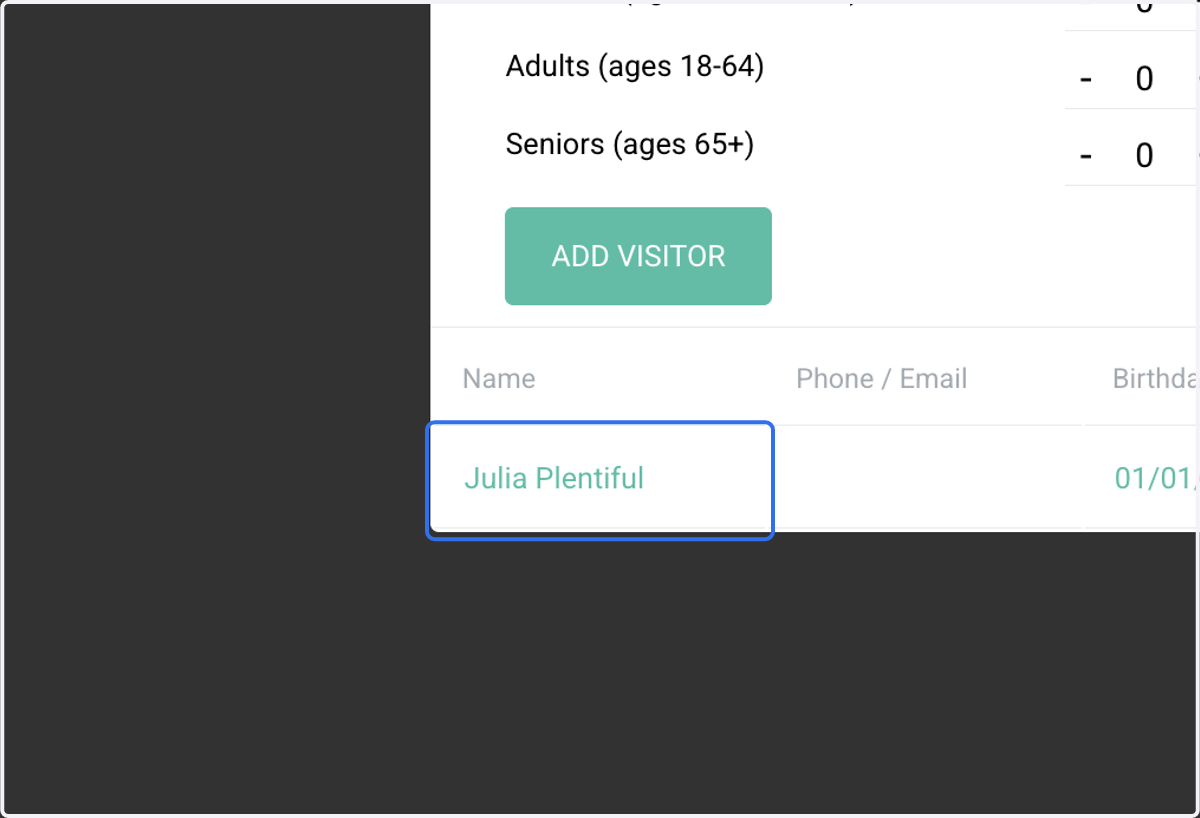
20. Click on their profile
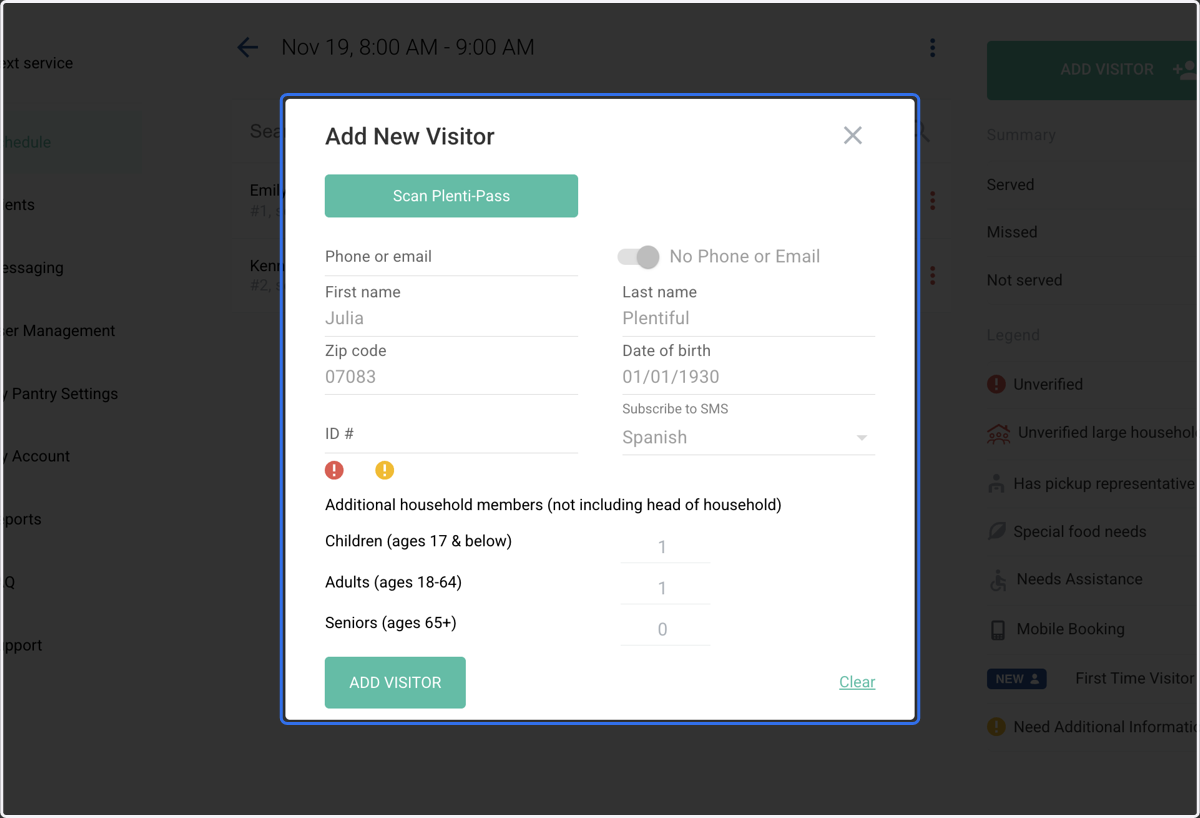
21. Their information will automatically fill in
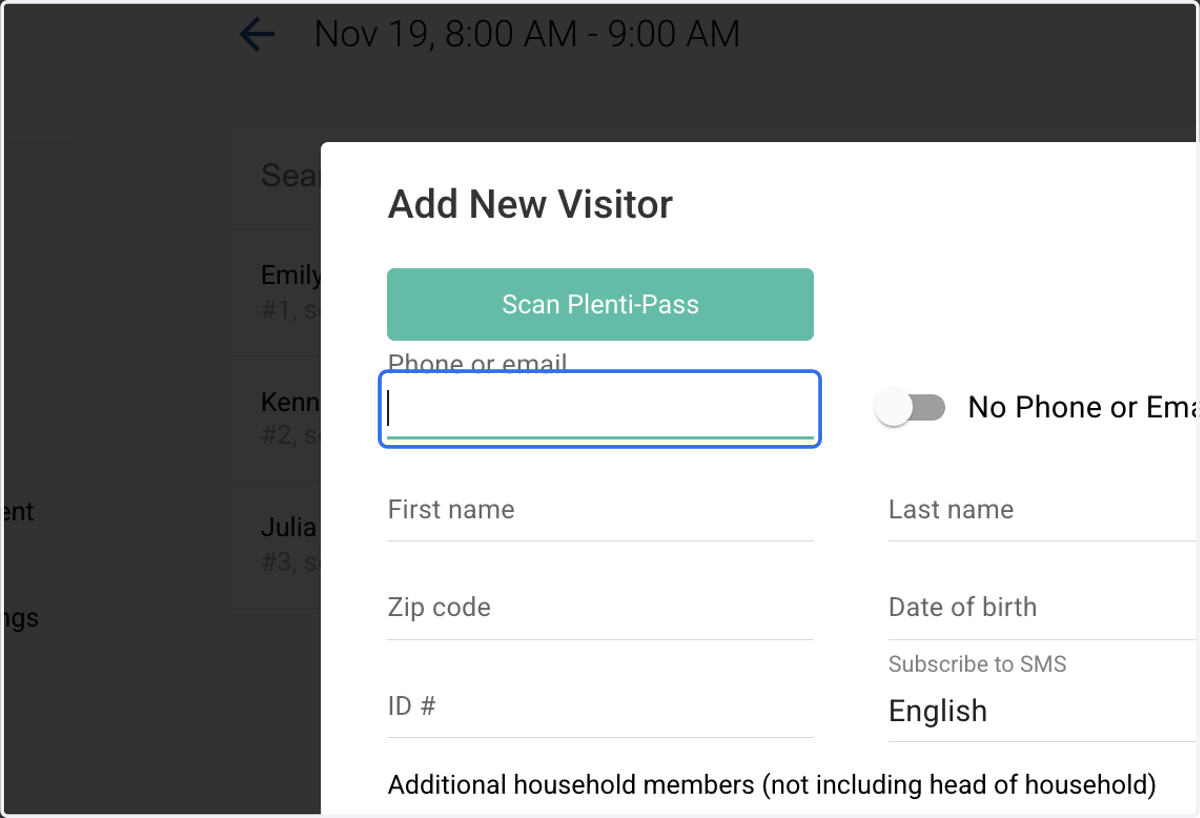
22. Enter their phone number. Click above to continue.
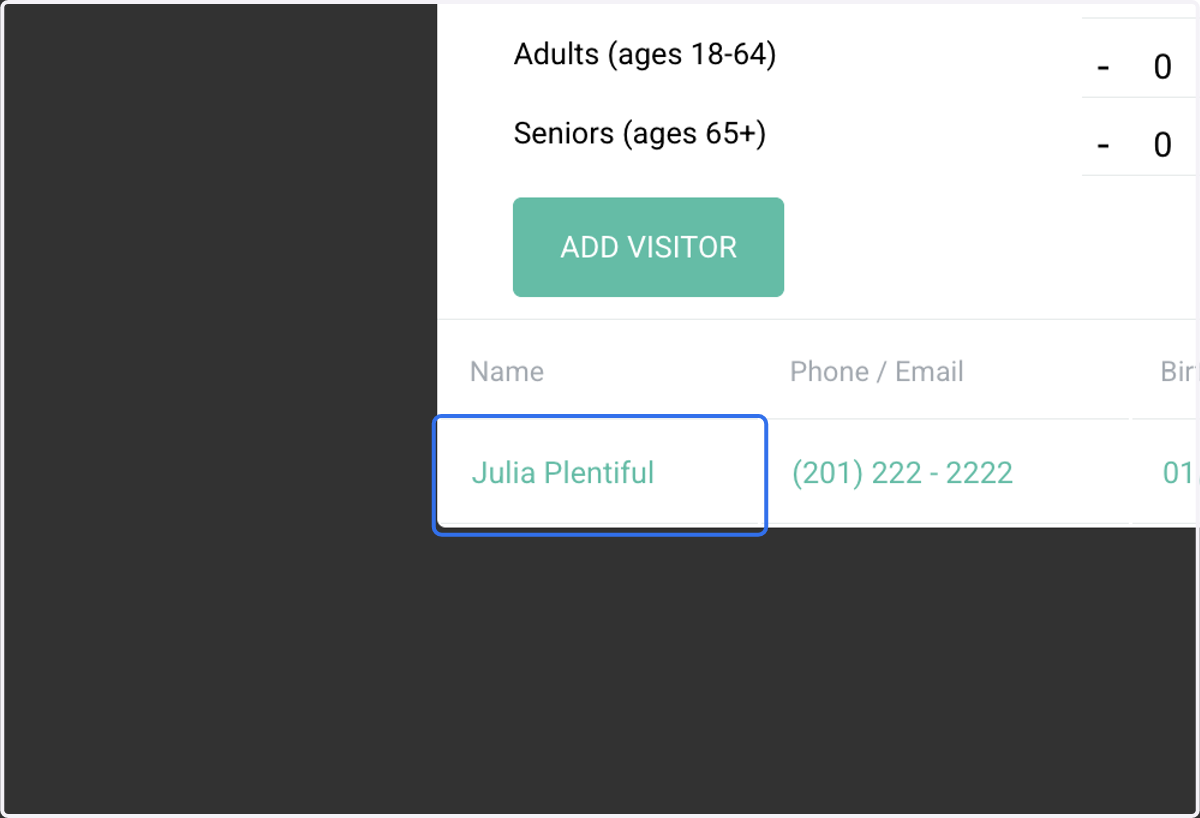
23. Click on their profile
24. Click on ADD VISITOR
25. After you click "Add Visitor" the fields will clear so that you can check in the next visitor.