Add an Item to Brunswick Tool Library
myTurn Admin Dashboard | Brunswick Tool Library
For adding a new tool from scratch in MyTurn
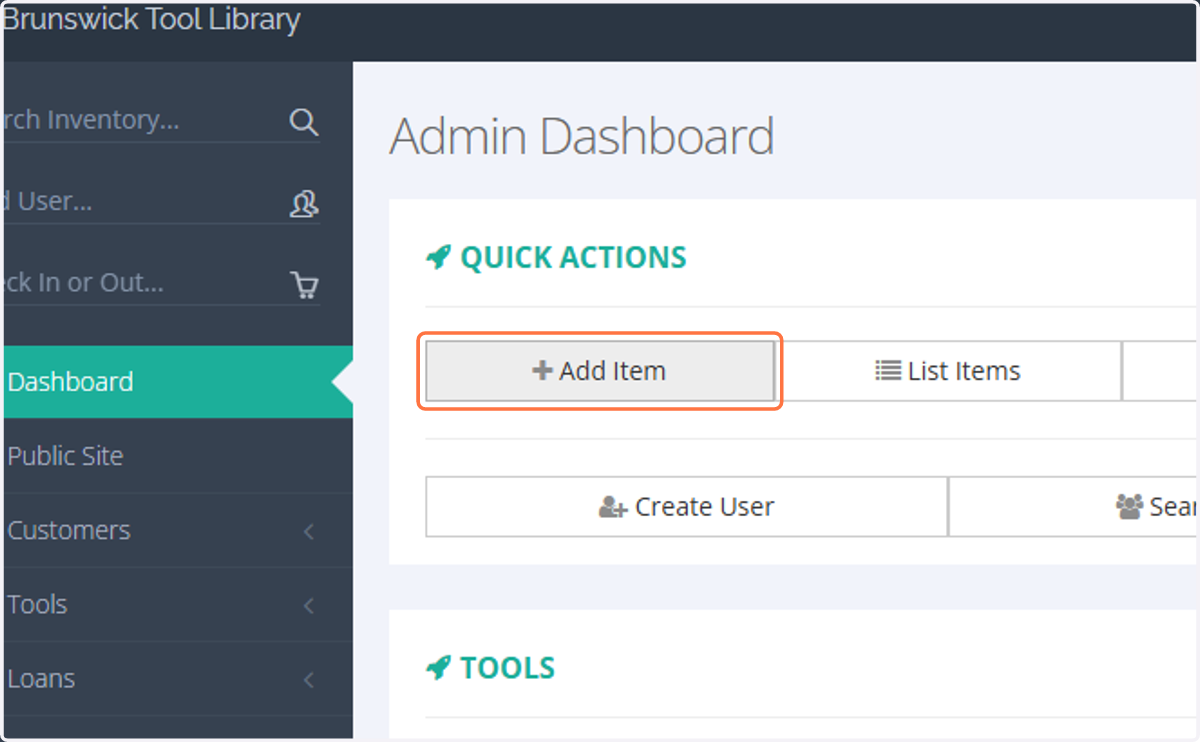
1. Click on Add Item
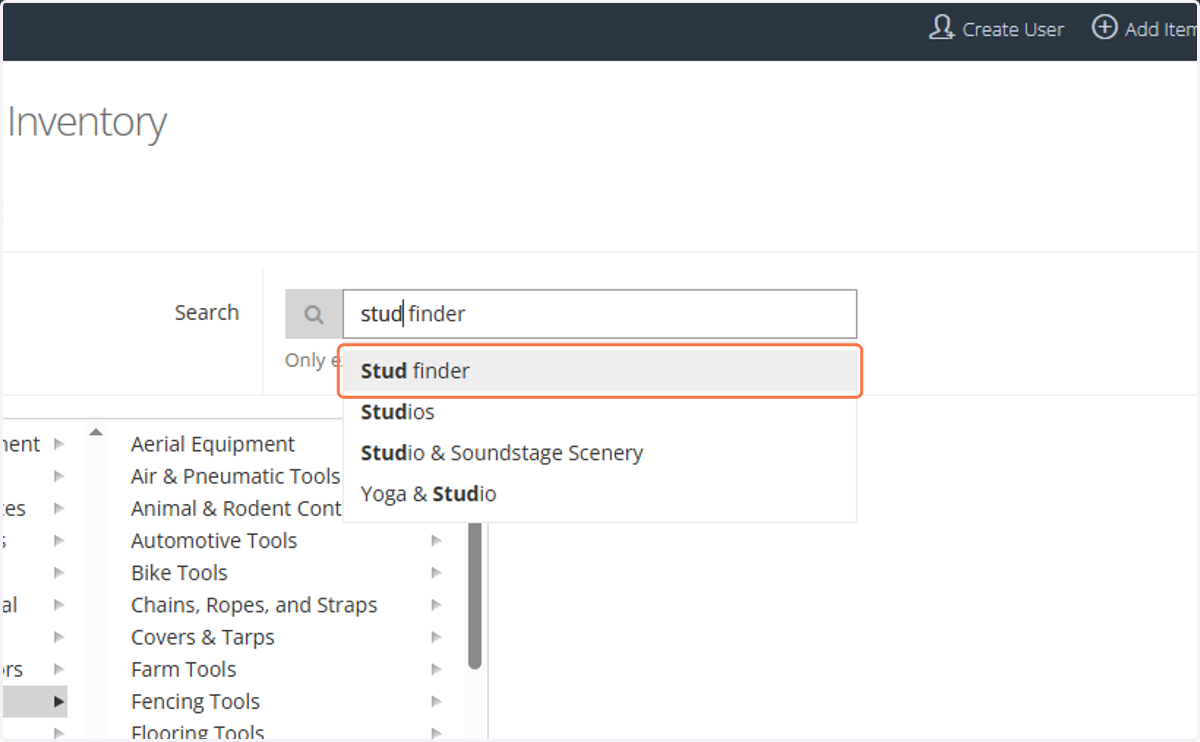
2. Search for and select the type of tool you are adding
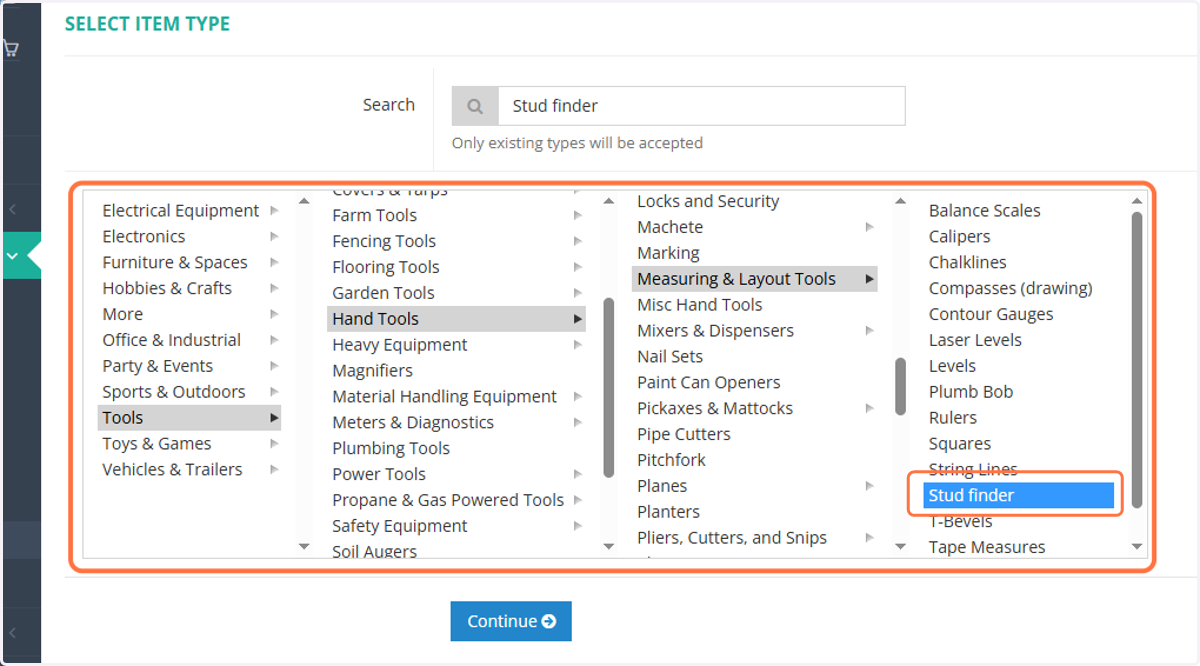
3. Alternatively, browse through existing categories to find the item type you want
Higher level categories are okay if you can't find a super specific category
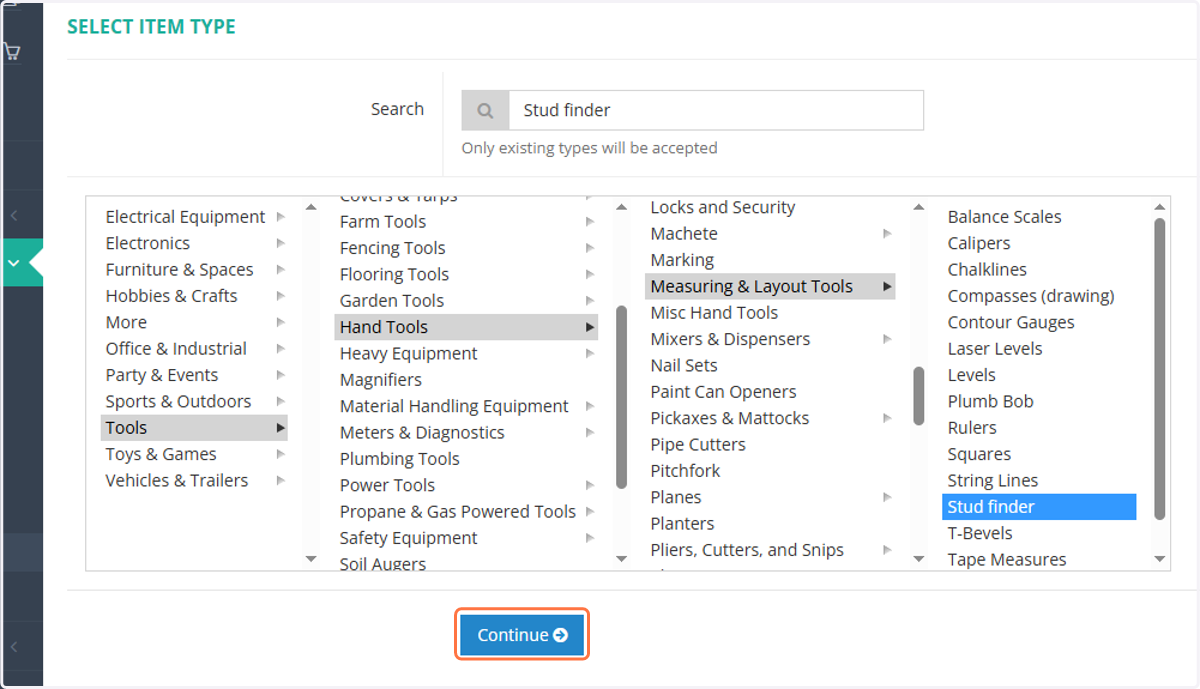
4. Click on Continue
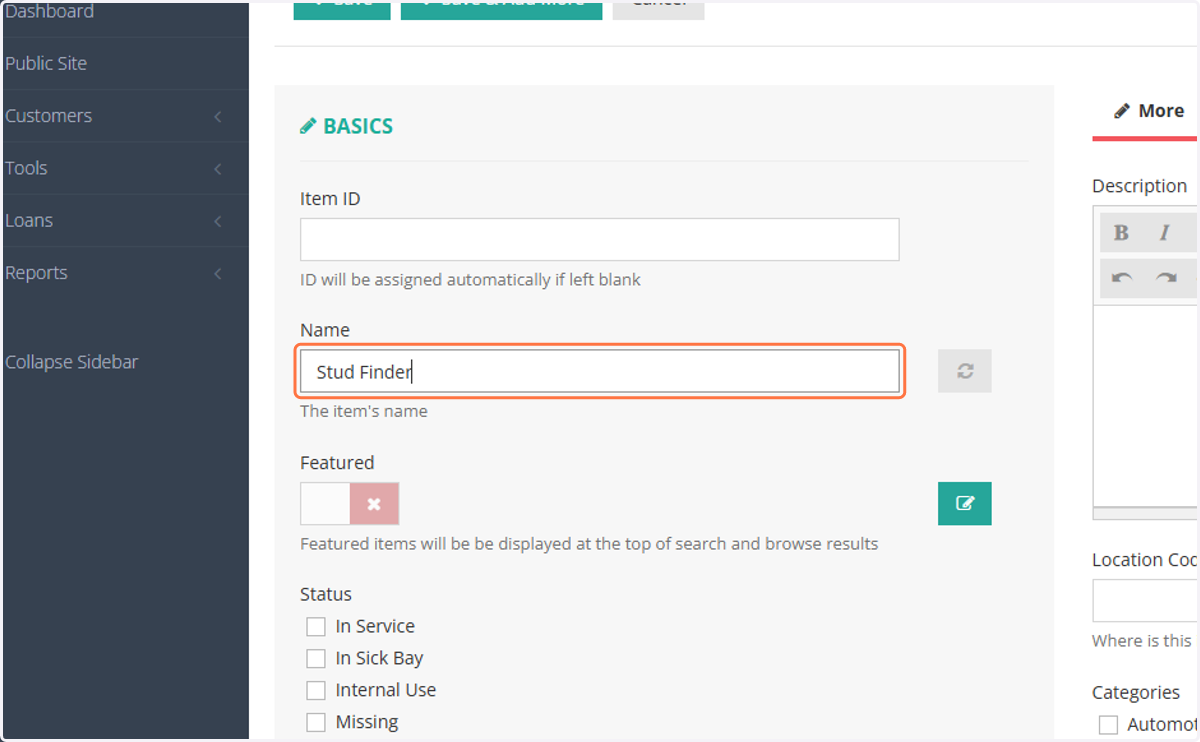
5. Add the name of the item you're adding - use Title Case
If we have a similar item, check to make sure it's named exactly the same so MyTurn will group them together as 'like' items
Tip: Some common key words that are added: 'Cordless', '(18V/36V) Battery', ElectricalNote - The Item ID will be blank until you get to step 15
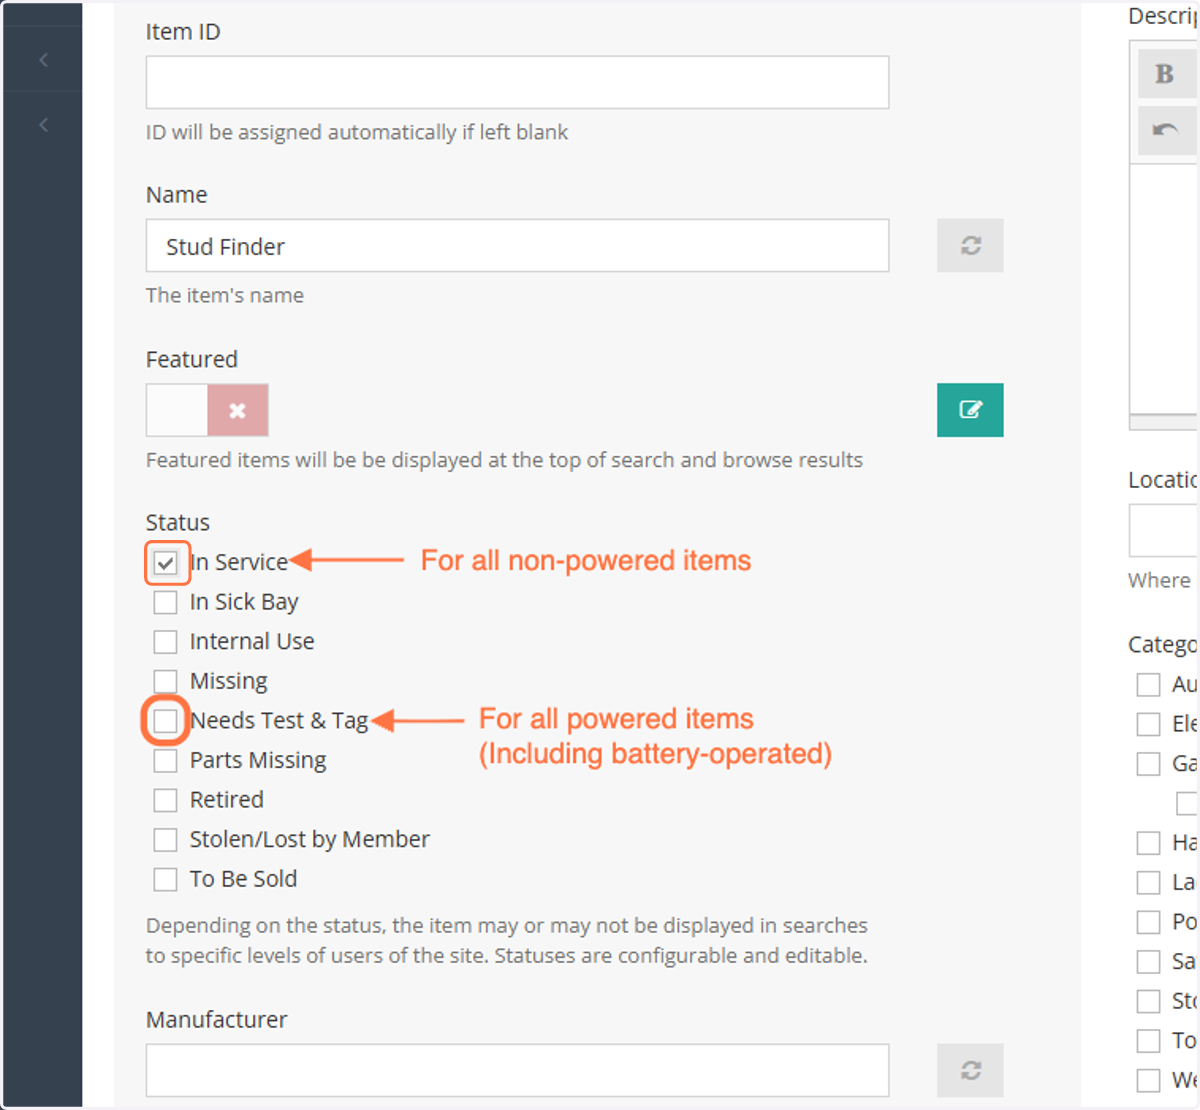
6. If it's a powered item, select "Needs Test & Tag," otherwise, check "In Service"
All electrical items need before being available to borrow!
7. Add the Manufacturer, Model number, Product Code, Serial Number, and Size details (where available)
Adding a serial number is most important for newly purchased items; make sure to include the Serial Number of all items (unit, battery, charger, etc)
If you can't find exact details give it your best effort.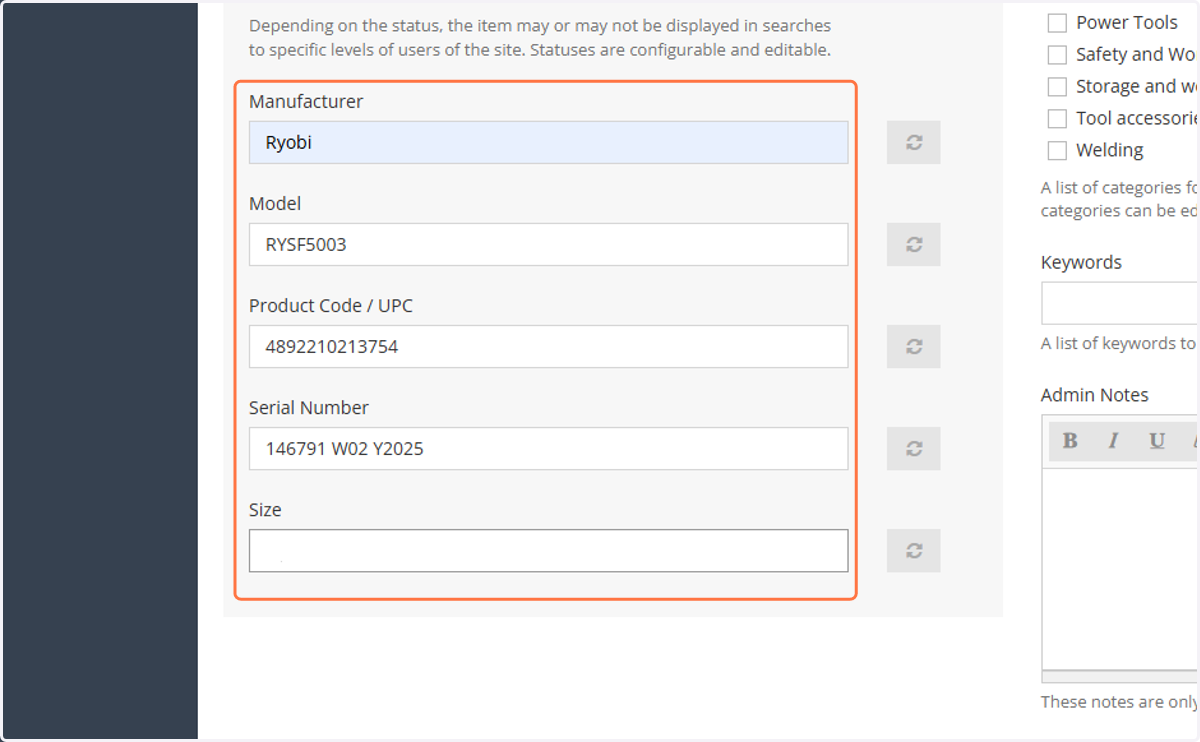
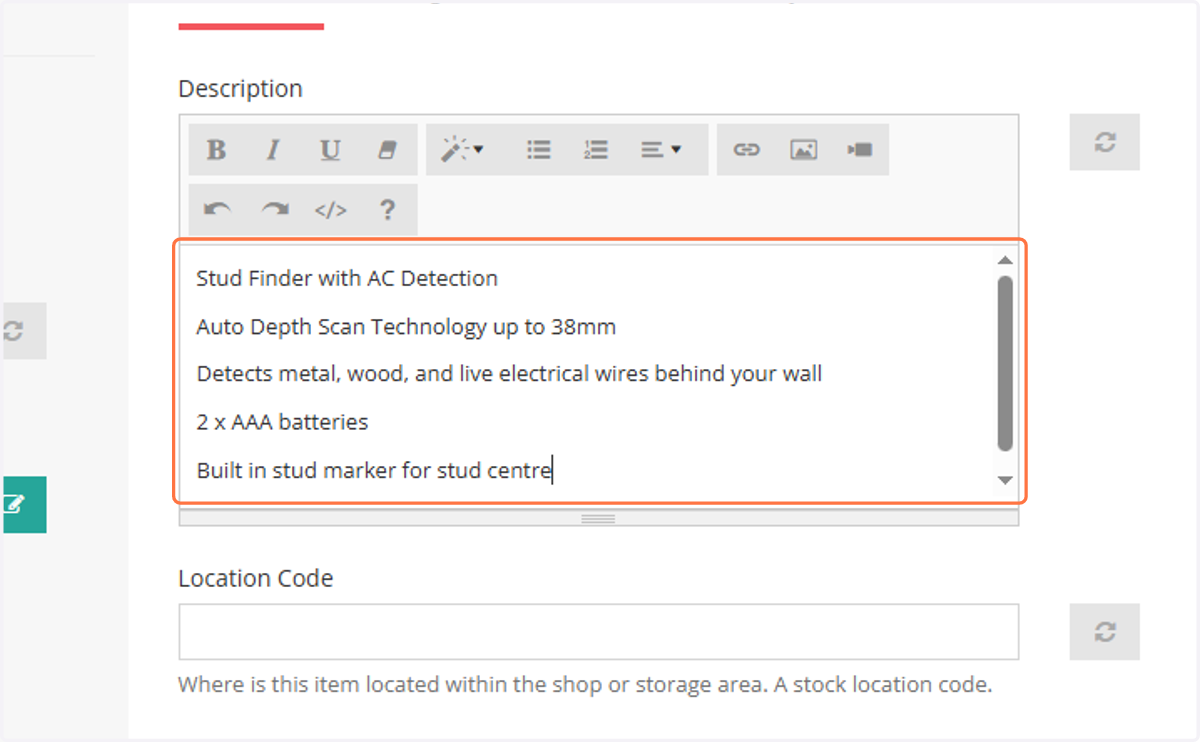
8. Add details to the description
Be sure to include key details such as, Power rating, blade size/type, any limit/capacity the tool has with certain materials, etc.
If possible, link in a manual, parts diagram, how-to videos on YouTube, and any other useful resources.Download the manual PDF for later uploading if you found one.
Be careful about attachments! Many online descriptions will include the original attachments, which may not be present for donations. Either remove mentions of the attachments for semi-consumable attachments or investigate purchasing the correct attachments before adding the item to service.
9. Add the Location Code
If unsure, look up similar items and use that Location code
Make sure to include the area colour code, for example: Orange 9G2
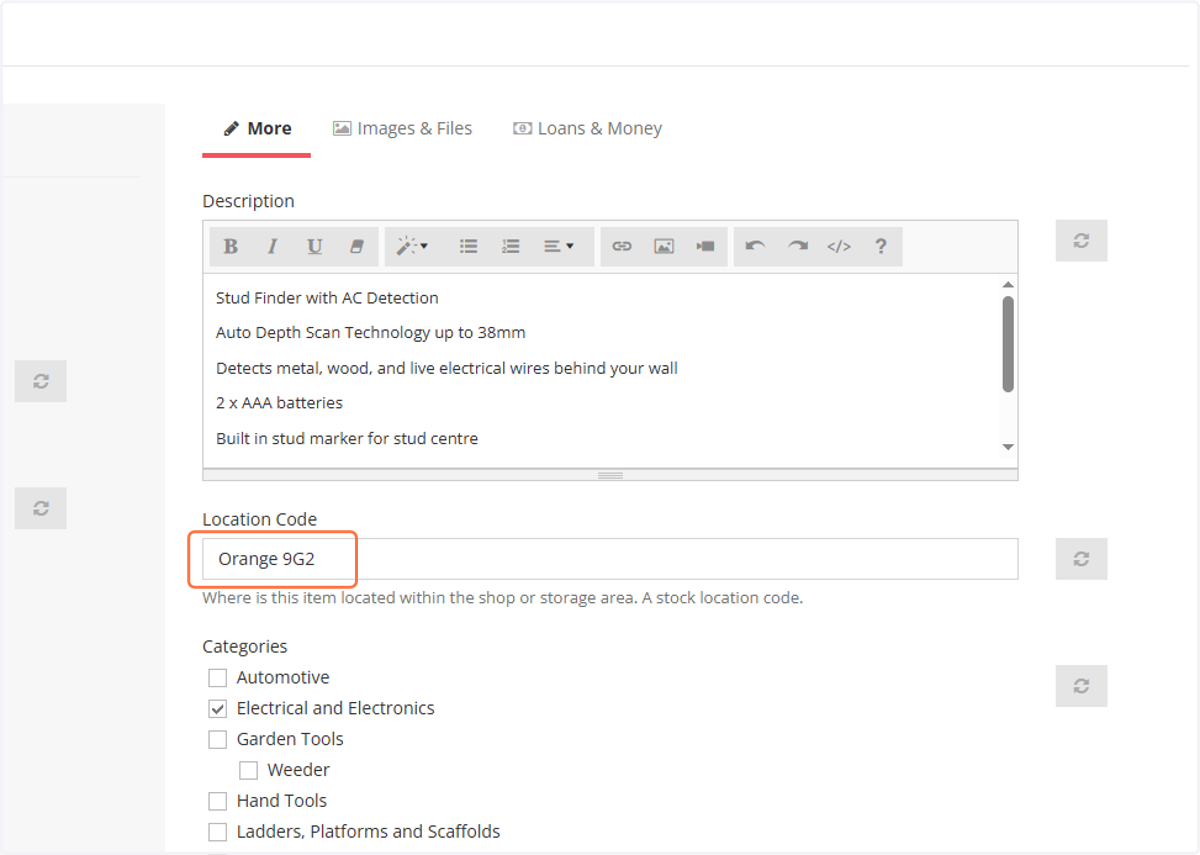
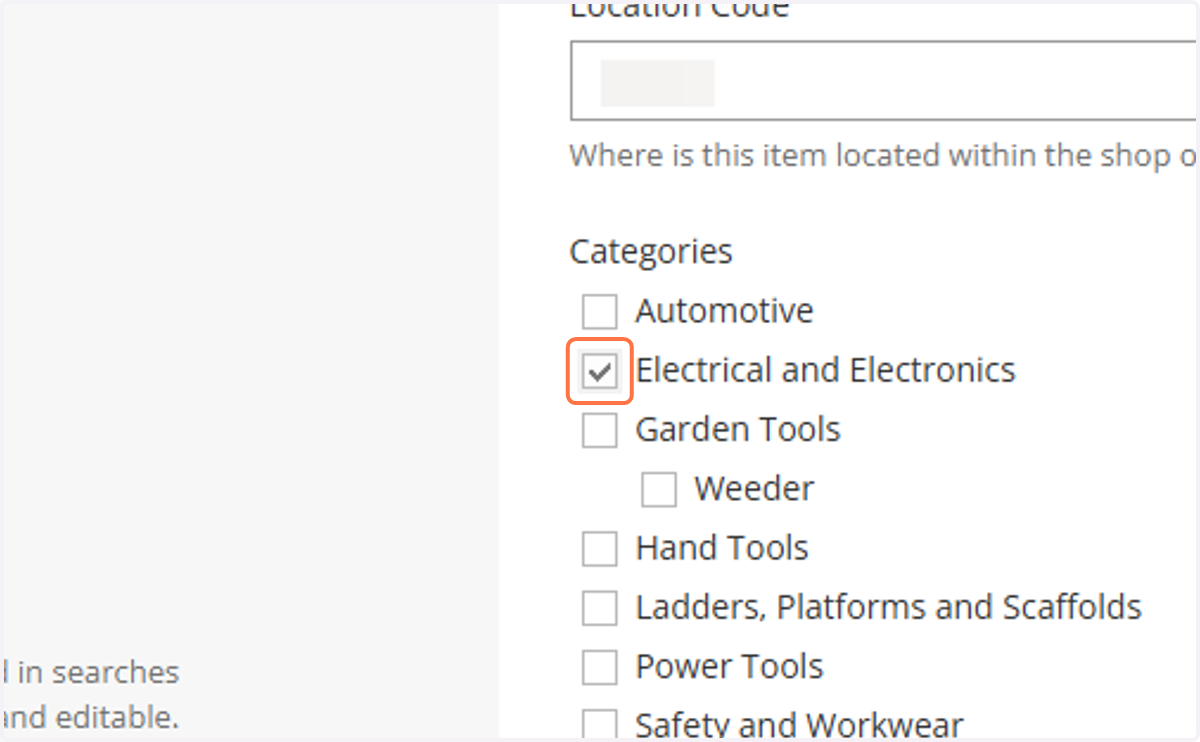
10. Select the most appropriate category for the item
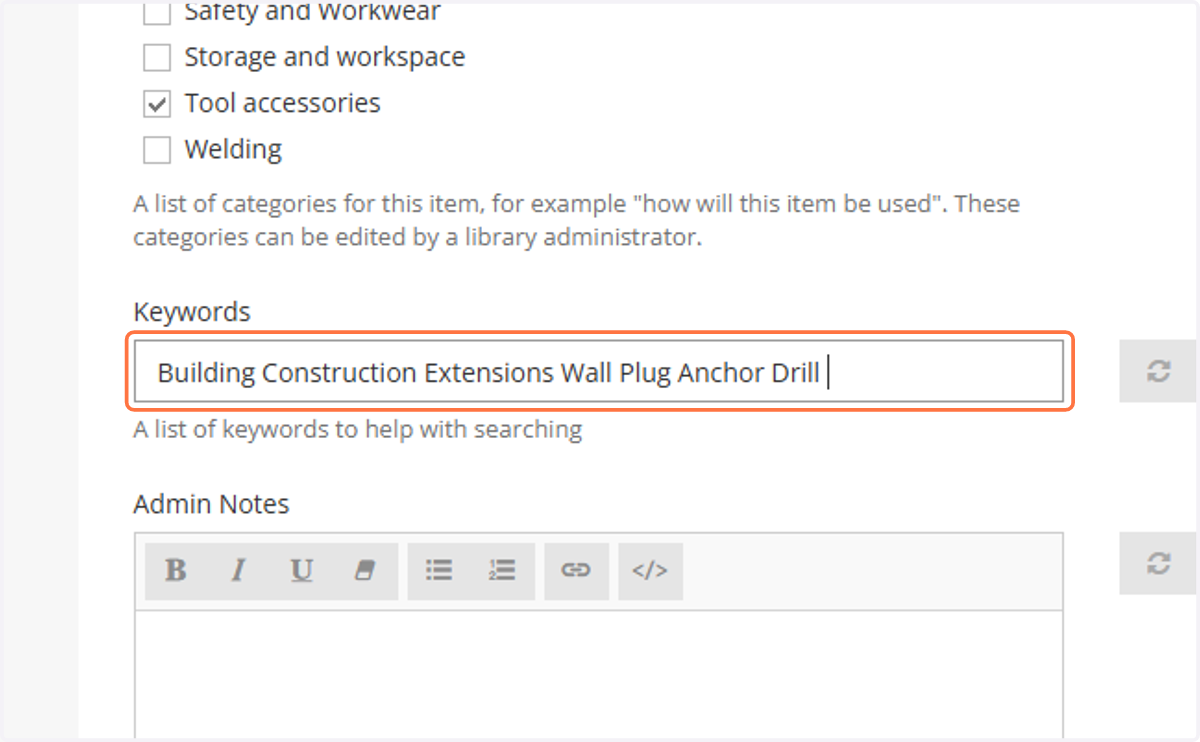
11. Add any relevant keywords that might be helpful when searching
Include any other words that might be used when referring to the item
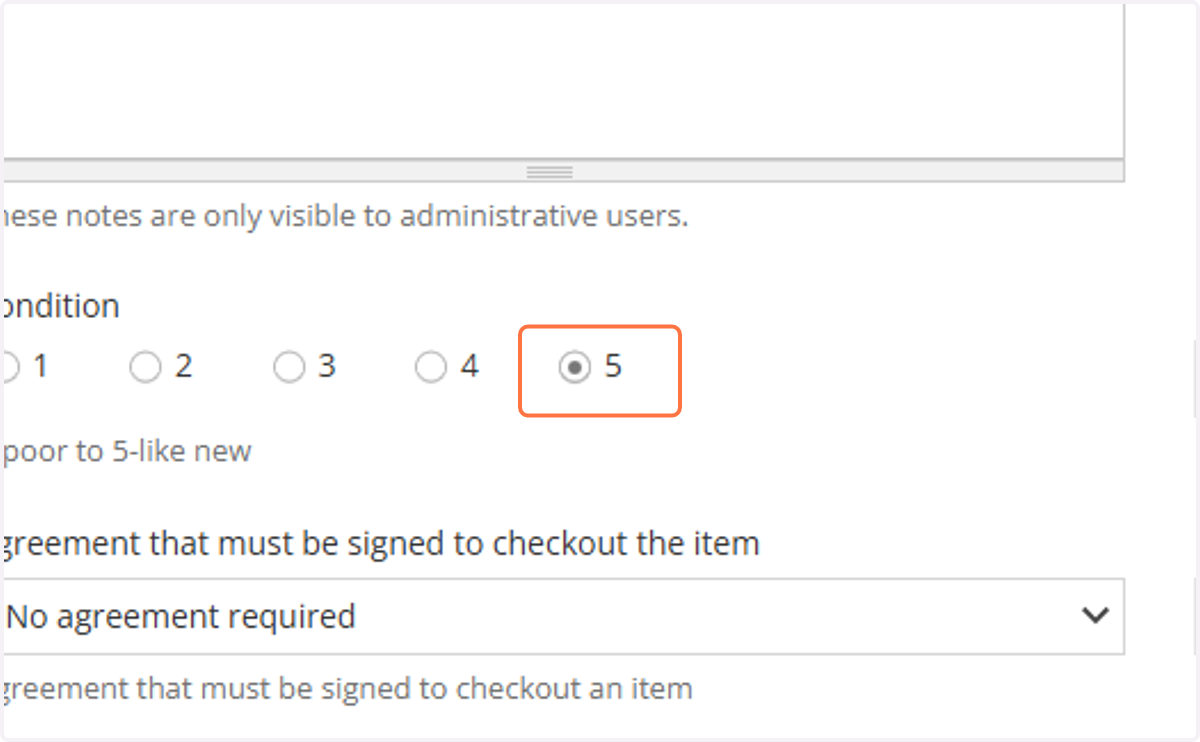
12. Select the relevant item condition
1-poor, 5-like new
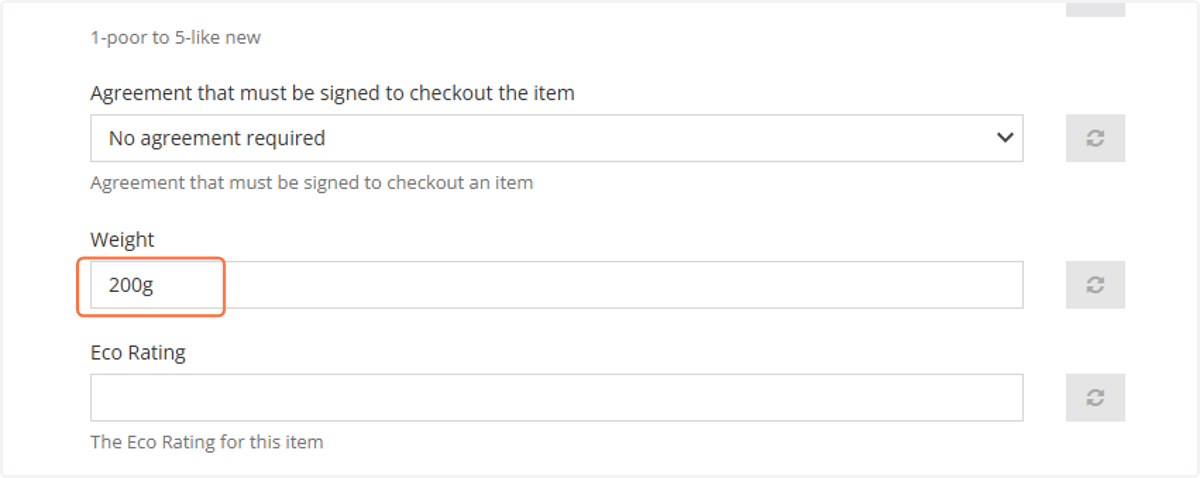
13. Add the item weight, where possible
14. Click on Save
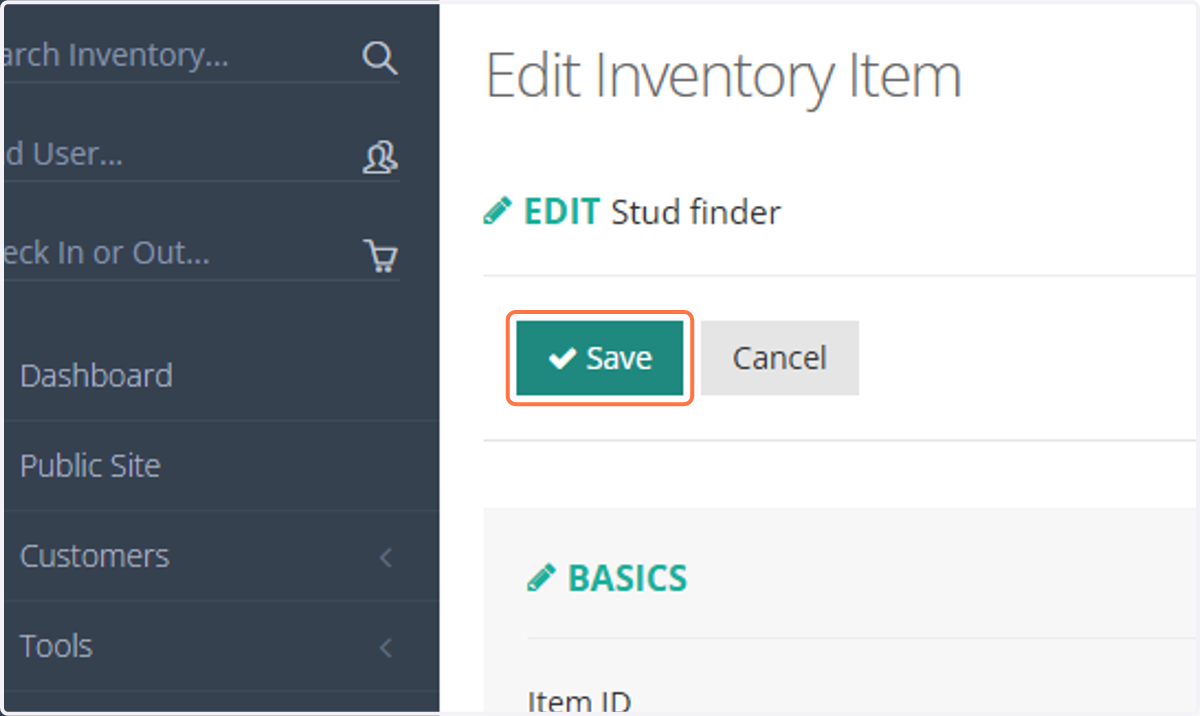
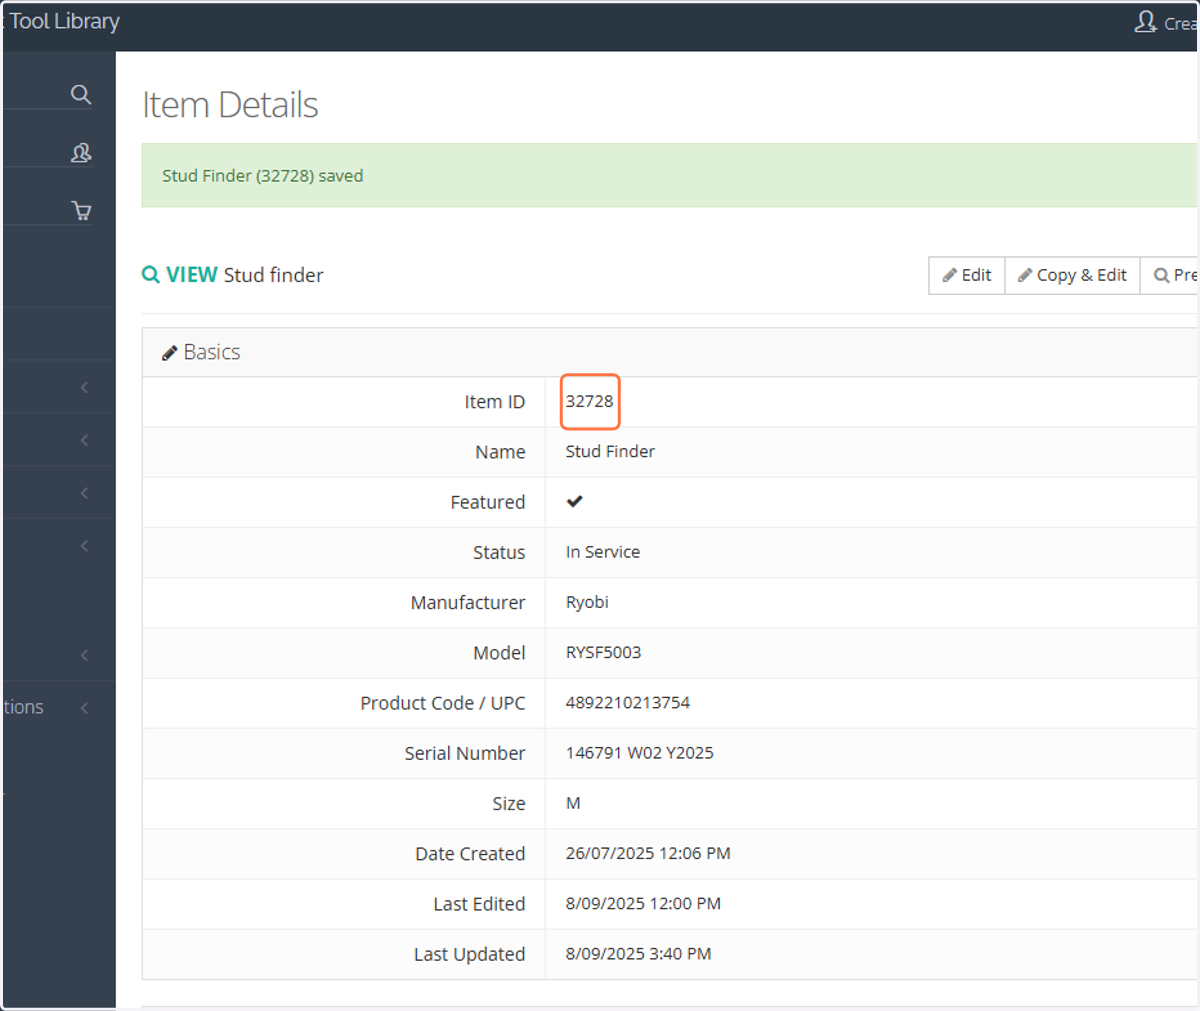
15. The Item ID will be automatically generated
Use a paint pen or the label maker to label the item with its 5-digit ID
Choose a spot that is clearly visible and the number is unlikely to get worn away easily
If an item is made up of multiple parts, make sure to label each piece
16. Take a photo of the item using the BTL phone
Lay the item out with a plain/grey background
Make sure to show all parts that are included with the item e.g. case/bag, battery, attachments
Certain items should be set up as if ready to be used, e.g. unfold a paining tarp, stand up/extend a ladder, assemble a mitre saw table
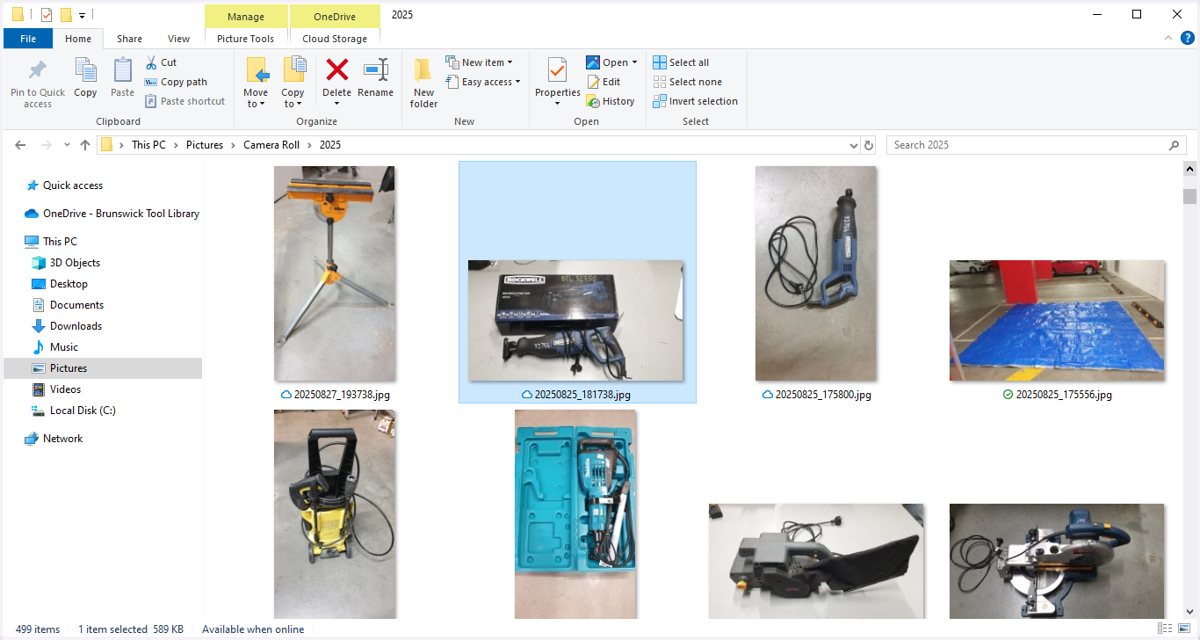
Your photo will automatically upload to Active Librarian's OneDrive on any computer (takes about a minute); navigate to Pictures > Camera Roll > 2025 folder
If the image is sideways - you'll need to navigate to the file and rotate the photo to its correct orientation before uploading!
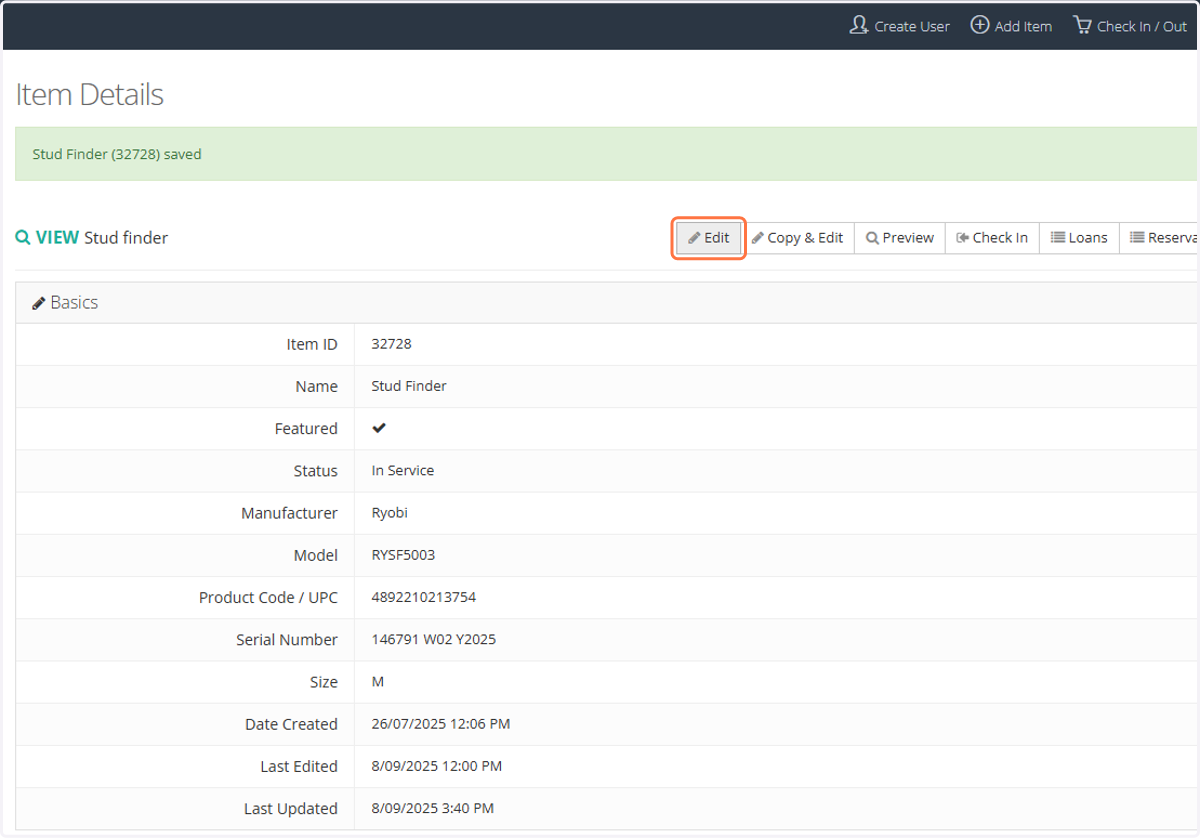
17. Back at the computer, click on Edit
18. Click the 'Images & Files' tab and 'Select image' to upload the photo of the item
Photos from the BTL phone will upload to Pictures > Camera Roll > 2025 folder
You can add a second photo if necessary using the 'Additional Image' field directly below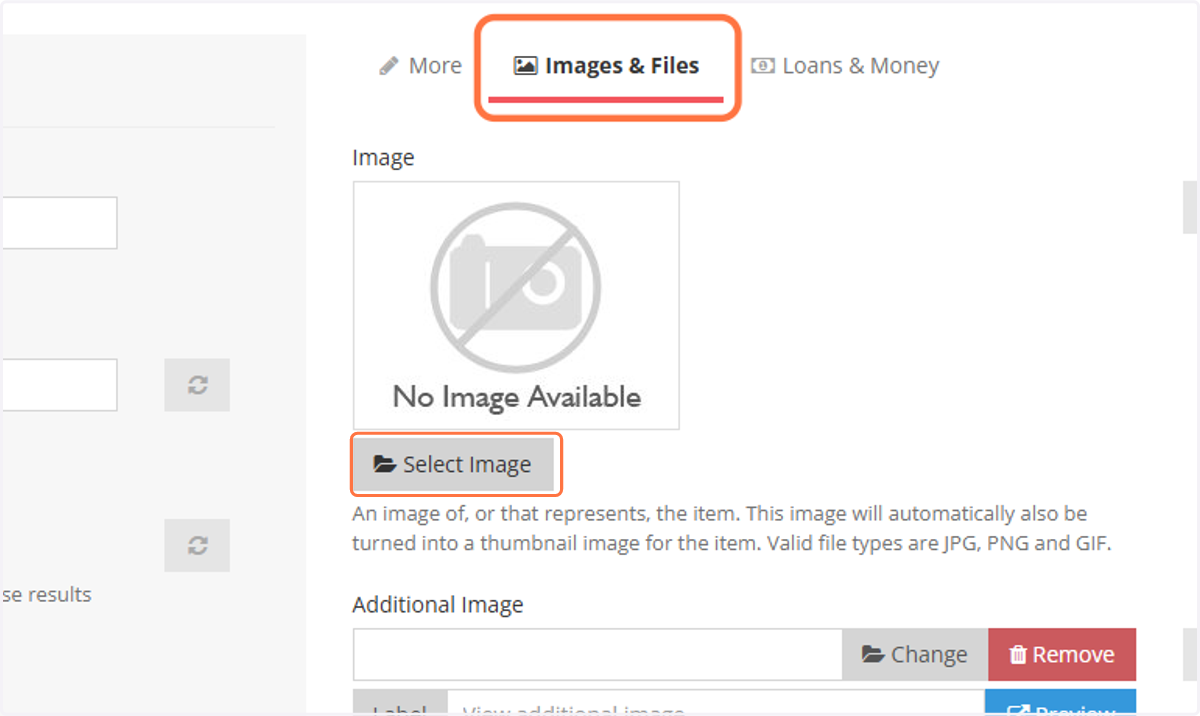
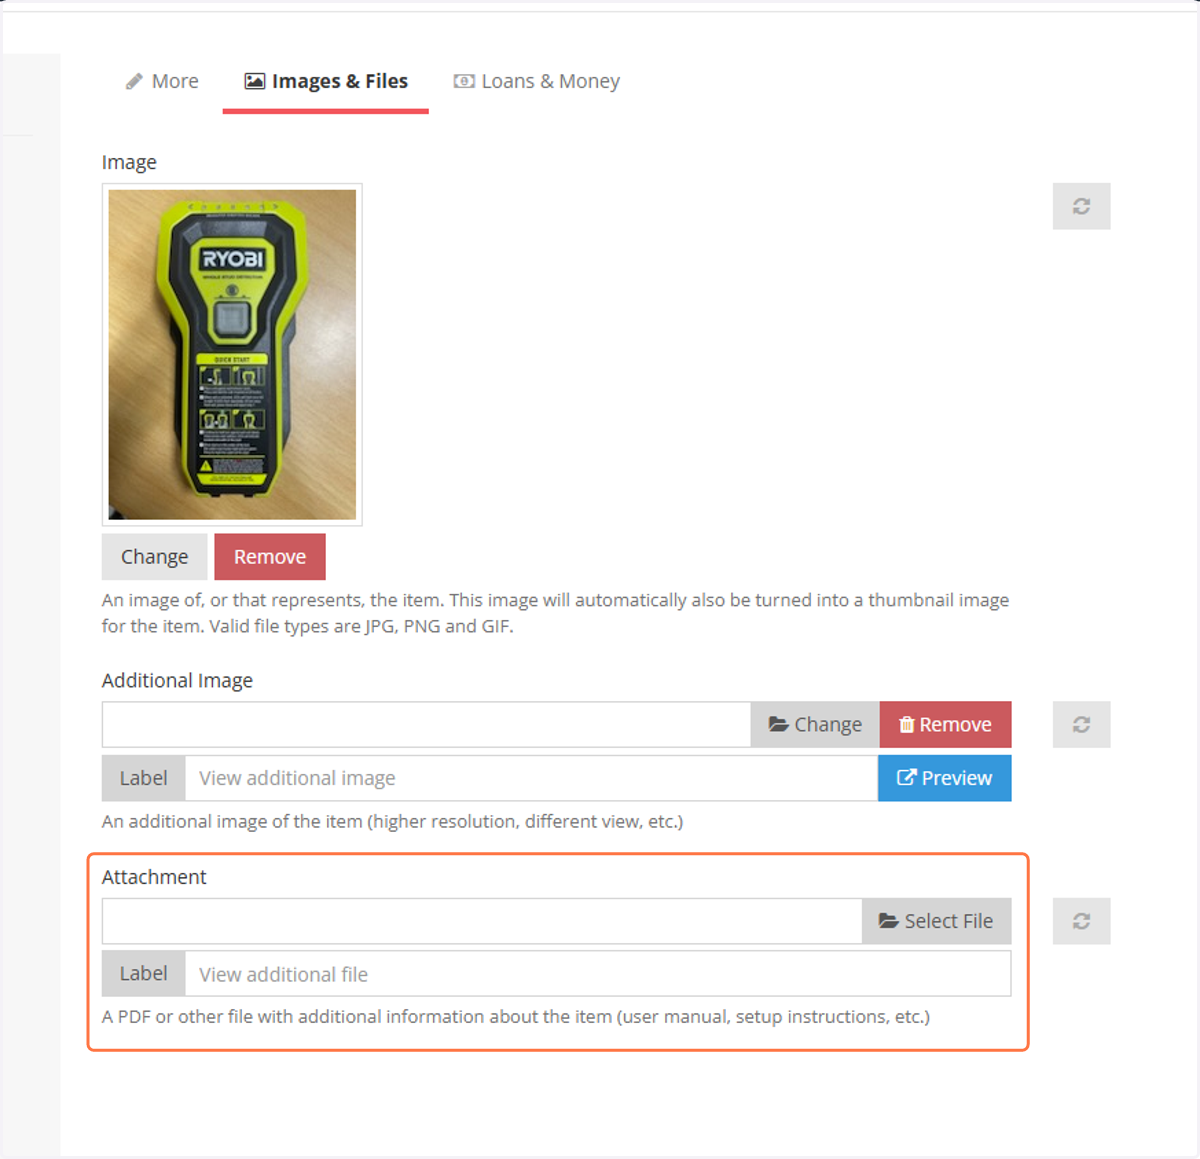
19. Add relevant attachments
If you can find a manual and/or parts diagram online, download it and add it under the 'Attachment' field
20. Select the 'Loans & Money' tab
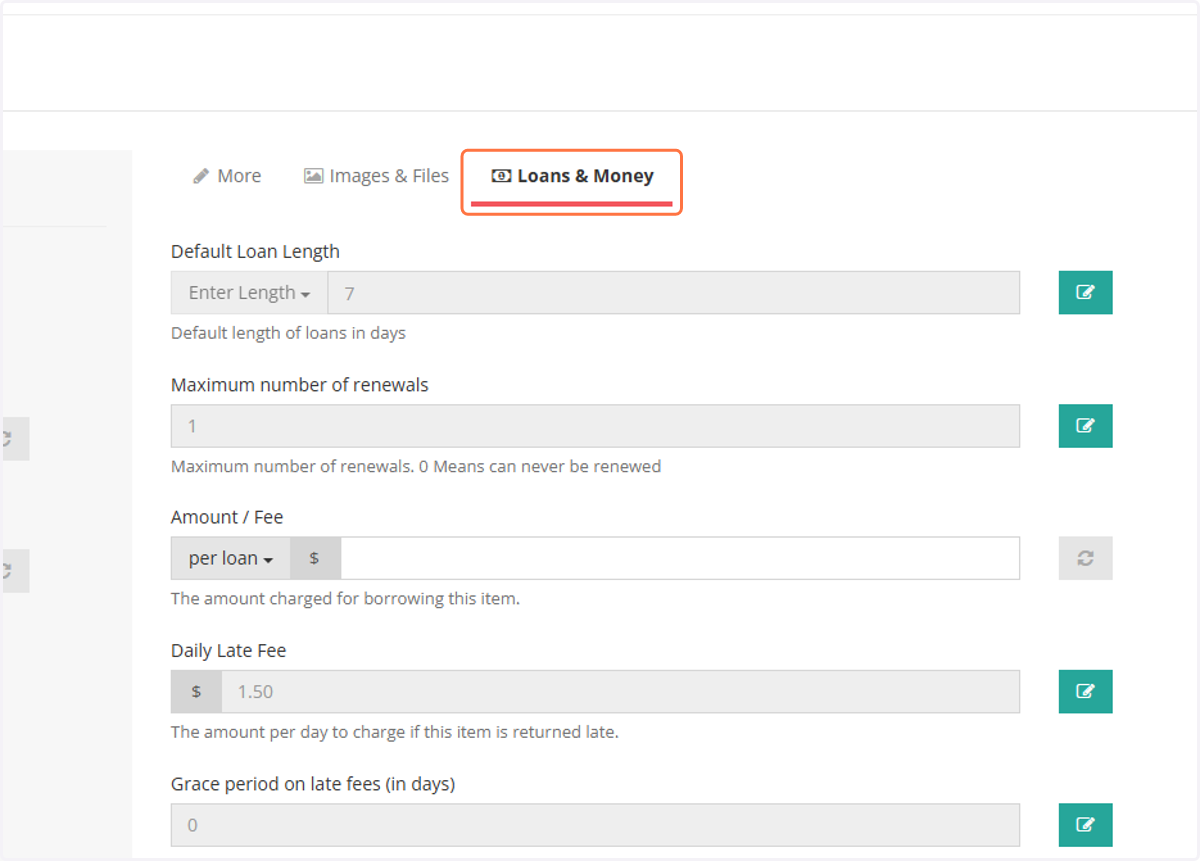
21. If the item was purchased, select the Purchased field
If the item was donated, skip to
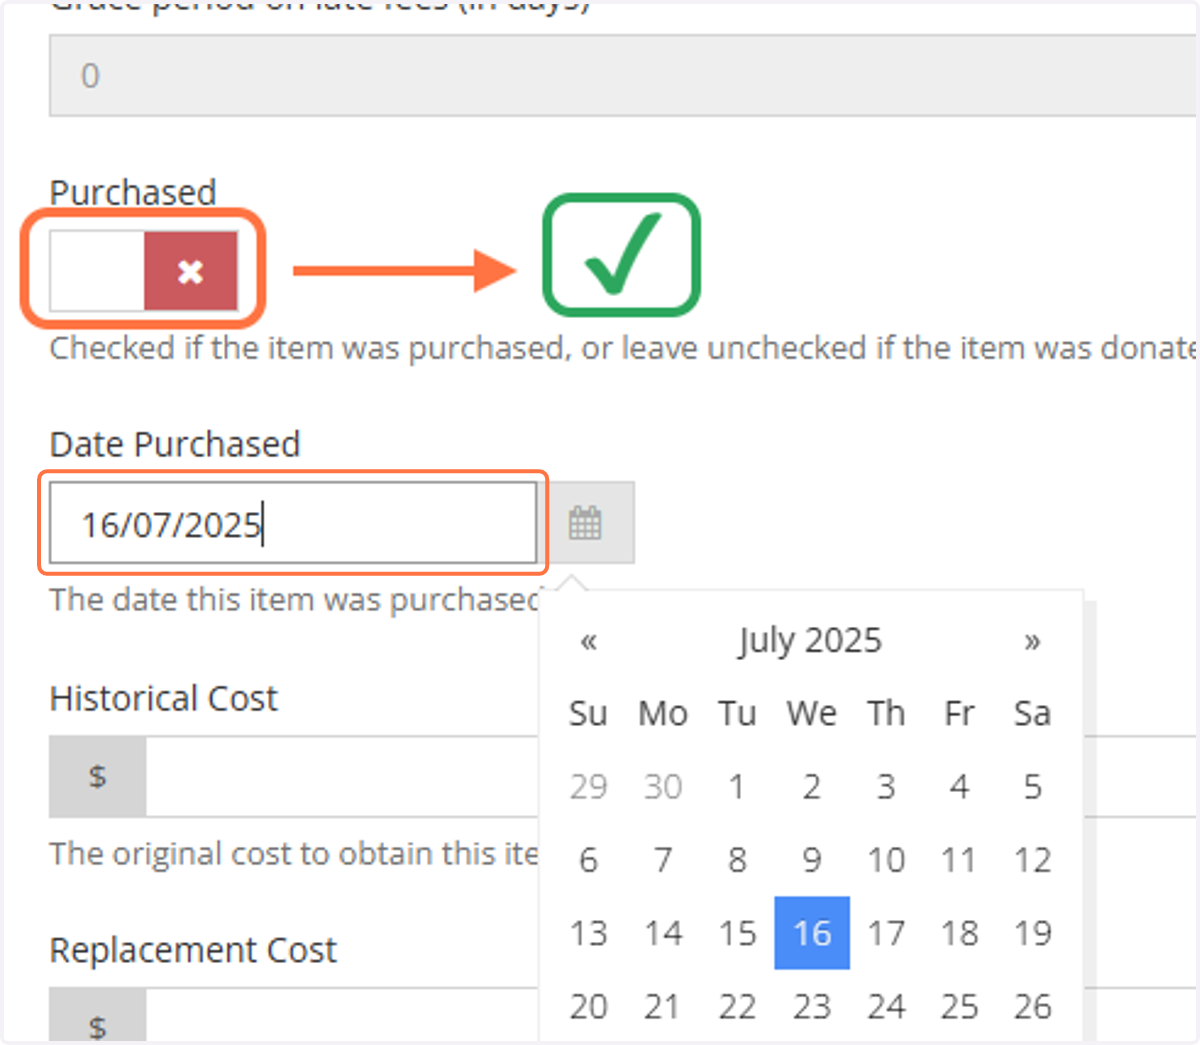
22. Scroll down to the 'Historical Cost' field
If the item was purchased, add the Historical Cost of the item. Otherwise, leave Historical Cost blank.
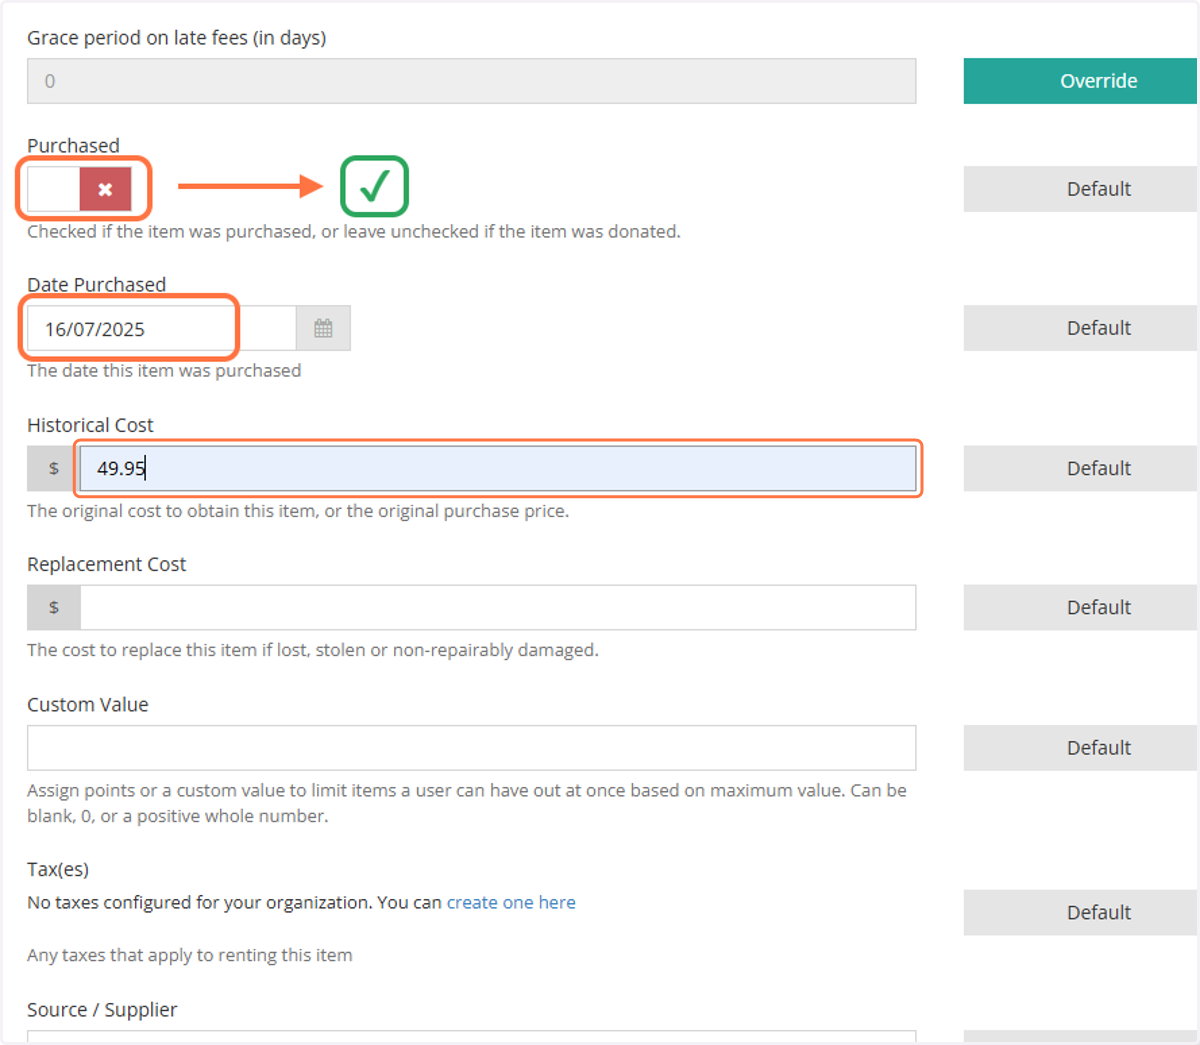
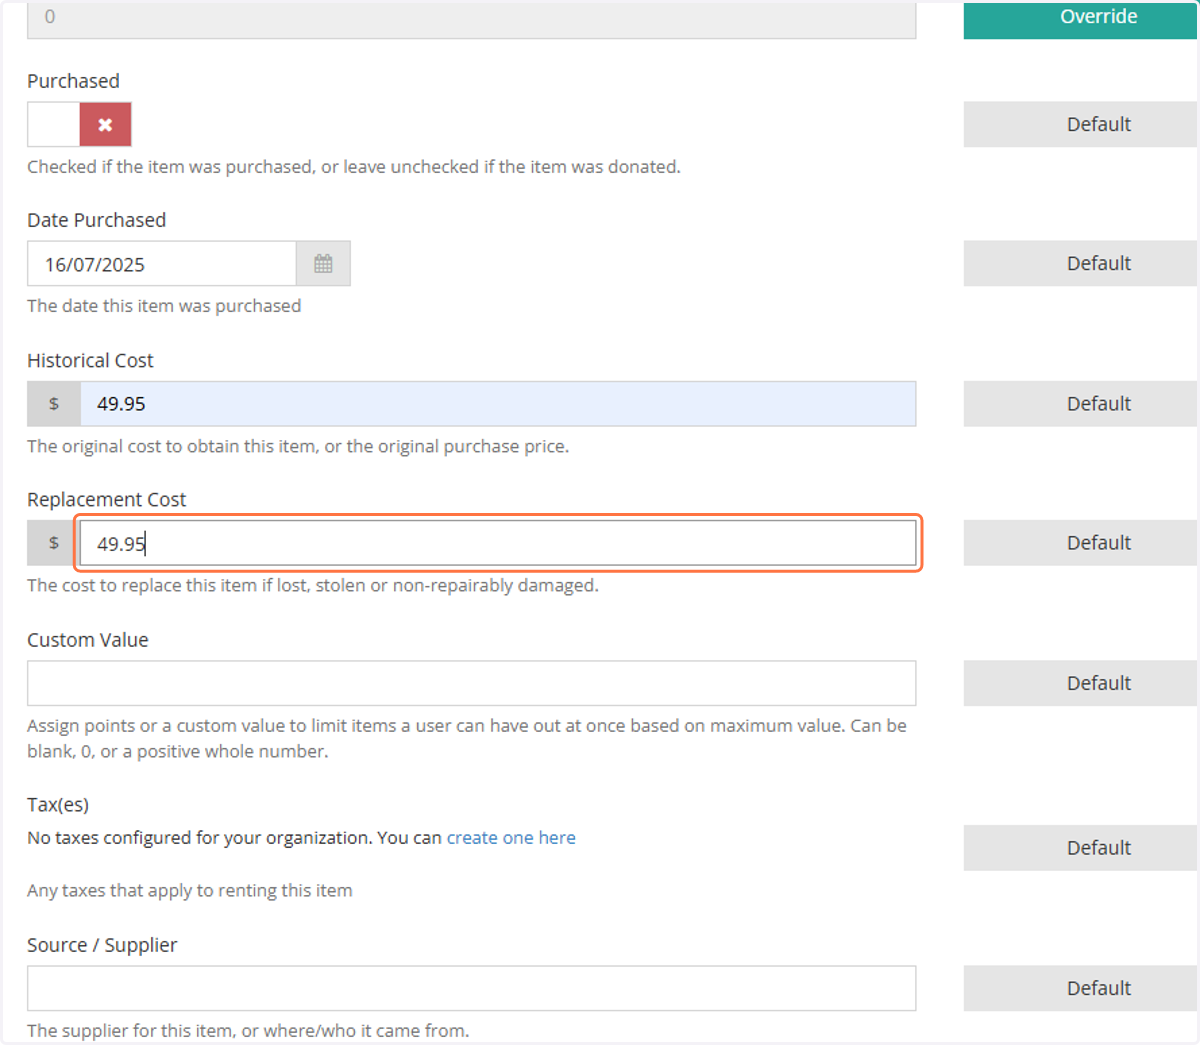
23. Add the replacement cost
If you can find the exact model online, and add the appropriate replacement cost if the item was lost or irreparably damaged.
If you can't find the exact unit, put in the cost of a reasonable replacement unit of similar attributes. E.g. same brand (where possible), similar size/power rating/capacity/etc
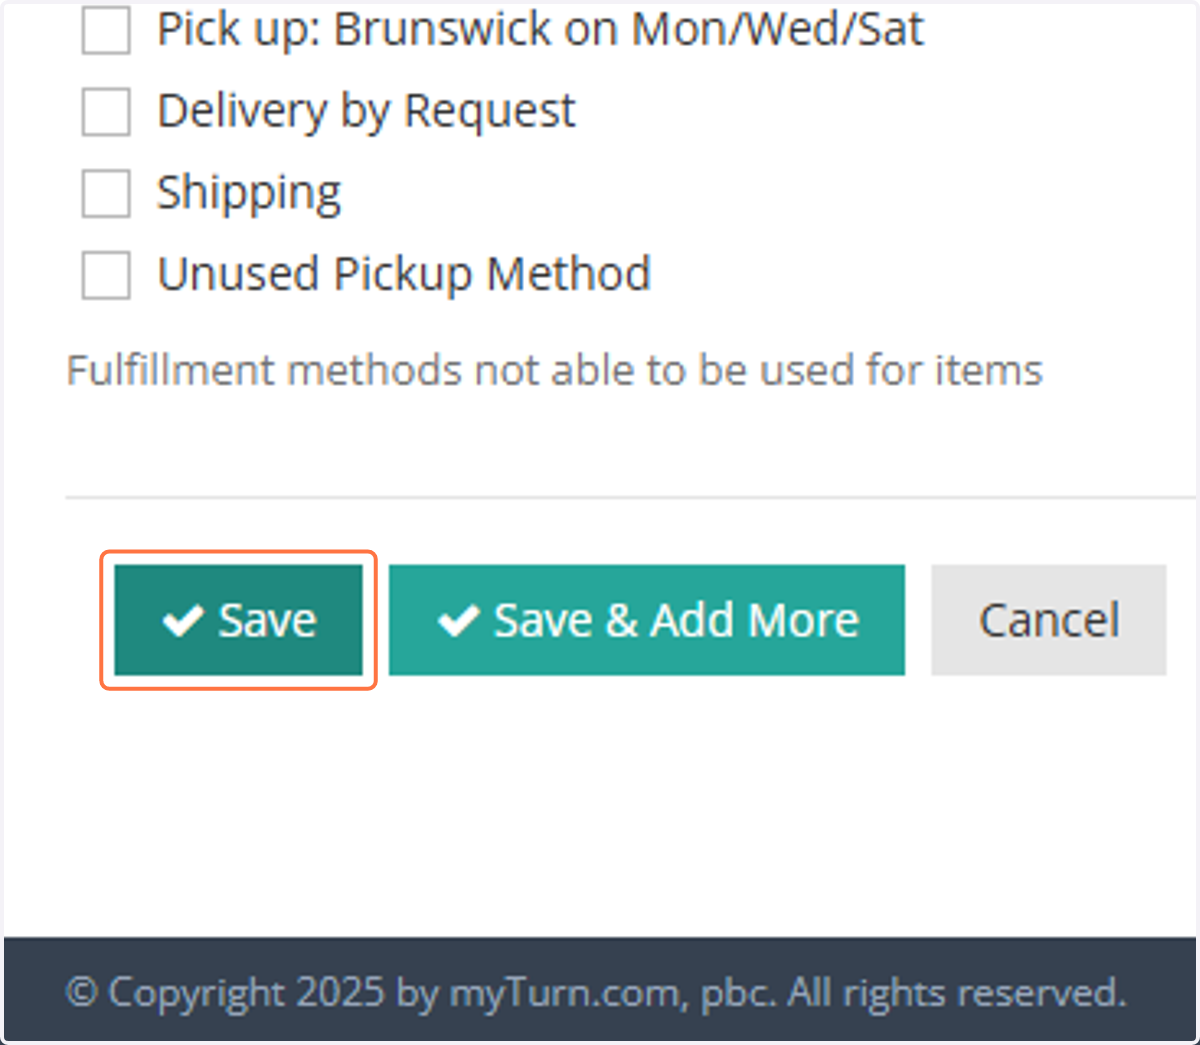
24. Click on Save
25. Put the item away!
Non-powered items can go straight to their allocated location
Powered/electrical items must go to the Test & Tag desk in Sick Bay. You should have marked it as 'Needs Test and Tag' in step 6. (If you forgot, you can do it now via 'Report Issue', then select 'Needs Test and Tag' as the Maintenance plan)