Add a New Part to BTL's Spare Parts Inventory
🗃️ Add a New Part to Part-DB
1. Start by opening Parts-DB
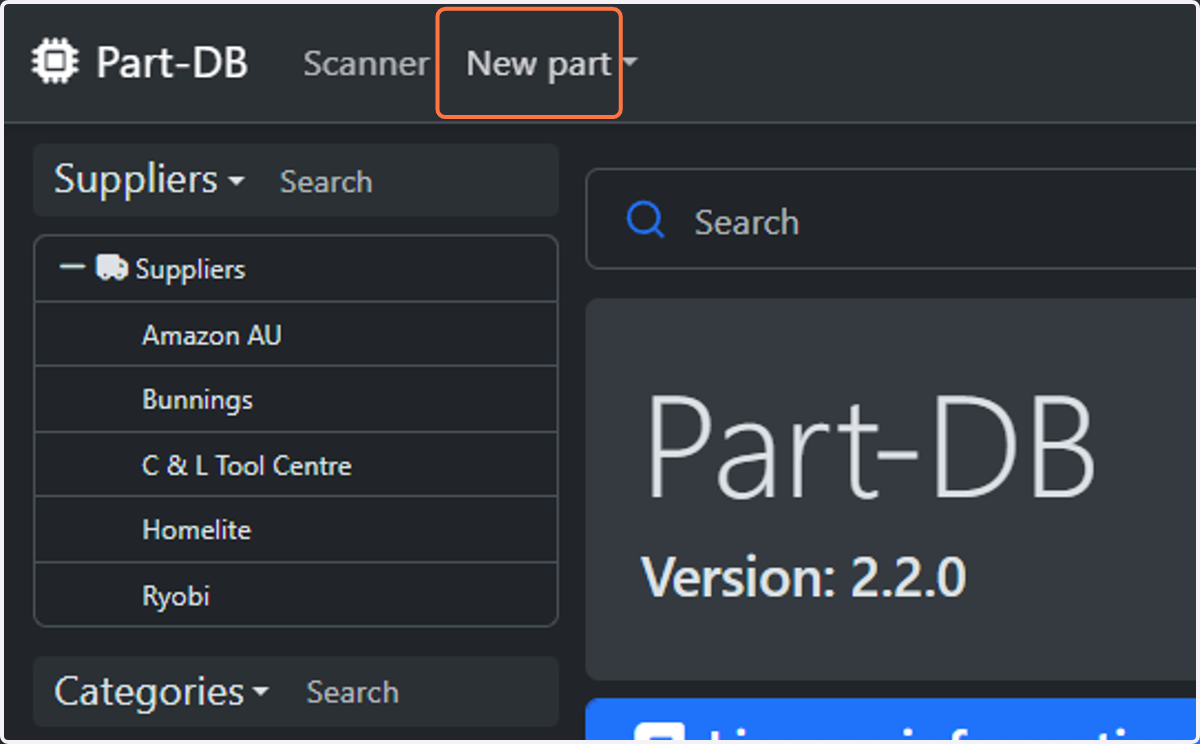
2. Click on New part
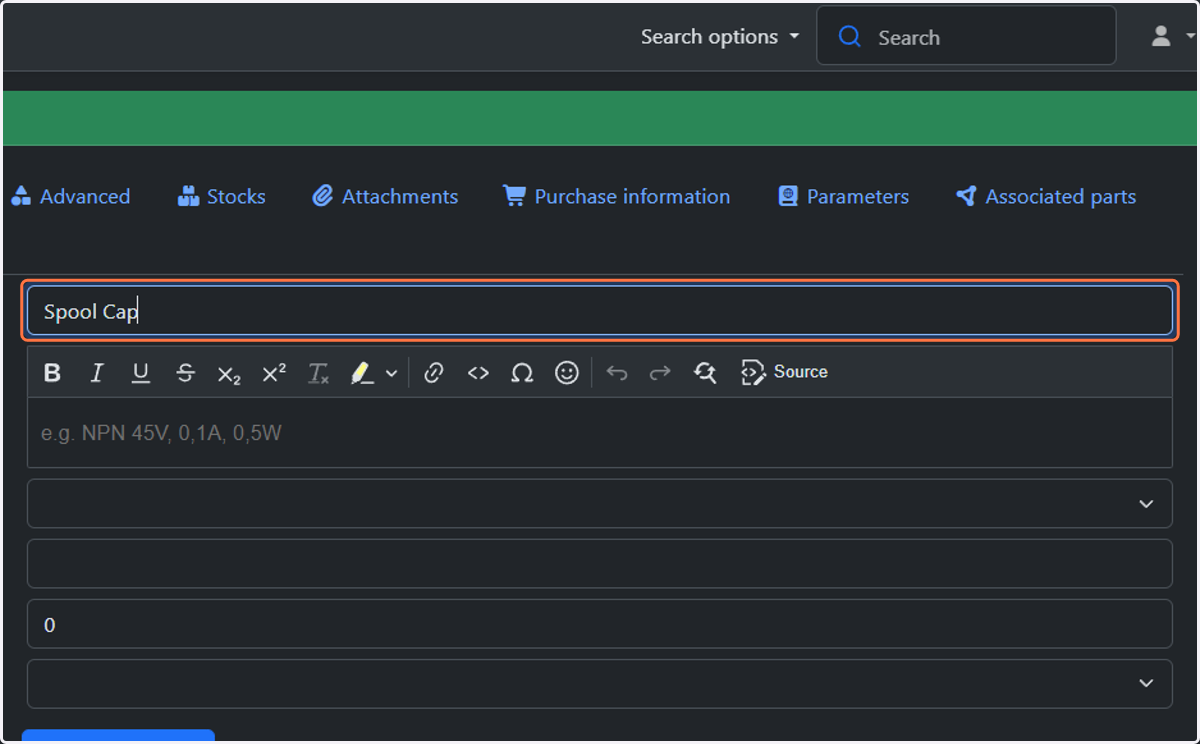
3. Type in an appropriate general name for the part
This does not need to be unique and can share a name with existing parts
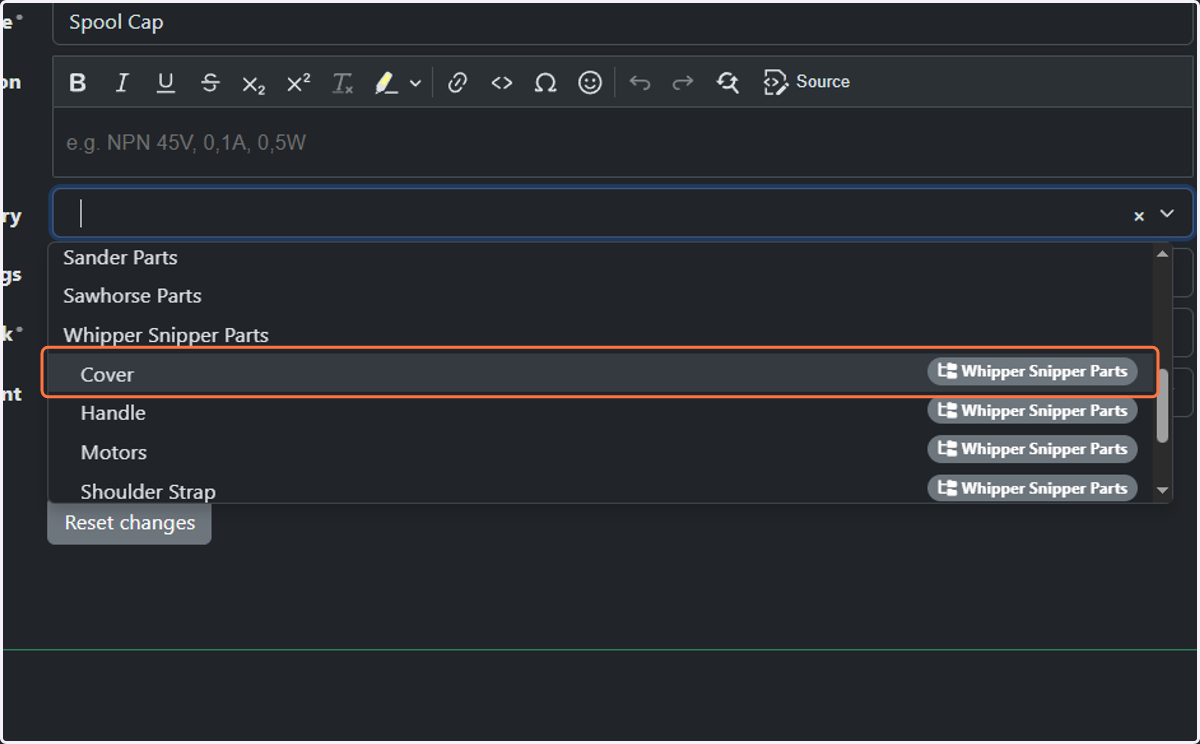
4. Under Category, select an appropriate subcategory.
If no appropriate categories are available, create one or use a higher-level category (see step 33 later)
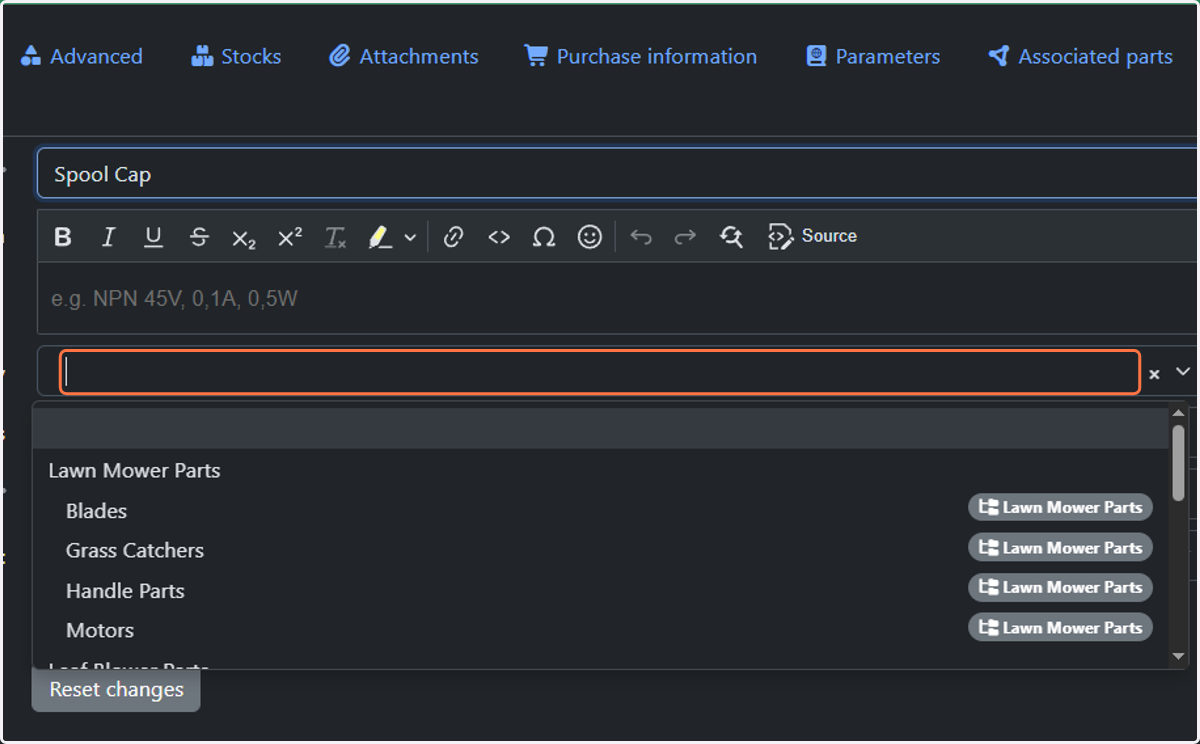
5. Select Subcategory
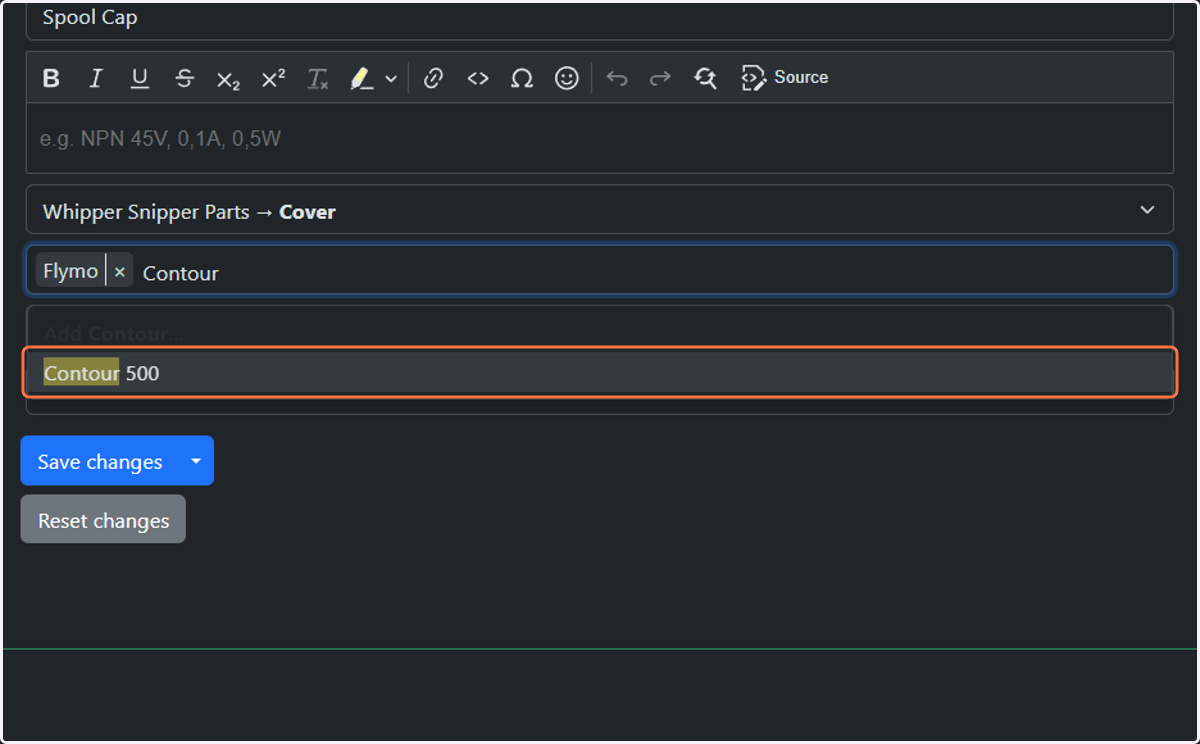
6. Add appropriate tags - these should be used for every model number that the part can support, even if BTL doesn't have some of the models
Use Google to find the part online if possible and check available compatibility lists
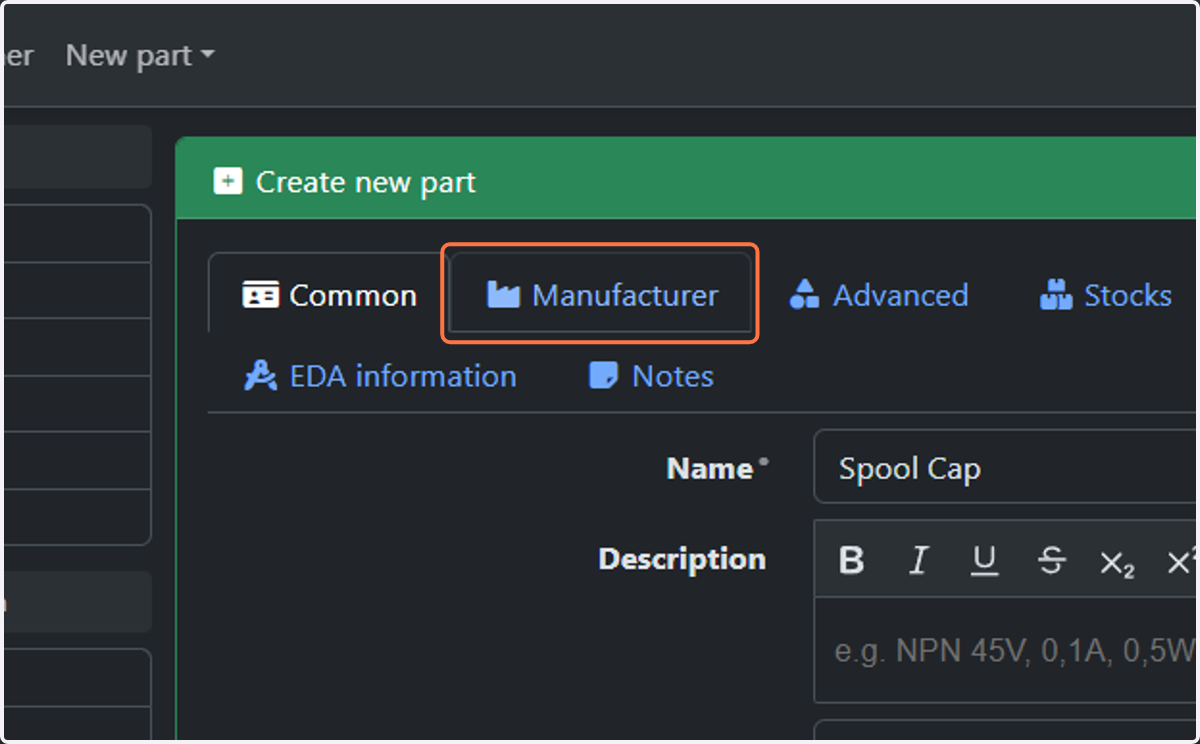
7. Move on to Manufacturer tab
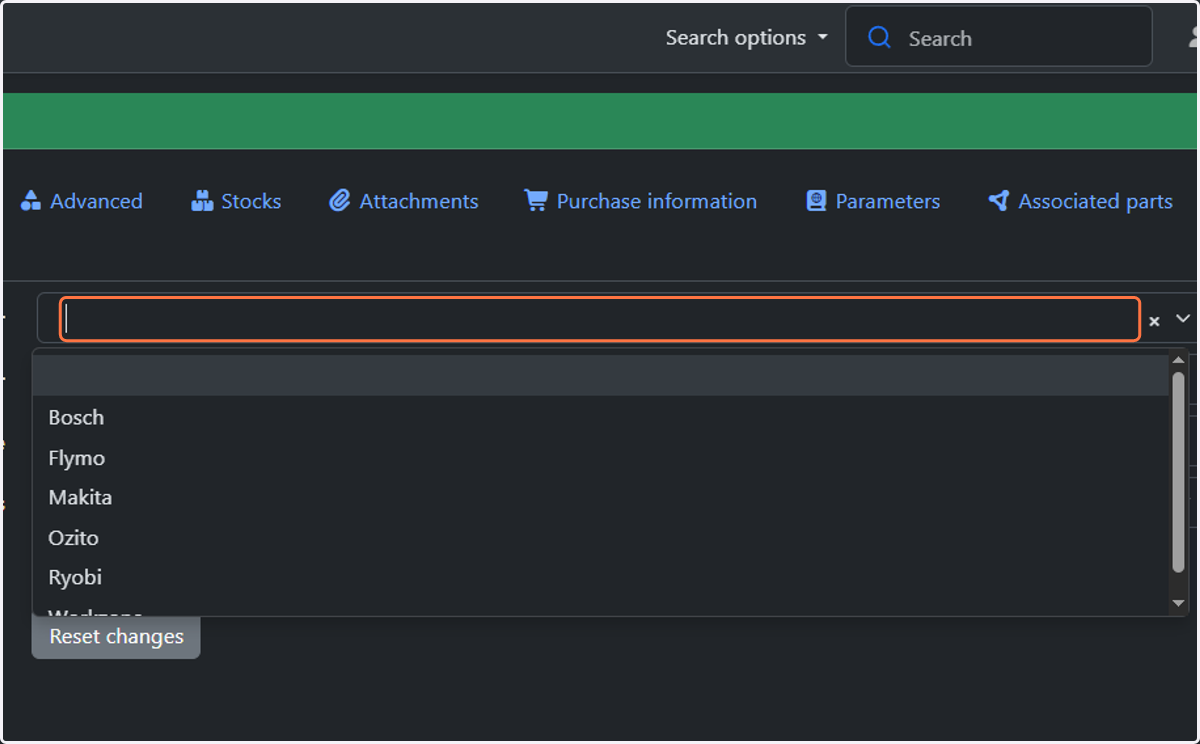
8. Select the appropriate Manufacturer. If the relevant one is not present, add it by typing directly in the field.
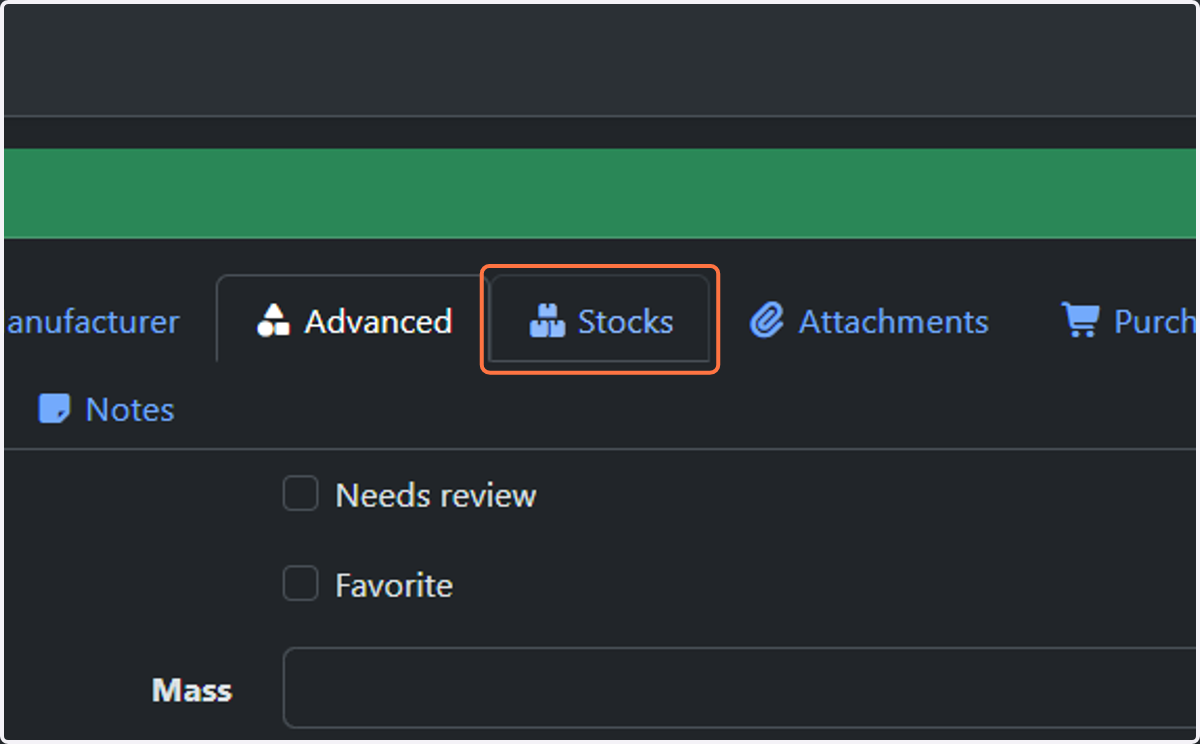
9. Click on the Stocks tab
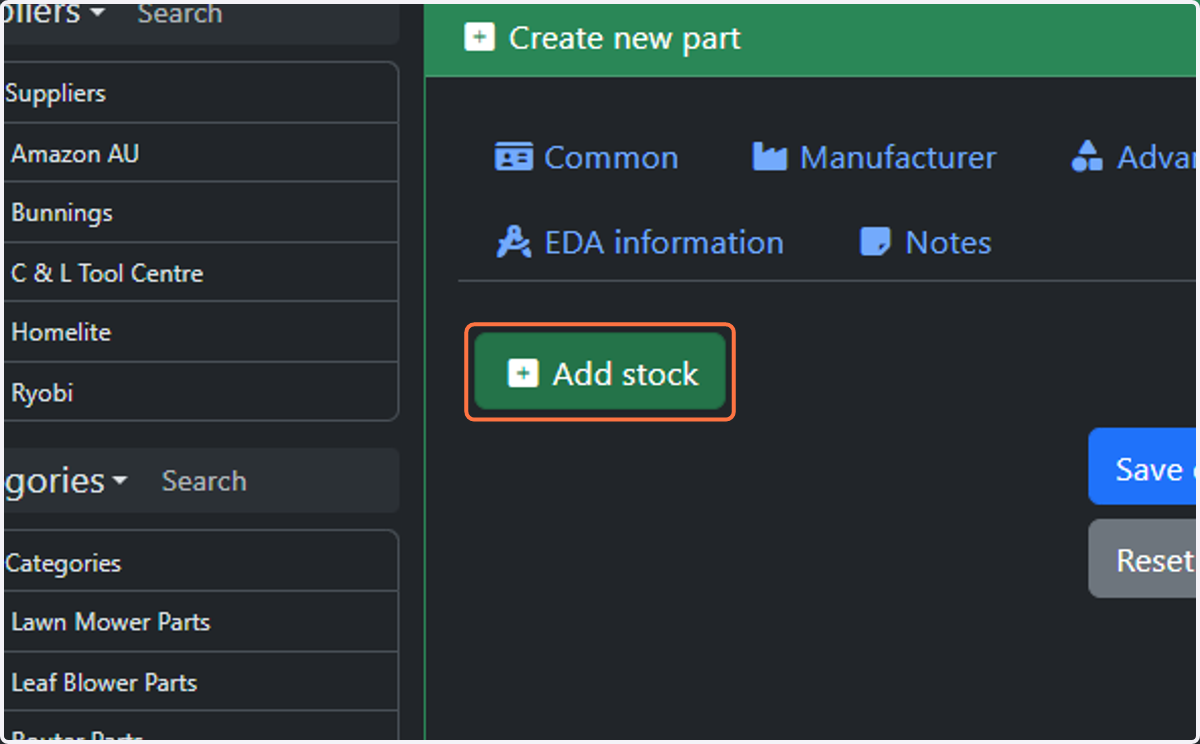
10. Click on Add stock
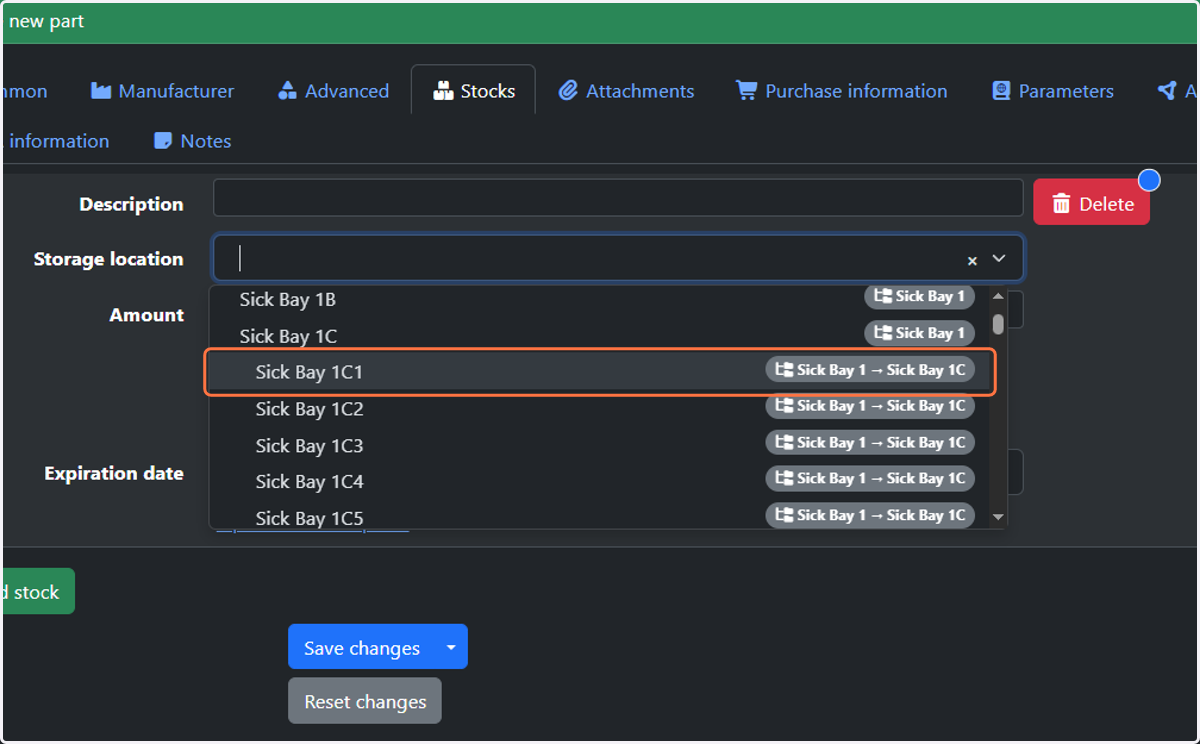
11. Select the location of the stock in "Storage Location"
Note the "Description" field at the top of the page is optional.
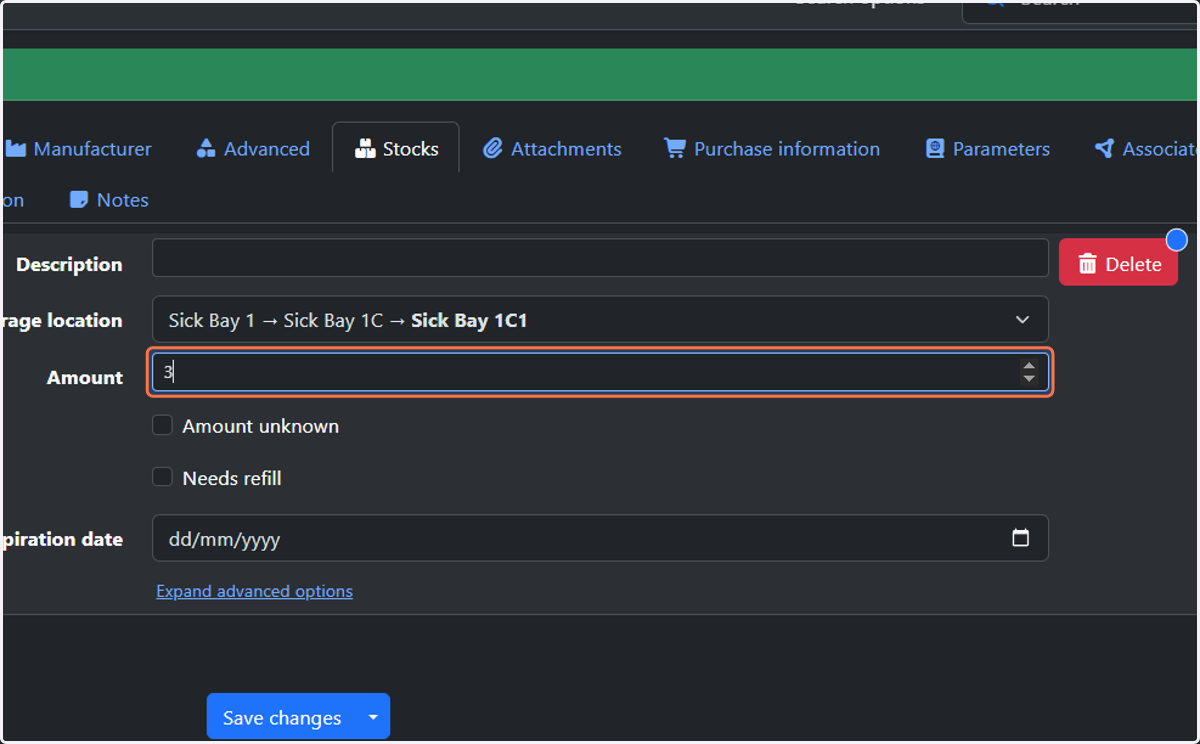
12. In "Amount," select the number of this item that are stored in that location. You can easily adjust this later.
13. Click on Attachments
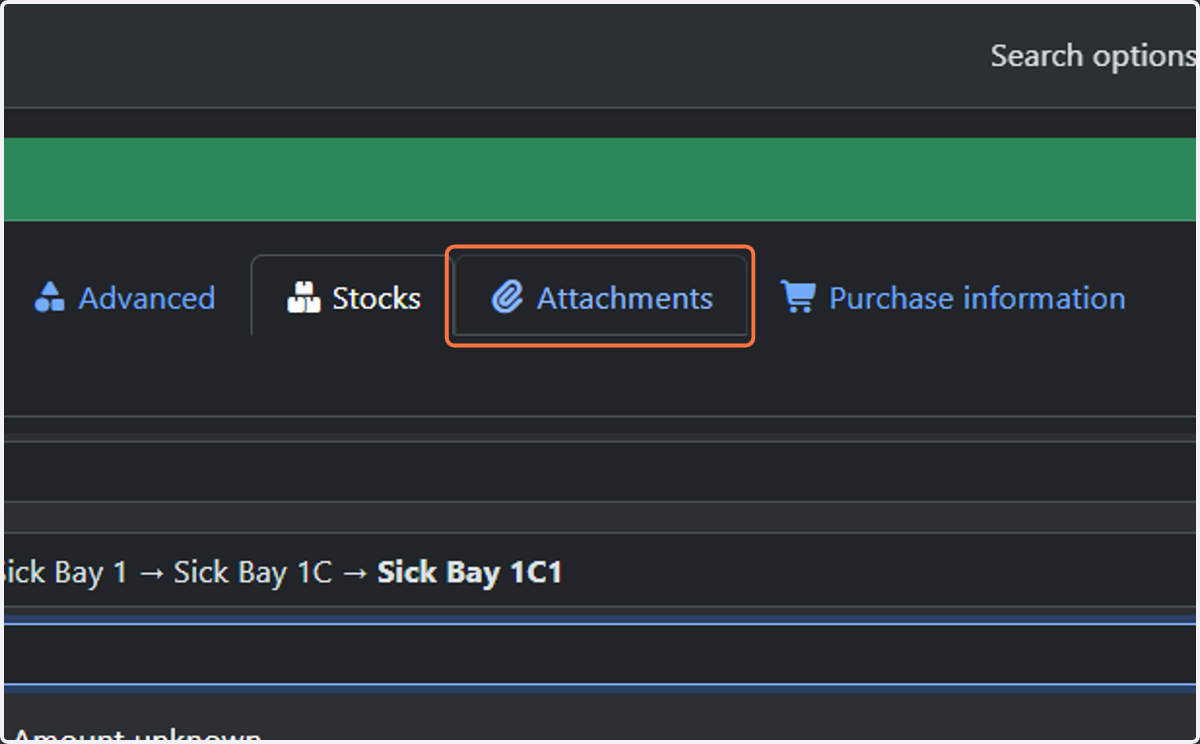
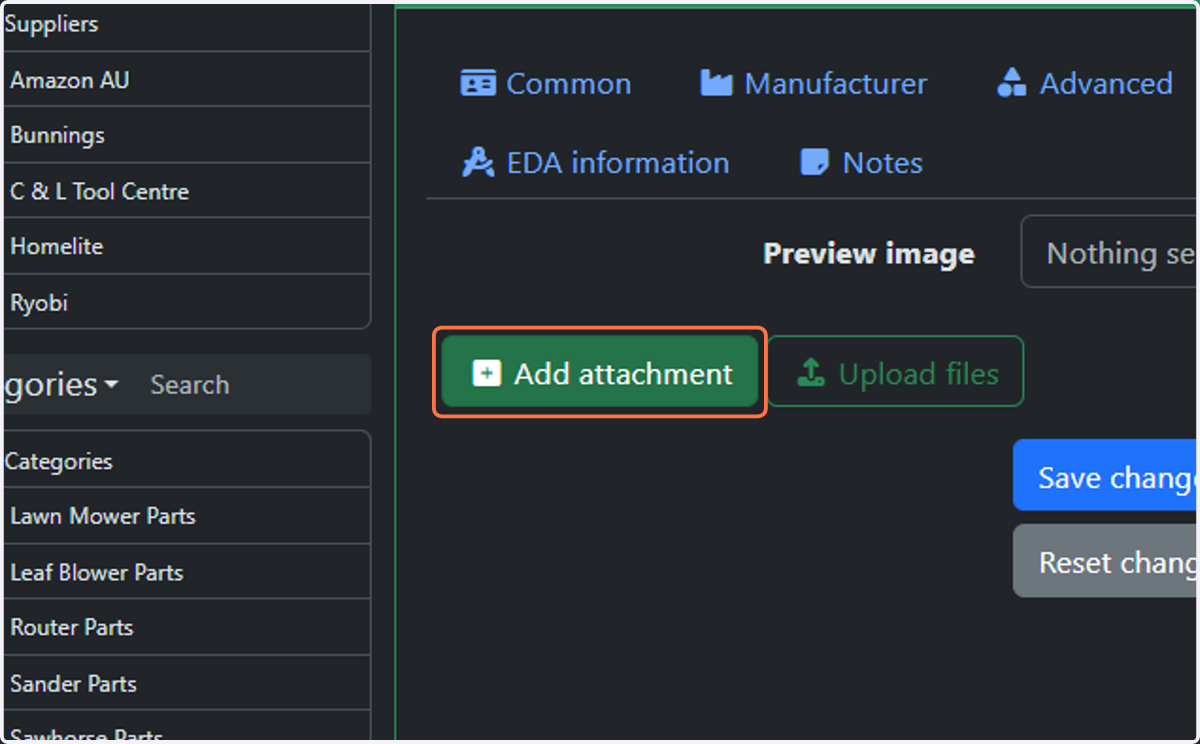
14. Click on Add attachment
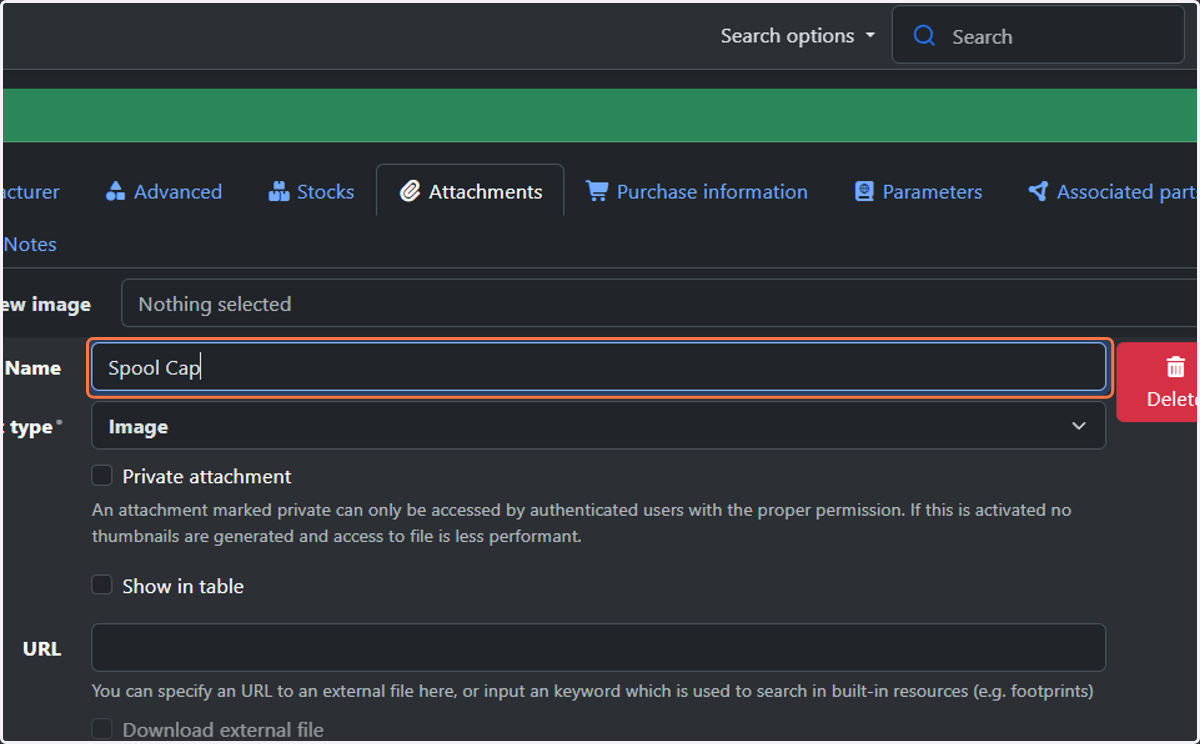
15. Add an appropriate generic name for the attachment
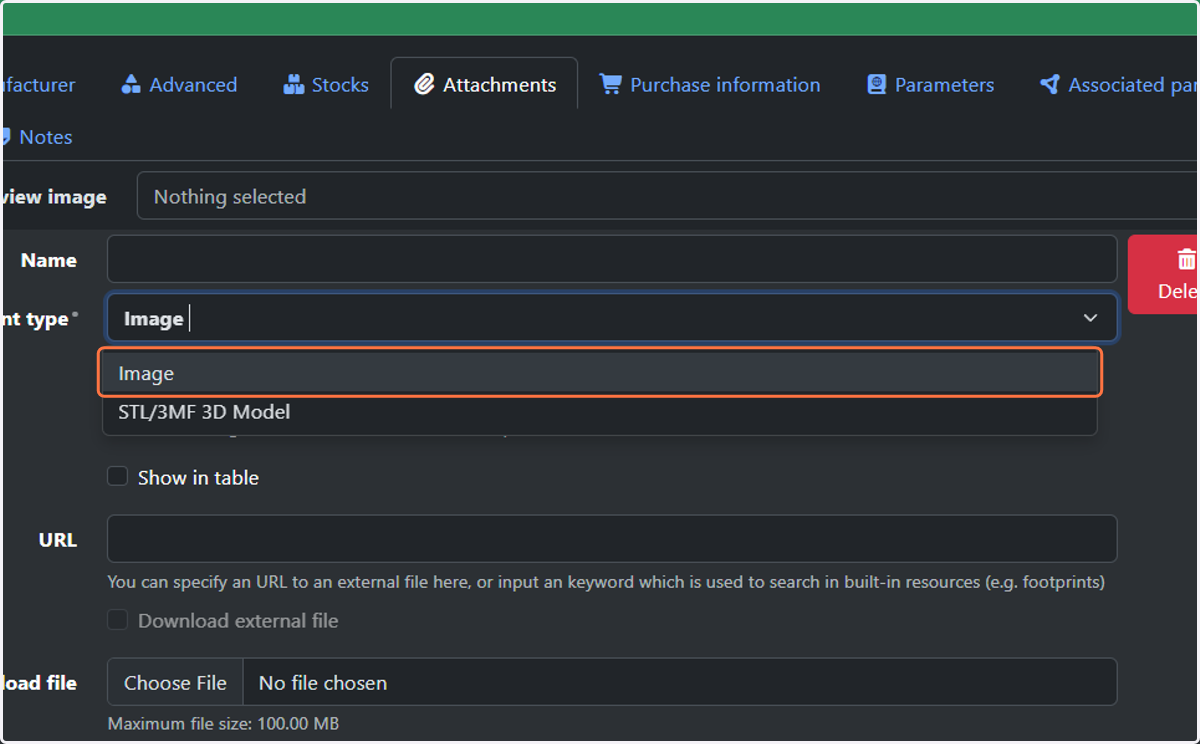
16. Select the attachment type
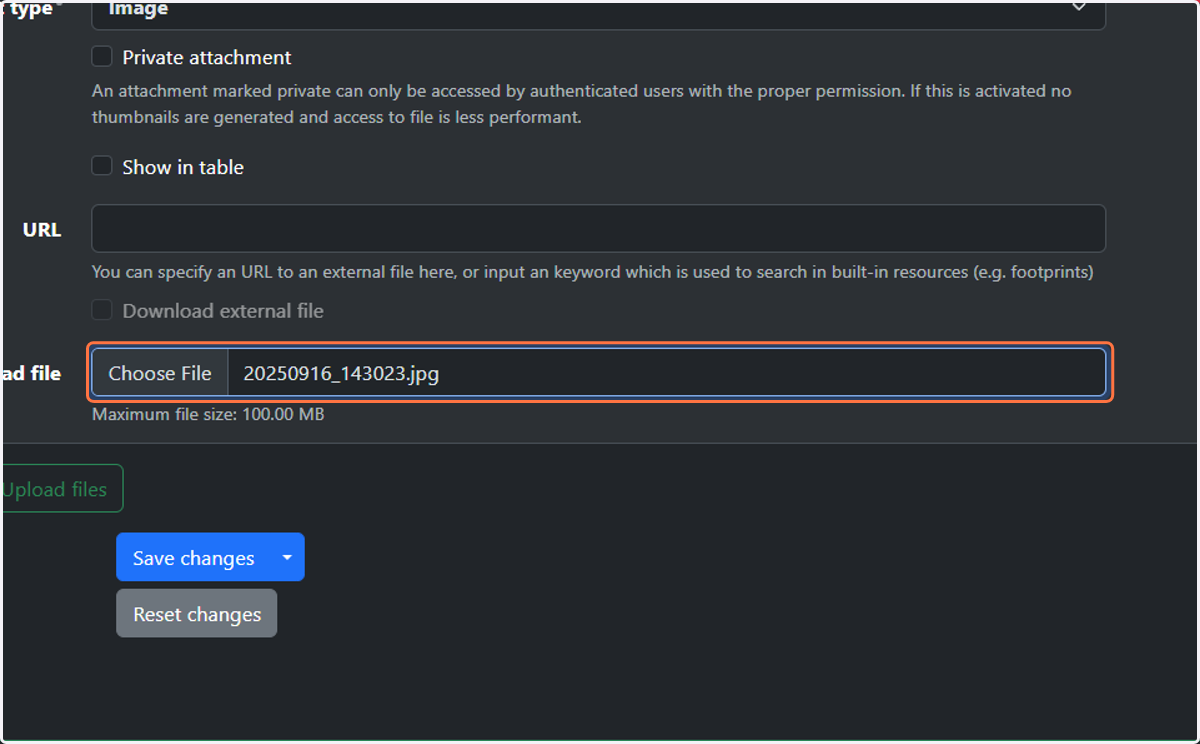
17. Upload the attachment
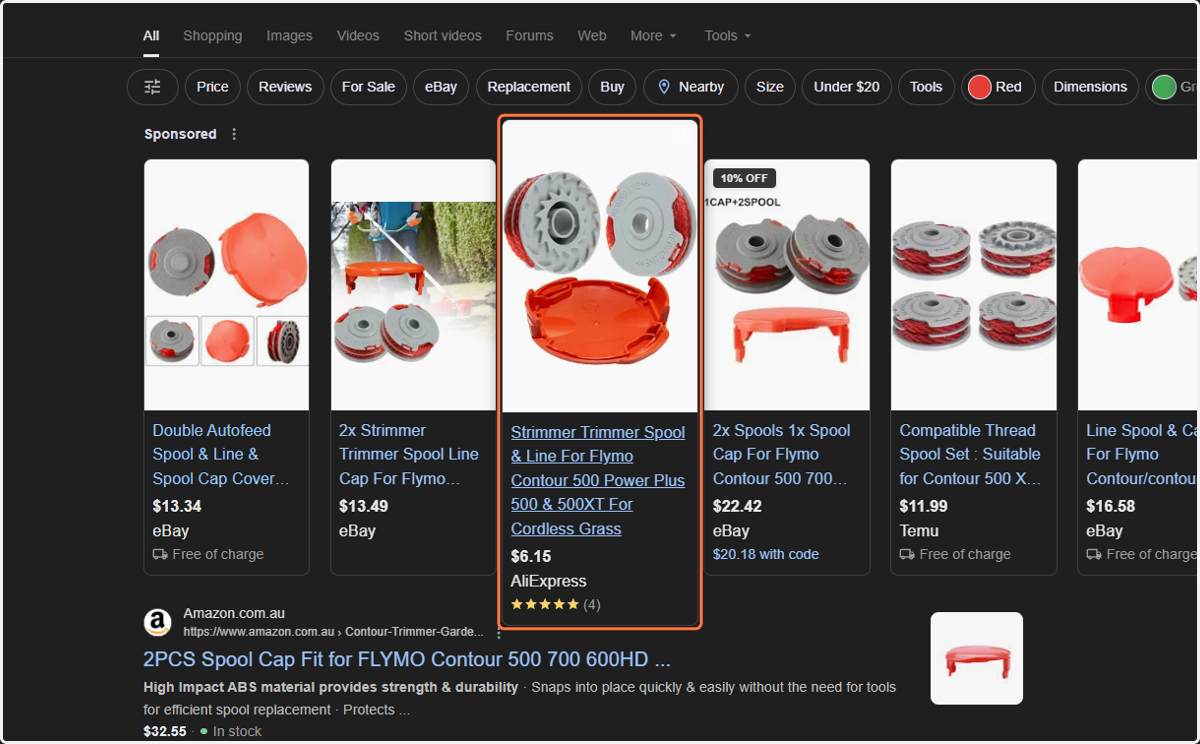
18. Search Google for the part
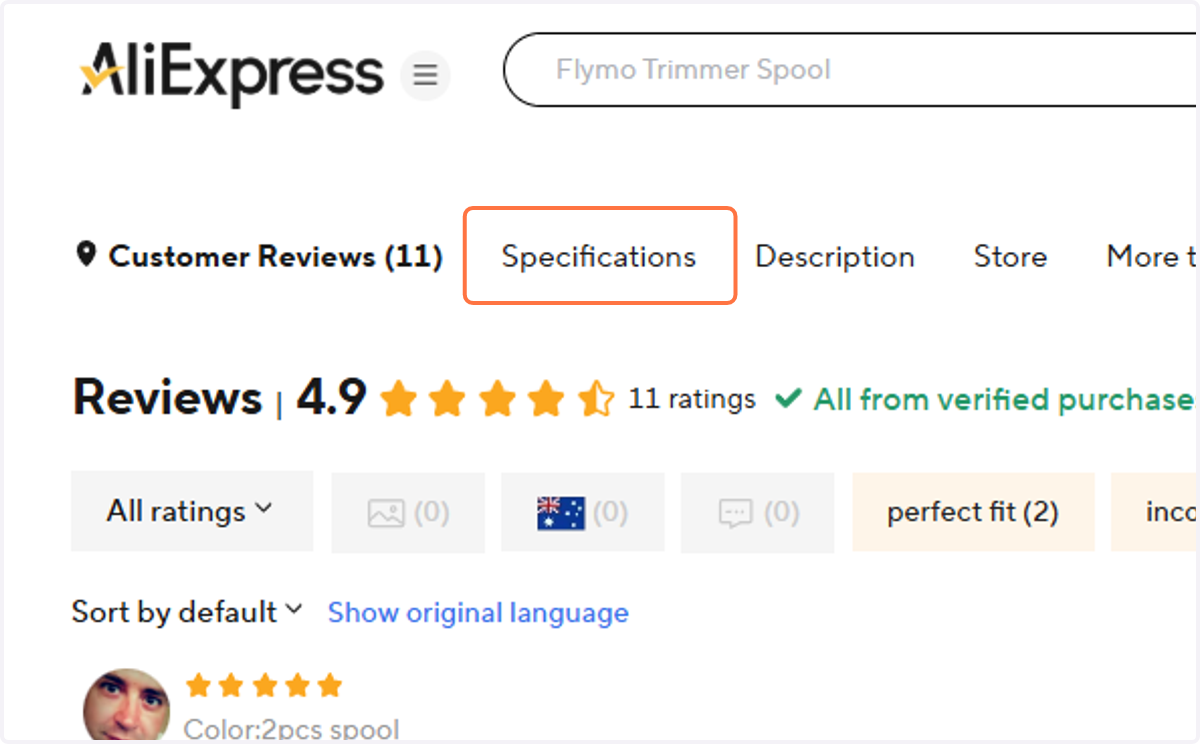
19. Click on Specifications
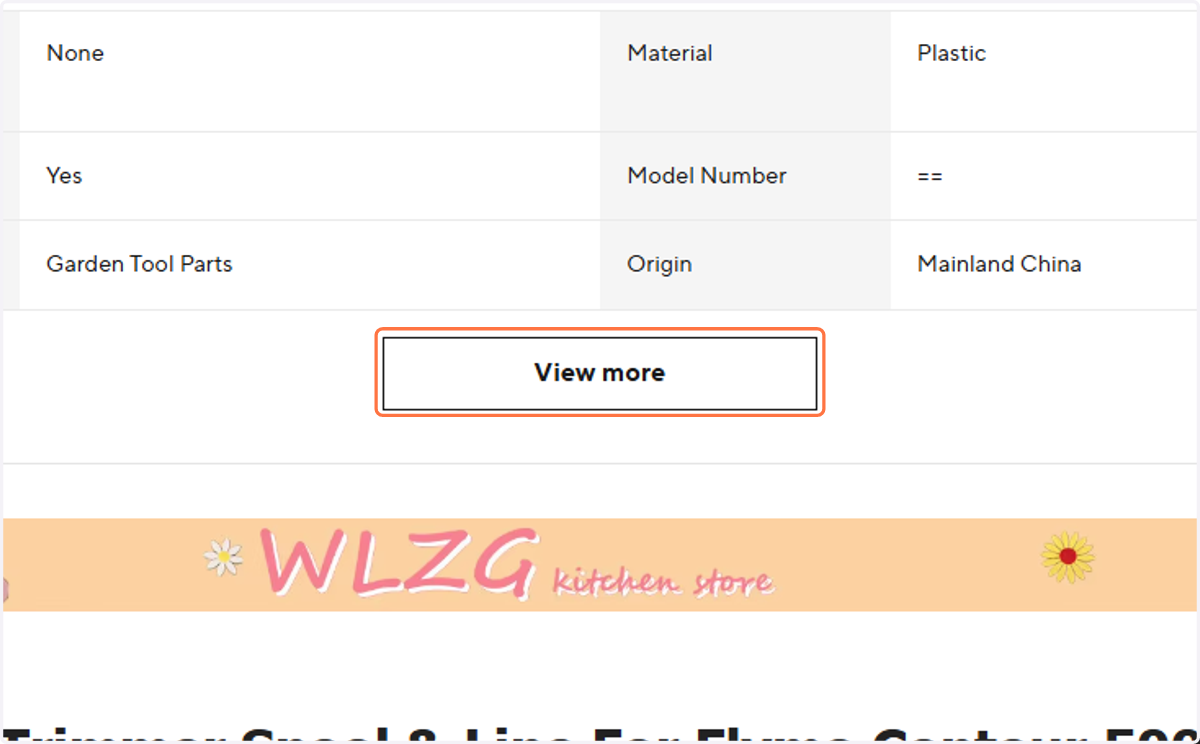
20. Click on View more
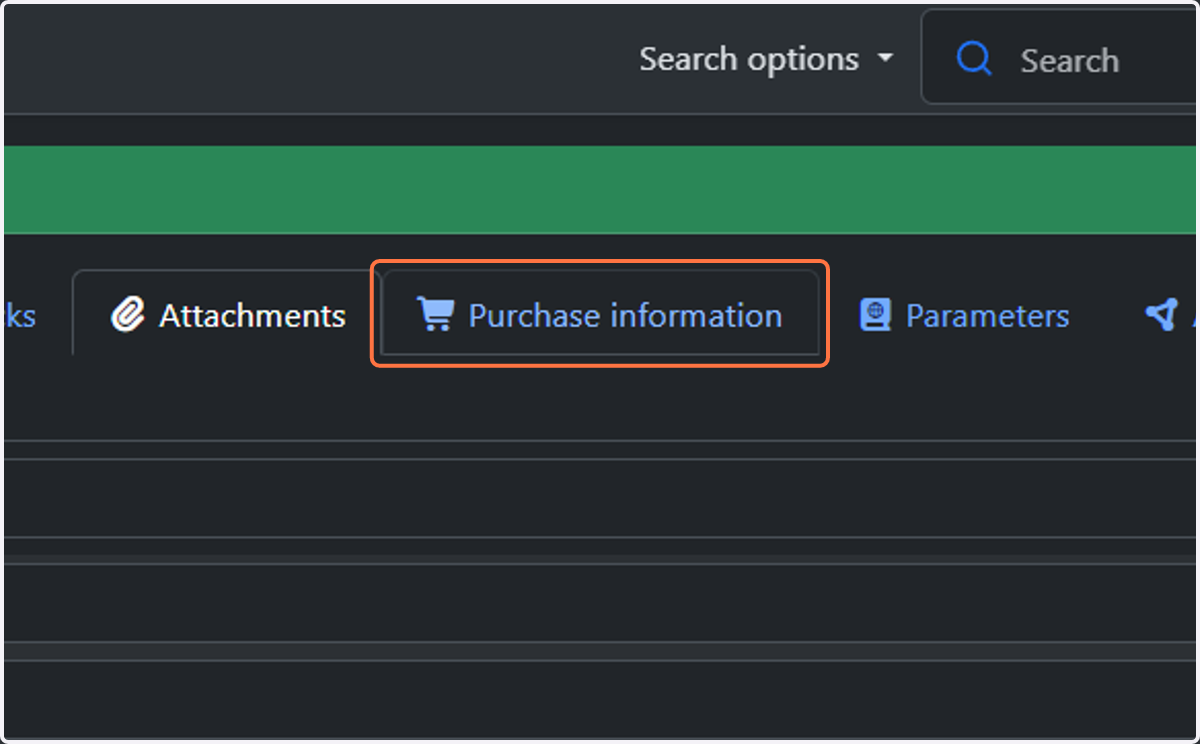
21. Back in Part-DB, Click on Purchase information
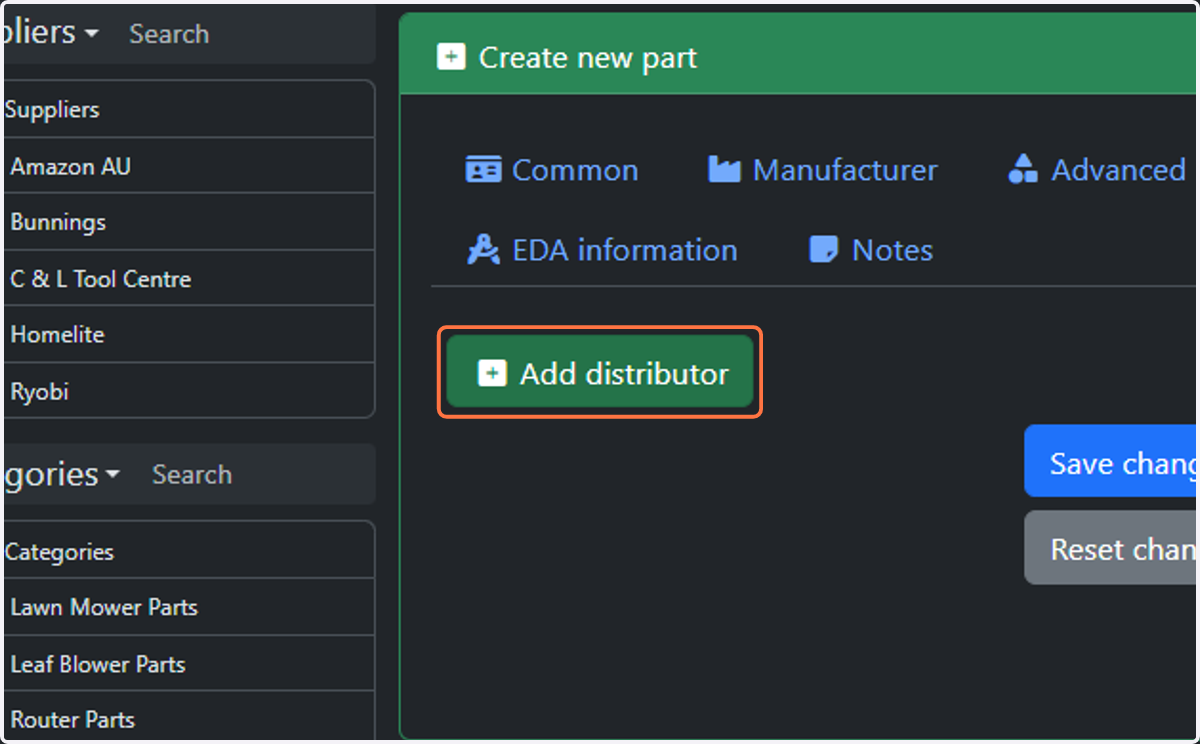
22. Click on Add distributor
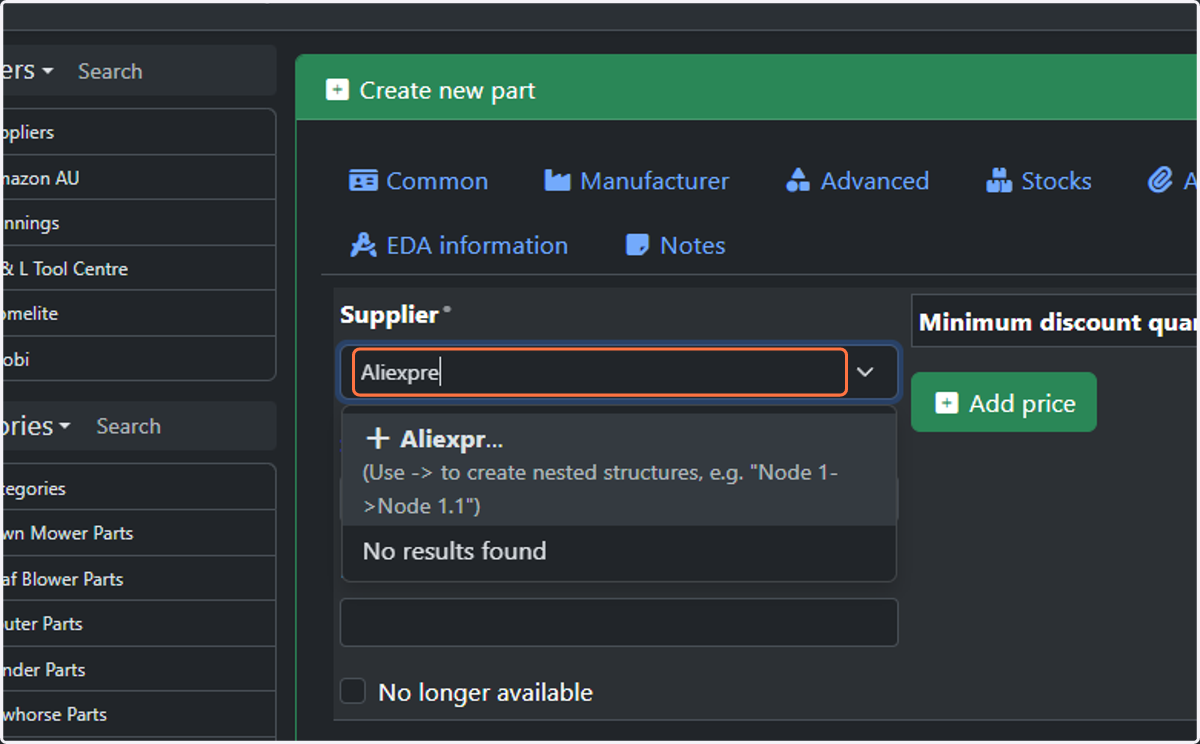
23. Select the relevant supplier. If the relevant one is not present, add it by typing directly in the field.
If the part is stocked by more than one supplier, please add multiple "distributor" sections and repeat these instructions for each supplier.
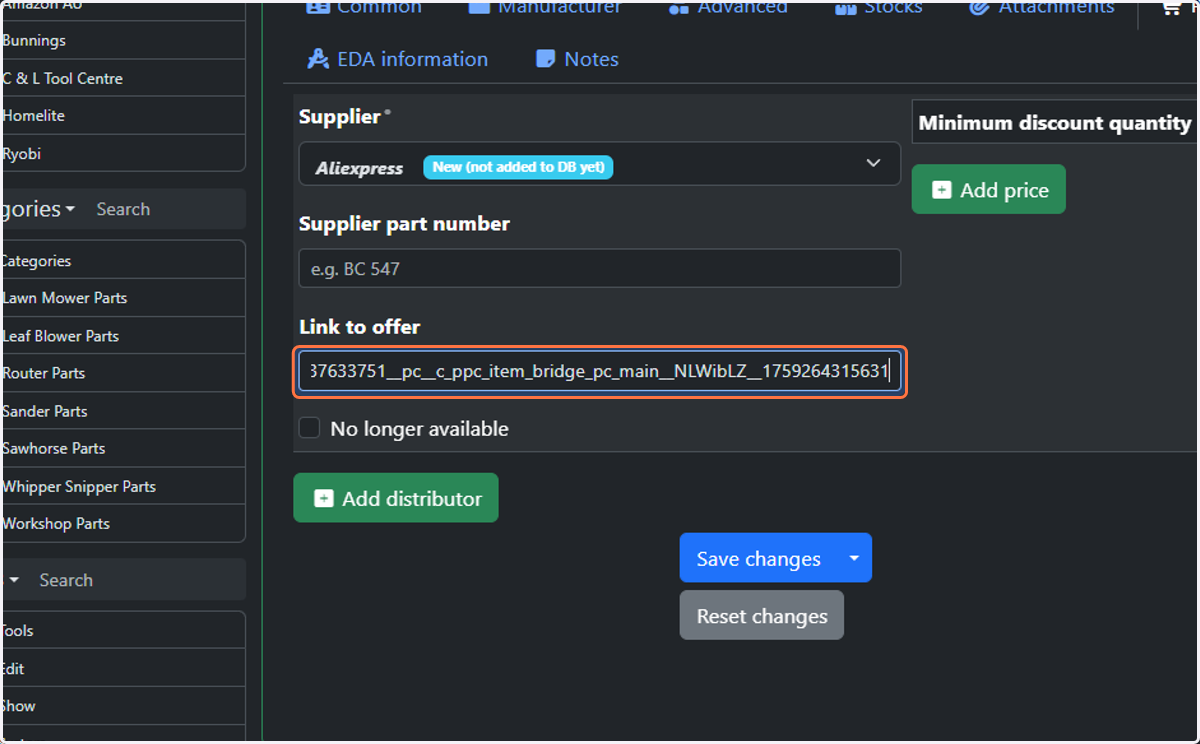
24. Paste in the supplier URL for the part
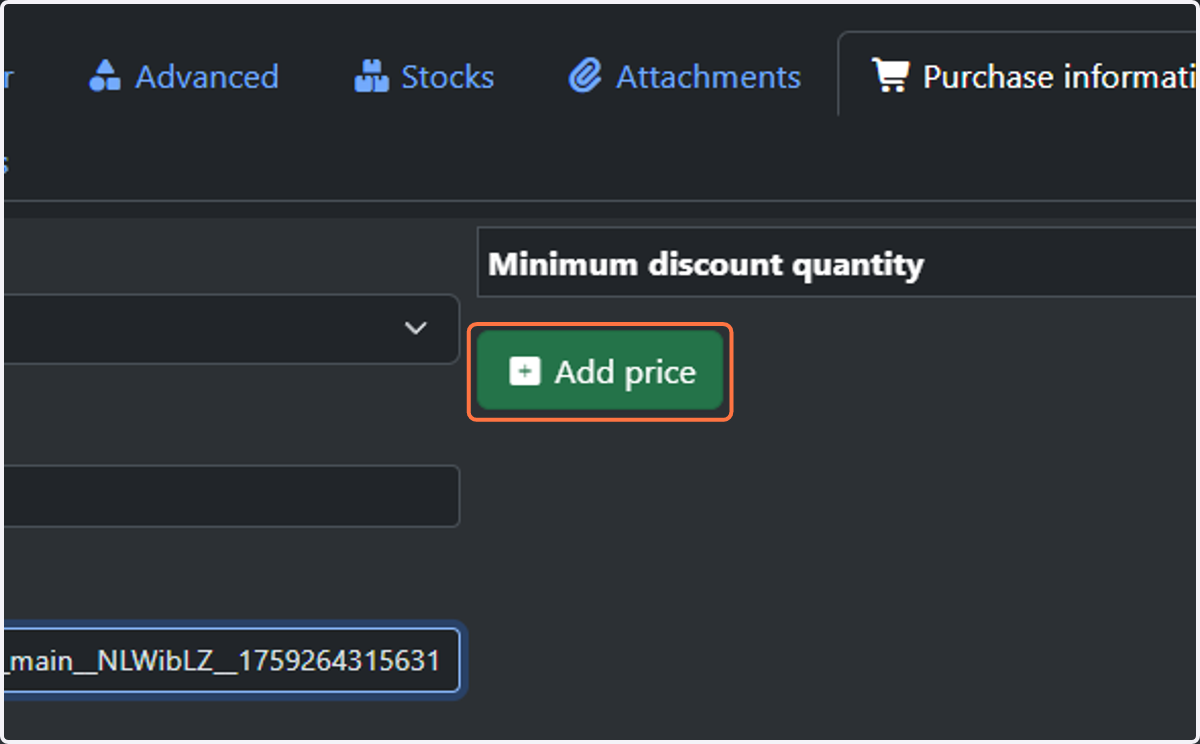
25. Click on Add price
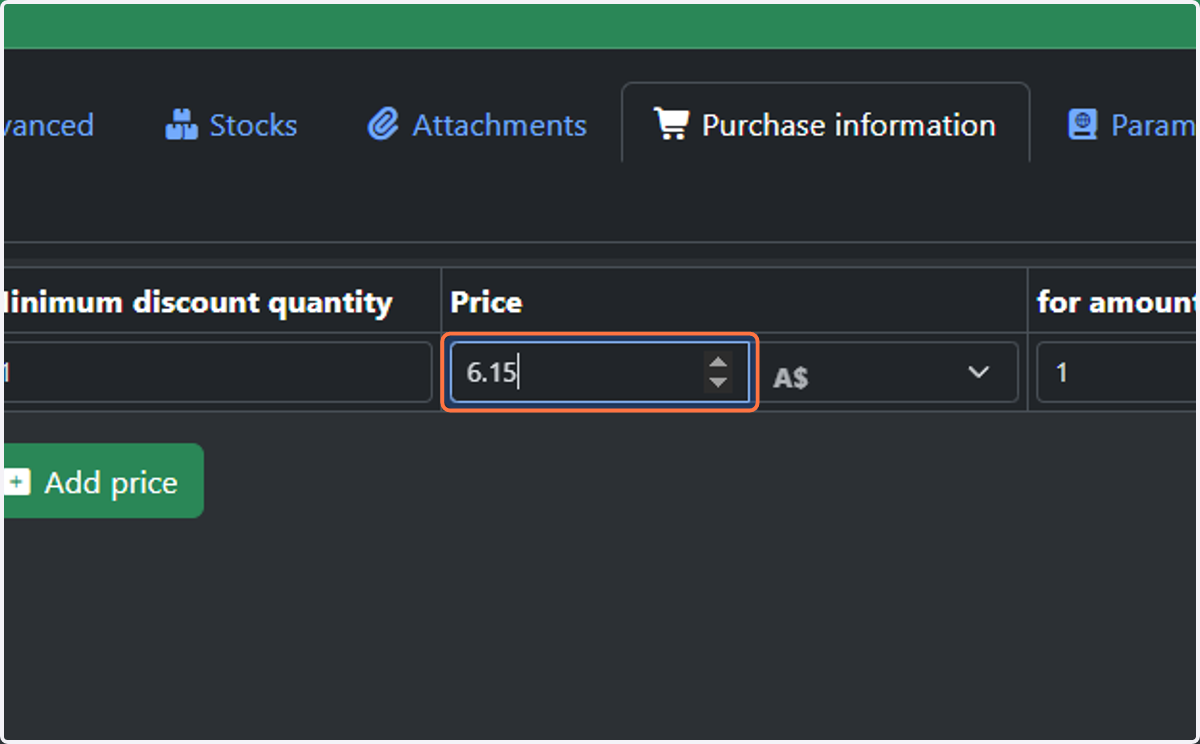
26. Add the price
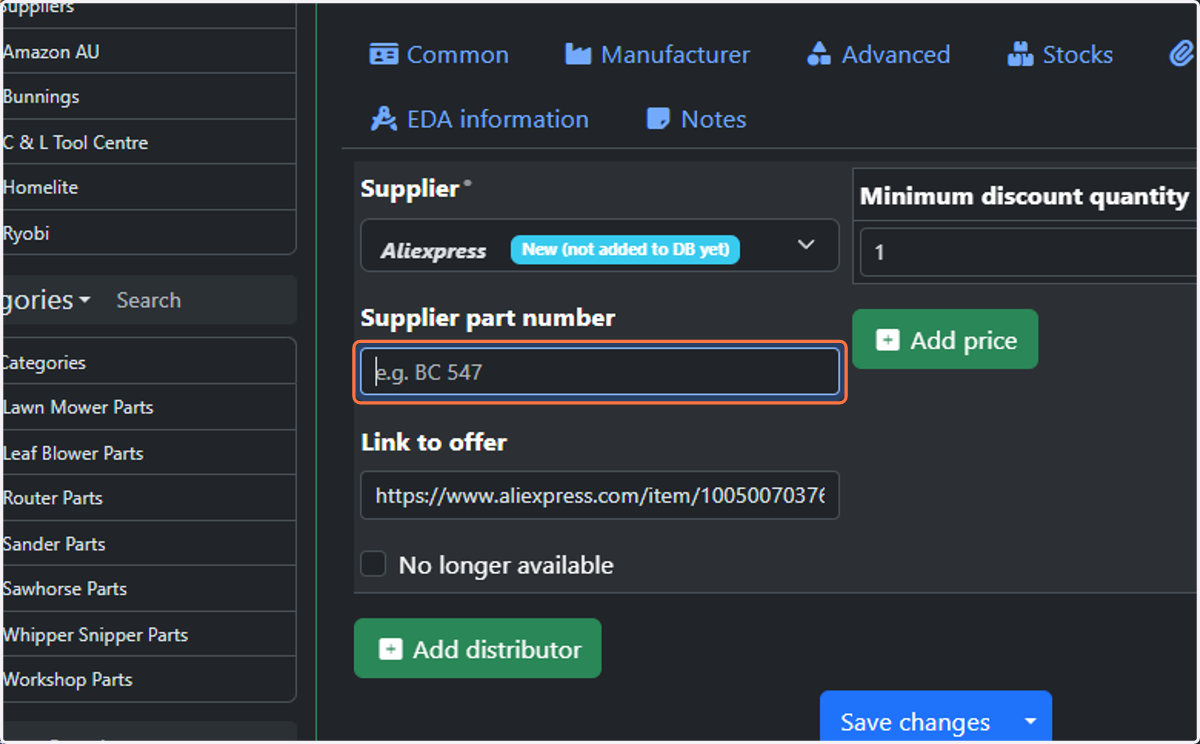
27. Add the Supplier part number, if available
This is the Bunnings I/N number, for example. Including this makes ordering easier later.
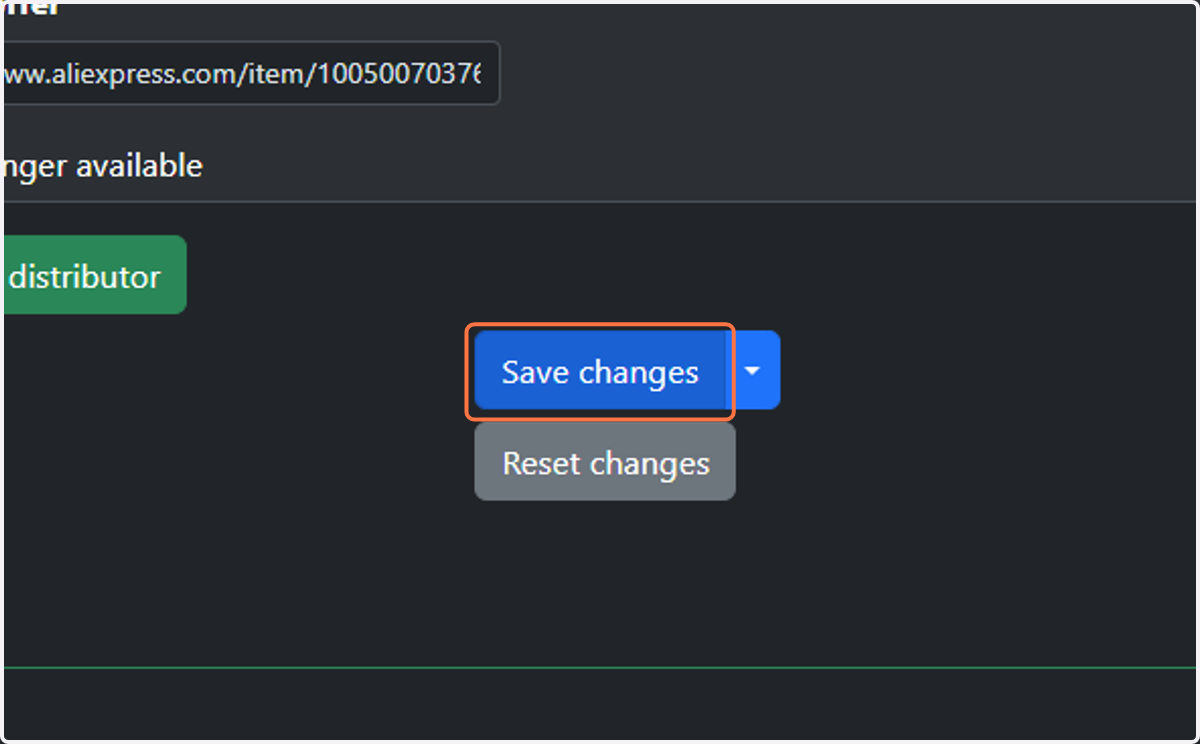
28. Click on Save changes
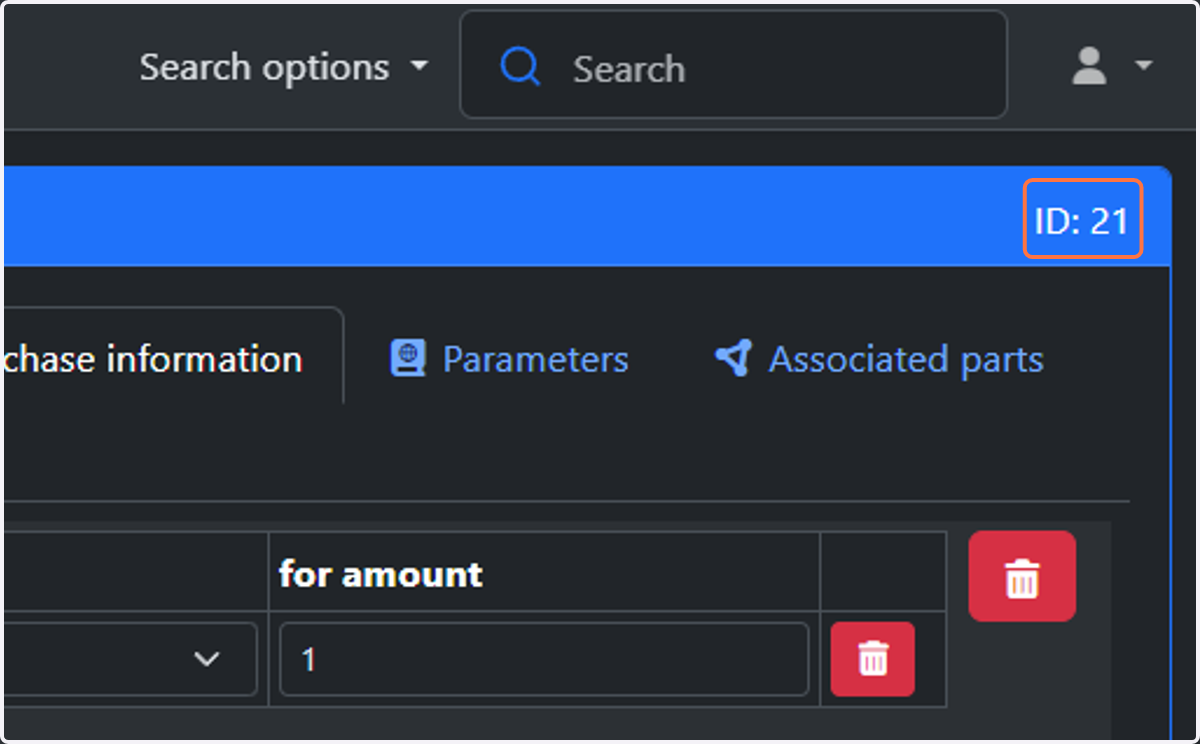
29. Note the generated ID number in the top right. This is what you will need for the labels.
🖨️ Print Labels
30. Switching to the open Command Prompt window
Enter the item ID to add it to the label print queue
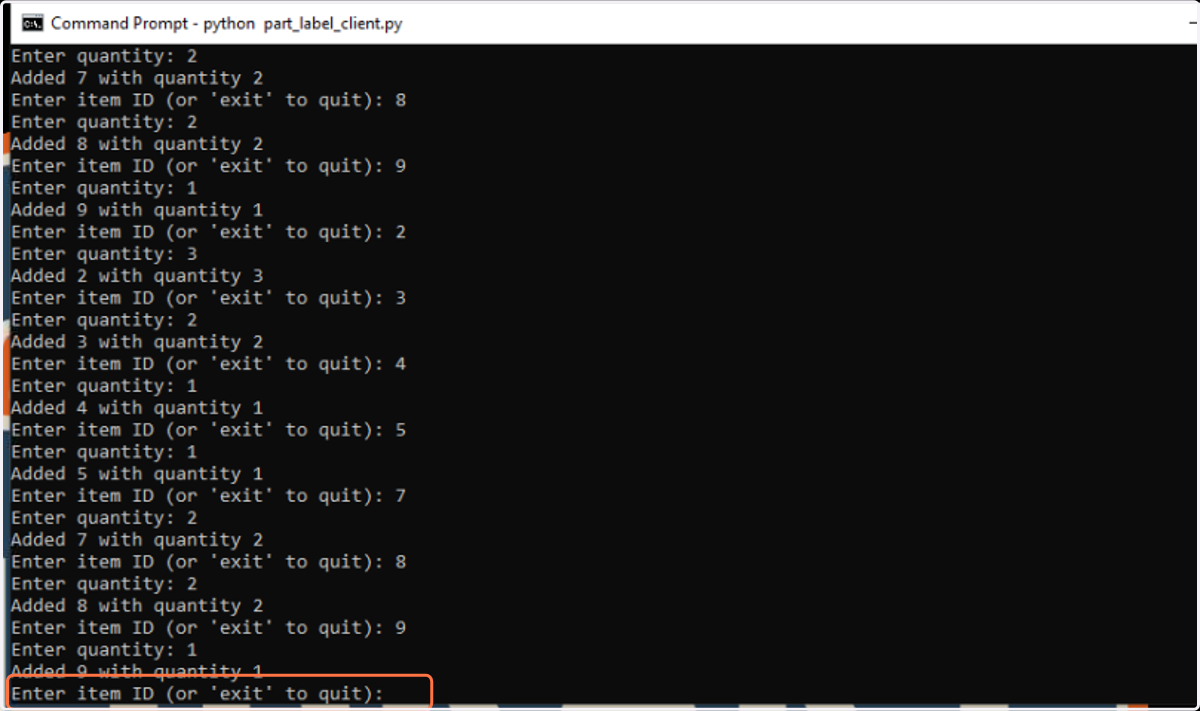
31. Press ENTER, enter the quantity of labels desired (i.e. "3"), then press ENTER again to add the labels to the queue
32. Labels will print in sheets of 20 once the queue reaches that level
🏘️ Add a New Category or Subcategory
Use as required. It's best to create the category before trying to create a new part with that category
If you have a unique item, you can instead put it in the higher-level category i.e. "Whipper Snipper Part" rather than making a category for 1 item. If you have 2 or more similar items, make a category.
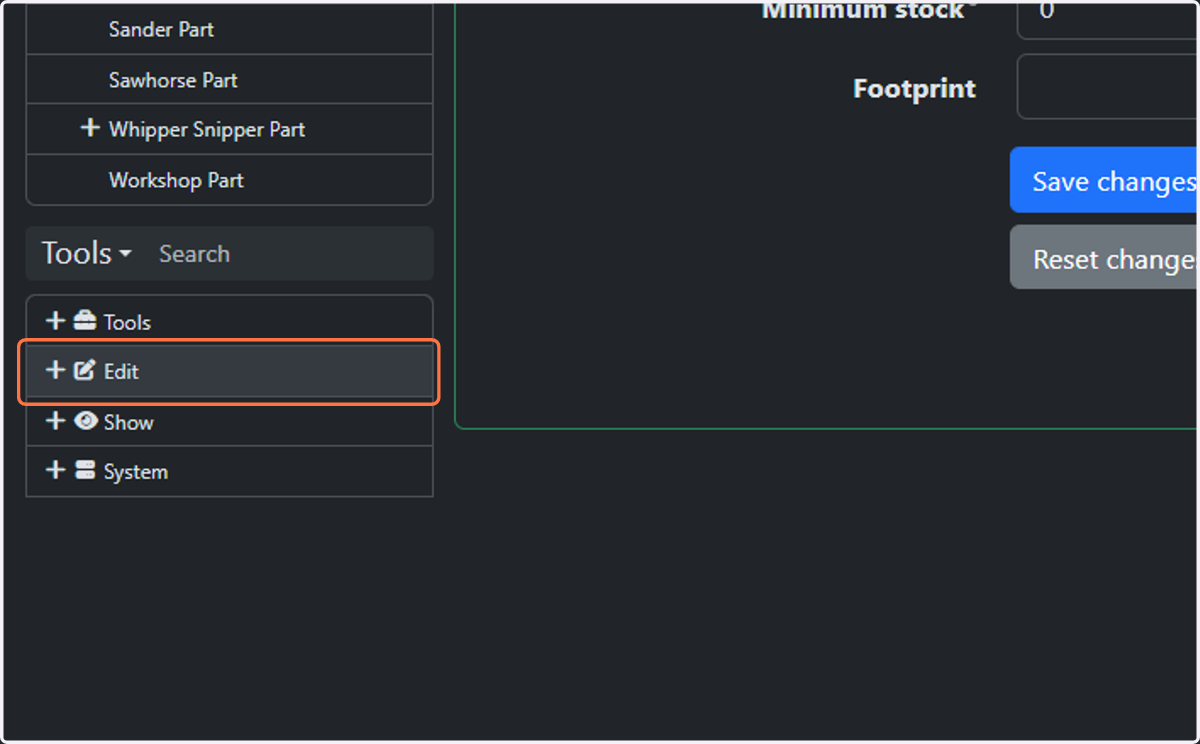
33. In the bottom left Tools menu, click on Edit
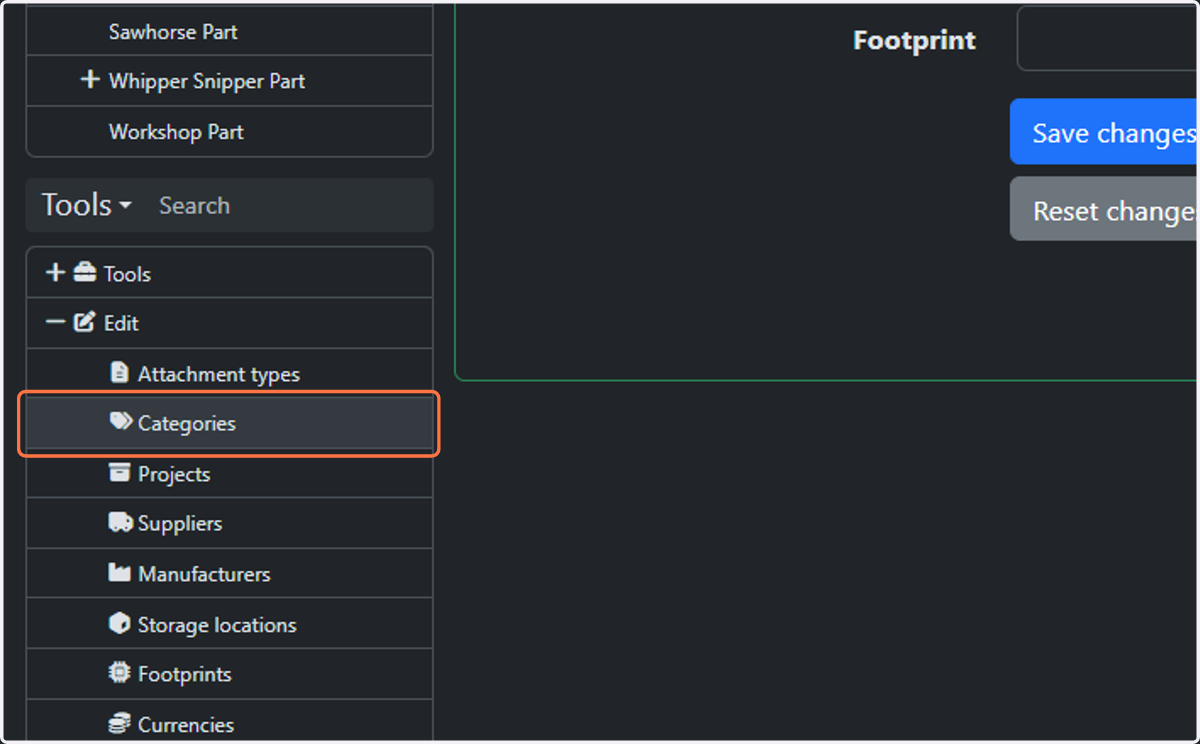
34. Click on Categories
35. Click on New Element
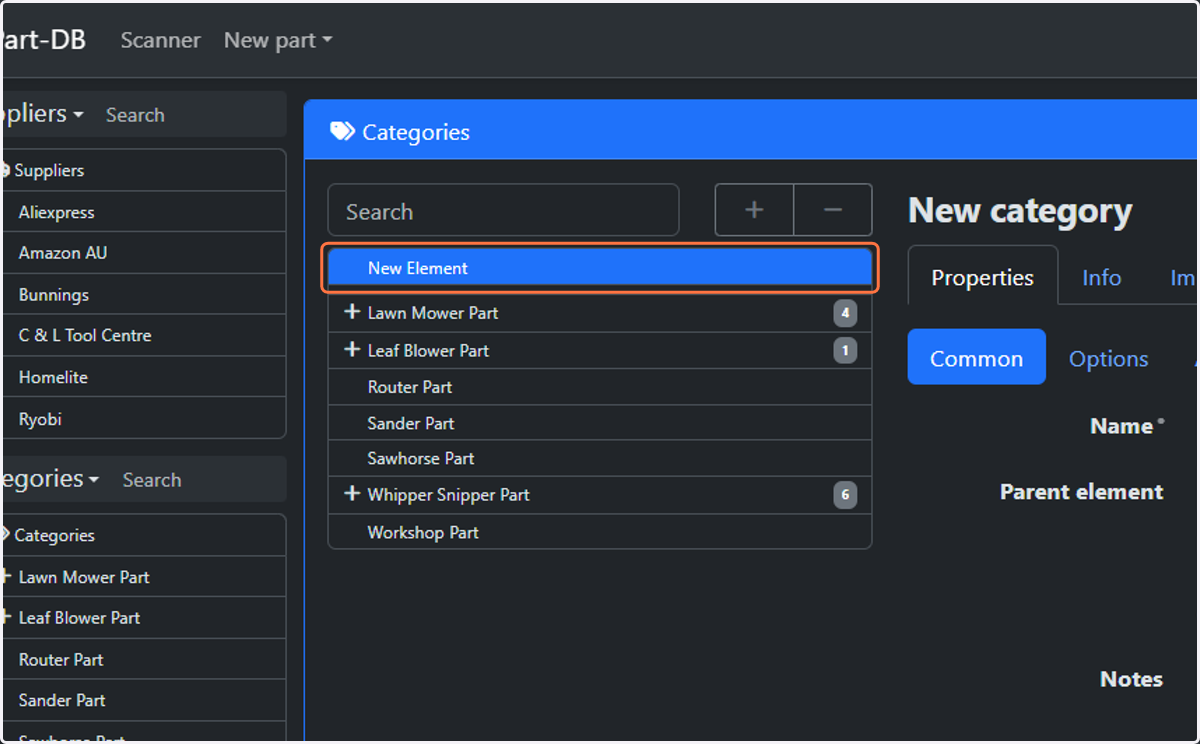
36. Enter Category Name
Use Title Case
Use the singular form "part" "bag" etc, rather than "parts" "bags"
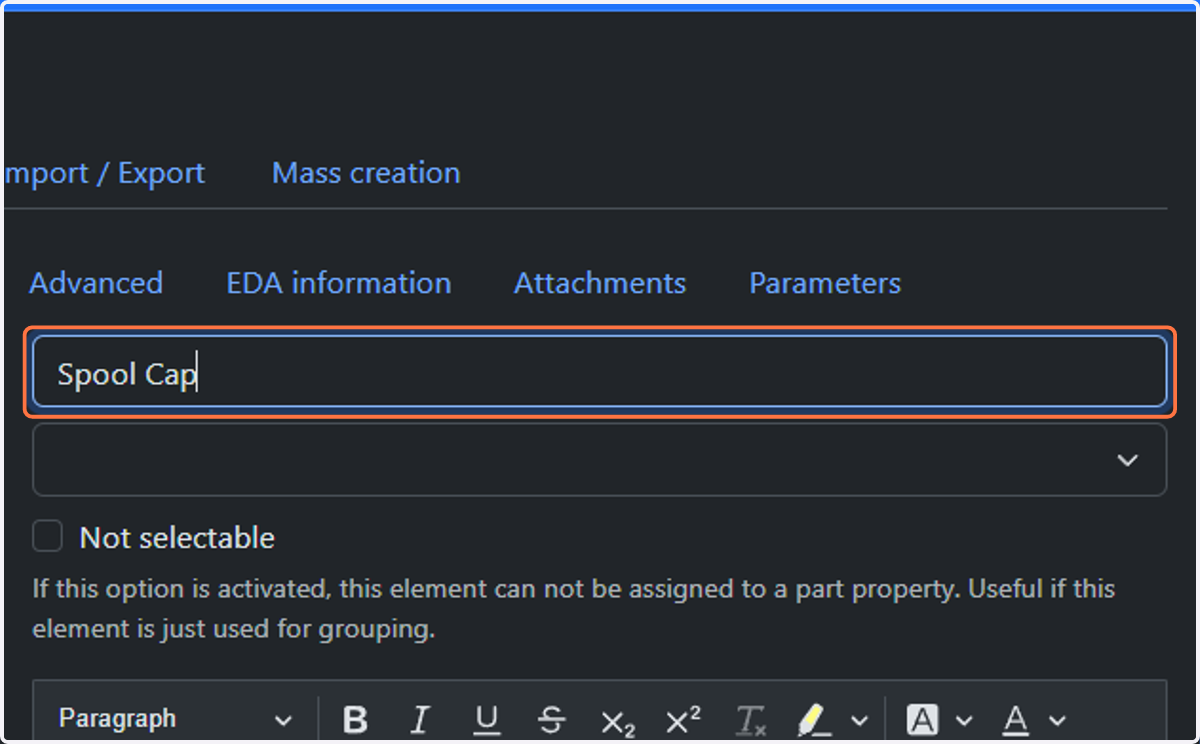
37. For Subcategories, select an appropriate parent element
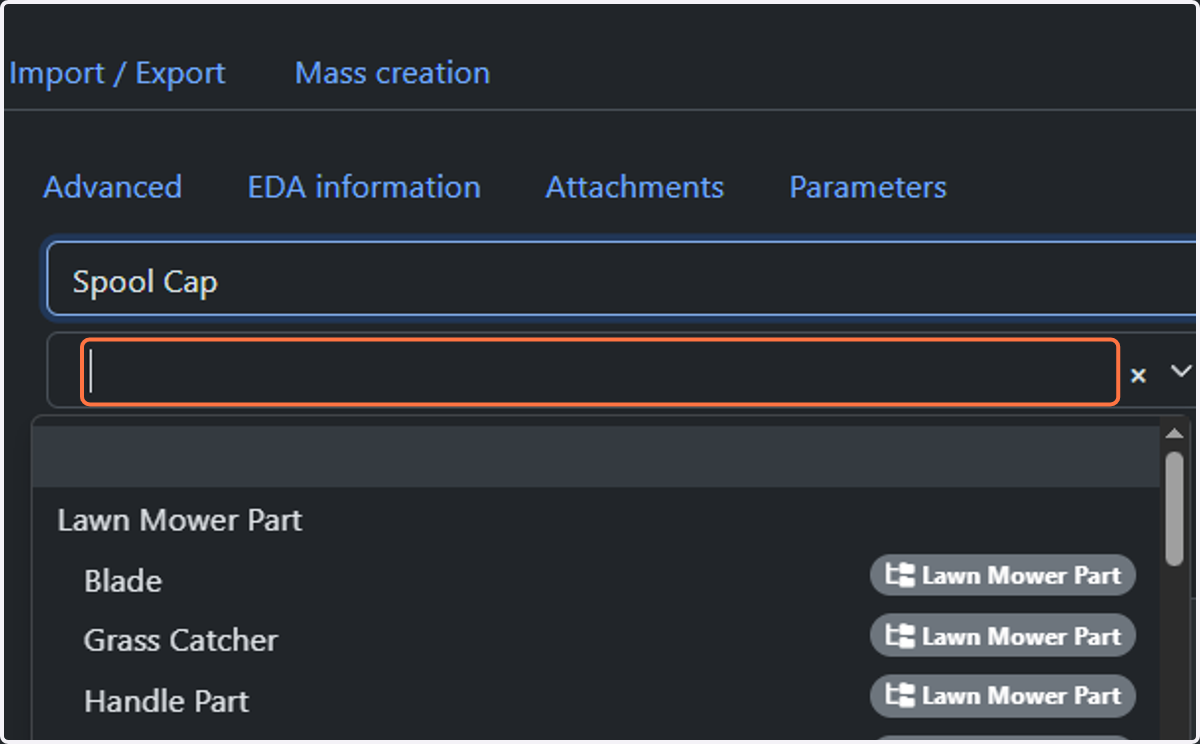
38. Select Parent Element
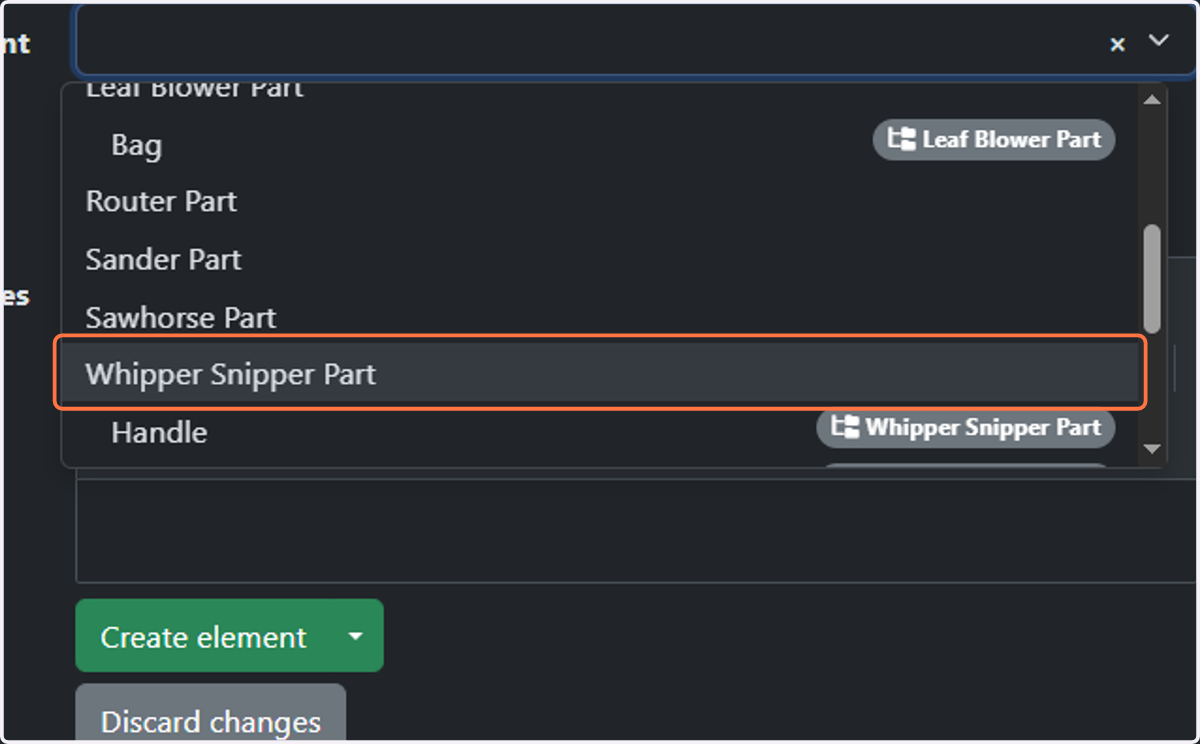
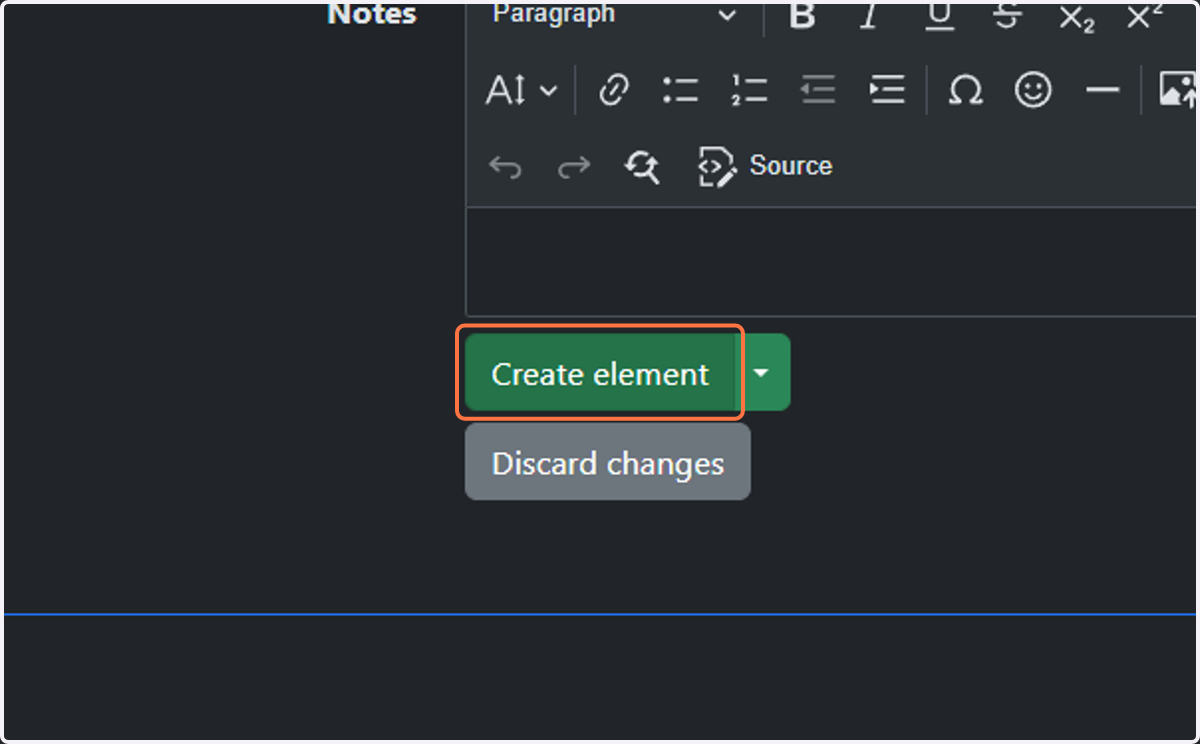
39. Click on Create element