Add Staff in Infinite Campus
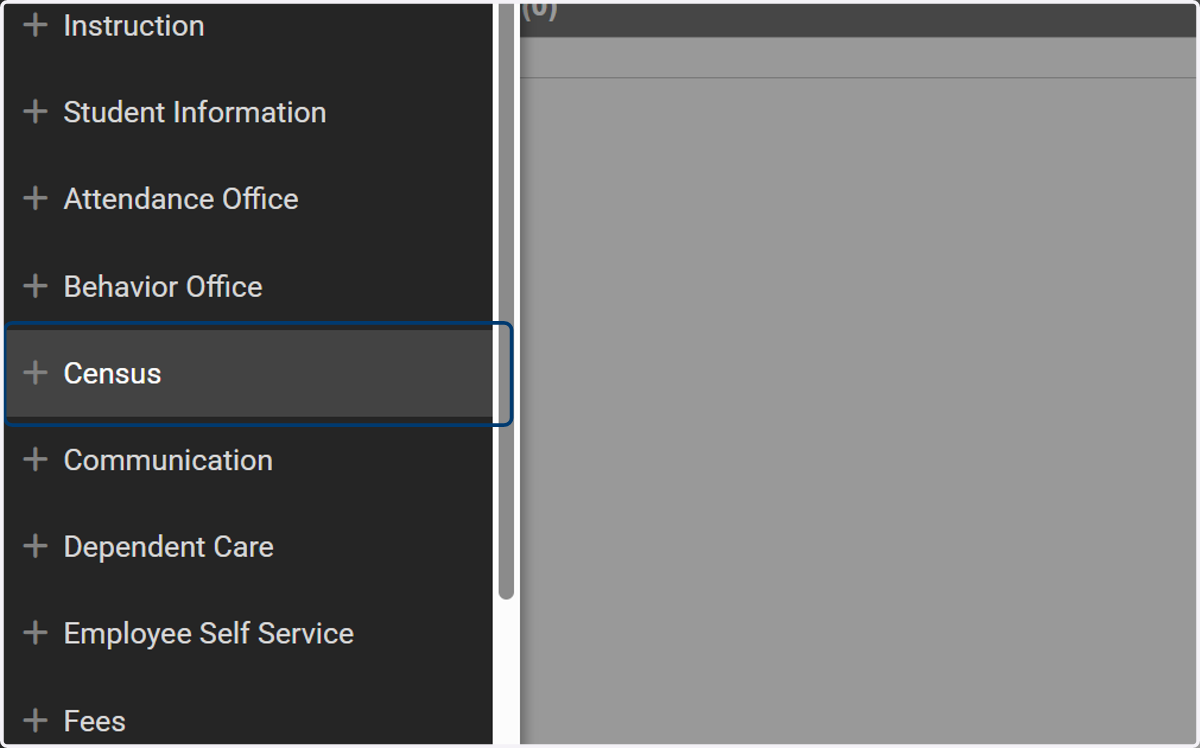
1. Click on Census
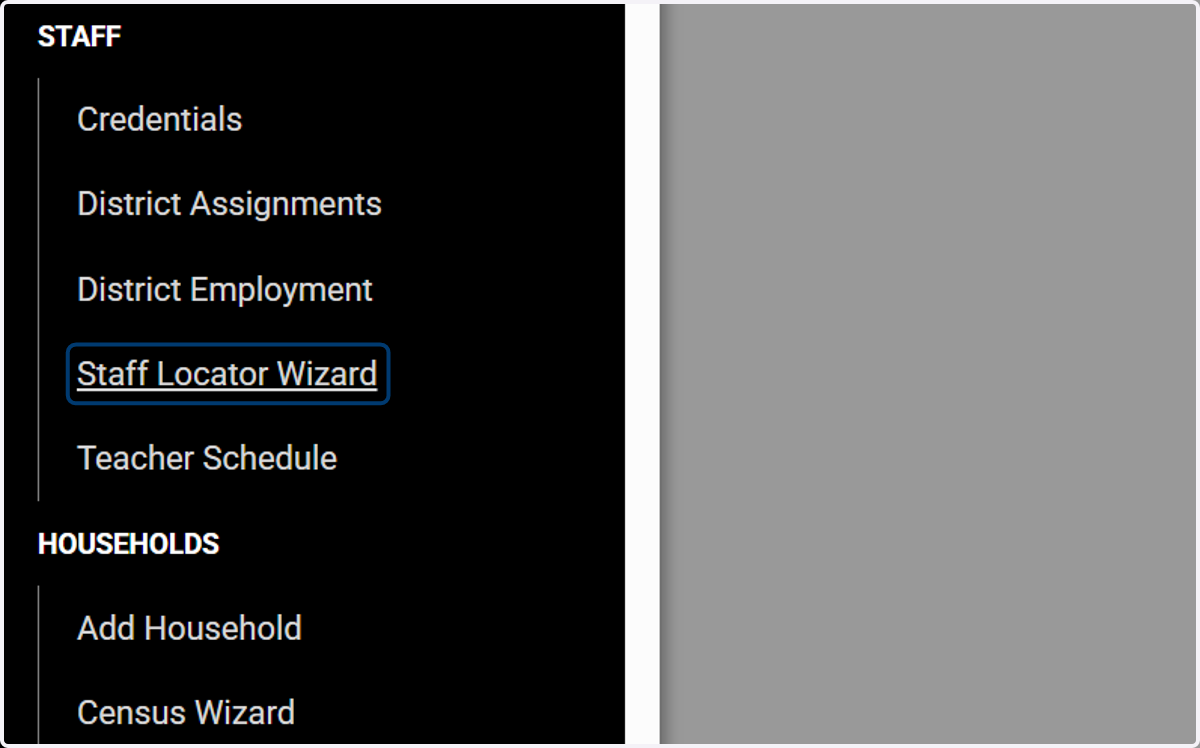
2. Click on Staff Locator Wizard
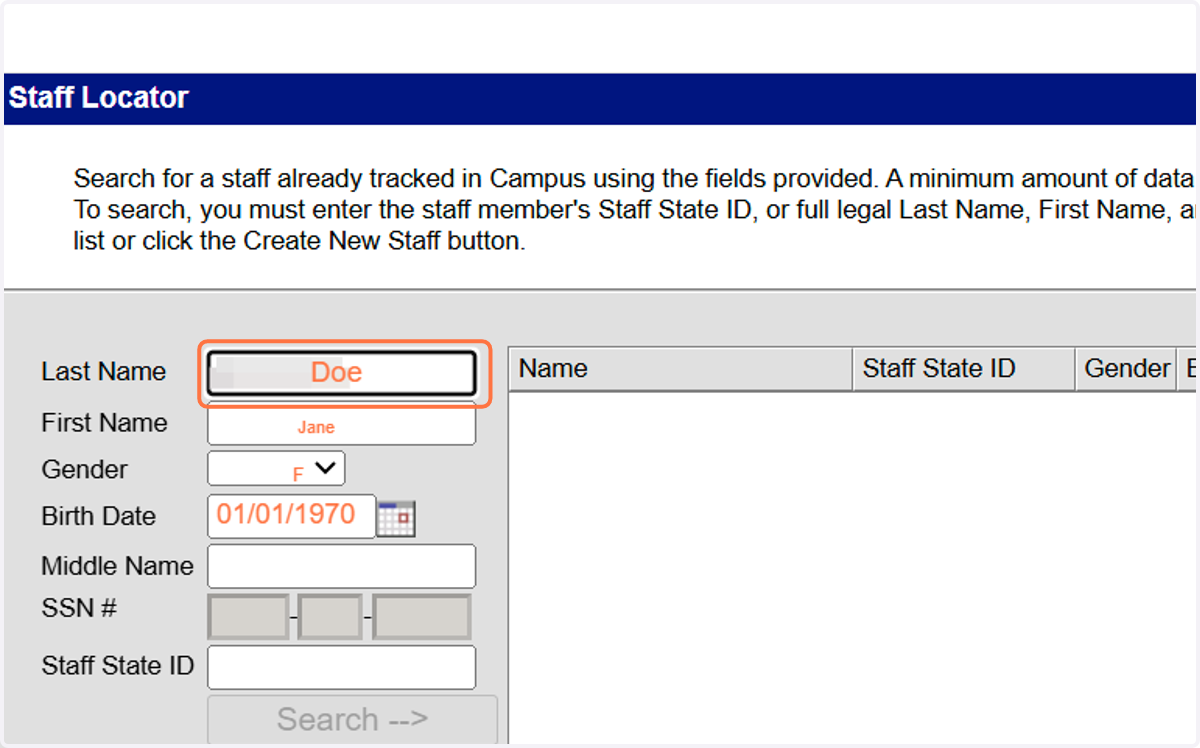
3. Enter the required four fields of information and search
Last Name, First Name, Date of Birth and Gender are required
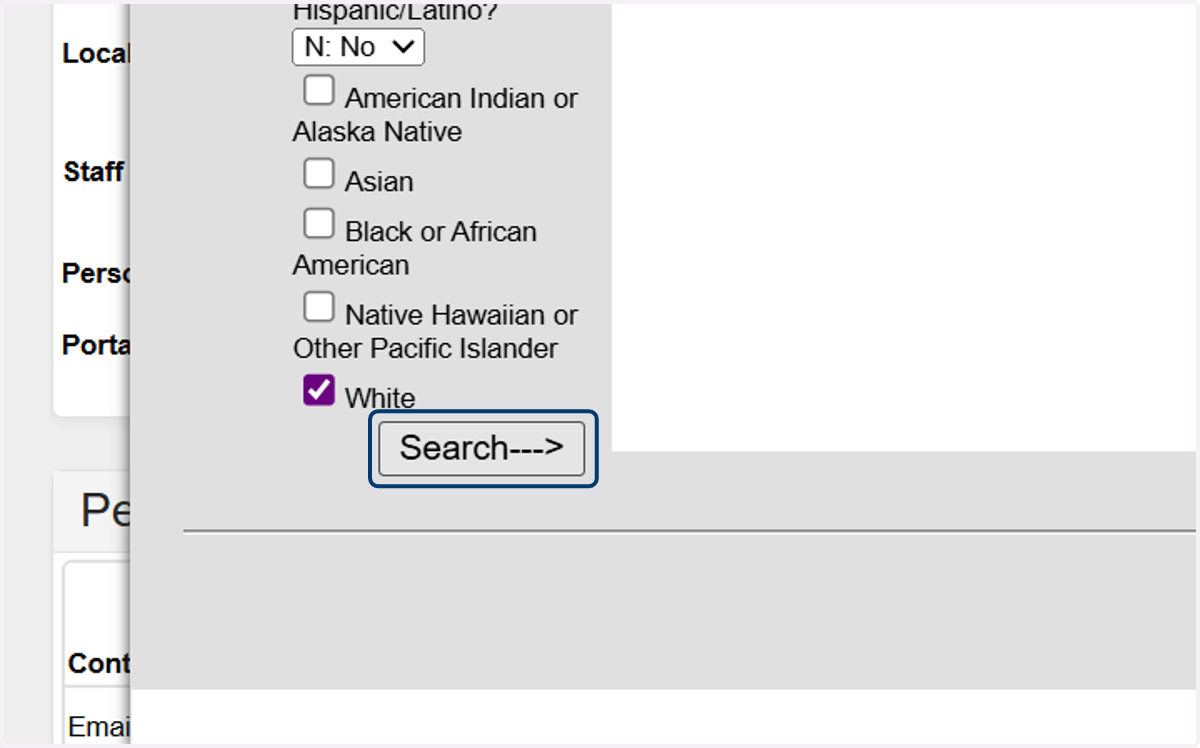
4. Click on Search -->
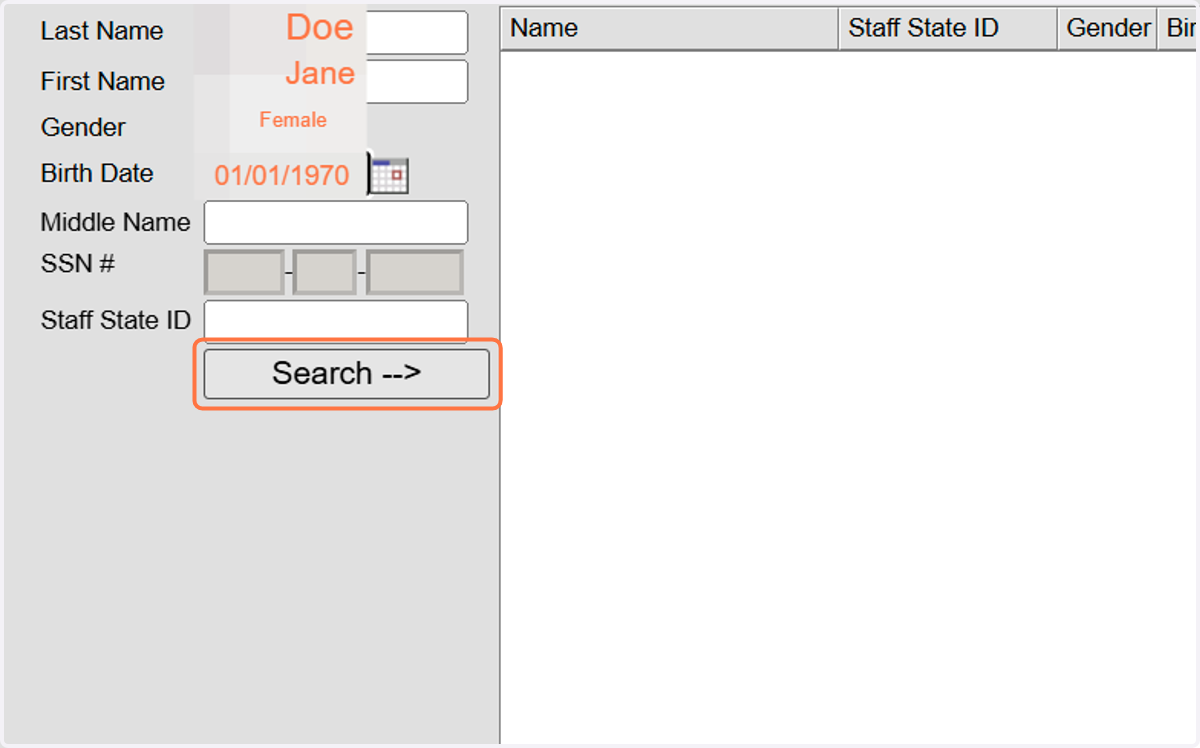
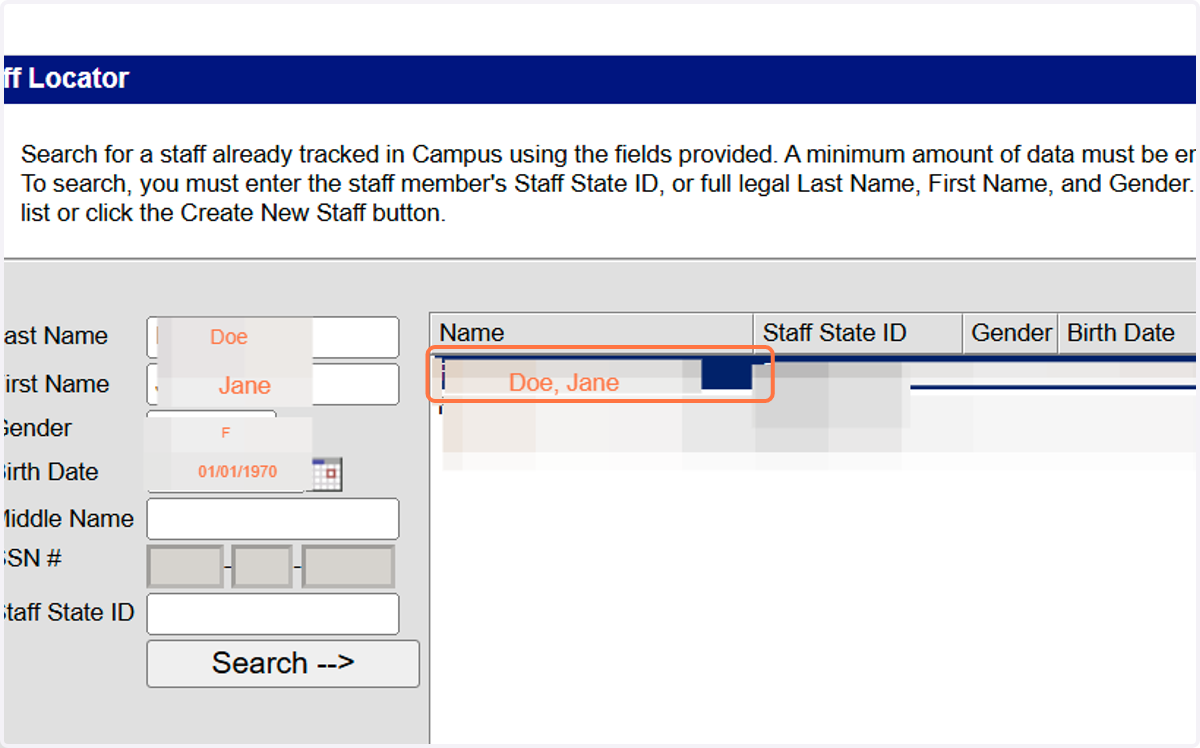
5. If a match is found, click the name. If no match is found, click Create New District Staff
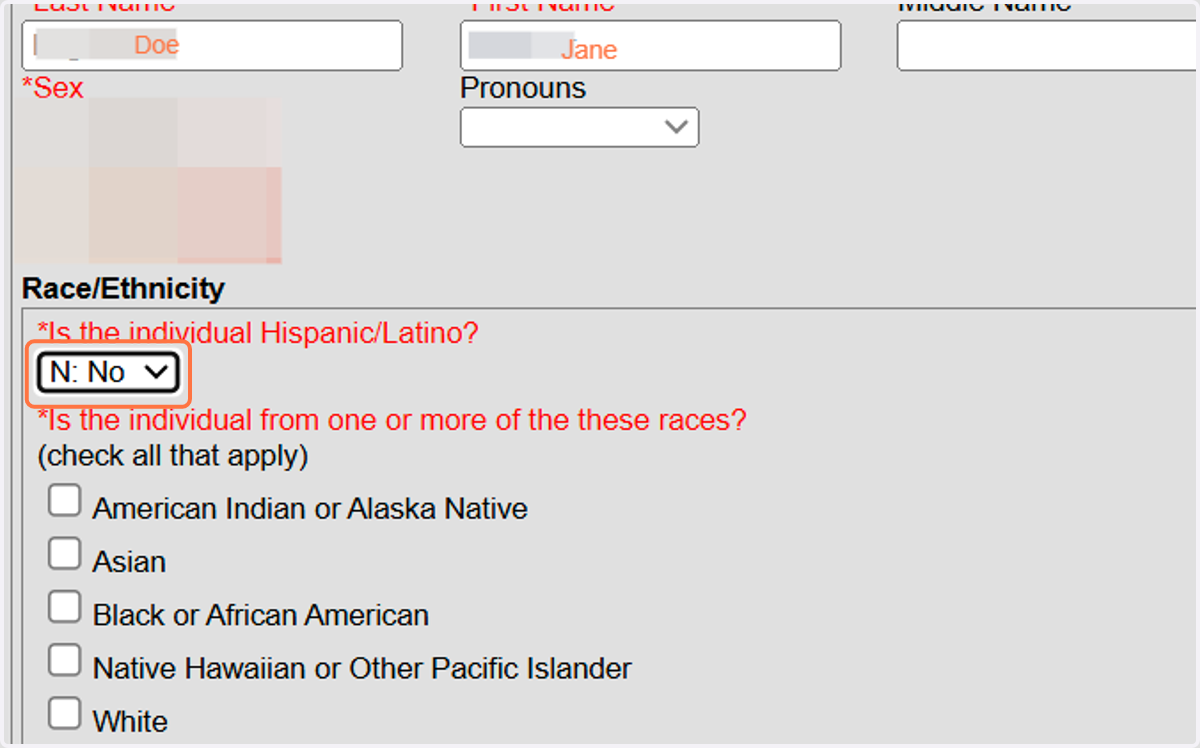
6. Enter the required information for Race/Ethnicity
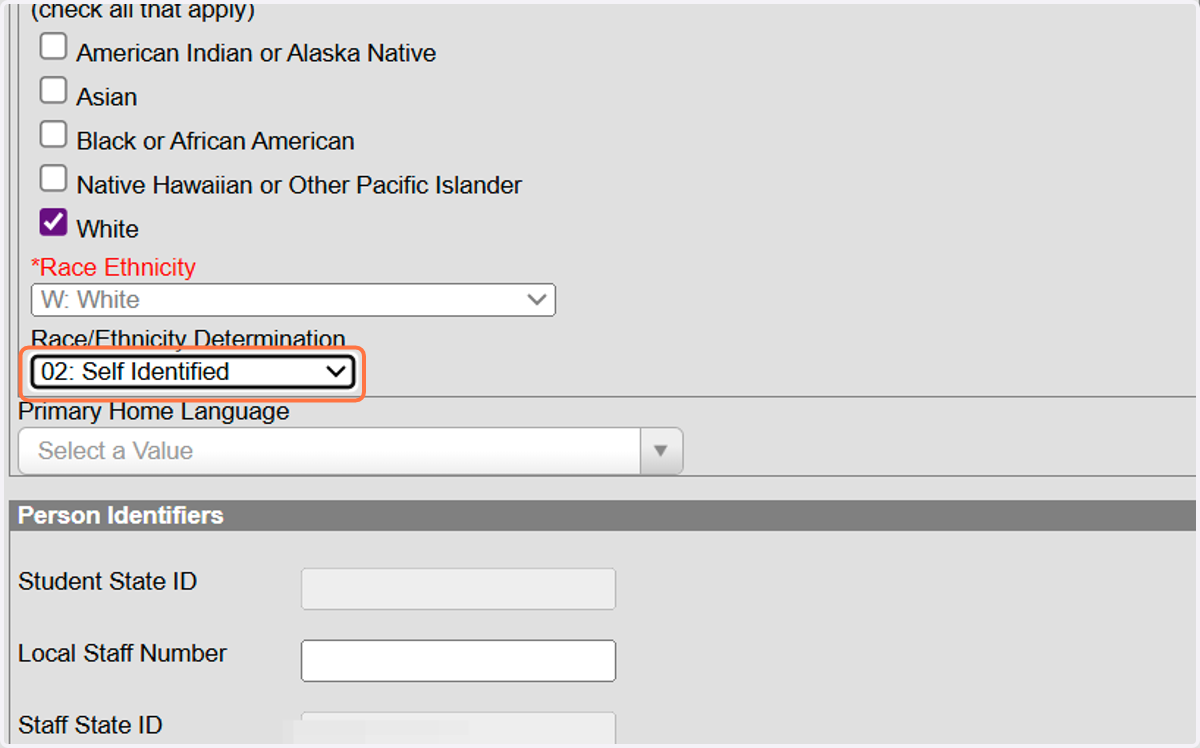
7. Select 02: Self Identified from Race/Ethnicity Determination
8. Enter the employment start date of the employee
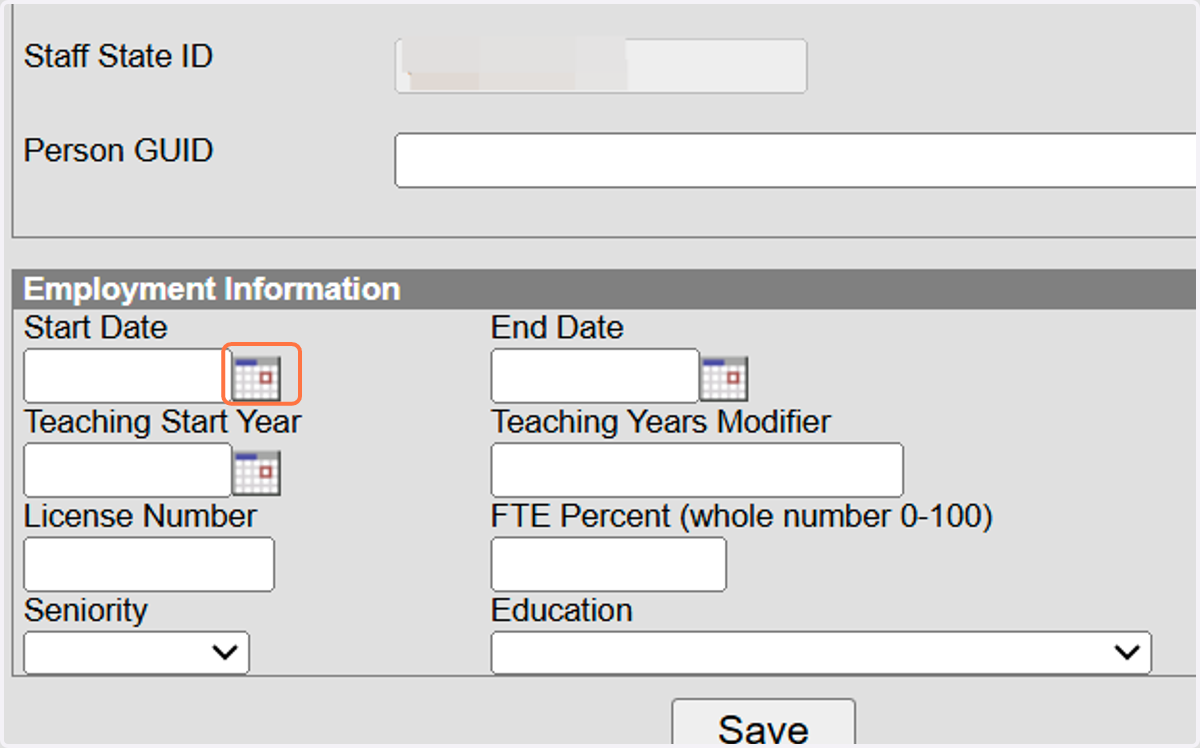
9. Click on Save
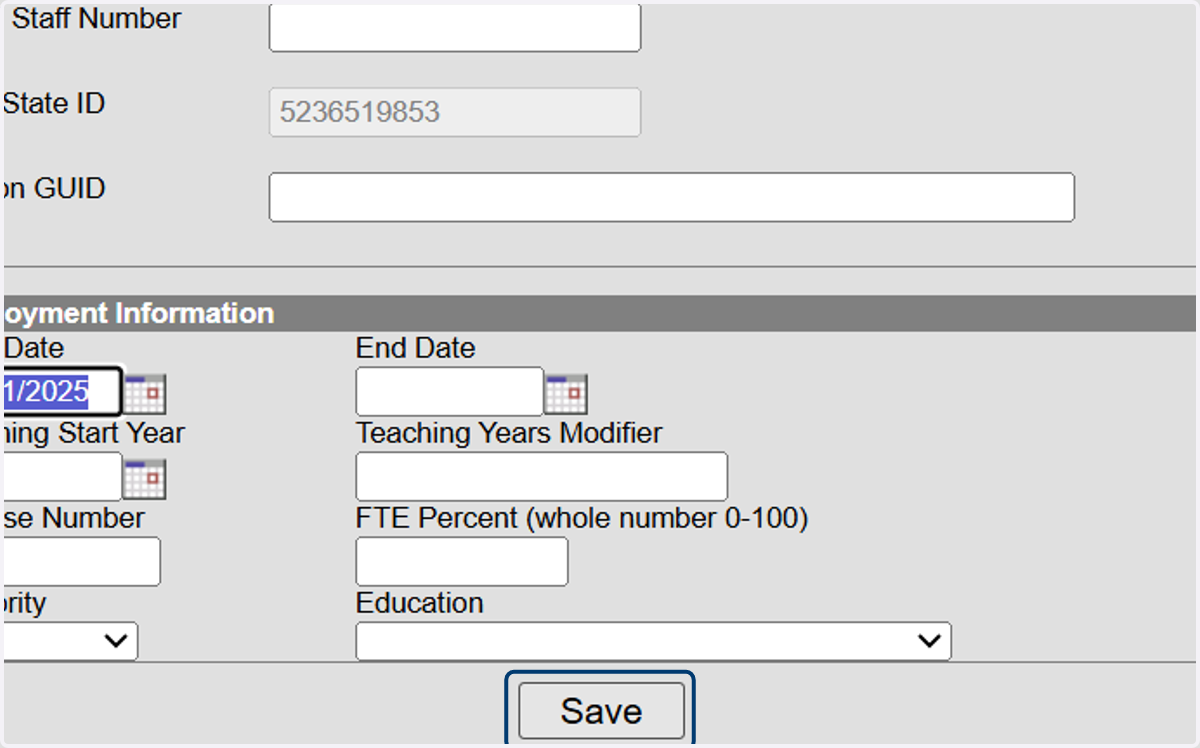
10. Click on Assign NC Staff ID
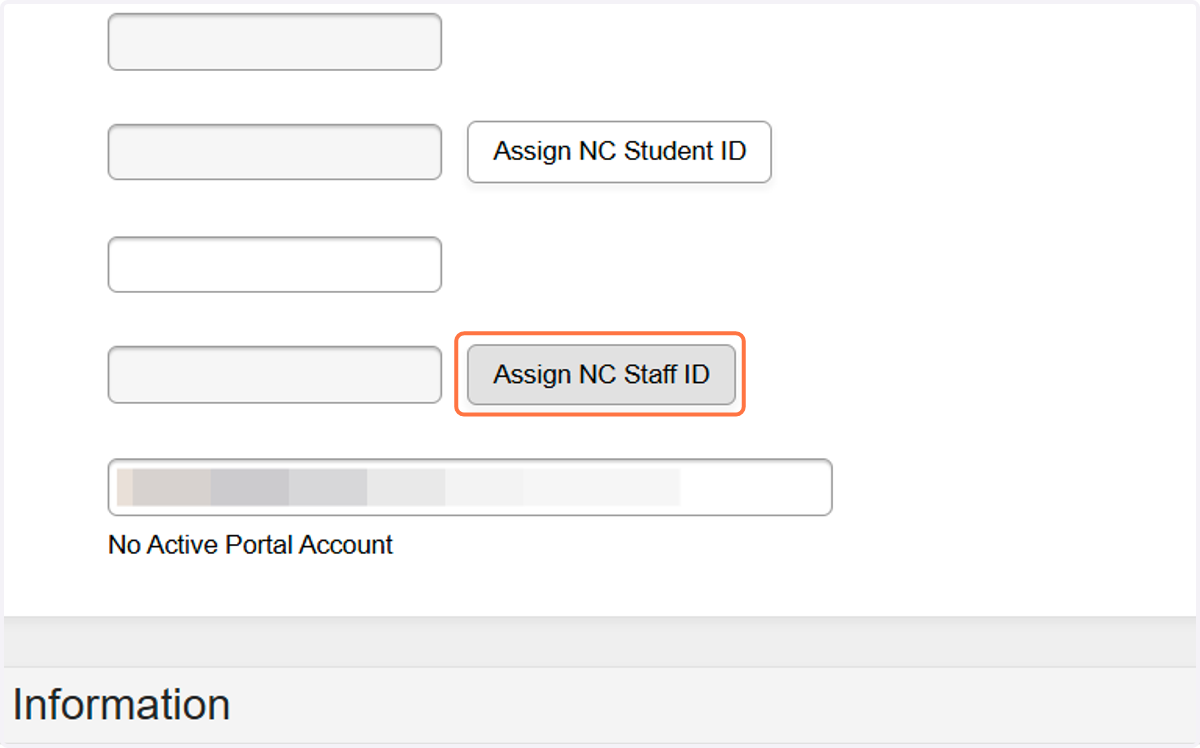
11. Make sure information is filled in and search
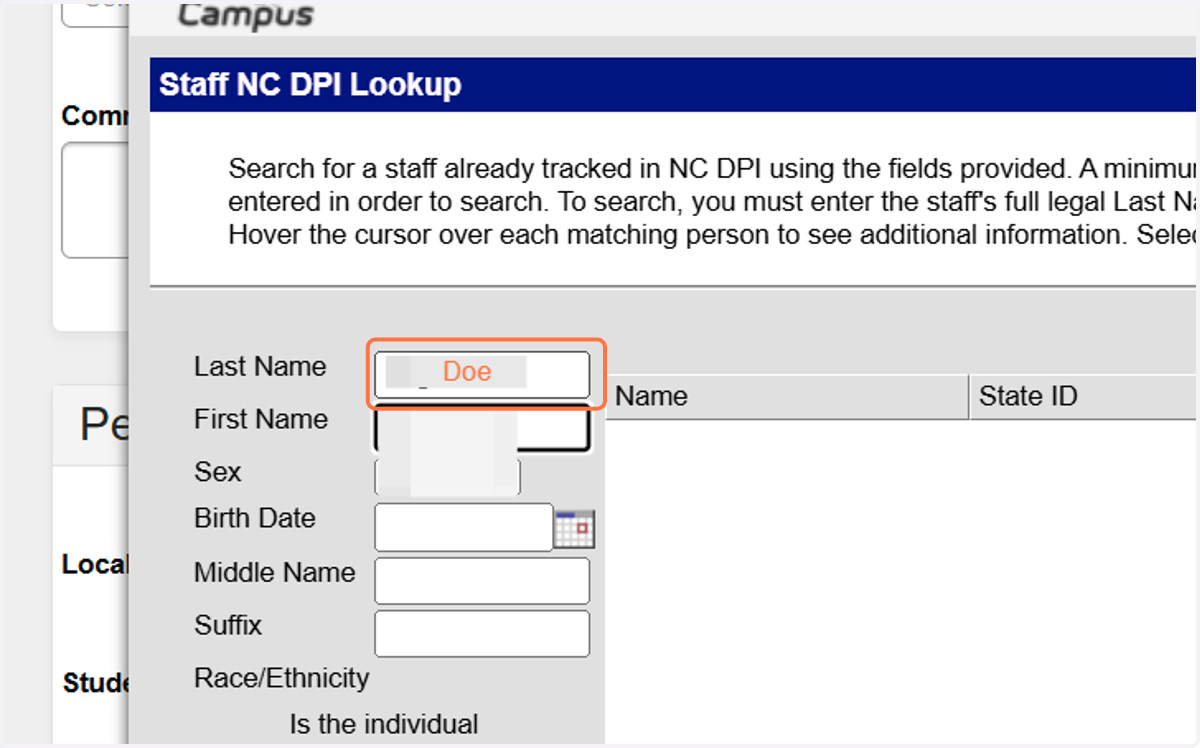
12. Select the user that matches your staff person. Confirm the Staff UID
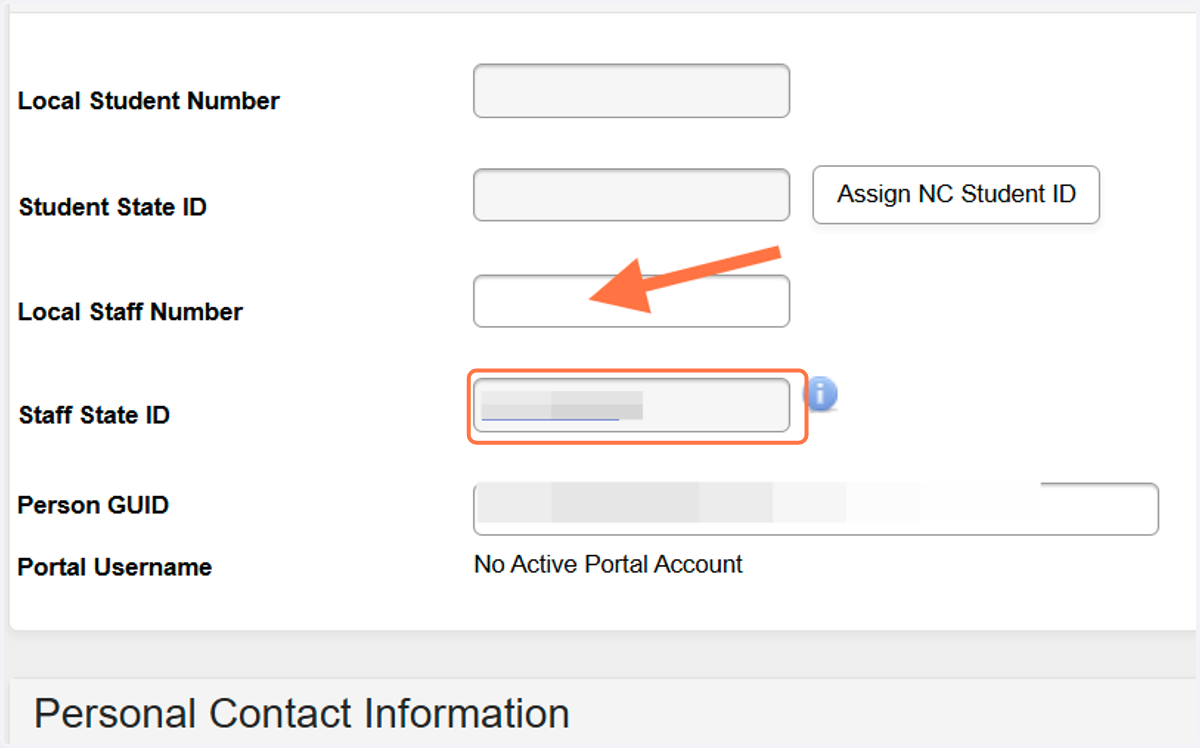
13. Copy the Staff State UID to the Local Staff Number
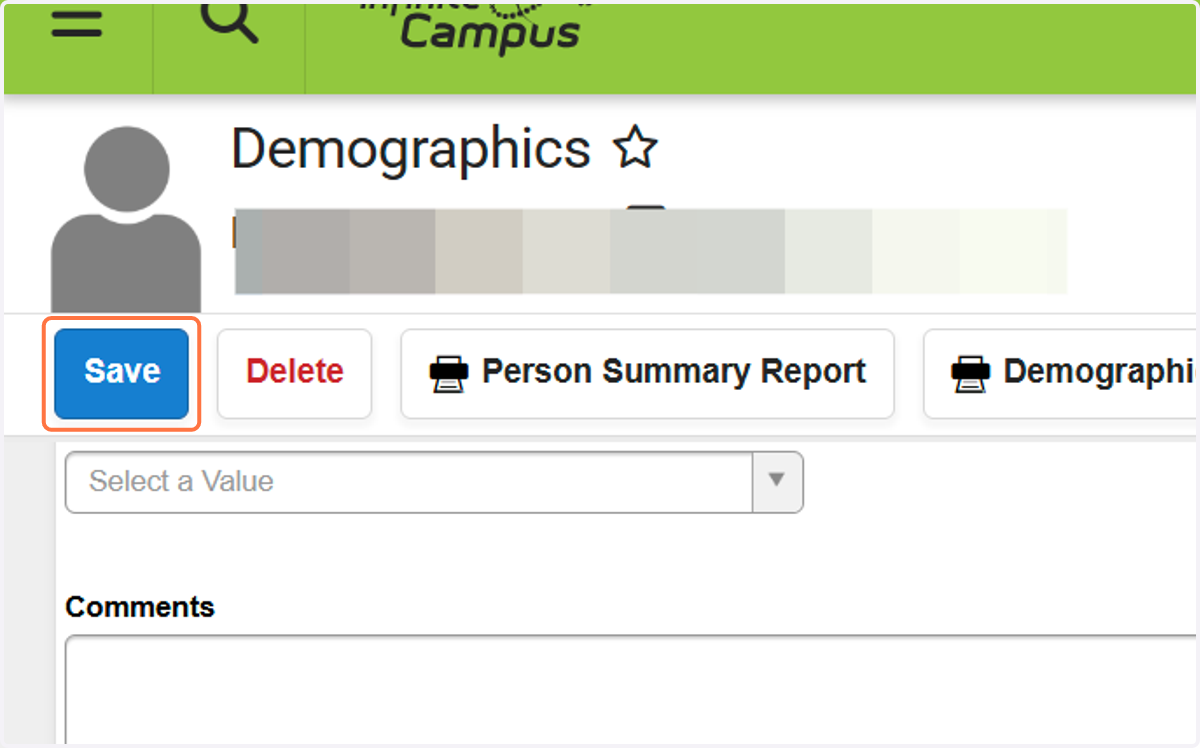
14. Click on Save
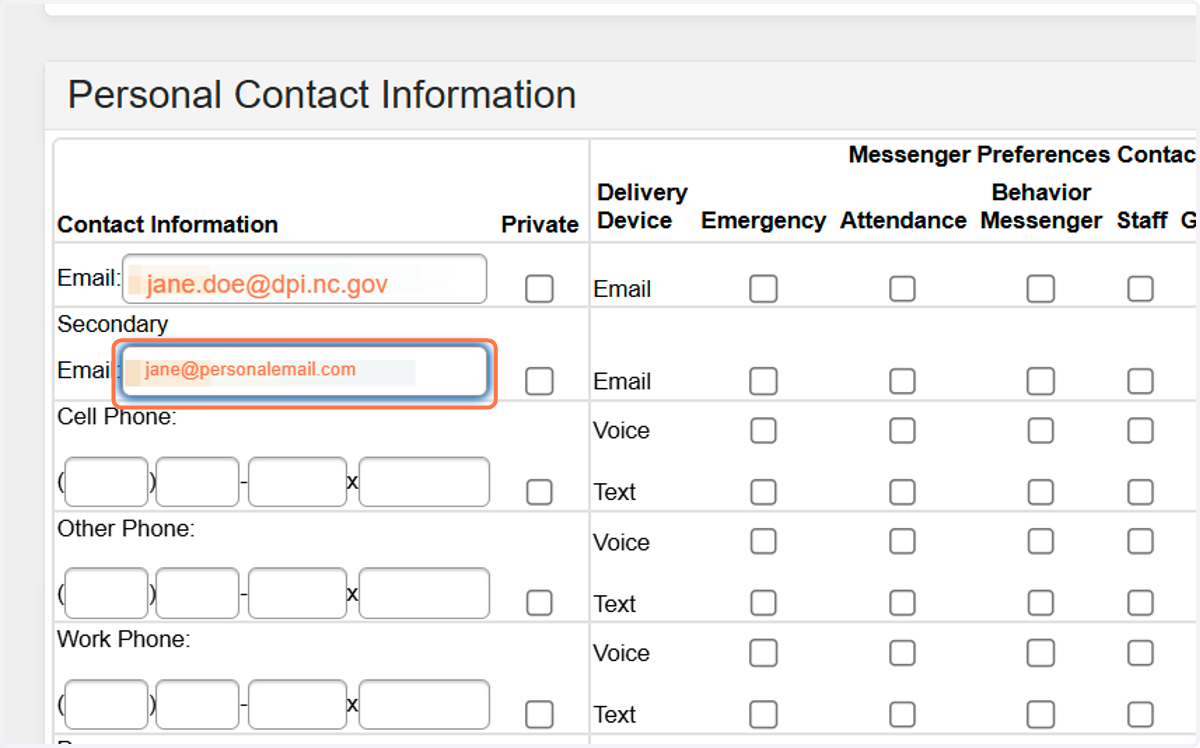
15. Enter the Staff email address
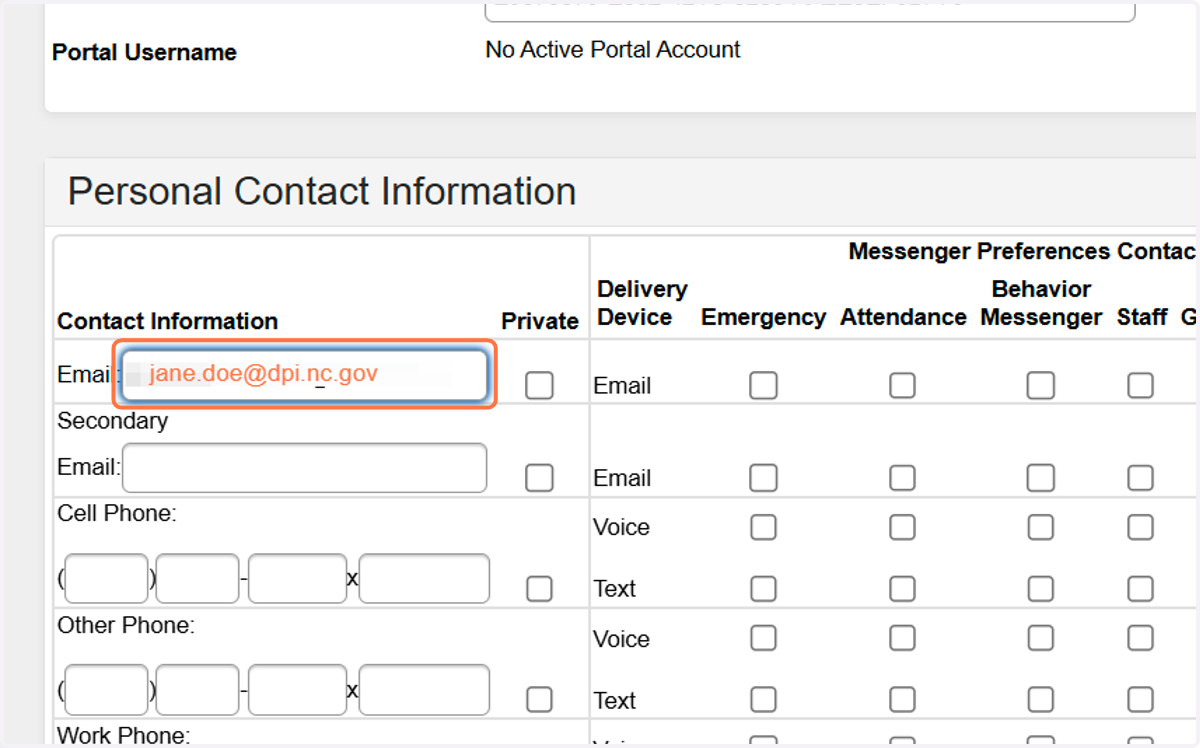
16. Update phone numbers and add a personal email as secondary
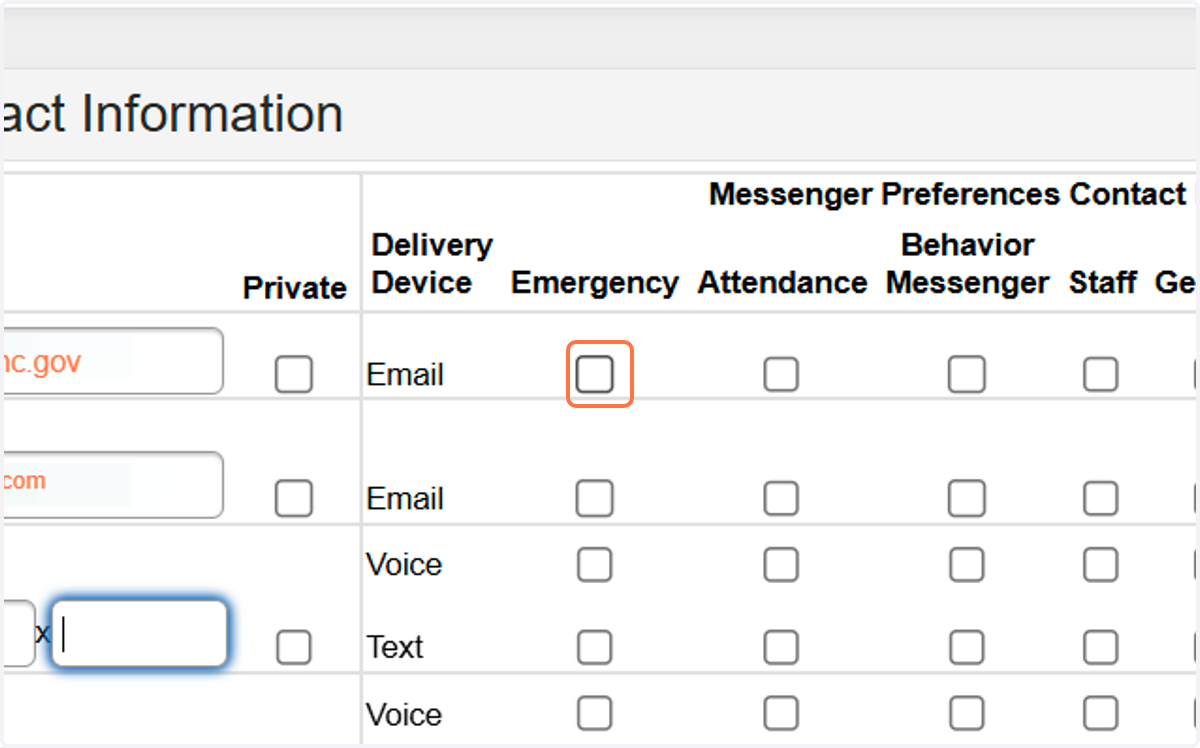
Use this link to see what each of the checkboxes represents https://kb.infinitecampus.com/help/demographics#messenger-preference-contact-reasons
17. Add the check boxes as needed
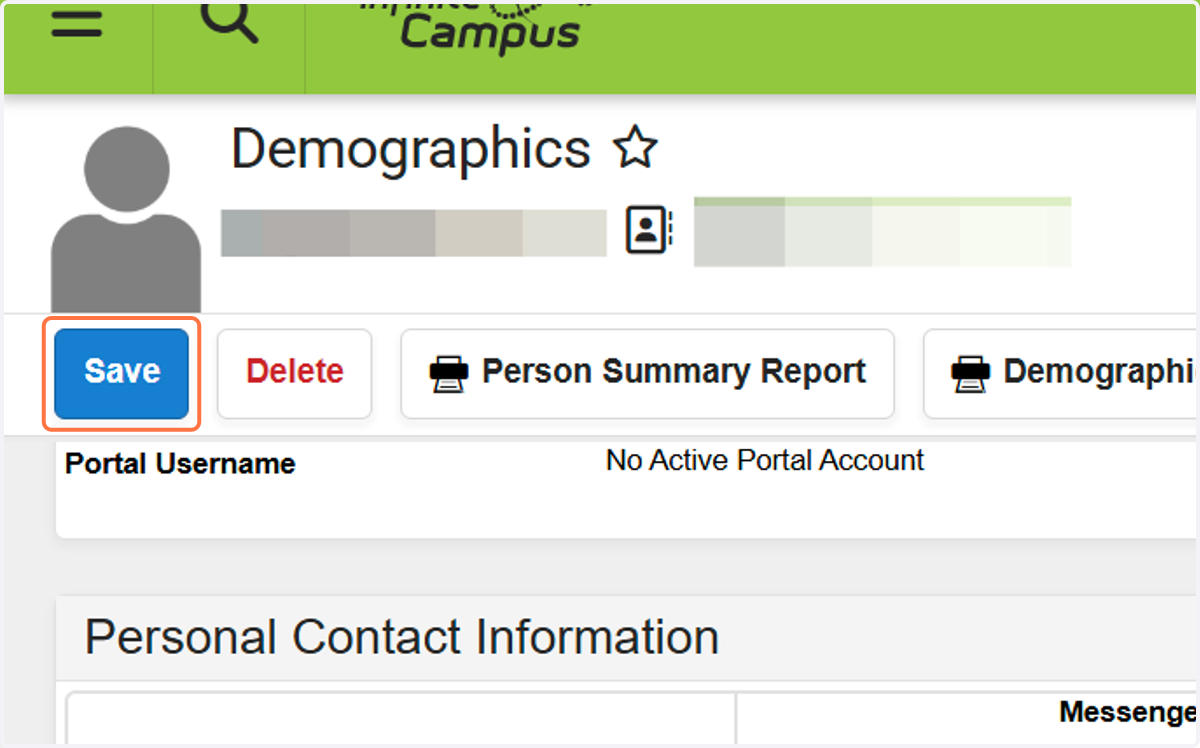
18. Click on Save
19. Click on District Assignments, under Census
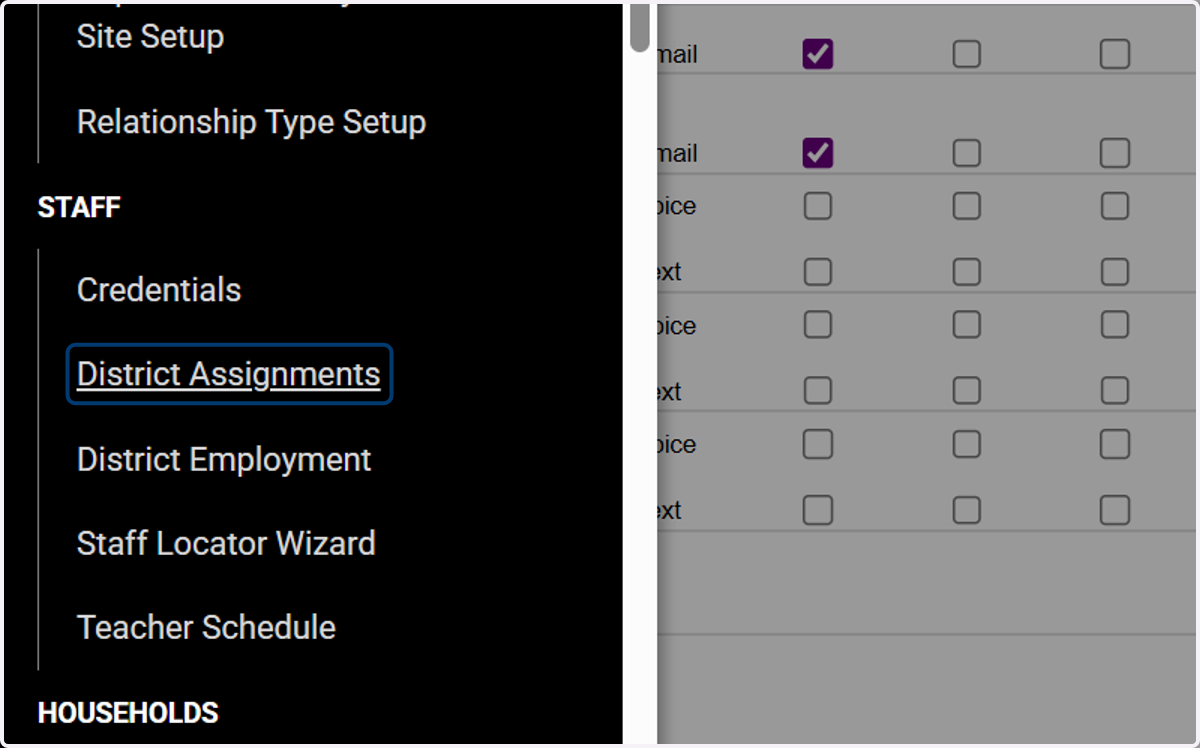
20. Click on New
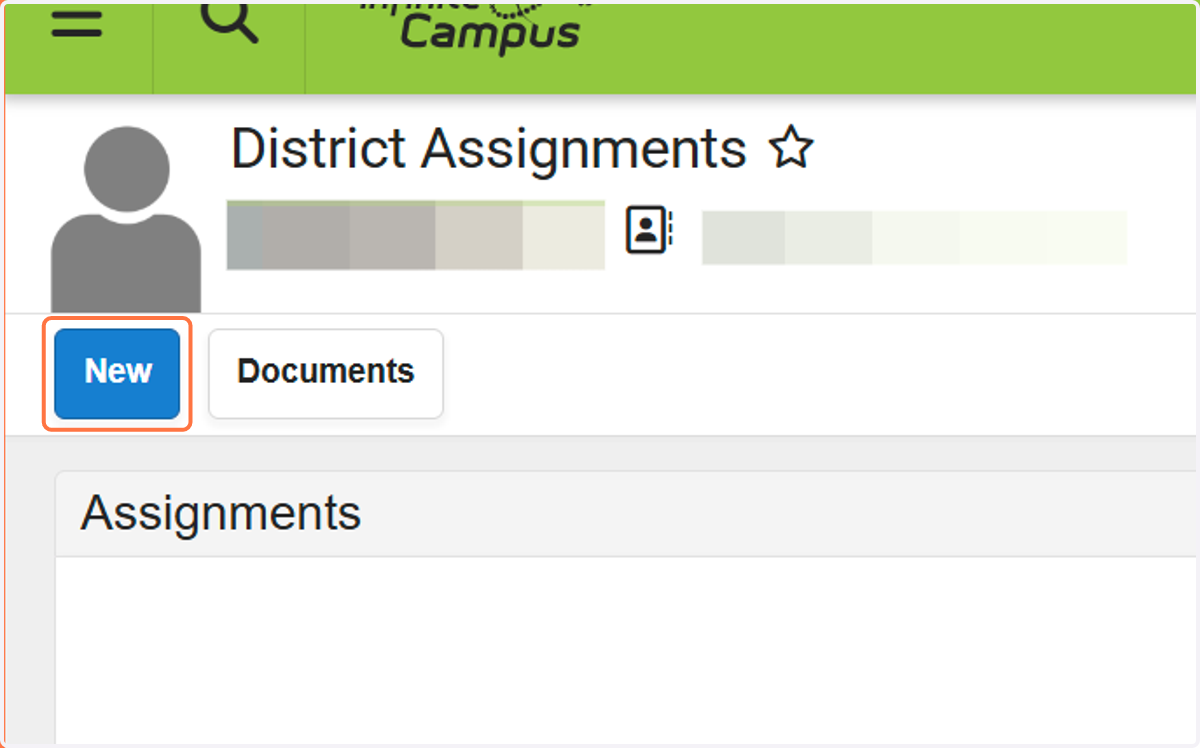
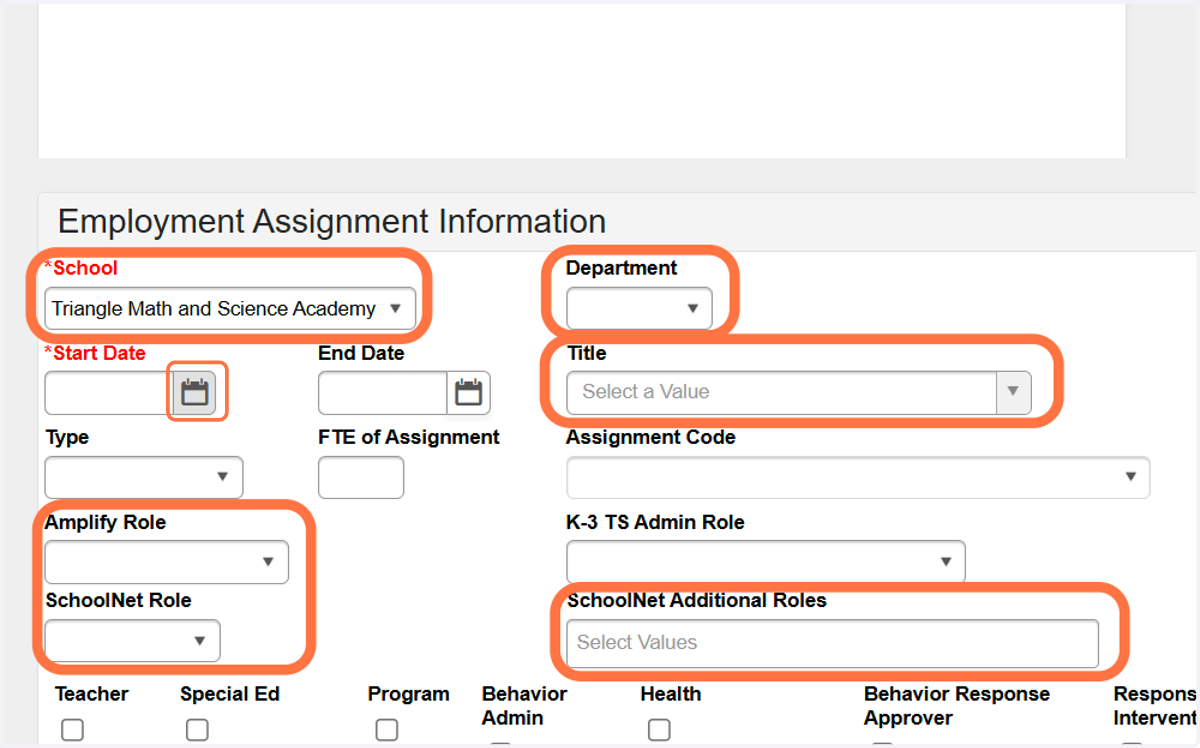
21. The School is populated based on the calendar context chosen. Make sure the School is correct. Add Department if using for scheduling organization. Add Start date Follow PSU guidelines on adding Amplify and SchoolNet Roles Select their Title (field is customizable by the PS
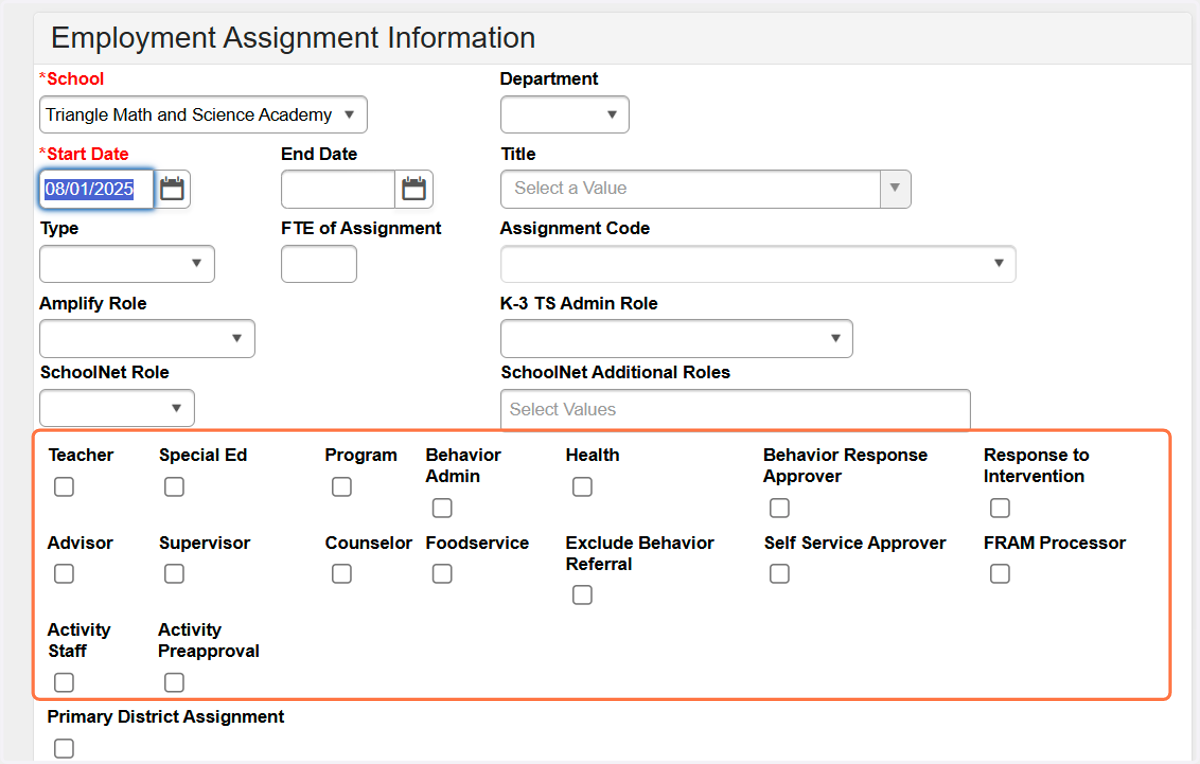
22. Follow PSU guidelines on which boxes to check for the staff duties.
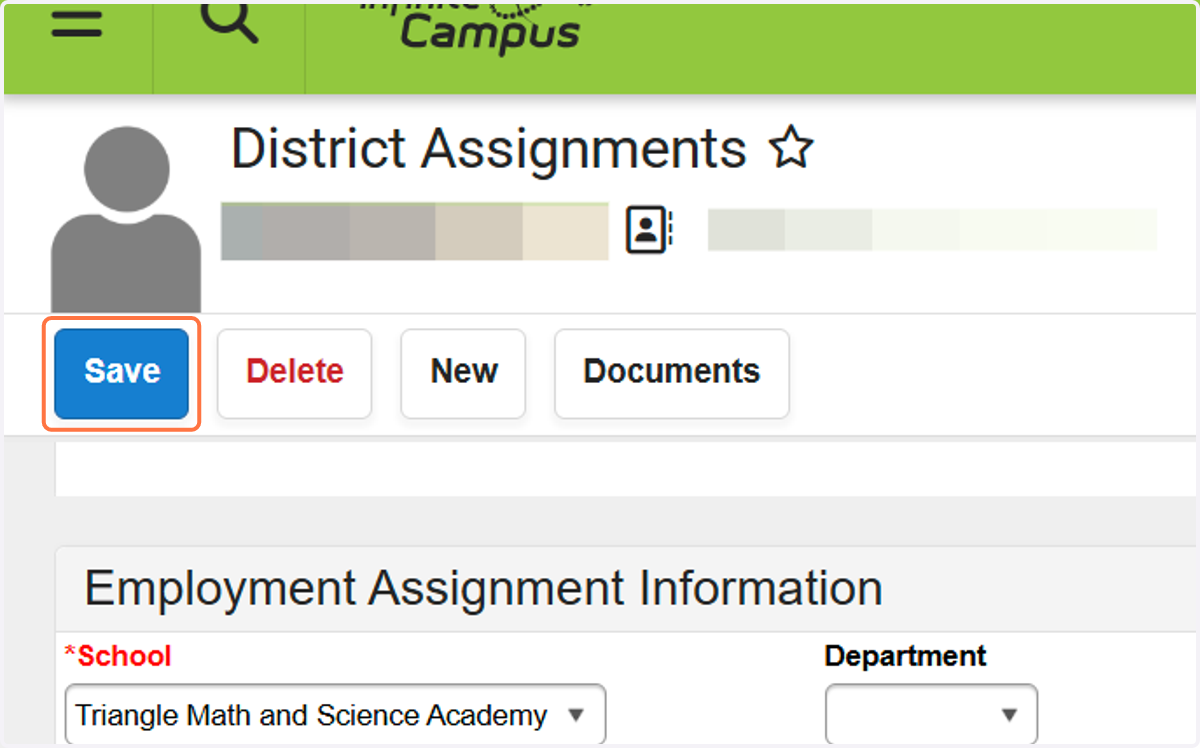
23. Click on Save
24. From your Main menu, navigate to User Management > User Account Administration User Account
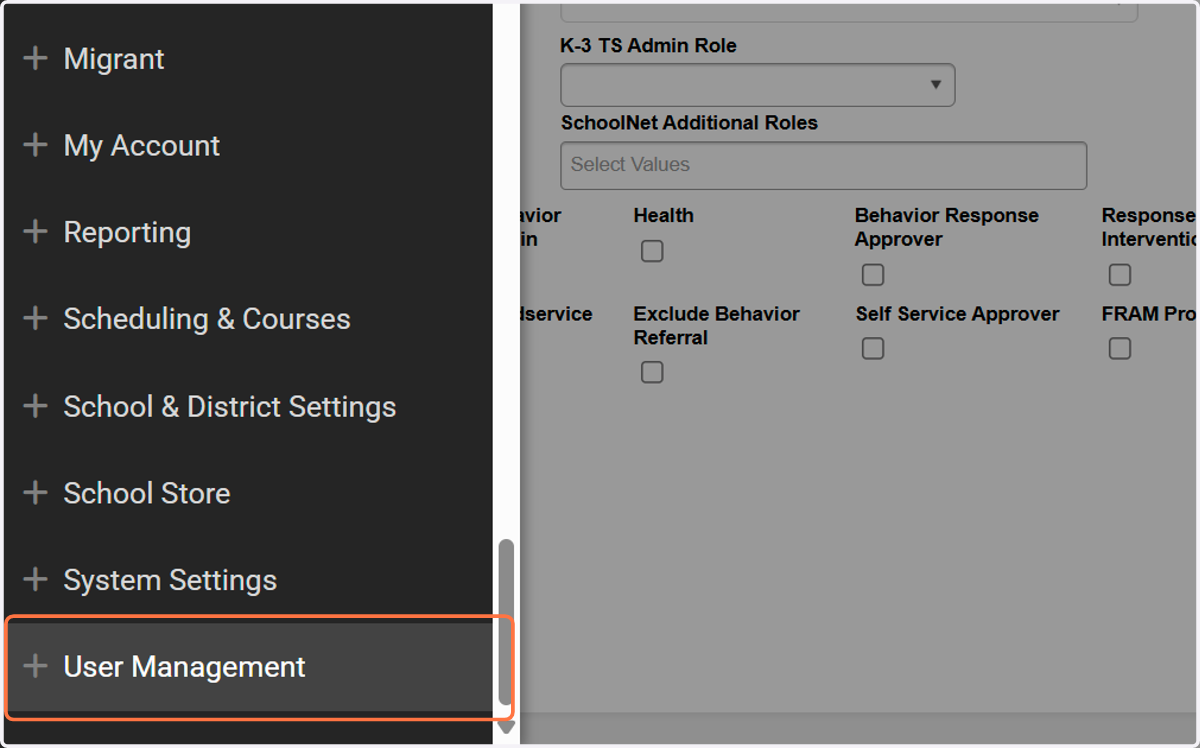
25. Click on User Account
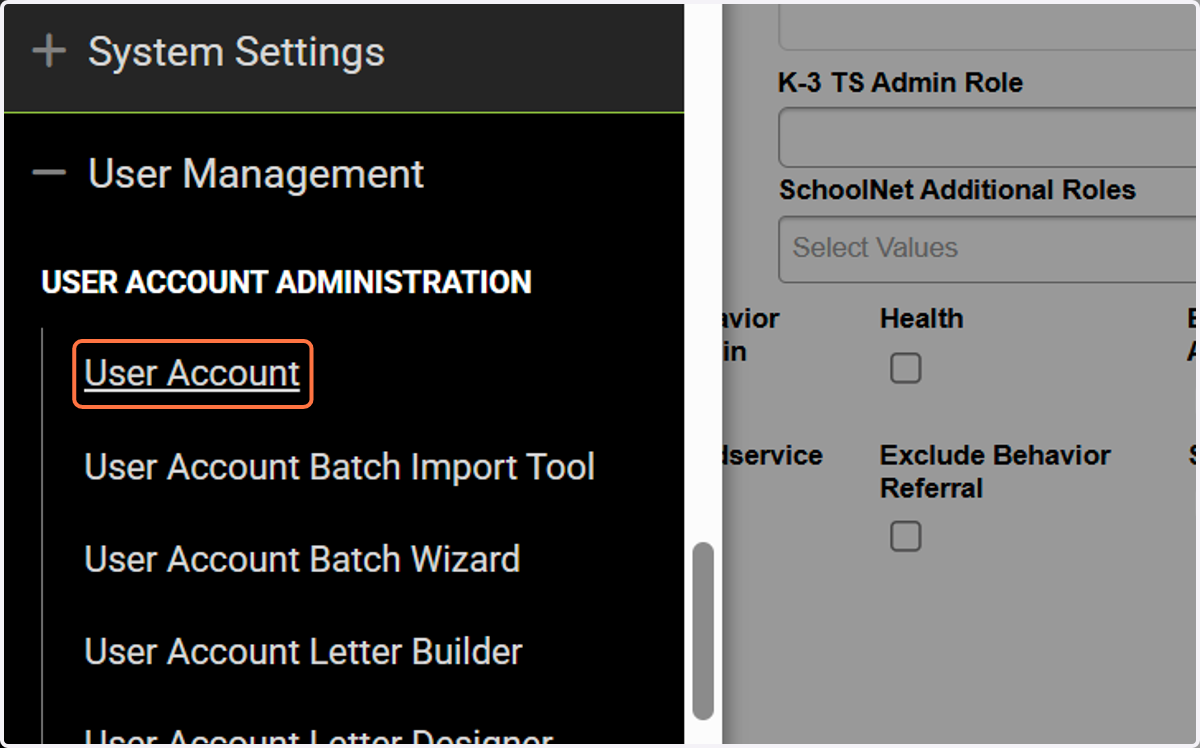
26. Click on New or click the user account you need to edit if they were already in your system
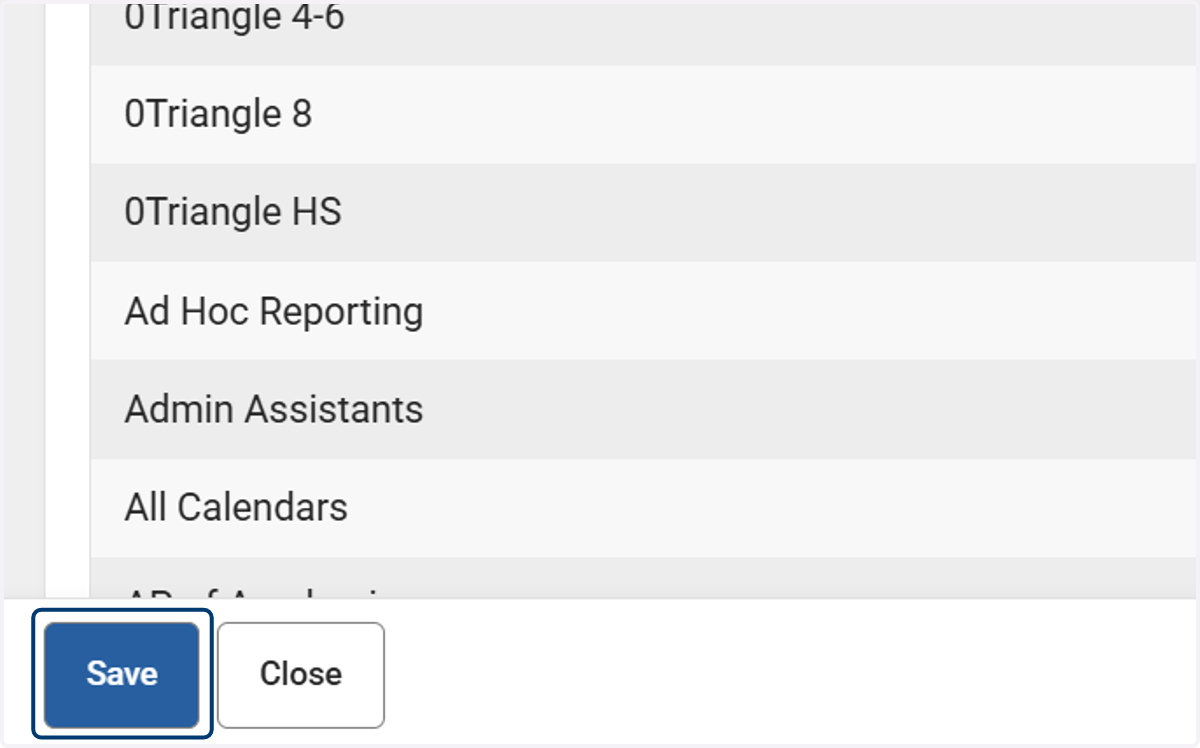
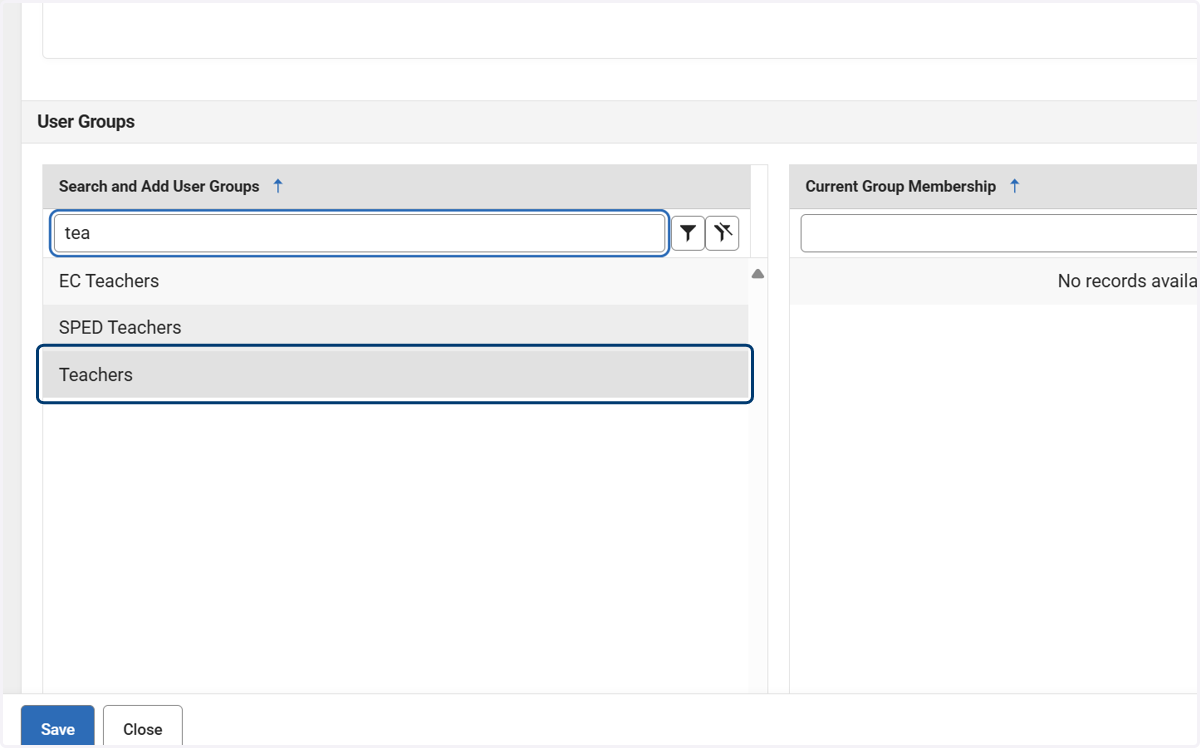
27. Search for user group that you need to add
28. Add calendar needed for user
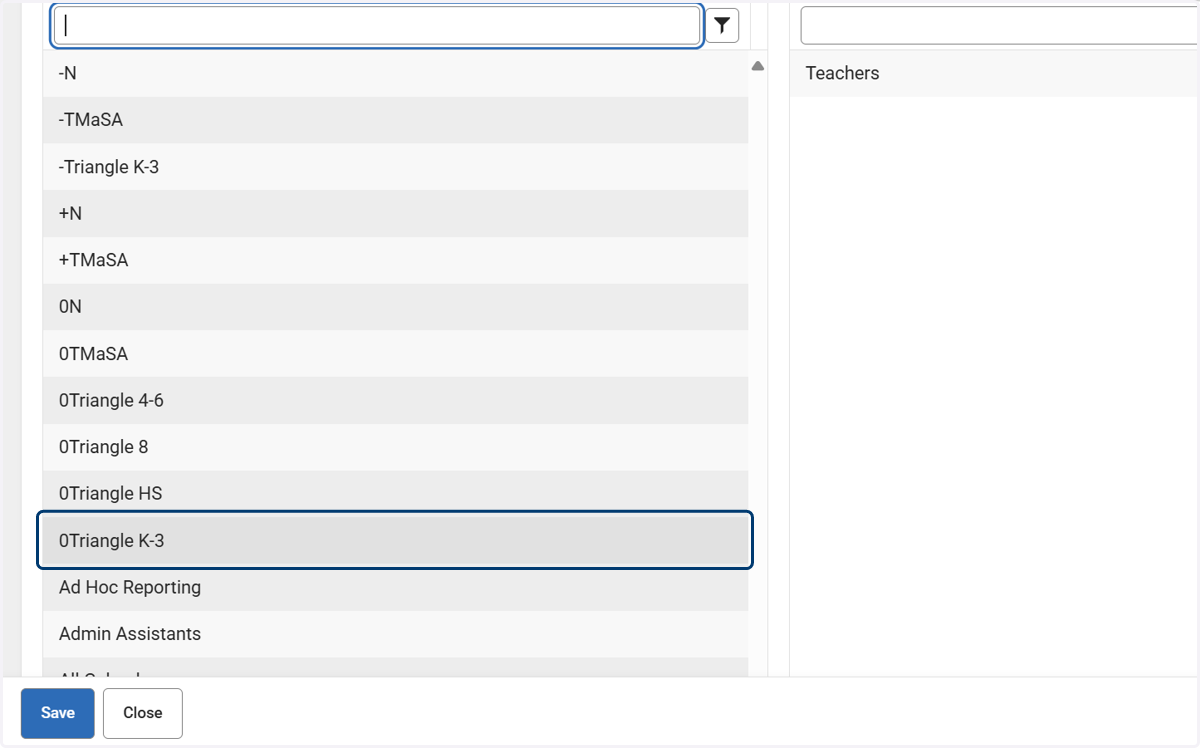
29. Click on Save