How to close down early
Yourbluewave
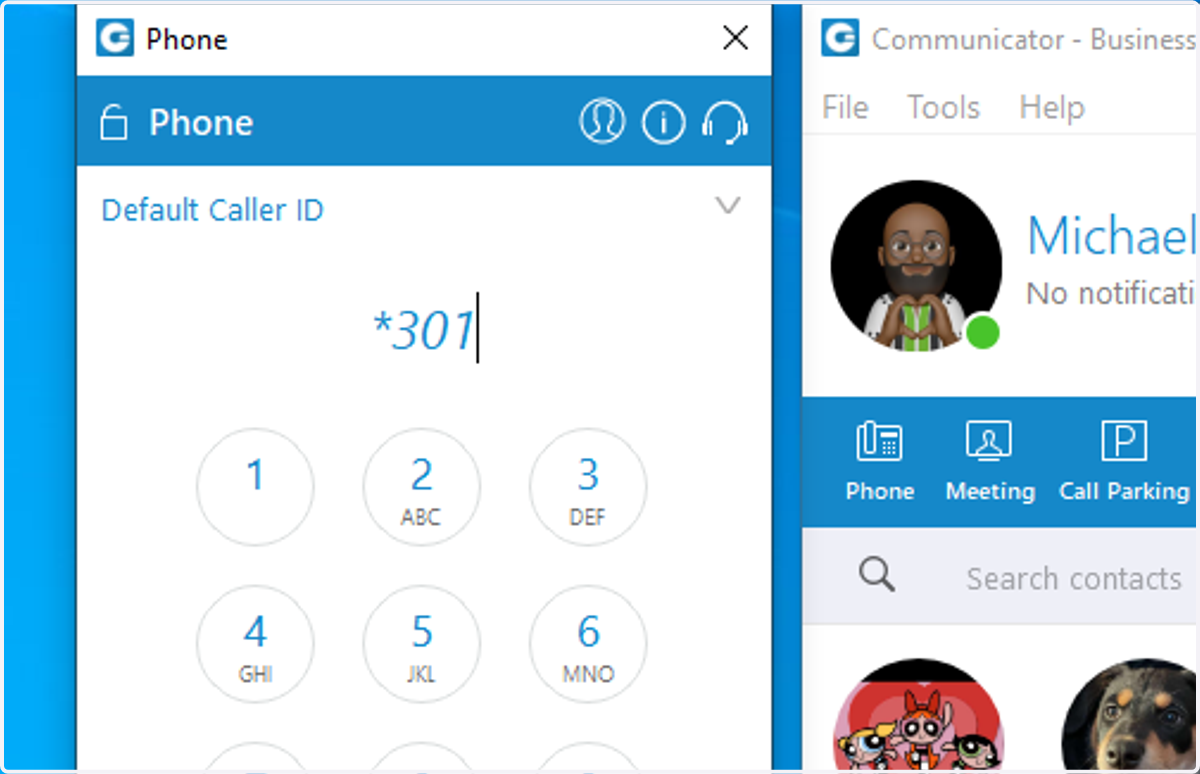
1. Dial *301 from softphone or desk phone
Follow the instructions to listen to your recording and save the recording.
2. Go to (yourserver).yourbluewave.com
Alternatively, you can also click on Self Care if you have been set up by the CARE team.
Servers: blucom.yourbluewave.com, blucom1.yourbluewave.com, blucom2.yourbluewave.com, blucom3.yourbluewave.com
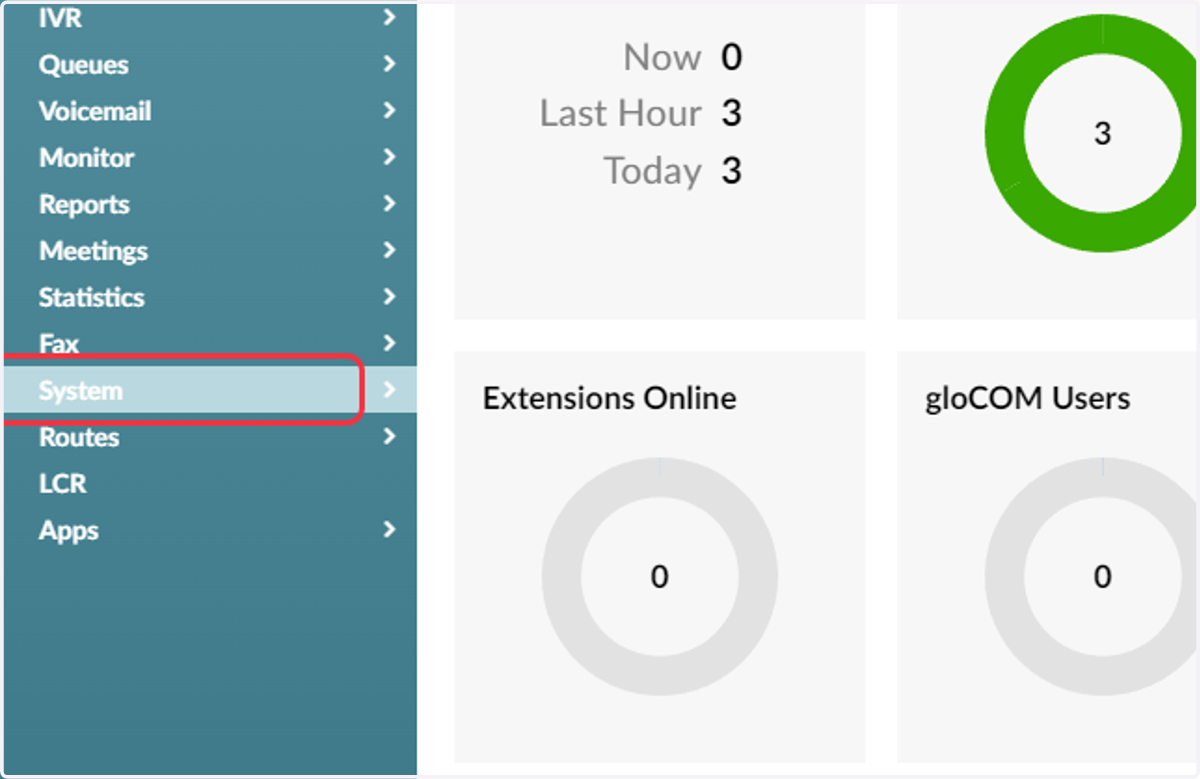
3. Click on System
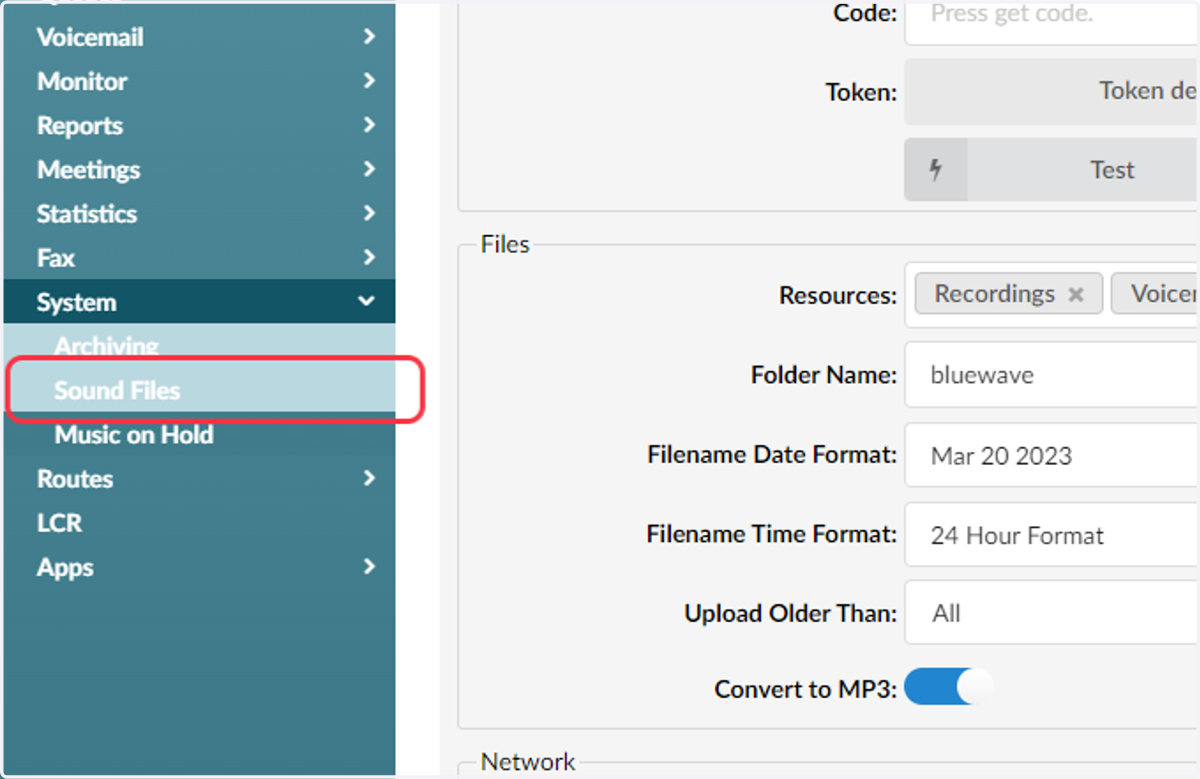
4. Click on Sound Files
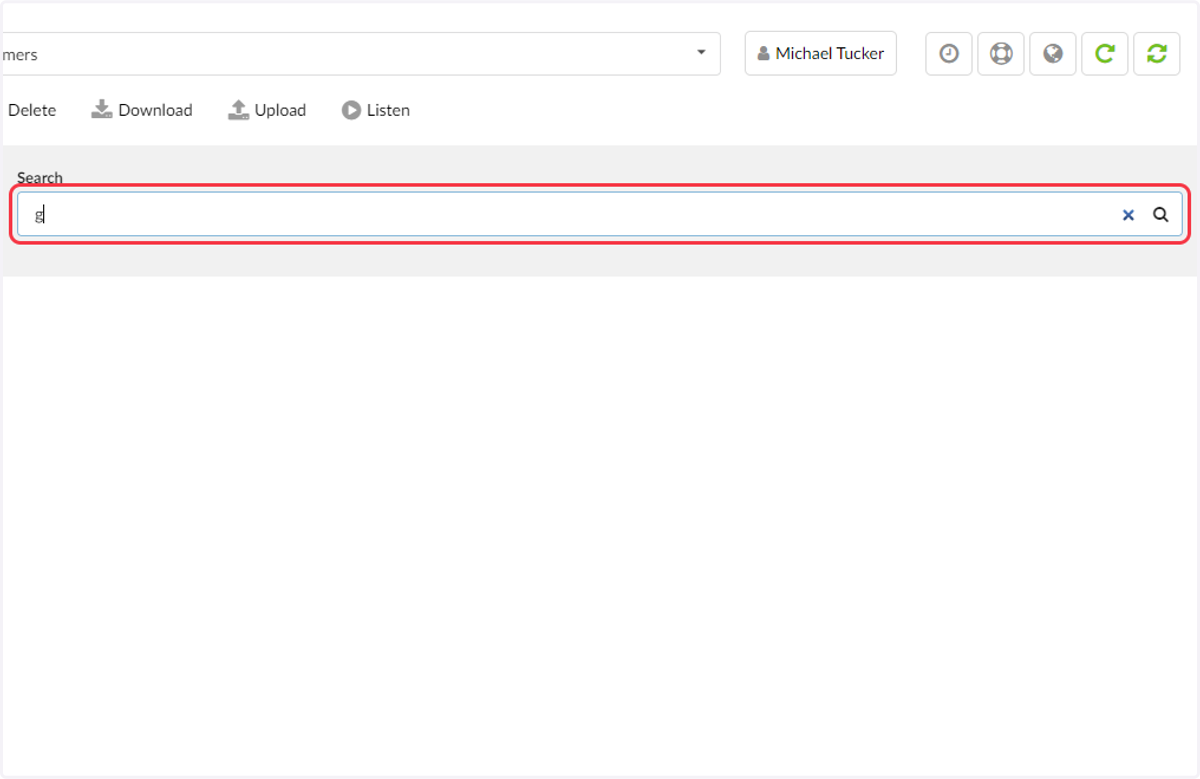
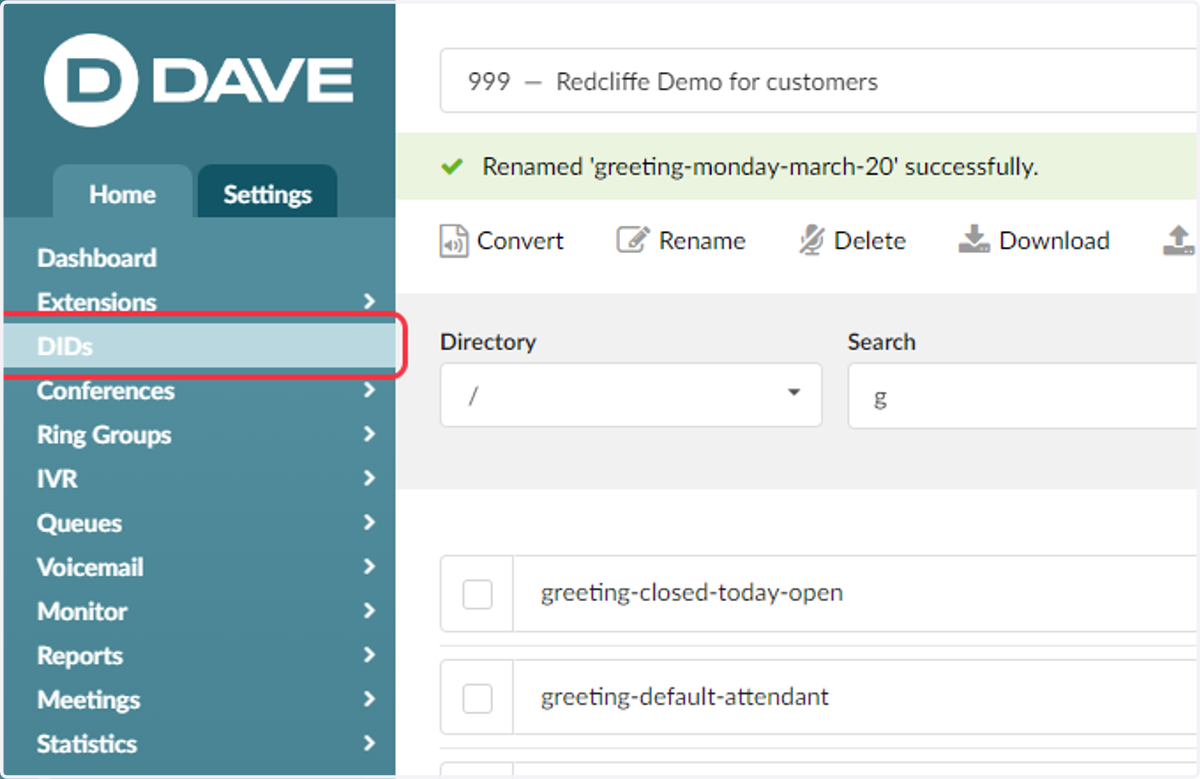
5. Remove the letter "a" and replace it with "g"
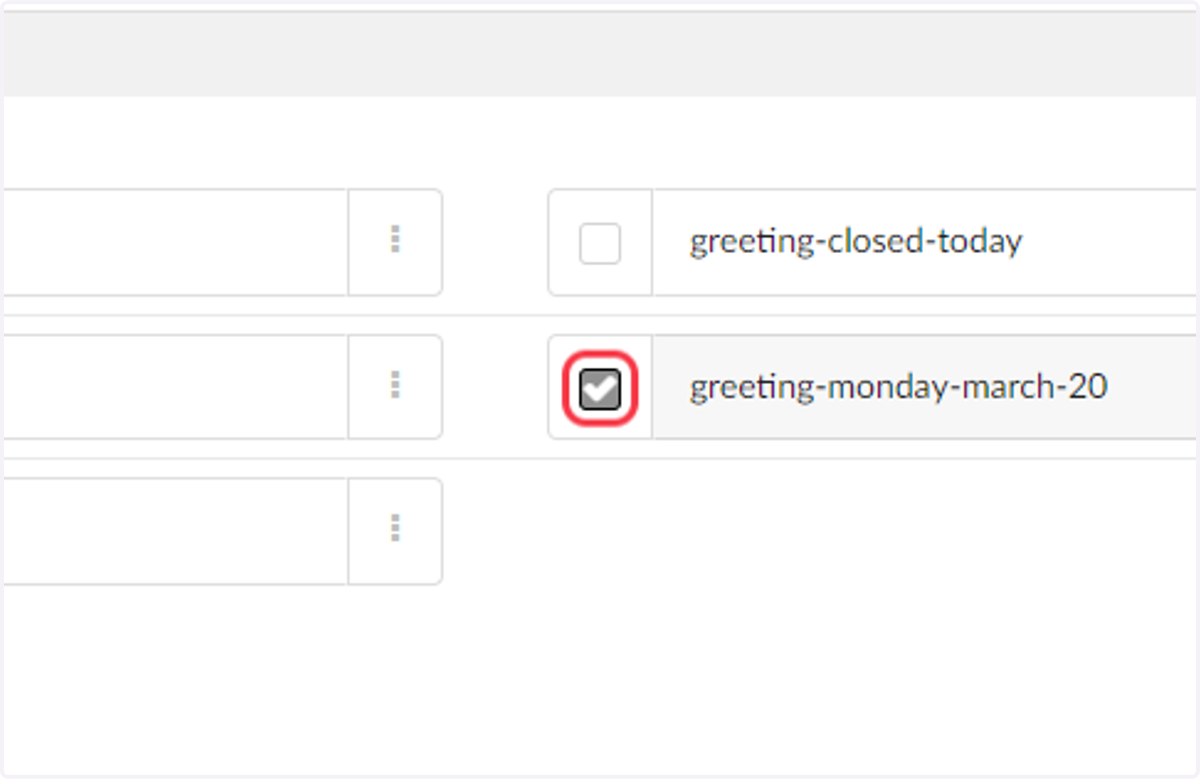
6. Select your recording
The recording from the greeting will have the date of the recording.
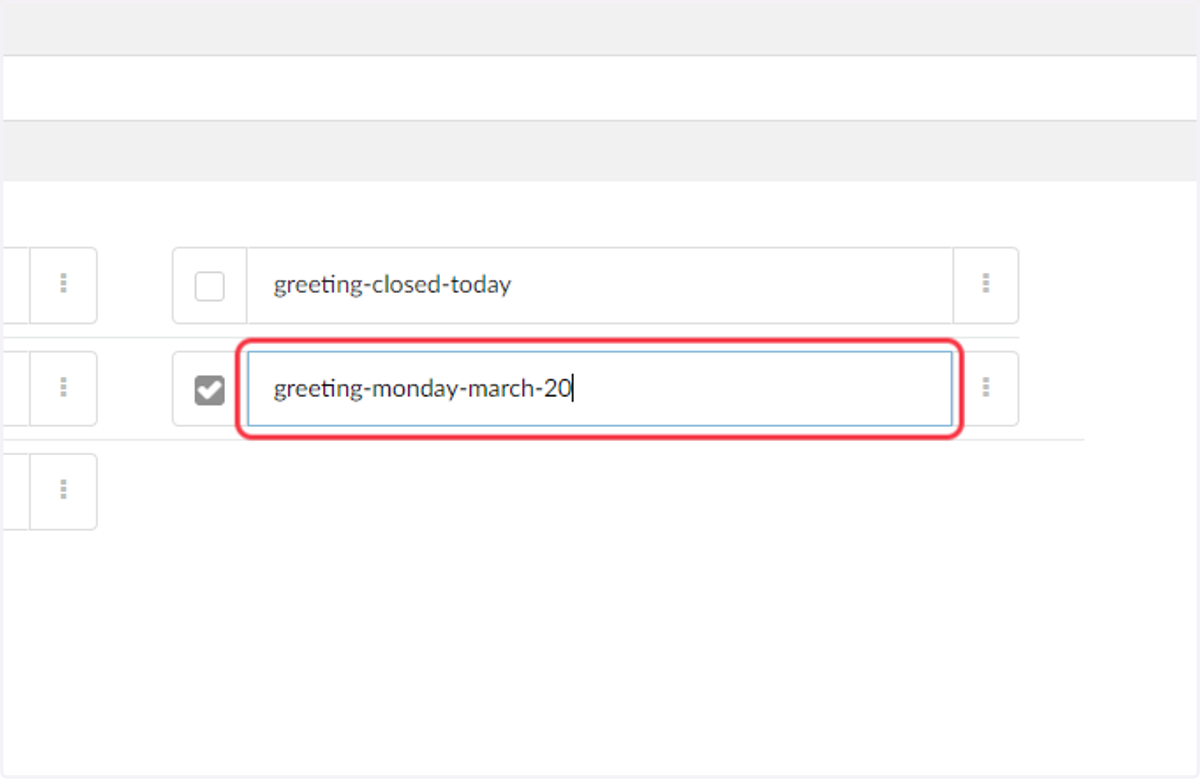
7. Rename your Greeting.
When renaming the greeting, do not use spaces, use hyphens. For example greeting-early-closure.
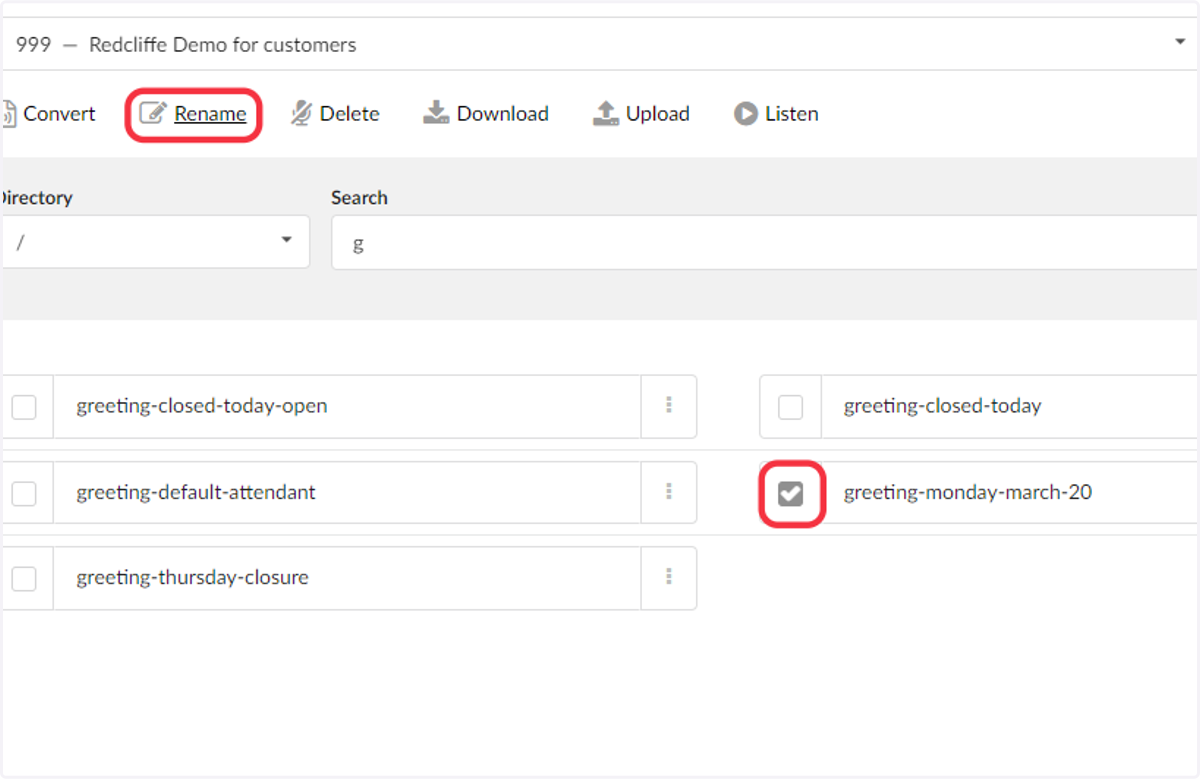
8. Click on Rename
Make sure the greeting is still selected and click rename.
9. Click on DIDs
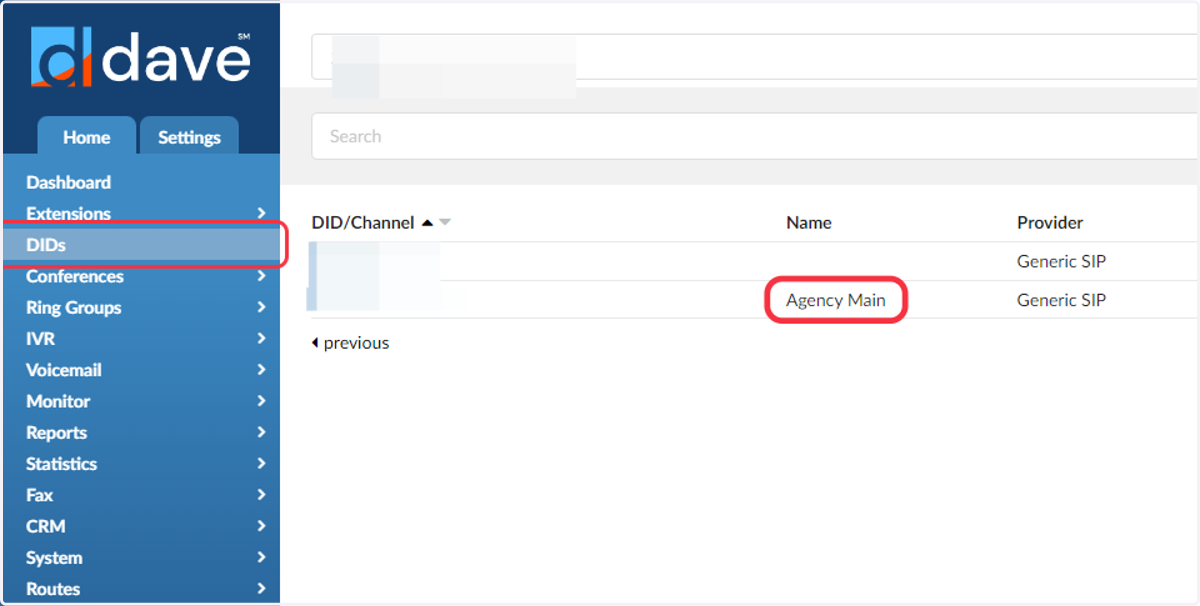
Find the main agency number and locate the destination. The destination should point to a ring group or an IVR
10. Find Your main number that is labeled Agency Main
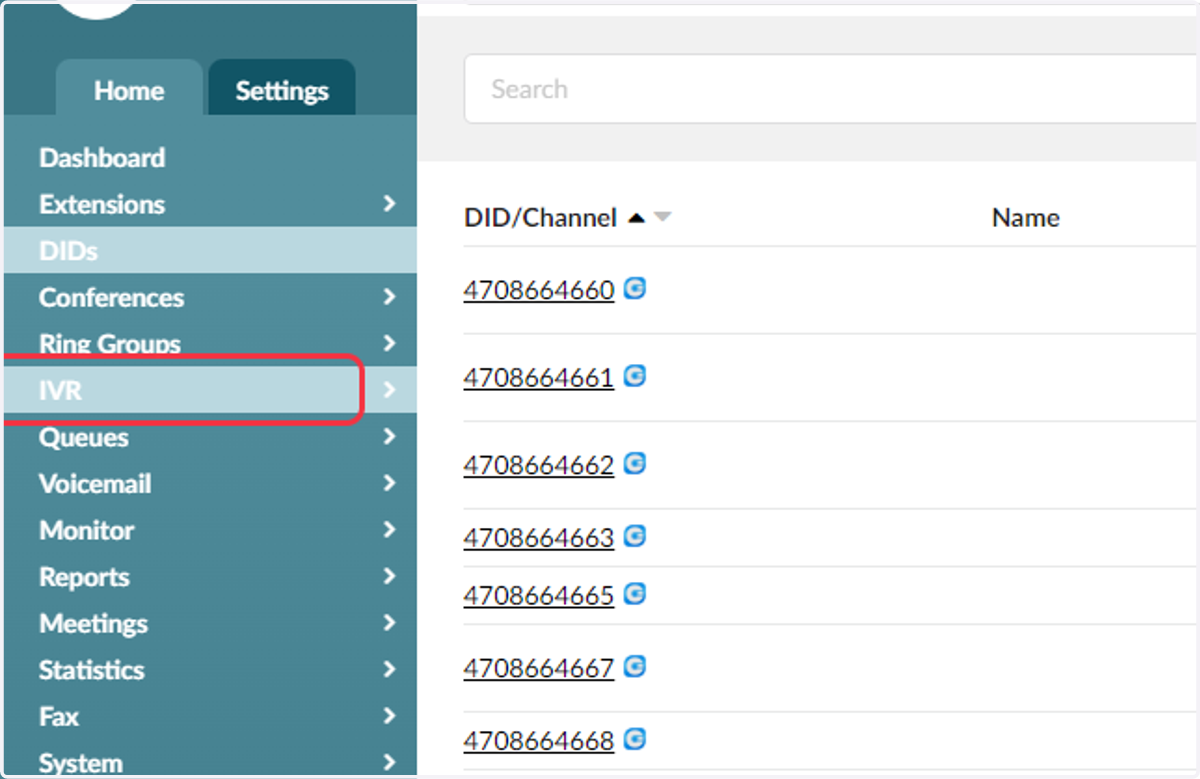
11. Click on IVR
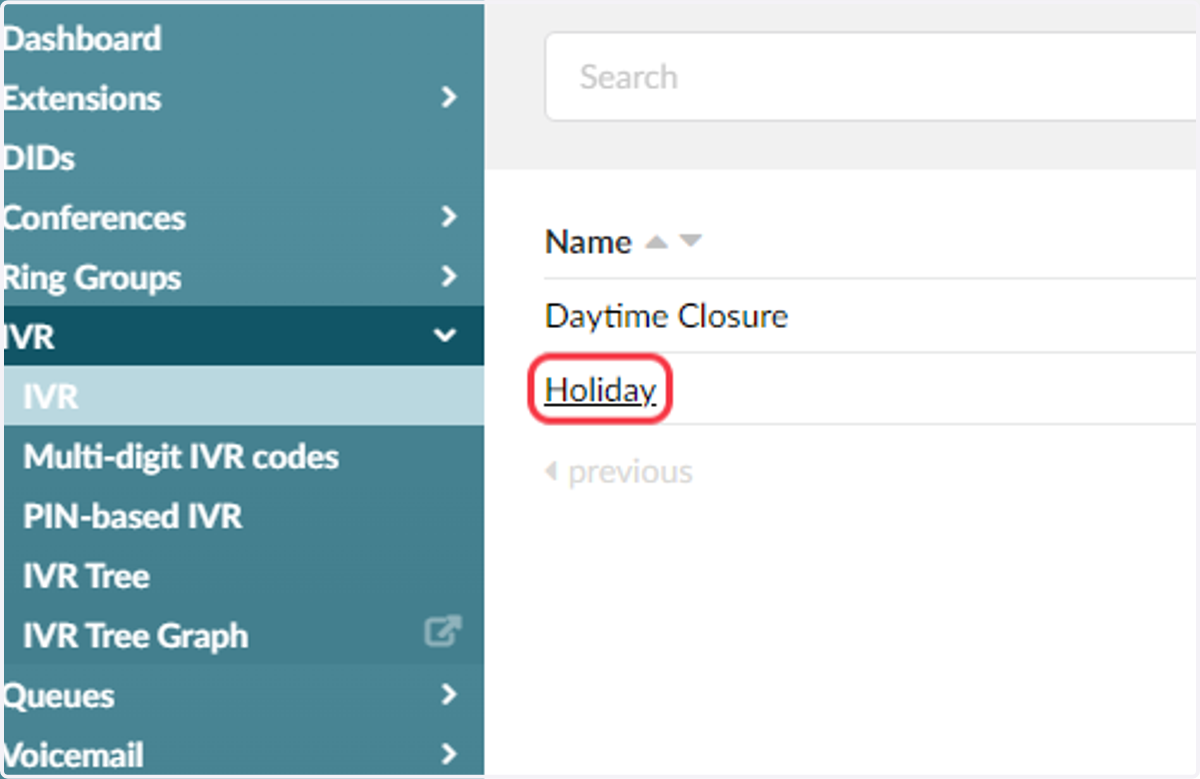
12. Click on your IVR that is for your closure.
This is typically an IVR that is labeled Holiday, Closure, etc...
13. Click on greeting drop down and choose the greeting you renamed.
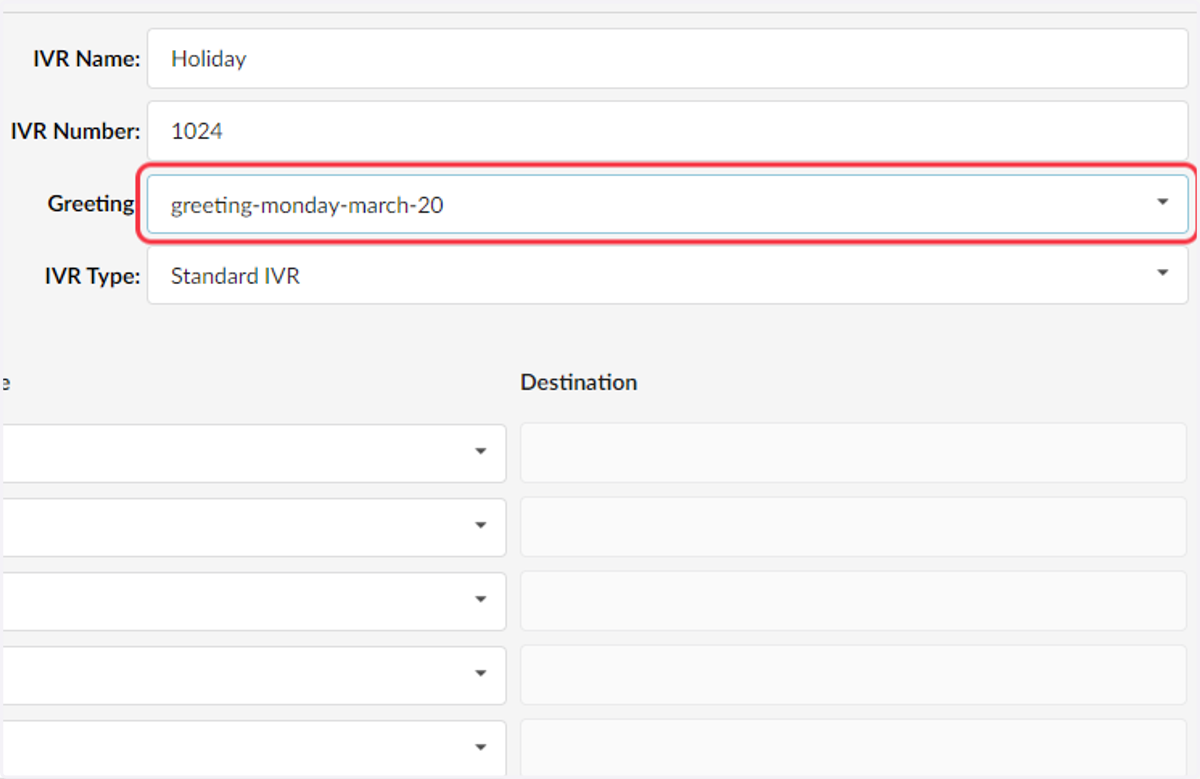
14. Click on greeting-monday-march-20
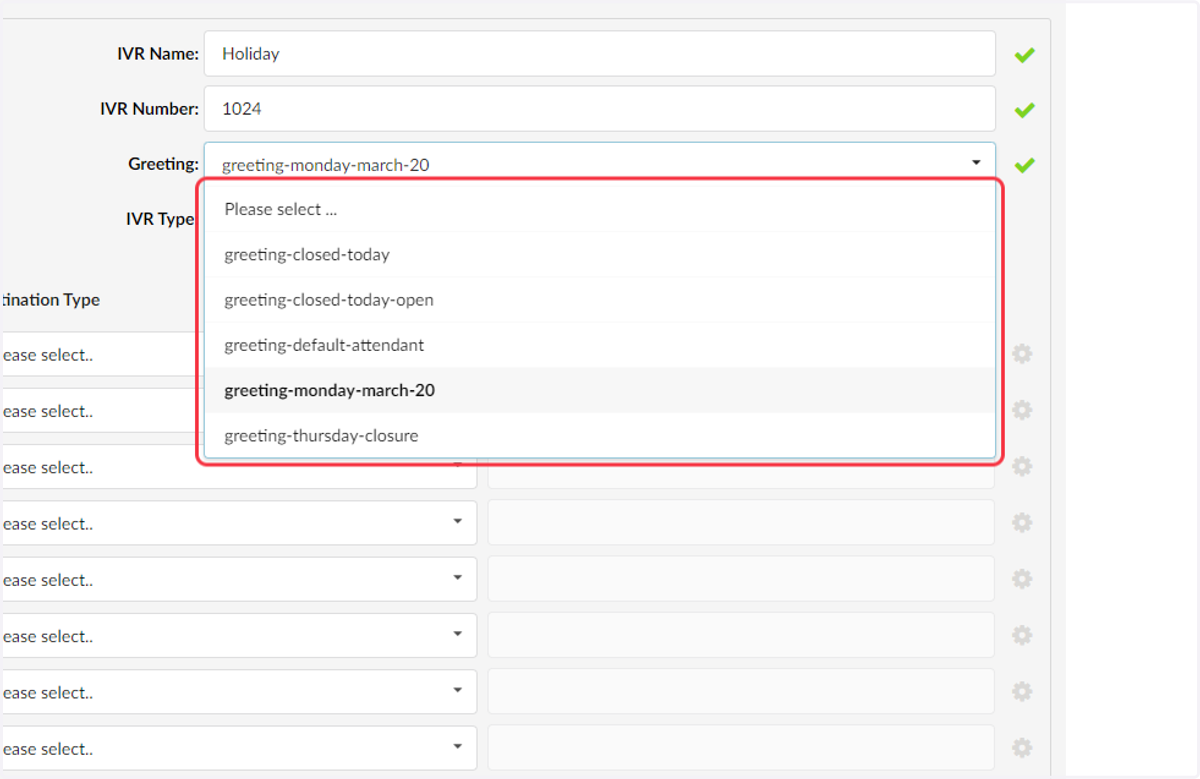
15. Scroll down on the page and locate Greeting Options
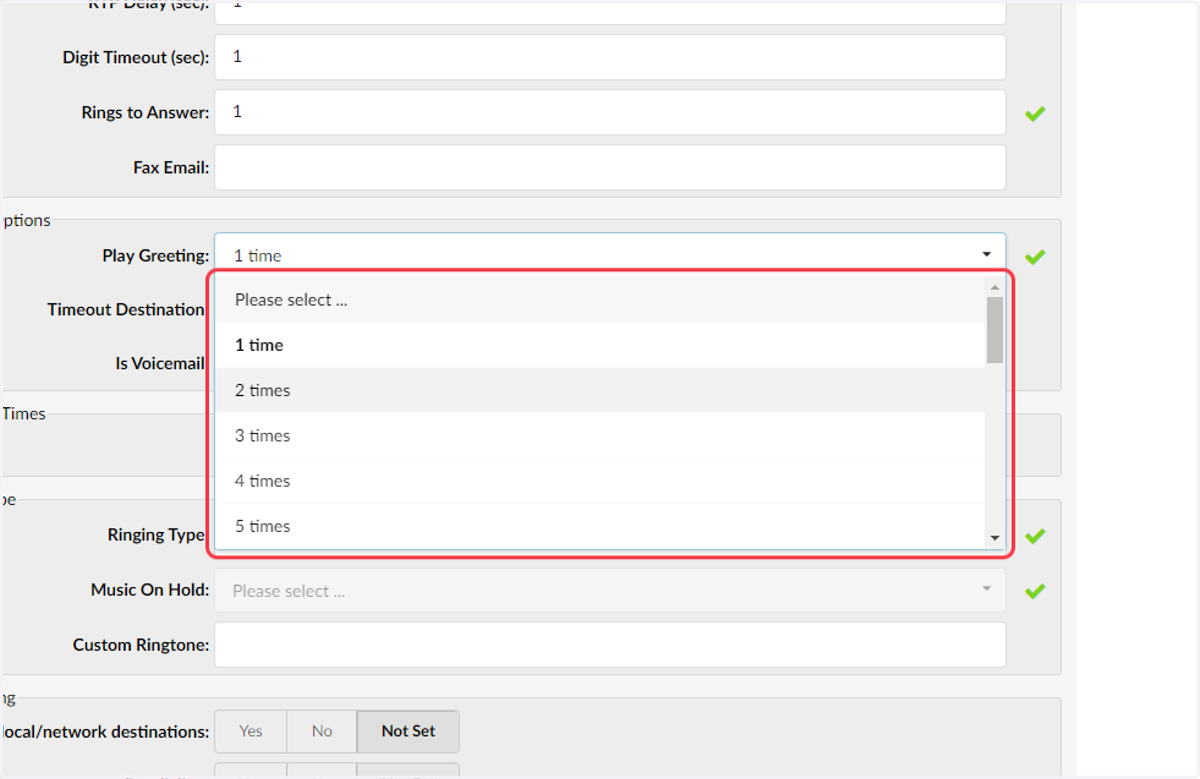
Determine how many times the greeting should play.
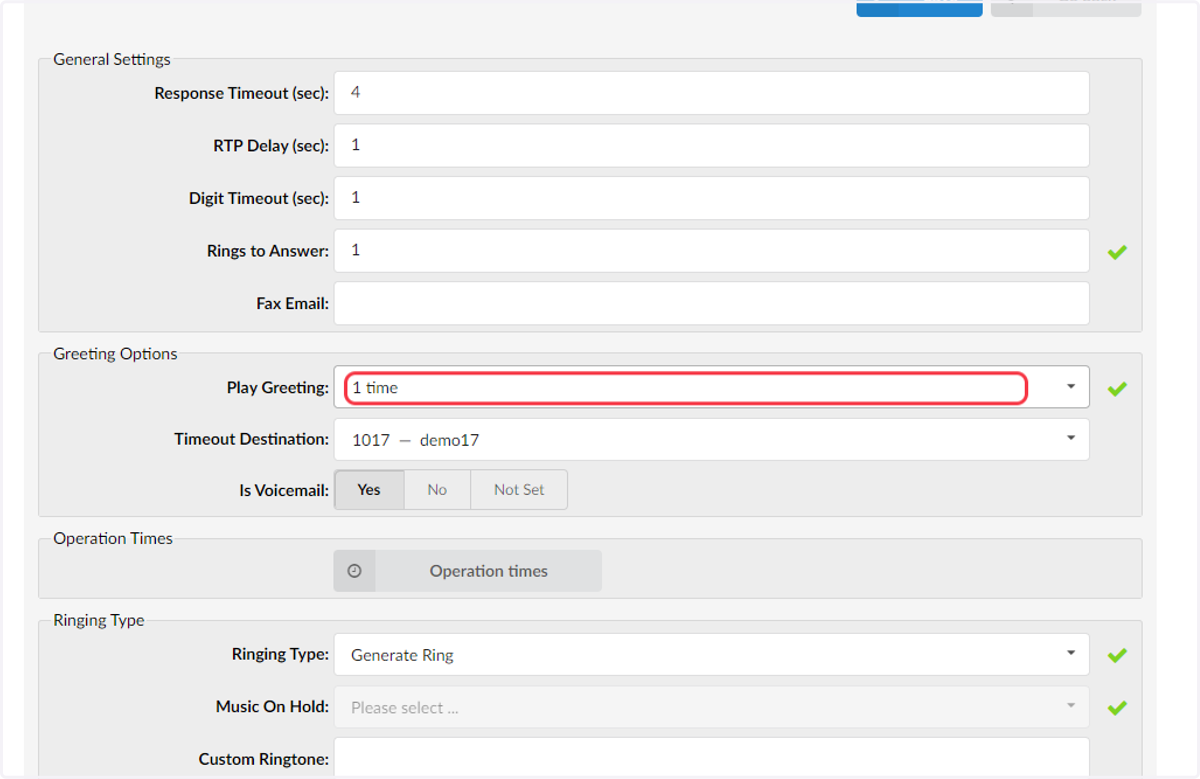
16. Select your time
17. Select the Time Out Destination dropdown
After your message plays, where do you want the caller to go? This can be agency voicemail, an agent's voicemail, or another IVR.
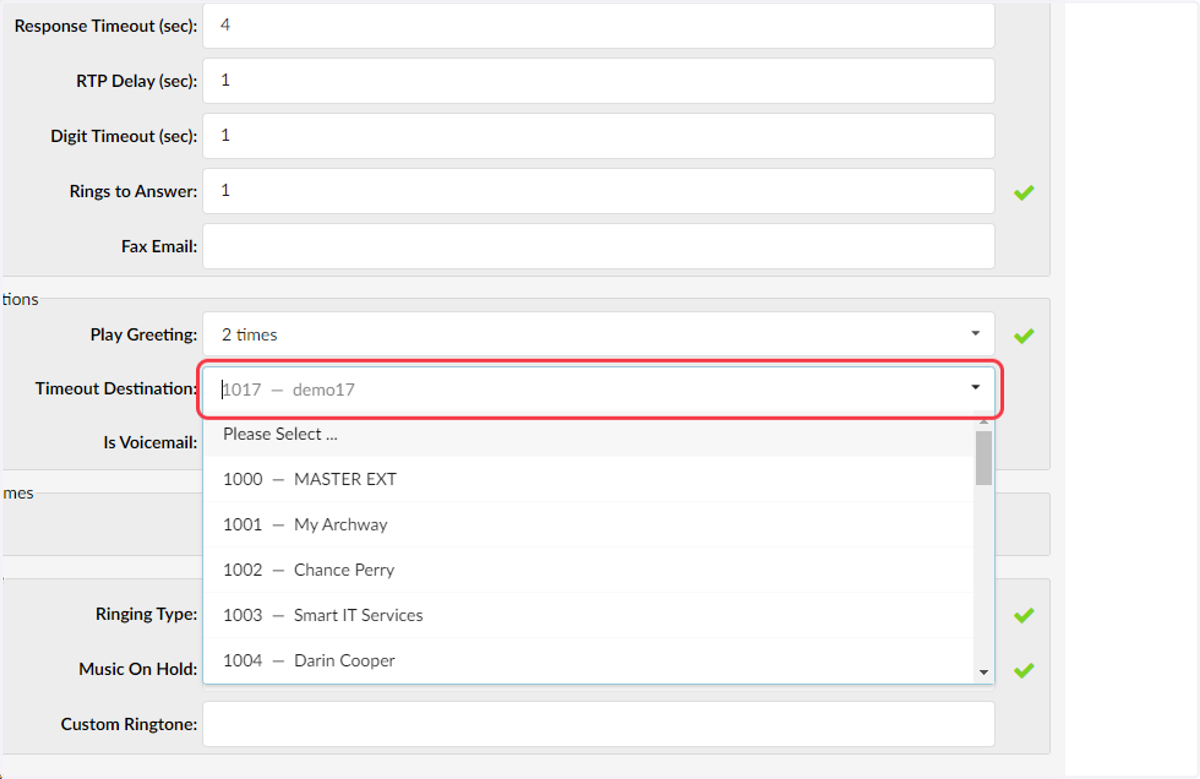
18. If you select a voicemail, please select Is Voicemail.
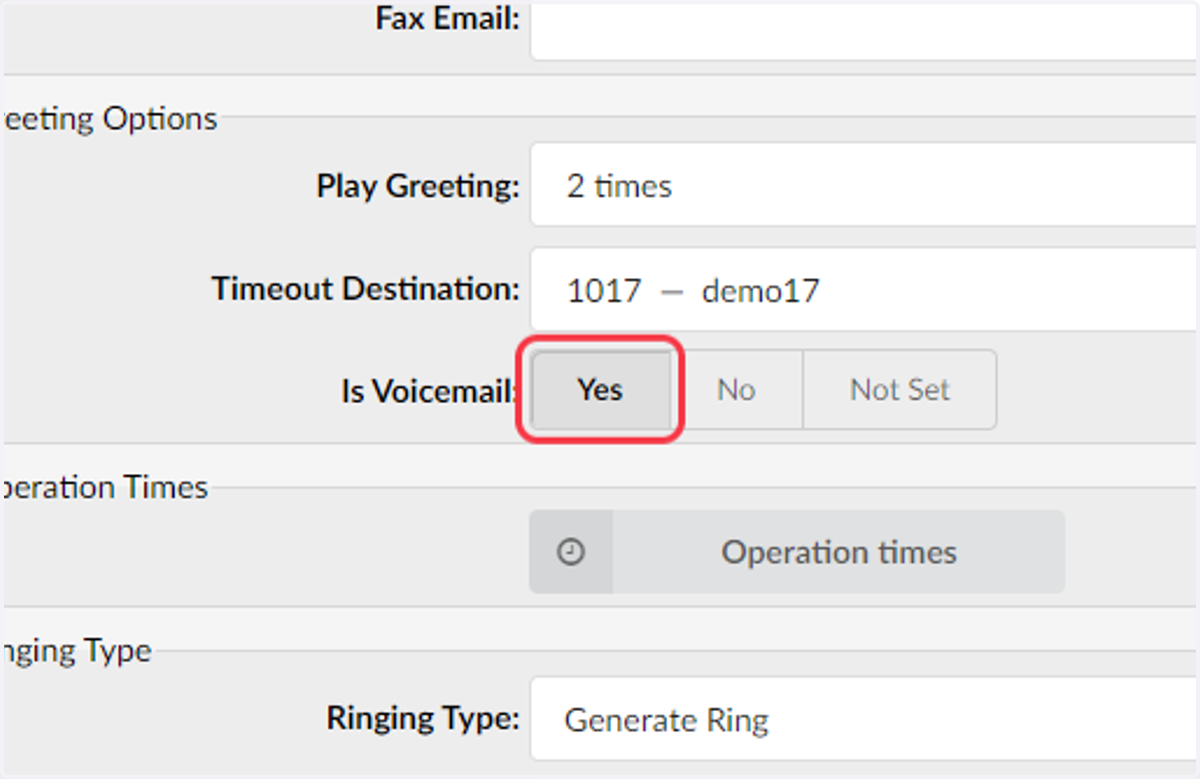
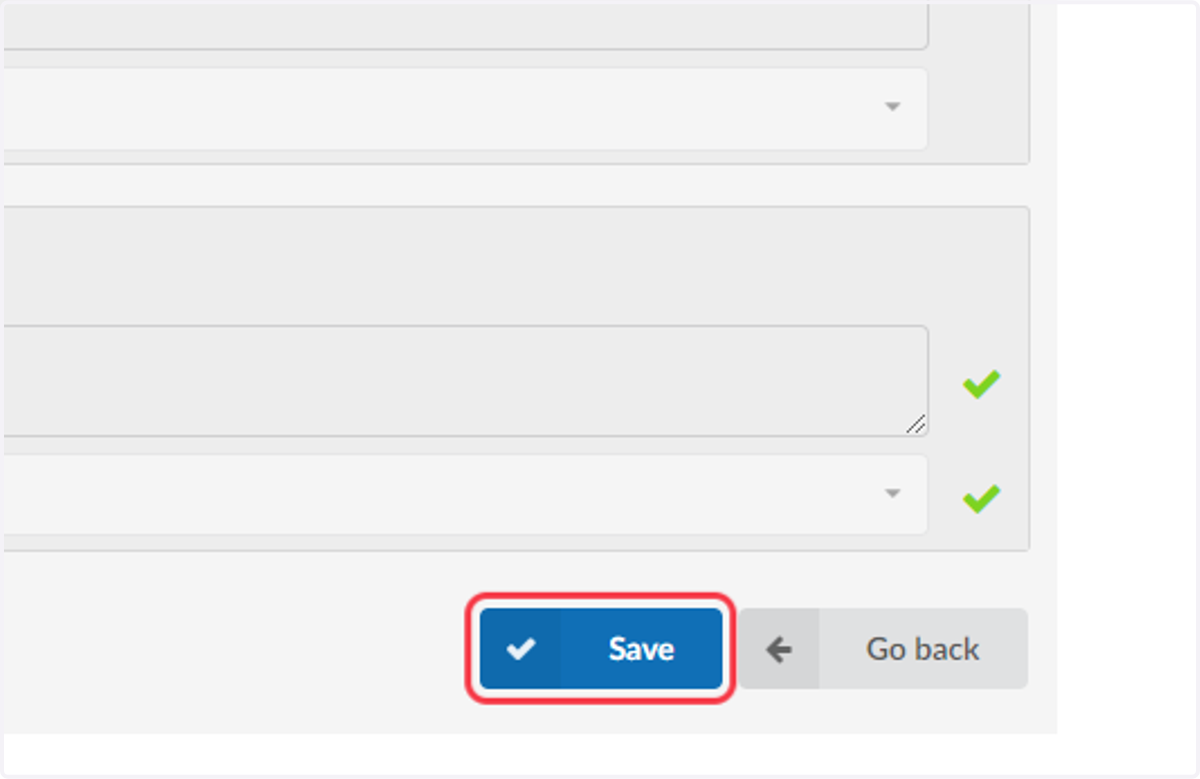
19. Click on Save
20. Click on Ring Groups
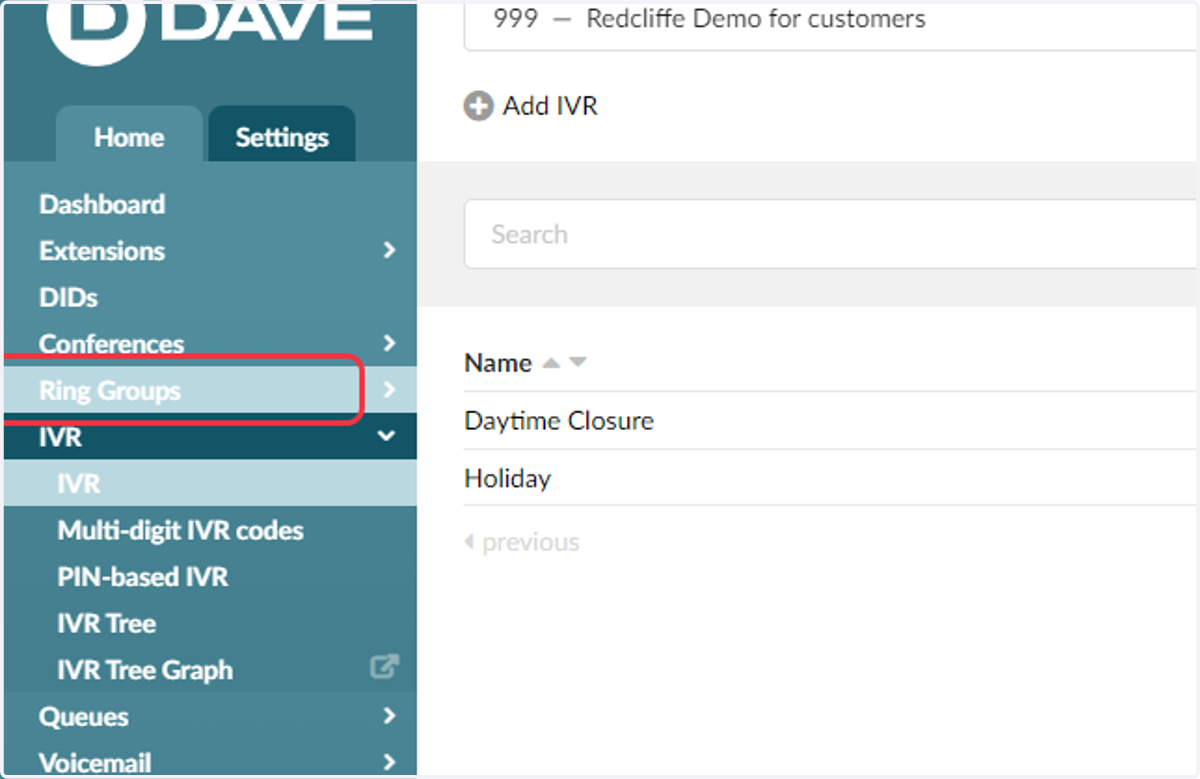
21. Select the ring group that the main number points to
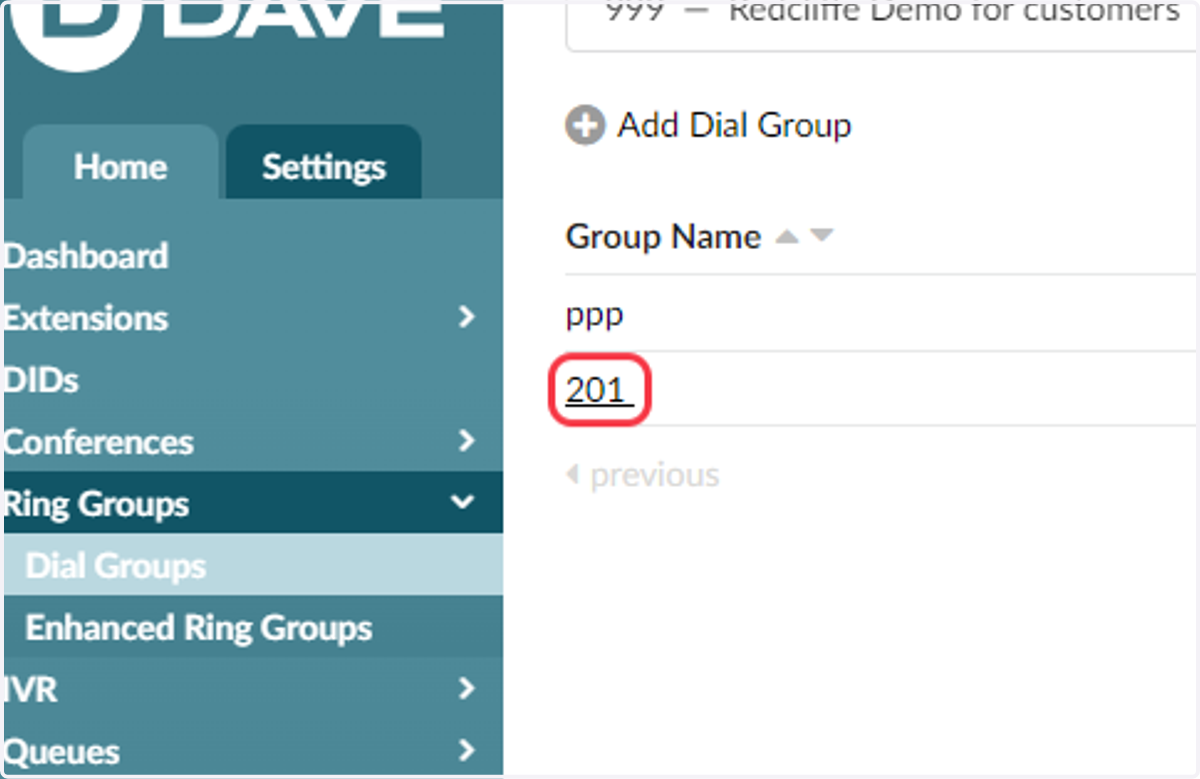
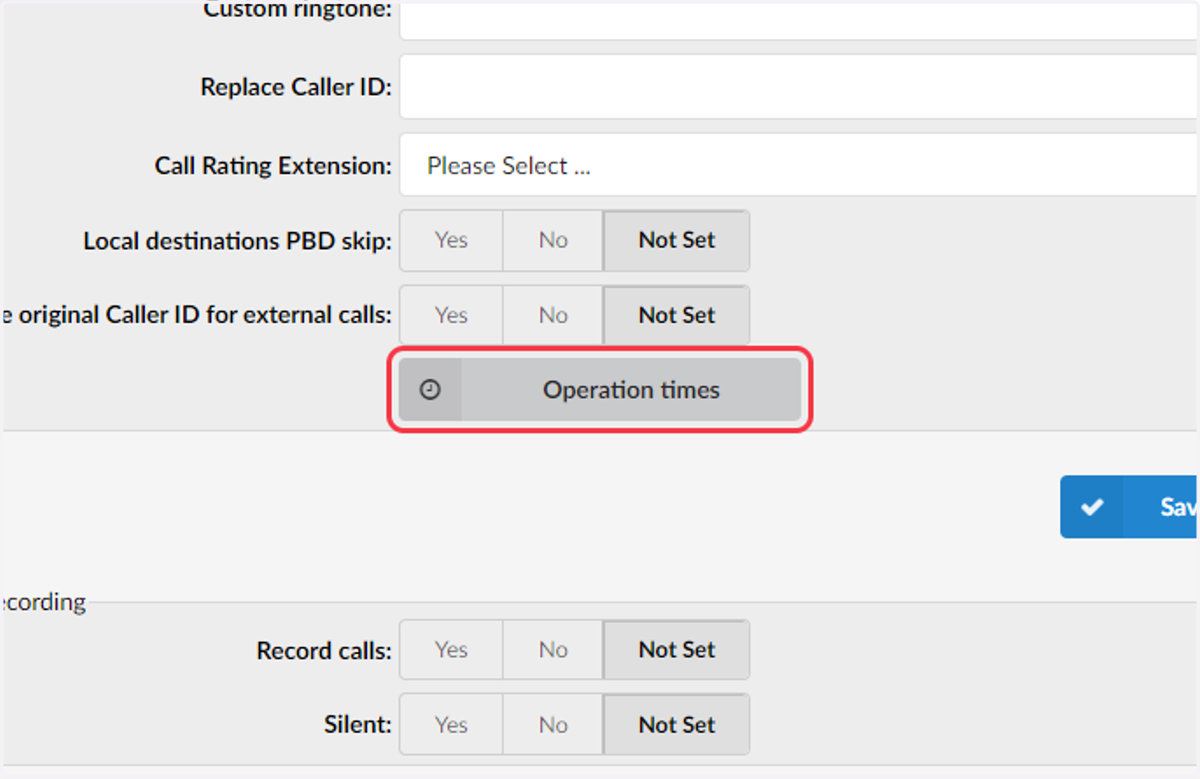
22. Click on Operation times
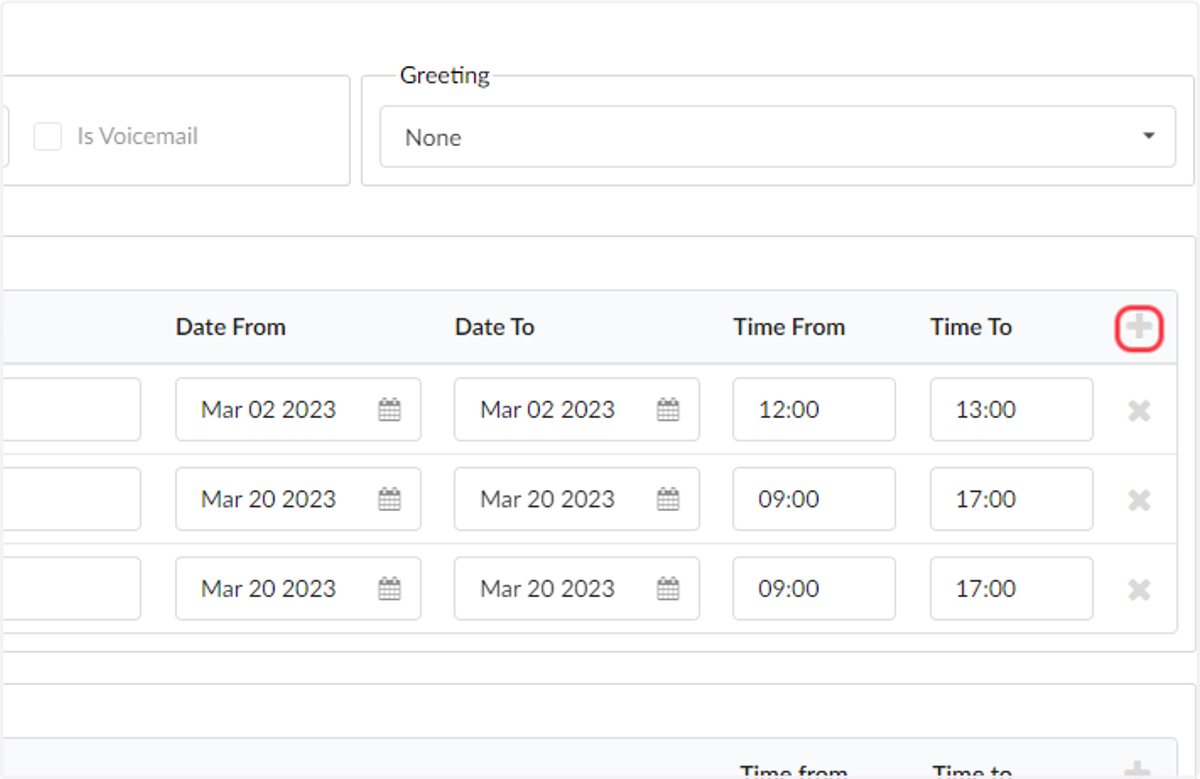
23. Click on Add Time Range
24. Name your Closure in Description
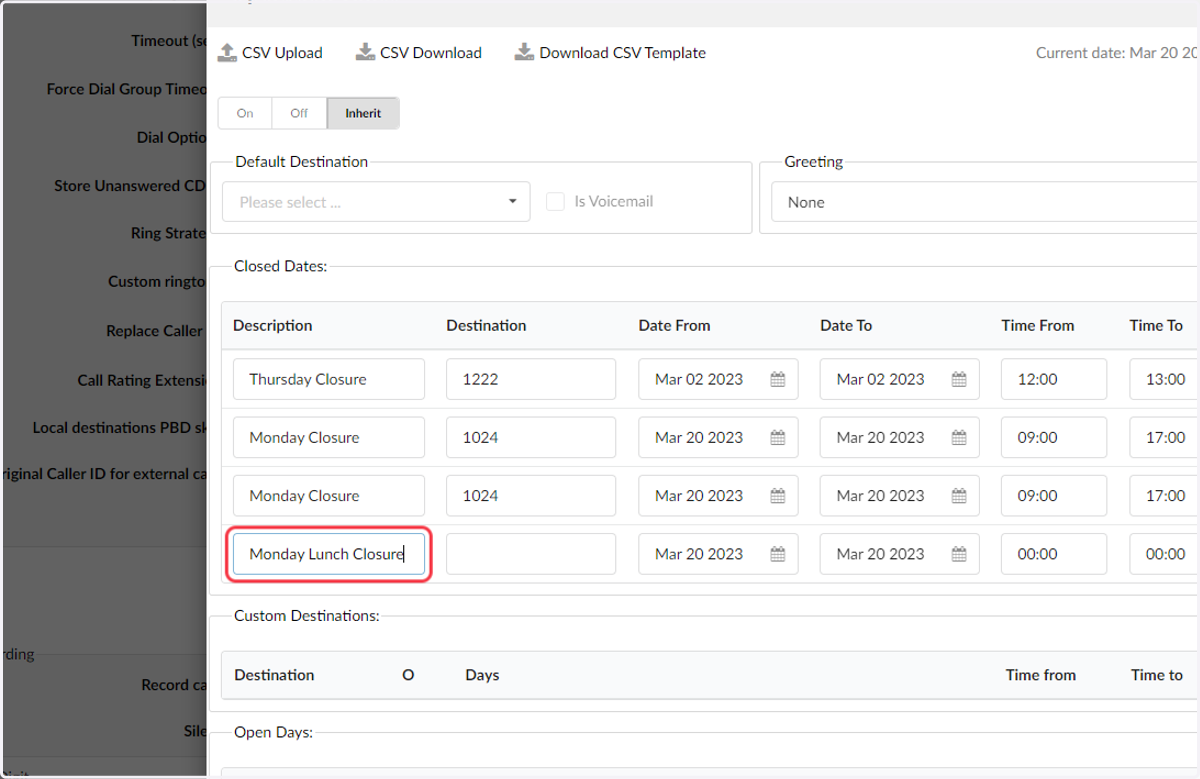
25. Enter the name of the IVR for closure.
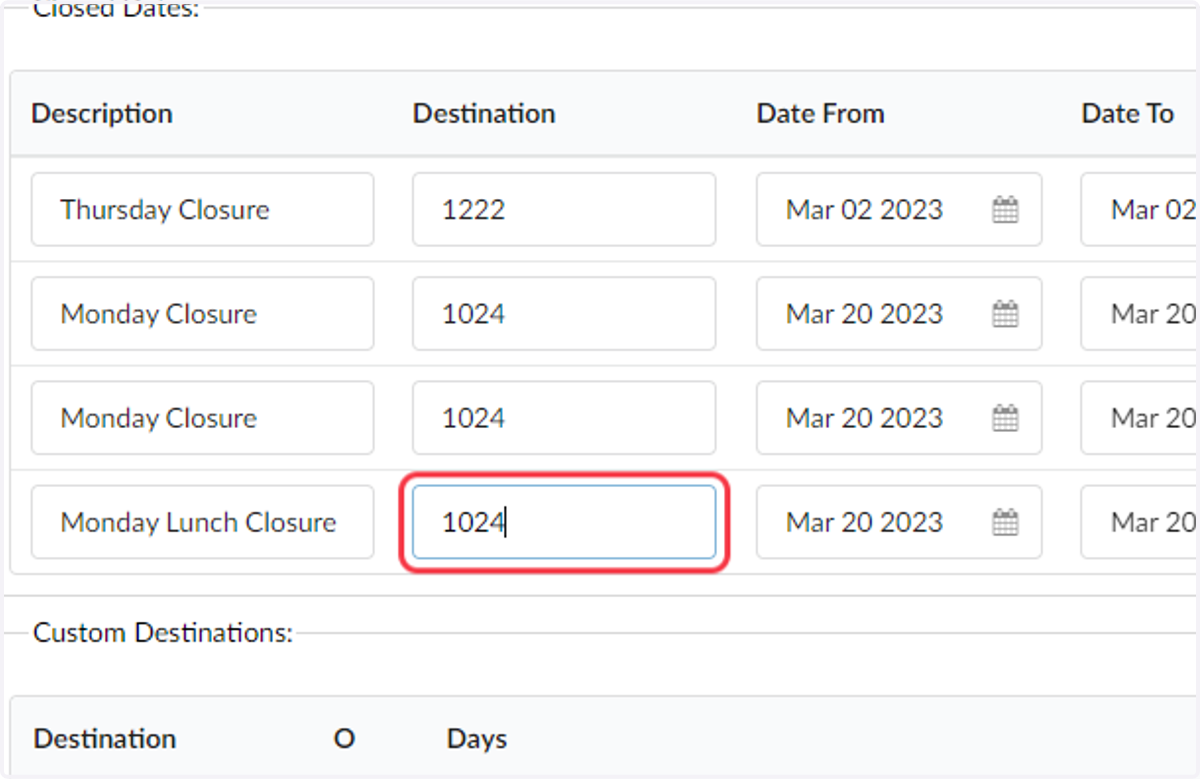
26. Click on date and select the date
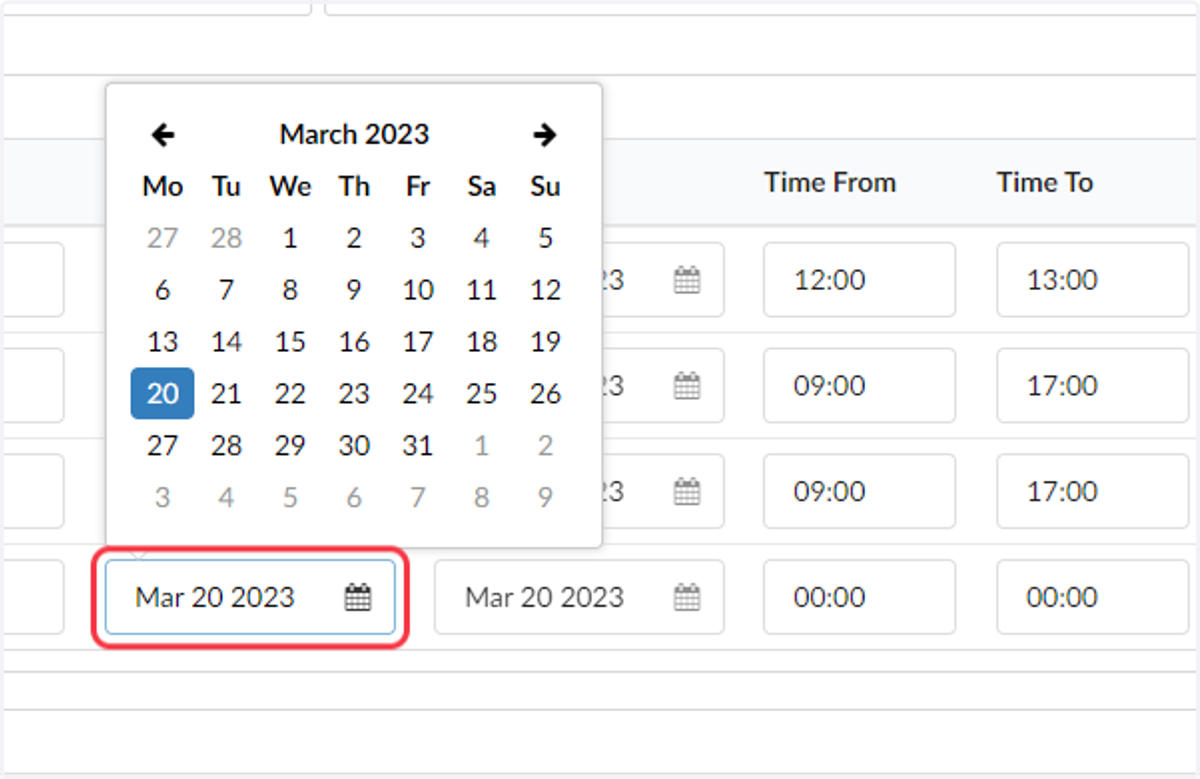
27. Select the date
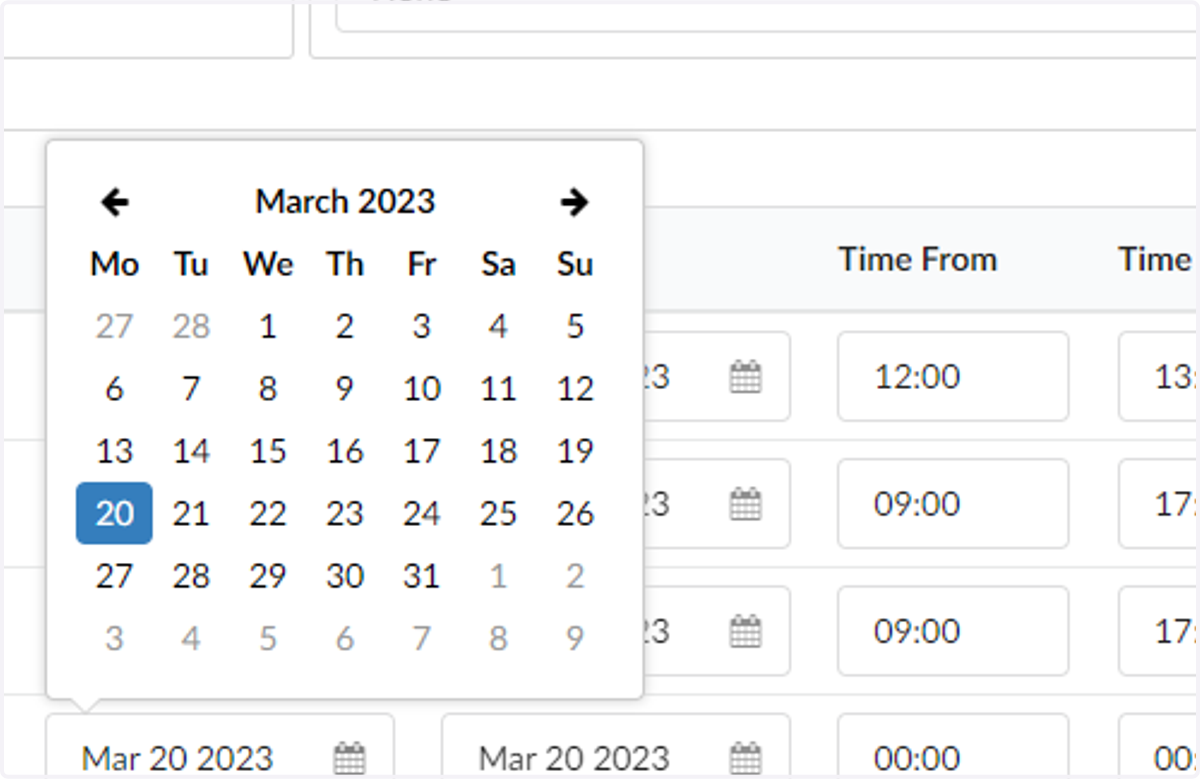
28. Select the to date
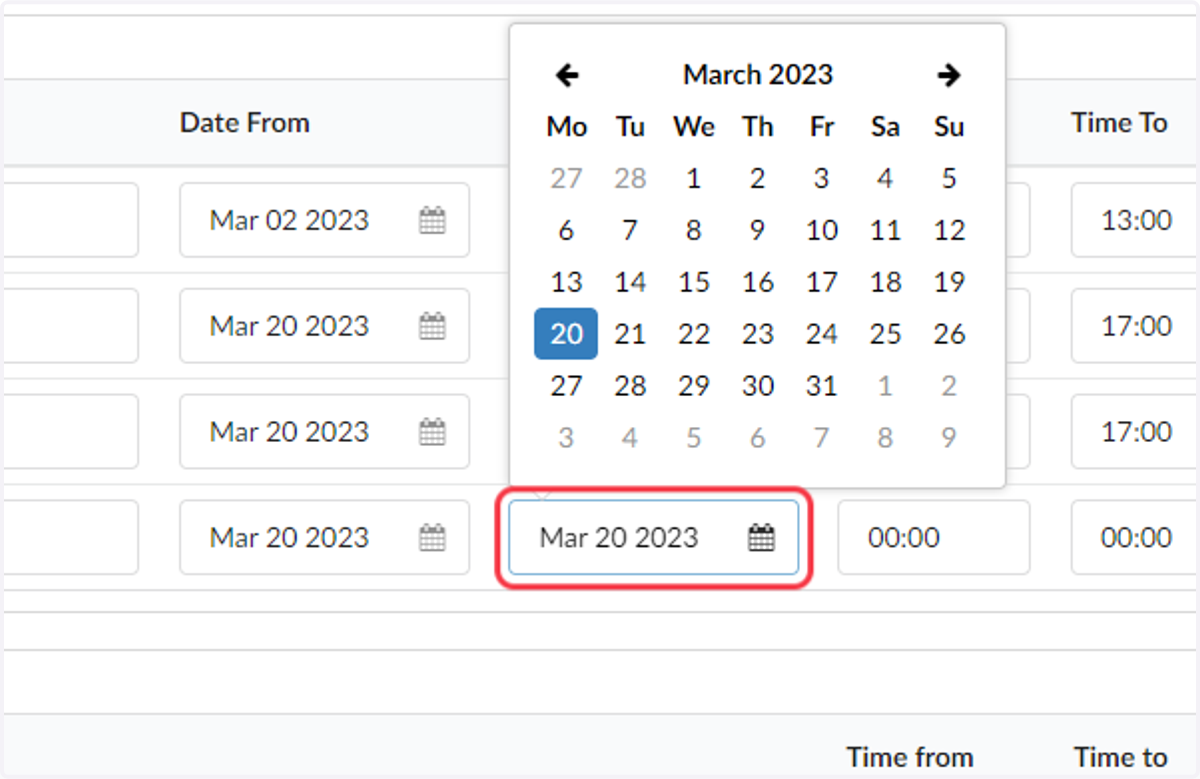
29. Click on 20
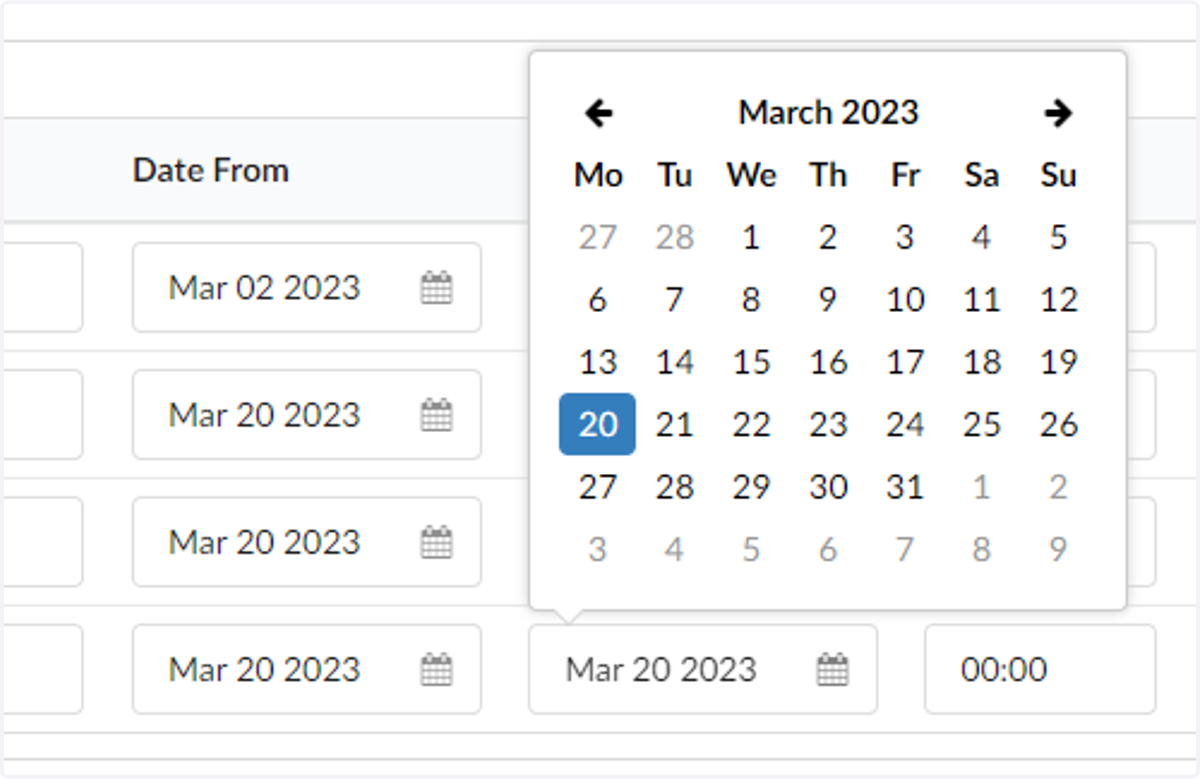
30. Select the From Time
What time does it start
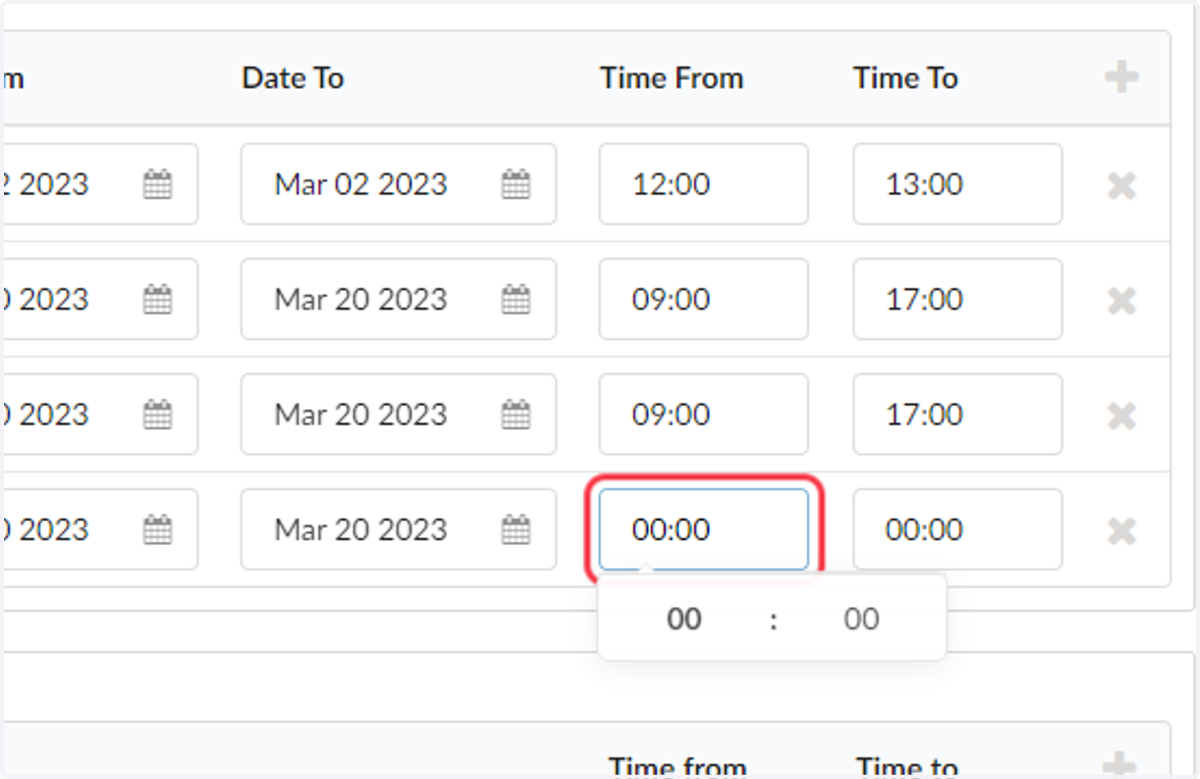
31. Type the hour
This is in Military time
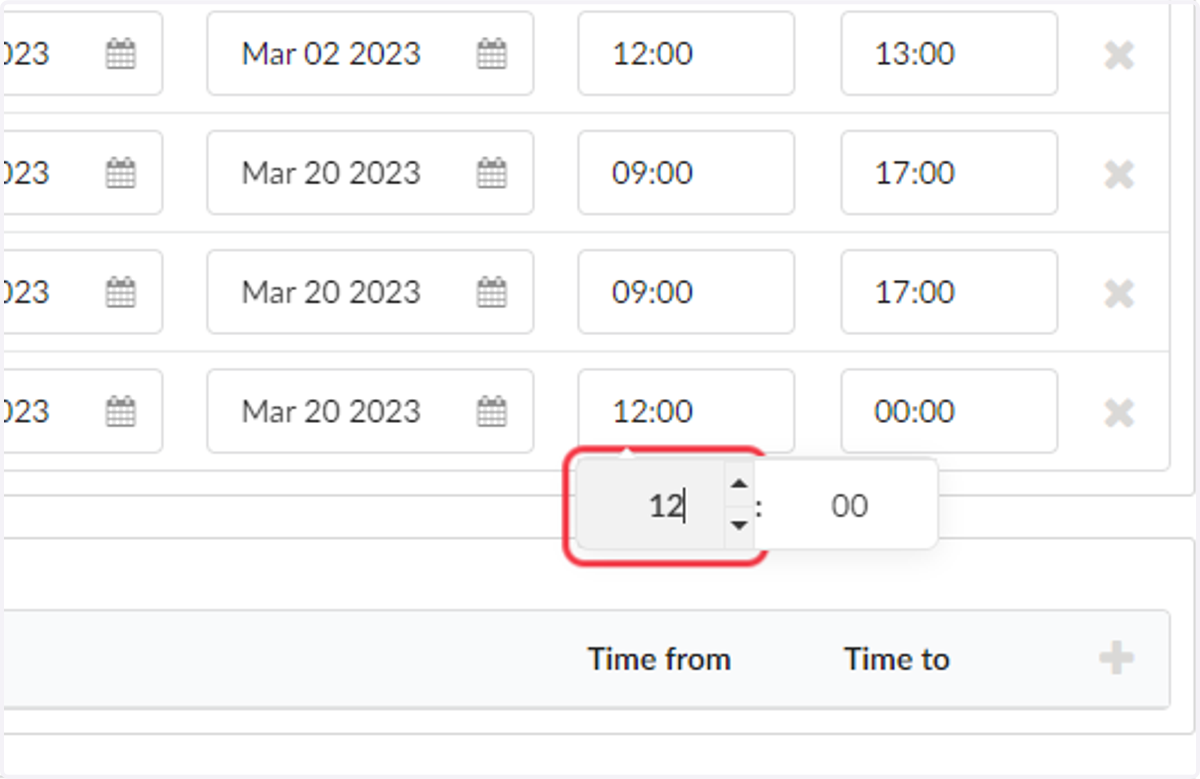
32. Click on Time To
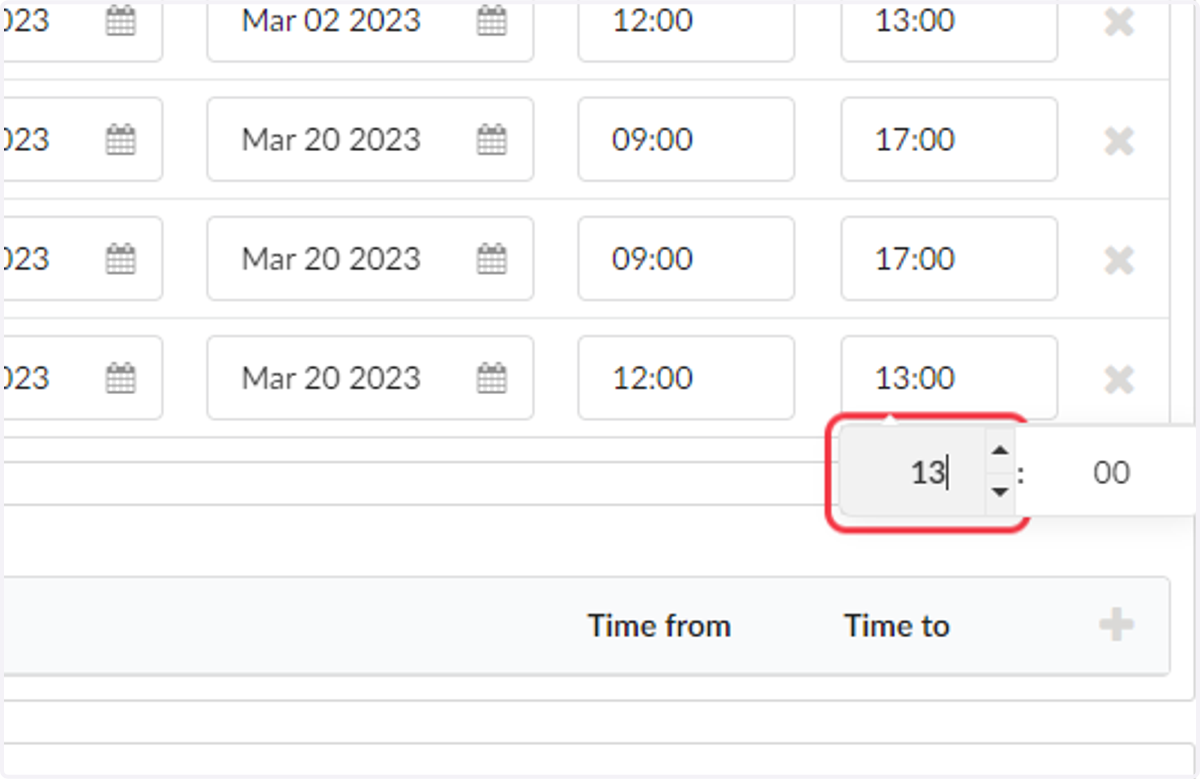
This is in Military Time
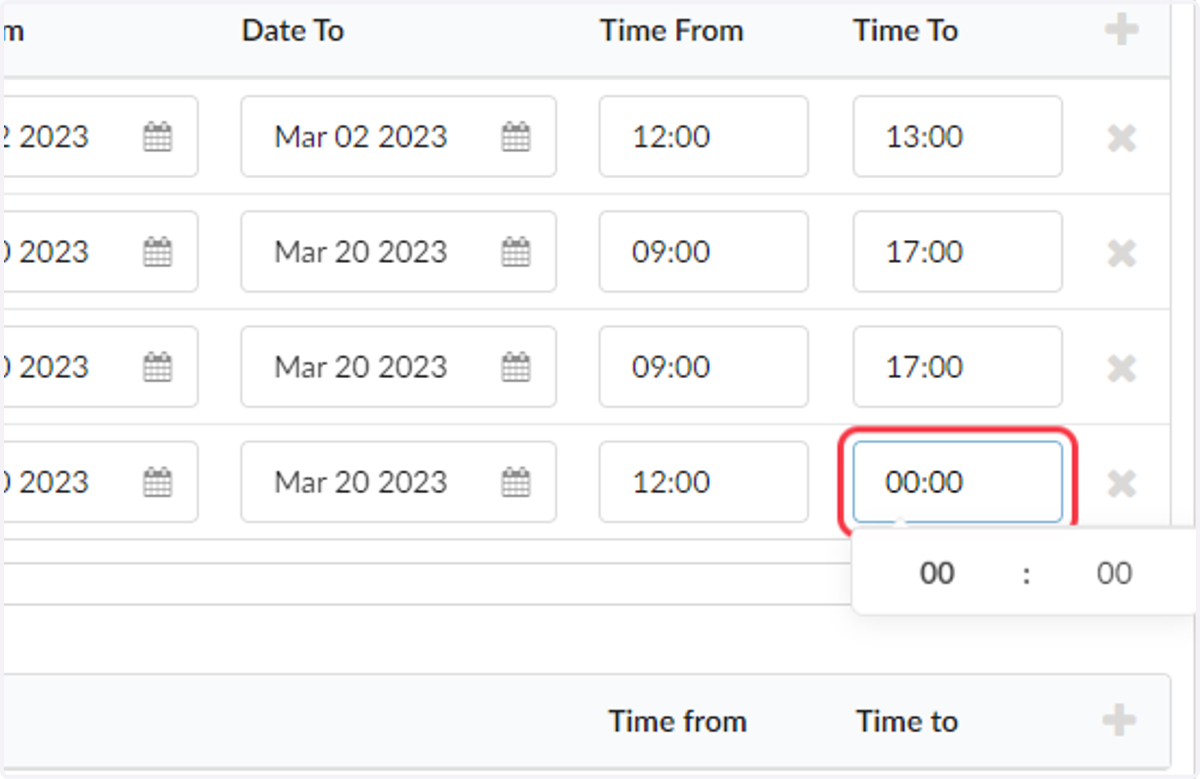
33. Type "13"
34. Double-check your work.
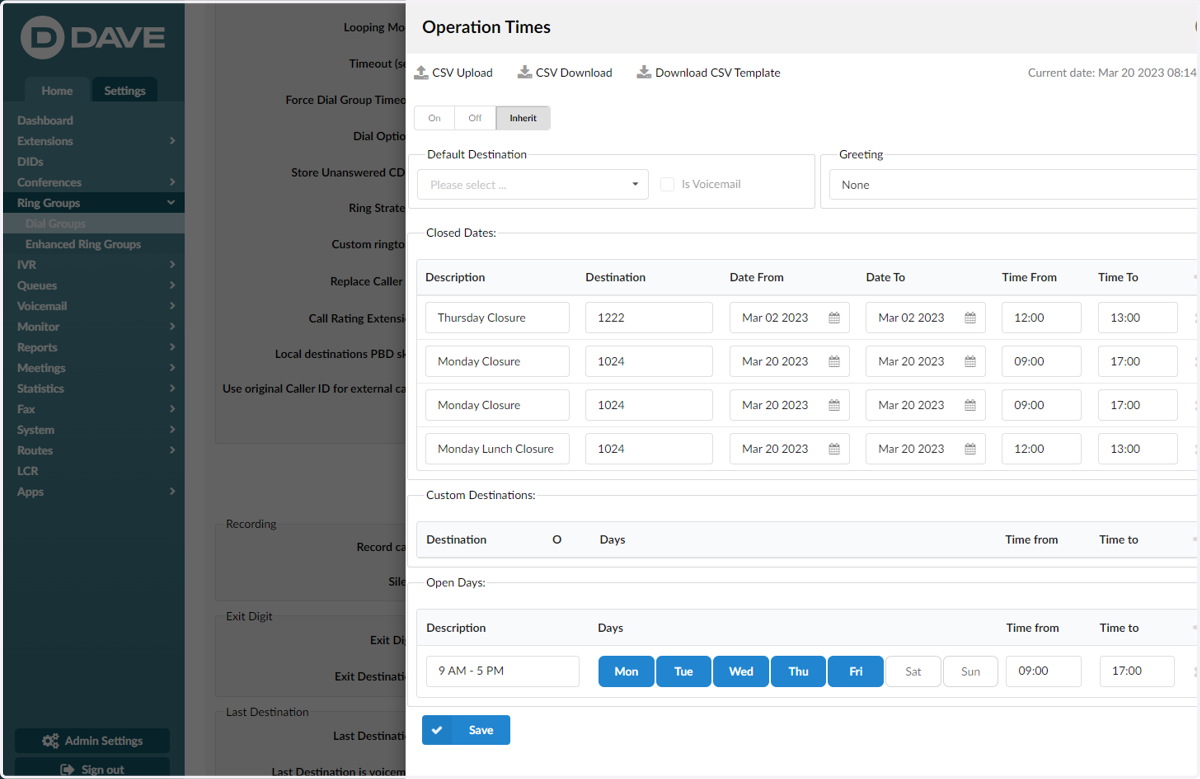
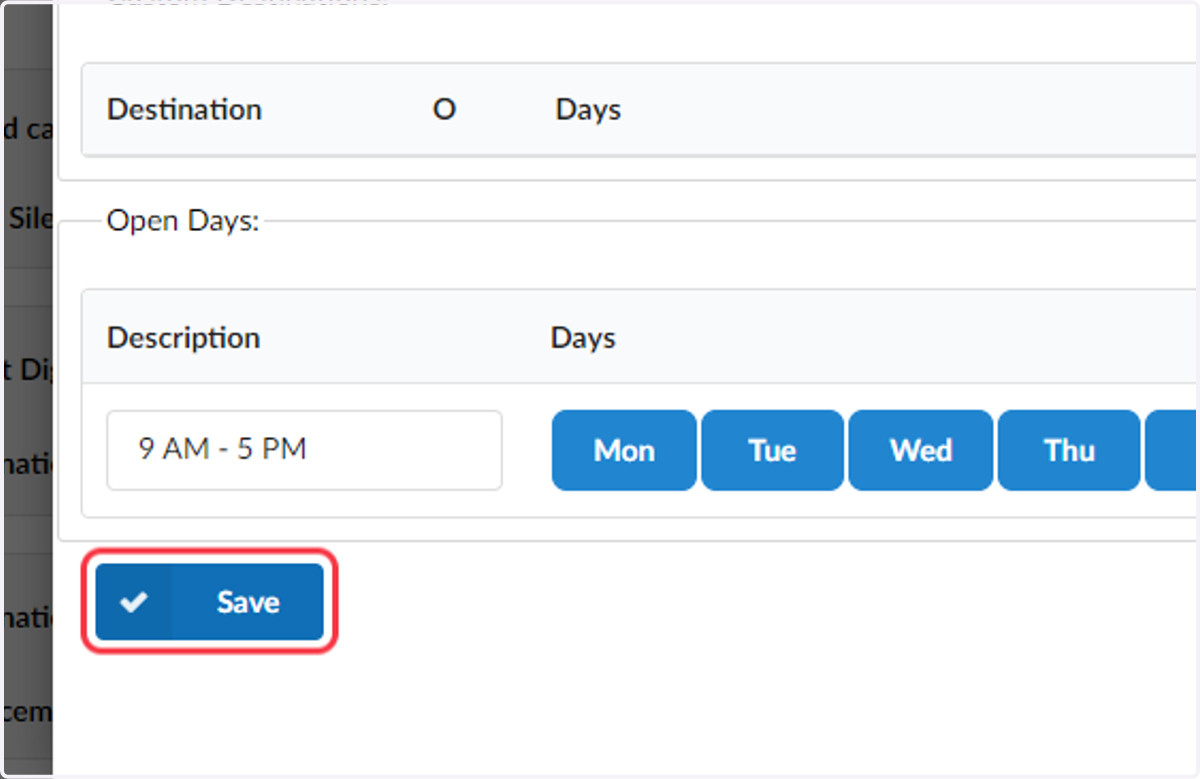
35. Click on Save
36. Click on Close
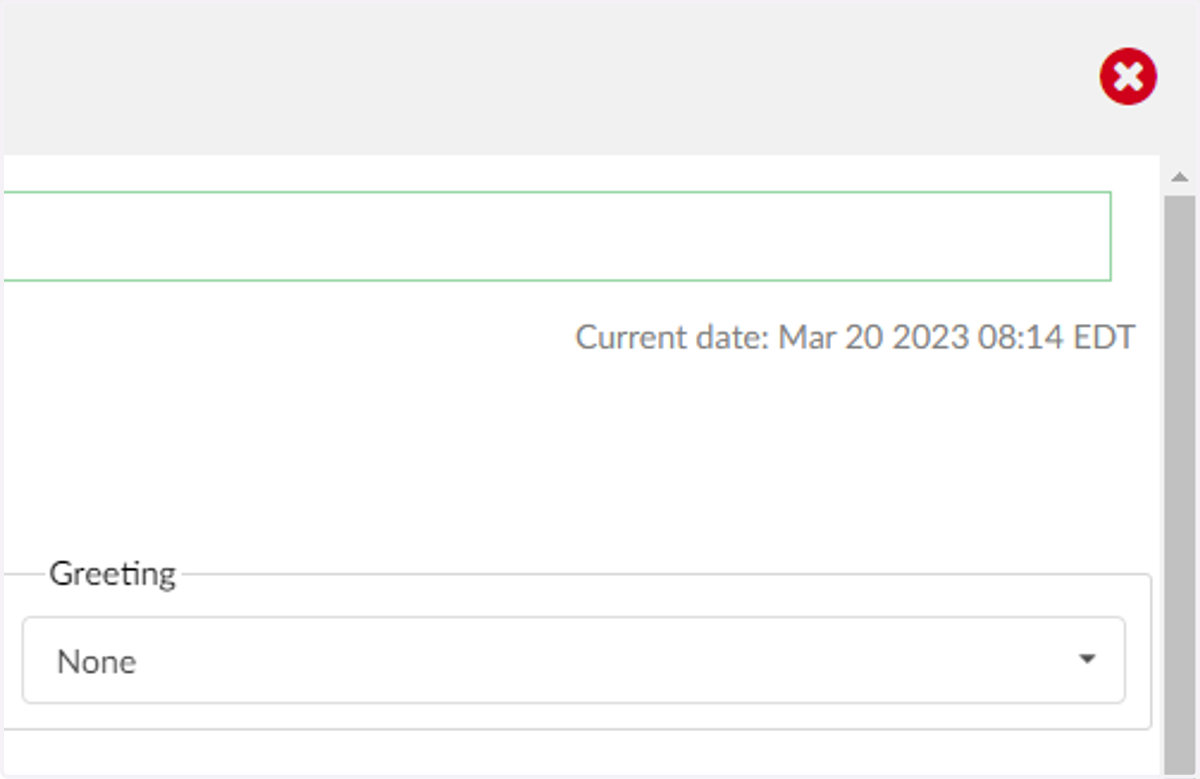
37. Click on Save