Connect: printIQ Custom Quoting | CI_printIQ_011
In this tutorial, we'll take a look at how to configure custom quoting between Infigo and printIQ.
Until this point, in order to create an estimate and retrieve live pricing from PrintIQ it required you to create individual SKUs for each combination of product you wanted to offer to your customer. So if you had 5 fixed sizes, two stocks and two finishes it meant you needed to create 20 SKUs in PrintIQ. With this functionality, it removes the need to create these products upfront and instead allows you to build up a detailed mapping between your Infigo product and it's printIQ equivalent using various component parts of that product.
This works by building up a base specification on an Infigo Product level, and then overriding certain parts of that specification on an Infigo Product Attribute or Infigo Product Attribute Combination level, allowing your customers to build up more complex quotes. We will discover how to configure both on these levels during this tutorial.
We will begin at taking a quick look at the various means by which we can map Infigo products to printIQ products.
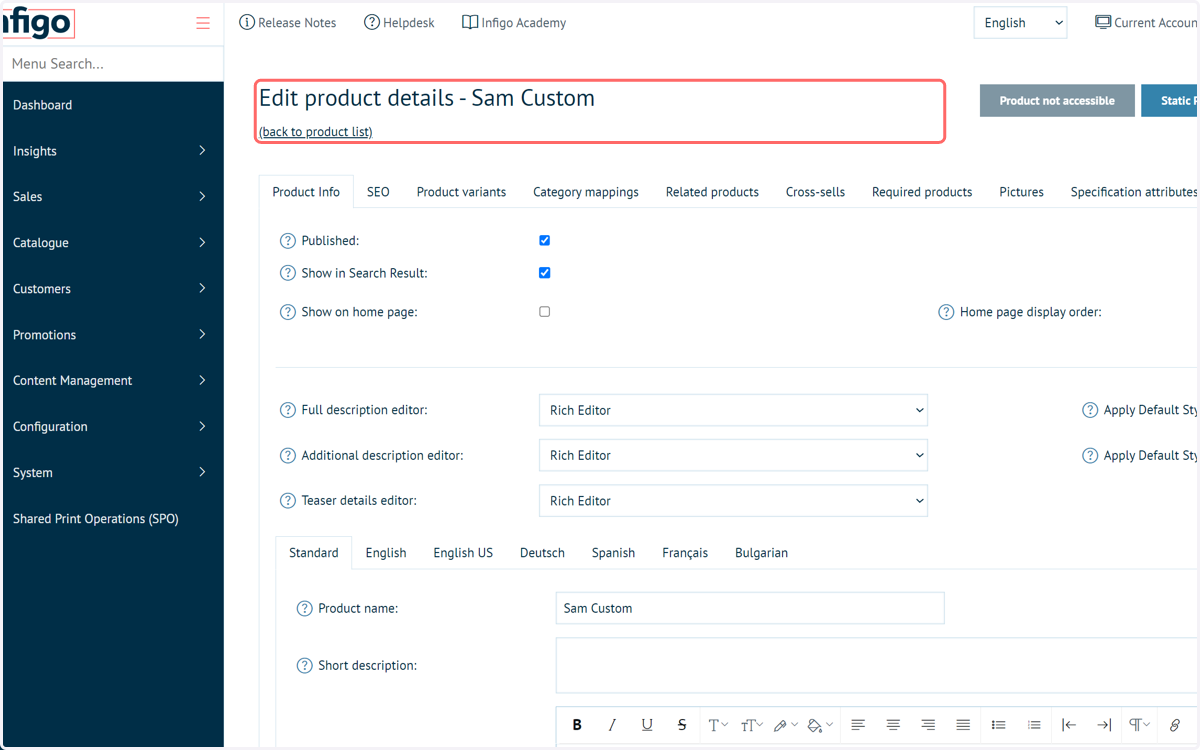
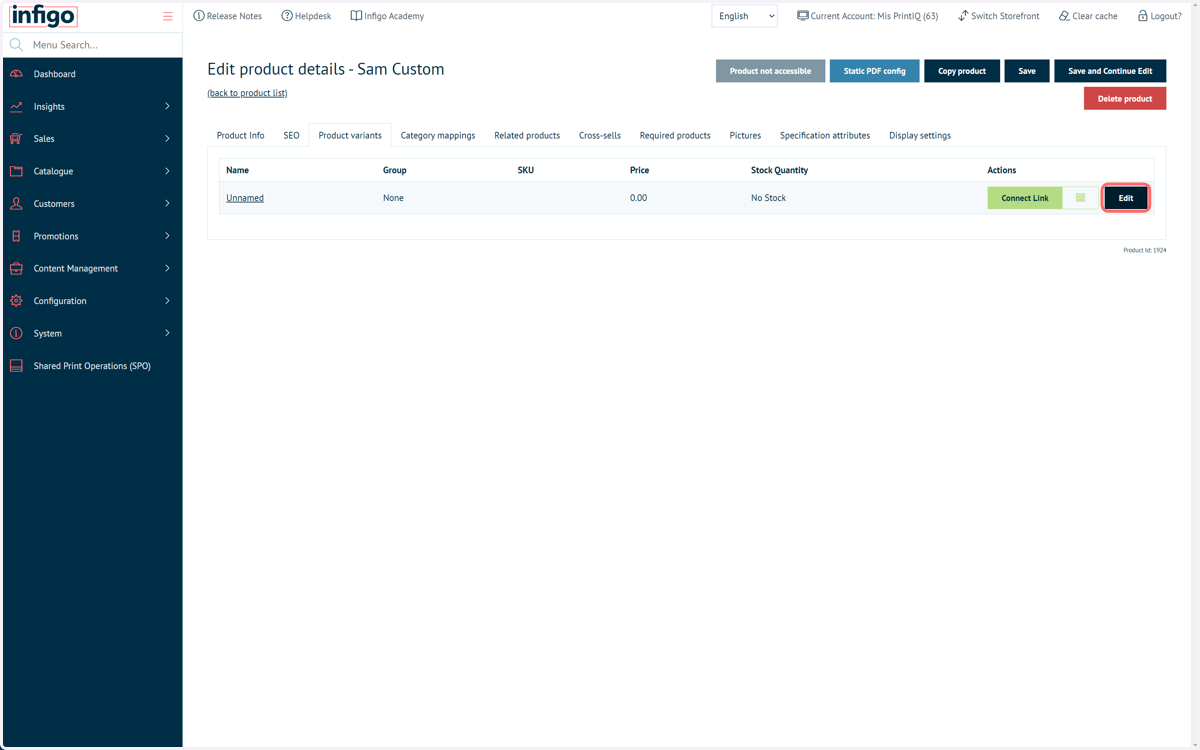
1. Create or navigate to a product you wish to connect with printIQ
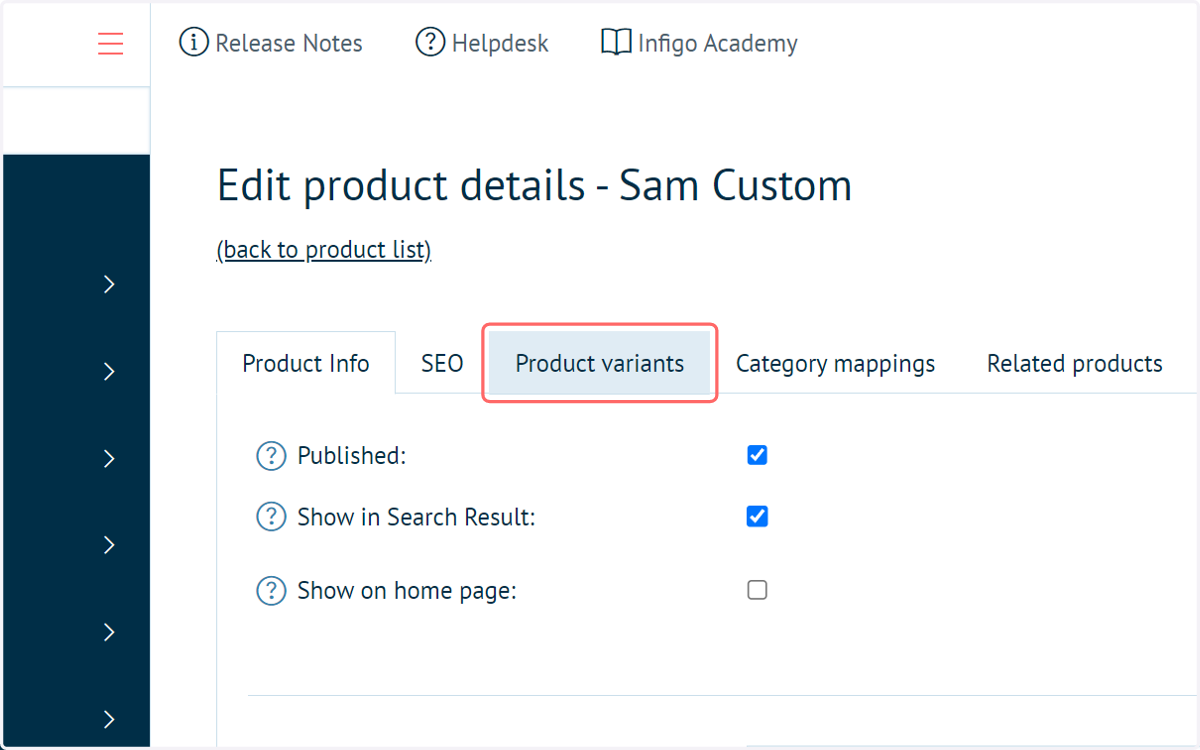
2. Click on Product variants
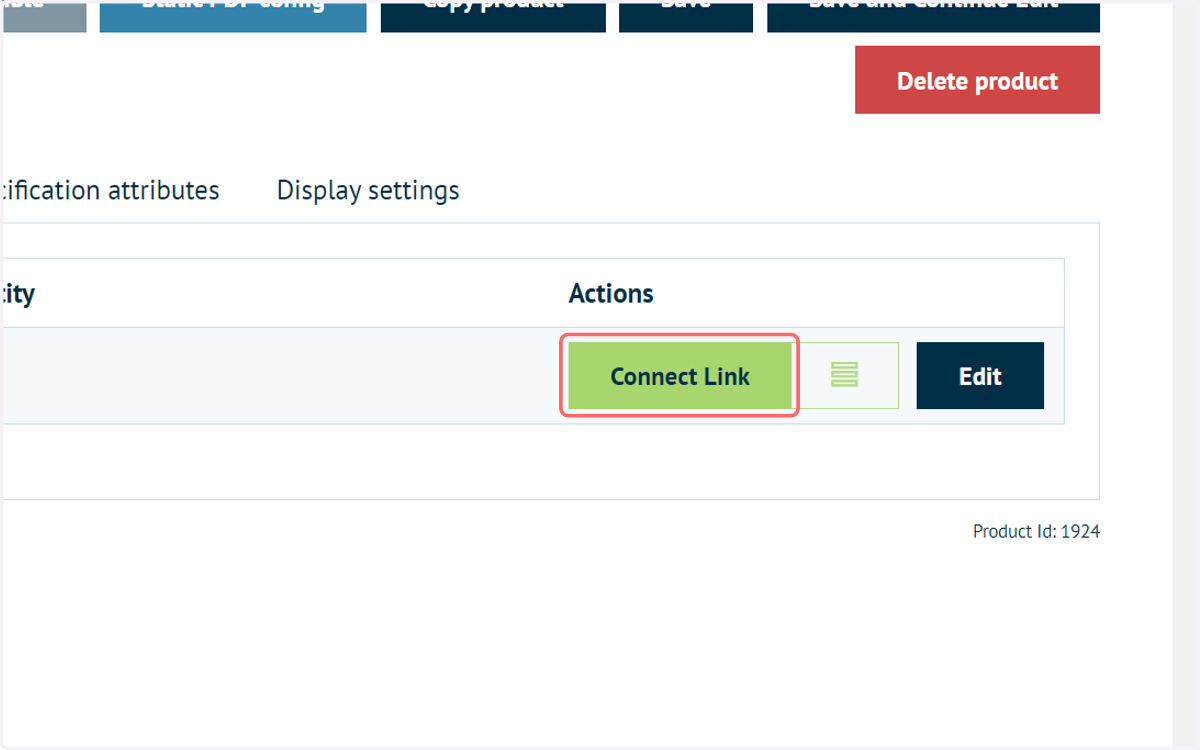
3. Click on Connect Link
We can add many of the link details at a product level. Should you need to link details on an attribute or attribute combination level, this can also be done. We'll see this later.
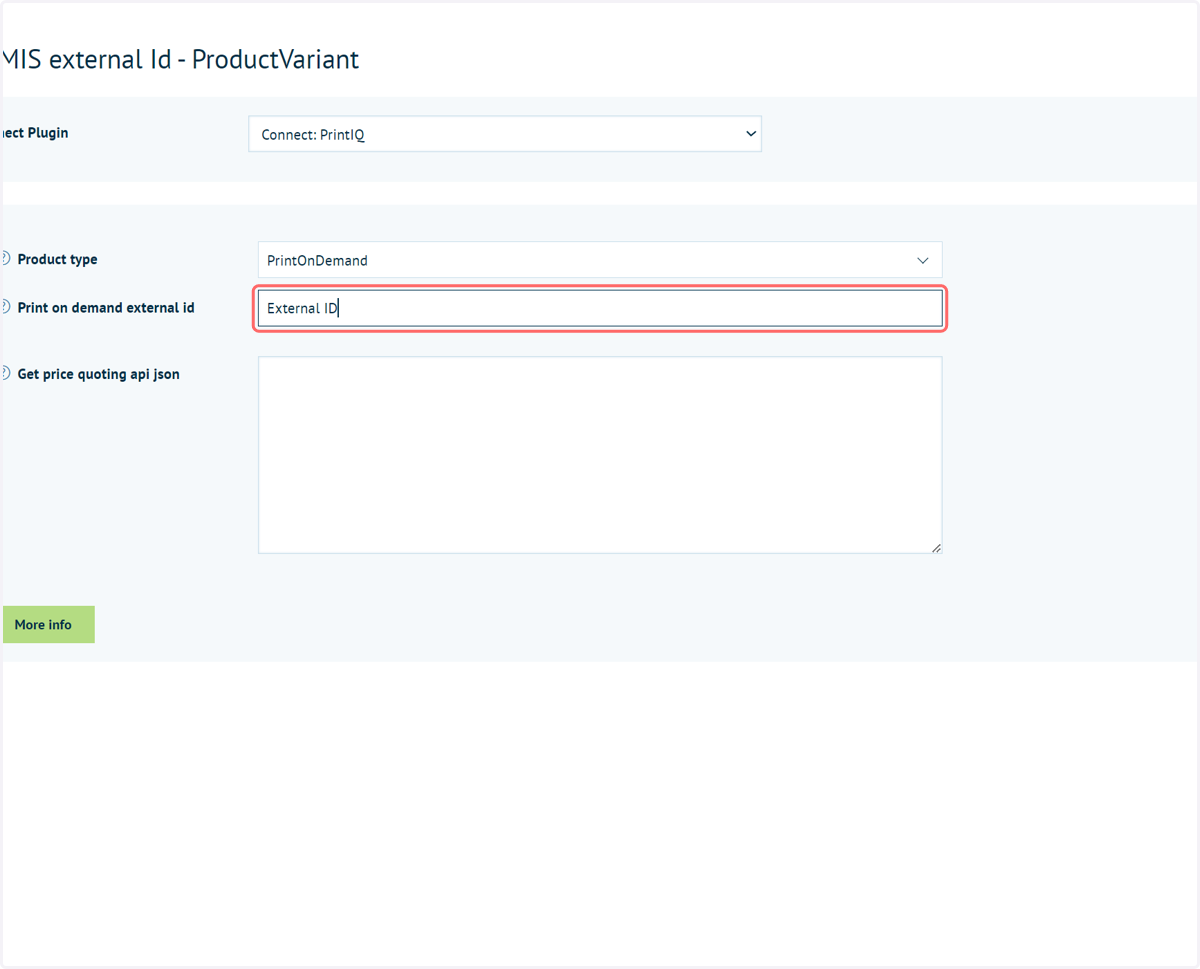
4. PrintOnDemand method
The PrintOnDemand method is the one which our existing Connect:printIQ customers will be most familiar with. This method consists directly inputting an ExternalID which links to an entry in printIQ. This eliminates the need for a custom specification if it isn't required.
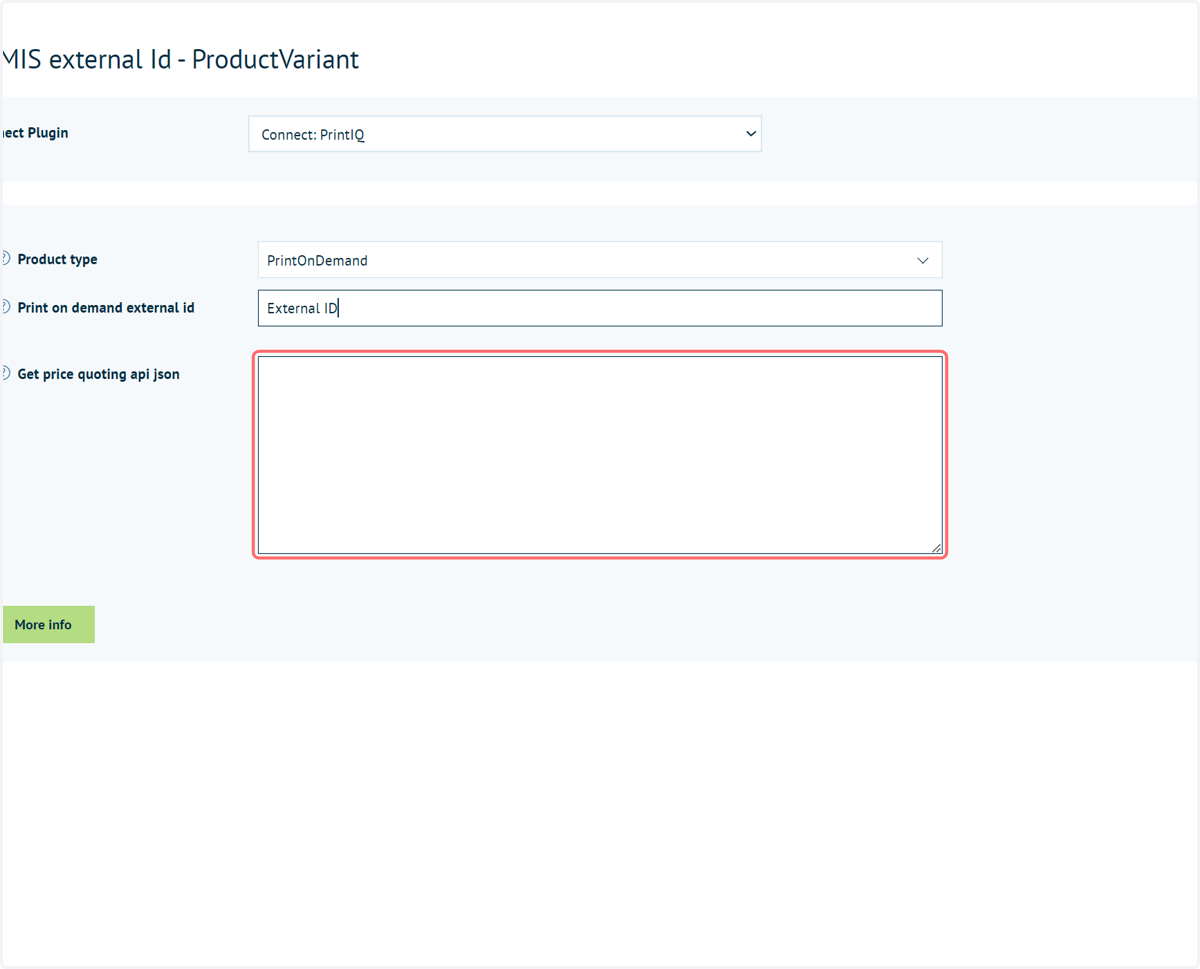
5. Additional GetPrice configuration
This is where the manual approach to Custom Quoting has been able to be carried out in Infigo for some time. You are able to configure the JSON to link the Infigo products with various specifications from printIQ. This tutorial focuses primarily on the method of accomplishing this same feat using a custom made user interface.
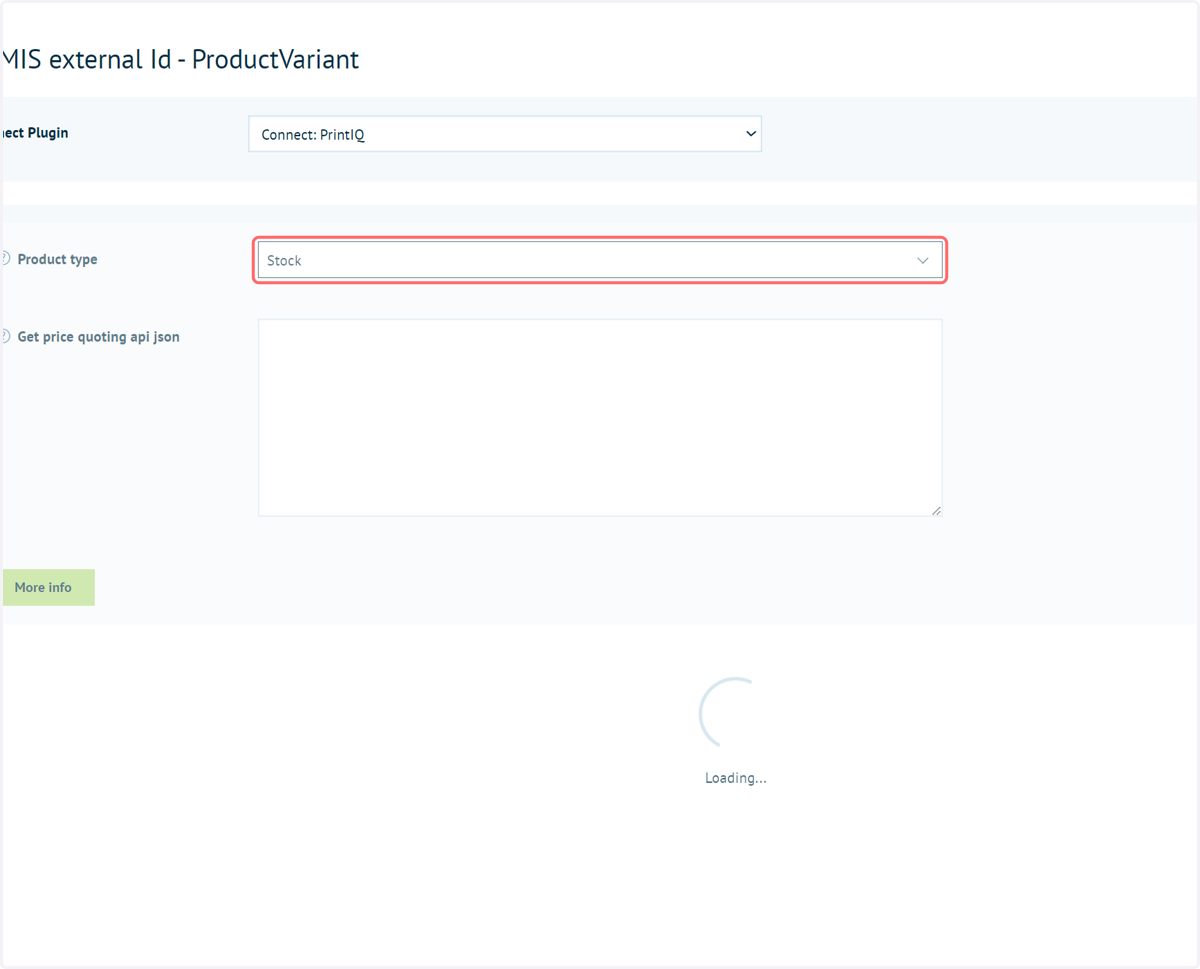
6. Stock method
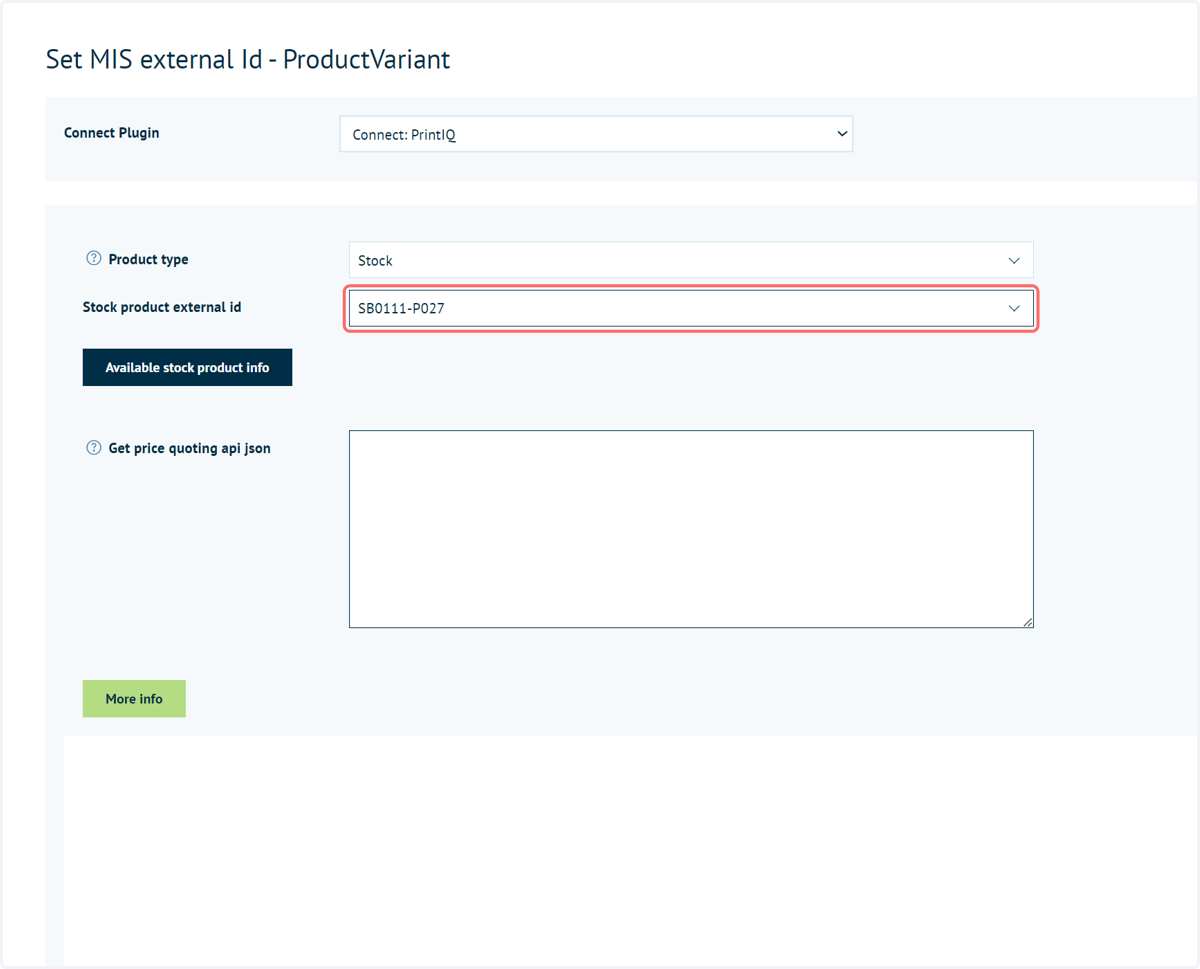
7. Select the ID from the populated list of Stock Products
A dropdown list is populated with a list of all available stock products within your printIQ instance.
8. Click on Available stock product info
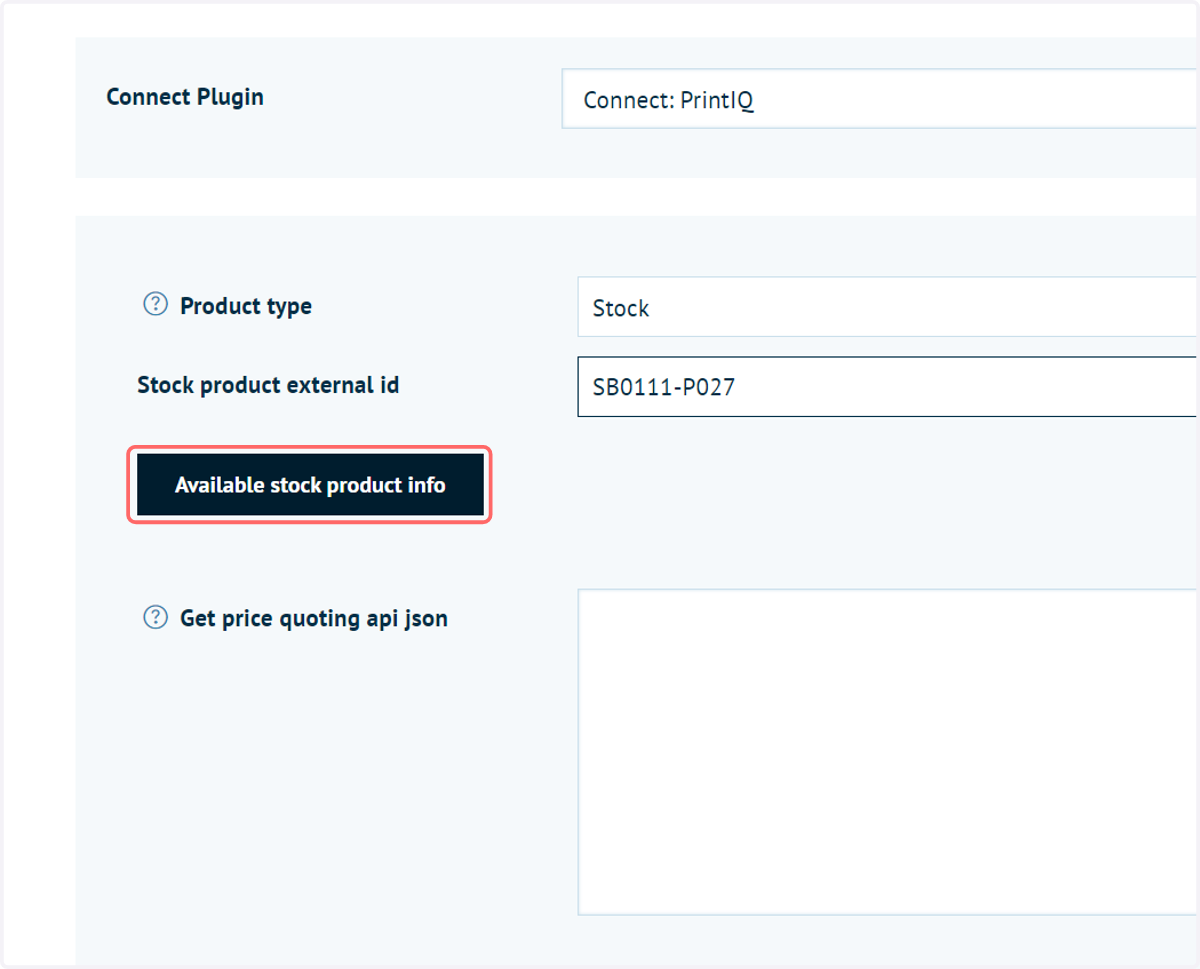
9. Available Stock product info
Details on all available stock products are shown within this list to provide you with relevant information.
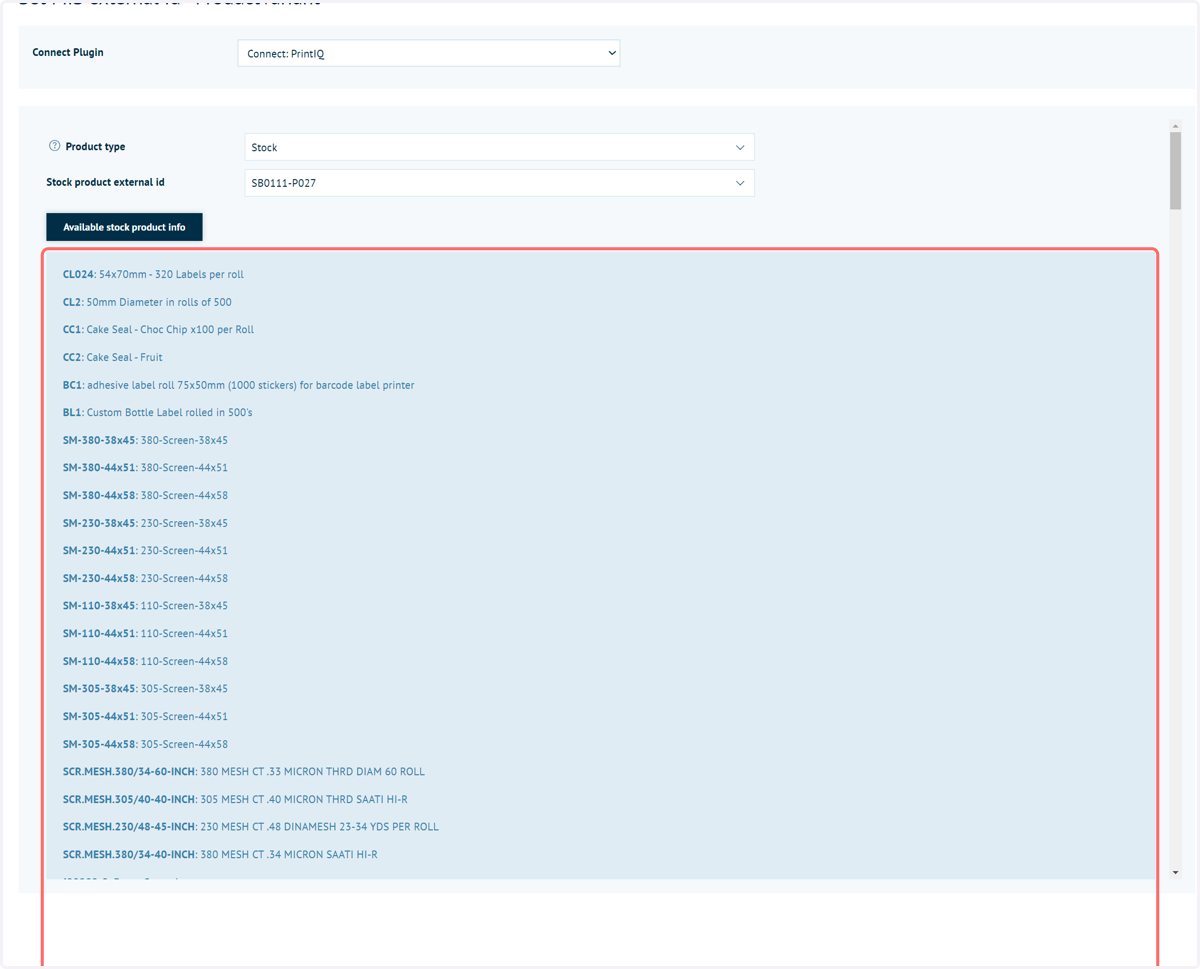
10. The JSON can be manually configured within this setting as well
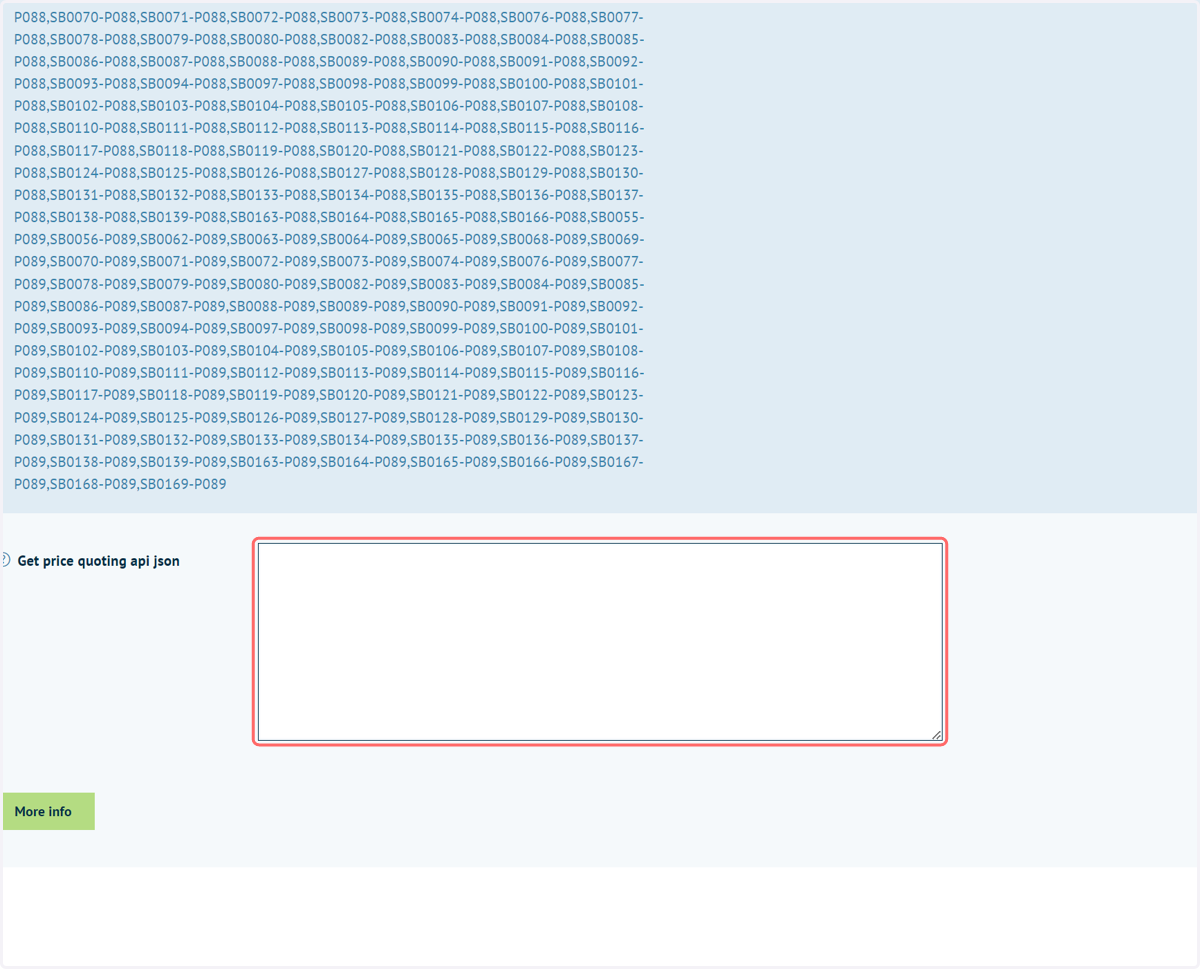
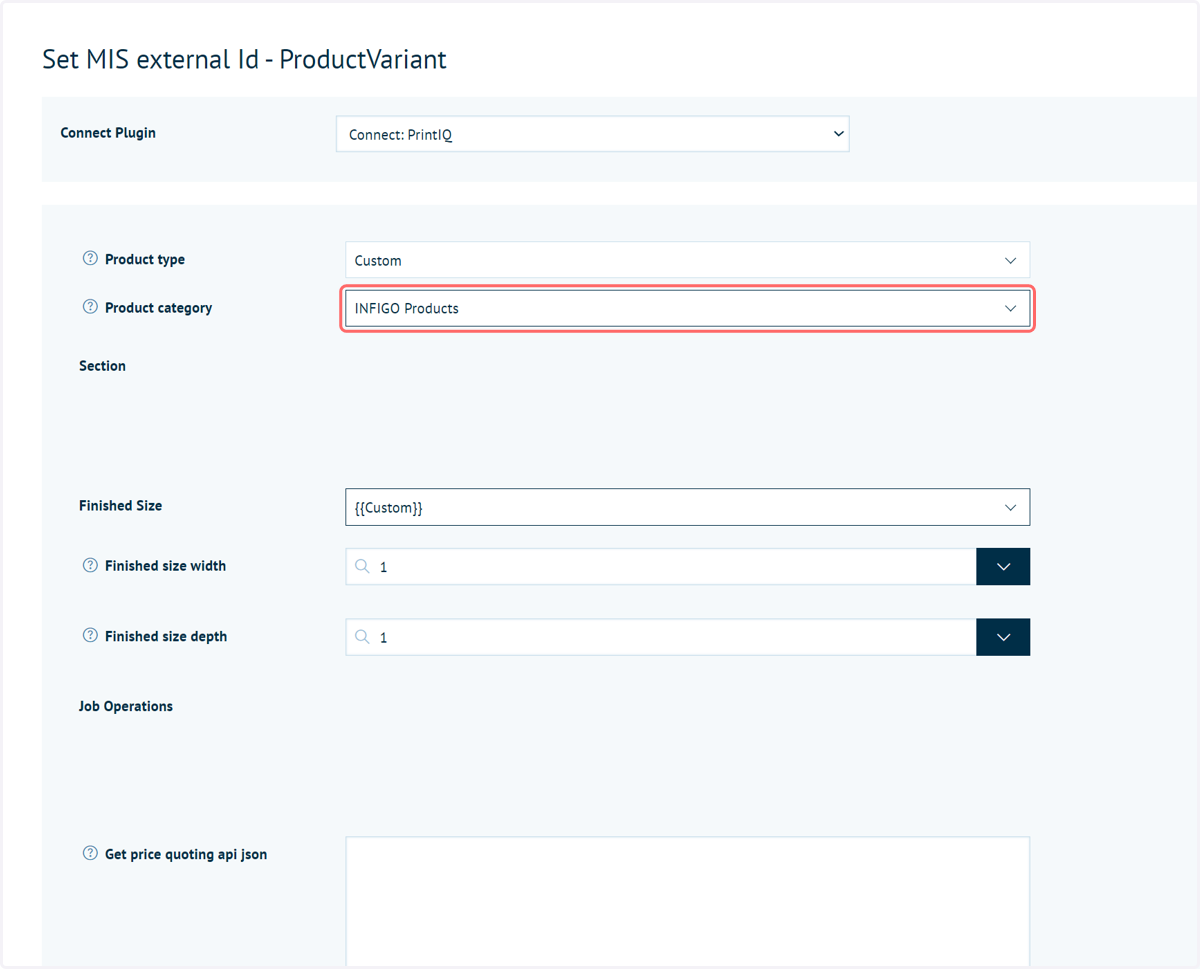
11. Selecting Custom from the Product type dropdown will activate the custom built user interface, allowing you to easily utilise our custom quoting capabilities
As a reminder, configuring options within the Custom UI is essentially configuring the JSON sent to printIQ without having to manually construct it, which requires specialist skills.
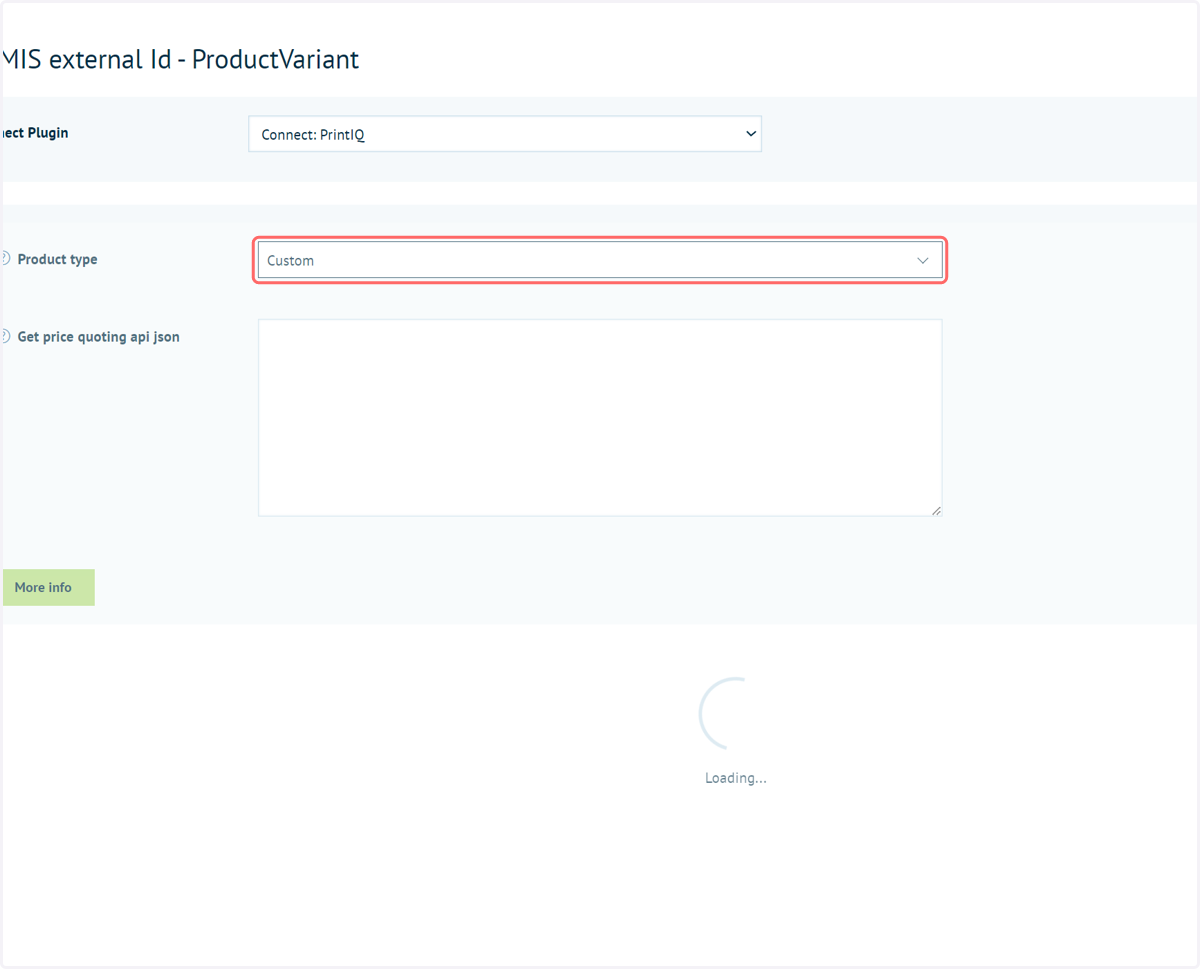
12. Product Category selection
This is the name of the product category that is passed into printIQ for the custom product quote.
Note, this is a list of printIQ categories, not Infigo categories. This will ensure the correct information is drawn into Infigo in the subsequent selections on this page, such as Sections and Job Operations.
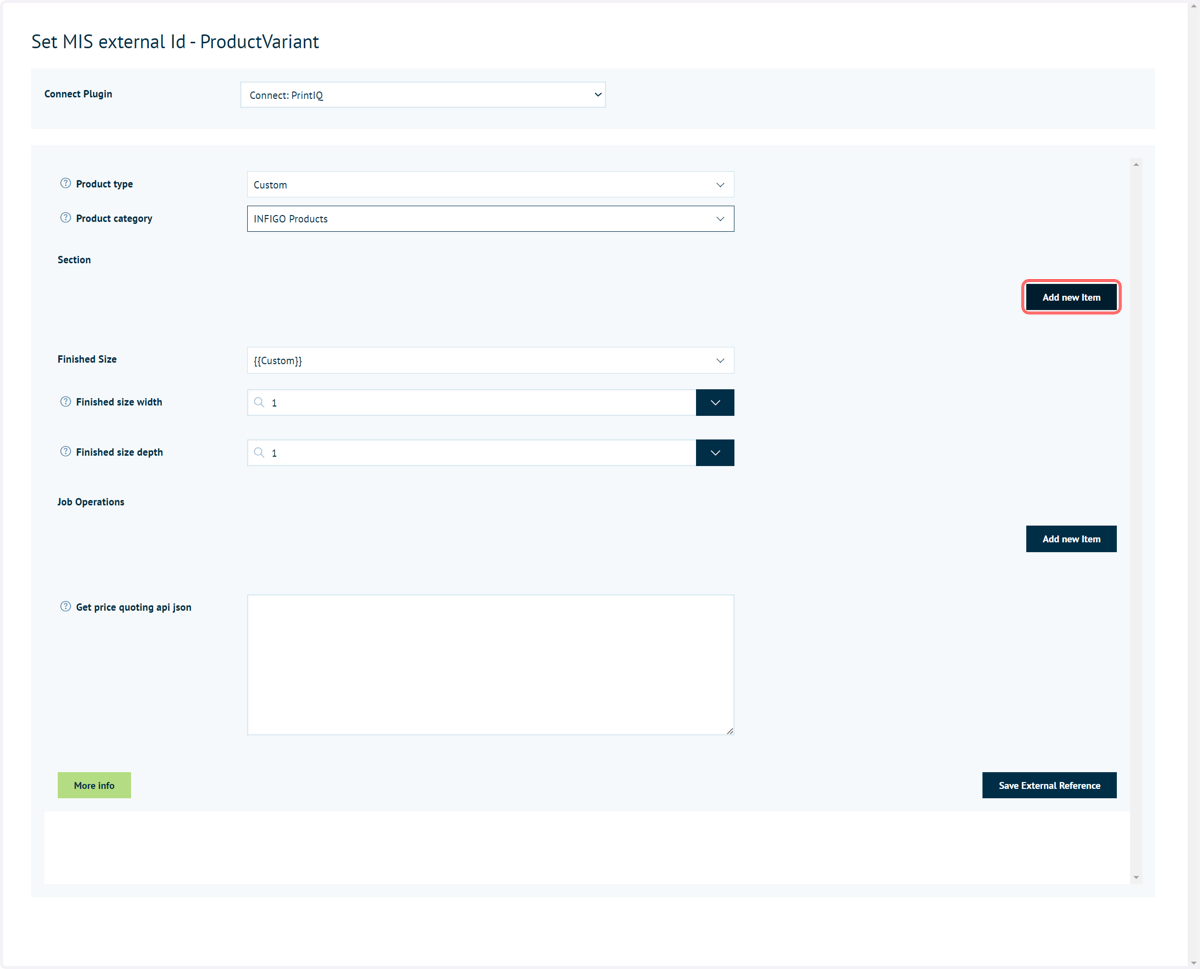
13. To define Sections for this product, click Add new Item under the Sections heading
NOTE: "Sections" is a printIQ term. We are drawing information into Infigo from that area within your printIQ instance.
Click this button multiple times to add a new set of specification settings.
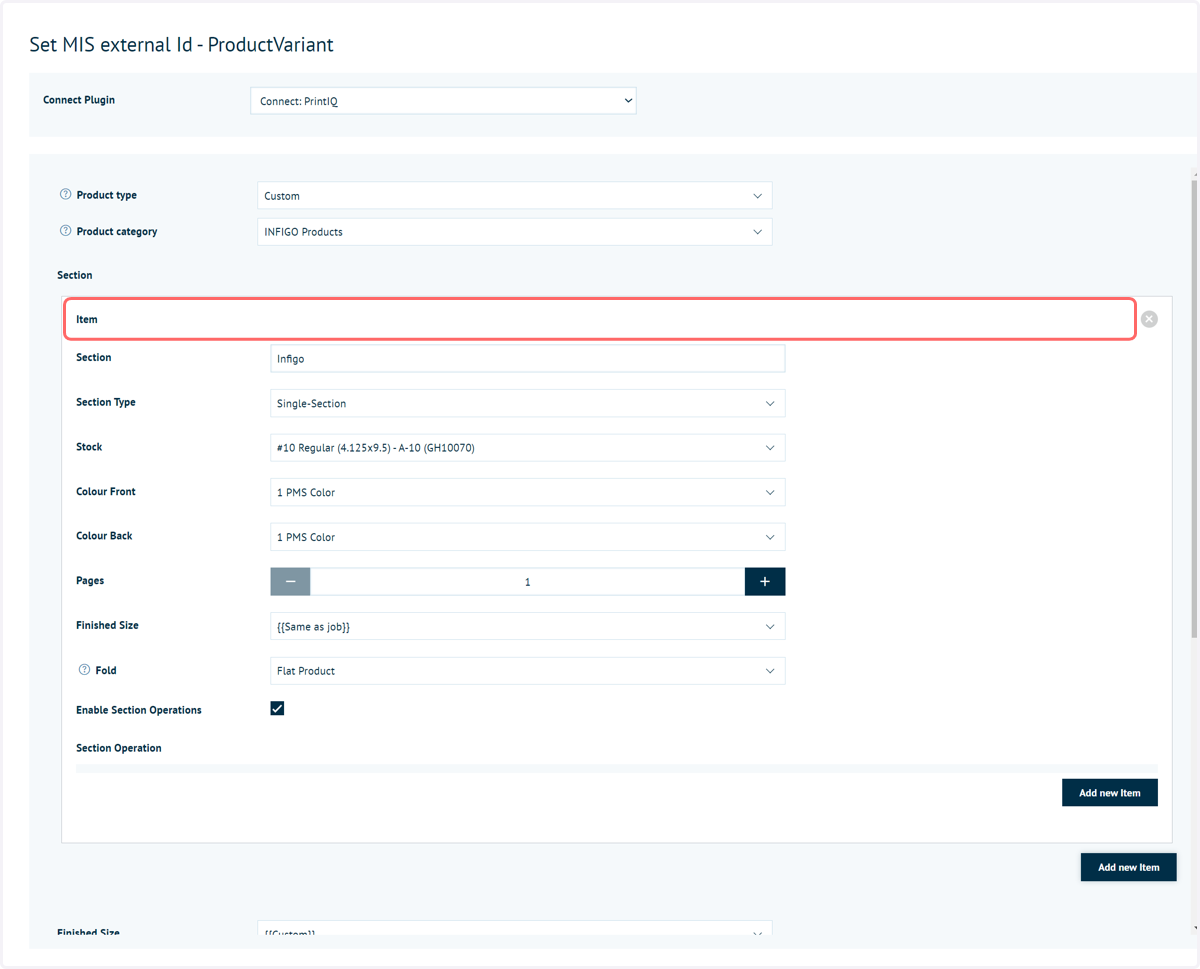
14. Section specifications
Define the section specifications for this product. This includes information such as Stock, pages, finish size and much more.
Many of the dropdowns you see here will be populated with items drawn from your printIQ instance. This allows you to really focus on the detailed specifications for this product, resulting in accurate quotes.
15. You can define one or more Section Operation into each Section using the Add new Item button.
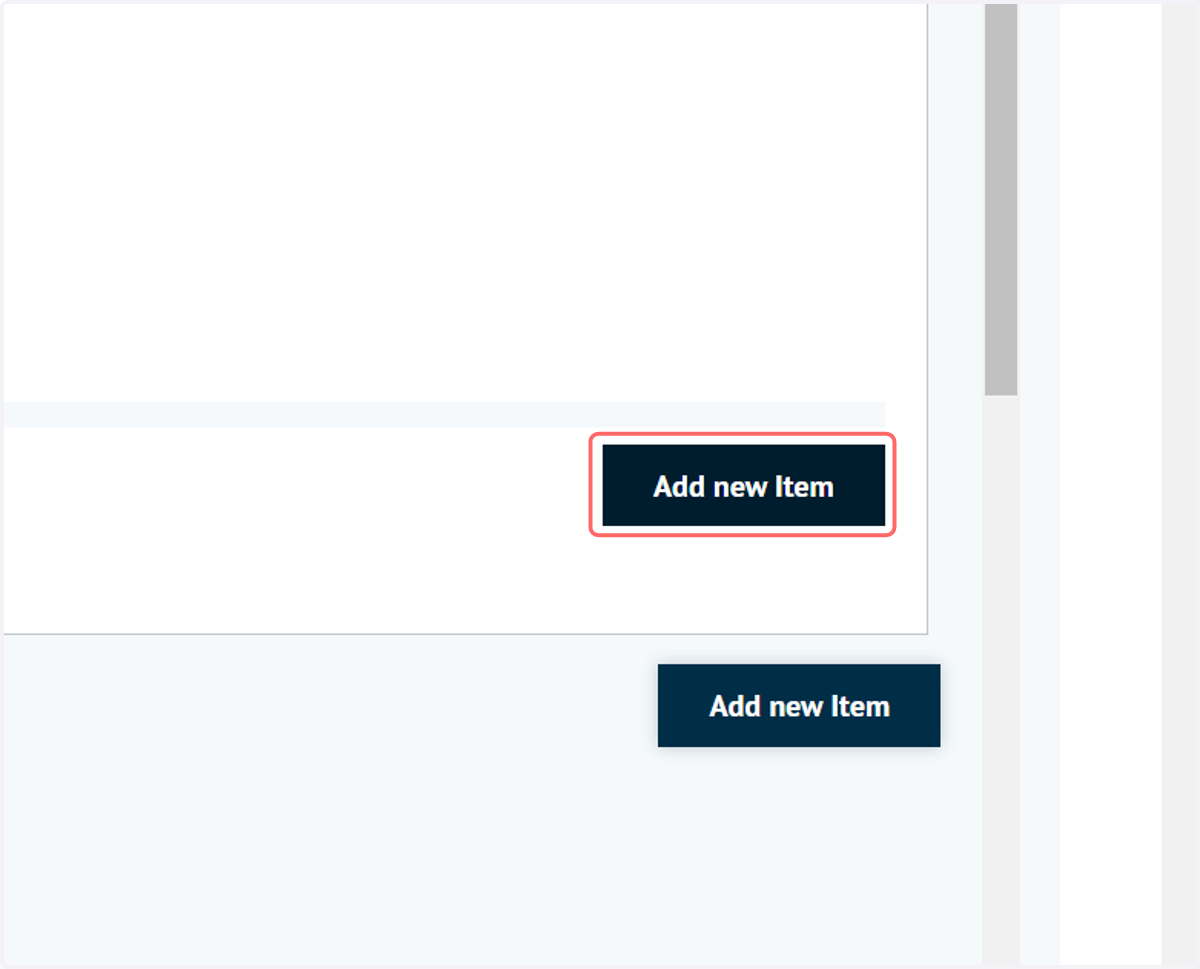
16. Section Operation inputs
NOTE: "Section Operations" is a printIQ term. We are drawing information from that area within printIQ.
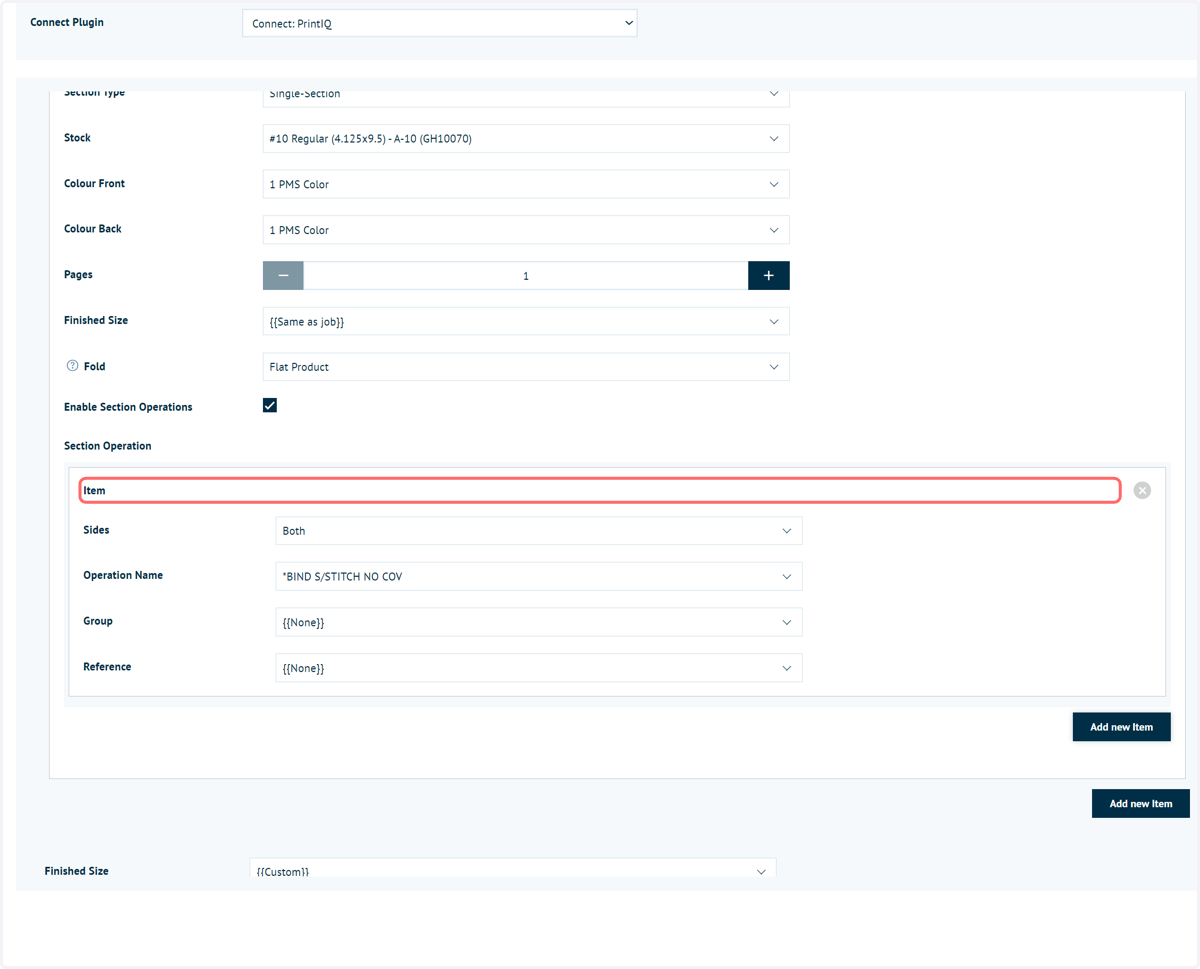
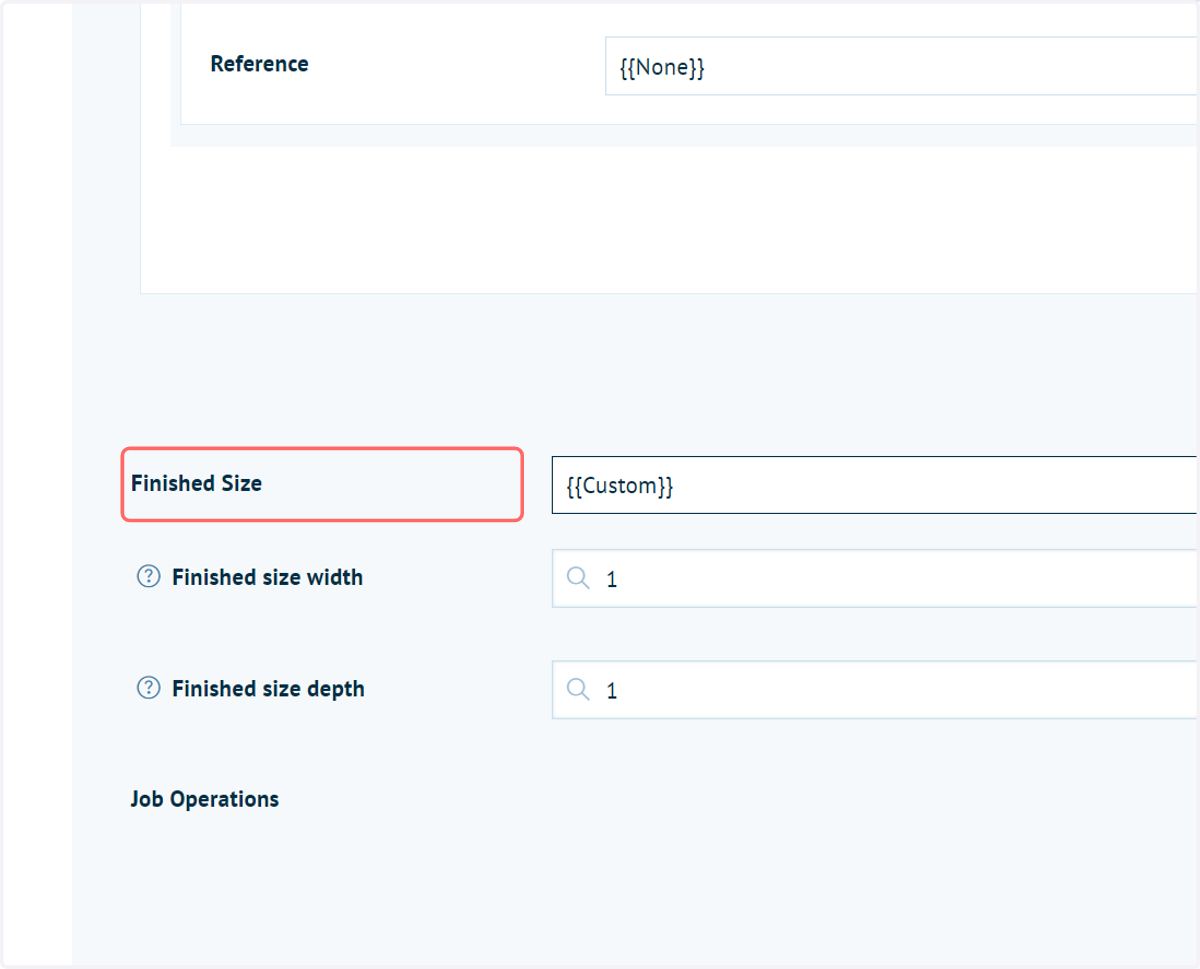
17. Specify Finished Size information
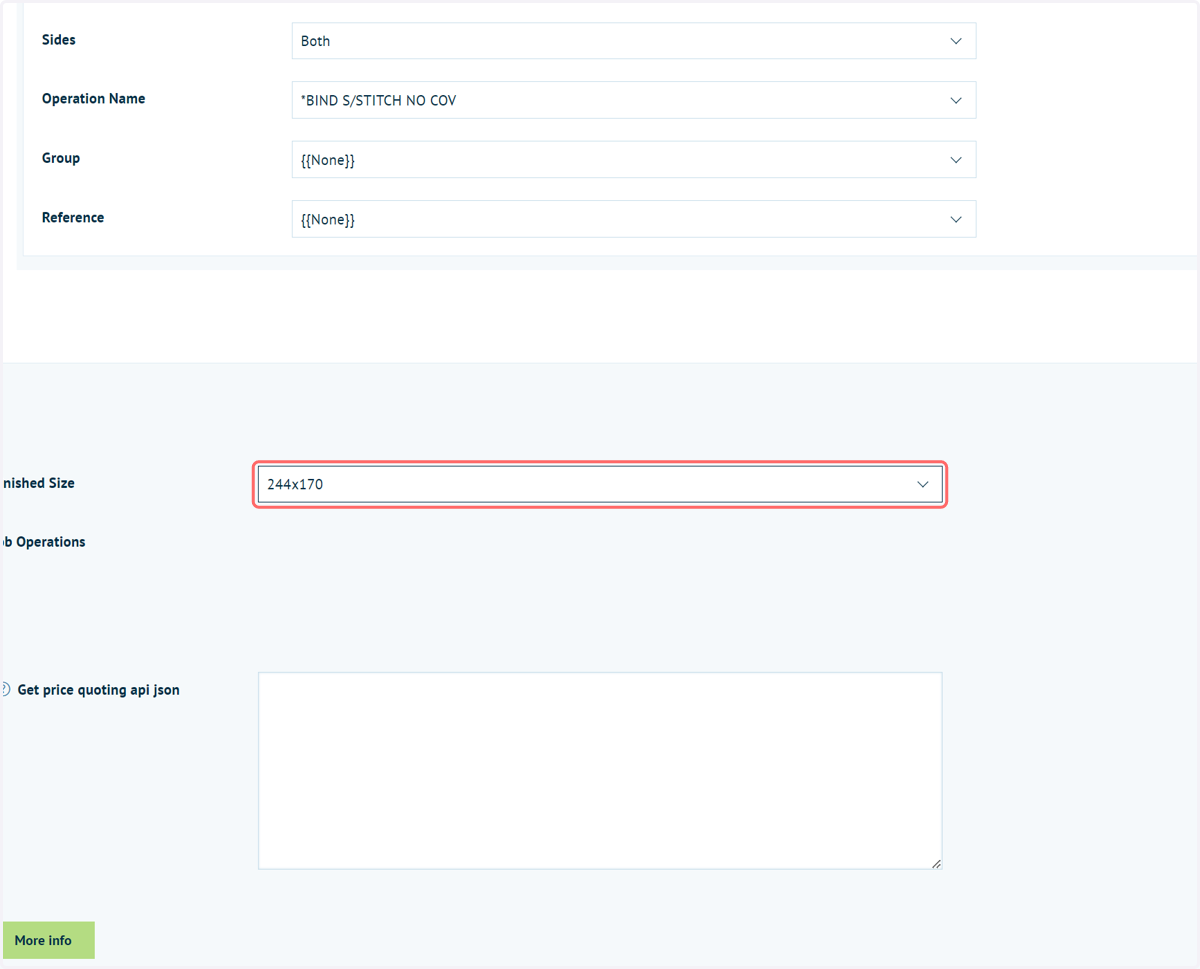
You have the option of defining a custom finish size, or selecting from a prepopulated list of relevant sizes from your printIQ instance.
Either enter a custom size.
18. Or select a pre-existing finish size specification.
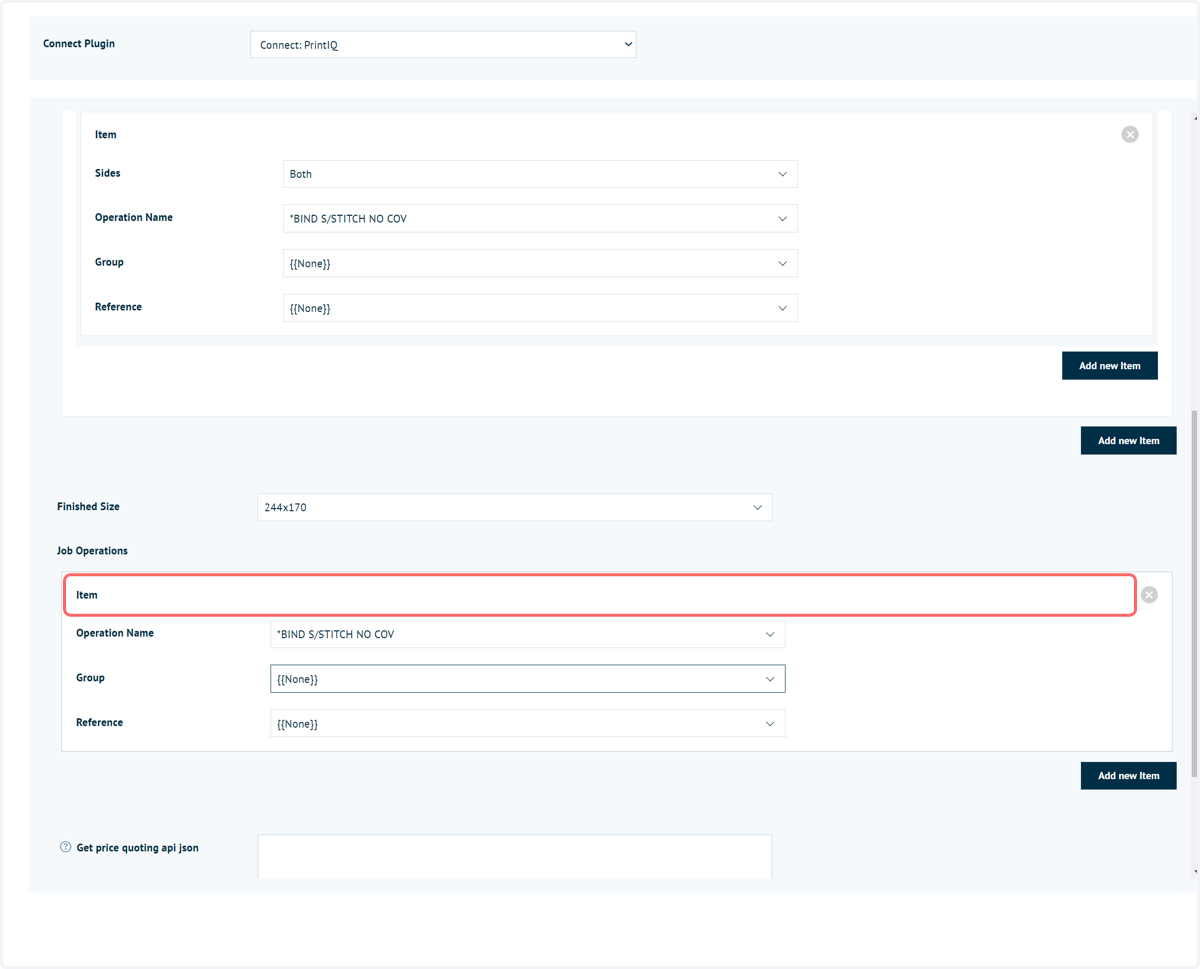
19. To define Job Operations for this product, click Add new Item under the Job Operation heading
NOTE: Job Operations is a printIQ term. We are drawing information from this area of your printIQ instance.
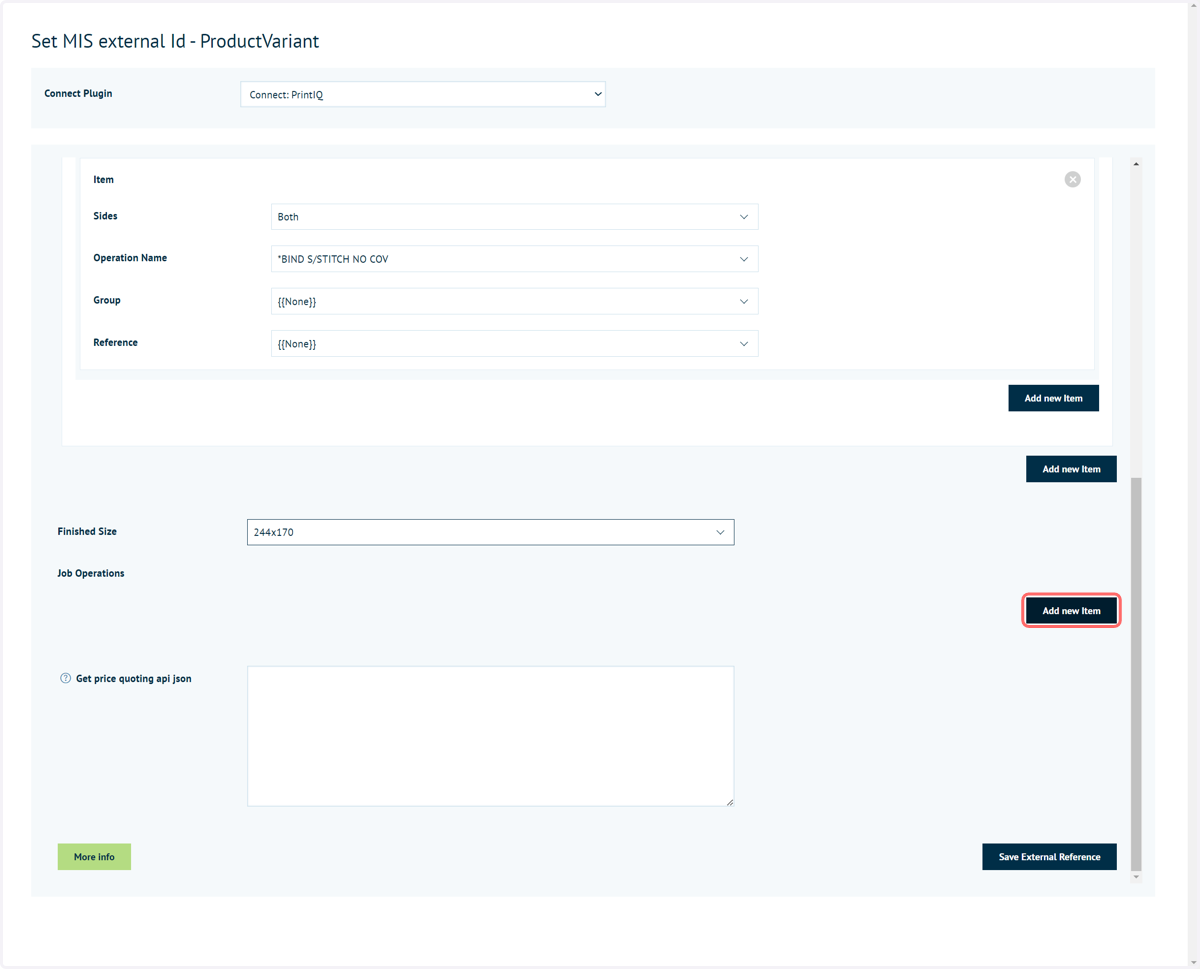
20. Complete the Job Operations specification
Once again, we are drawing information from your printIQ instance to populate these options.
These allow you to provide a full definition to the product, giving you fine control over information sent to printIQ in order to retrieve a quote.
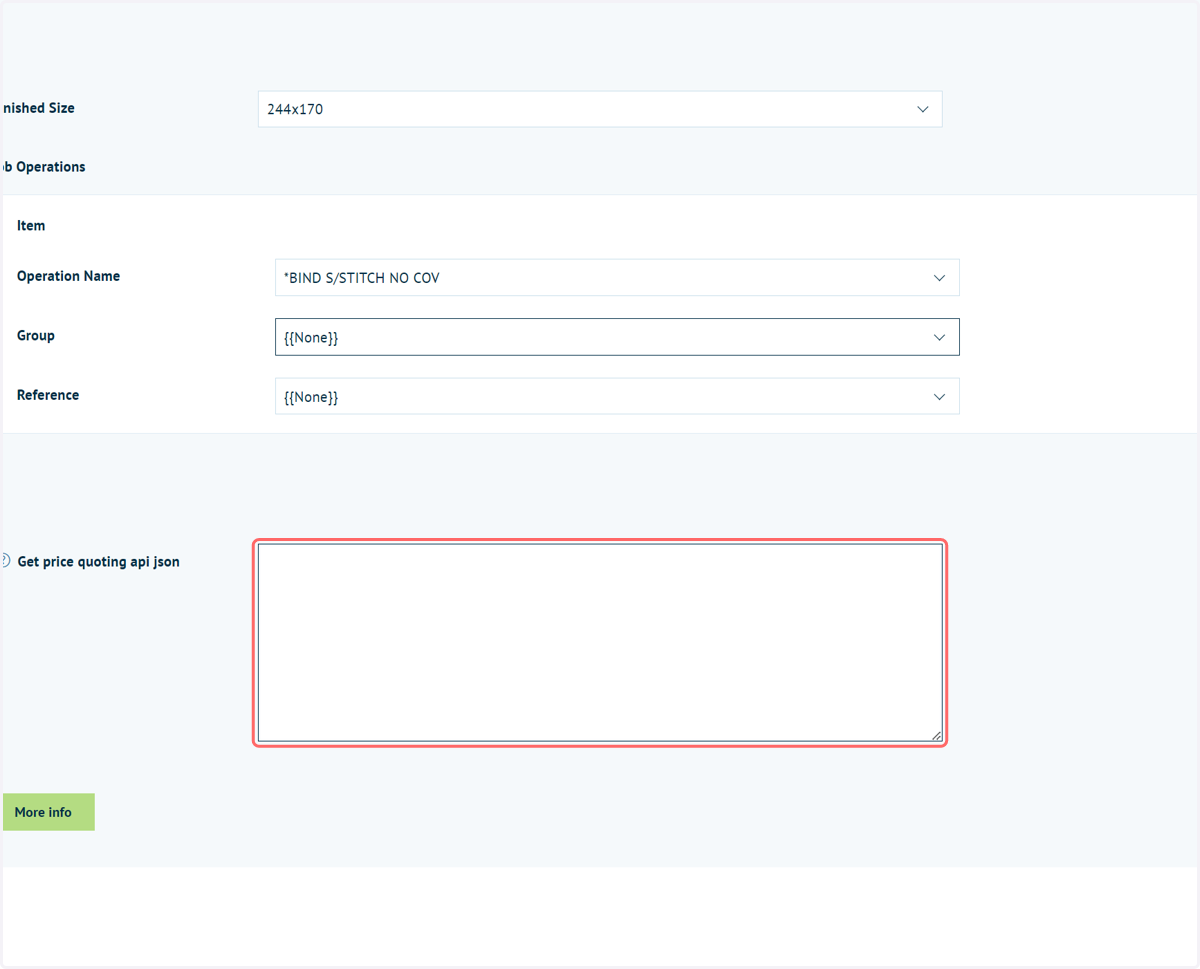
21. Additional configuration of the JSON can still be applied using the Custom specification option, however in most cases this should no longer be required.
As a reminder, the options you are completing on this screen are customising the JSON through the purpose built UI.
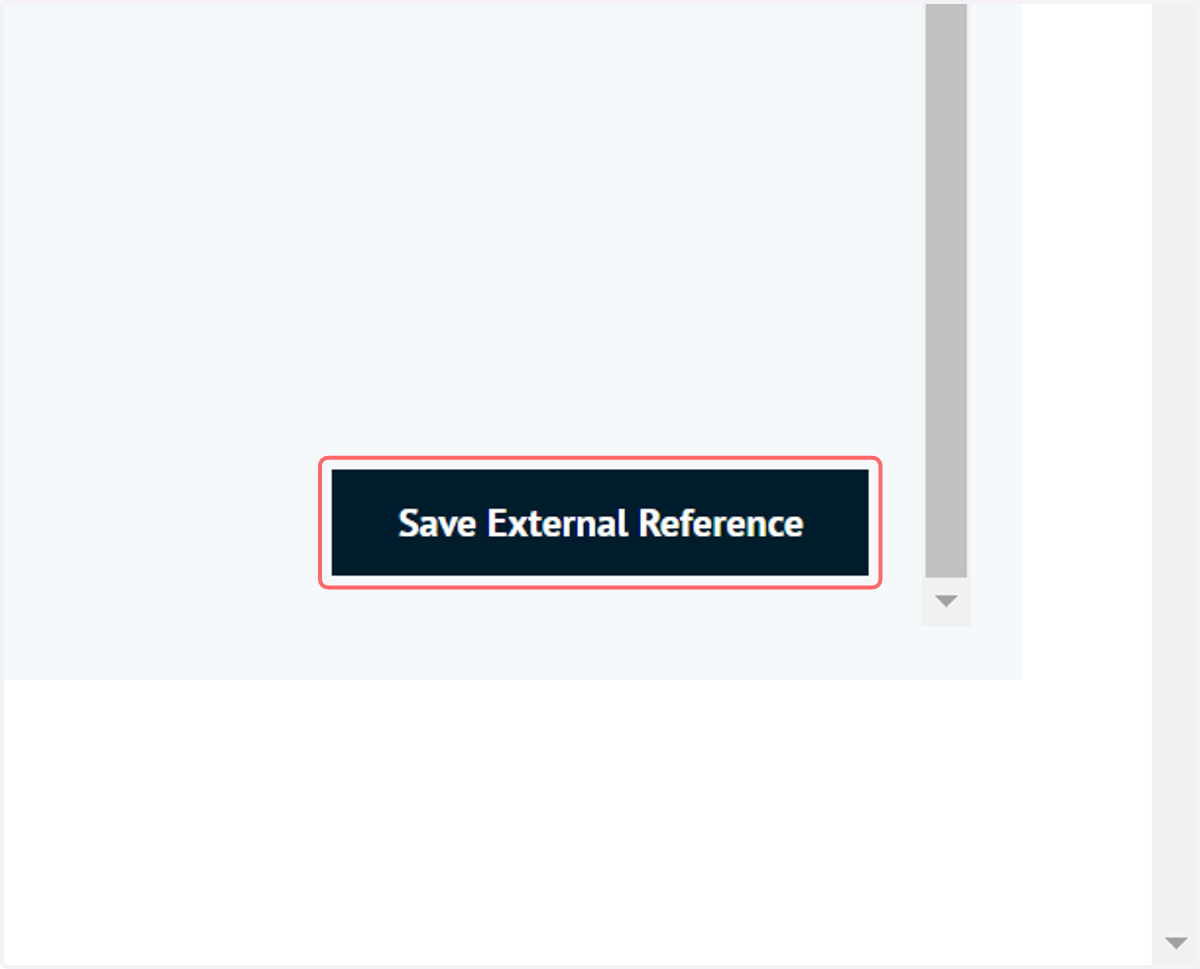
22. Click on Save External Reference
23. Click on Product variants
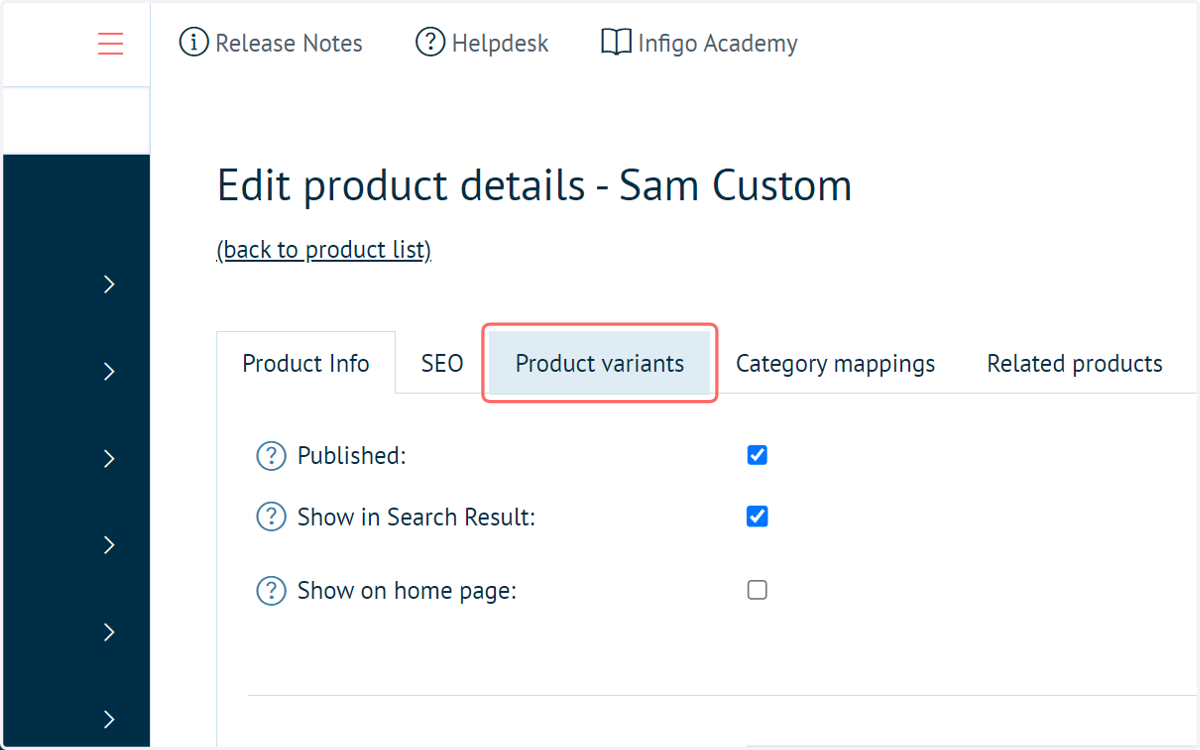
24. Navigate to the Product Variant settings for your product of interest.
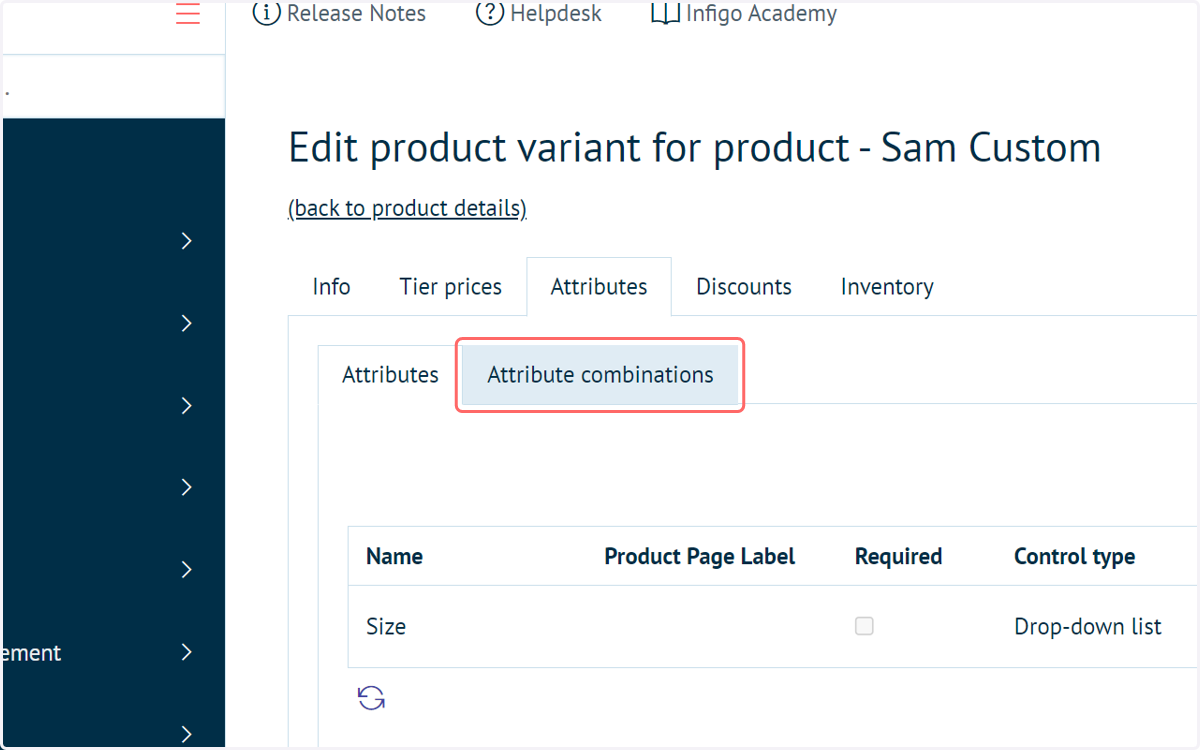
Next, we'll take a look at overriding certain parts of the custom quote specification where required. This could be used, for example, if a change in product attribute changes the specification so that a different quote is required from printIQ.
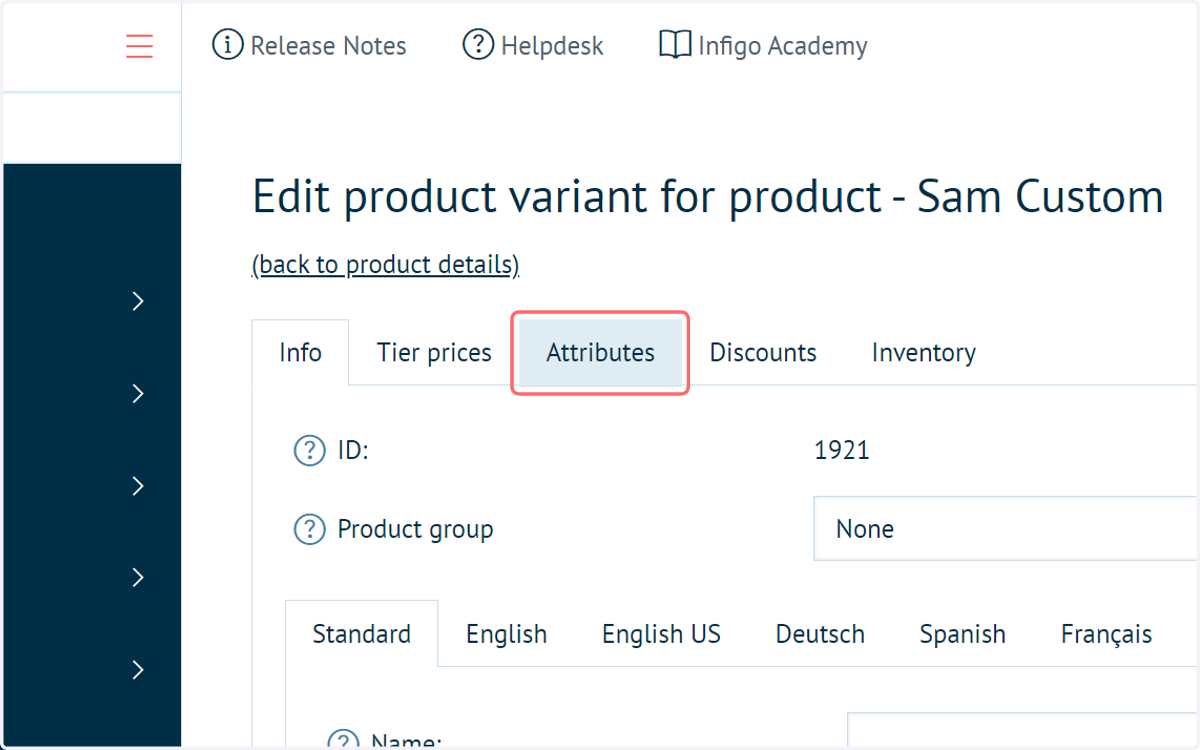
25. Click on Attributes
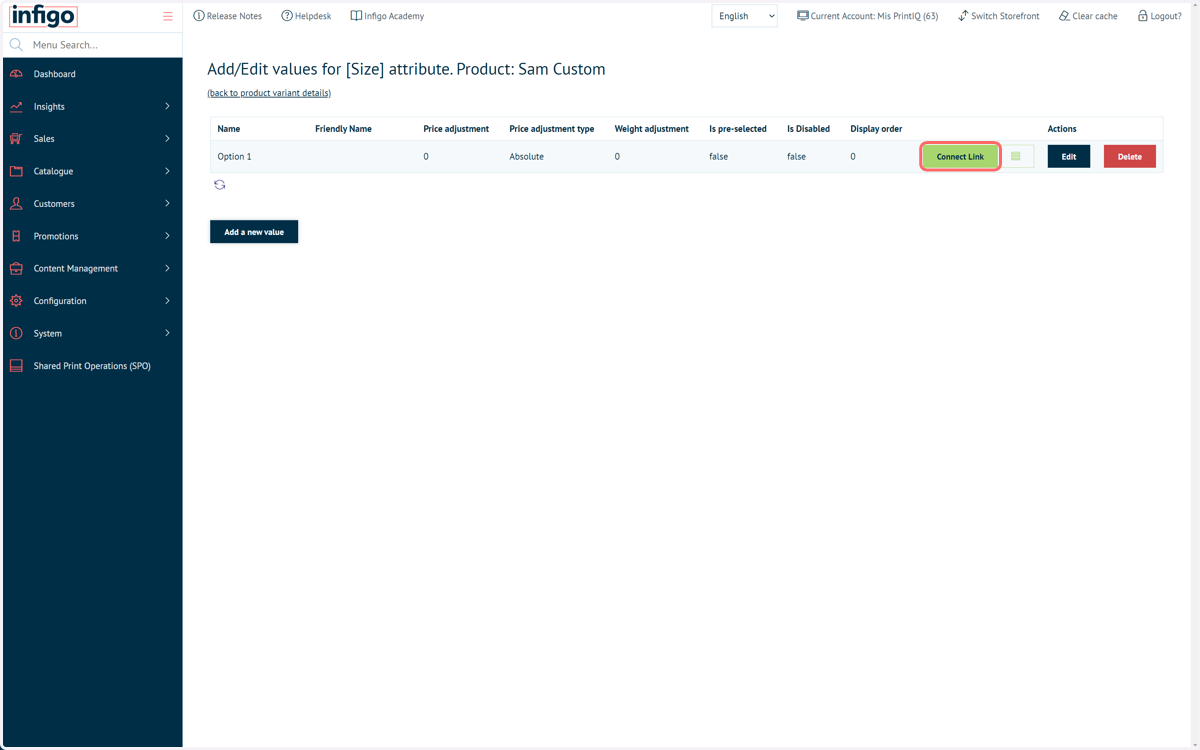
26. Assign an attribute and corresponding attribute values to the product. Once an attribute value has been defined which requires a different printIQ quote from the base product, click the Connect Link button.
27. Select Custom
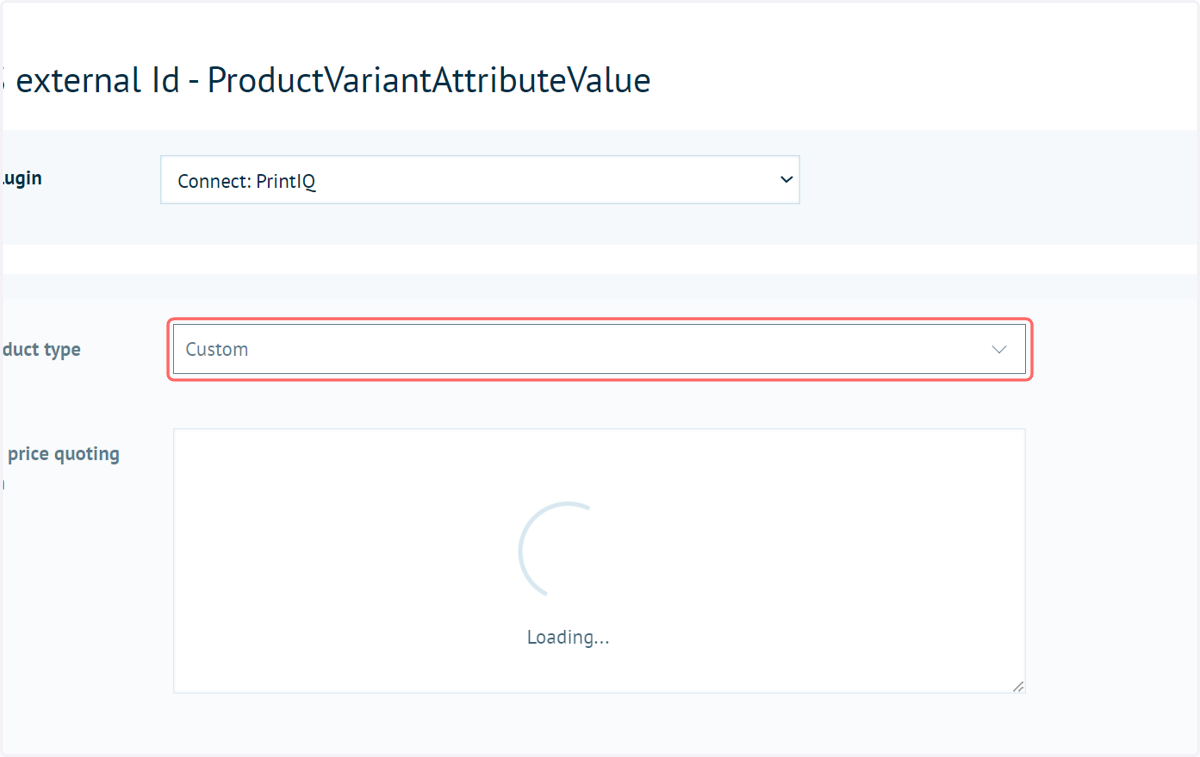
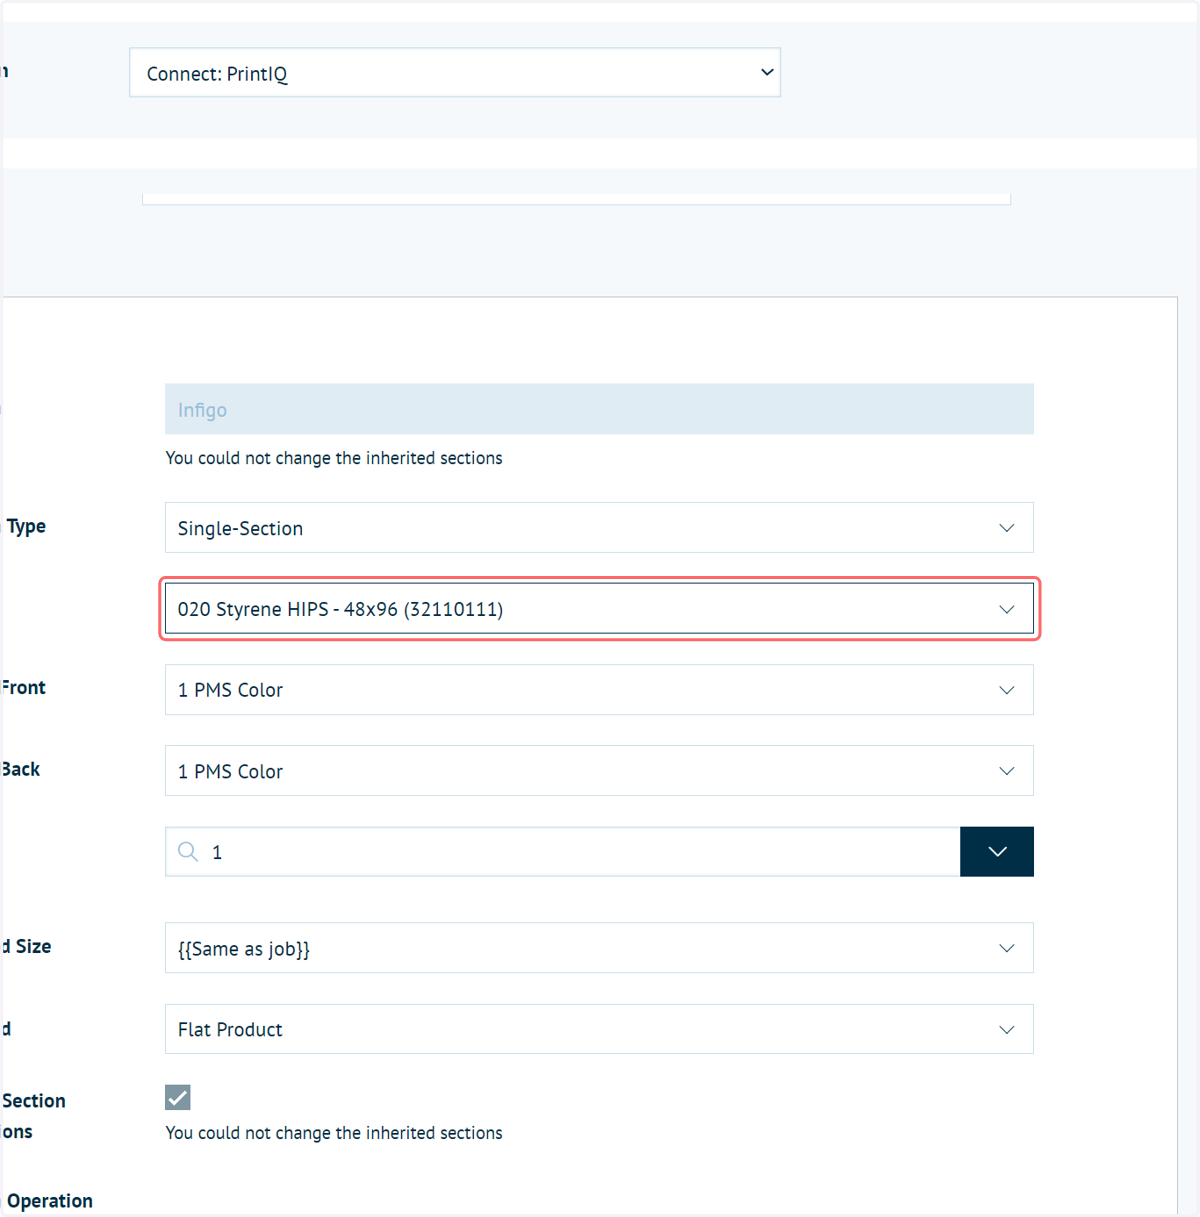
28. The specification of the base product will be displayed, with certain sections greyed out if they cannot be altered. Change any required specifications for this attribute value
Only these parts of the specification will be altered. Everything else will fall back to the value specified in the base product.
29. Click on Save External Reference
30. Remember, similar changes to the specification can be made on an Attribute Combination basis as well, should this be required in your setup.