Configuring image variables to accept clipart, uploaded images or both in Invent | IV_024
In this tutorial, we'll look at how to configure image fields for different purposes within Invent.
Image fields can be configured to accept both customer uploaded imagery, cliparts or both.
Here, we'll show the few simple steps required to configure this.
This tutorial assumes pre-existing knowledge on the fundamentals of setting up a product template using Invent.
1. Begin with an image frame you would like to apply this behaviour to
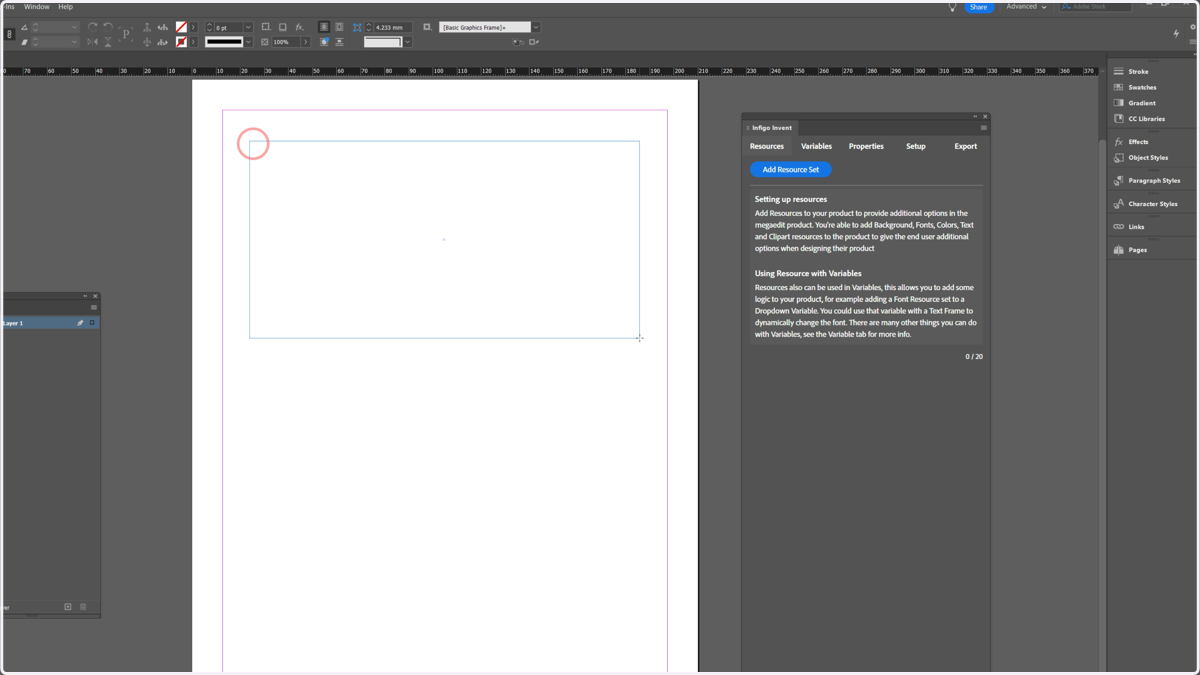
2. If you wish to allow this frame to accept Clipart, ensure the relevant resources are available
This could mean creating a clipart set within Invent. However it's also possible to apply pre-existing clipart sets to this product once it has been moved over to MegaEdit.
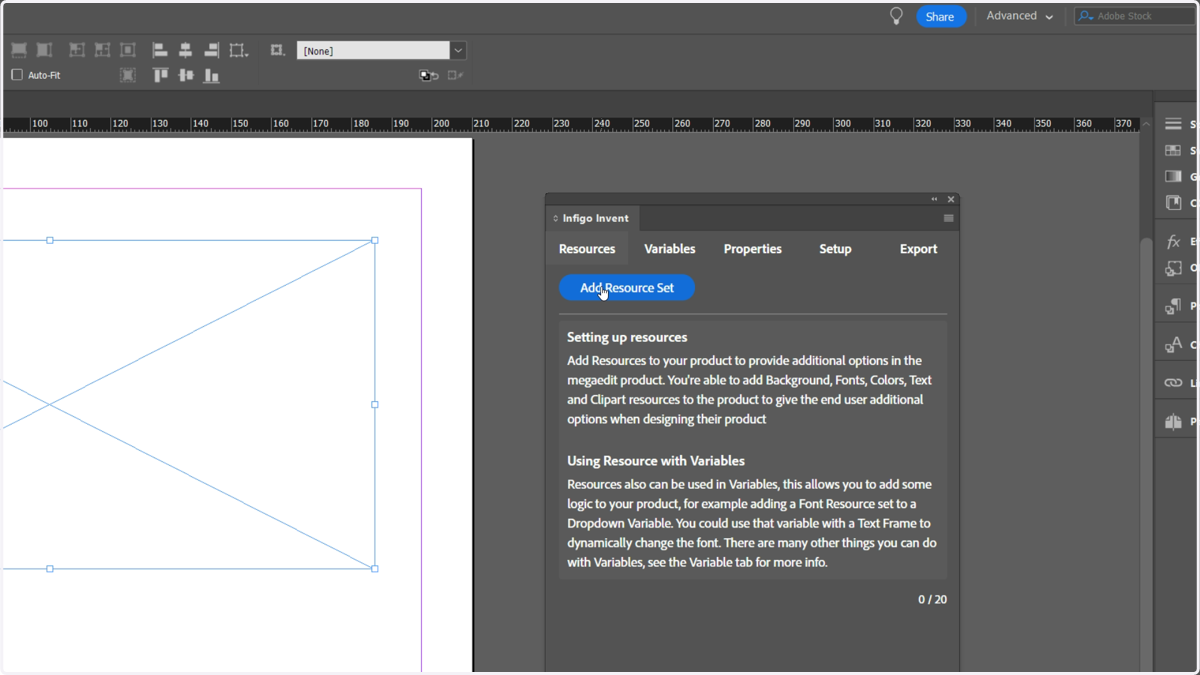
3. Create a new image variable
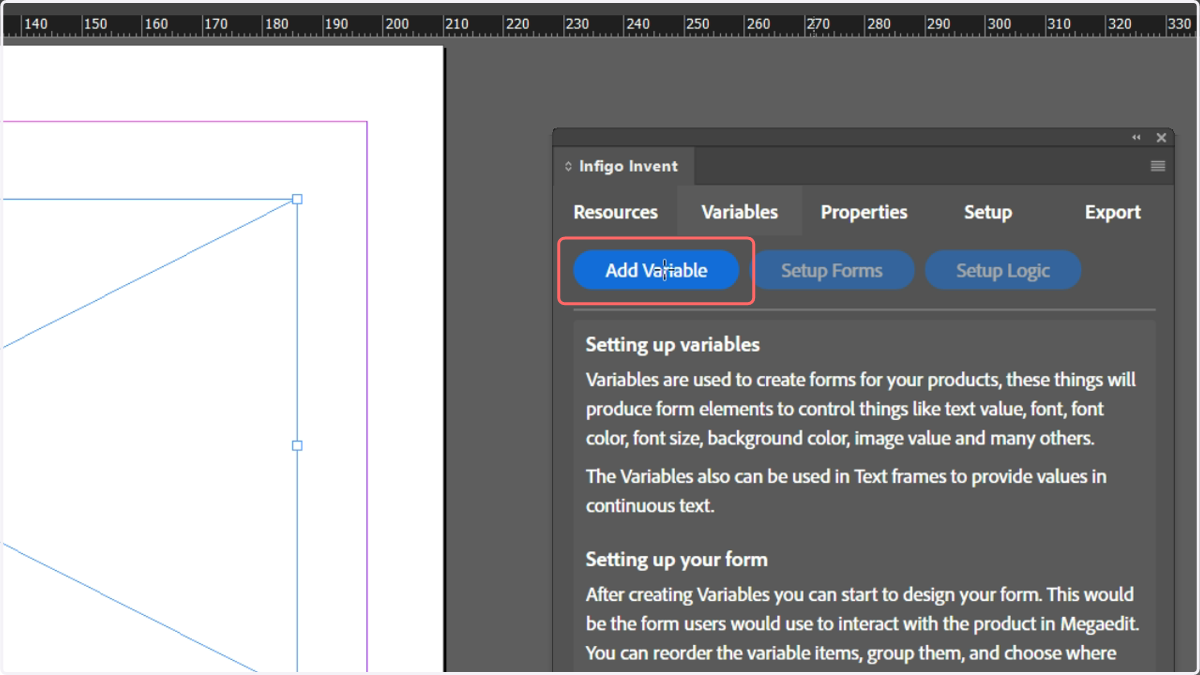
4. Create a new image variable
Within the configuration screen for the image variable, we have the ability to select which types of content it is able to access (cliparts or images)
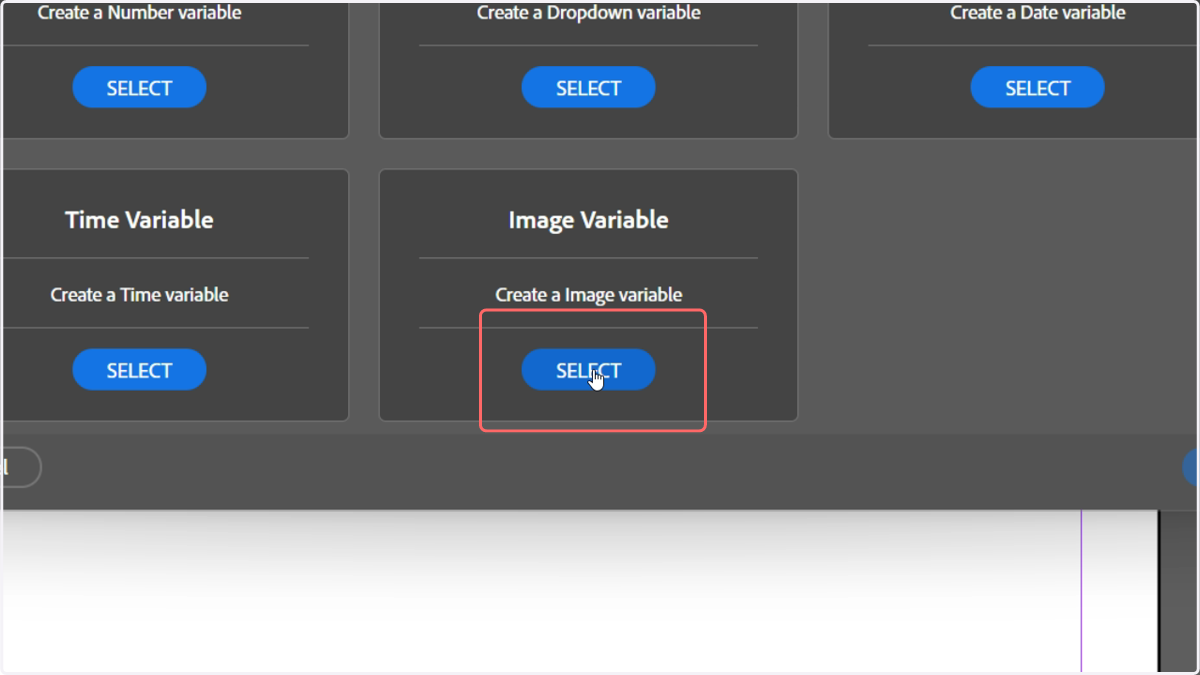
5. Allow Media Album Selection
This allows a user to select imagery that they have previously uploaded on the Storefront and is available within their account. Remember enabling this here enables this functionality for this specific variable.
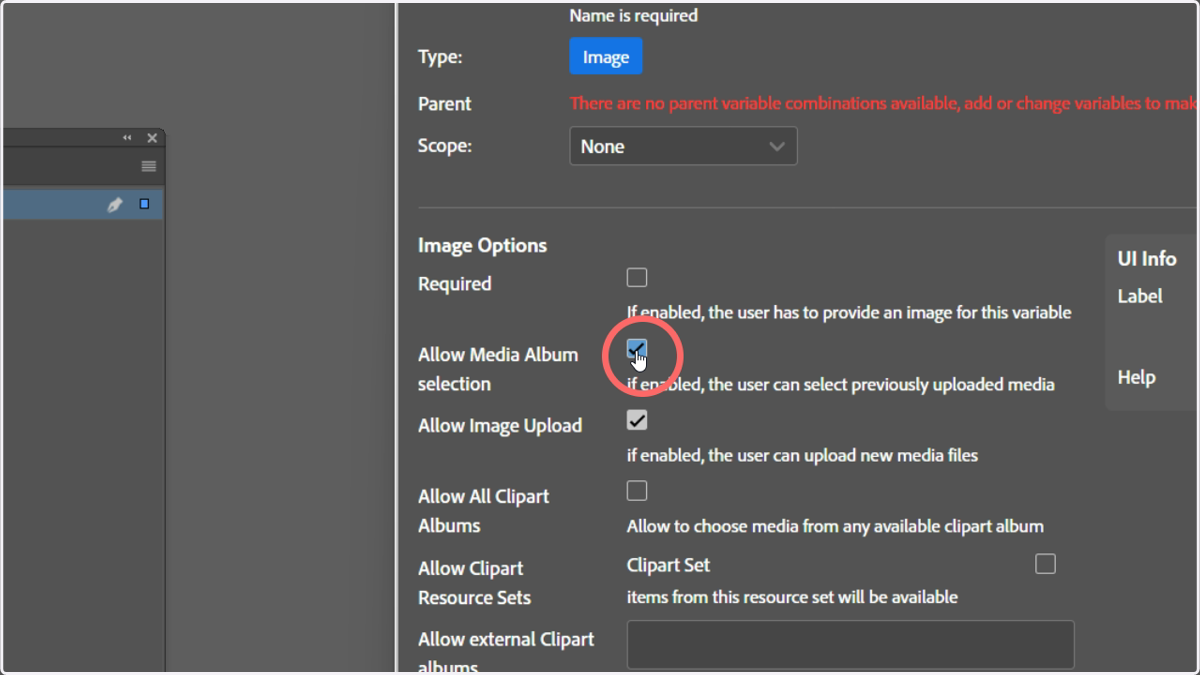
6. Allow Image Upload
This allows users to upload new images for use within this variable. Remember enabling this here enables this functionality for this specific variable.
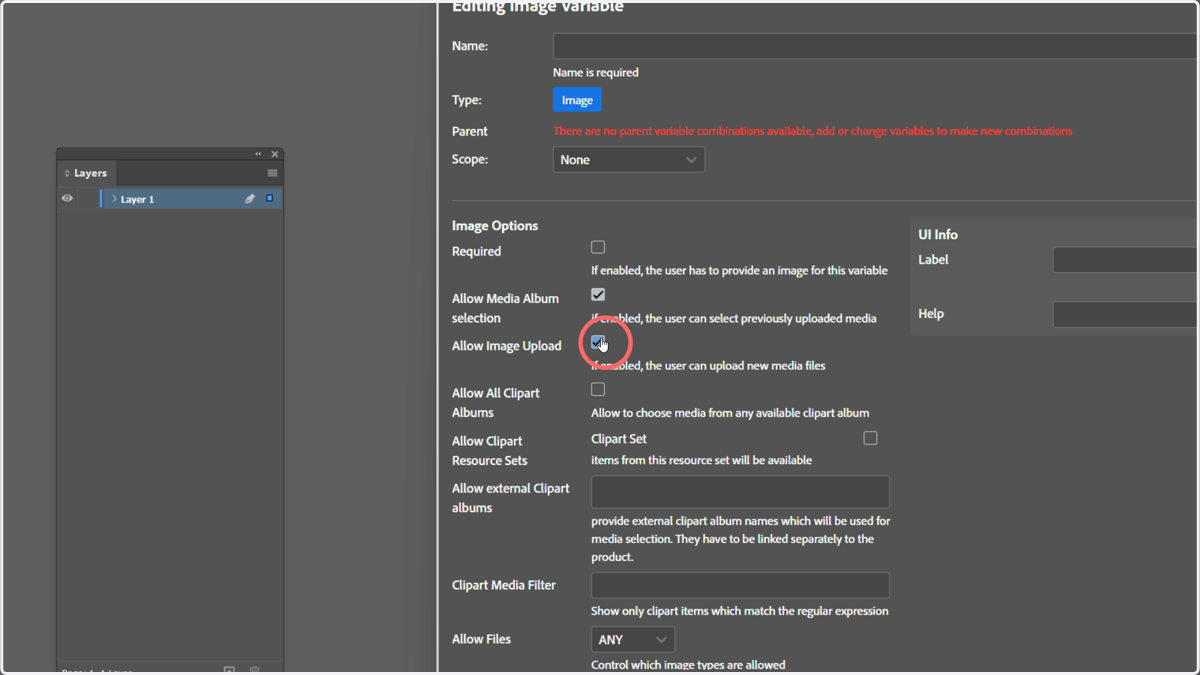
7. Allow all Clipart Albums
Enabling this option allows users to access all available clipart albums from within this variable. This means if multiple clipart albums are assigned to this product once it is within MegaEdit, users will be able to access the content of each of those albums.
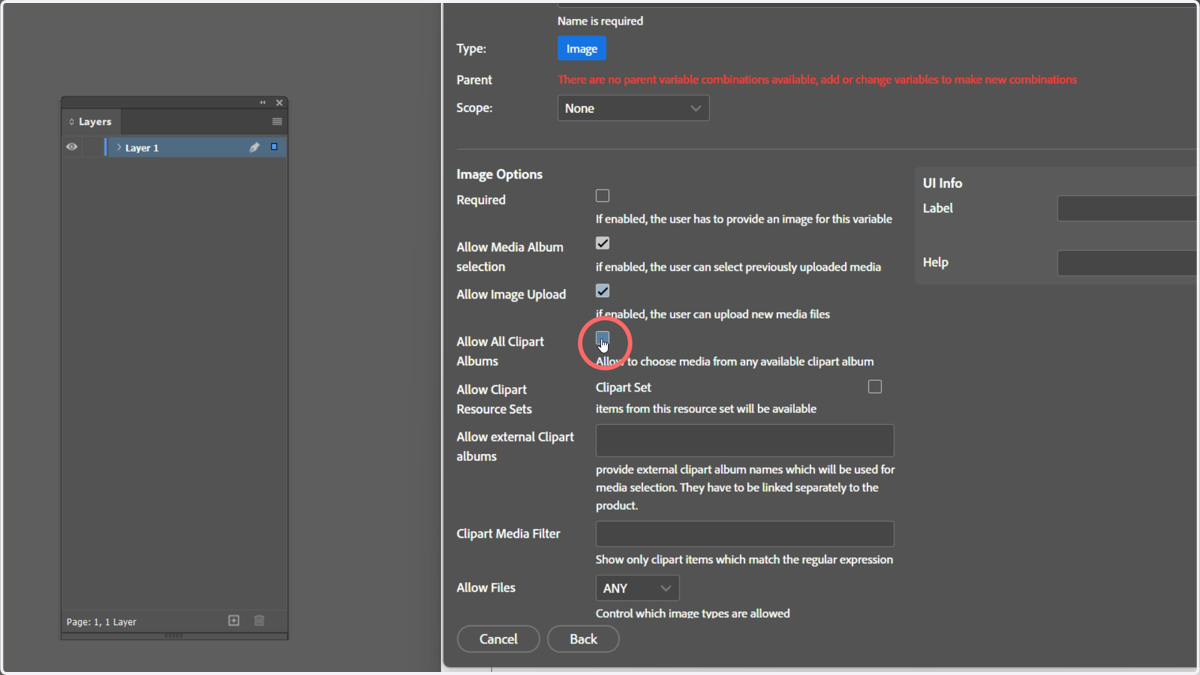
8. Allow Clipart Resource Sets
This option will give a separate checkbox for each Clipart type resource set available within this Invent product template. Enabling the checkbox will give this variable access to the contents of those resource sets.
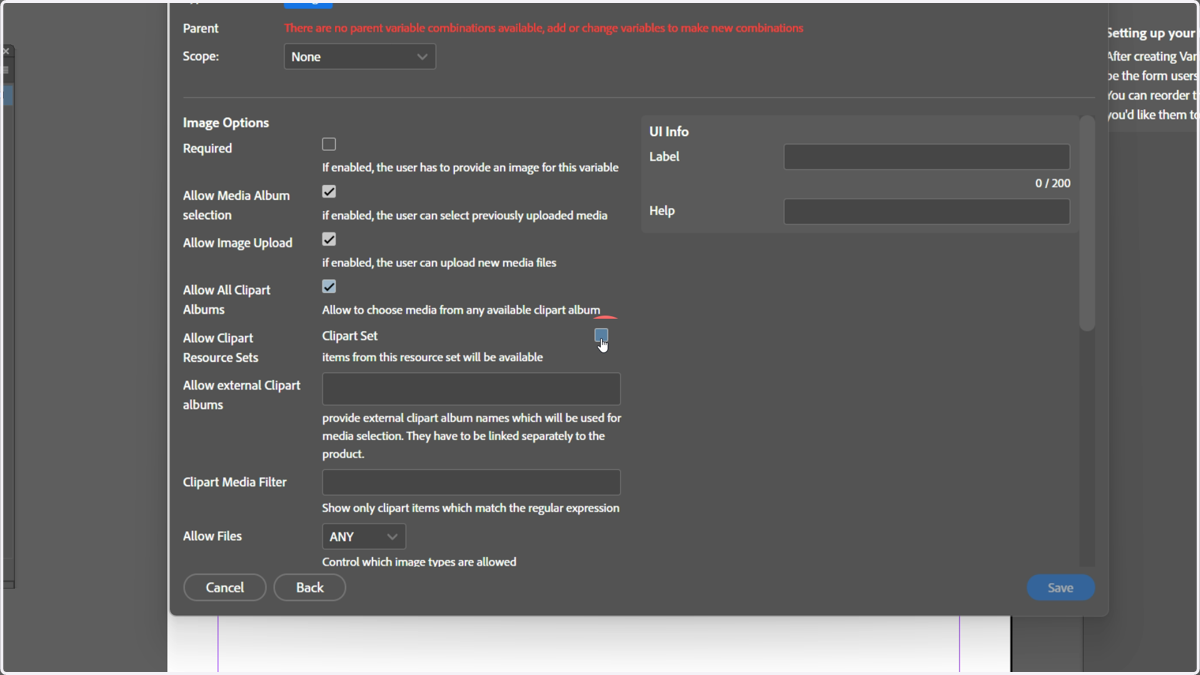
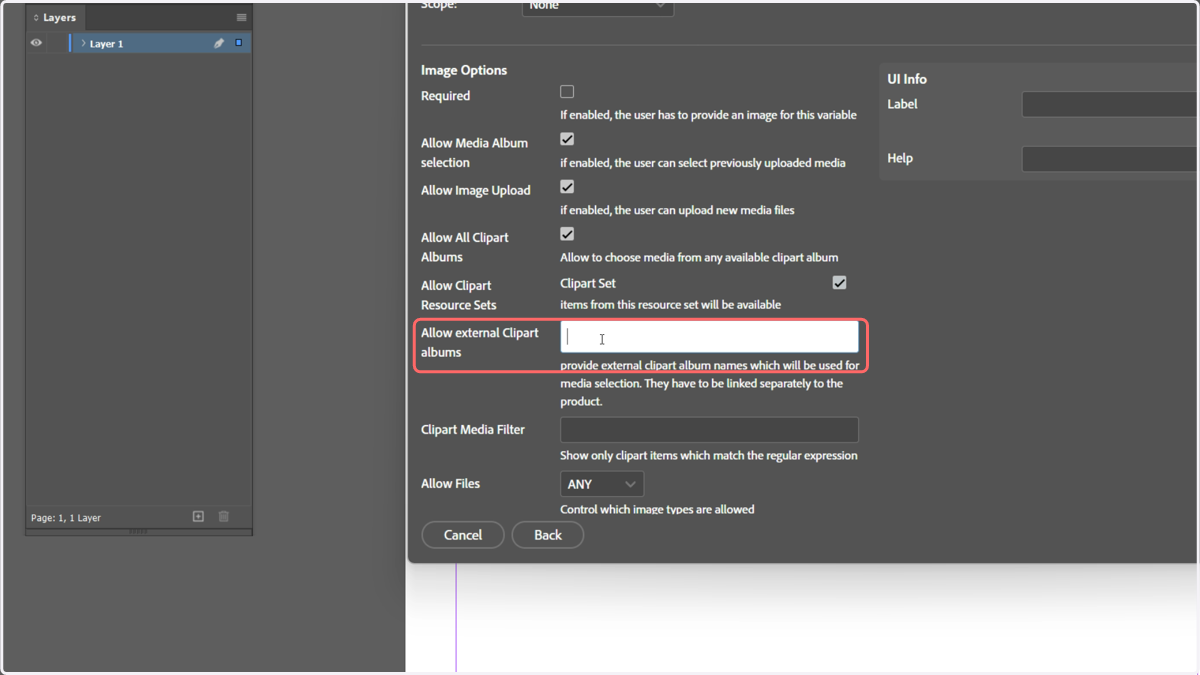
9. Allow External Clipart Albums
This is a means of linking this variable to other clipart albums enabled on the product once it is within MegaEdit. For example, you may already have a clipart album available in Infigo named "logos". This clipart album can be assigned to the product to make it available for use.
Additionally, by placing the clipart album name here, you can pre-link the variable to an album, without having to do this manually in Infigo/MegaEdit later.
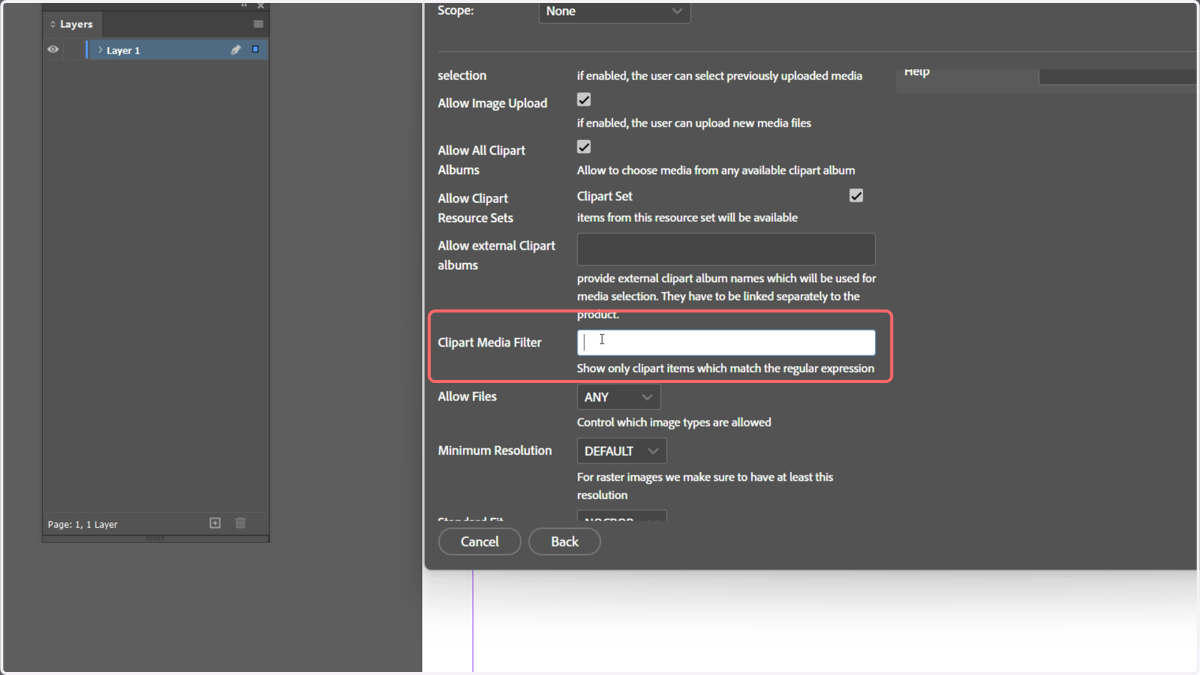
10. Clipart Media Filter
Allows you to input regular expressions (RegEx) so only certain clipart is displayed.
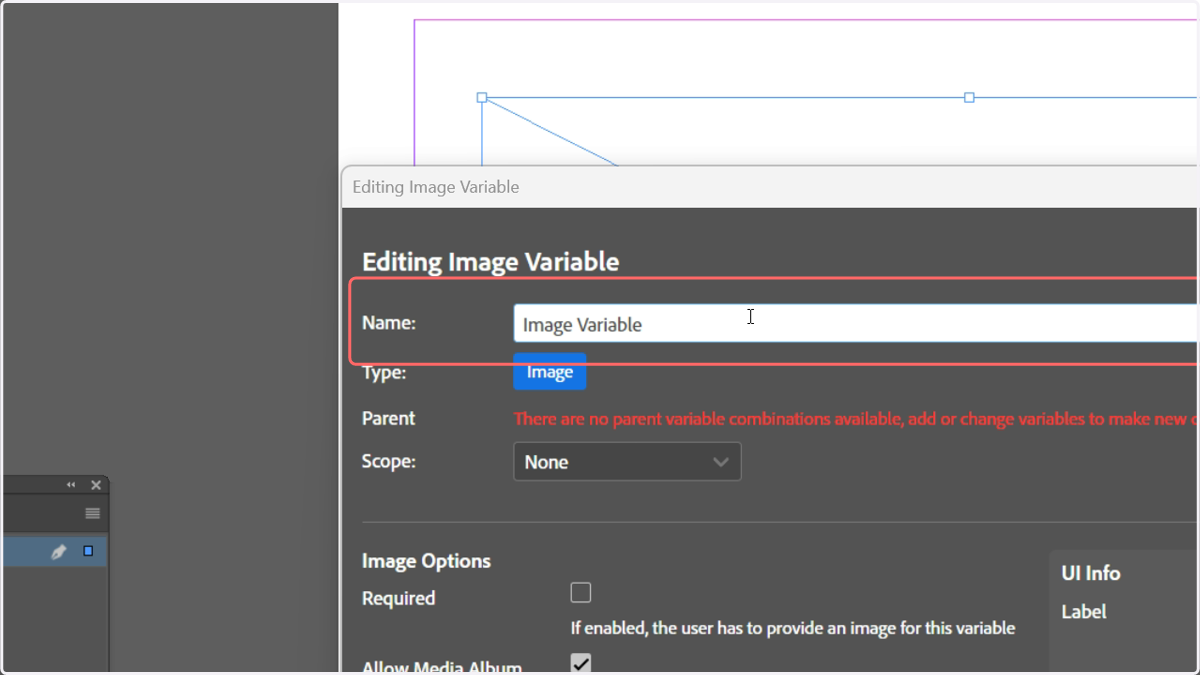
11. Apply a name to the variable
12. Click here
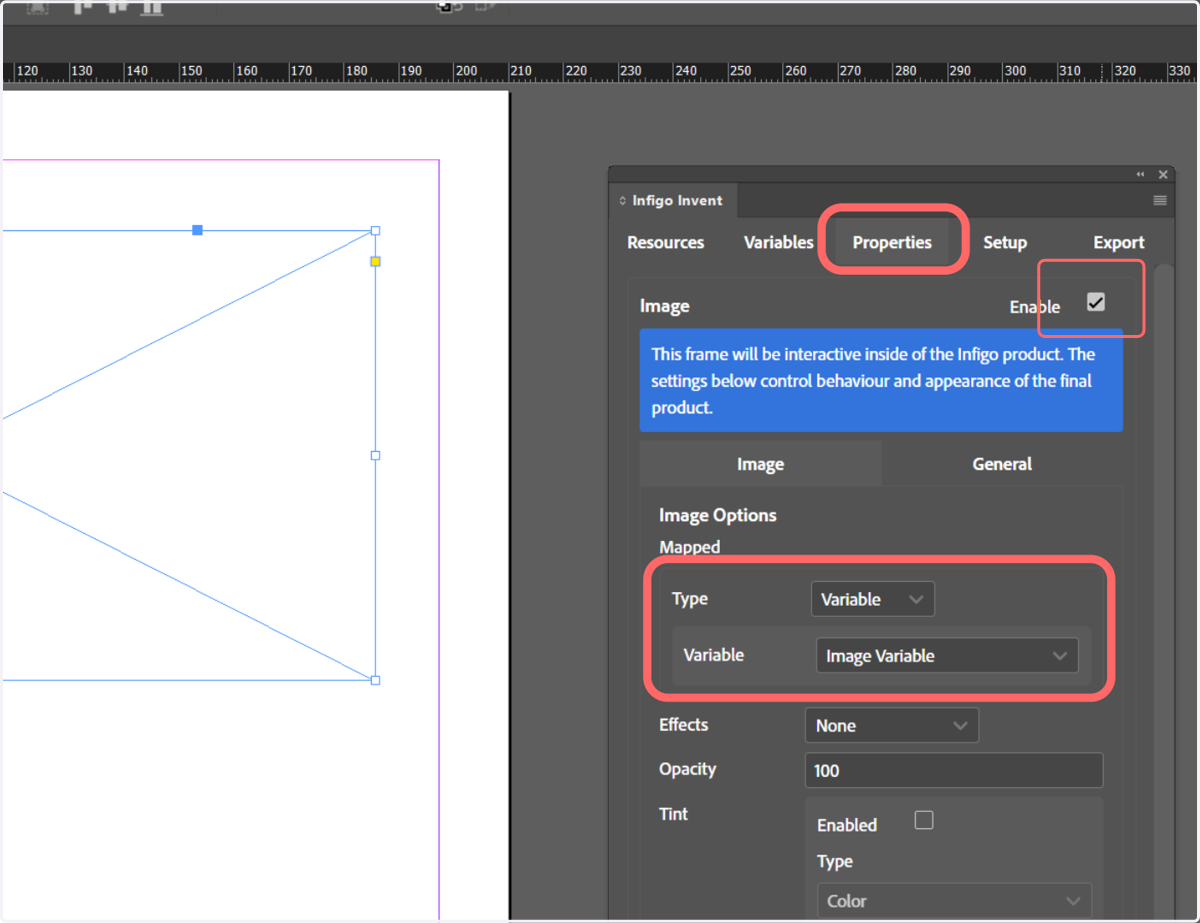
13. Link the variable to the image frame on the canvas
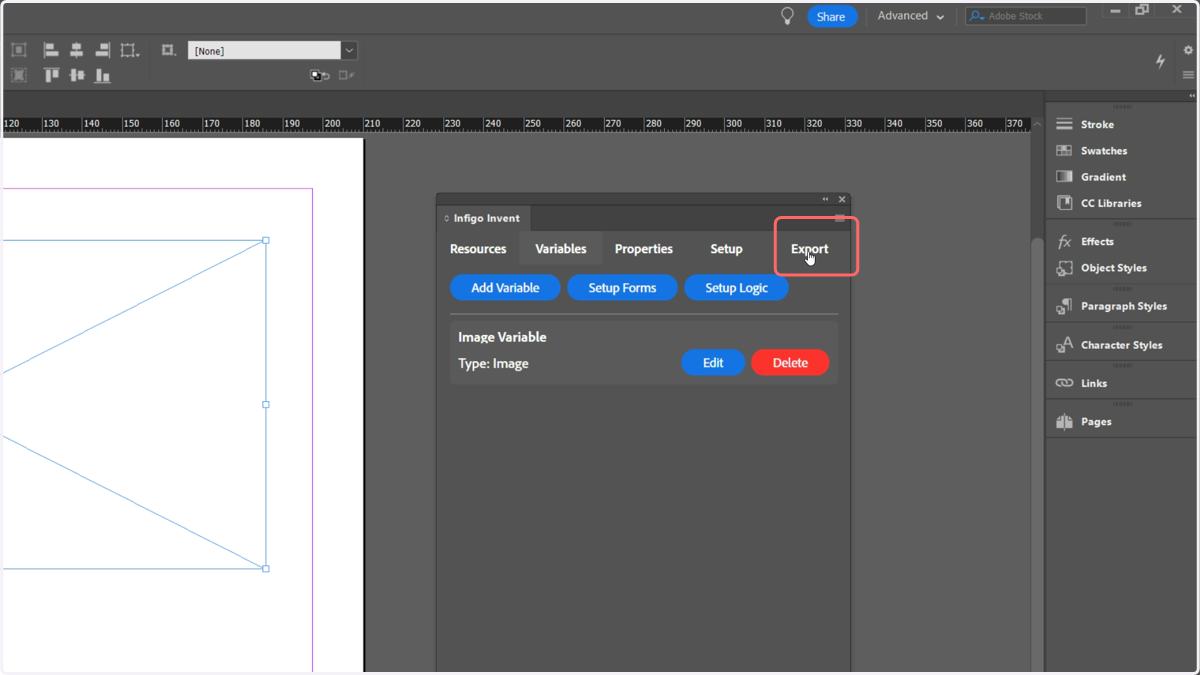
14. Export the template as a MEX file
Upload the MEX file to a new or existing MegaEdit product, then launch MegaEdit.
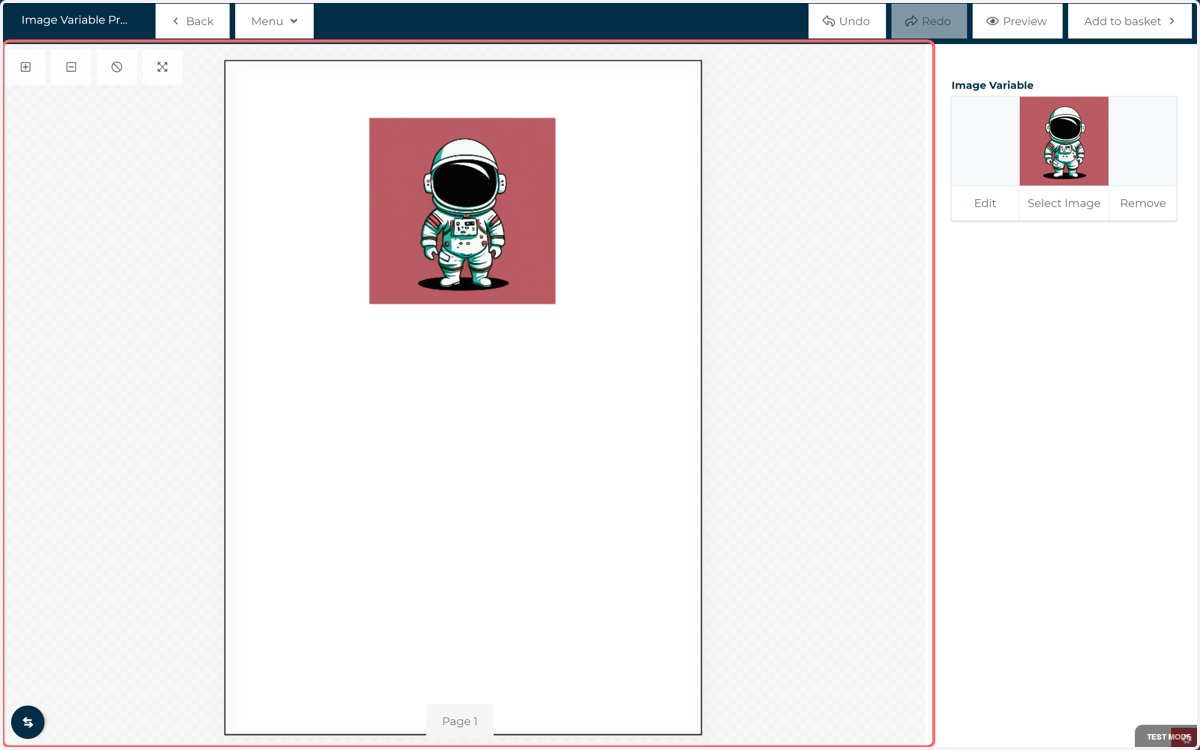
15. Our frame is empty by default, although you can specify a default value if you wish to prepopulate a clipart image
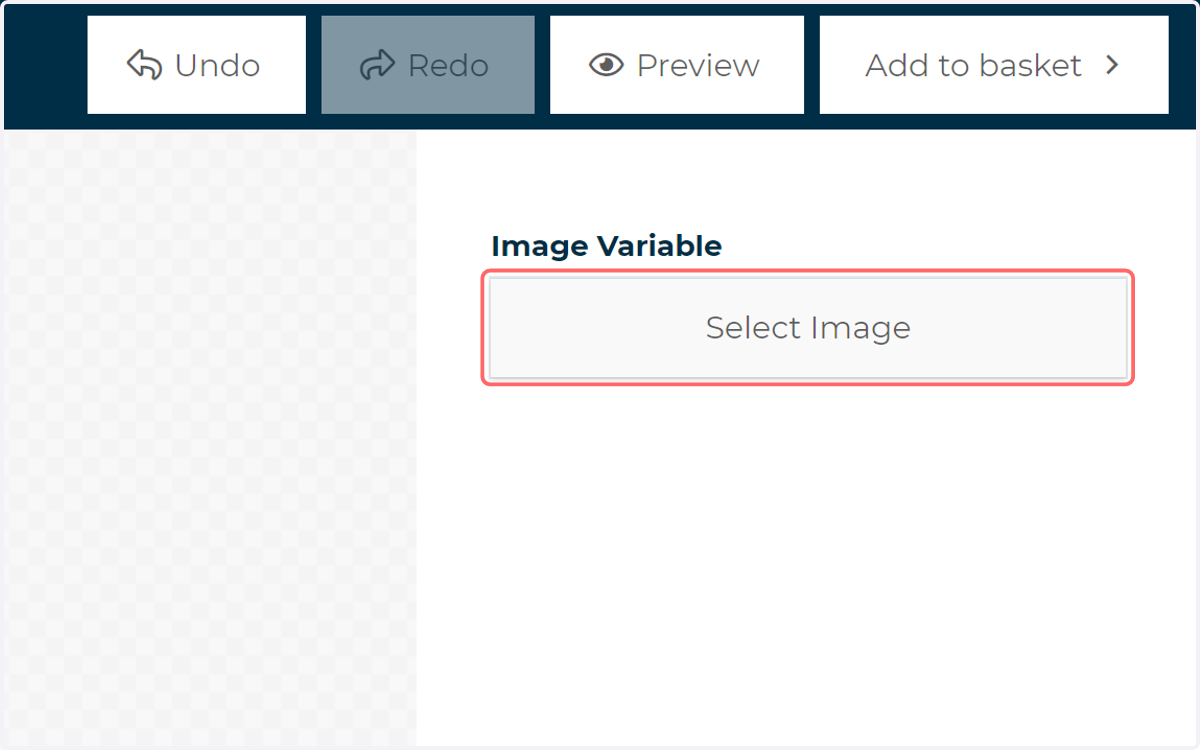
Our image variable can be seen over on the right side of the screen.
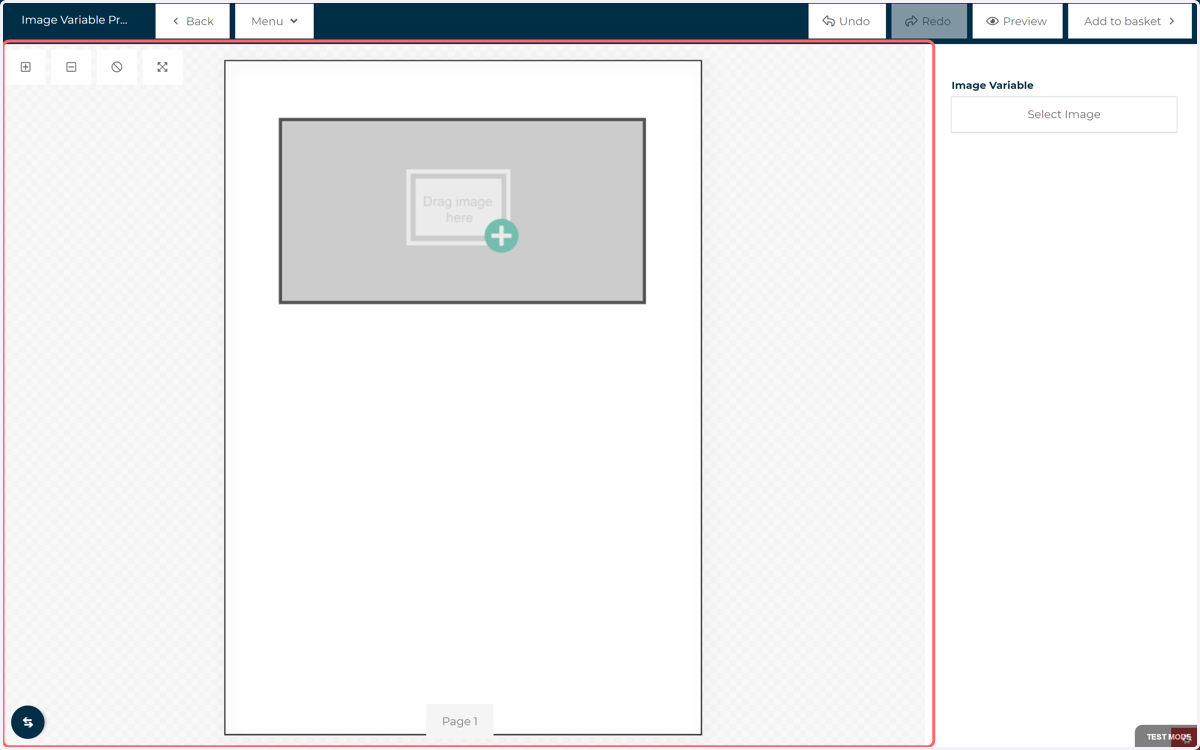
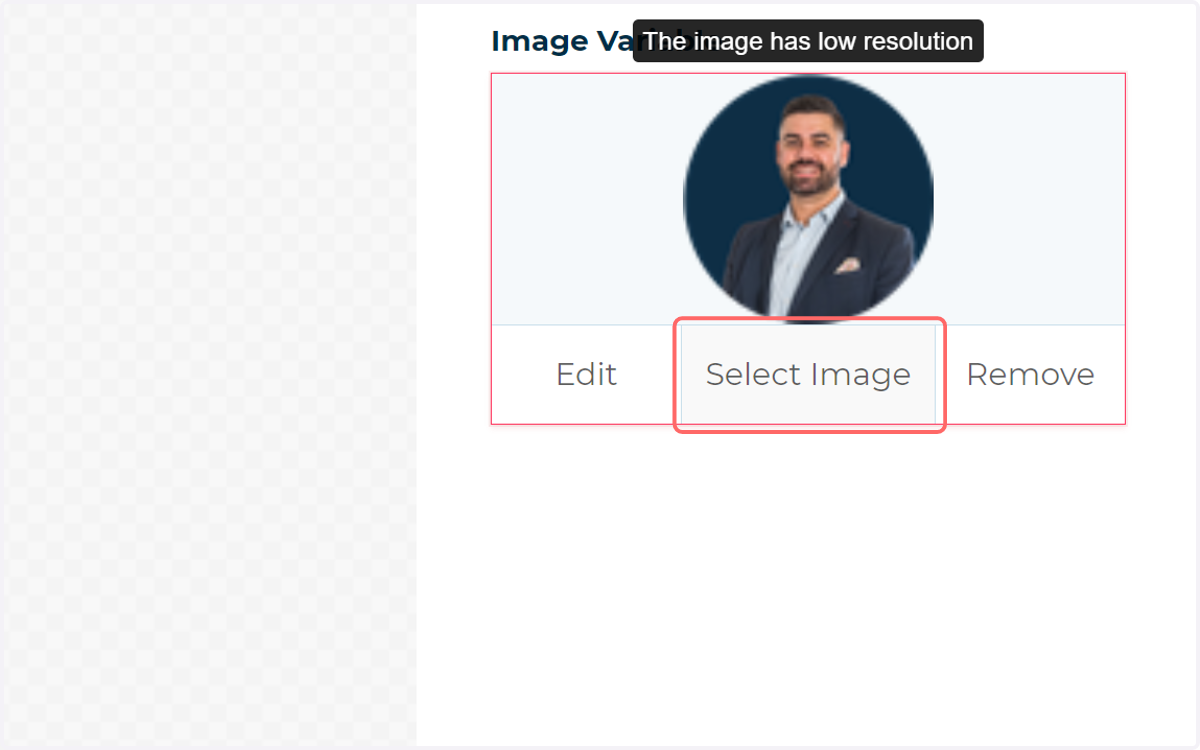
16. Click on Select Image
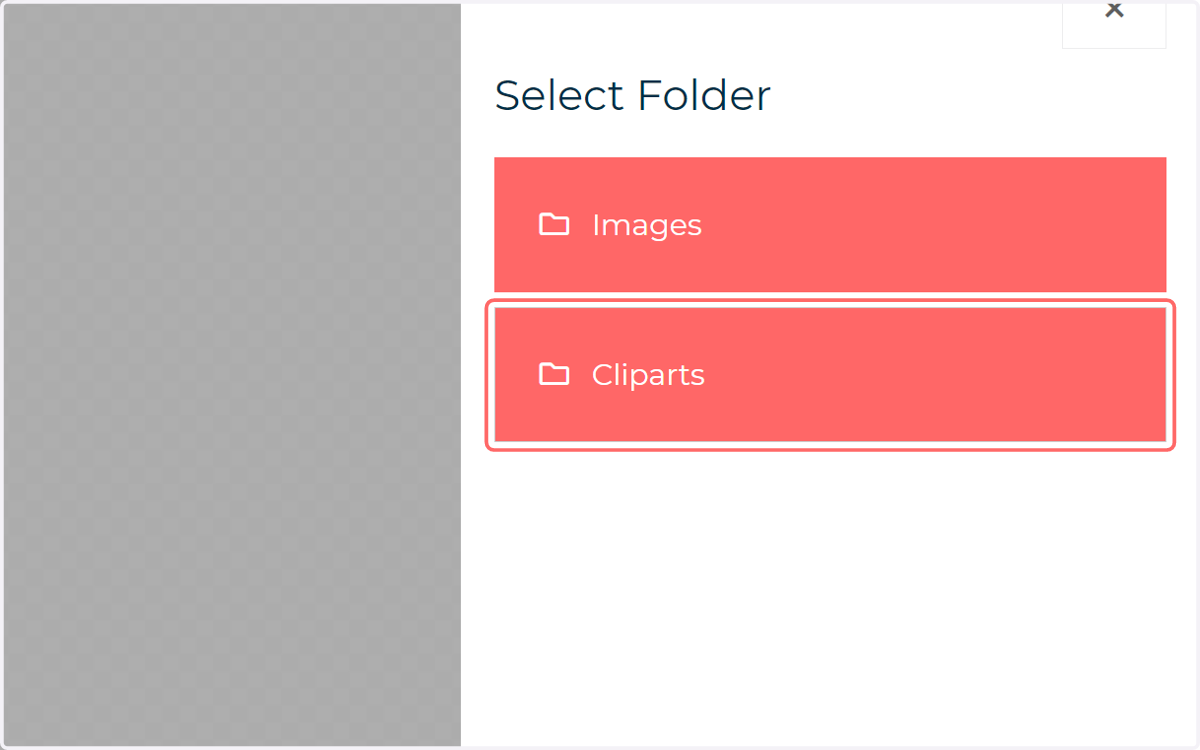
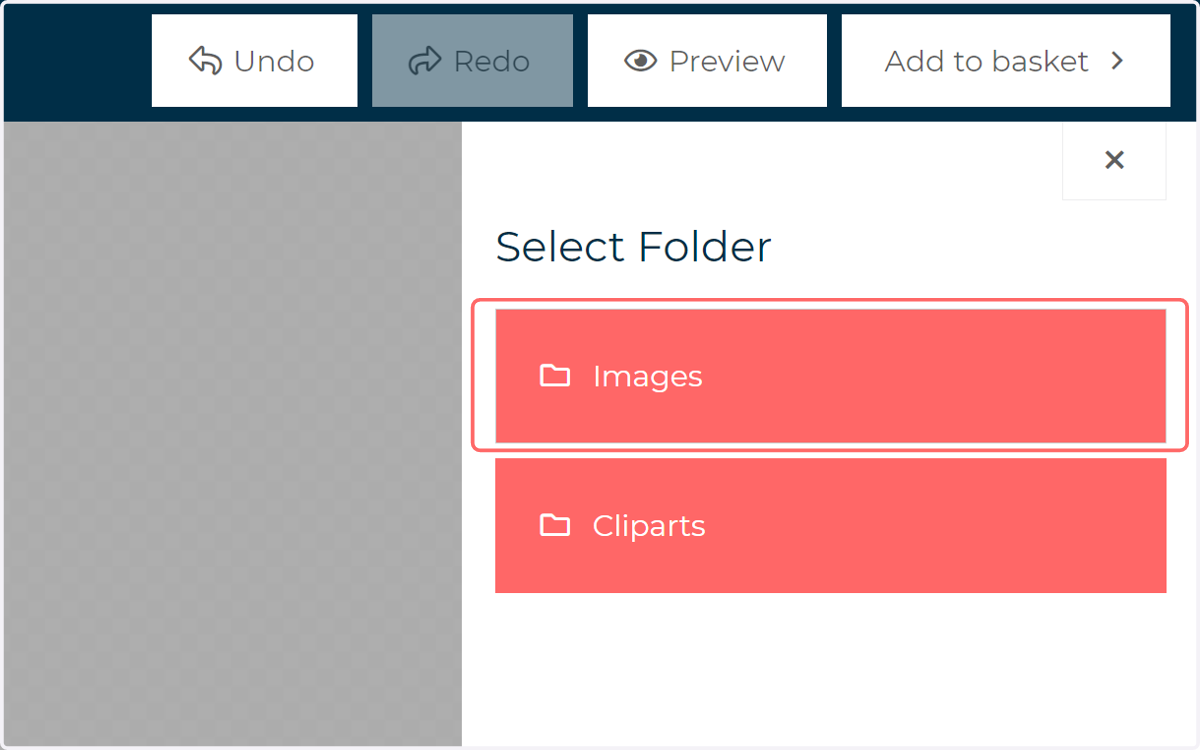
17. Click on Cliparts
If more than one option is available, you are presented with a selection of input types. We will begin by selecting Cliparts
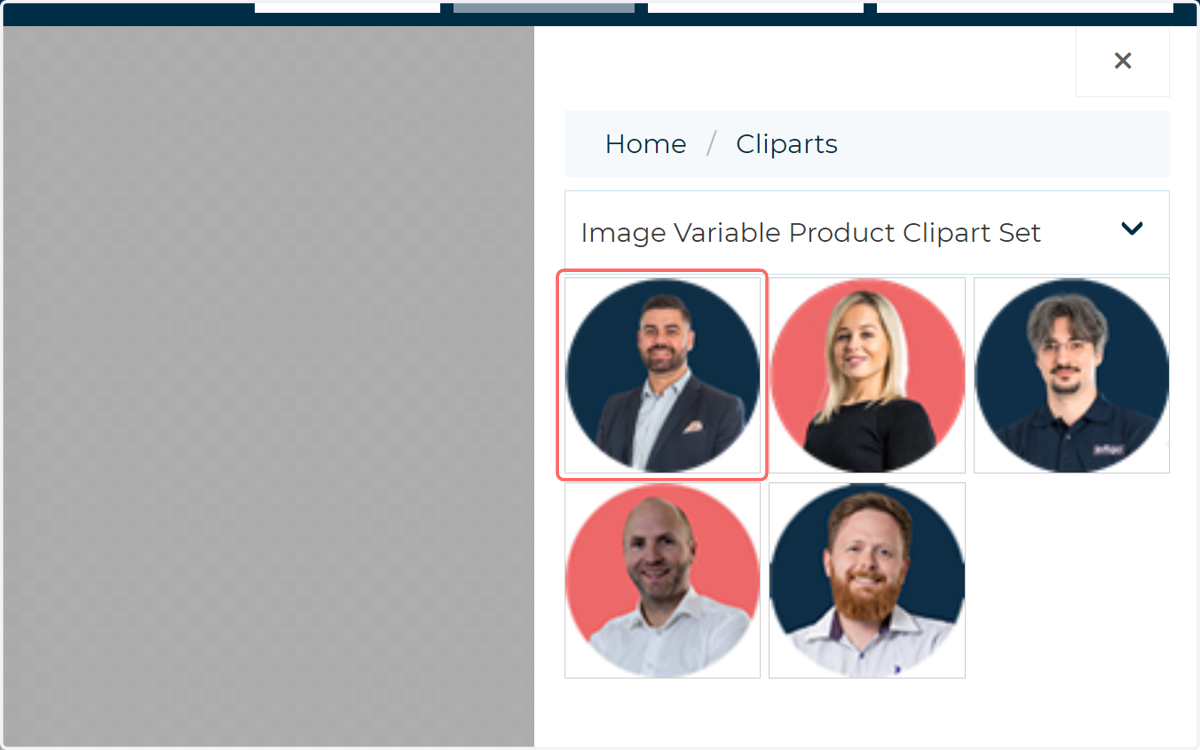
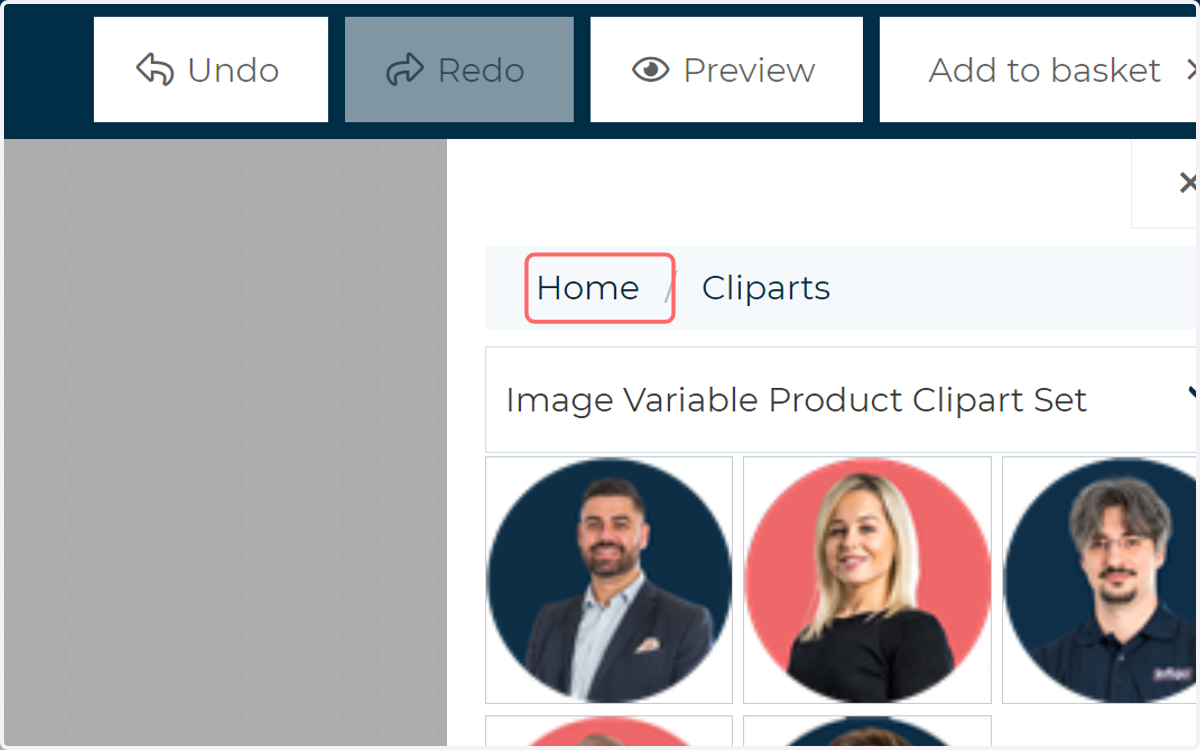
18. Select between clipart albums and select a clipart to display
You will be presented with a dropdown list to choose between available clipart albums. Once selected, all of the clipart images within those albums will be displayed to you.
Clicking an image will set this image to be used by the variable.
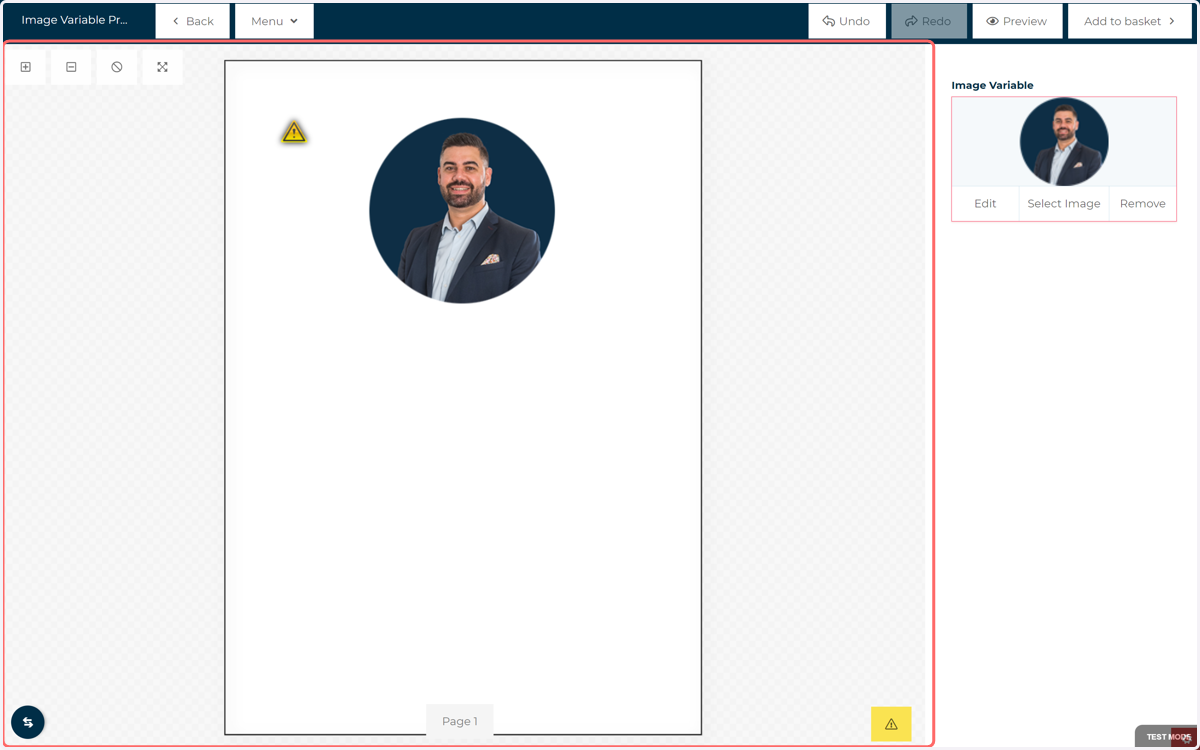
19. If the variable is linked to an image field, the selected clipart image is also displayed there.
20. Click on Select Image
21. Click on Home
22. Click on Images
23. Customers can select images from their existing uploaded albums
As with the clipart selection, a dropdown will be available to choose between available albums of their uploaded imagery. Selecting an album will display the images within it.
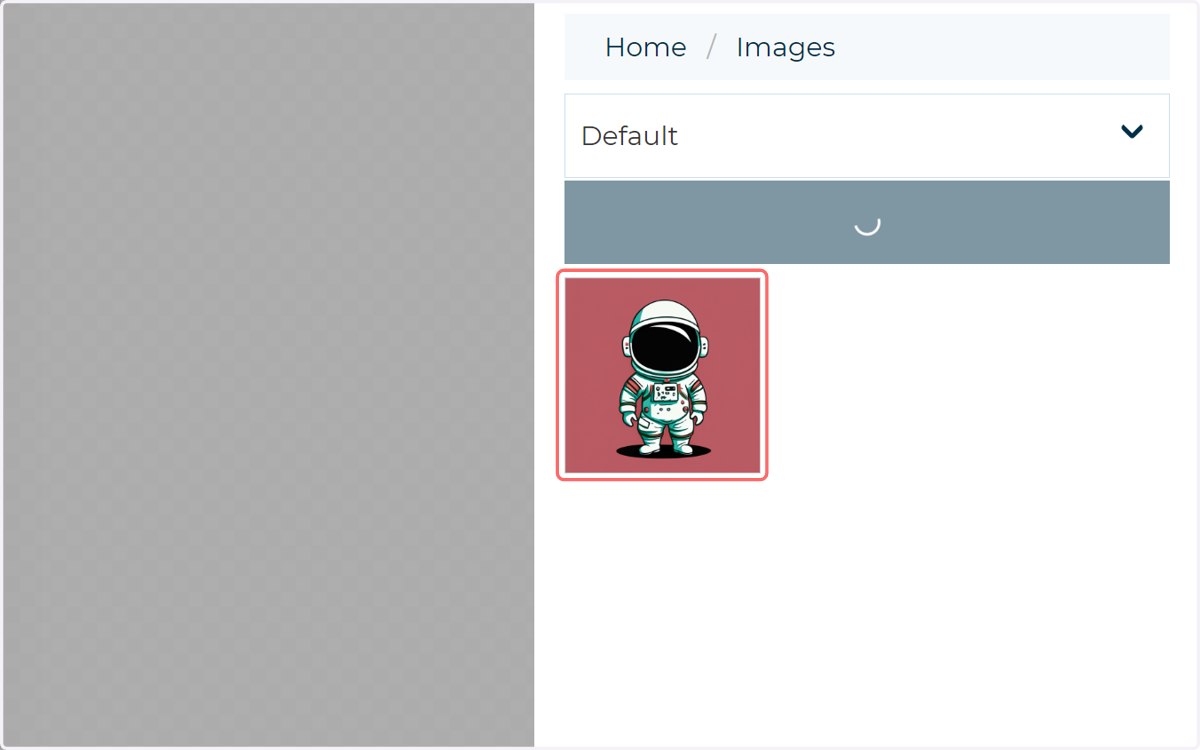
24. If linked to an image field, selected images will be displayed on the canvas.
25. Click on Select Image
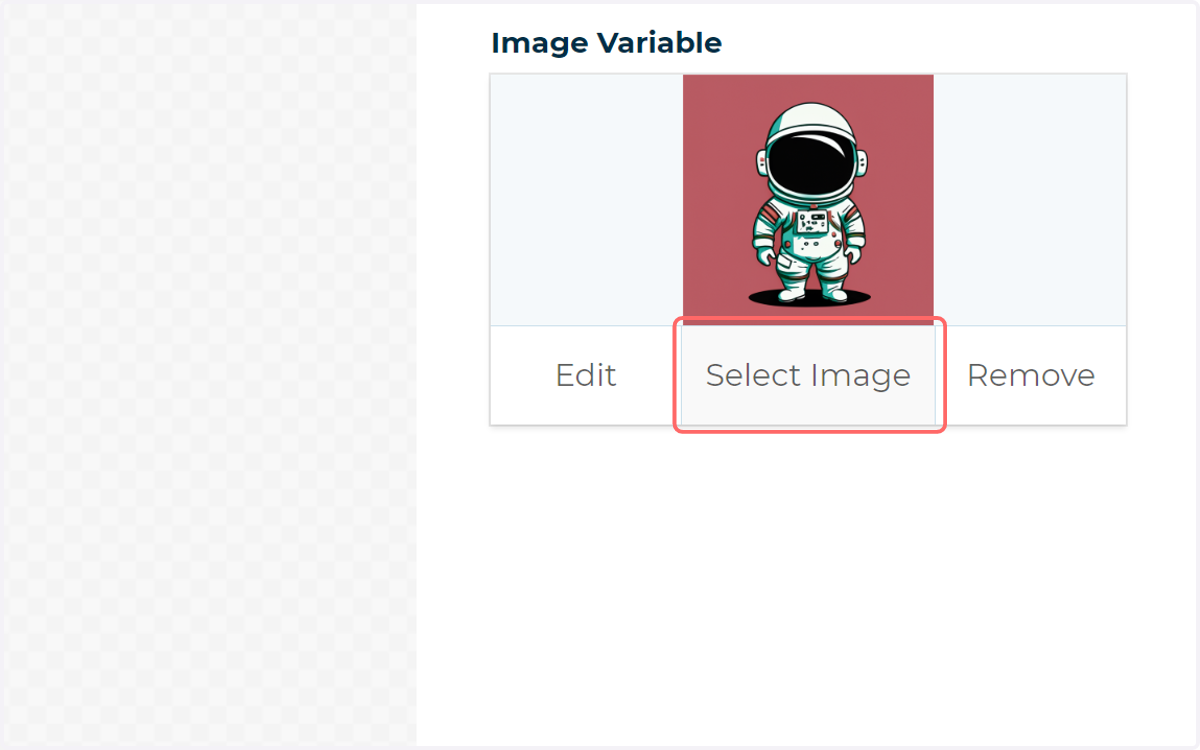
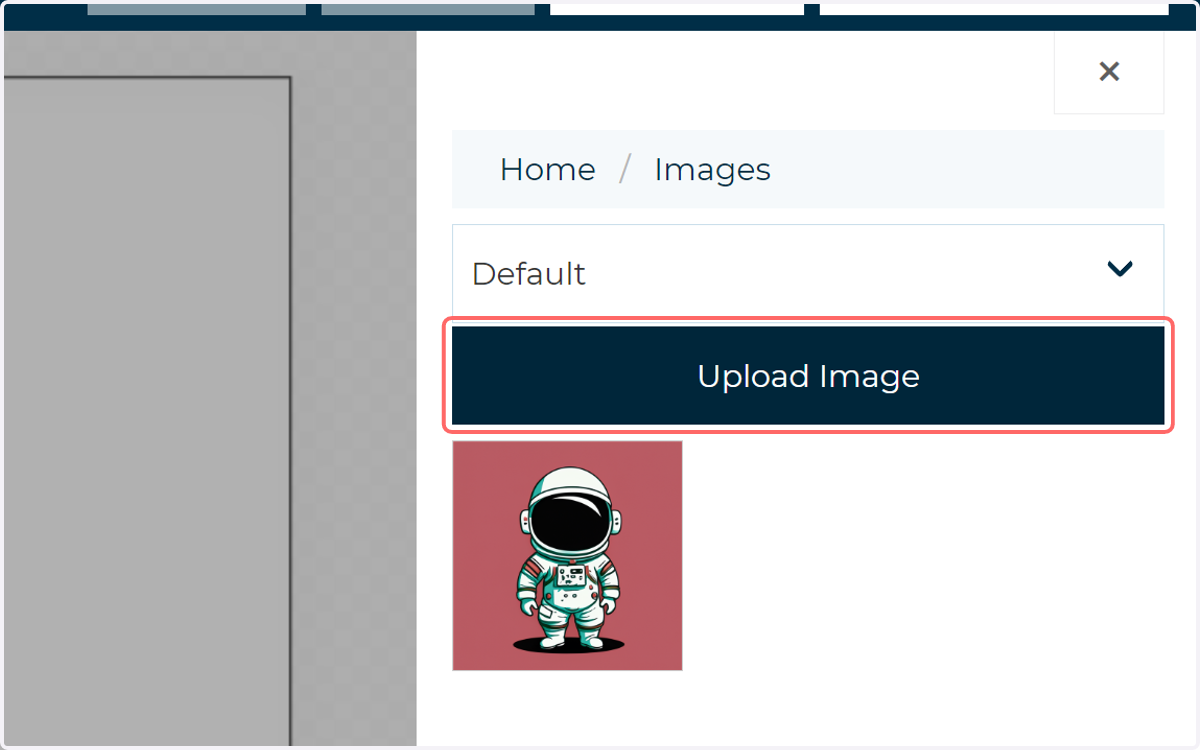
26. Click on Upload Image
Customers can upload new images to the product from their computer.