BG_029_Email accounts and message templates
In this tutorial, we will learn how to use our Infigo platform to send emails at different stages of the ordering and fulfilment process. In addition, we will explore how to define email accounts which serve as the source of any emails sent or received by your system.
Infigosoftware
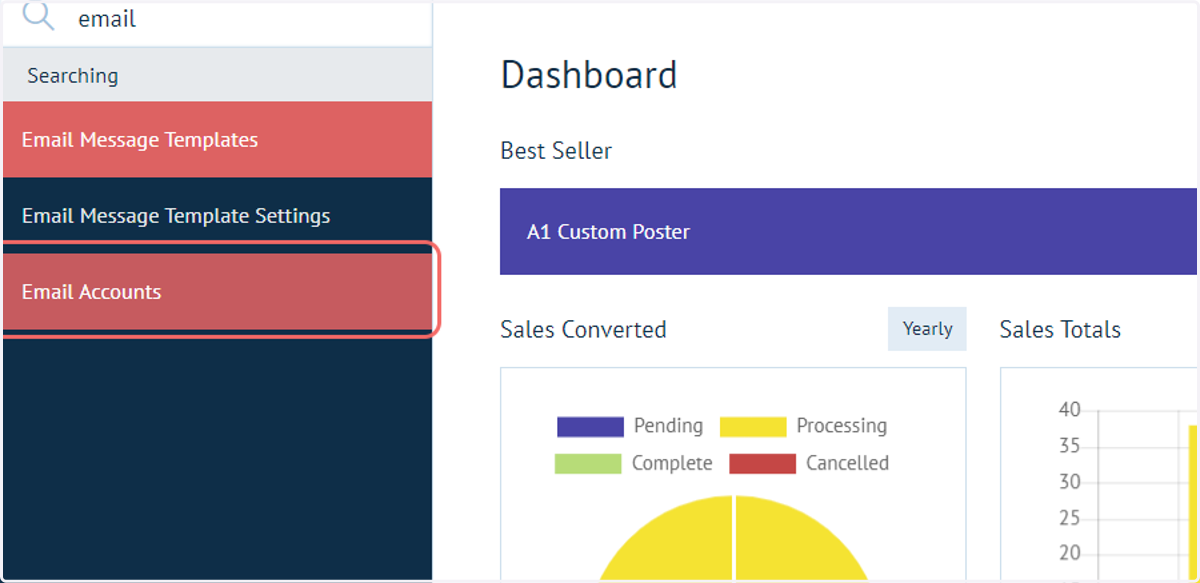
1. Search "Email" and click on Email Accounts
2. Email Accounts page
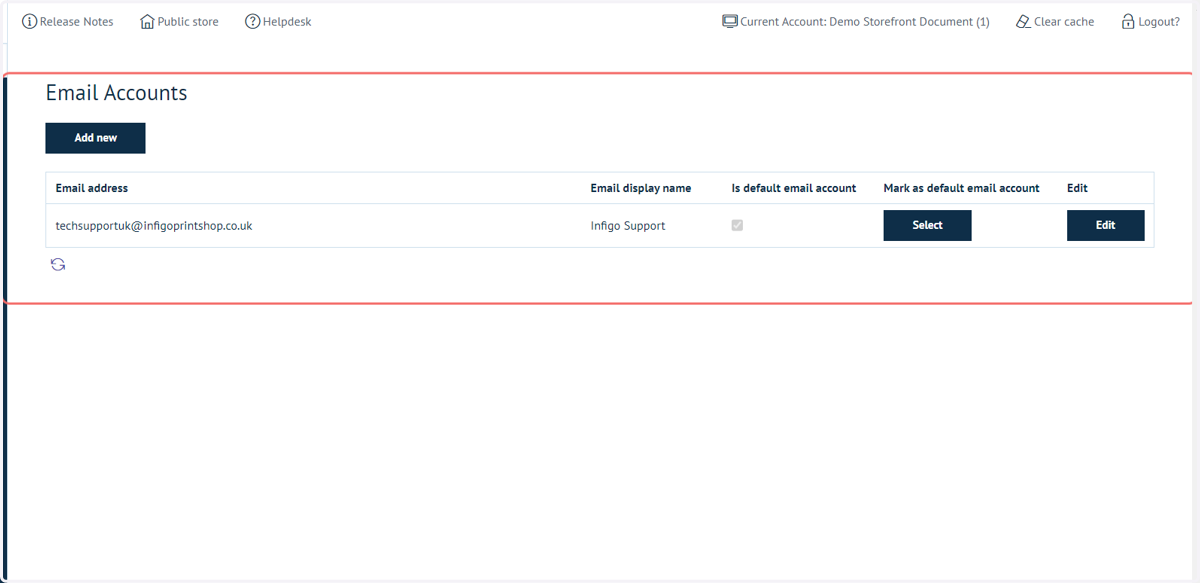
This page shows a list of the email accounts associated with your Infigo setup.
Email accounts can be completed on the Platform Level so that the email is available across all storefronts, or configured at storefront level if you wish for it to be available for an individual storefront.
The email account pre-defined in a new platform and provided by Infigo is intended as a temporary convenience whilst you get to grips with Infigo, and has limited functionality such as a fixed limit on sent/received emails per day.
It is recommended that you update your default email account at your earliest convenience. There are a multitude of email providers available, with Microsoft 365 and Gmail being popular options.
3. Click on Add new
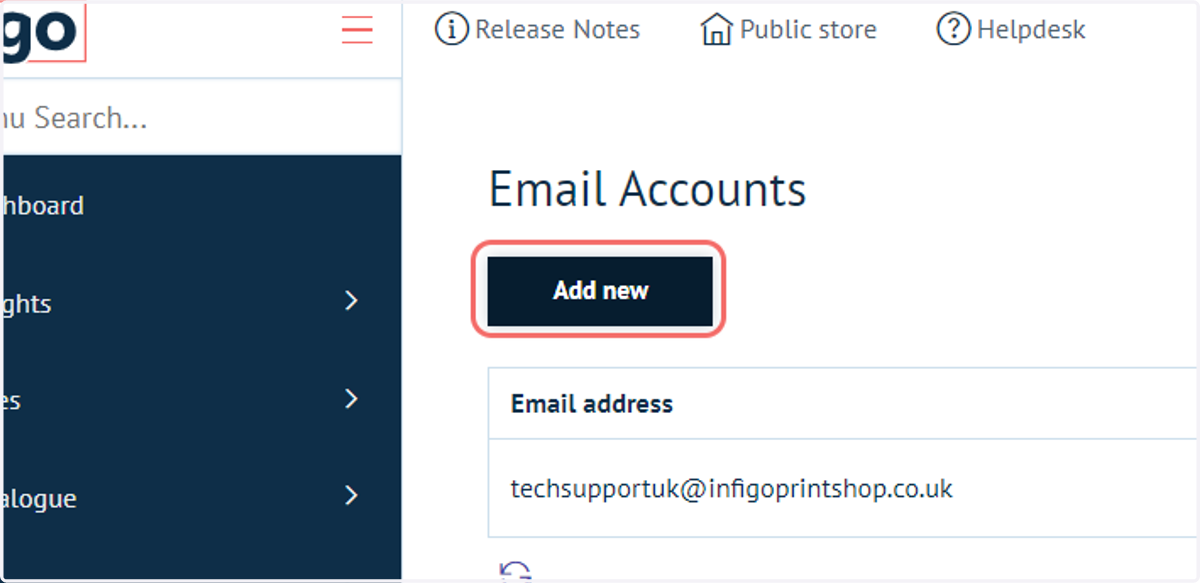
Now we will define a new email account.
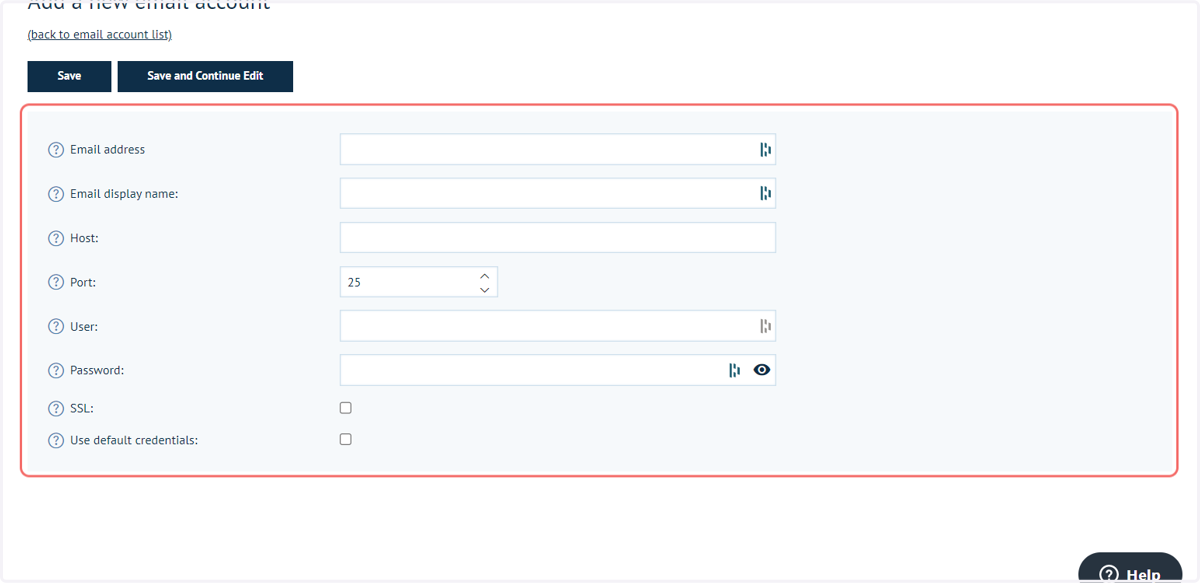
4. Add a new email account
Below is what we require from you to setup a new email account:
- Email Address (From)
- Email Display Name
- Mail Server Host Name/IP Address
- Port (587 or 25 supported)
- Authentication Username
- Authentication Password
- Whether SSL will be used or notThis information can be obtained from your chosen email provider.
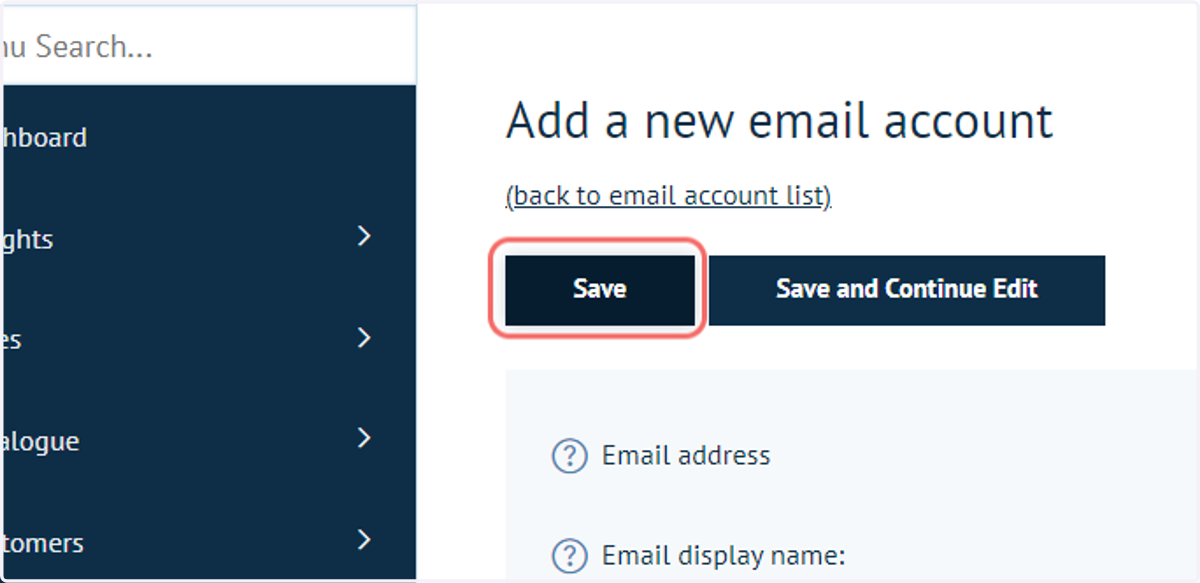
5. Click on Save
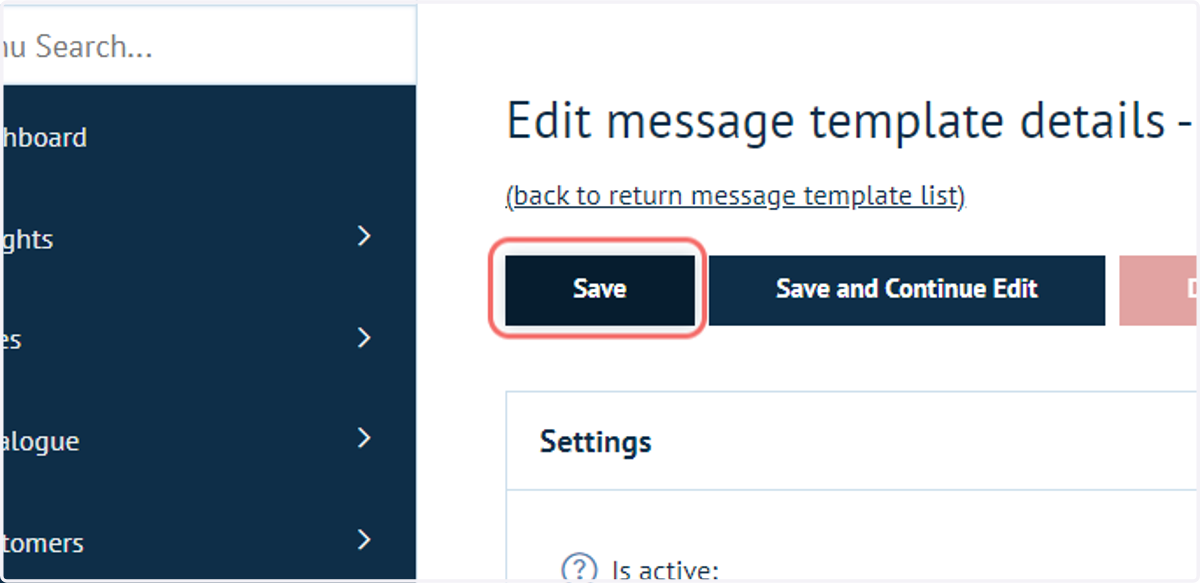
Once you have filled in the required information, click on Save
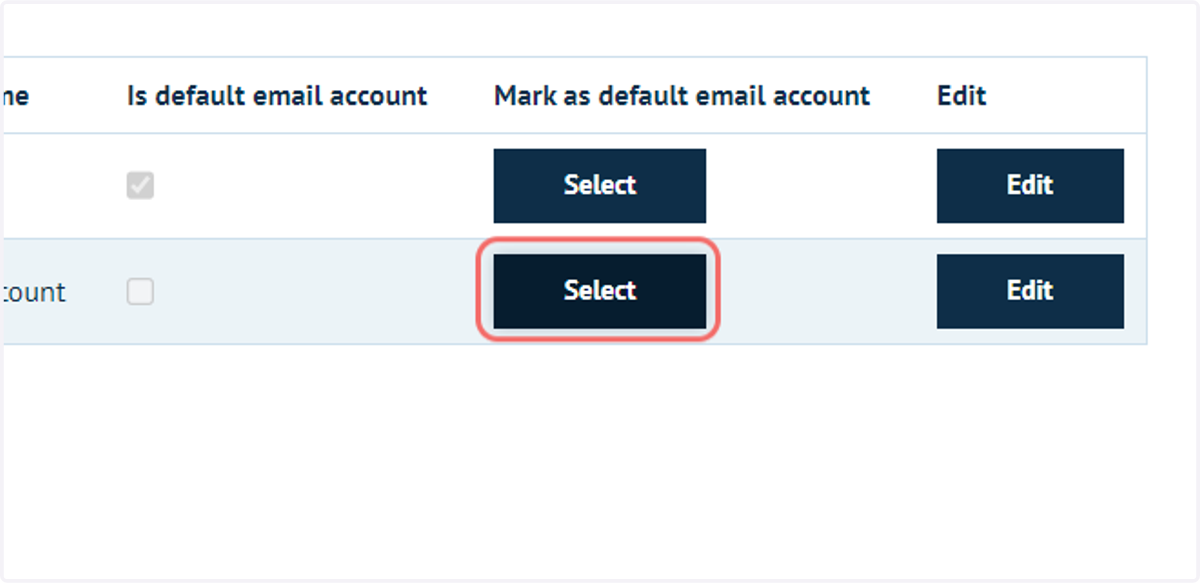
6. Click on Select
This option will mark an email account as the default option
Infigosoftware
7. Click on Email Message Templates
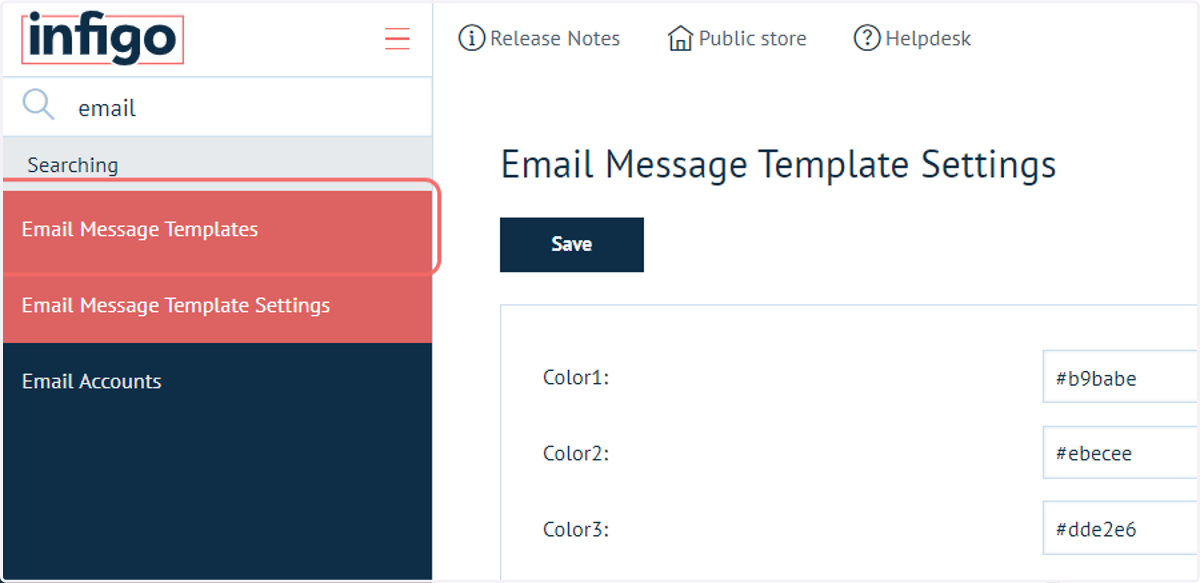
8. Email Message Templates
This page contains pre-configured email templates which are triggered by a certain action on your storefront. For example, an email may be automatically sent to the customer when a print operator changes a job status to "Shipped".
Only some of these templates are active by default, identified by the check box in the "Is Active" column.
The content of these emails can be customised by clicking Edit next to the template of interest.
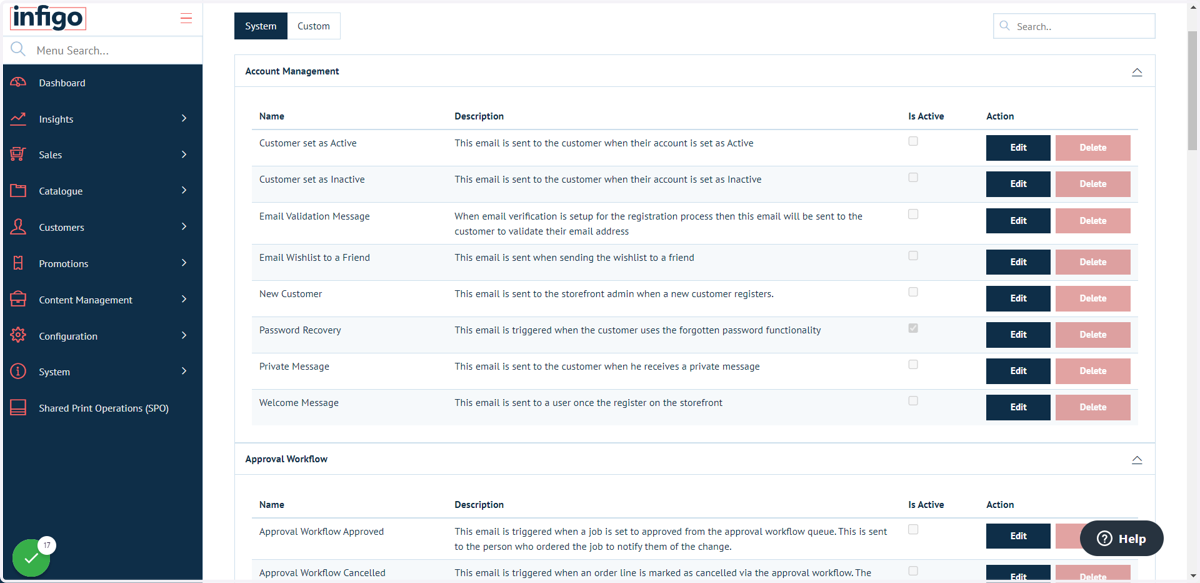
9. Order Paid email template
In our example, we will focus on the Order Paid template.
Please note there are two email templates for Order Paid, with one having the suffix of "store owner". These separate templates allow the same action to trigger multiple emails with different recipients.
For example, the email sent to the customer may be branded and highly customised, however the internal version triggered by the same action may only need minimal, concise data.
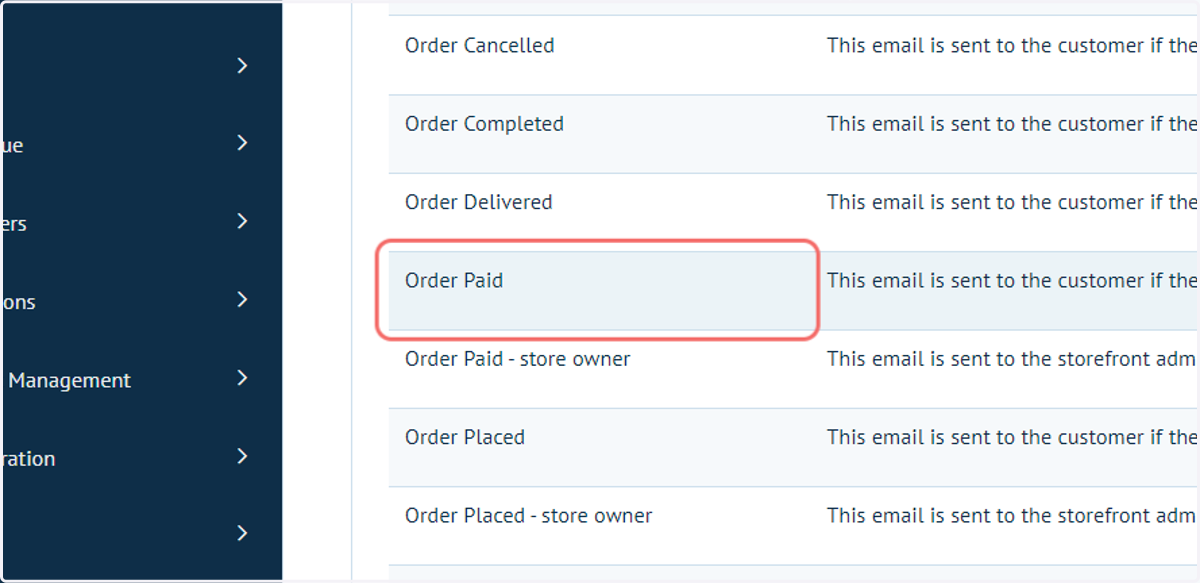
10. Click on Edit
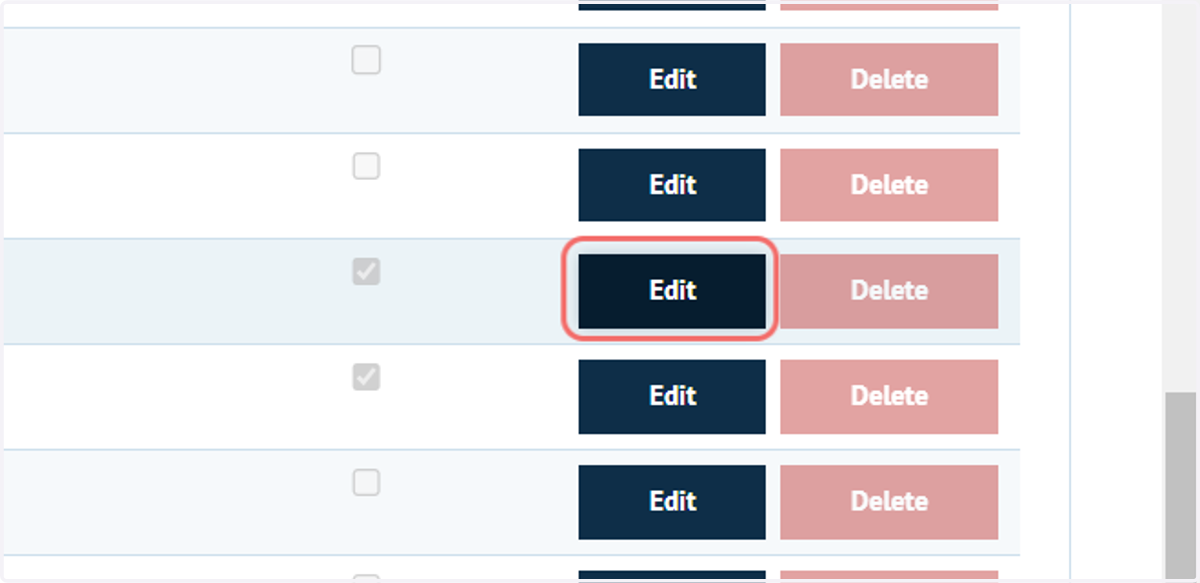
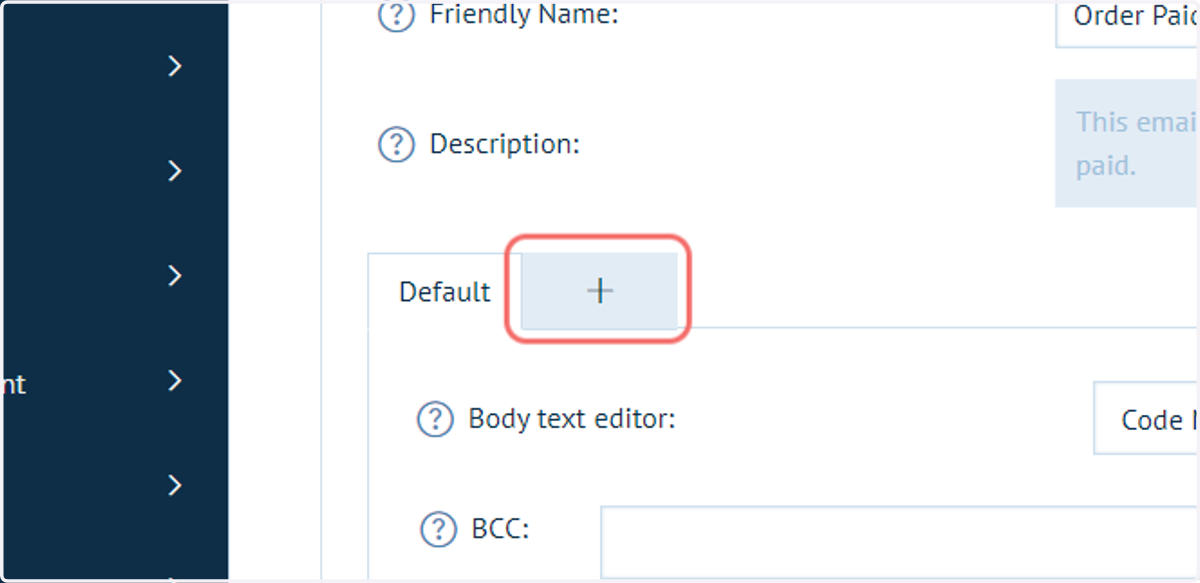
11. Chameleon options
Please note that email templates are another area of your Infigo storefront that can be controlled using Chameleon. Admins have the ability to define different email formats based on the recipient.
For more information, see our tutorial resources on Chameleon.
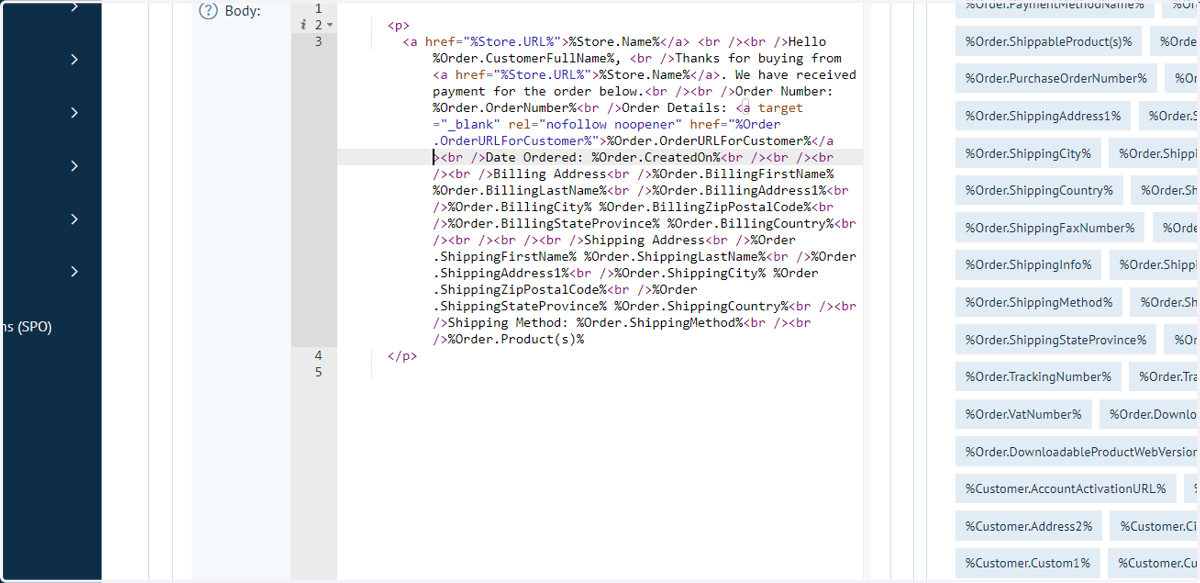
12. Amend message content
Define any BCC recipients, a subject and a message body.
The message body is constructed using a HTML editor. If you have difficulty writing in HTML format, then there are countless "HTML Beautifier" sites on the internet which will allow you to create your email template and convert it to HTML script.
Due to the dynamic nature of email content (such as customer names, order details, etc), it is highly recommended to utilise tokens.
Tokens obtain information from elsewhere in Infigo, with their value updated based on the current situation (such as logged in user or current order).
Tokens are found on the right of your message template. Simply click your token of choice to copy it to clipboard then paste into your message.
Infigosoftware
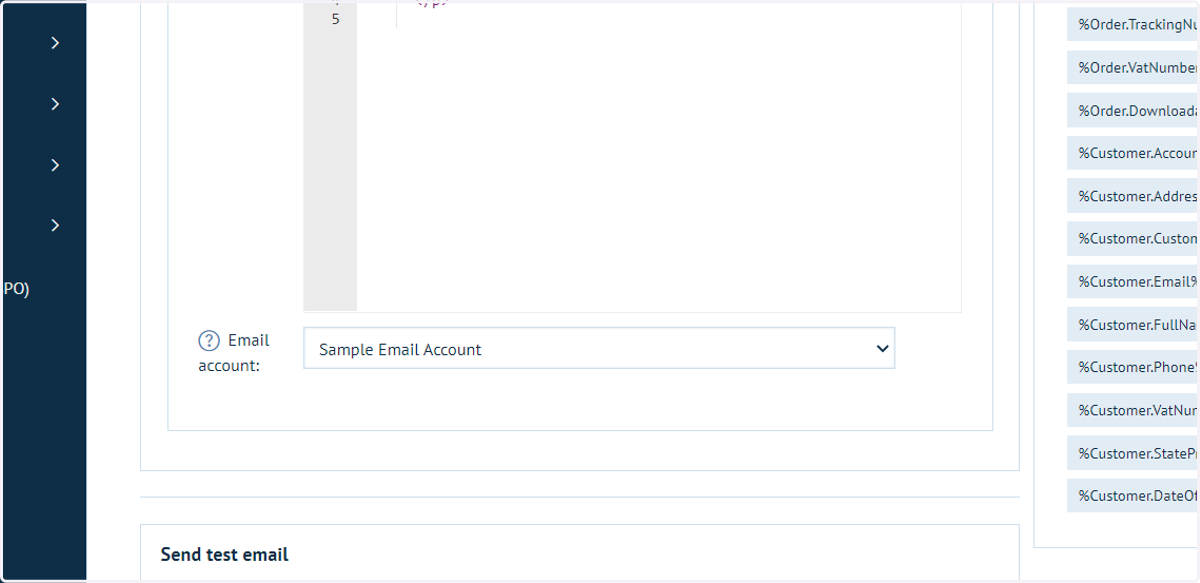
13. Select an email account
Select the email account you wish to send this email from.
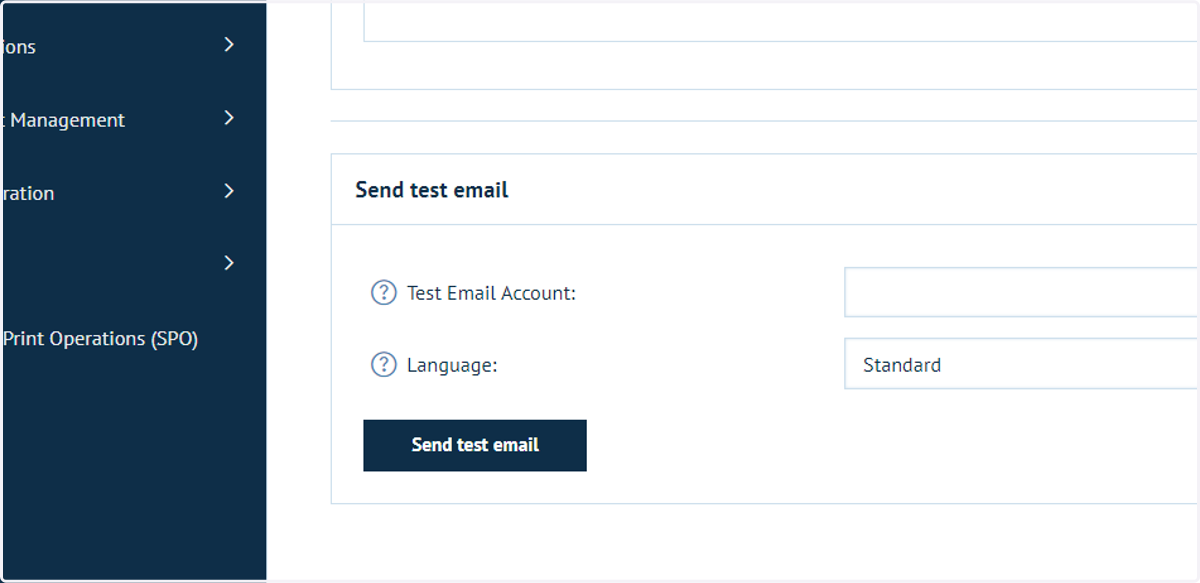
14. Send a test email
To verify the content of your email template, you can send a test email.
Enter the recipient email address and hit Send.
15. Click on (back to return message template list)
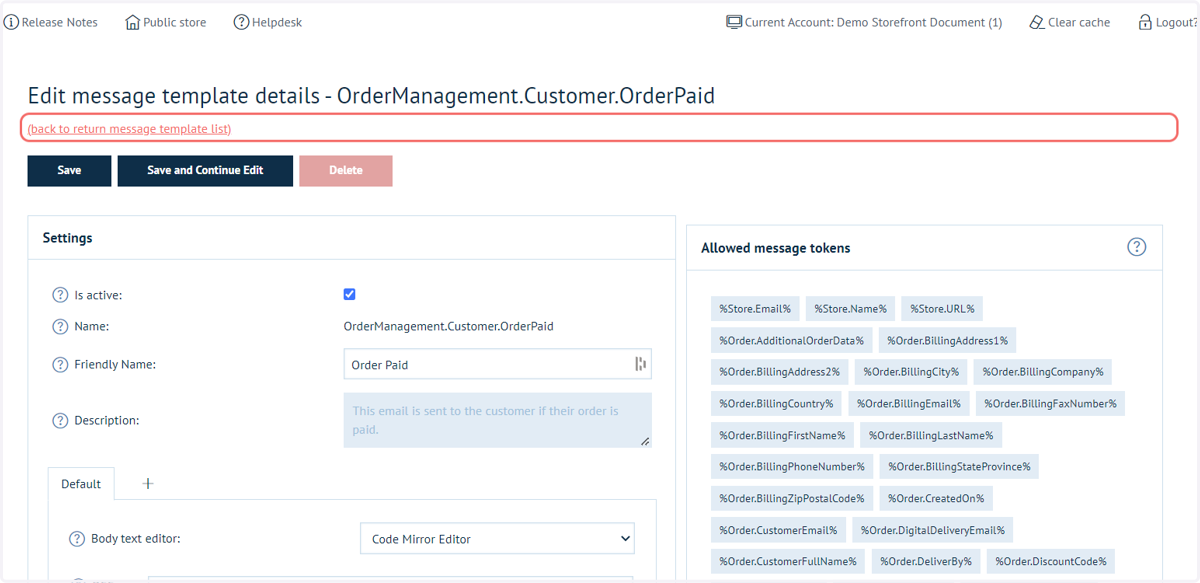
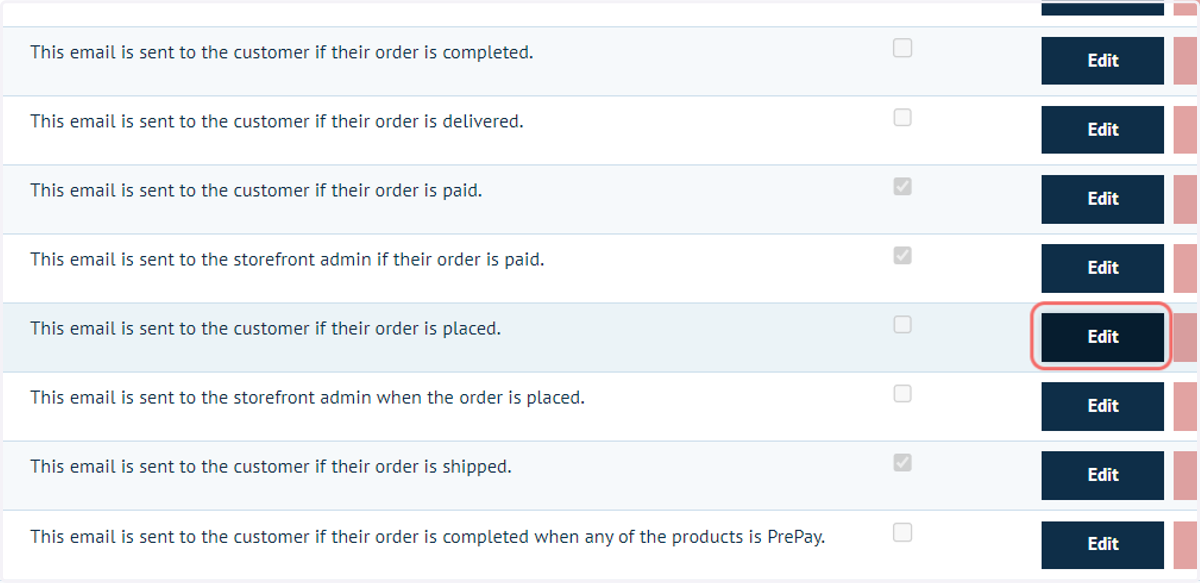
16. To define whether an email template is active, click on Edit
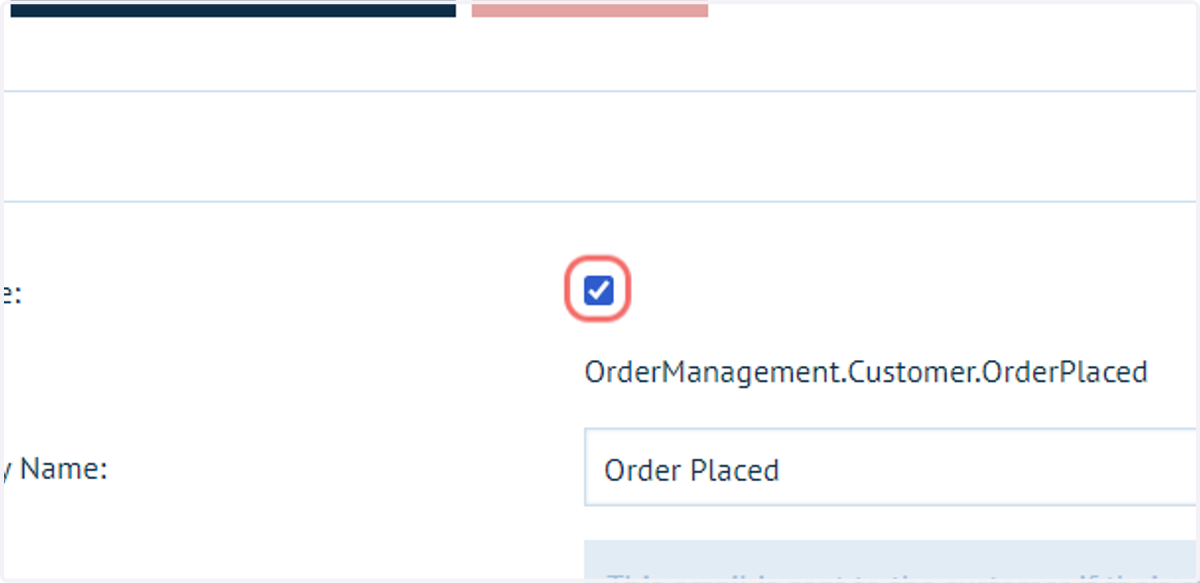
17. Check Is active
18. Click on Save