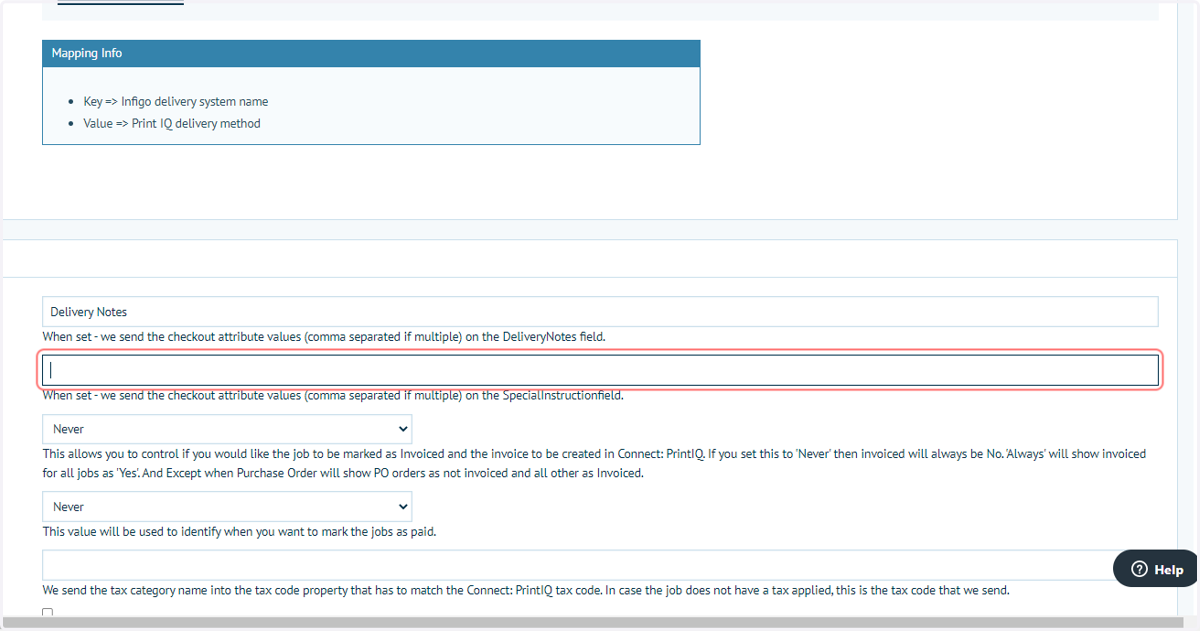
Sending delivery notes and special instructions to printIQ
In this tutorial, we will learn how to send Checkout Attribute data from Infigo to printIQ. These come in the form of delivery notes and special instructions. Inputs will be available during checkout, with the data entered being sent between the two systems.
Infigosoftware
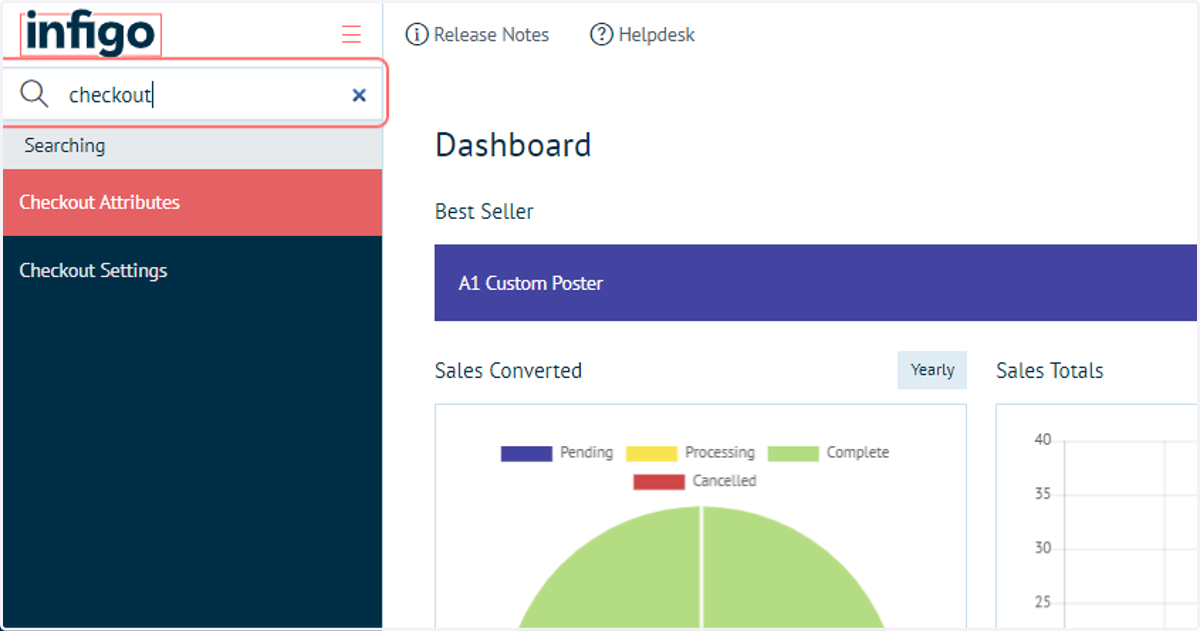
1. Search for Checkout
Create or select a Checkout Attribute. The begin, navigate to the Checkout Attribute area.
2. Click on Checkout Attributes
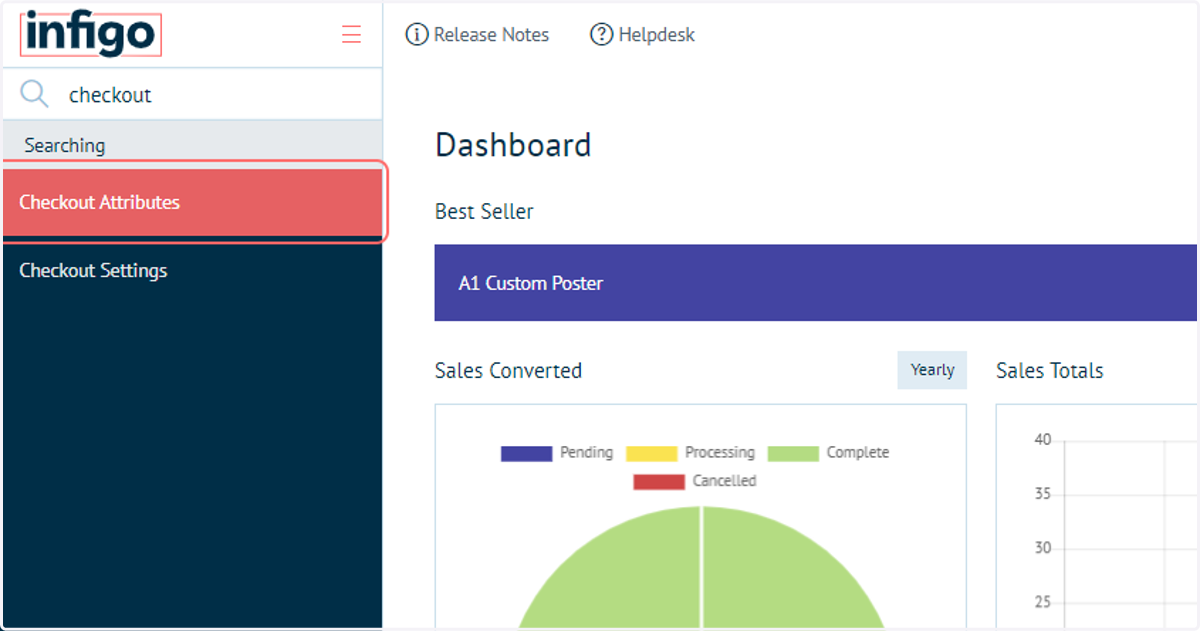
3. Create or select a Checkout Attribute
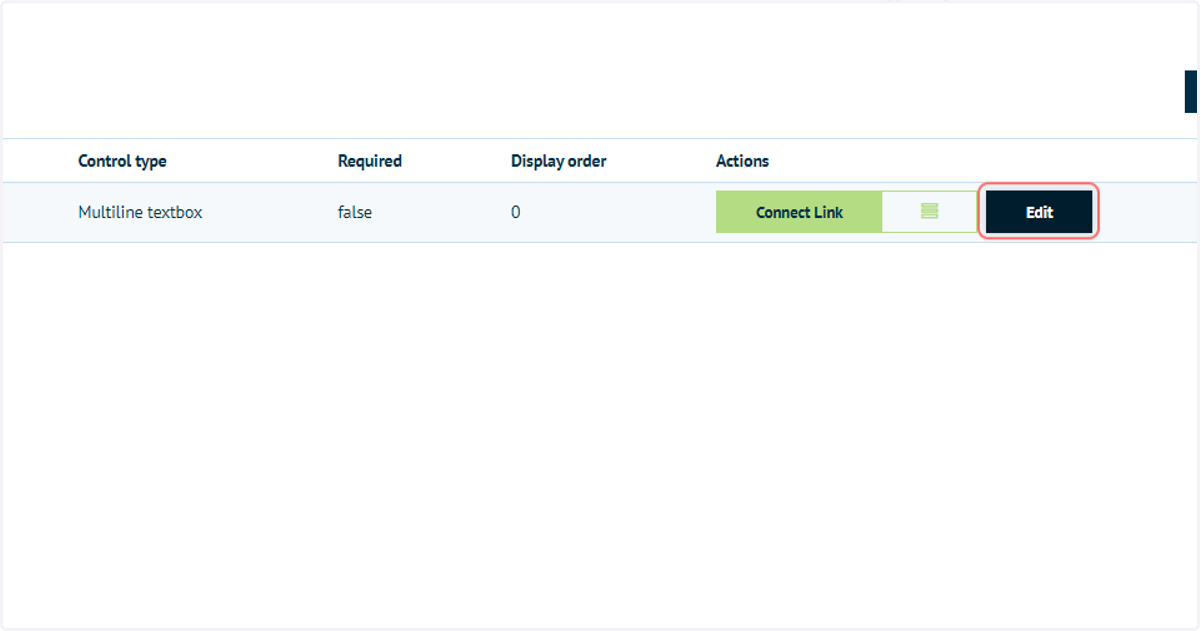
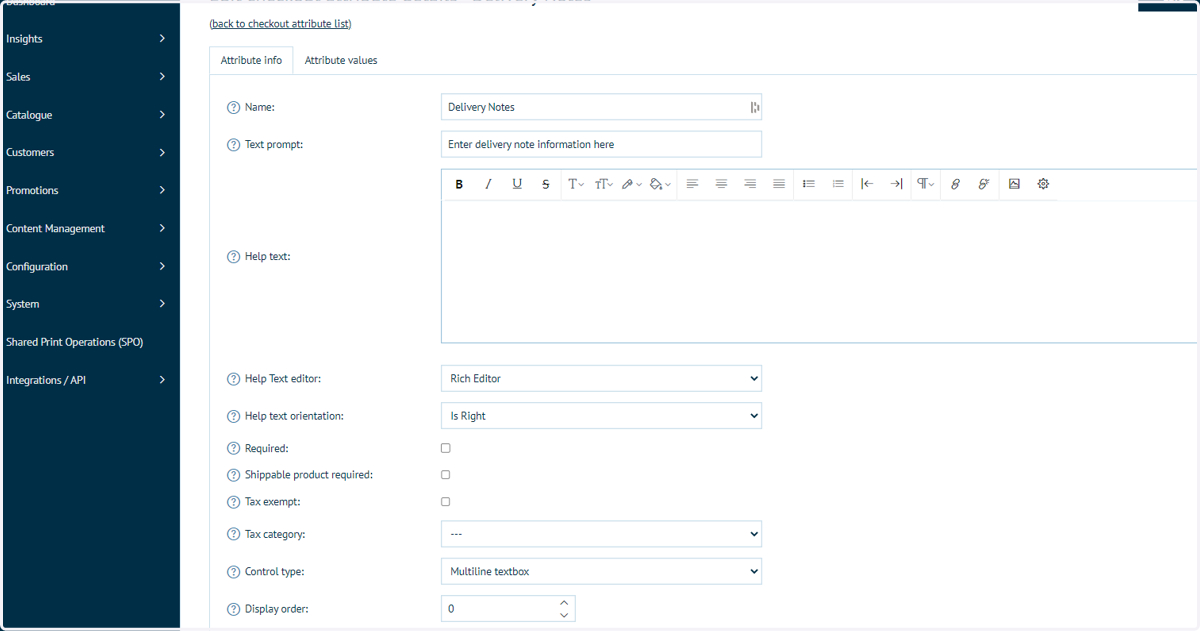
4. Fully define your Checkout Attribute
For Delivery Notes and Special Instructions, this is likely to be a multi-line textbox control, allowing of a large amount of data to be input if necessary.
Infigosoftware
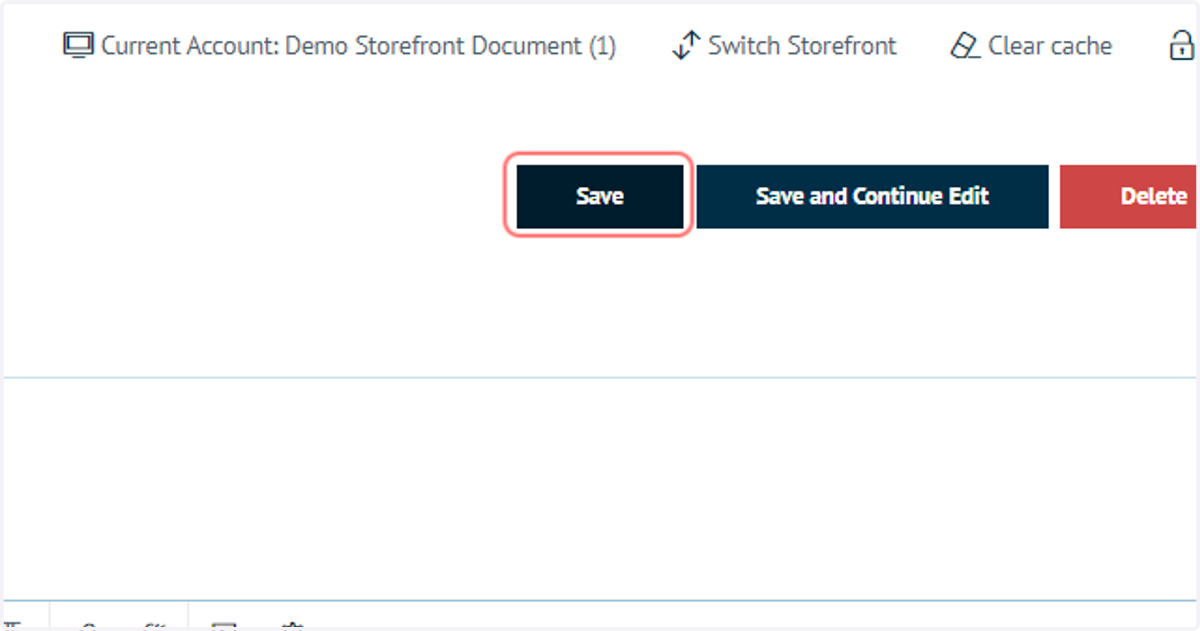
5. Click on Save
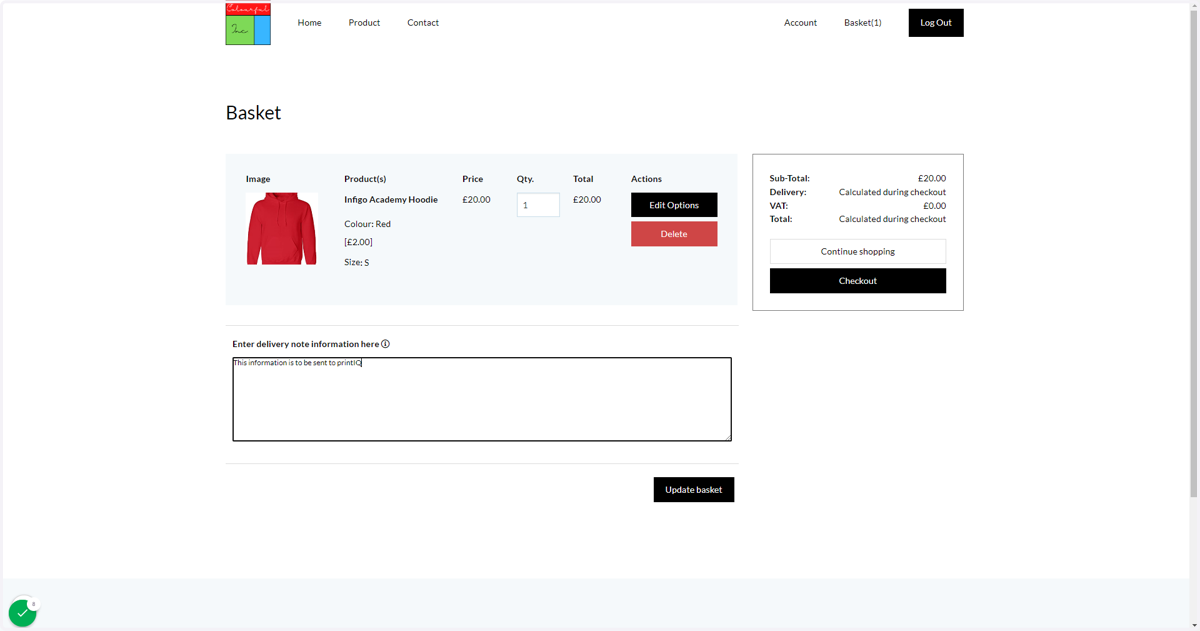
6. This is how your Checkout Attribute will appear on the storefront
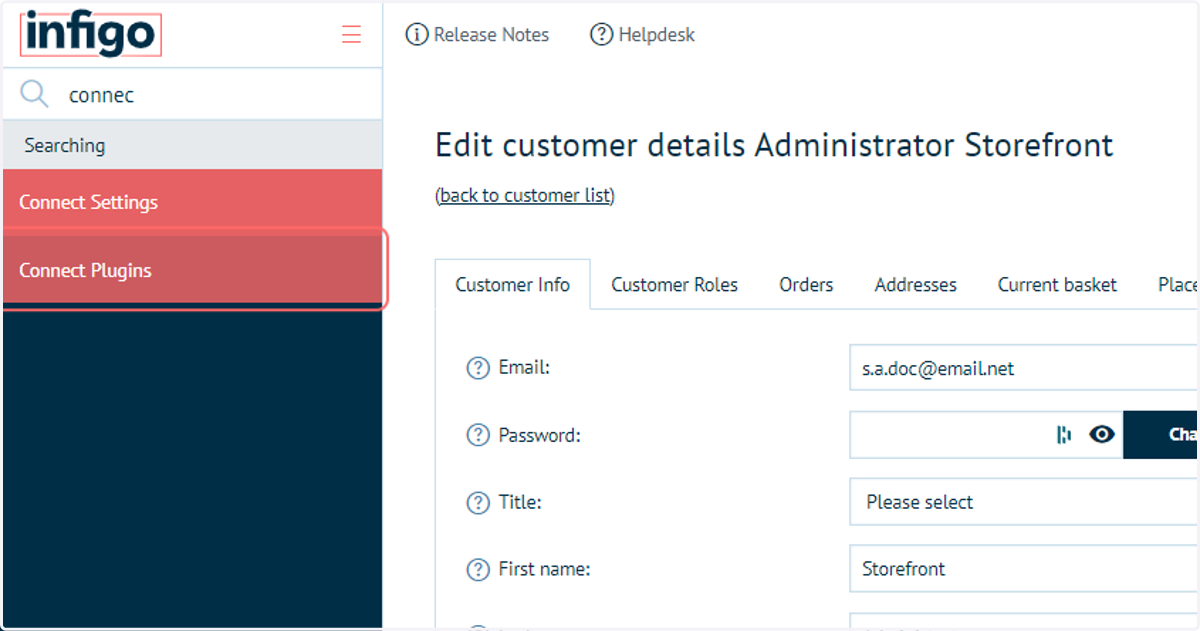
7. Search for Connect Plugins
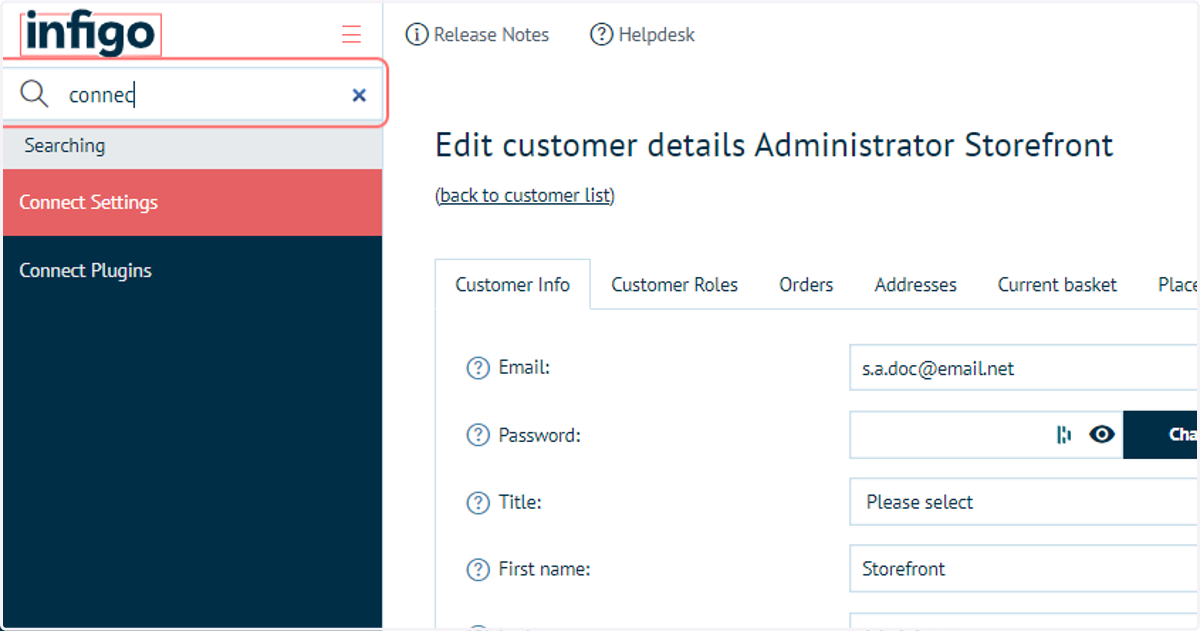
8. Click on Connect Plugins
Infigosoftware
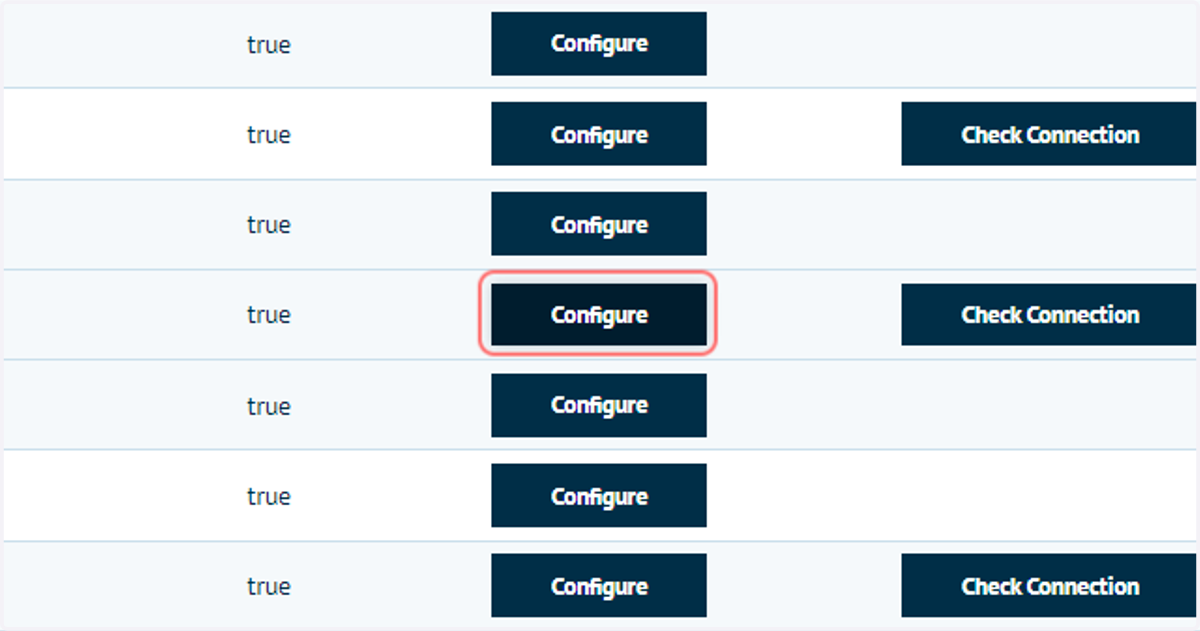
9. Click on Configure next to the printIQ plugin
10. Navigate to the Delivery Notes and Special Instructions fields and paste the name of the corresponding Checkout Attribute
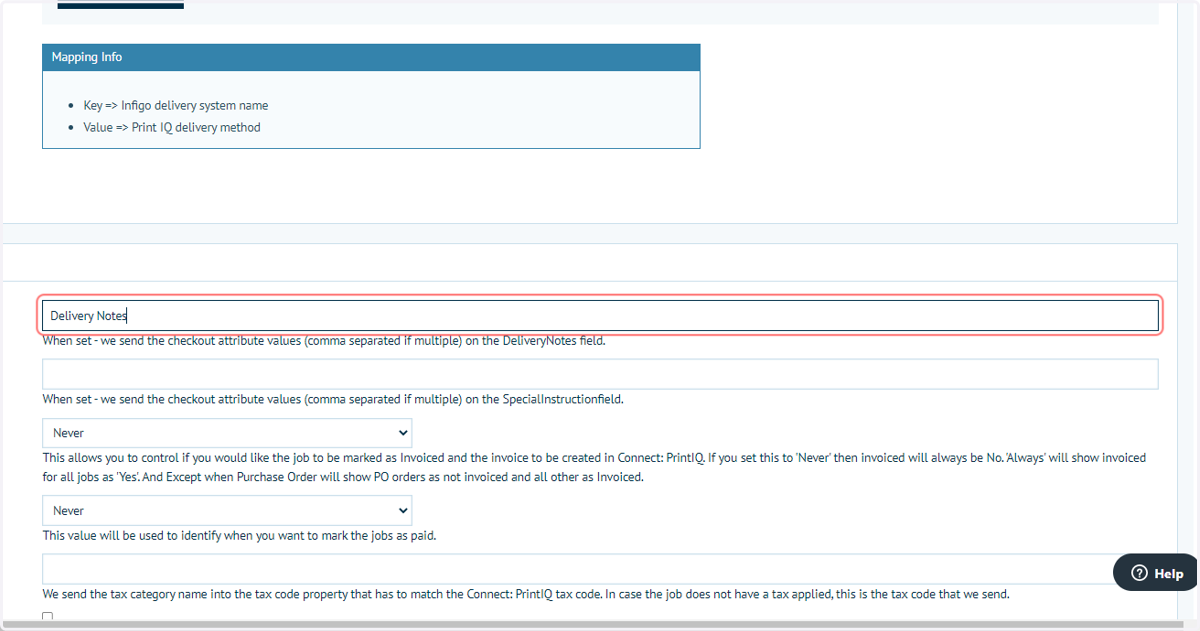
11. Special Instructions Checkout Attribute