Configuring and using the Avalara Avatax plugin | CI_Avatax_001
In this tutorial, we'll take a look at how you can set up and configure the integration between Infigo and Avatax from Avalara. This primarily consists of inputting account information from your Avatax account into Infigo and is ultimately quite simple to configure.
In our example, we are utilising a sandbox account within Avatax, meaning the process may differ slightly for your live instance.
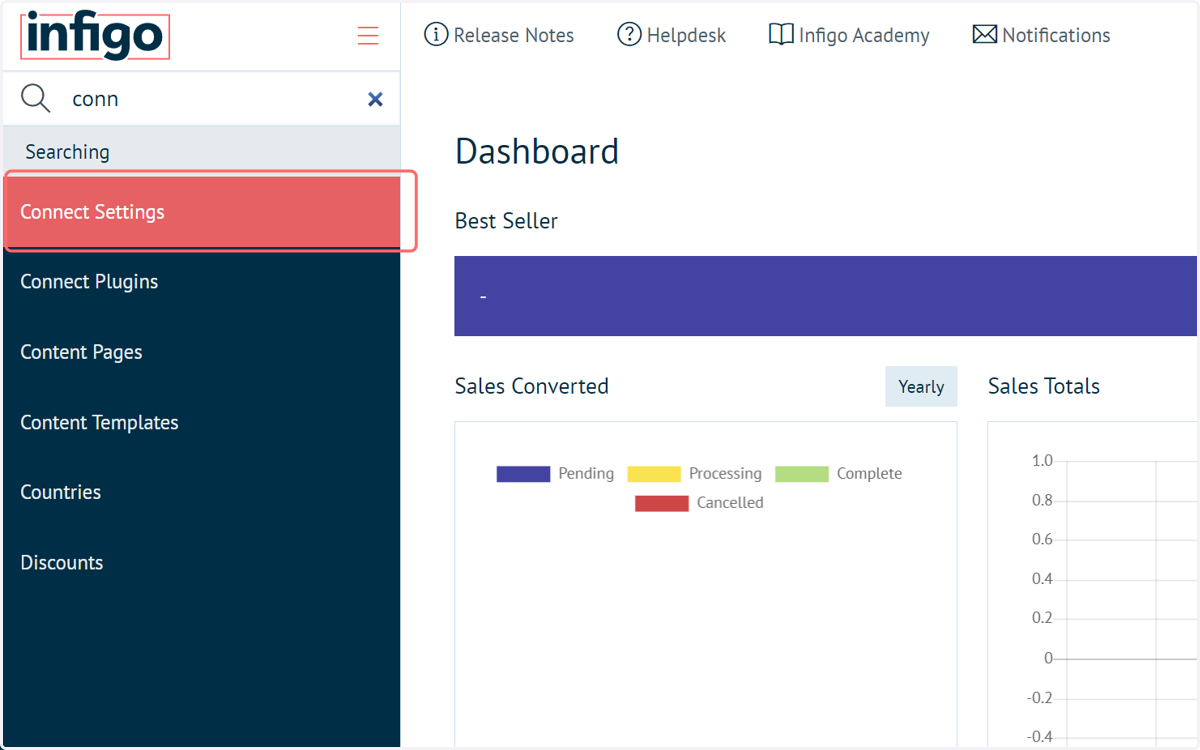
1. Click on Connect Settings
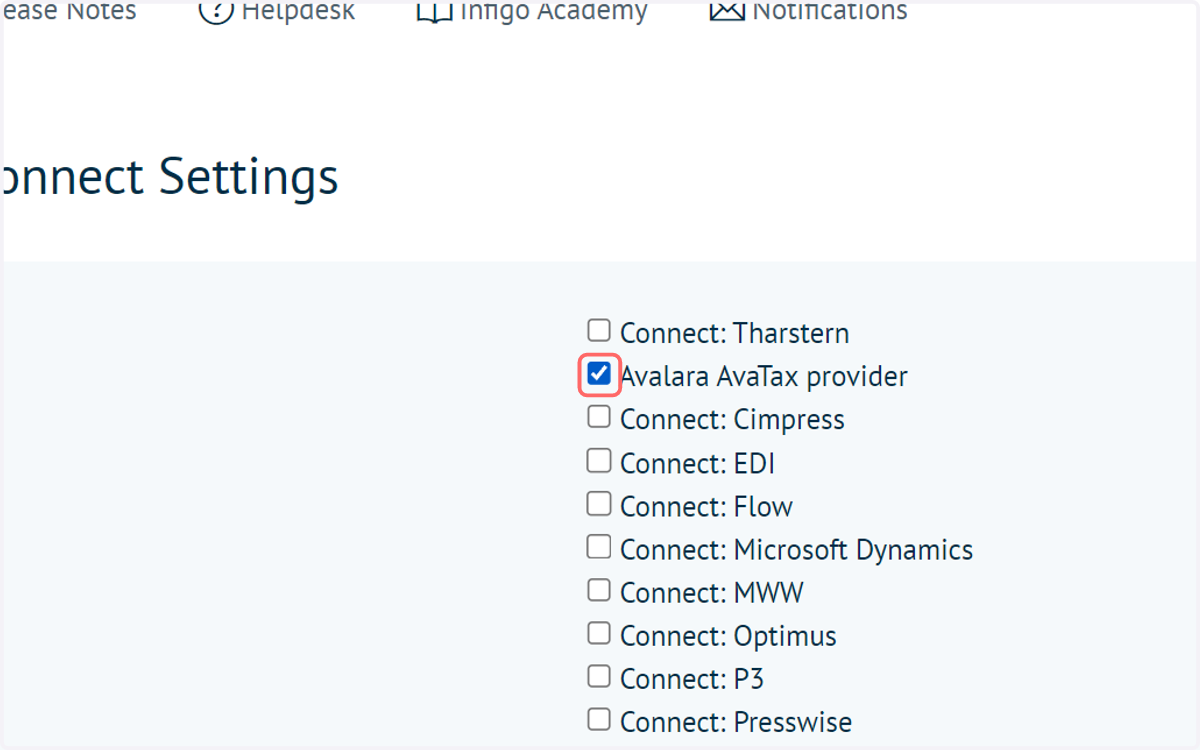
We will begin by ensuring the Avatax plugin is enabled.
2. Check Avalara AvaTax provider
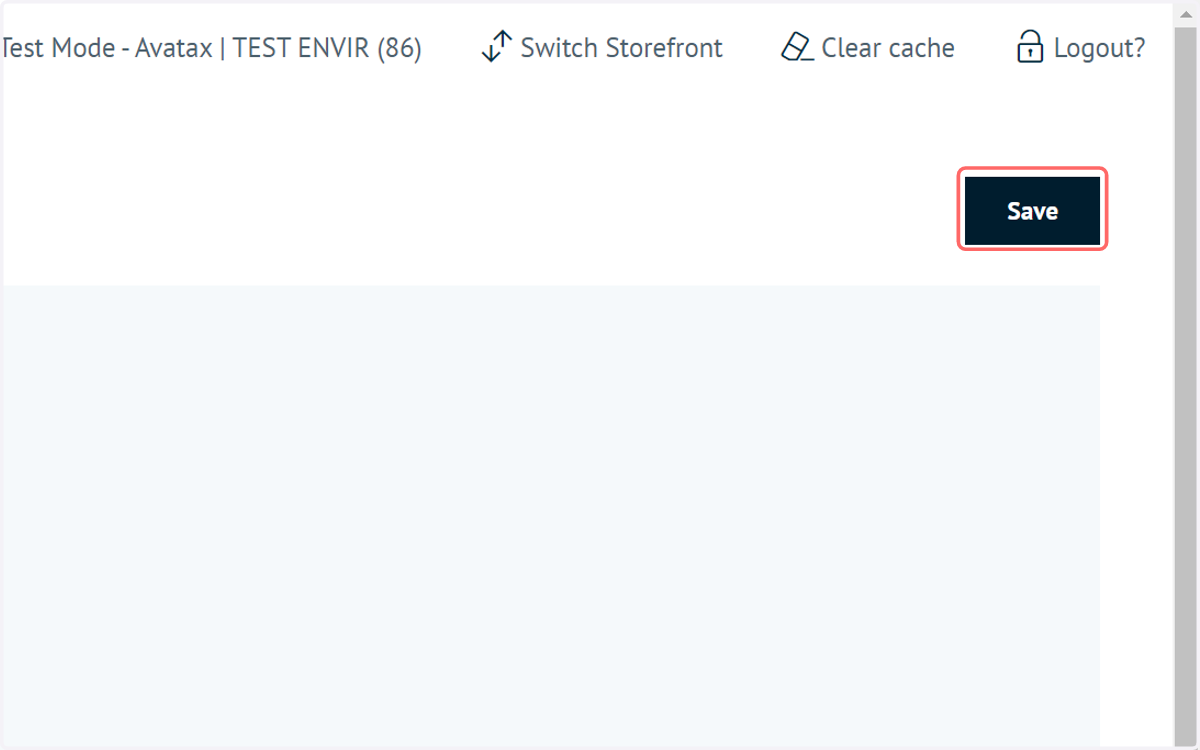
3. Click on Save
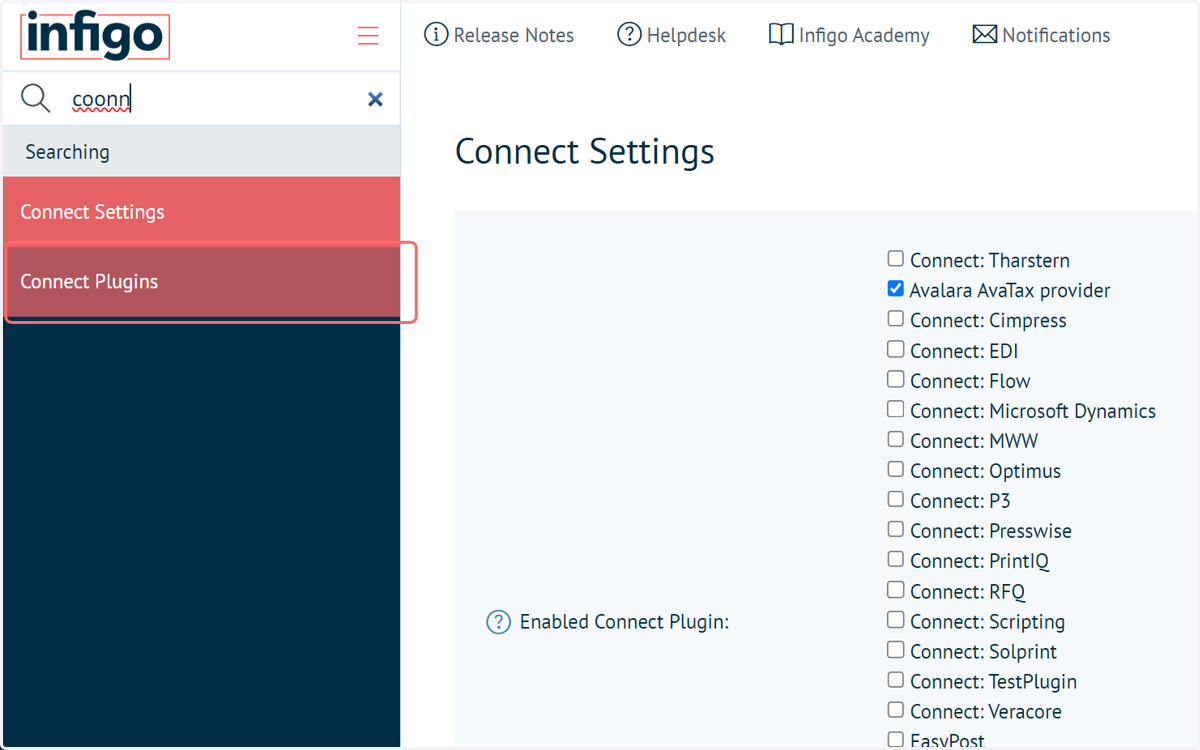
4. Click on Connect Plugins
Next, we will begin to configure the settings of our Avatax plugin
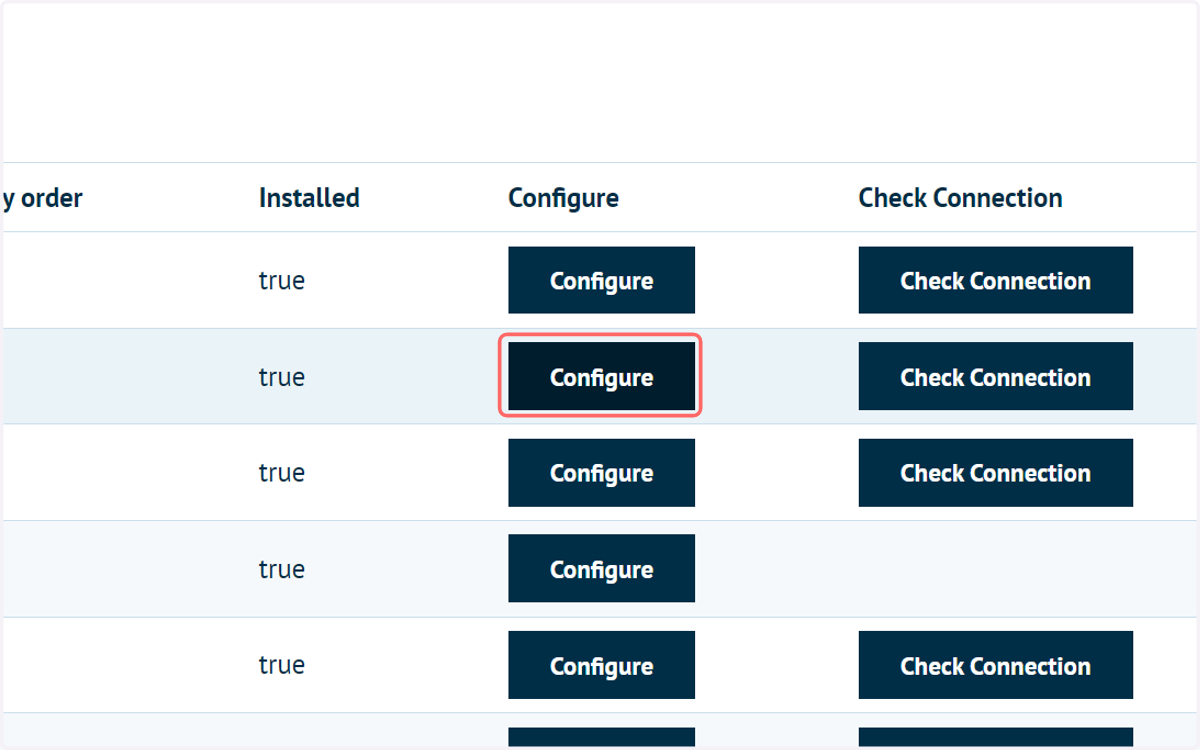
5. Click on Configure
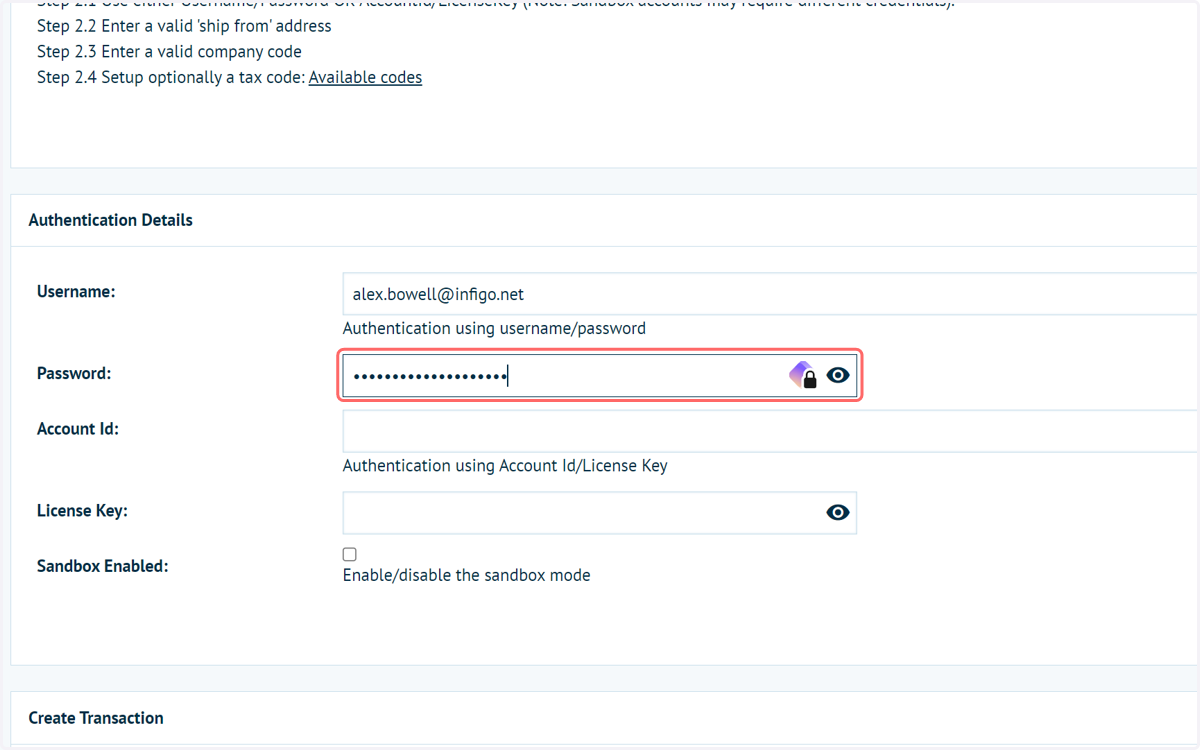
6. Enter your account details
Note that all four authentication fields are not required to be filled.
Either input the username and password OR the Account ID and license key. These can all be located in your Avatax account.
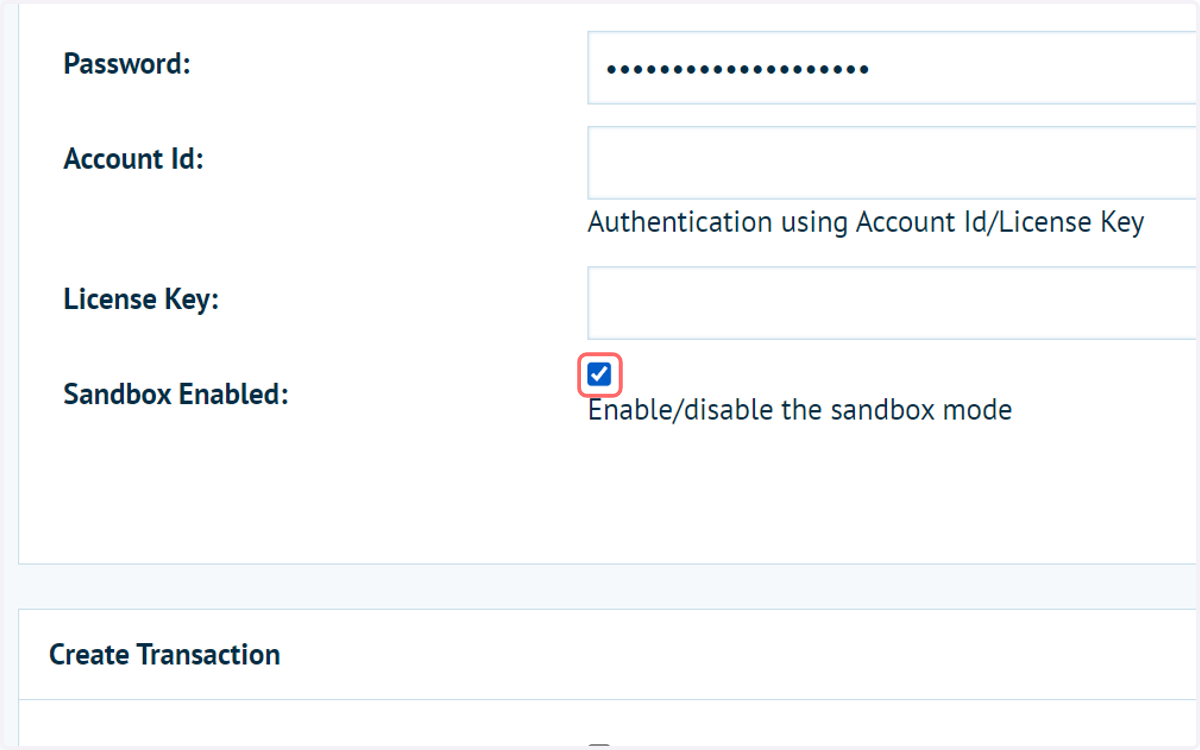
7. In our case, we are working with Avatax's sandbox mode, so we will enable this checkbox.
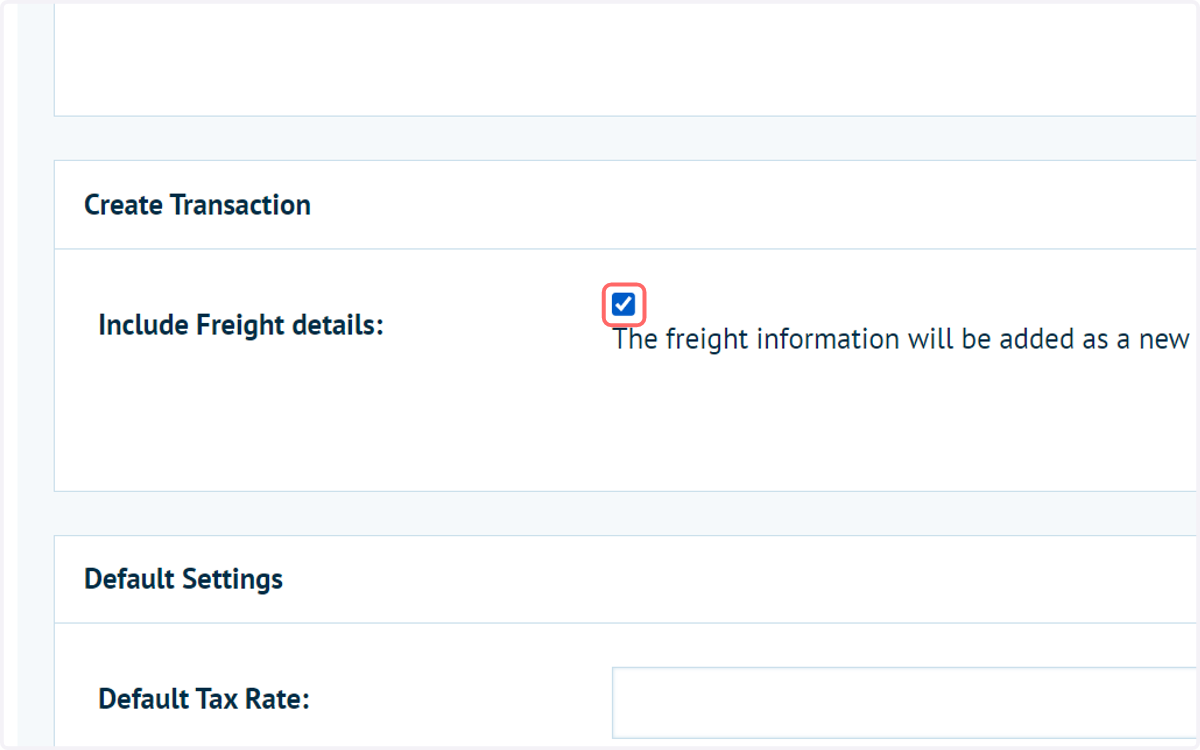
8. Check Include Freight details:
This will include the freight details as a new line in the transaction area of your Avatax account.
9. Input a default tax rate
This is the percentage tax rate that will be utilised if a value cannot be returned from Avatax via the integration
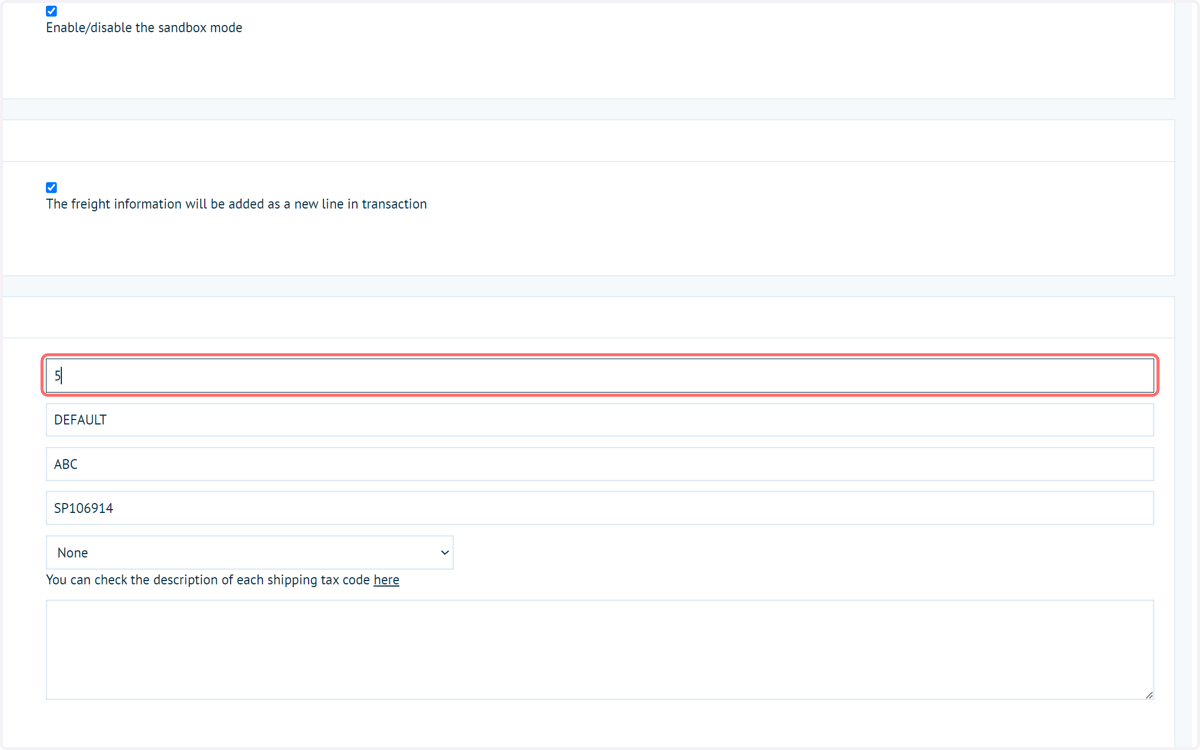
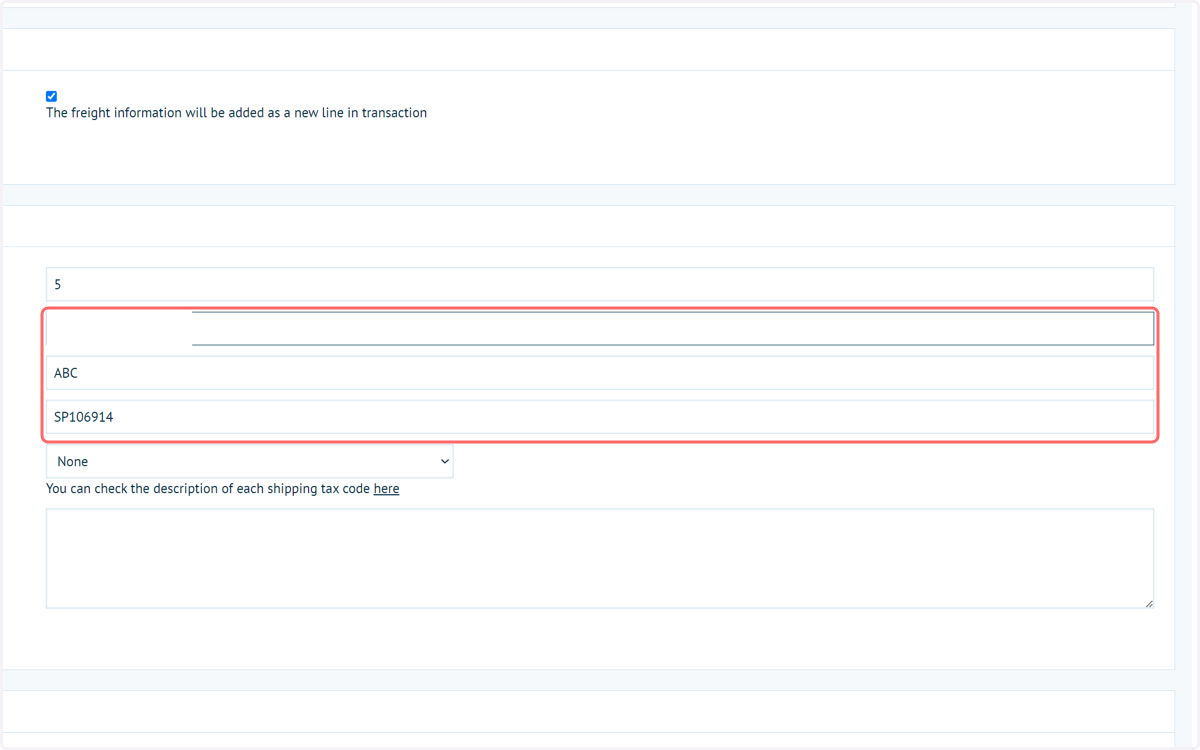
10. Enter default information on company code, customer code and default tax code.
These can be found within your Avatax account
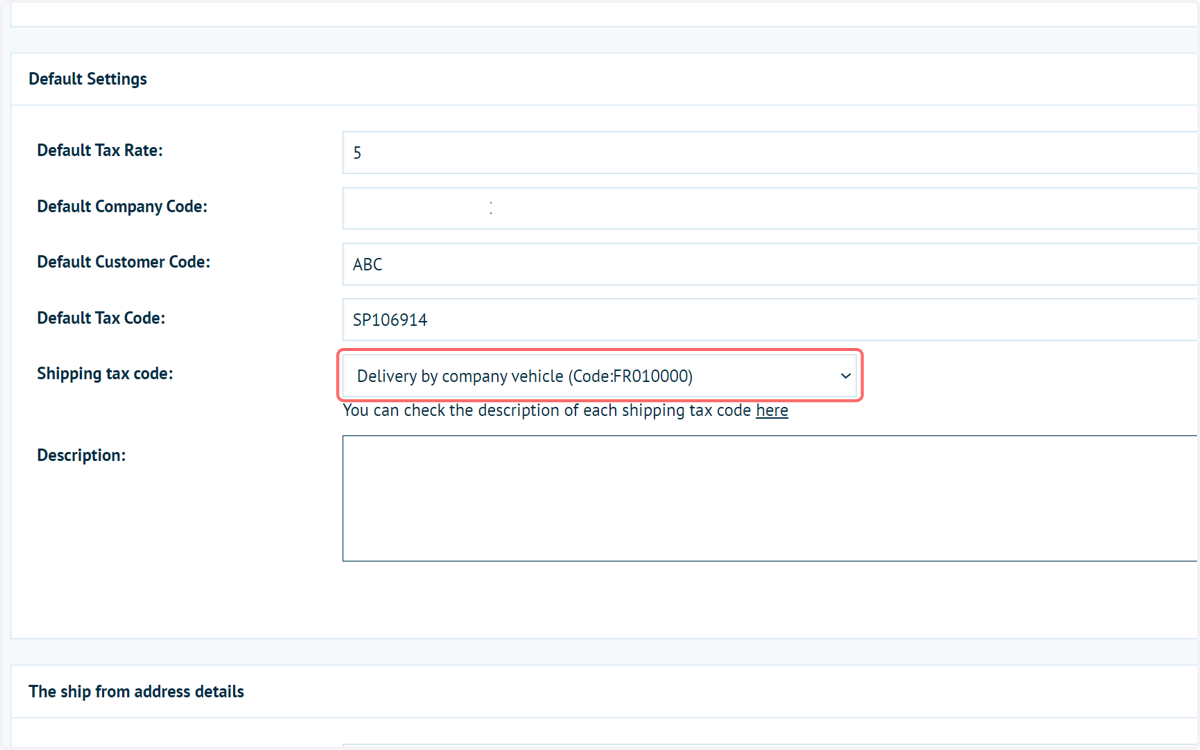
11. Select a required tax code for shipping
12. Enter a ship from address
This will be utilised as the source location of your shipments
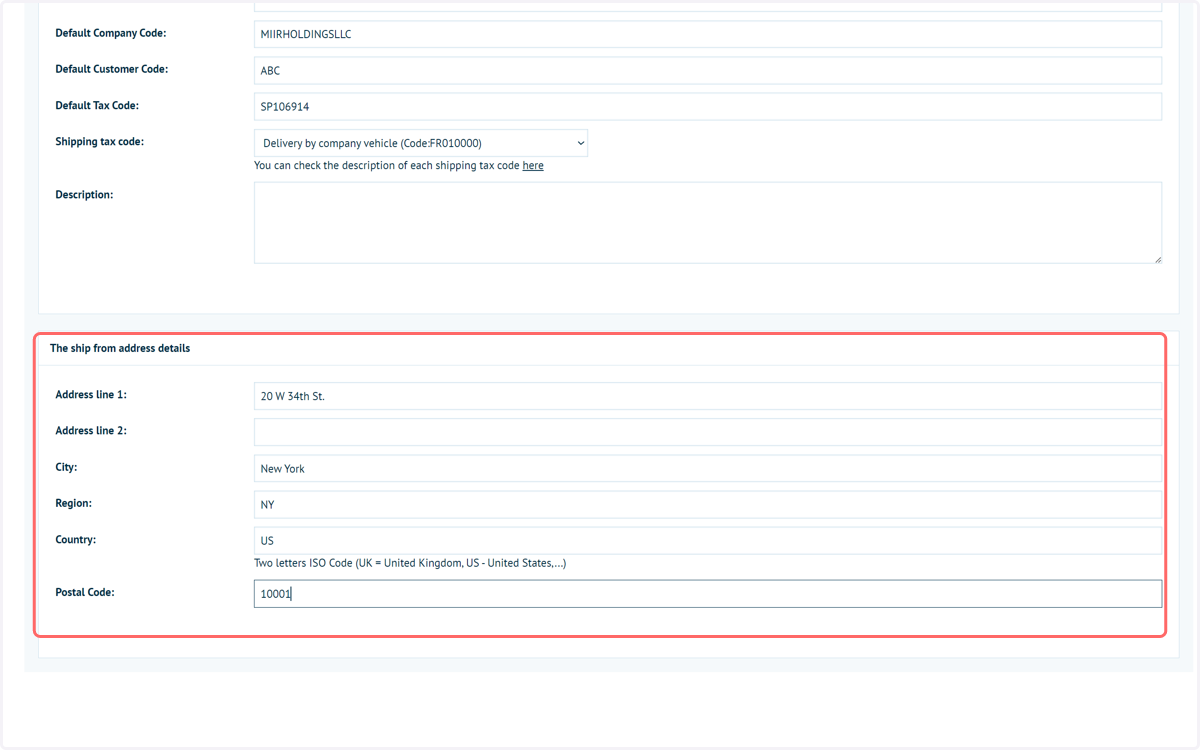
13. Click on Save
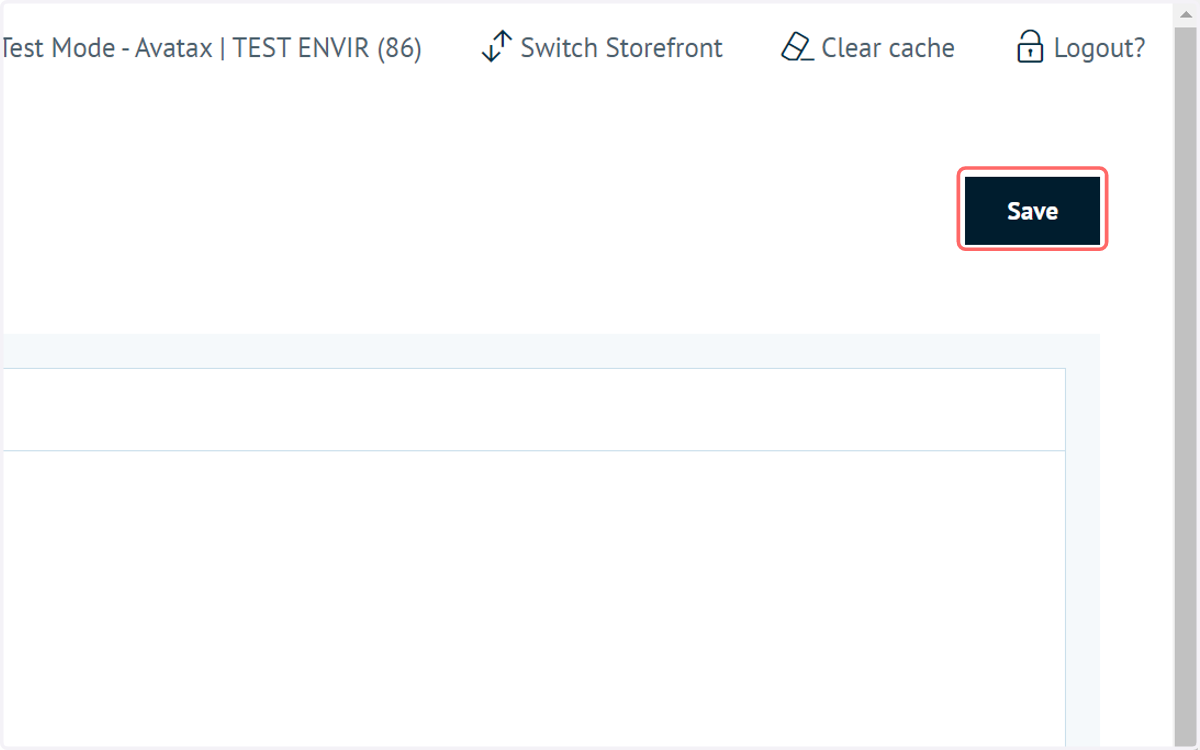
14. Click on Tax Providers
Next, let's ensure that Avatax is being utilised as our primary tax provider
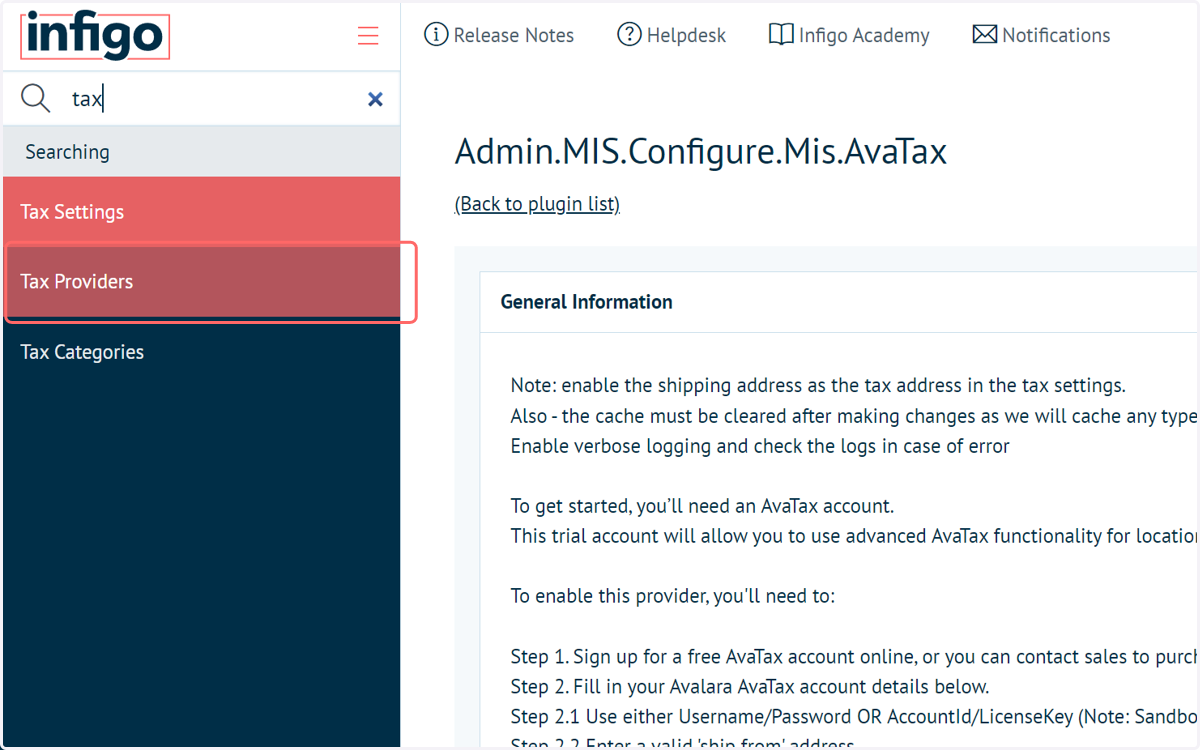
15. Click on Select
16. Click on Tax Settings
Tax settings contains a range of options allowing you to finetune how tax is utilised and displayed.
There are no settings in here that are specific to Avatax, however they will work alongside Avatax.
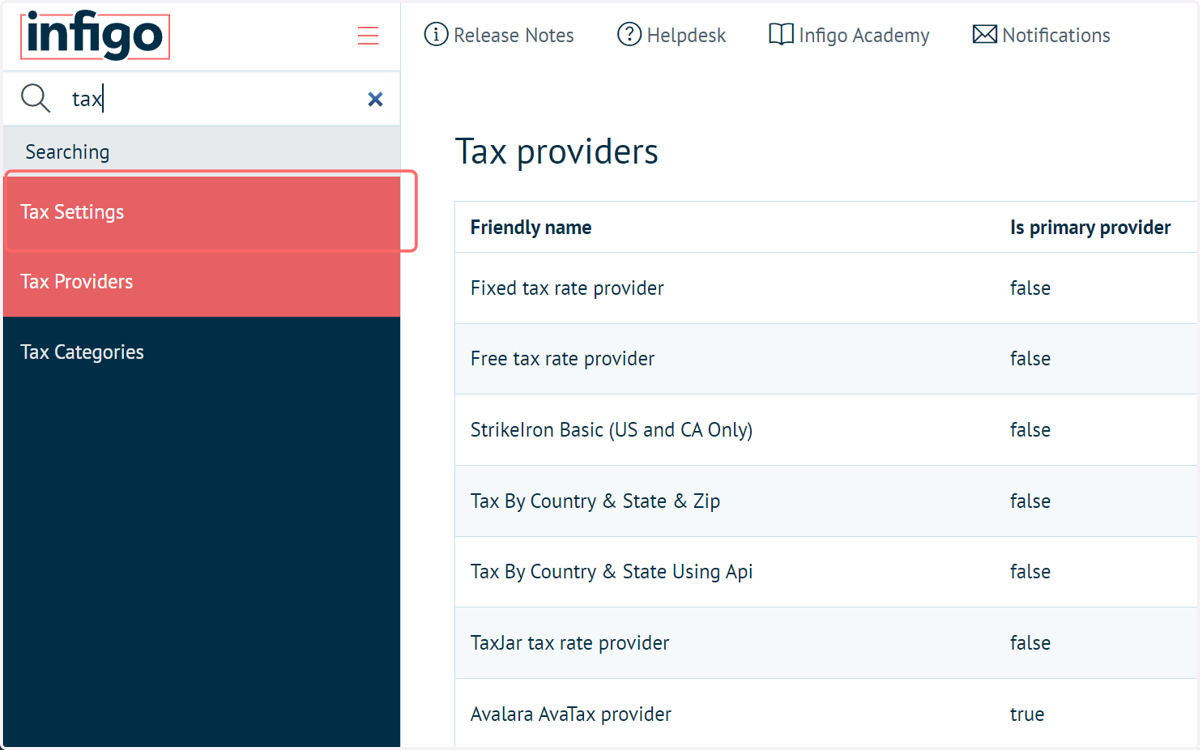
17. Select ShippingAddress from Tax based on
For example, selecting Shipping Address as the "tax based on" option means the entered shipping address on the checkout screen will be used for the calculation of tax and will be passed to Avatax.
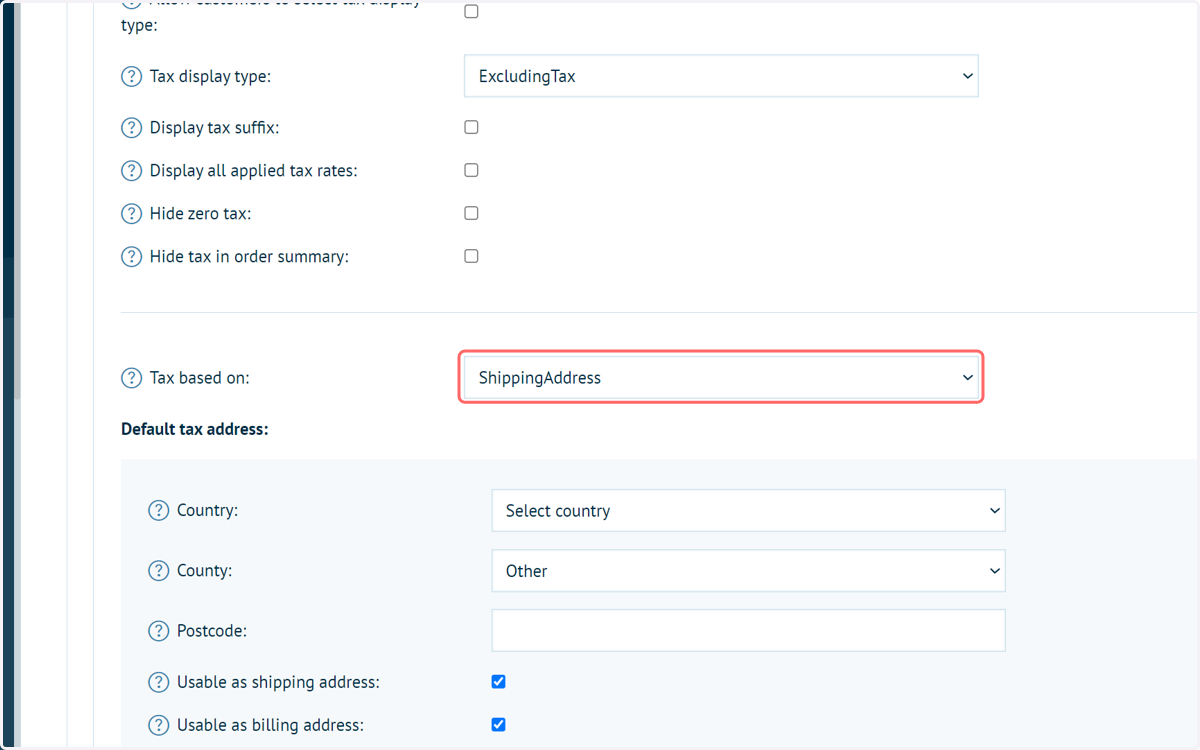
18. Select Controlled by provider from Tax on delivery
Another example is taxable delivery, which can be set to be controlled by providers (including Avatax)
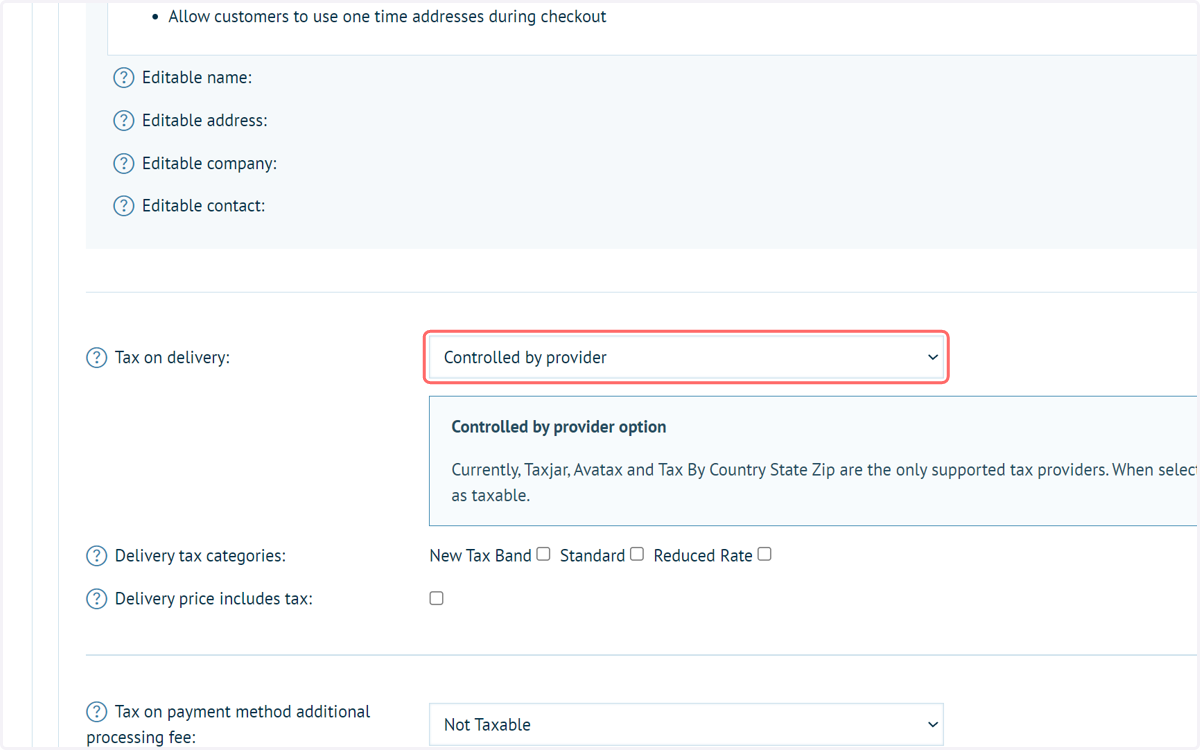
19. Click on Save
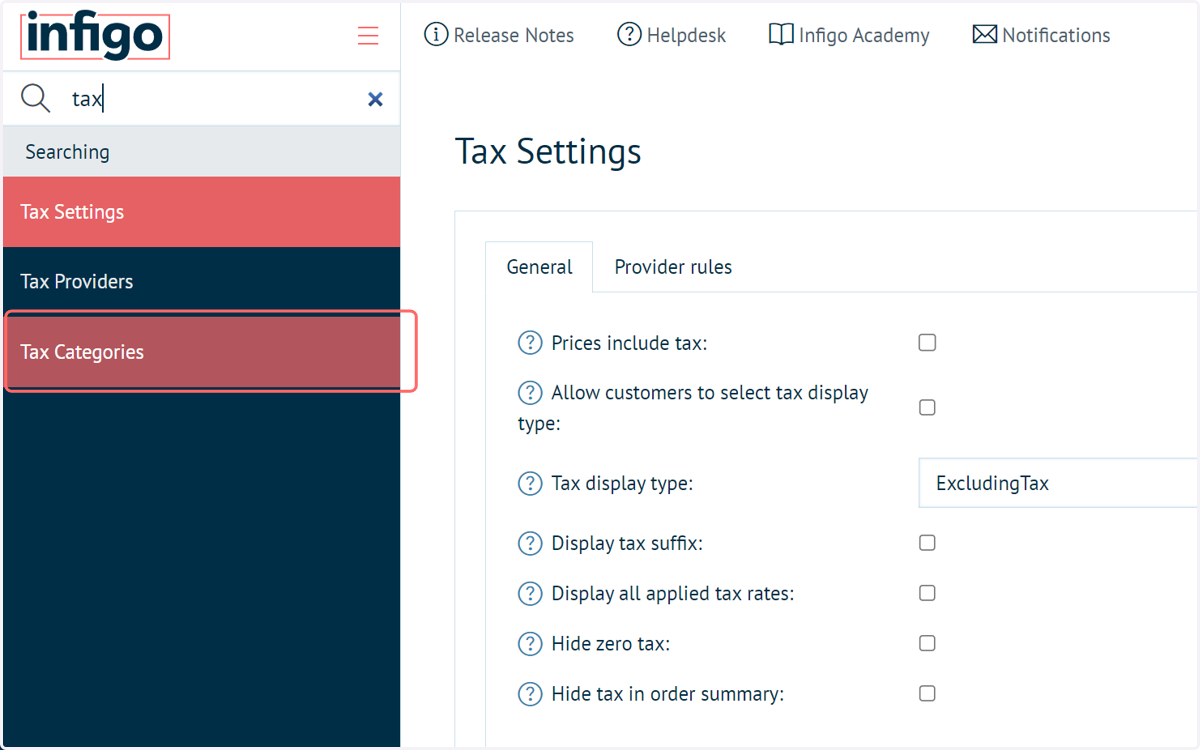
20. Click on Tax Categories
Even though they will not directly be used, we still need to ensure a tax category is available and assign it to products for which tax calculation is a factor.
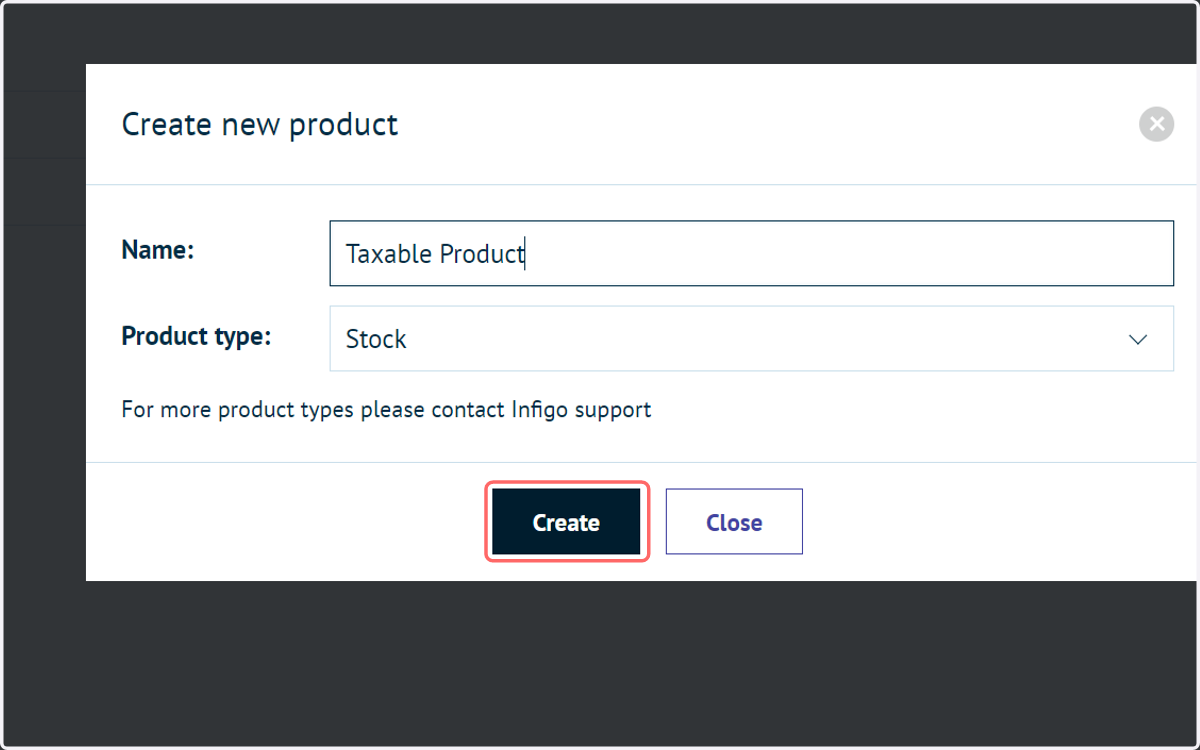
21. Next, we'll configure a product so that tax is calculated
In our example, I'm creating a new product, however you can utilise an existing product.
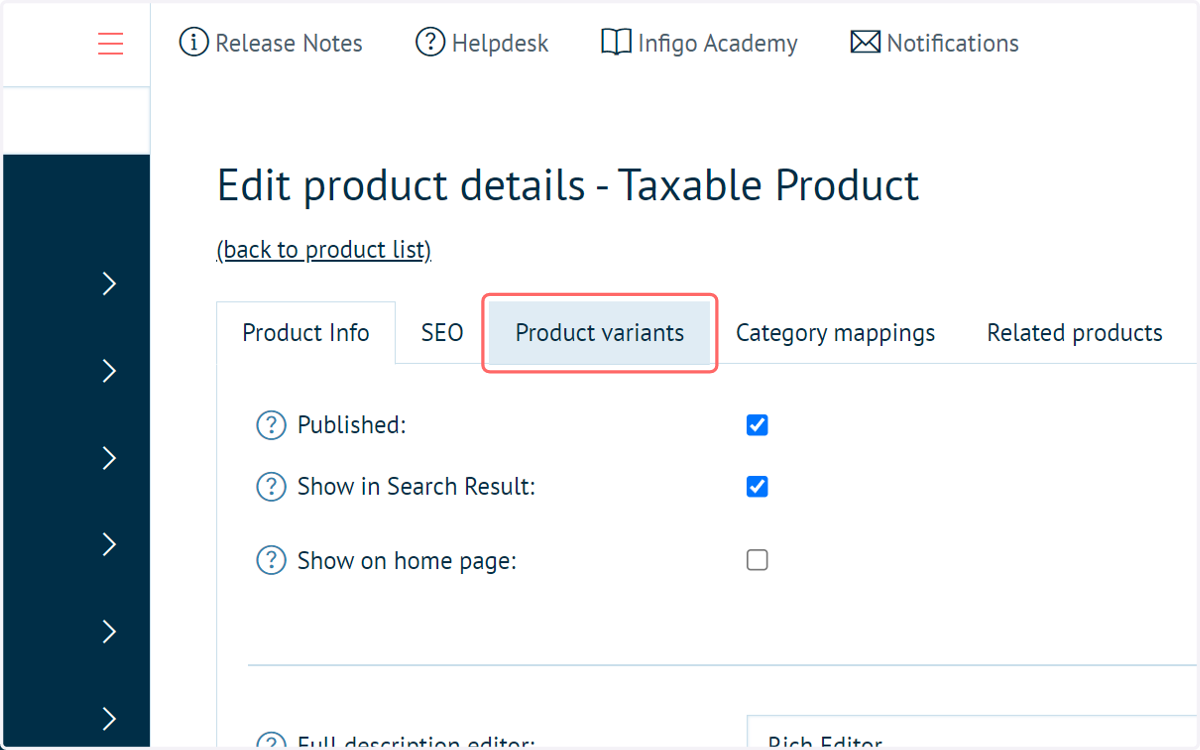
22. Click on Product variants
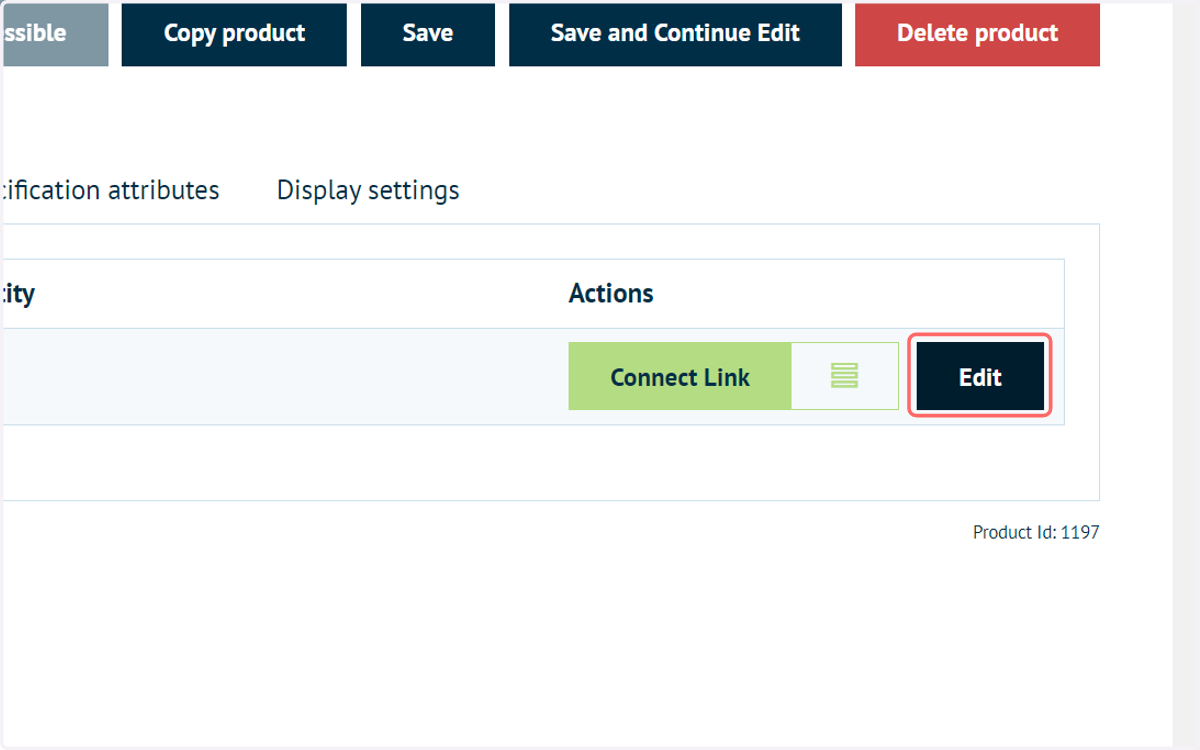
23. Click on Edit
24. Navigate to the Tax section and select one of the available tax categories
One of these needs to be selected in order for tax to be calculated for this product when ordered.
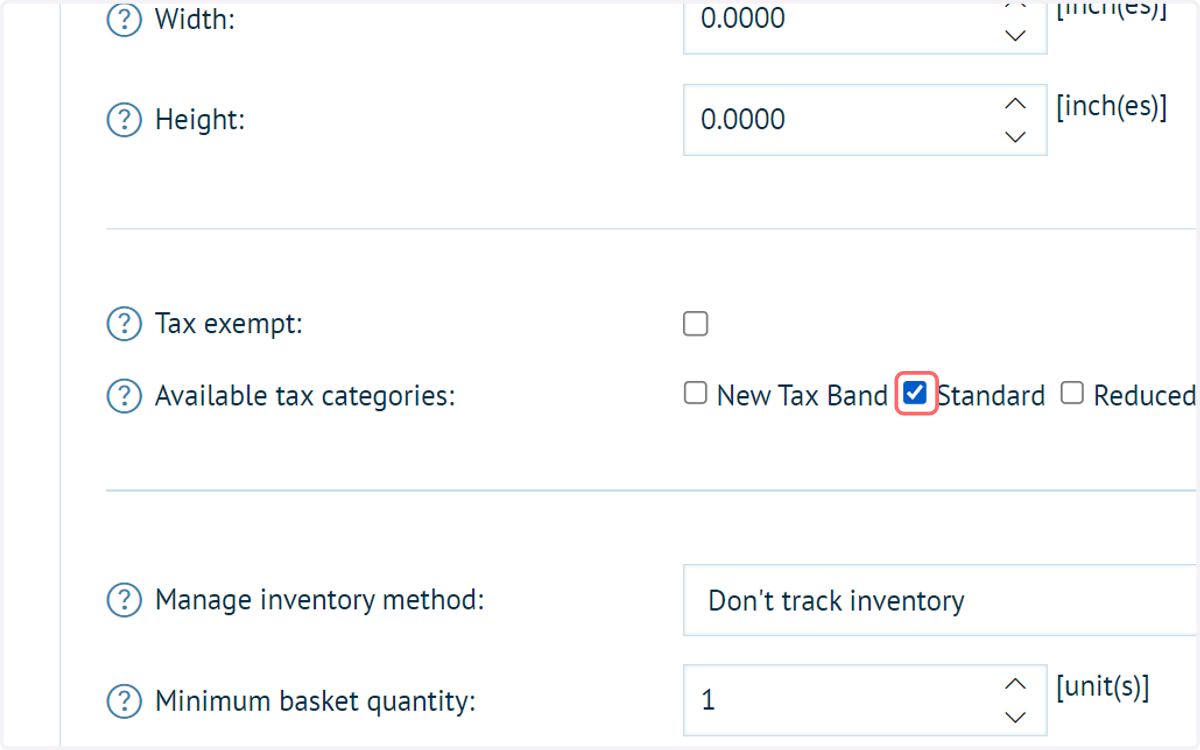
25. Click on Save
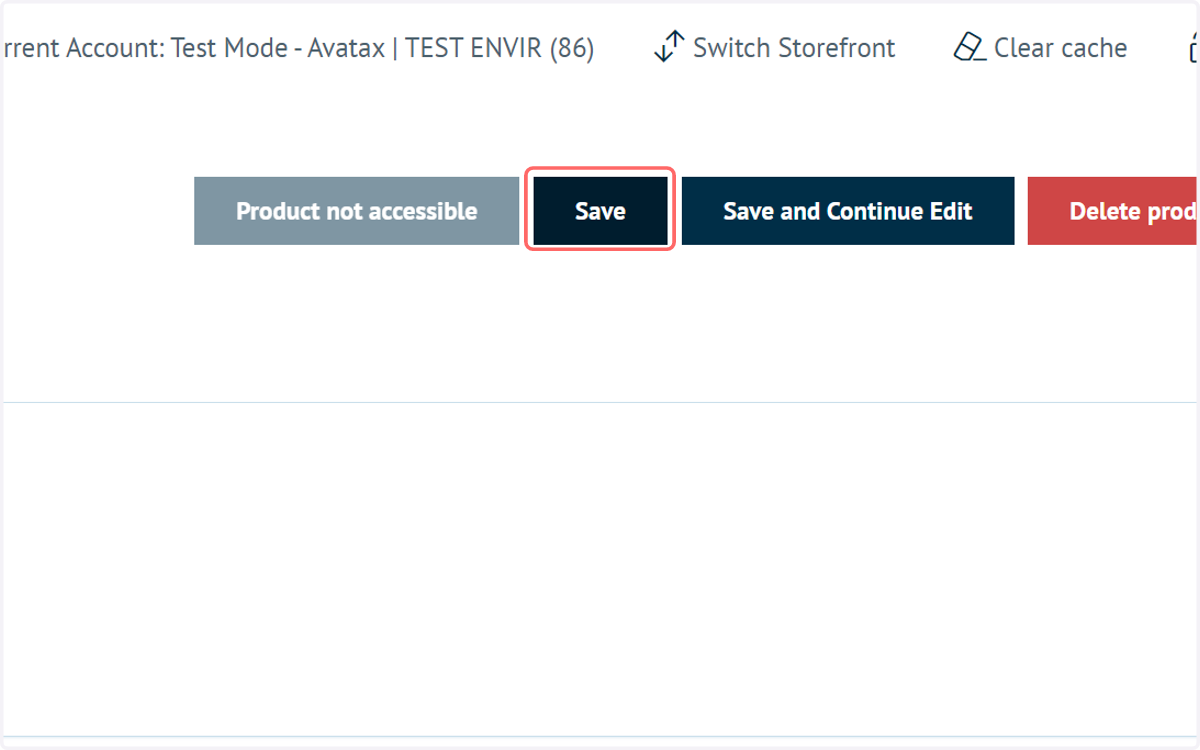
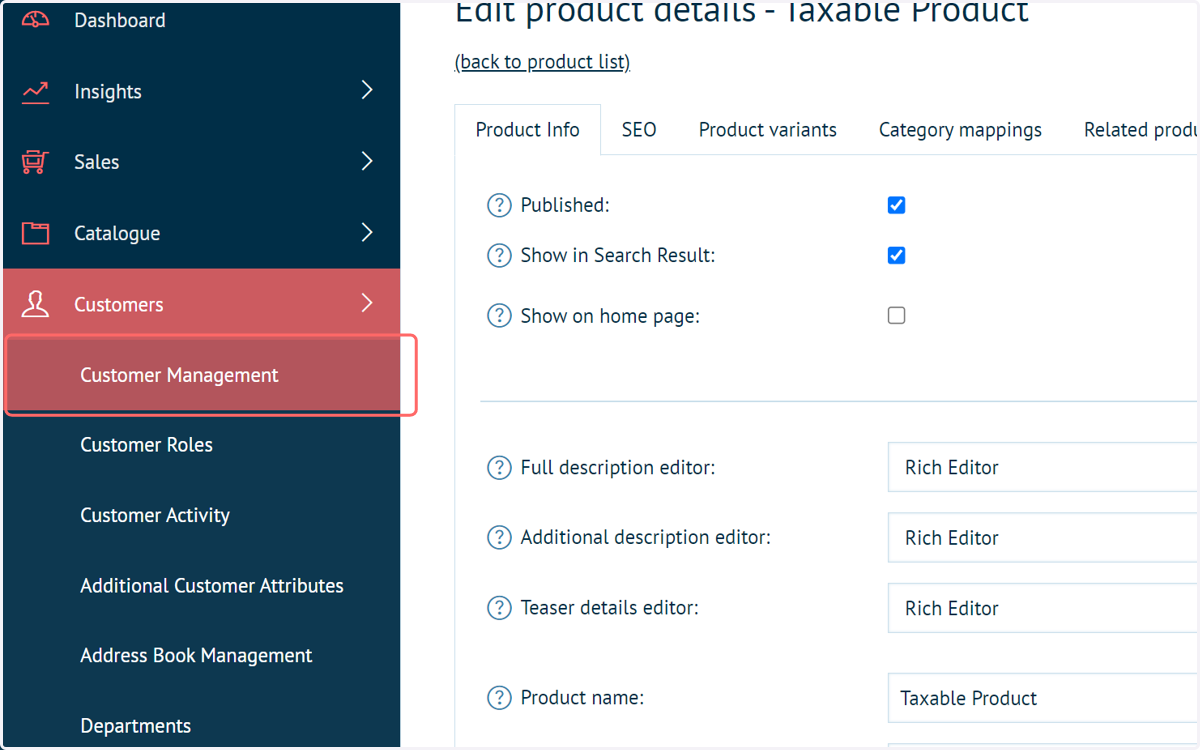
26. Click on Customer Management
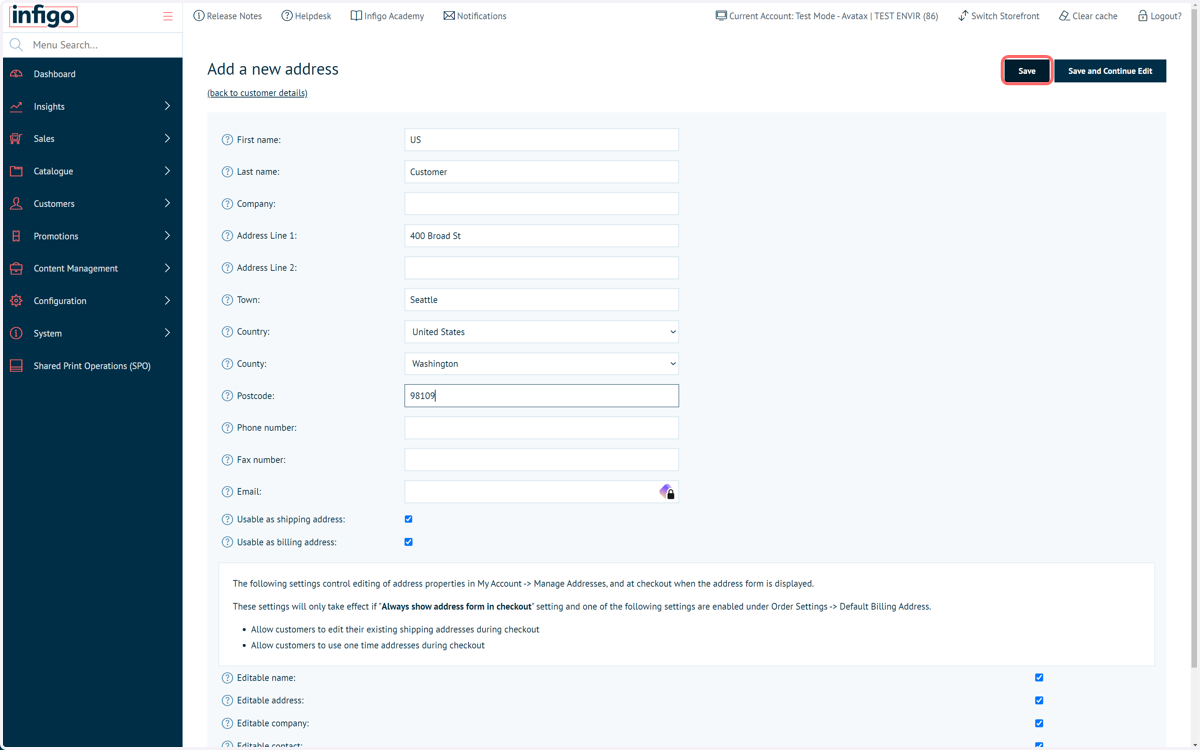
Next, we'll ensure we have a customer with a shipping address. Addresses can be input during the ordering process, however we can also predefine addresses to accounts to simplify the process. Other resources in the Infigo Academy and Help Centre show this in more detail.
27. We will add a new address to our customer and click Save
28. Next, let's go ahead and impersonate this customer and proceed with a sample order
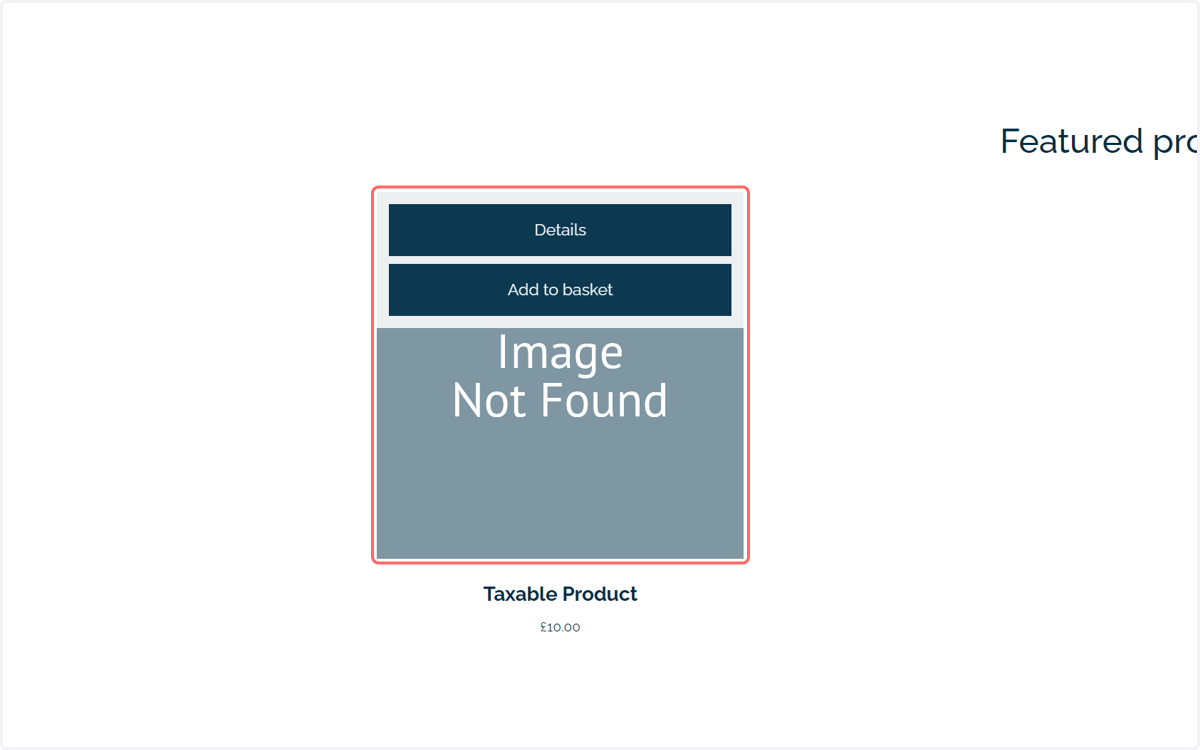
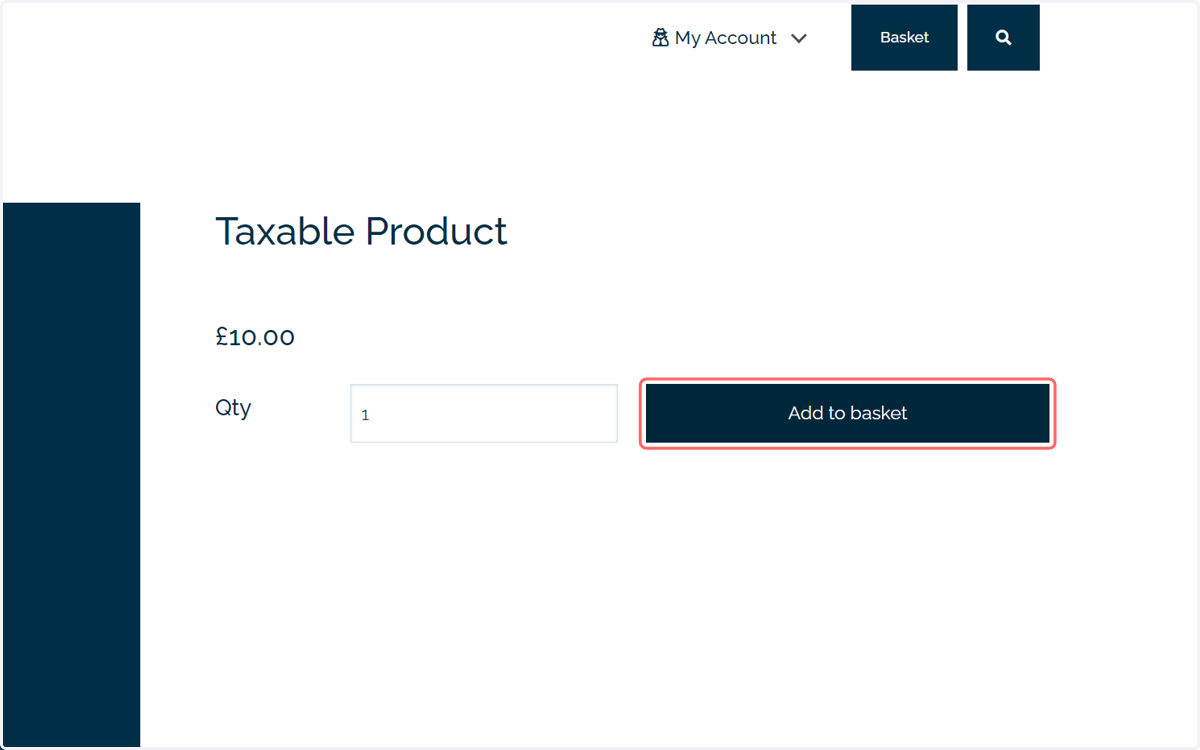
29. Click on Add to basket
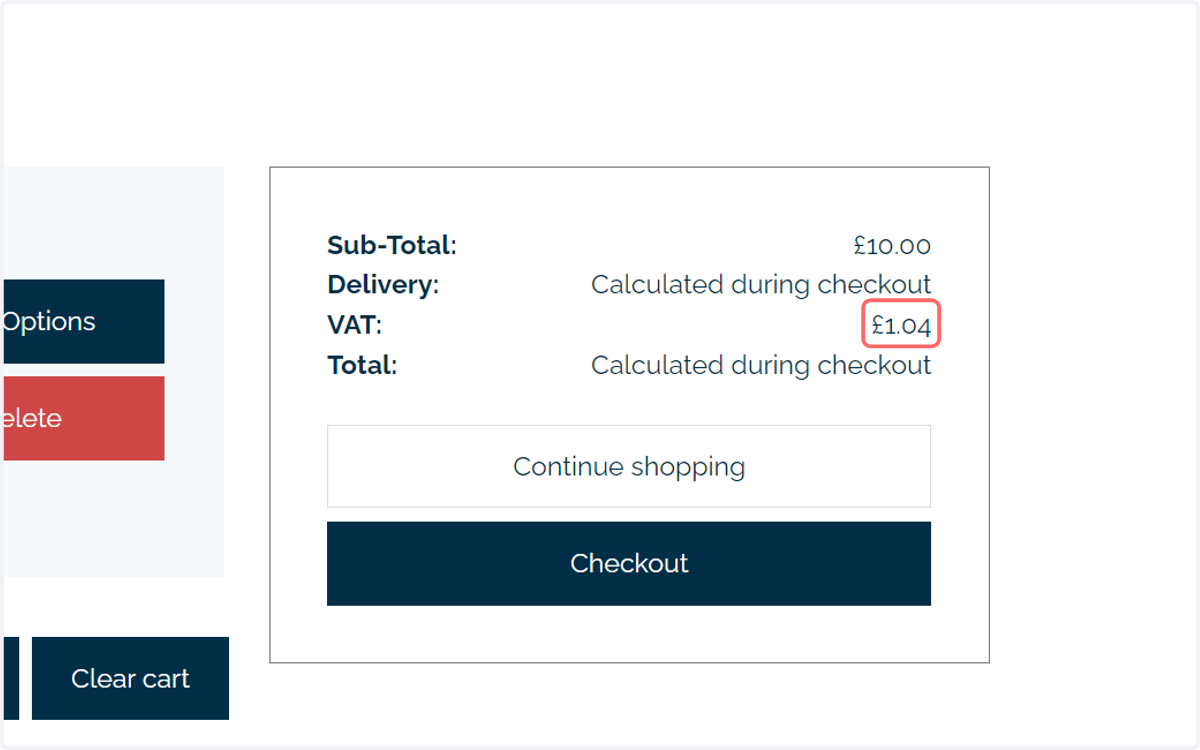
30. We can see that tax is being calculated for this order. Information is being sent from Infigo to Avatax during from the Infigo basket. Calculations are taking place in Avatax which is then returning a calculated tax value.
Once we place this order, we can head over to our Avatax account and obtain some additional details as to how this tax value was calculated.
31. Once the order is placed within Infigo, a new transaction will be created within Avatax.
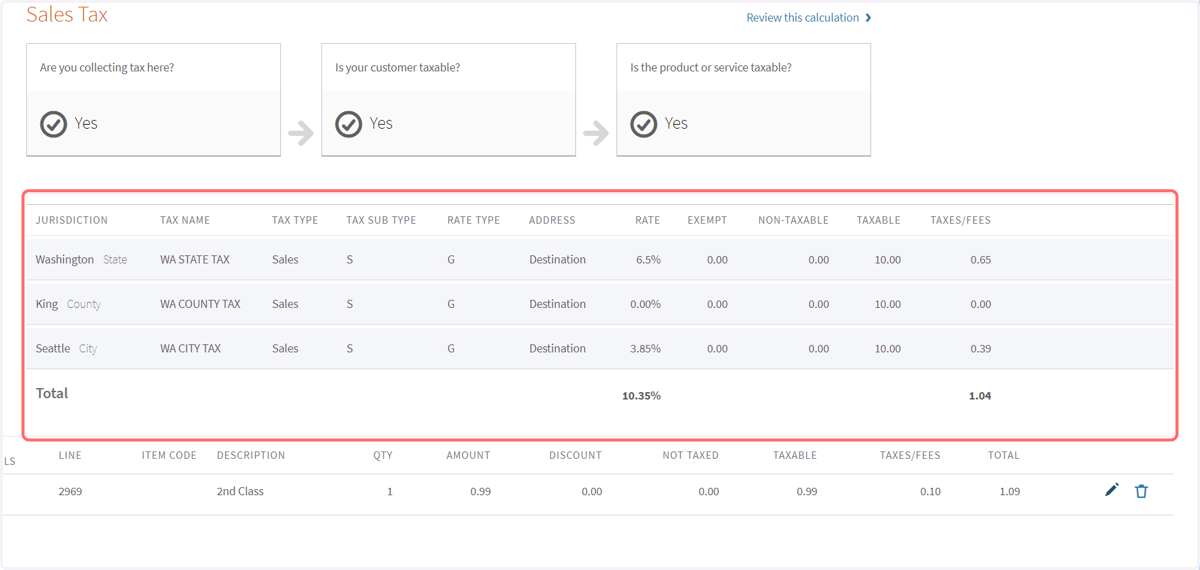
This transaction contains all relevant details of the order, including ship from and ship to addresses, a breakdown of line items and their associated tax.
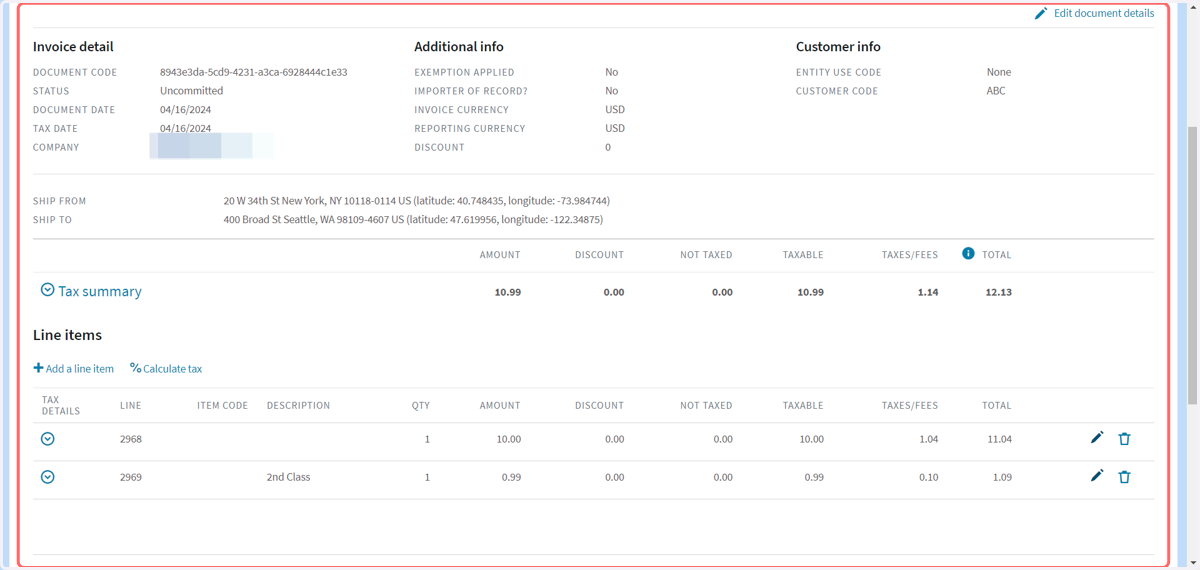
32. You can dig further into this calculation of tax, if necessary.