Create and edit a blog post with WriteNow AI
Writenowai
1. Go to Home | WriteNow AI
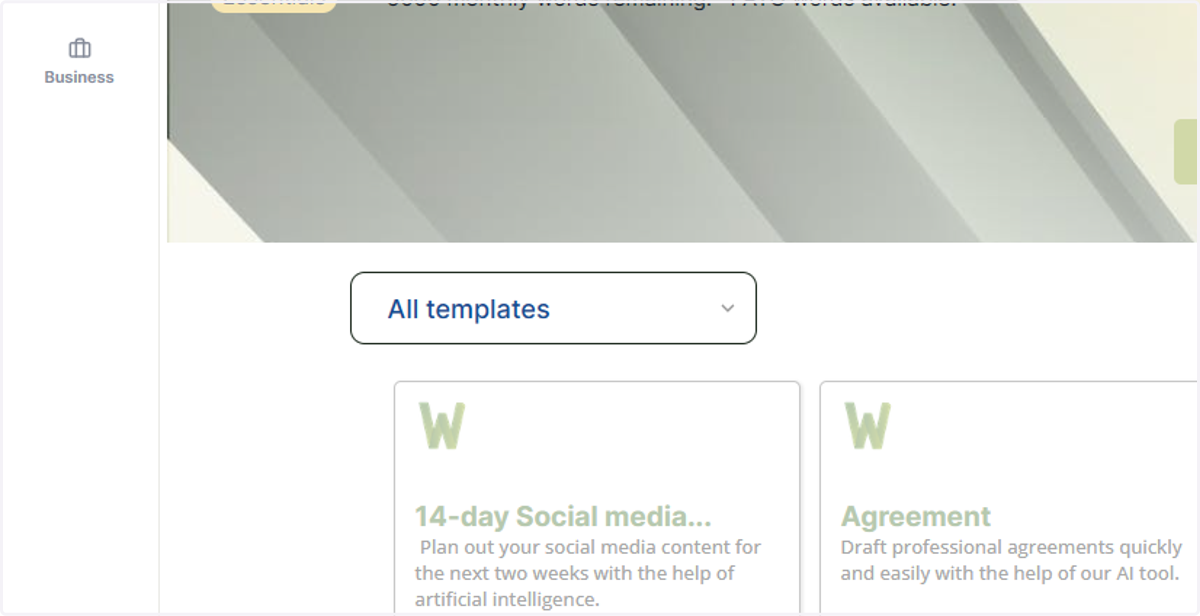
2. Click on the 'All templates' drop down to browse templates by category
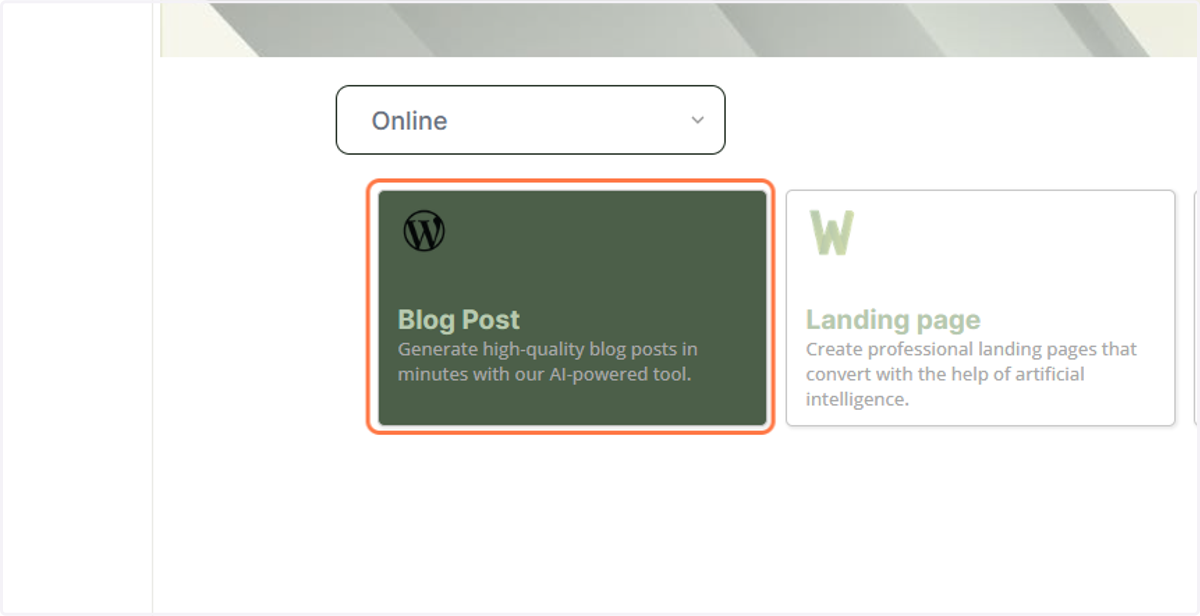
3. Click on Blog Post…
4. Enter what you want your blog post to be about
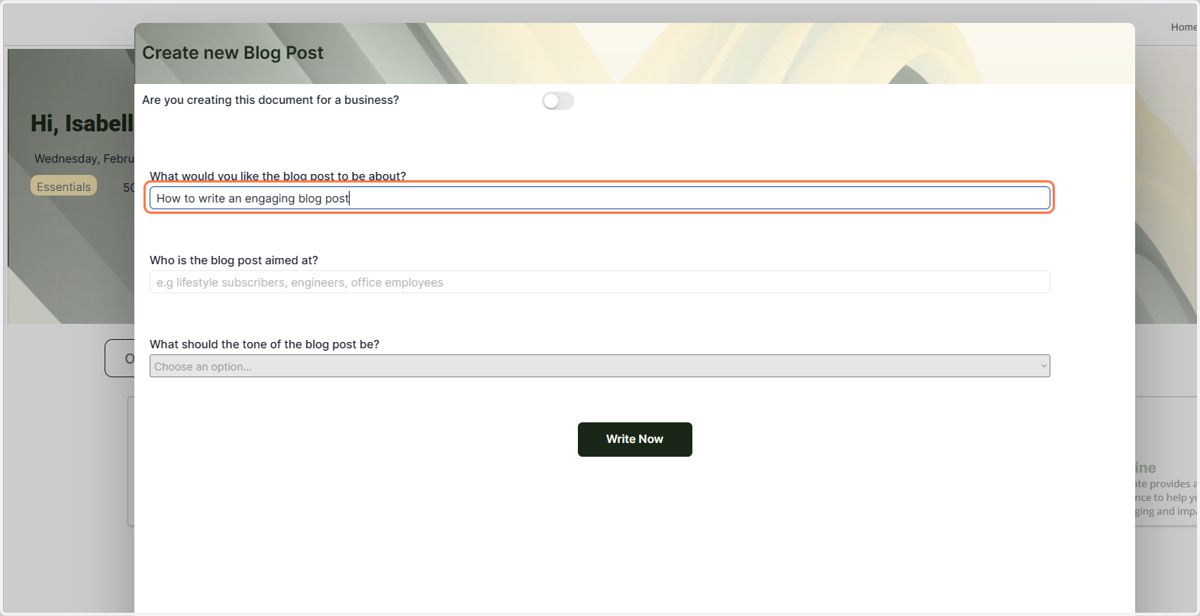
5. Enter the audience your blog post is aimed at
The more specific about your audience you are, the more tailored your content will be
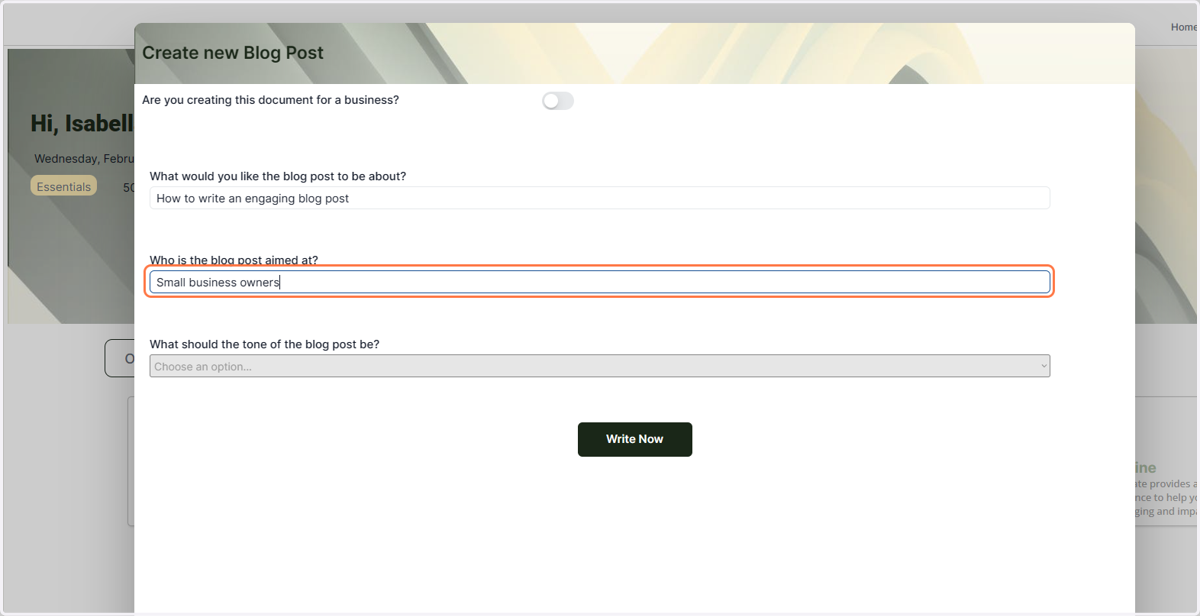
6. Choose a tone of your article
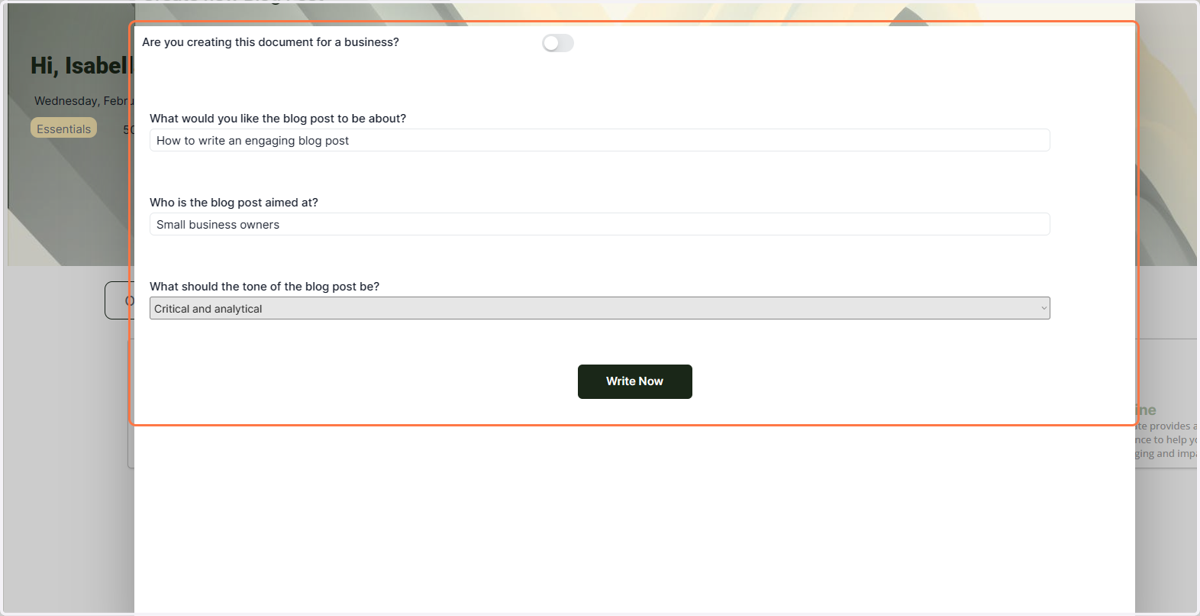
7. Click on Write Now
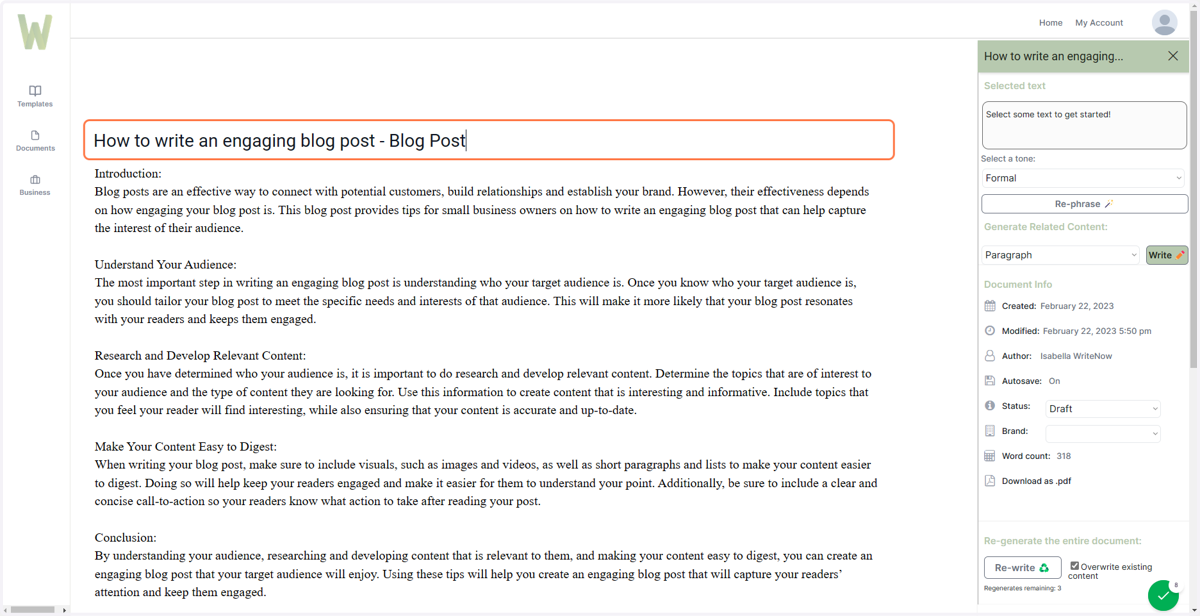
8. Your blog post will appear in the Document Editor. You can change the title of the document by clicking the topmost text
All you changes are autosaved as you make them.
9. Let's include some additional content to make this blog post a bit longer
We'll include a section called 'Top 5 Tips for writing an engaging blog post'
Select the text you have just written
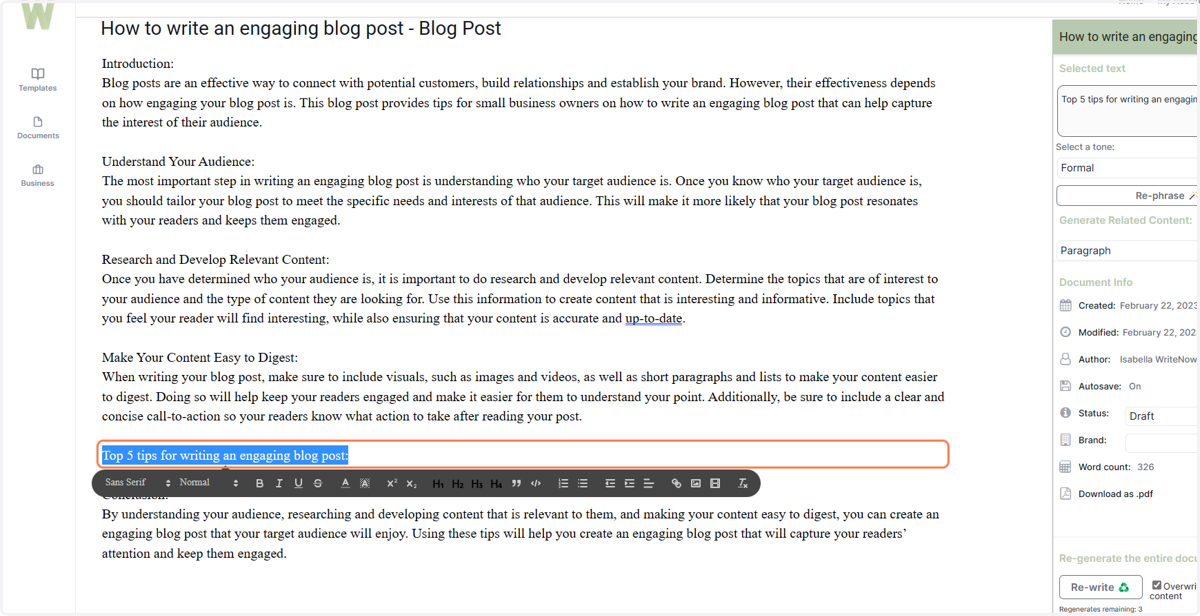
10. You'll see your selected text highlighted in the top right hand corner of the screen
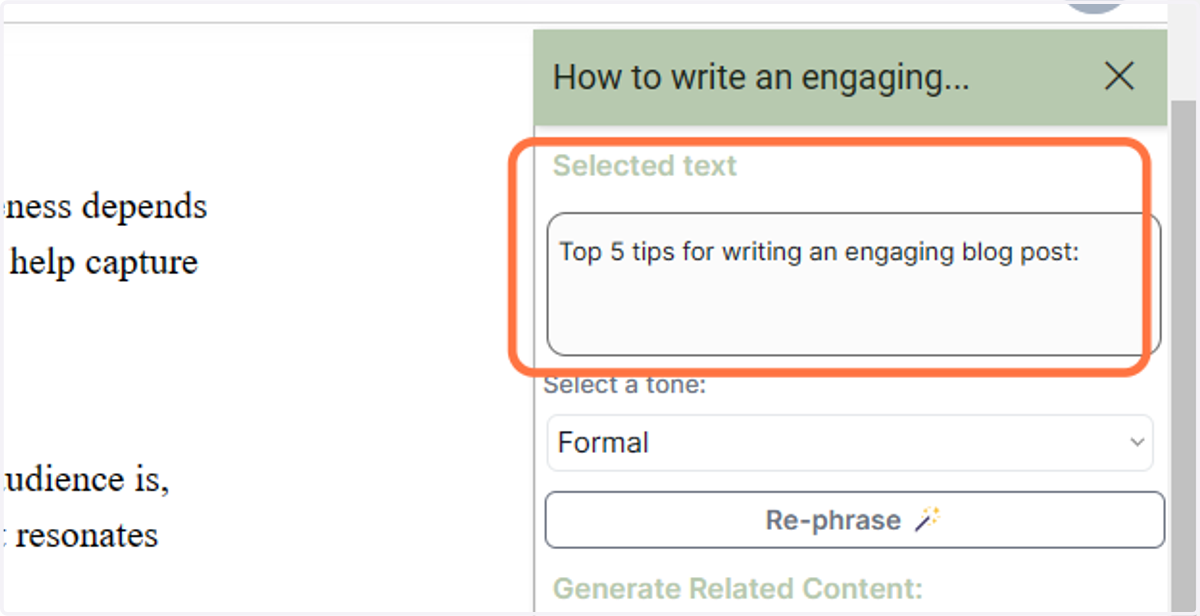
11. Under 'Generate Related Content' Pick from the templates available
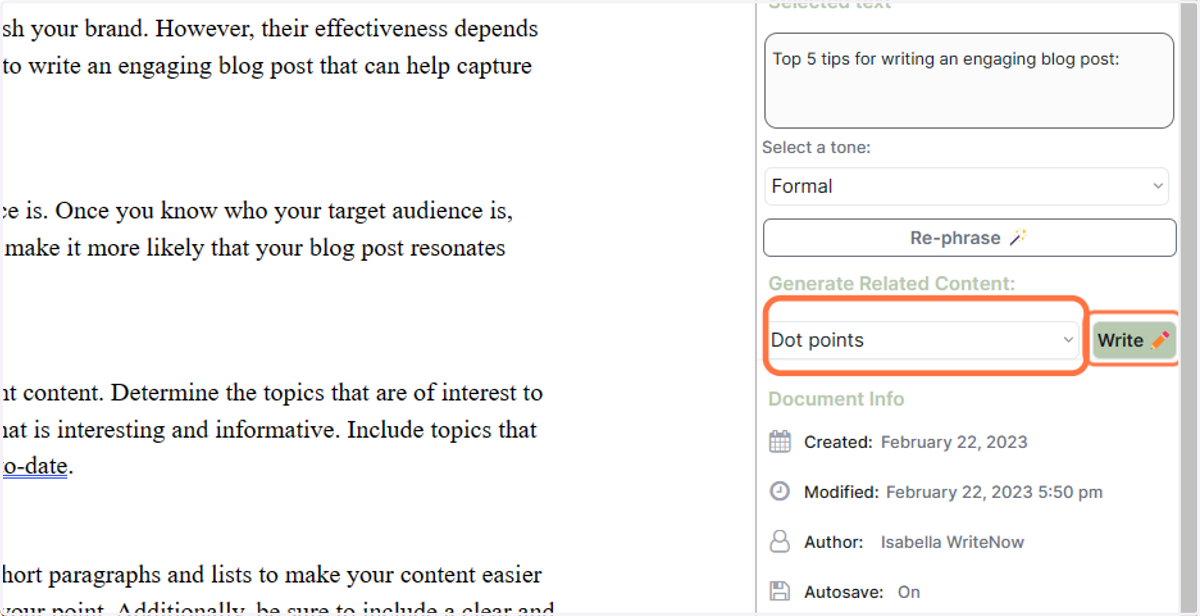
12. You can select a tone you wanClick on Write ✏️
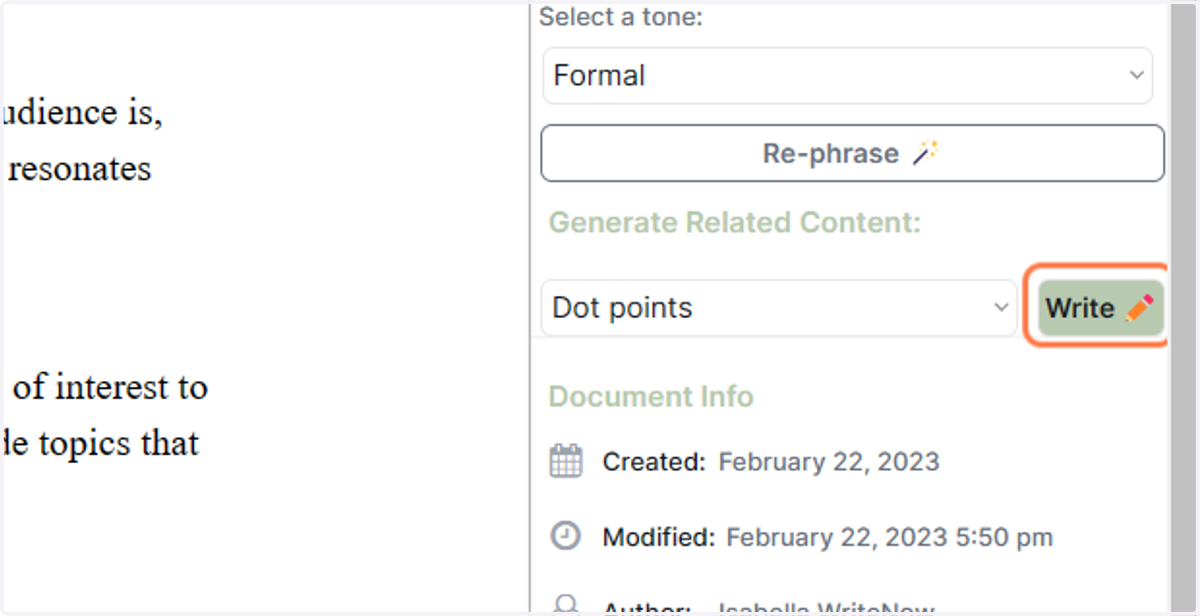
13. Your new content will appear after your selected text
If you happen to change your selection in the meantime, check the bottom of the document, if WriteNow AI hasn't put it in the write place, it will appear there
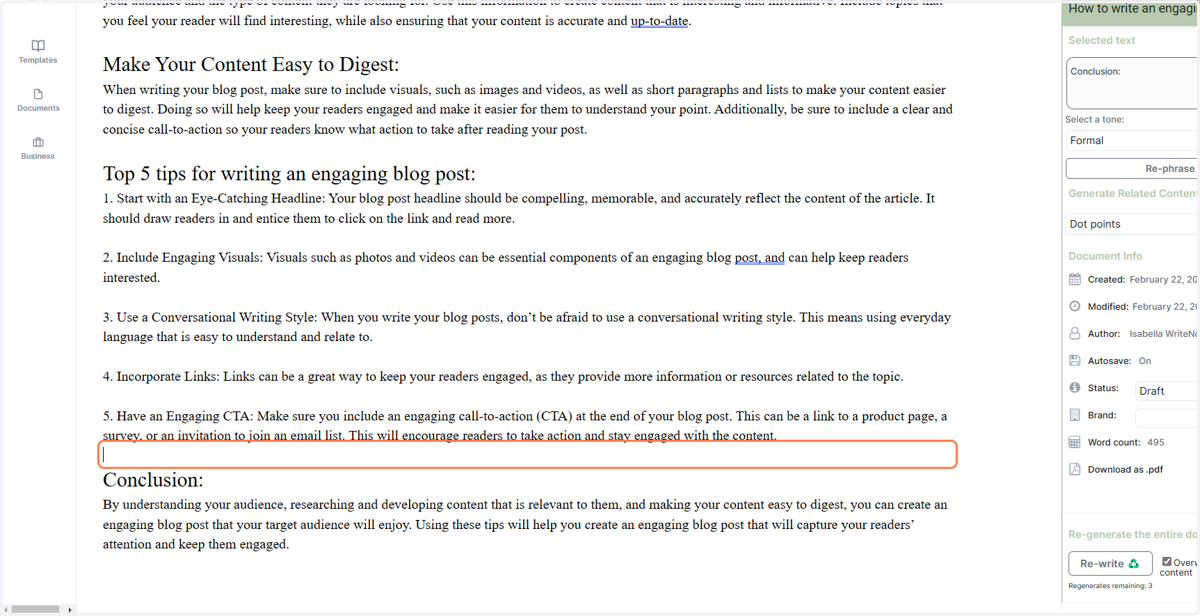
14. You can format your headings by highlighting them and selecting options using the pop-up format bar
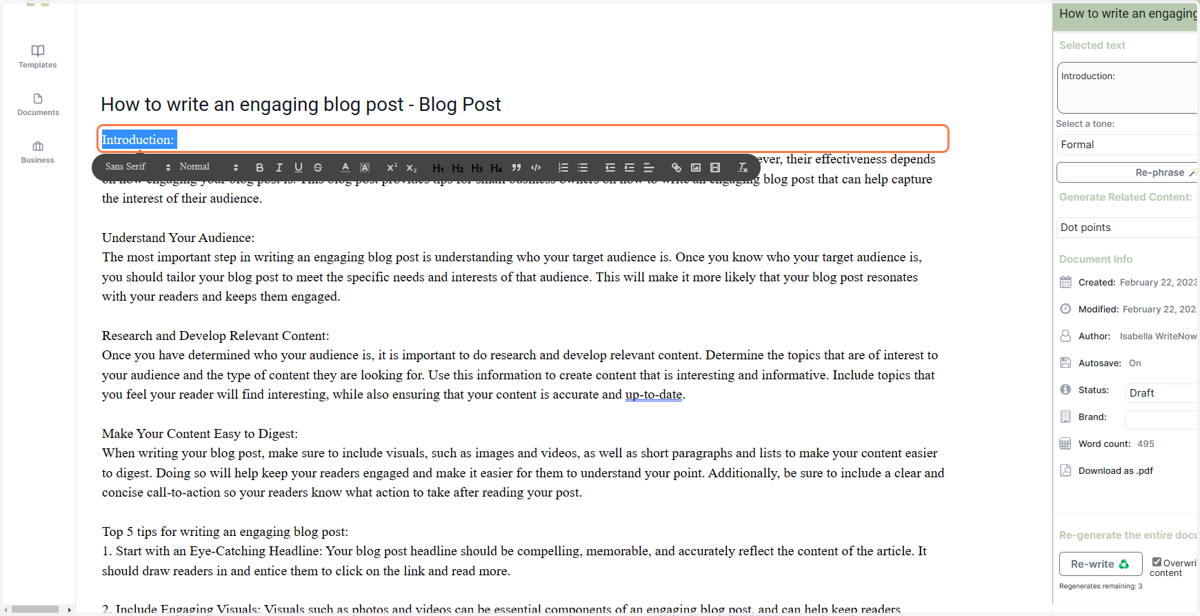
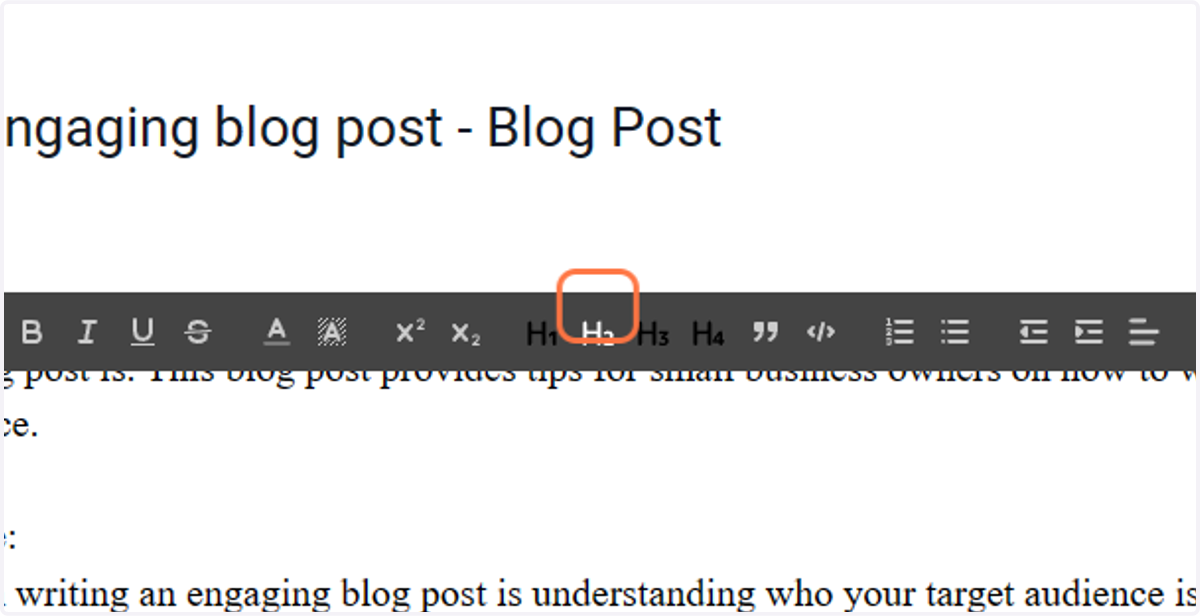
15. In this case we are setting all the paragraph headings to be H2 format
16. Now let's re-write our conclusion so it's a little less serious
Start by selecting the next you want to re-write
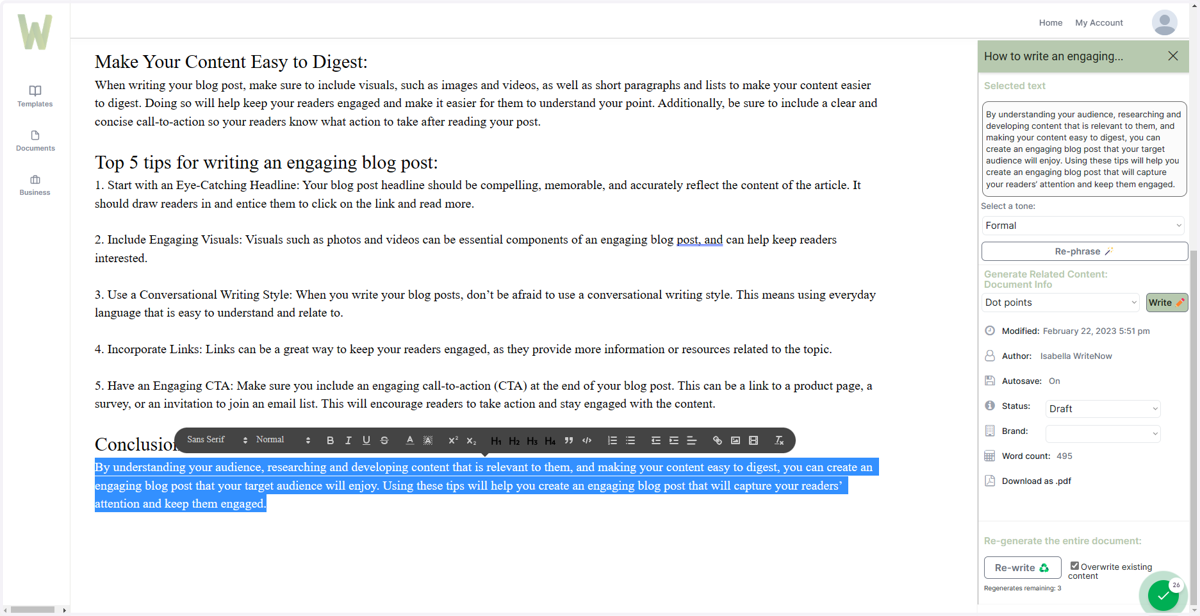
17. Choose a tone you want to write it in
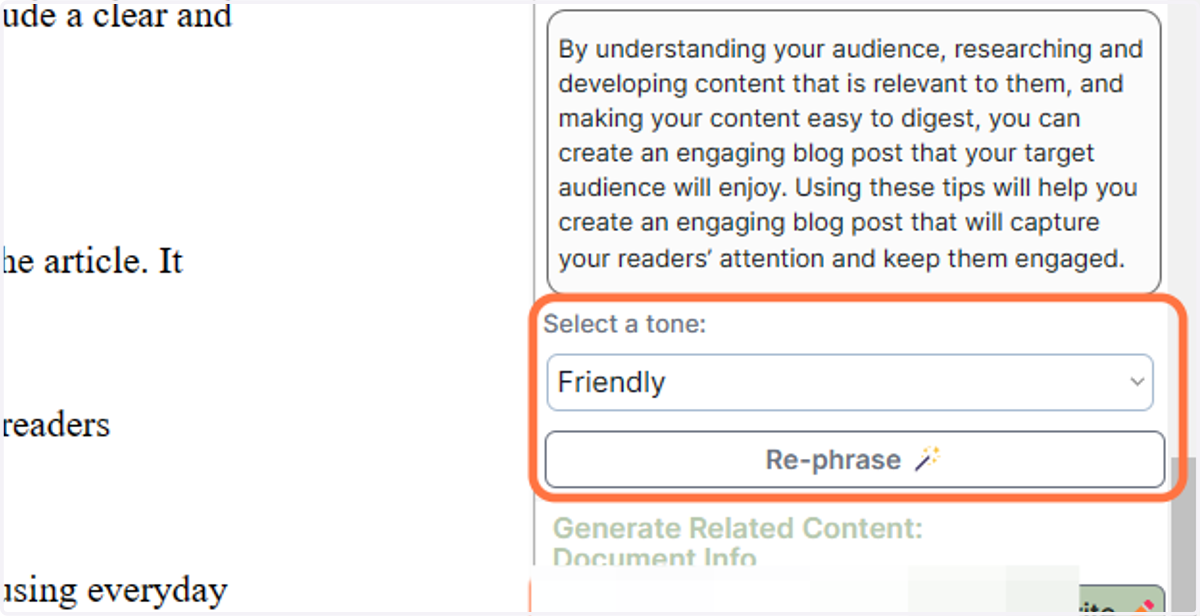
18. Click on Re-phrase 🪄
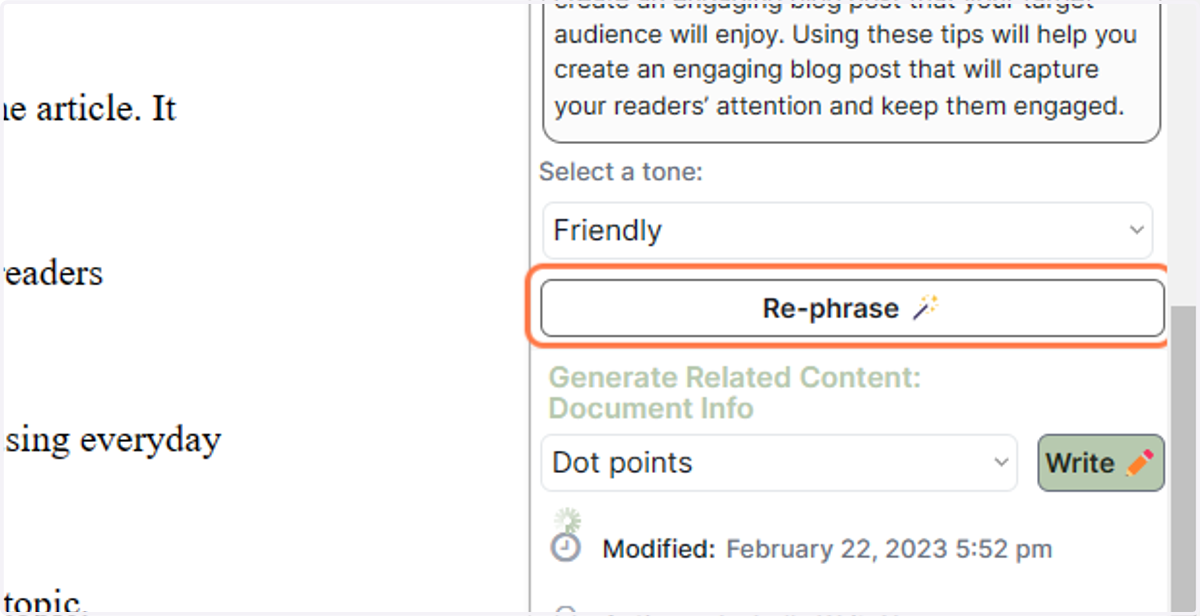
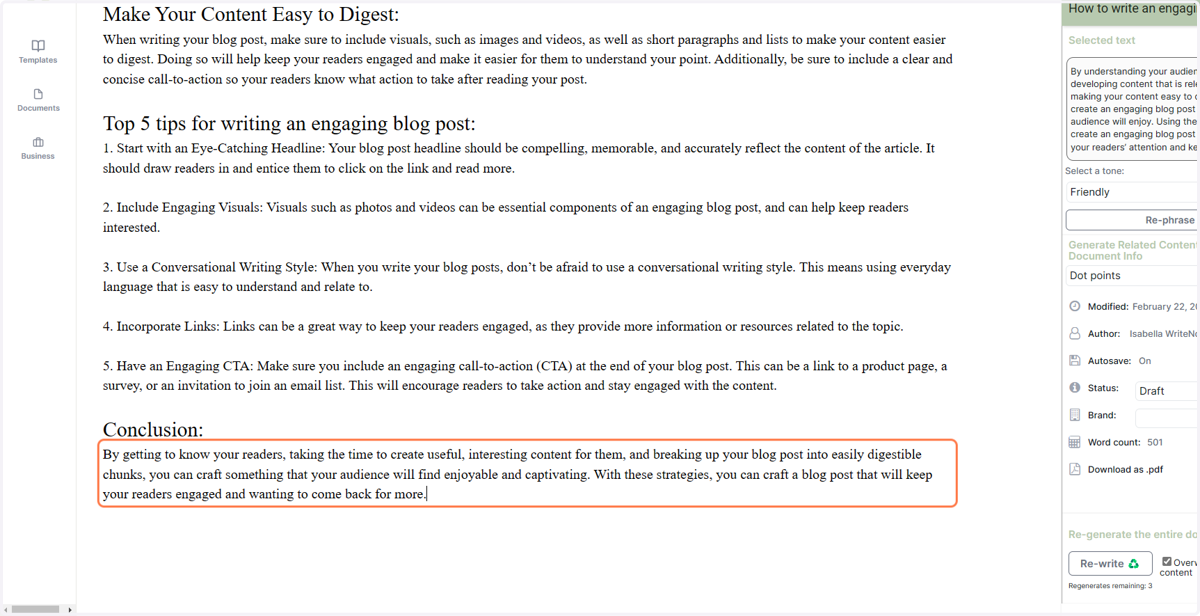
19. Your selected content will automatically write over the top of itself with the re-phrased text
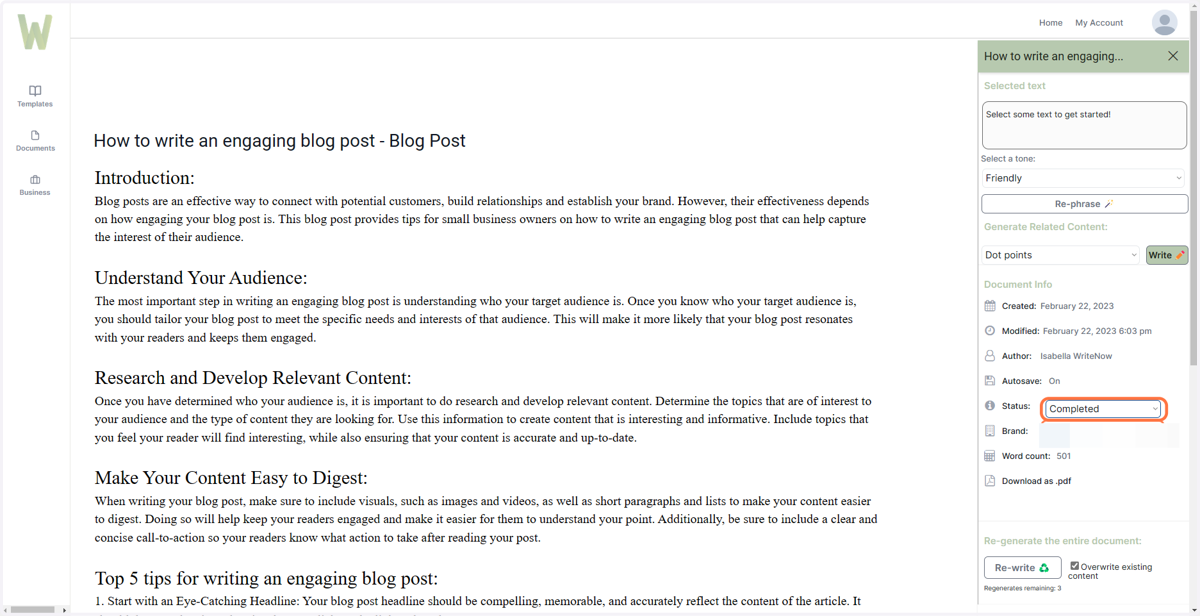
20. Mark the document as completed
This is only for your reference, so you can keep track of what you are still working on
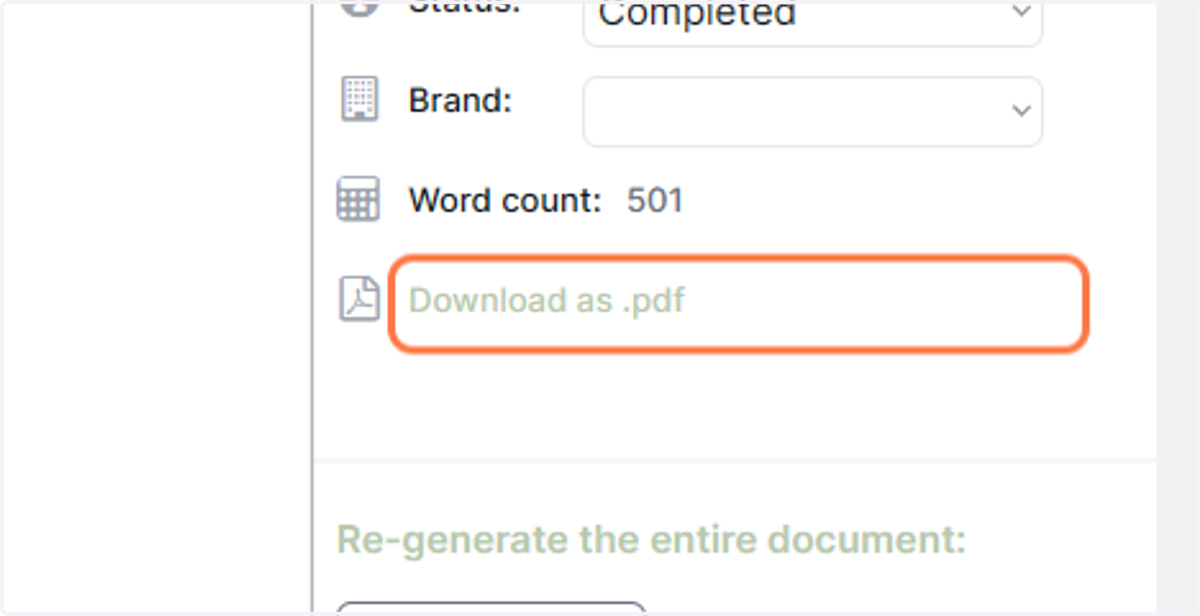
21. Click on Download as .pdf if you would like to export your blog post
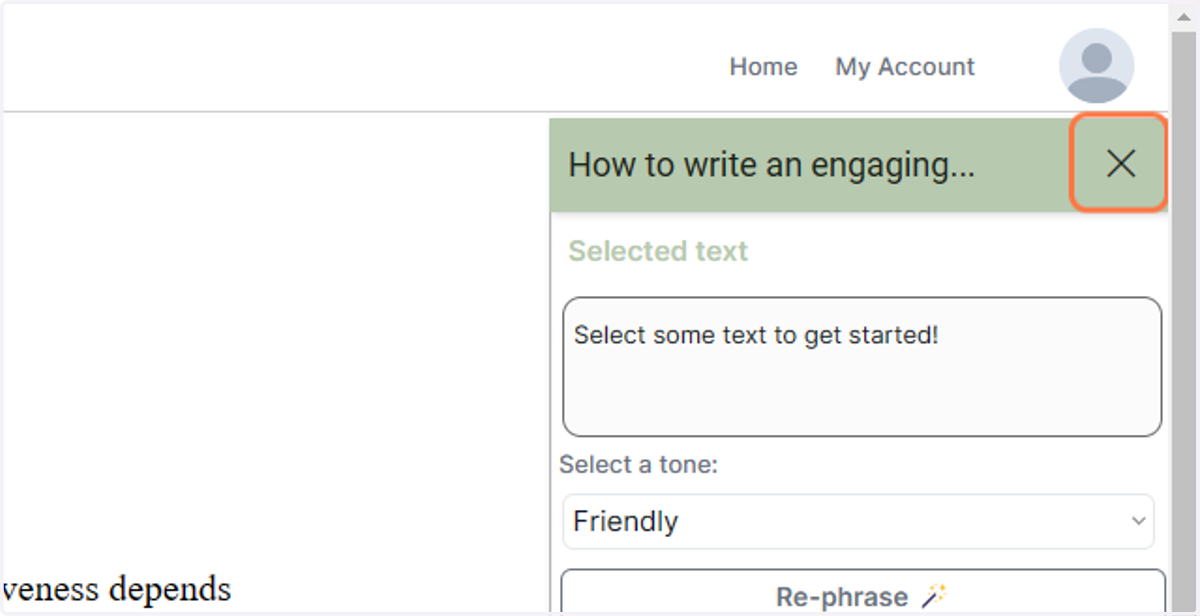
22. Click on X
Once you're done click on the cross in the top right hand corner, this will close the Document Editor and return you to the previous screen