coreSTORE - Inventory: Printing Labels for Variation Items
In this guide, we will walk you through the quick and easy process of printing barcodes for existing variation items in coreSTORE.
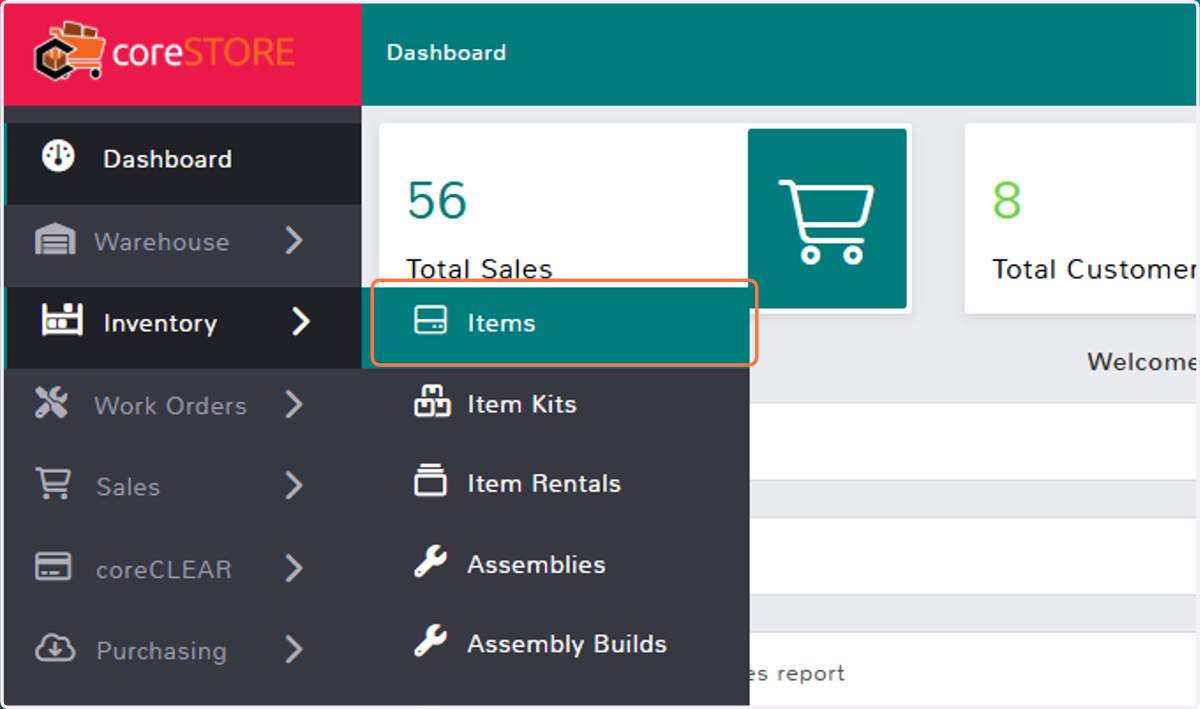
1. Click on Items
First, navigate to the Inventory menu and select the Items submenu from your coreSTORE navigation menu.
2. Items Dashboard
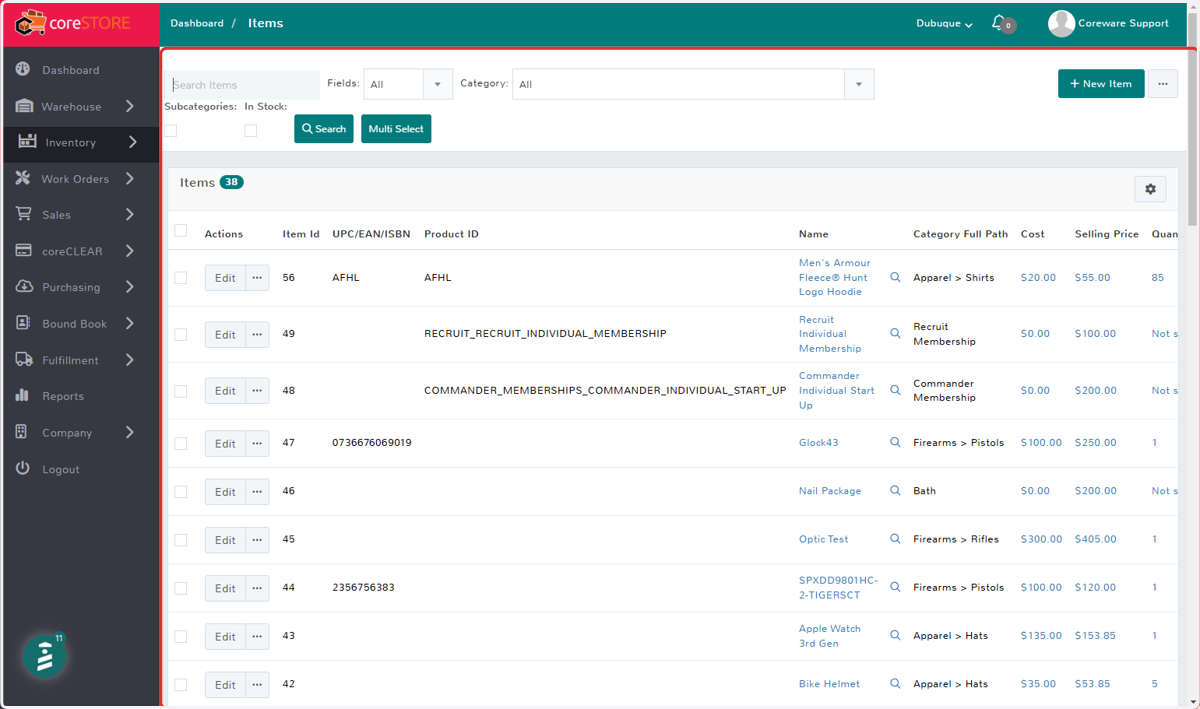
Use the search option or manually locate your desired variation item in the Items List.
3. Check Box
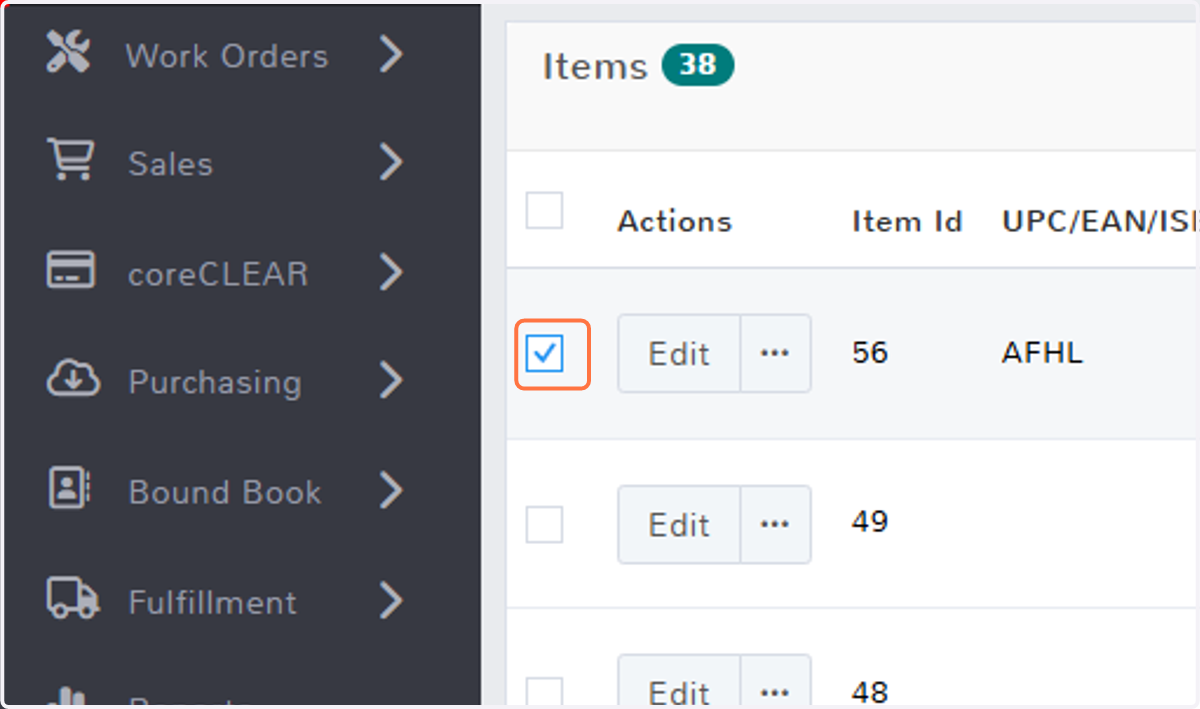
Check the box next to the corresponding item you wish to print labels for.
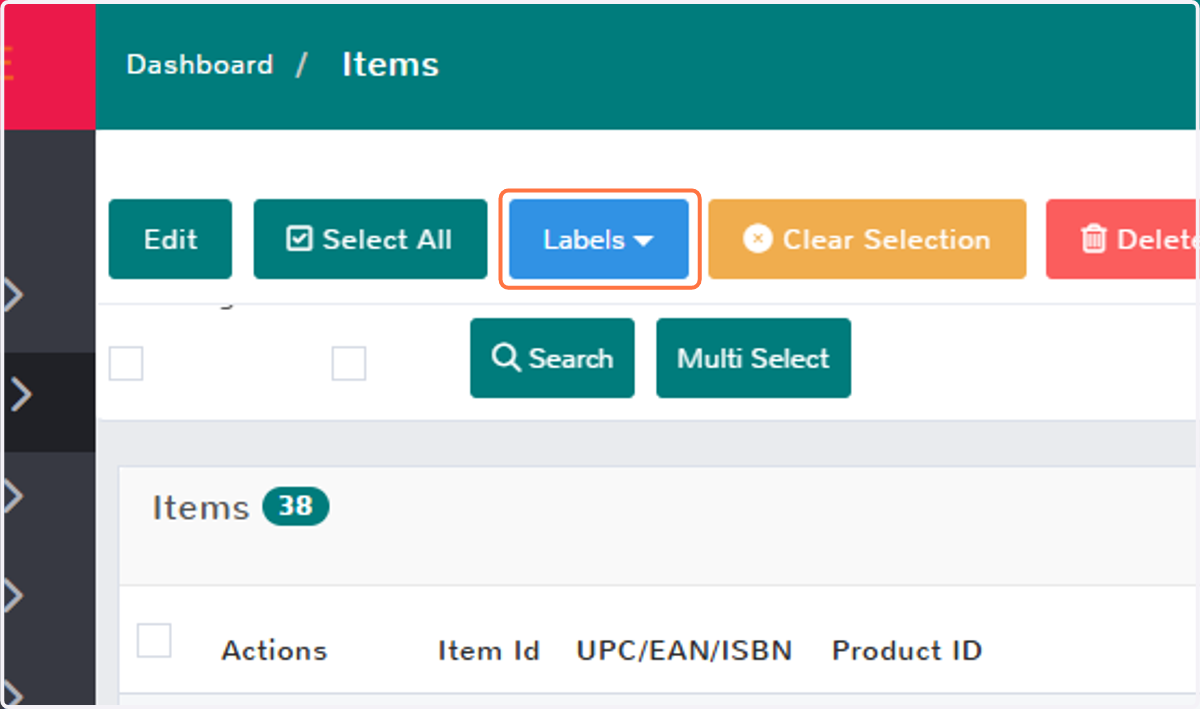
4. Click on Labels
After selecting your product, locate the Labels option in the top menu of your Items Dashboard.
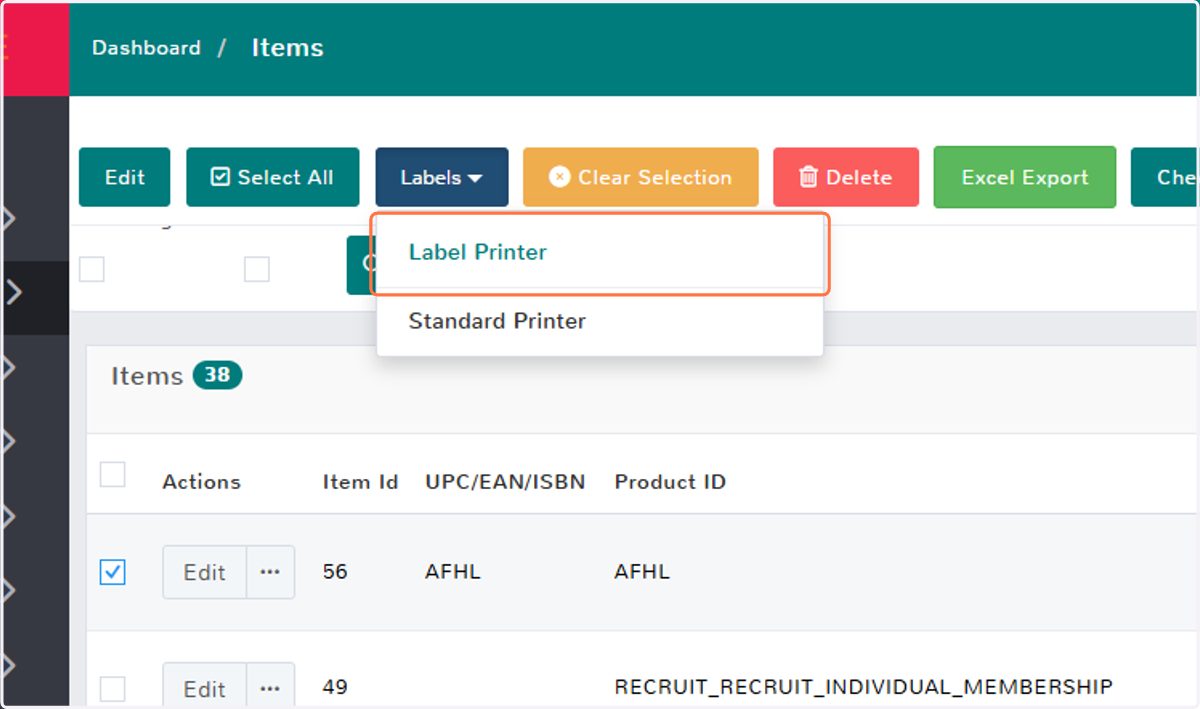
5. Choose your Printer Option
Select your preferred print option. The most common choice is using a label printer.
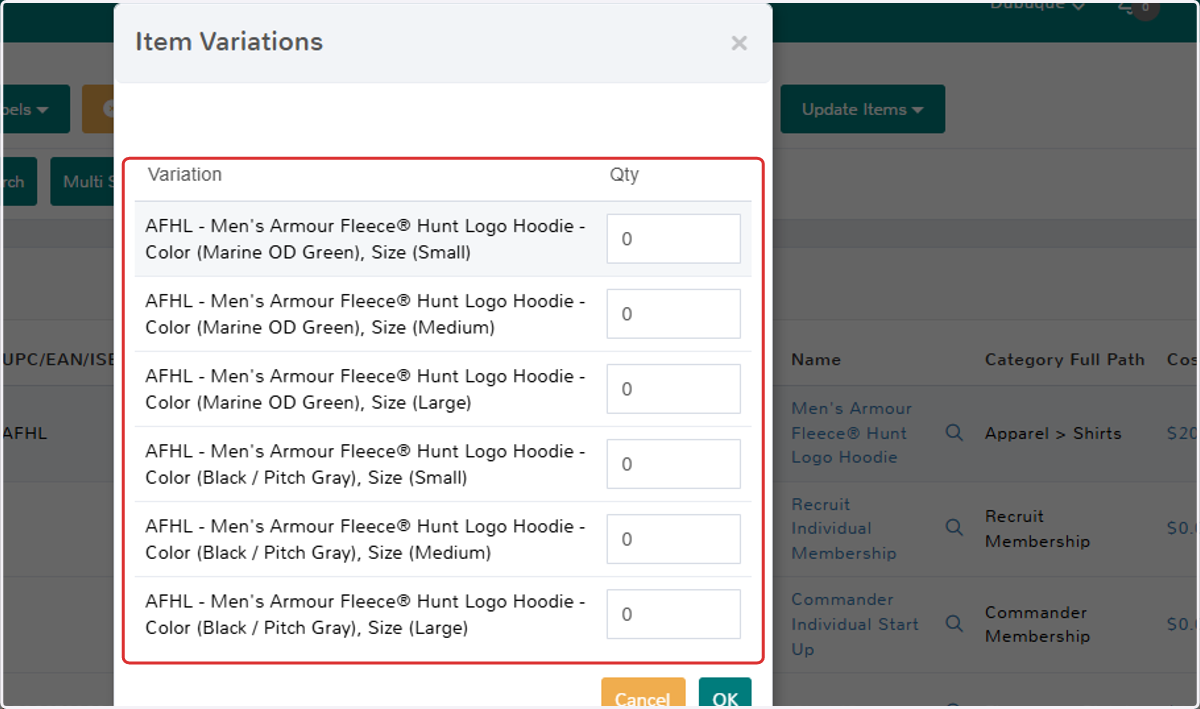
6. Item Variations Screen
Since this is a variation item, you can specify the number of labels to print for each variation option of the item.
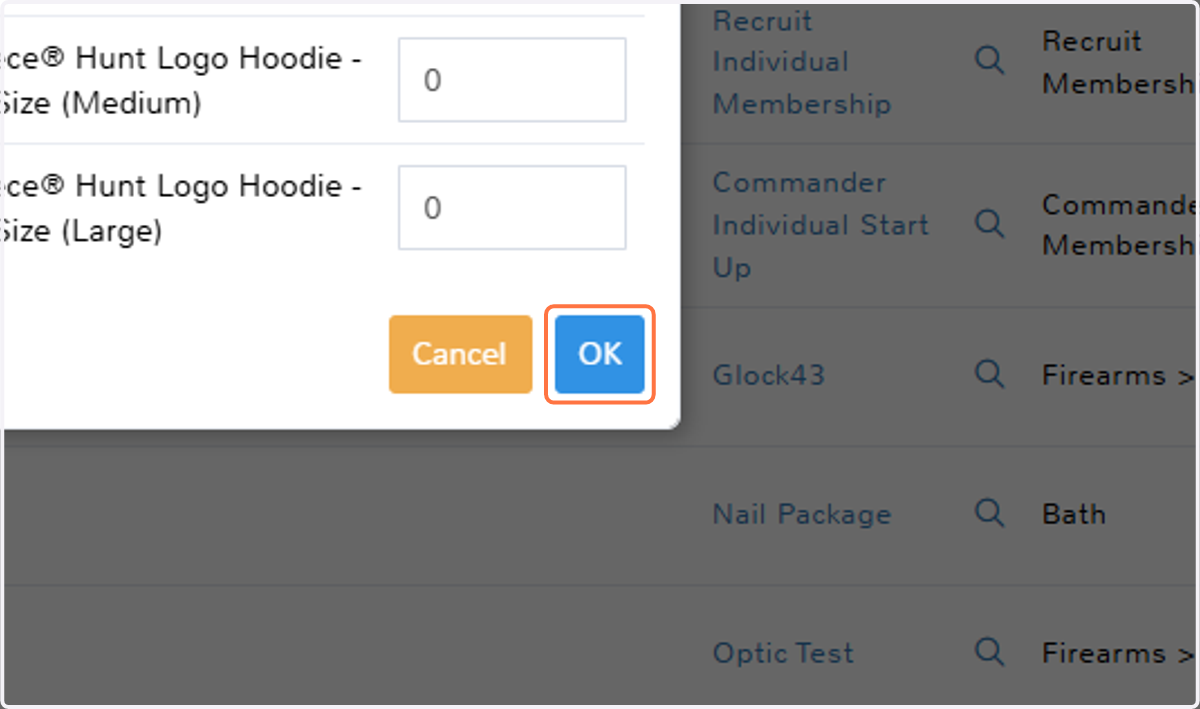
7. Click on OK
After entering your desired label amounts, click on OK to proceed to the print options.
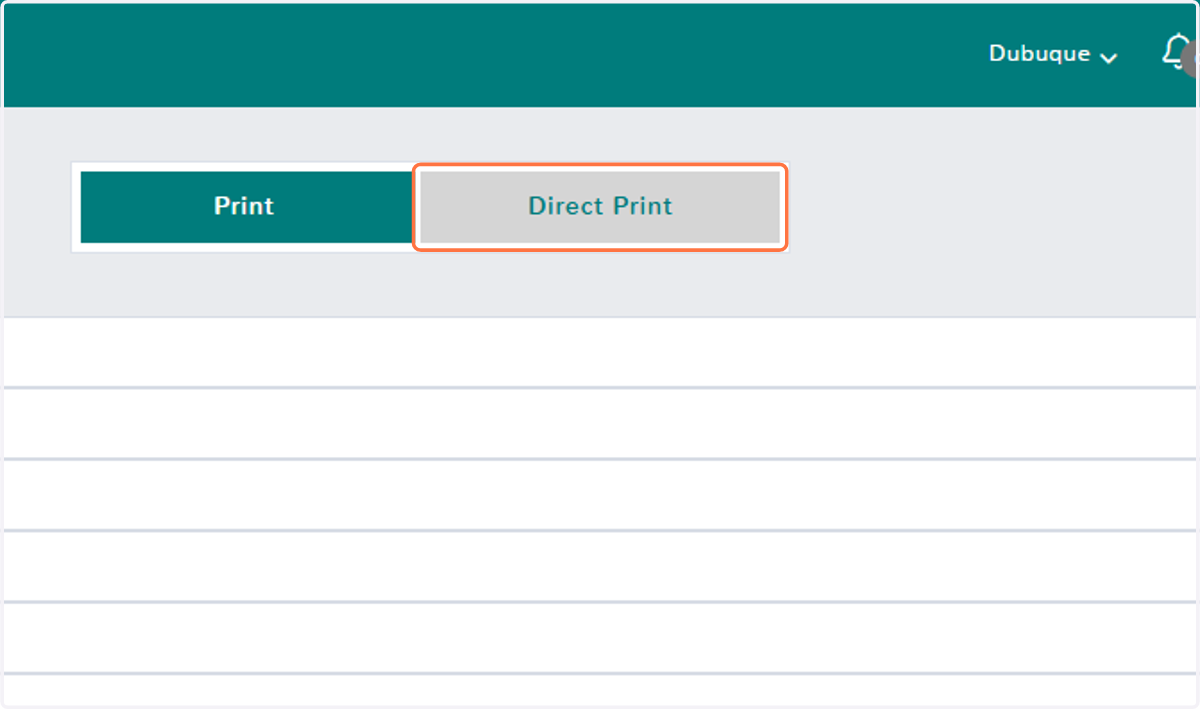
8. Print or Direct Print
Depending on your printer brand, choose Print or Direct Print. If you are using a Zebra printer, select the Direct Print option.
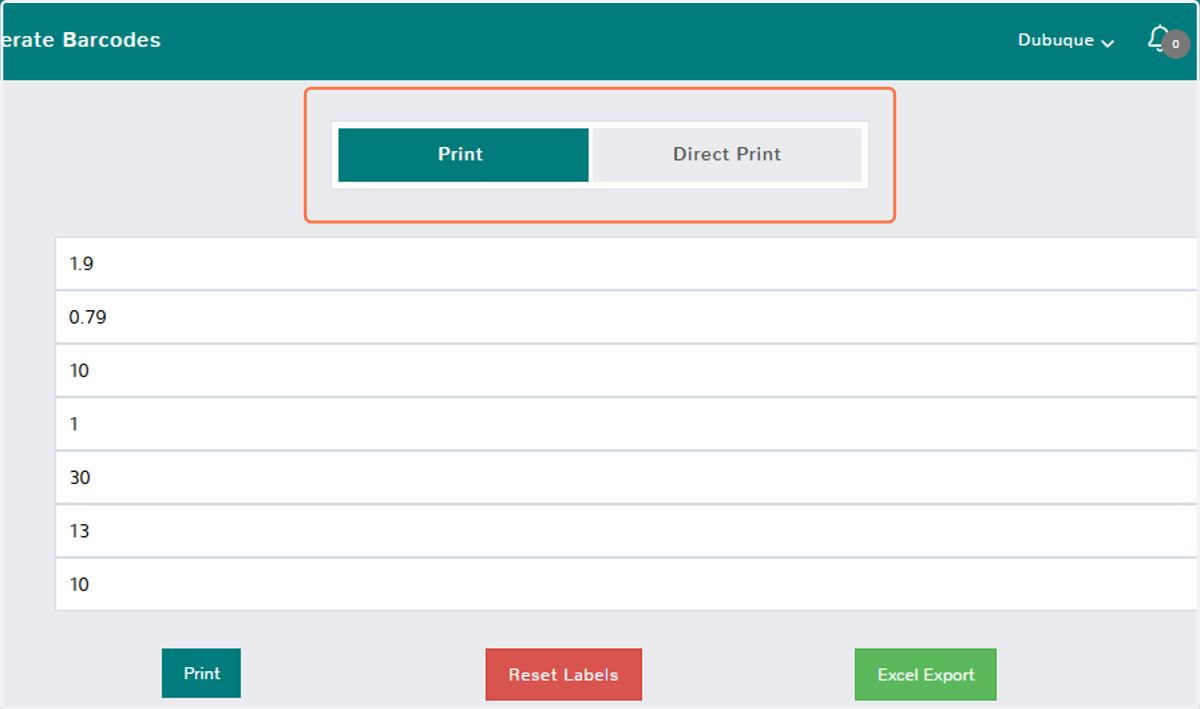
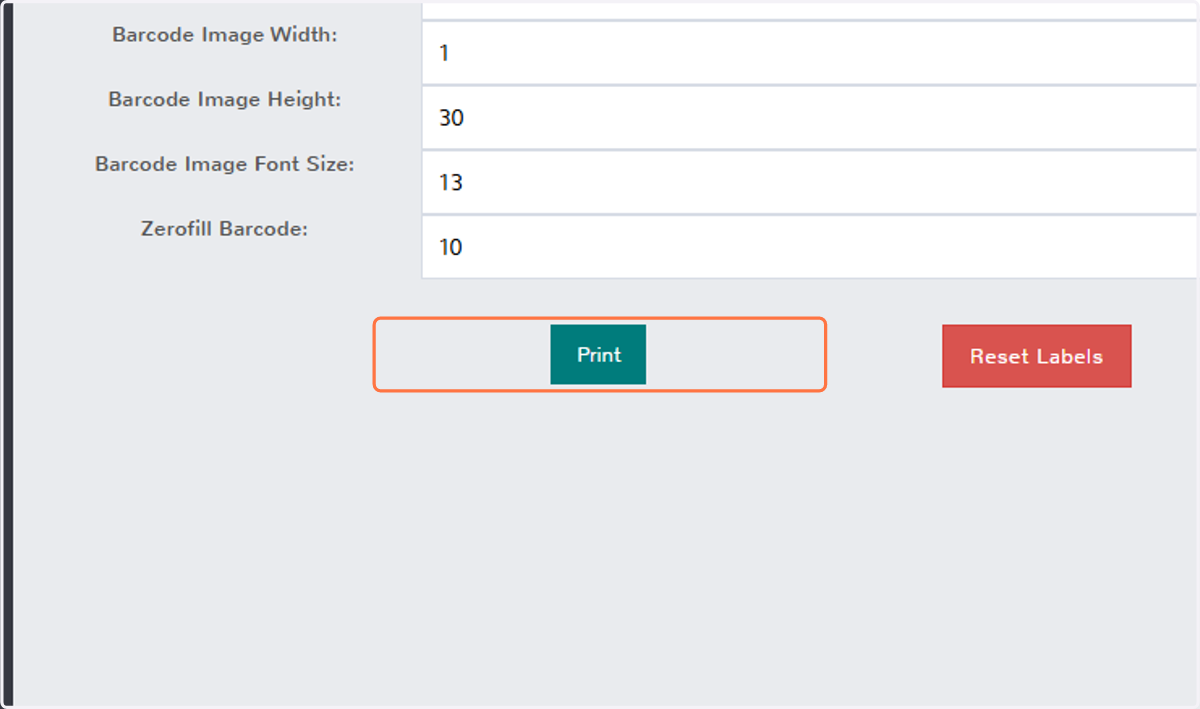
9. Click on Print
10. Click on Direct Print
11. Label Name
Select your label name from the predefined label list.
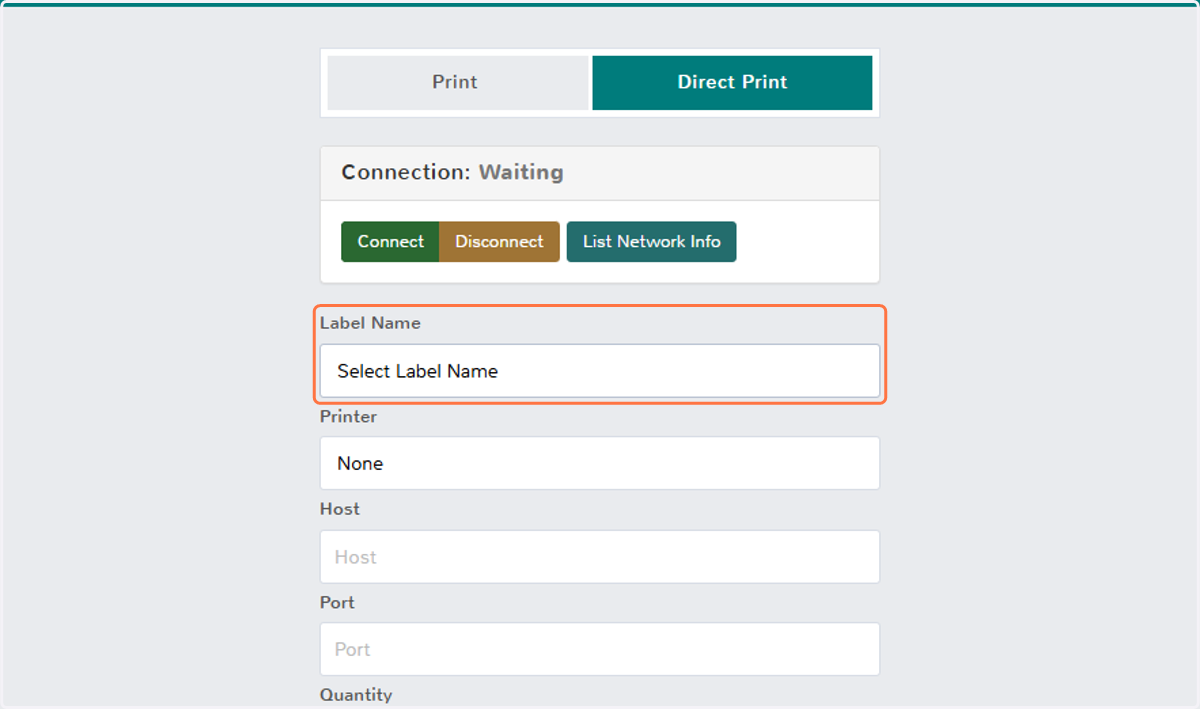
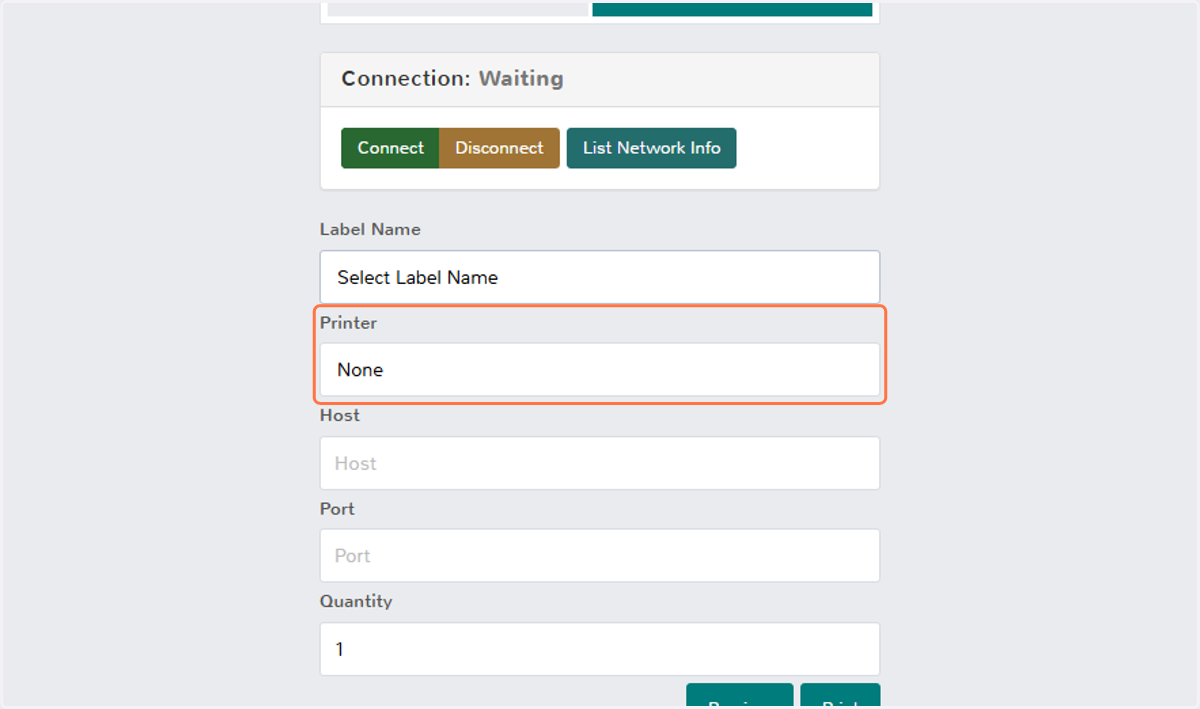
12. Printer
Select your corresponding label printer.
13. Click on Print