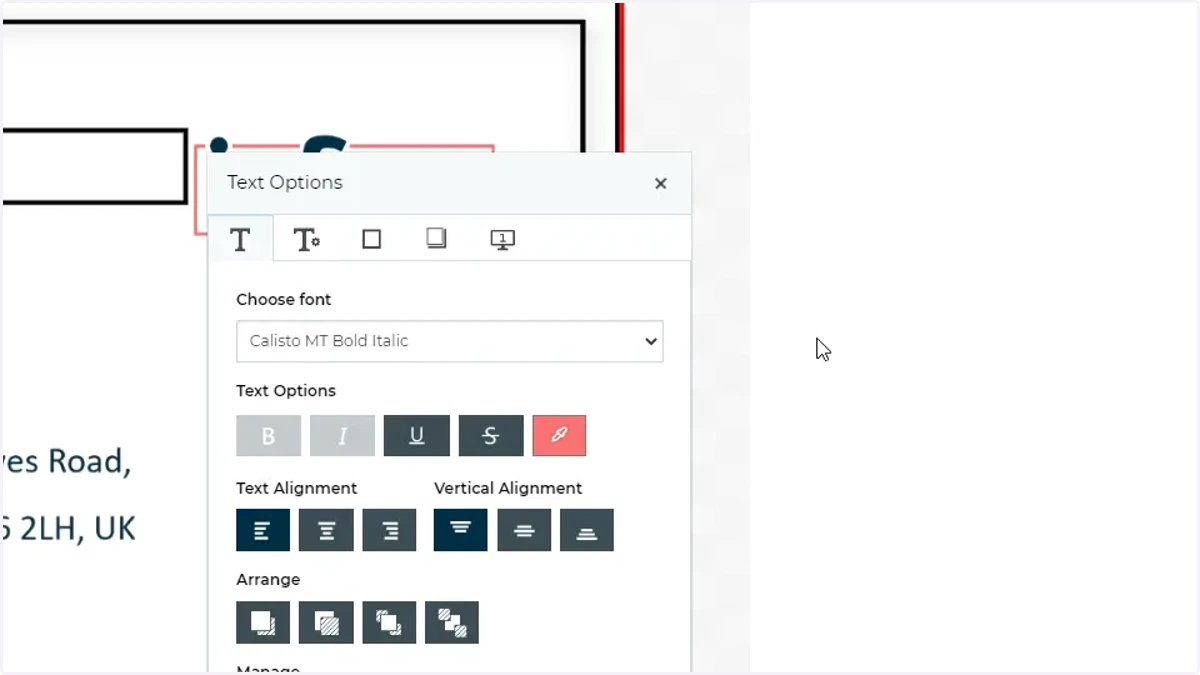
Font Resource Set
In this tutorial, we will learn how to create and utilise font resource sets within the Invent plugin for Adobe InDesign.
adobe
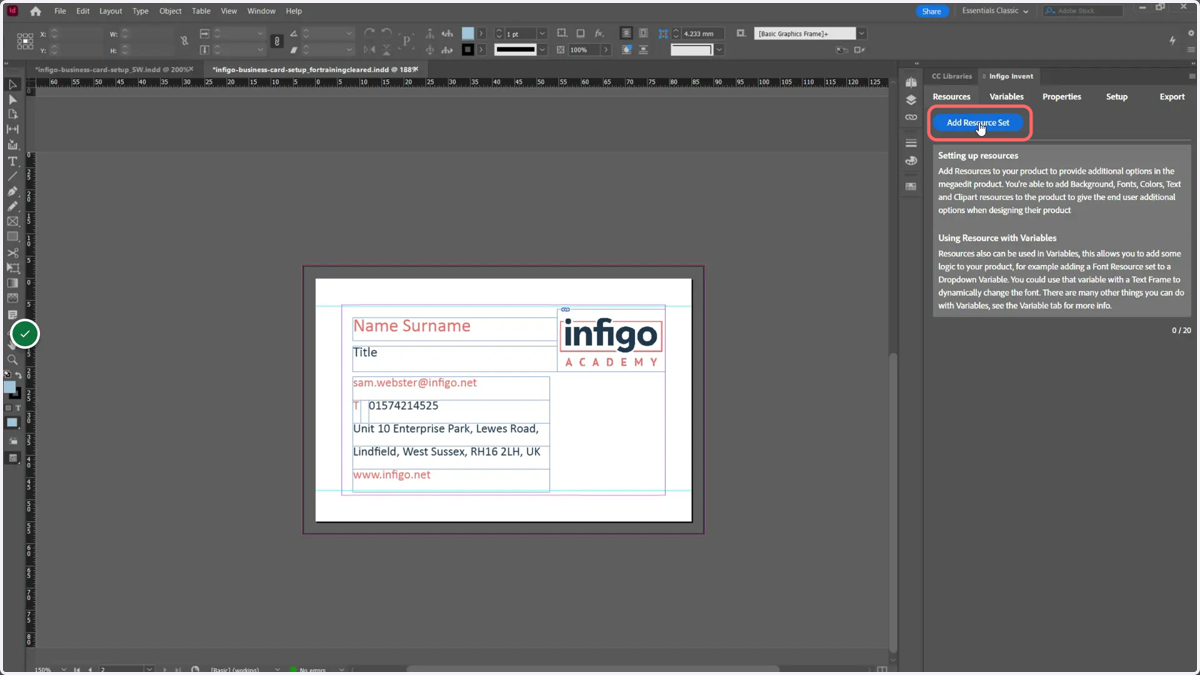
1. To begin, we create a new resource by clicking Add Resource Set
2. Select a font set
Adding fonts will provide the users with more font options in their product to choose from.
Additionally these can also be assigned to dropdown variables, which can be used to dynamically to change things like the font of Text Properties.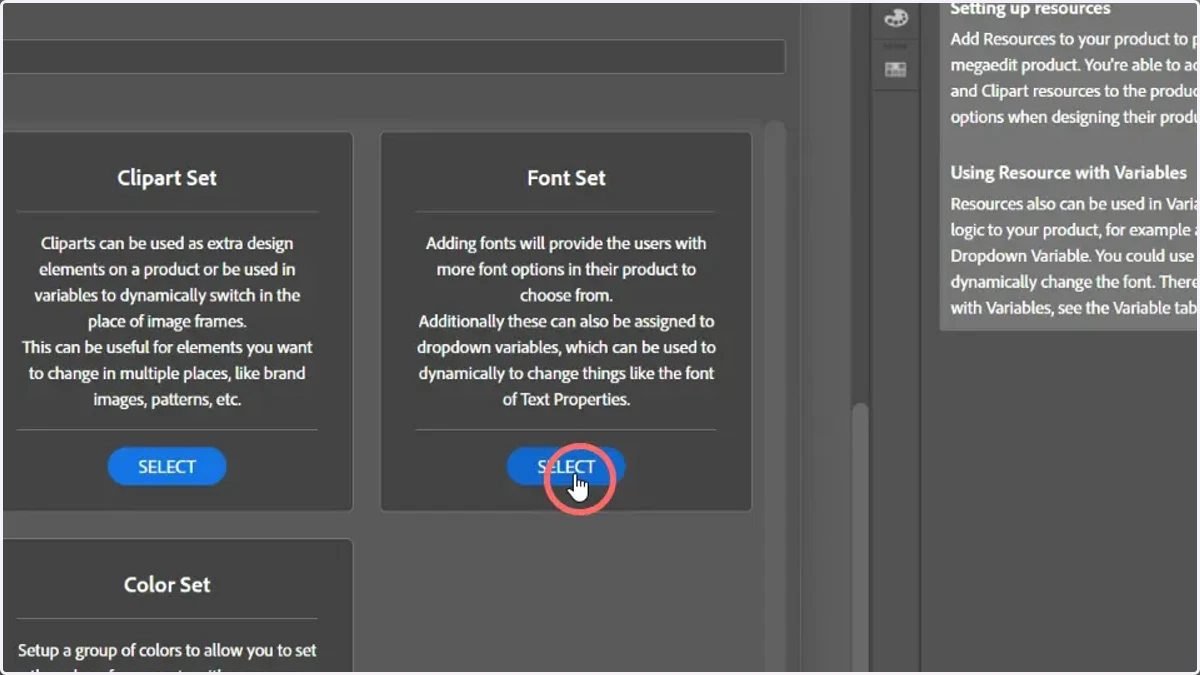
3. Enter a name for the font set
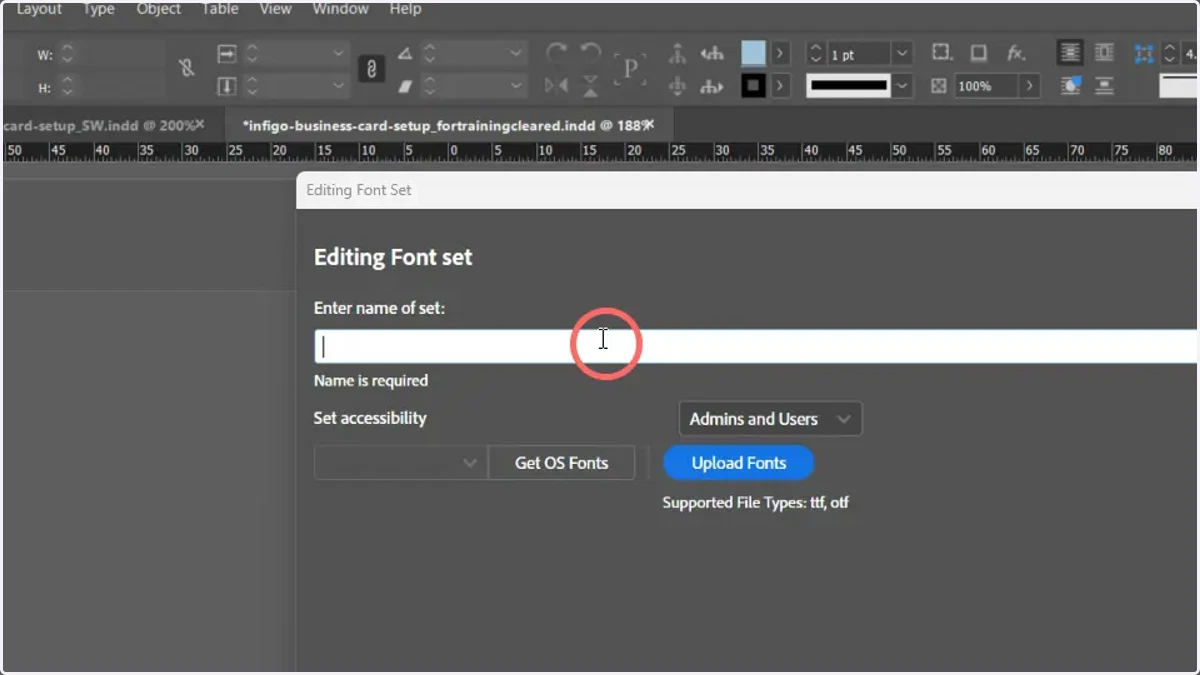
4. Uploading fonts from your local machine
There are two ways for you to add fonts to the Font Set.
The first is to upload them by simply clicking on the 'Upload Fonts' button and selecting your fonts from your local machine.
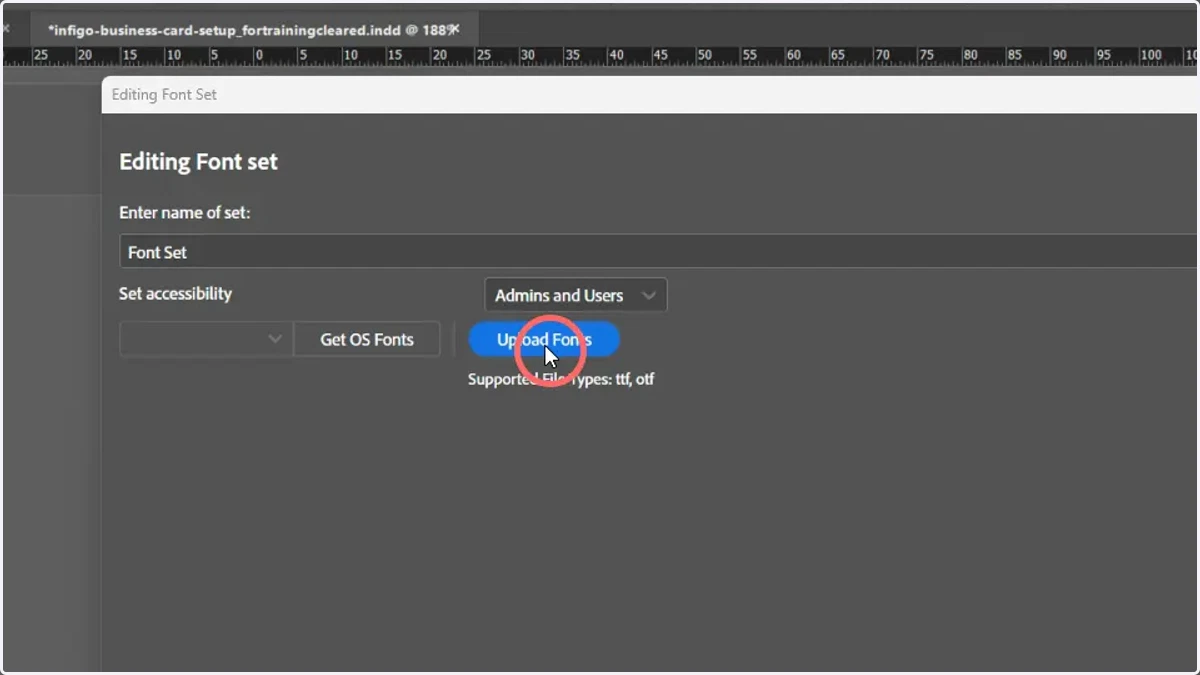
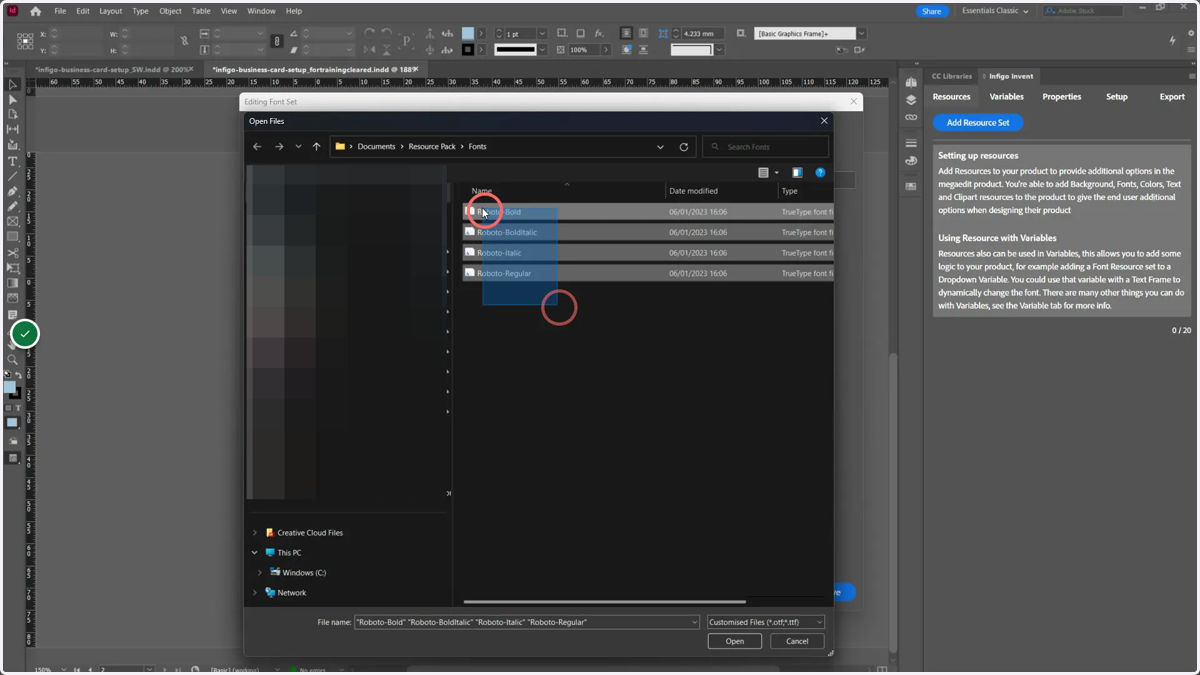
5. Select the fonts to add
Supported font file types are ttf and oft.
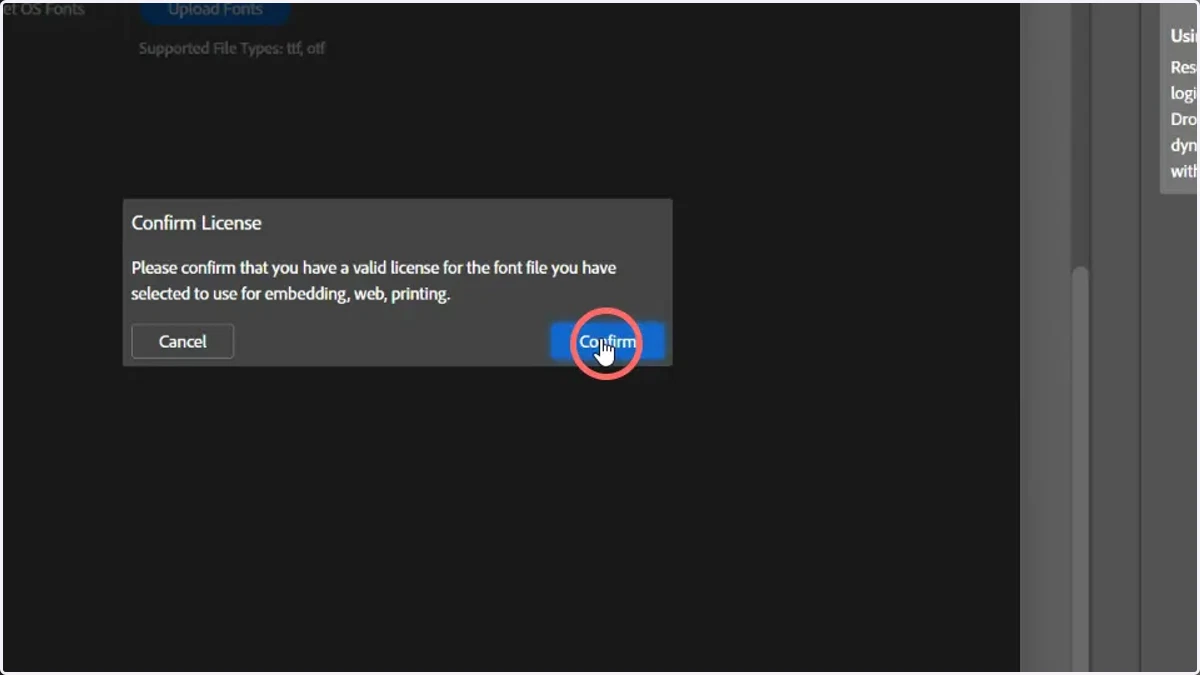
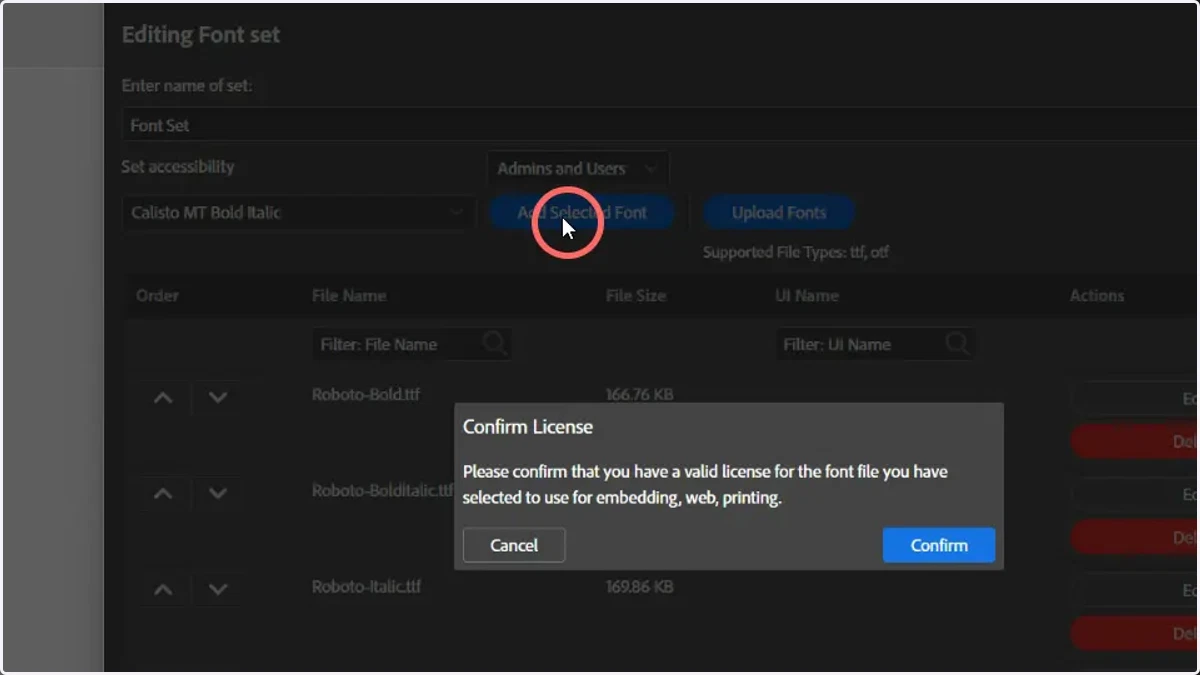
6. When dealing with fonts it is important that you either own the license for the fonts you are using or you use license free fonts, and to remind you we have introduced a confirmation popup during font selection process that you must confirm before continuing to use that font.
Please note: we do not support Adobe Cloud Fonts currently.
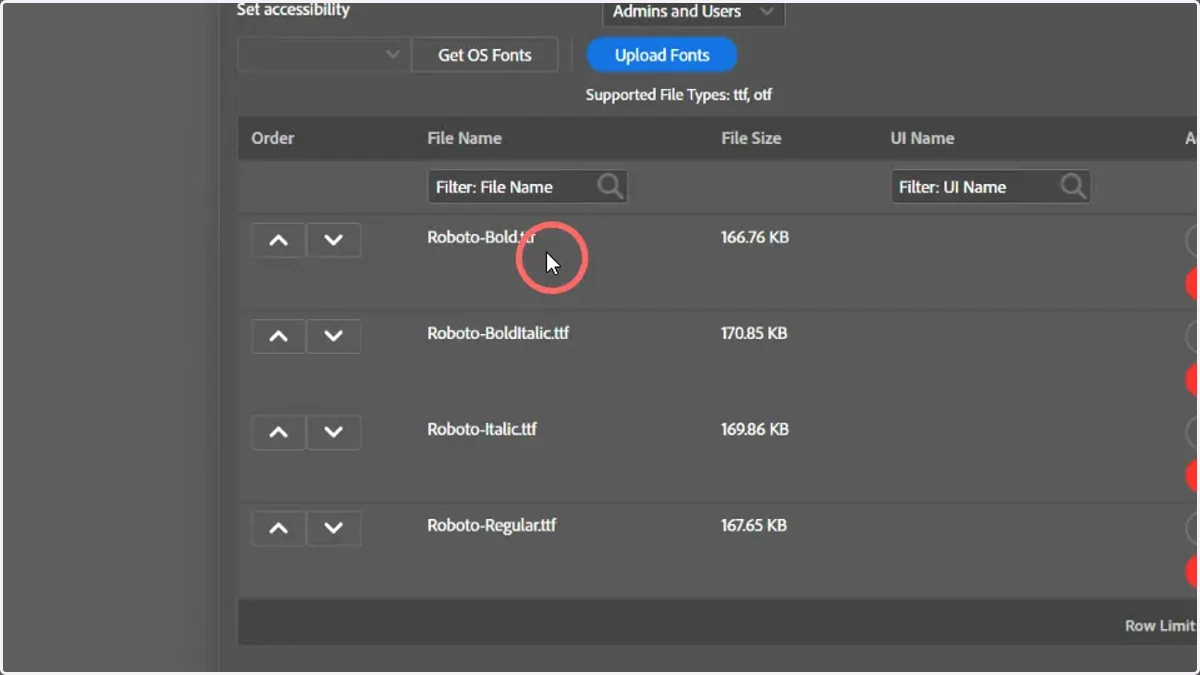
7. Font options will be uploaded
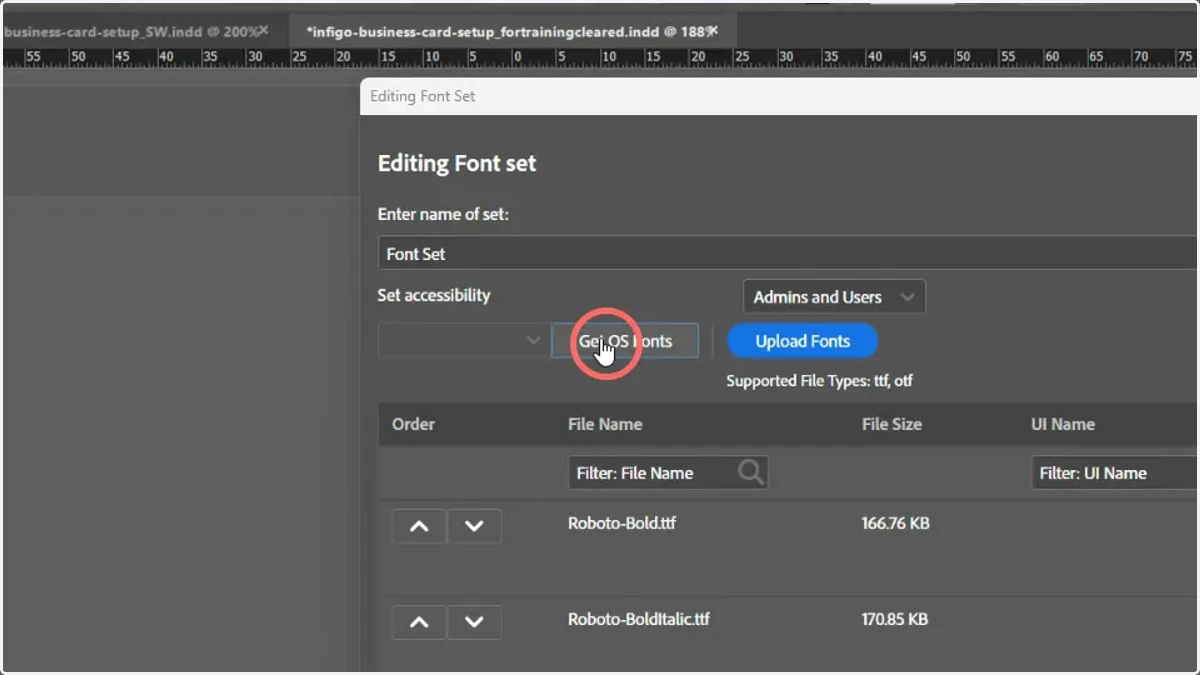
8. Select from installed fonts, click Get OS Fonts
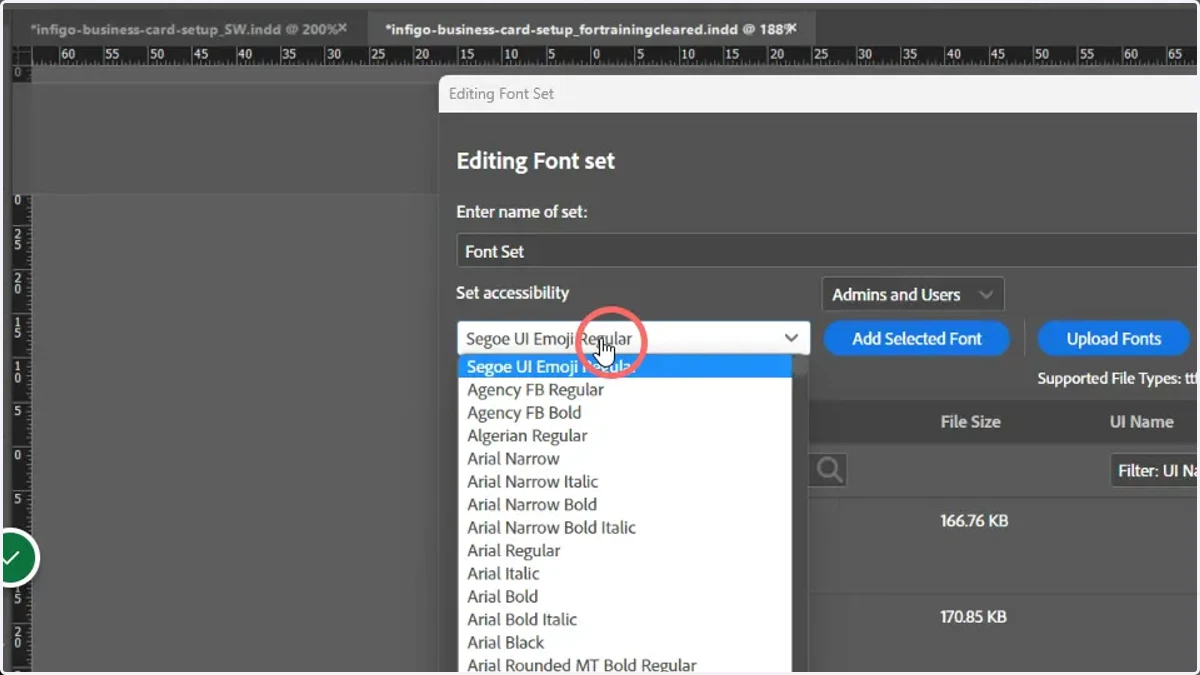
The second approach is to click the 'Get OS Fonts' button. What this does is extract a list of all your locally installed fonts and make them available for you to select and use in your Font Set. Retrieving the fonts list can take a little while depending on how many fonts you have installed but once they are all ready you can then select from the list which font you want to include.
9. Select a font to include
10. Click Add Selected Fonts and confirm license eligibility
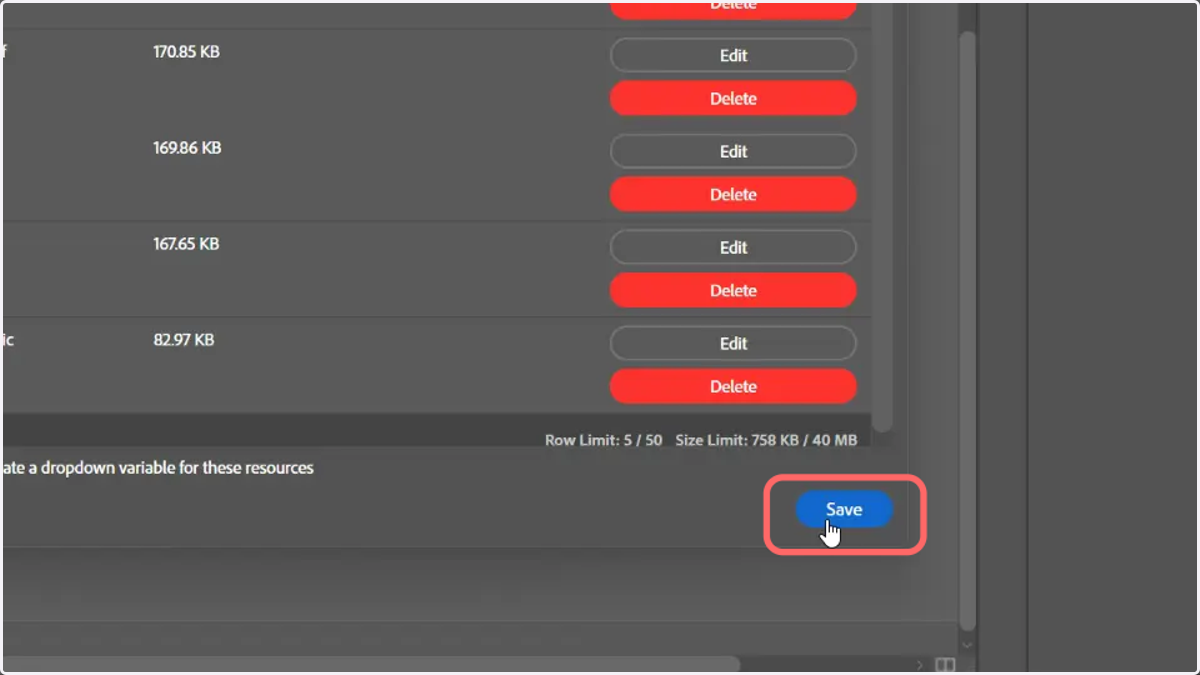
11. Click Save to confirm the resource set
12. Next, create a dropdown variable which links to the Resource Set
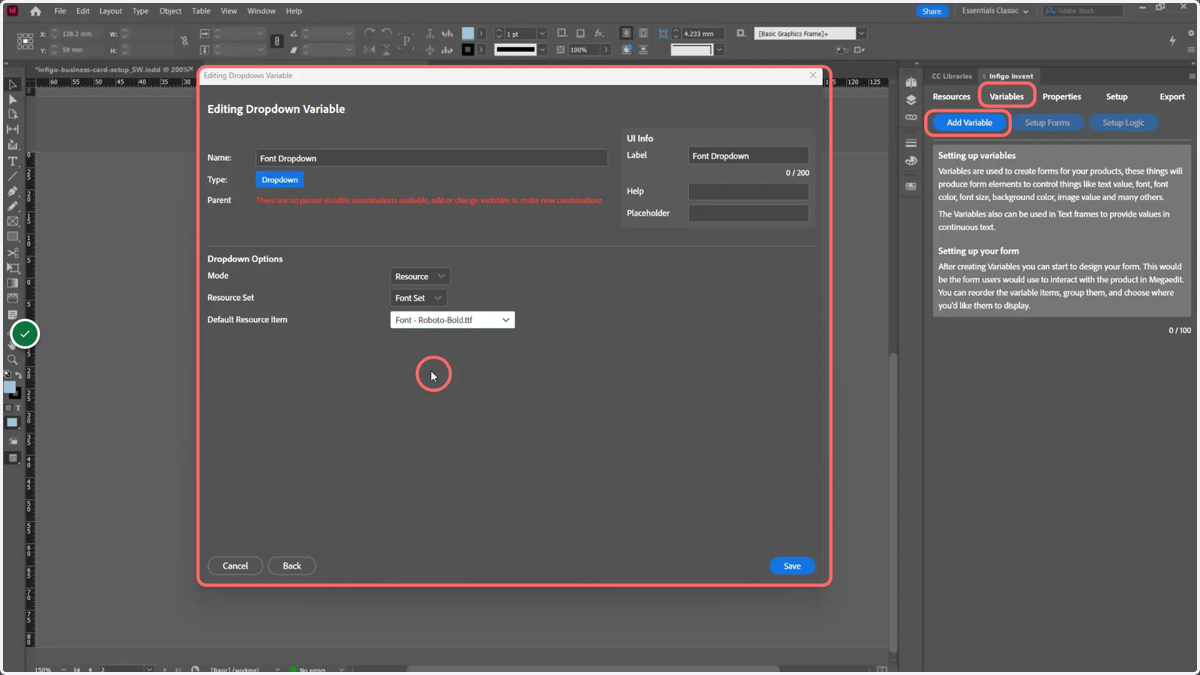
13. Next, we will see how to link our text frame's font selection
14. Select an image frame
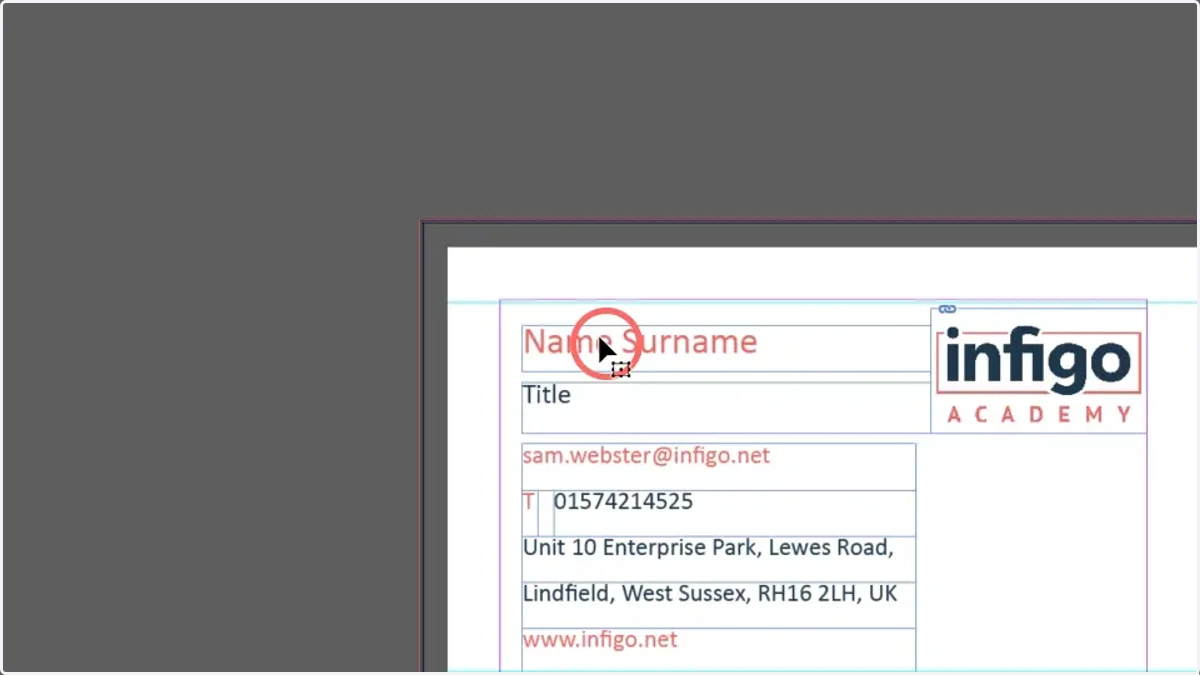
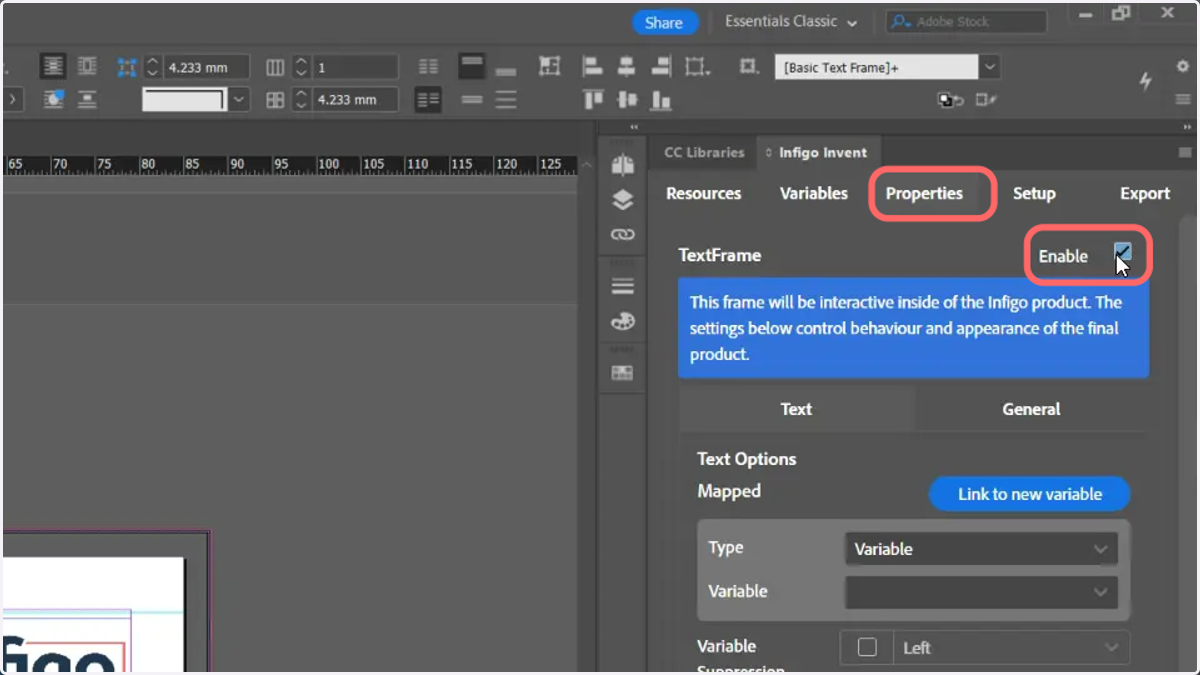
15. Make the frame dynamic by clicking Enable under the Properties tab
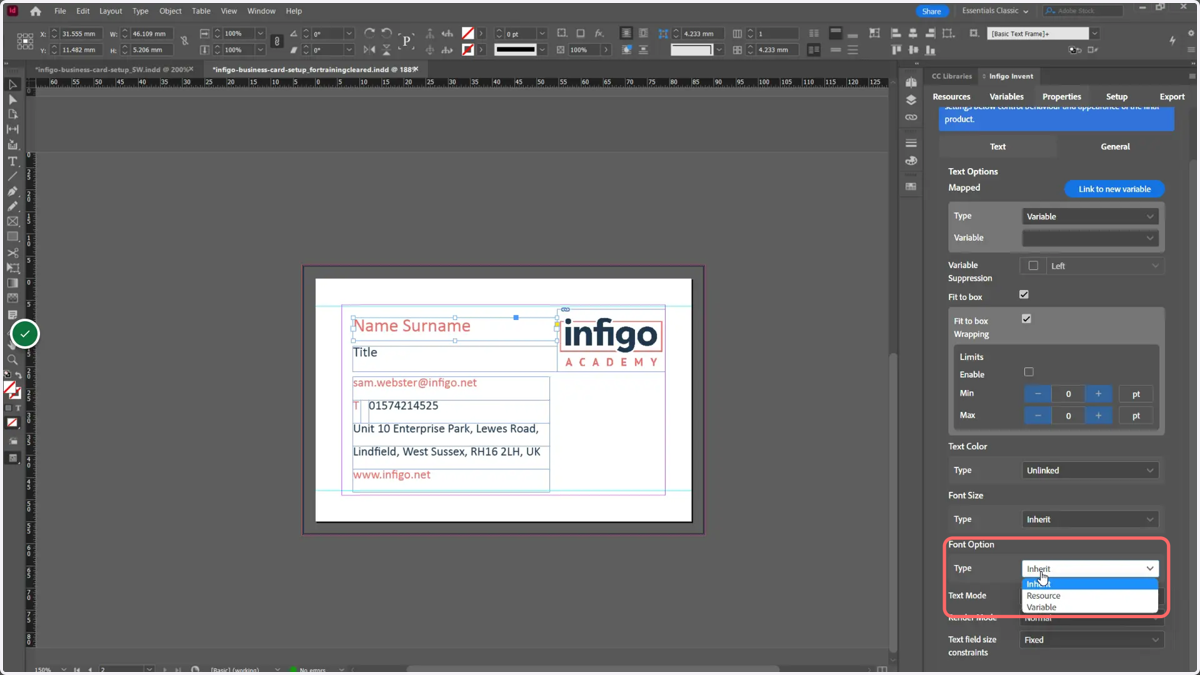
16. Navigate to the Font Options section and create a link to your newly created font variable
17. Export your template as an MEX file
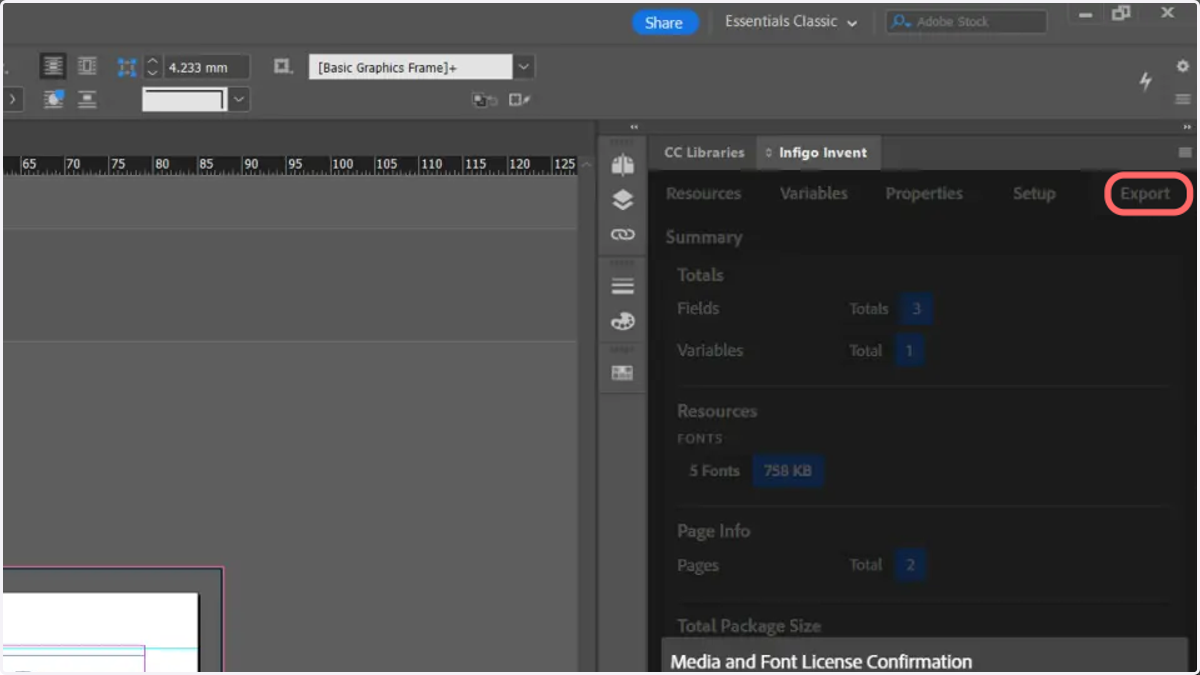
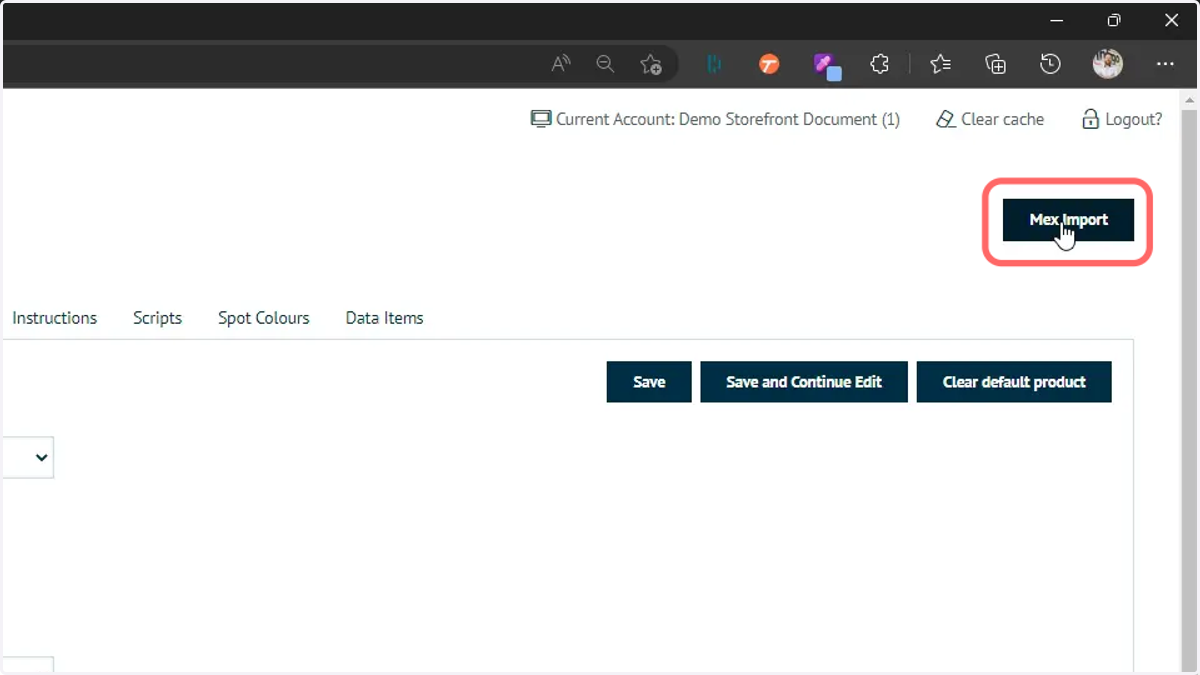
18. Import the MEX file into your MegaEdit product, then launch the MegaEdit editor for this product
19. A dropdown will be available in the form
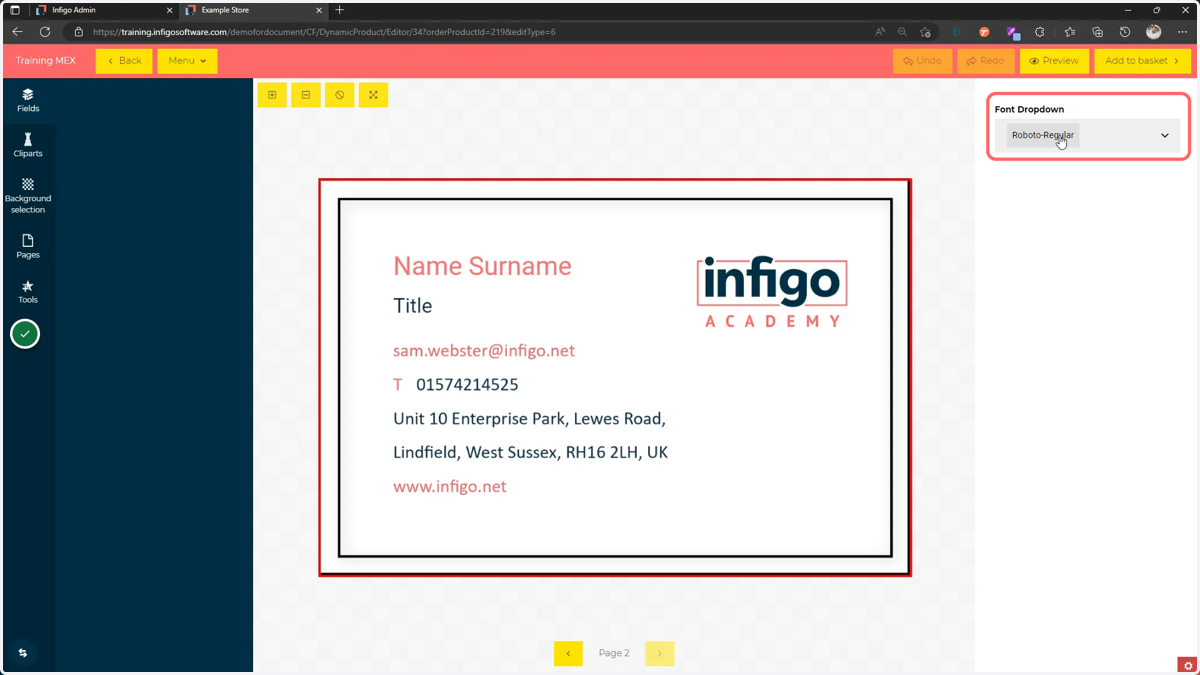
20. Changing the selected font will update the linked fields on the canvas
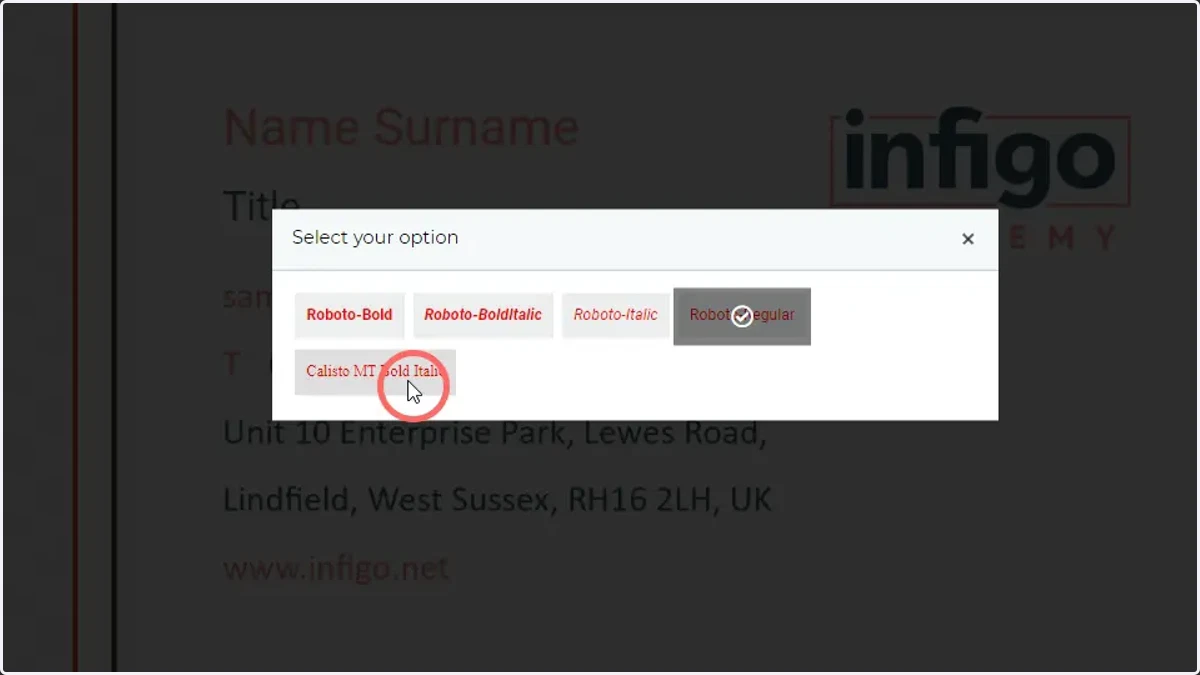
21. Fonts updated