Infigo Admin: Storefront Selection Guide | GT_GEN_011
Your Infigo admin area contains two separate screens for managing your Storefronts.
One screen allows you to switch between storefronts on your Infigo platform, whilst the other allows general storefront configuration (such as clearing test data or setting a storefront to LIVE.)
Both screens use a similar UI and operate in very similar ways. In this tutorial, we'll take a look at these interfaces and review the available options.
As these screens are administering multiple storefronts on your platform, you must be logged in using a Platform Administrator level account in order to view and modify them.
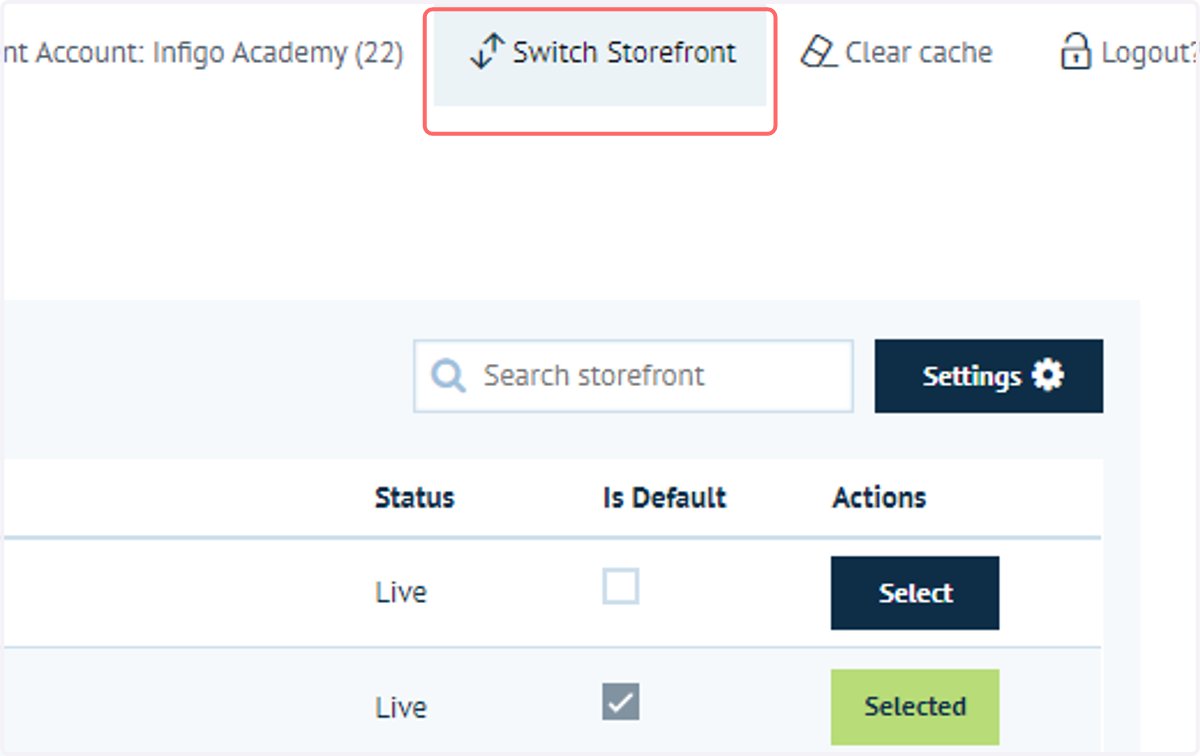
1. Click on Switch Storefront
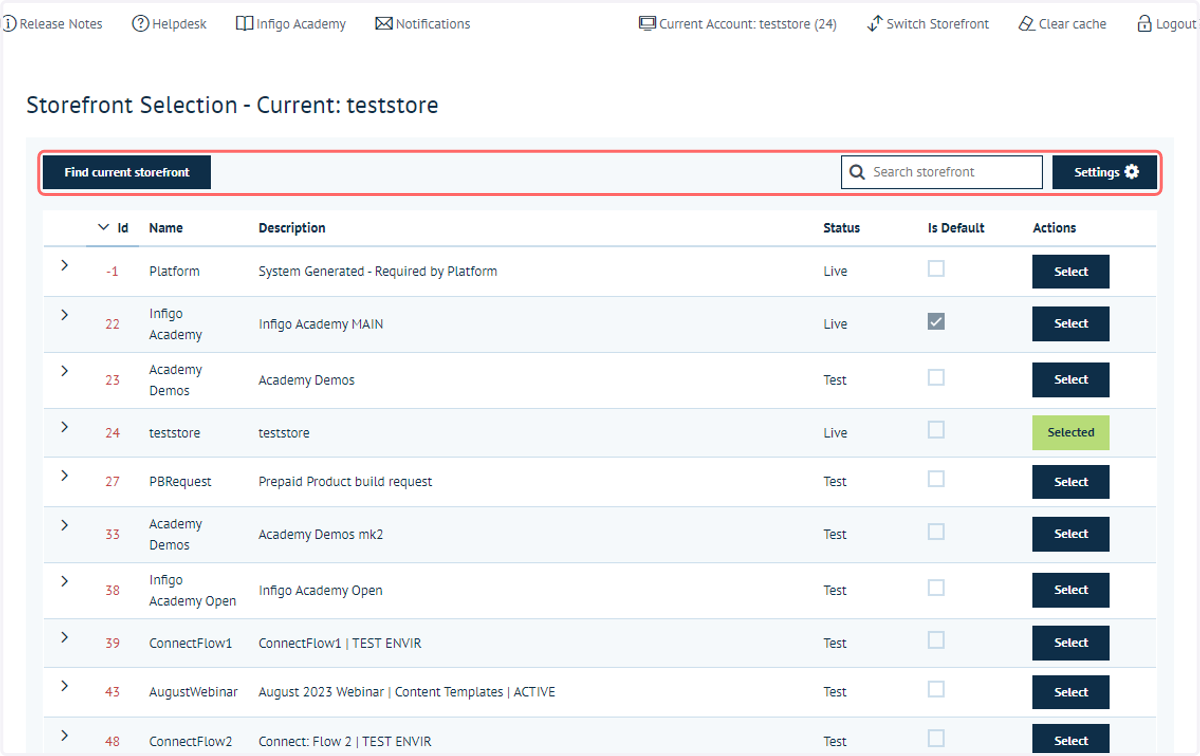
The general function of this screen is to allow the selection of the active storefront. This means any further changes you make in your Infigo admin area (such as adding products) would be done on that active storefront.
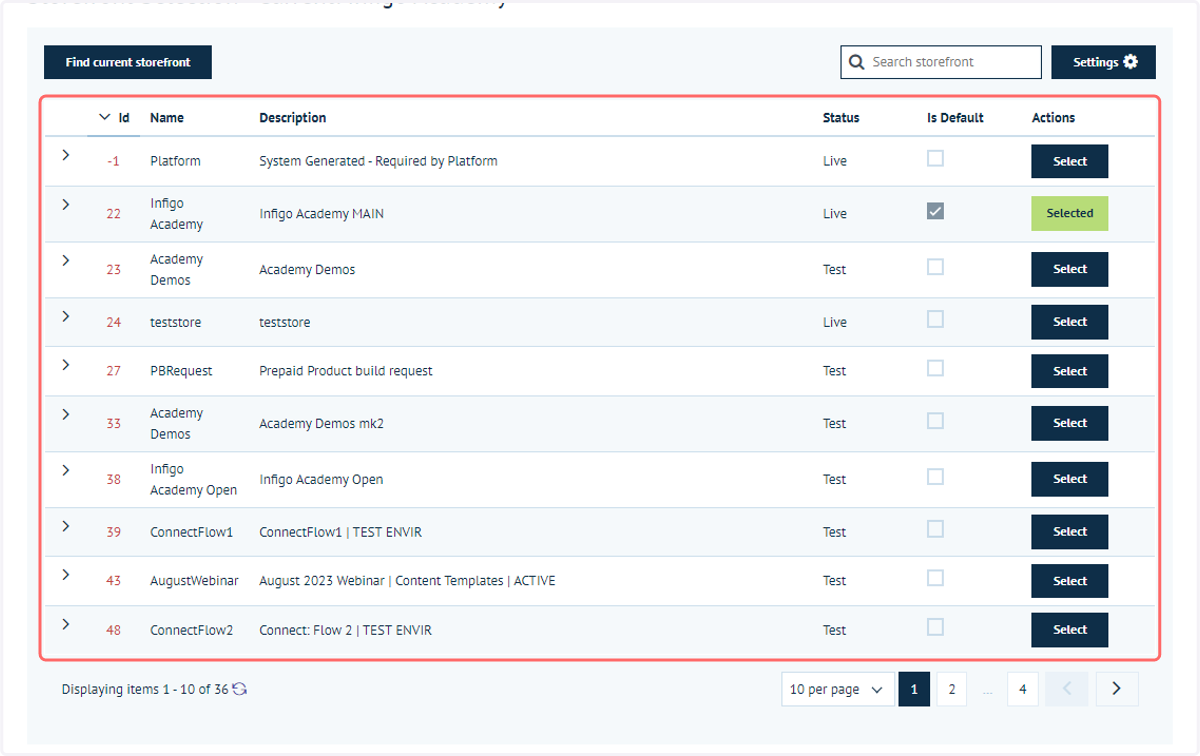
2. The table contains a list of all available storefronts
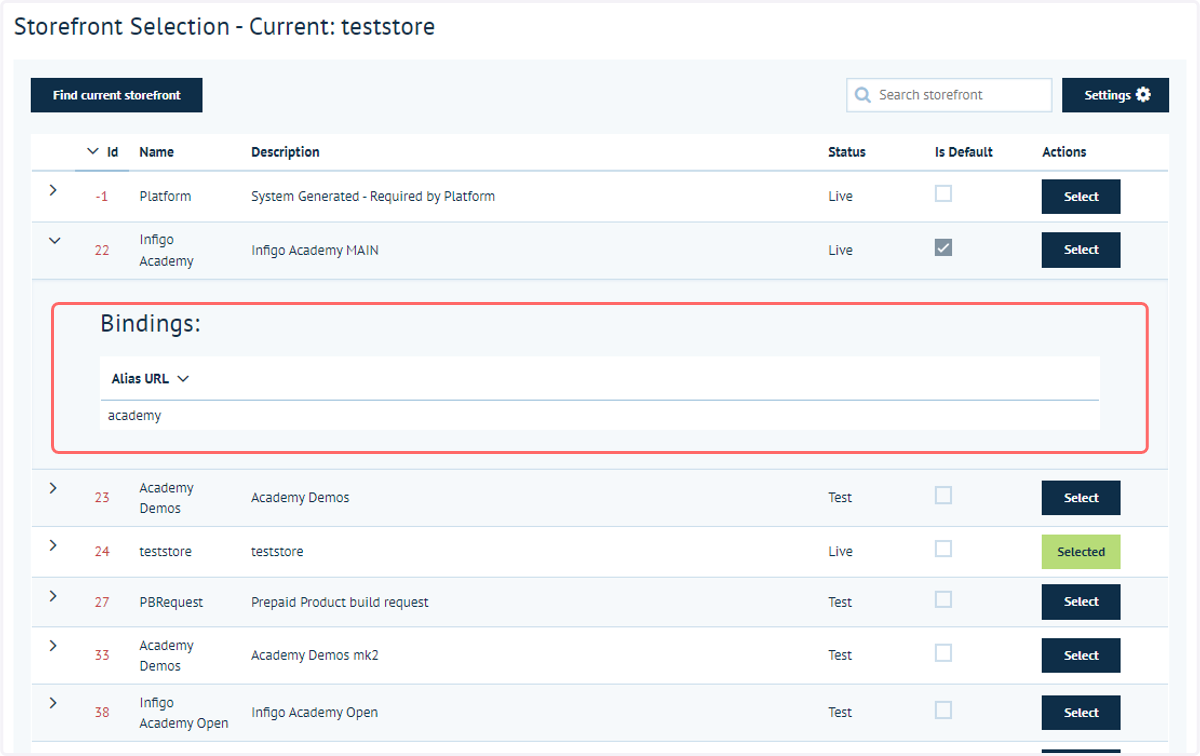
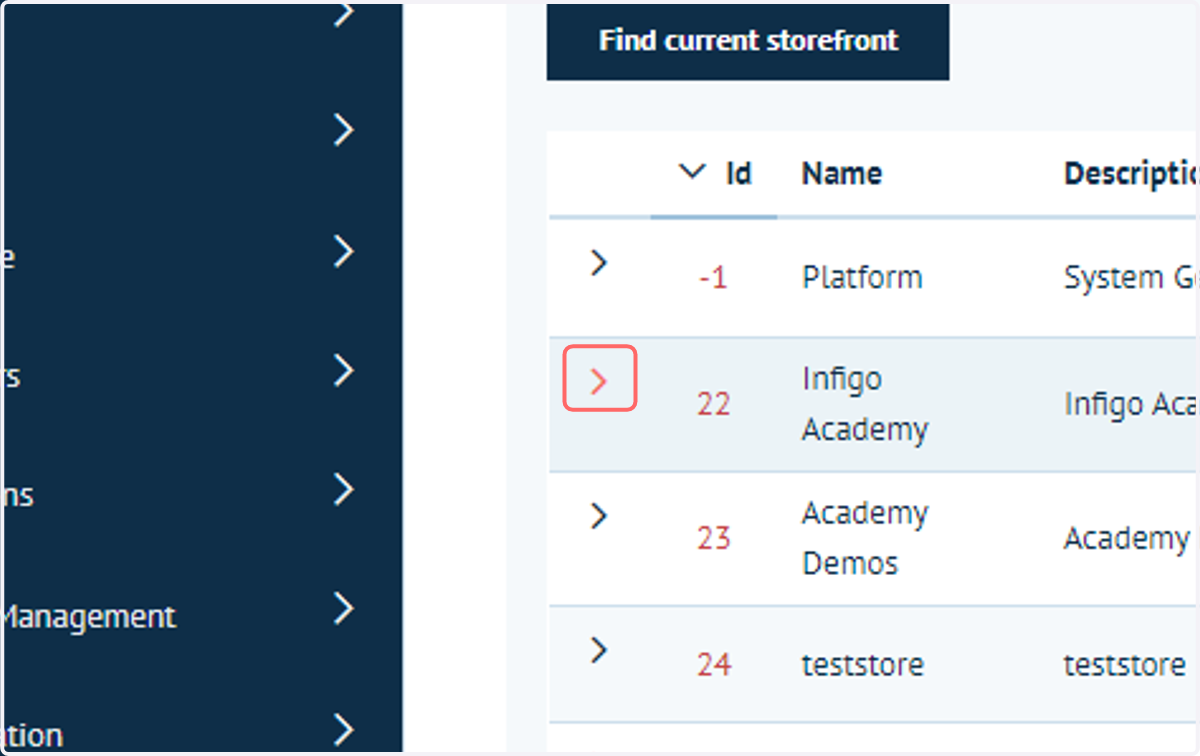
3. Expand each storefront to see the binding(s) associated with that storefront.
Note, new bindings are not added from within this screen
4. Click on Select to change the active Storefront
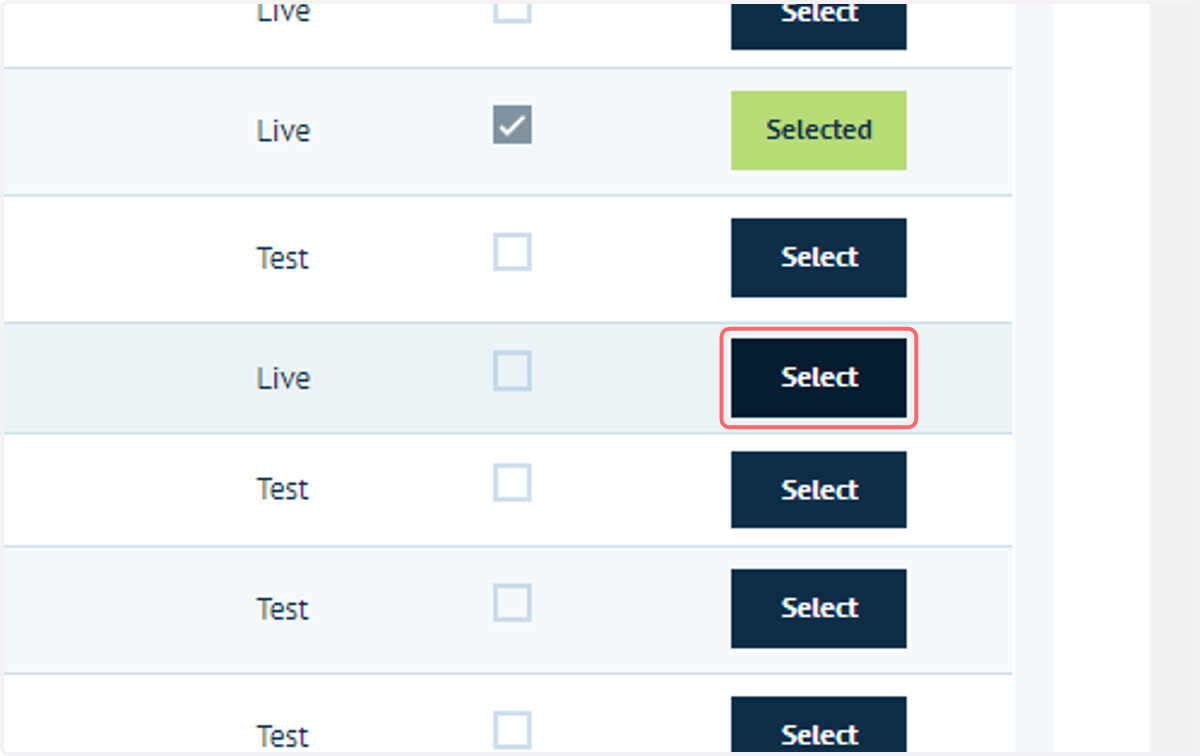
5. Search options are available, allowing to you easily locate a specific storefront
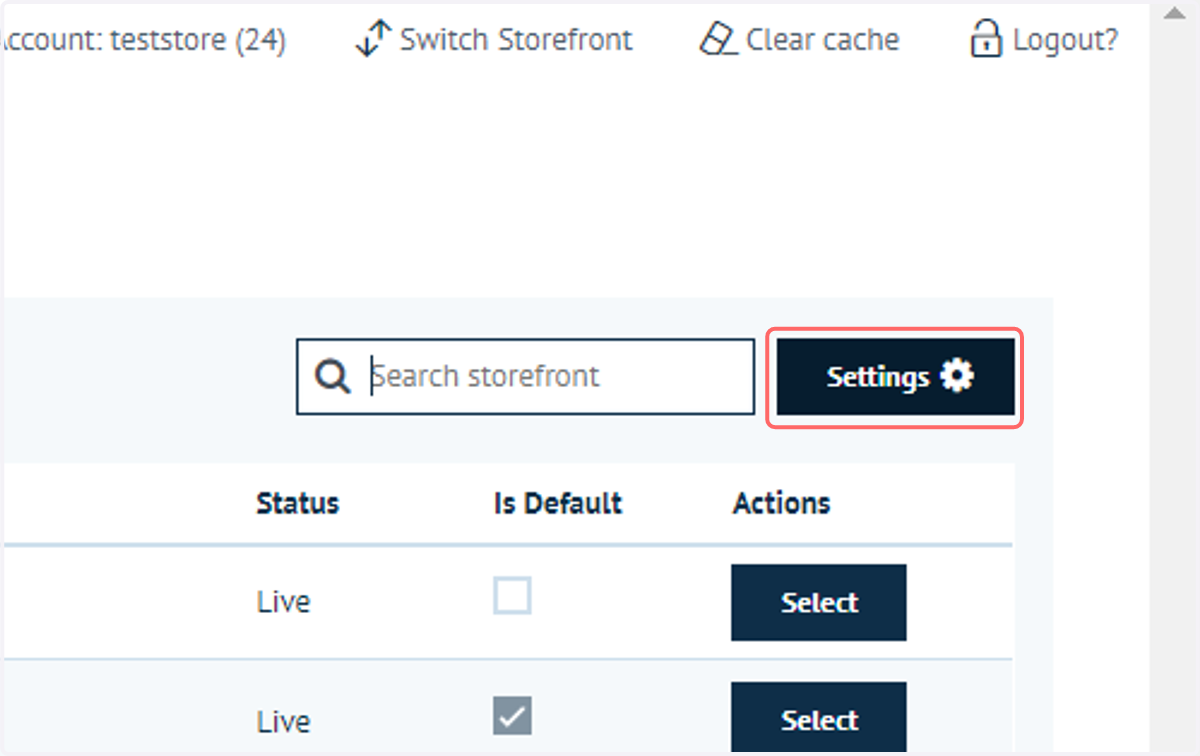
6. Click on Settings
7. This screen will allow you to customise the storefront table
Options in here include:
Changing the layout of available columns
Applying different names to the column headers
Making columns filterable
Making columns searchable
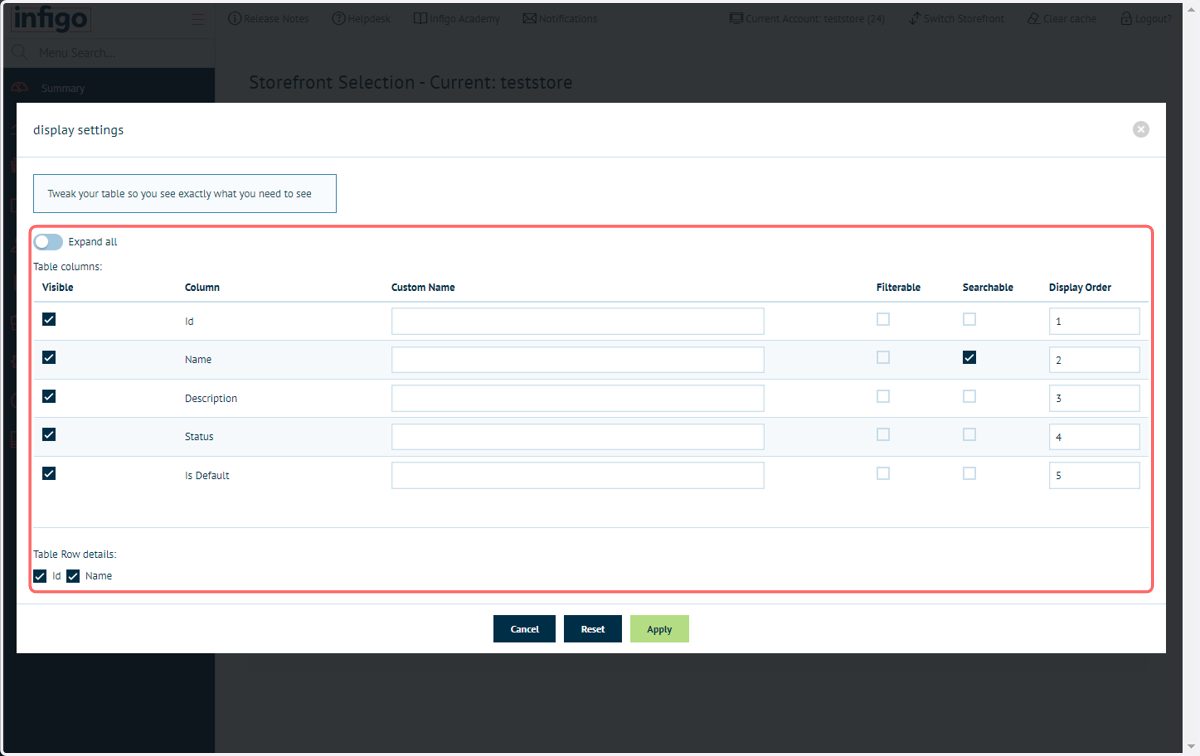
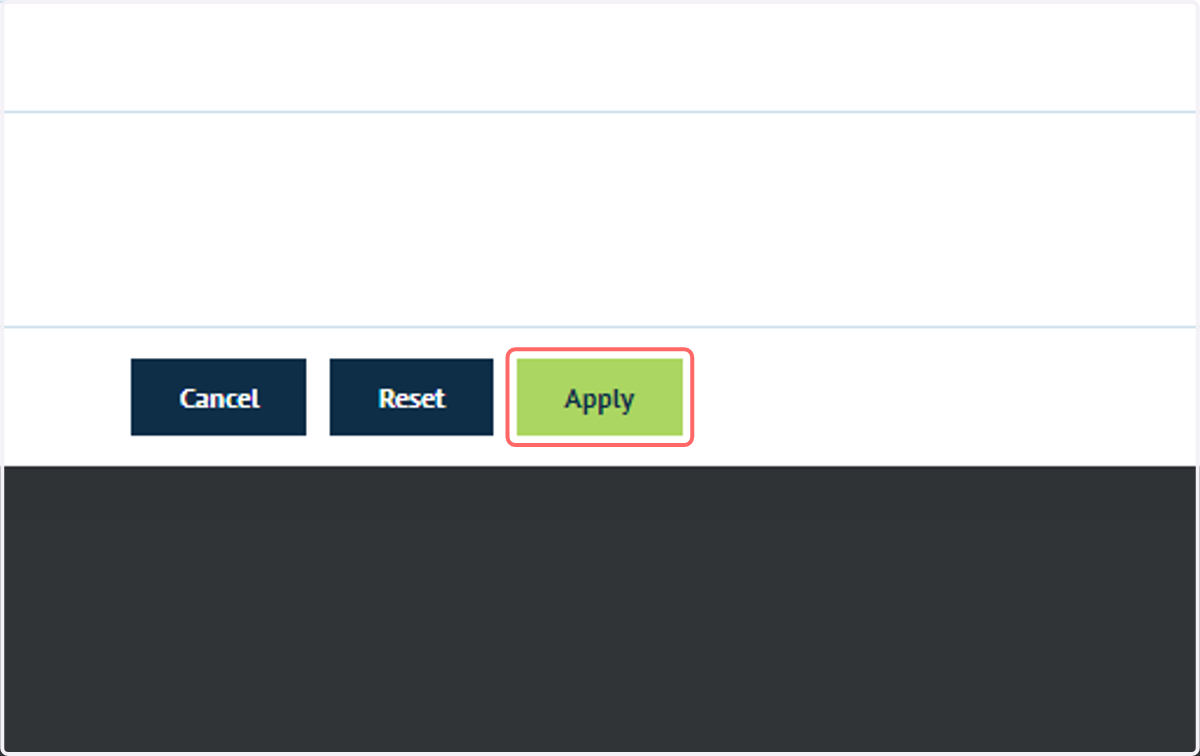
8. Click on Apply
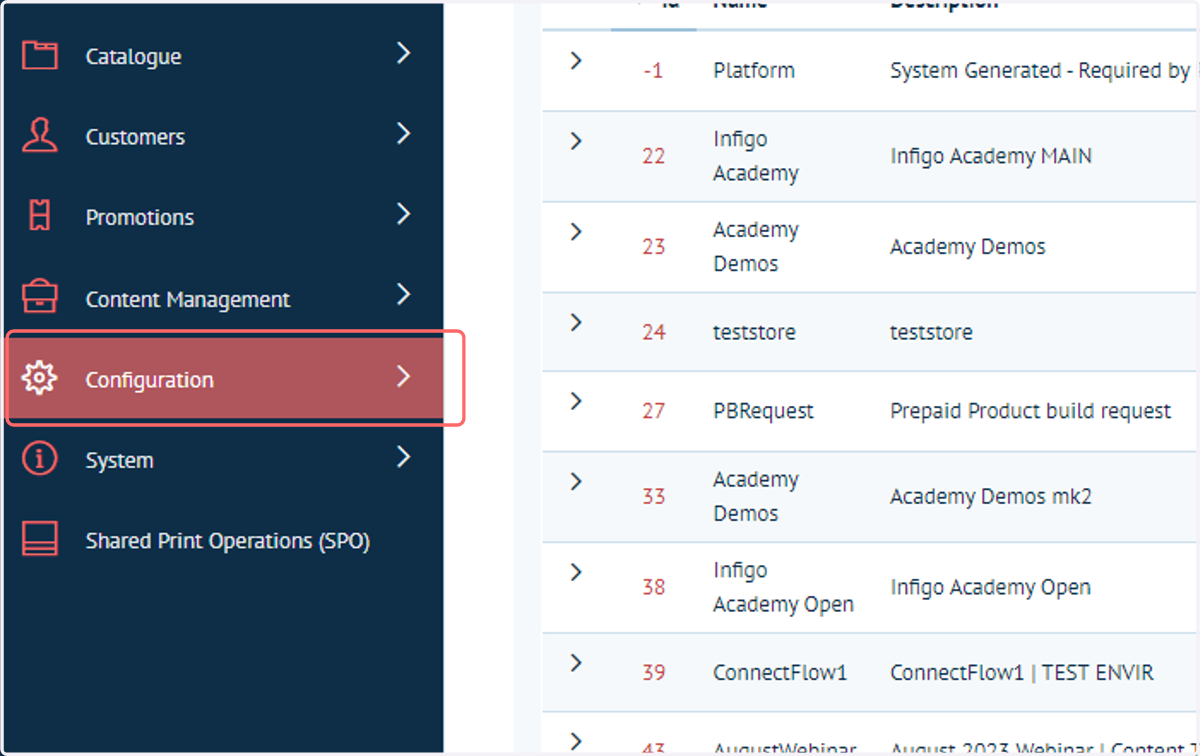
9. Click on Configuration
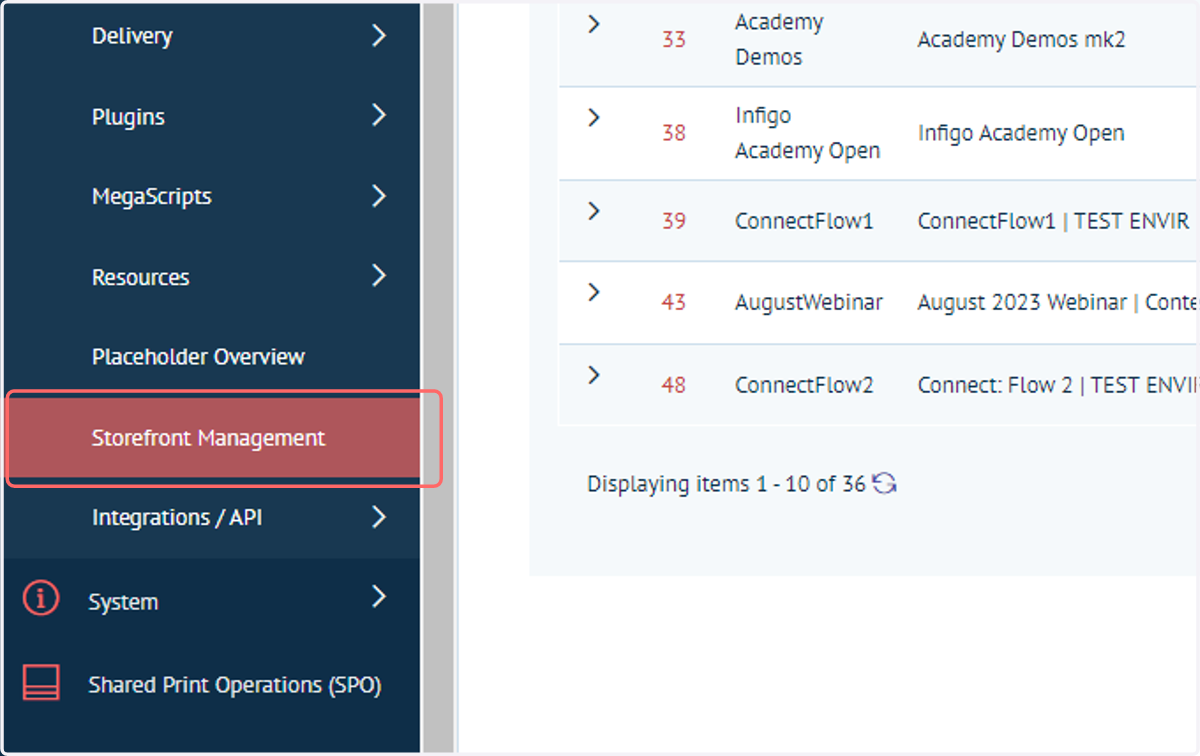
10. Click on Storefront Management
This is the second screen associated with the management of multiple storefronts.
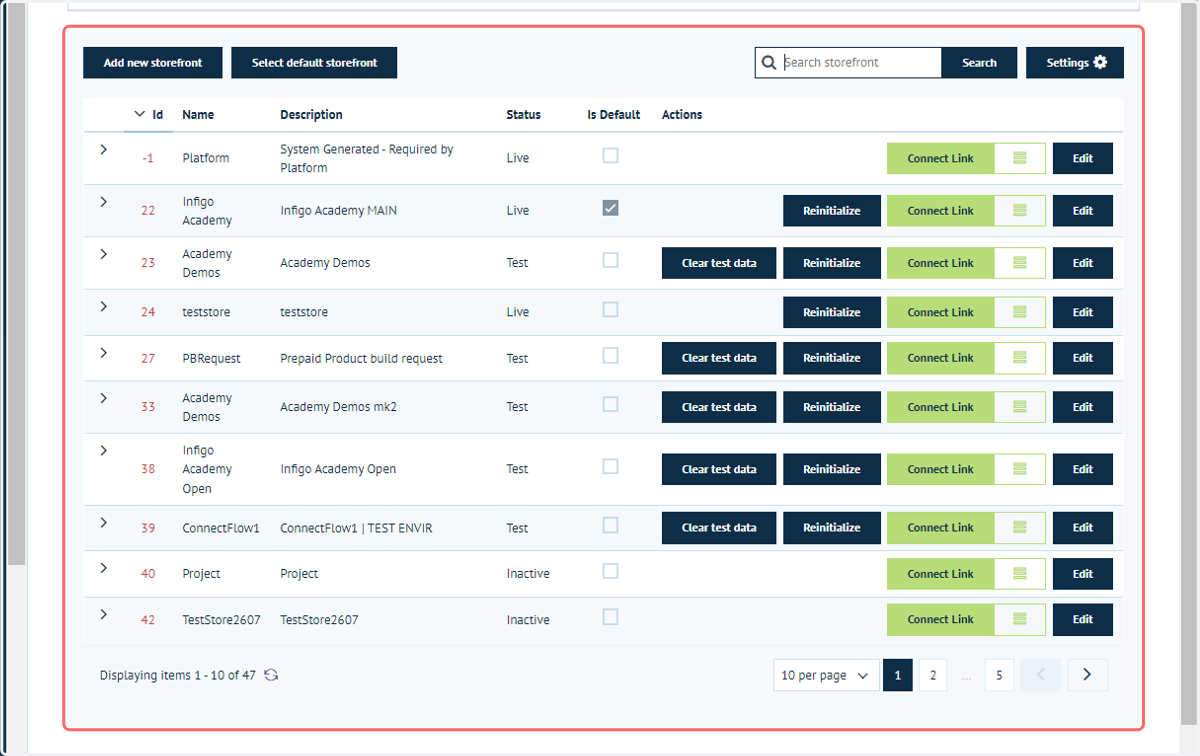
11. The UI is virtually identical, however some additional options are available from within this screen
Within the main displayed table, additional options include:
Creating a new storefront on your Infigo platform (click "Add new storefront")
Selecting a new default storefront that will be considered the primary storefront (click "Select default storefront")
Clear test order and customer data (click "Clear test data") and change the storefront status (click "Edit) - Find out more about these options here
12. Expanding a Storefront will reveal existing bindings, and provide the ability to create new bindings.
These bindings are the URLs you wish to use to access this particular Storefront.
Your Infigo platform will have a URL, such as "https://myplatform.infigosoftware.com"
Creating a storefront with a binding of "mystorefront", will mean this storefront can be accessed through the URL:
"https://myplatform.infigosoftware.com/mystorefront"