Placing shipments automatically using Easypost
In this tutorial, we will learn how to configure Easypost and the Easypost plugin within Infigo, to automatically place a shipment order, when a customer completes the checkout process on a storefront.
Use case for automatic shipment orders:
An online store that ships a large number of identical items can use an instant label purchase system for fast and efficient shipping. As the items are predictable in size and weight, the label can be generated automatically without the need for a human eye to verify it. This system is particularly useful when there are no customs involved or the courier is not overly strict around the accuracy of the label. Additionally, if production offsets are used, the label can be generated immediately for the correct shipment date, streamlining the shipping process further.
Infigosoftware
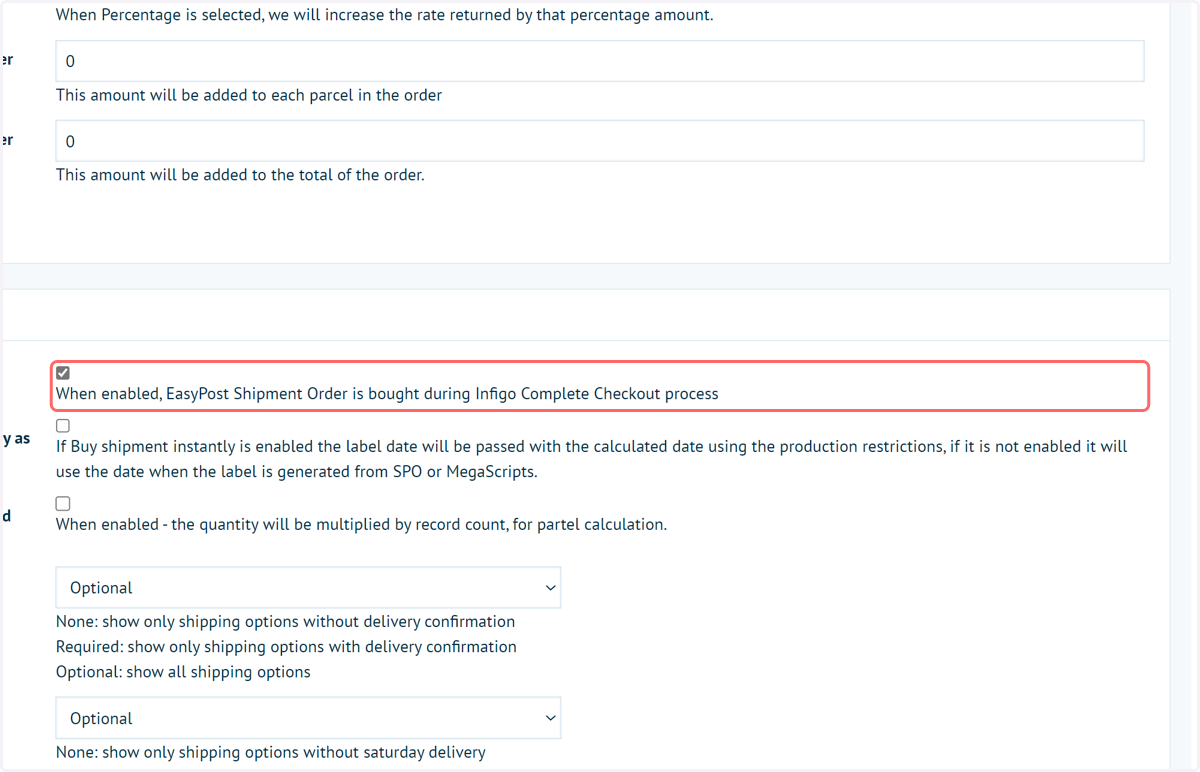
1. Enable Buy Shipping Instantly
This setting, under the General section of your Easypost configuration, allows you to determine whether Infigo send a request to Easypost as soon as the order is placed.
When enabled we will send a request to Easypost as soon as the order is placed. This means that you won't have to trigger the shipment manually but you will also not necessarily be able to control on an order by order basis the parcels and sizes that are sent.
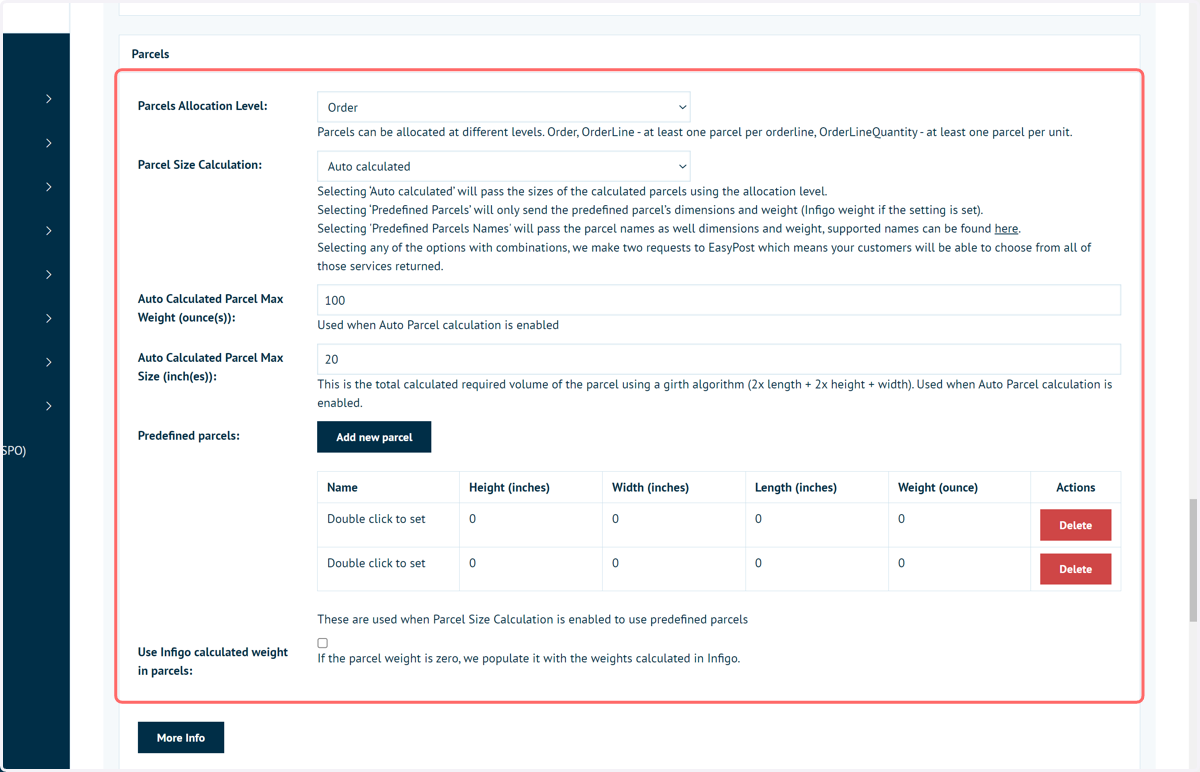
2. Click on Parcels Allocation Level:…
When you have Auto Parcel Size Calculation set to true we will send all the calculated parcels in the request. When you have Auto Parcel Size Calculation set to false we will send all your predefined parcel sizes in the request.
When Buy Shipping Instantly setting is true we will request a shipping label for every predefined parcel size you have configured. If you also have your parcel allocation level set to Order Line or Order Line Quantity then your predefined parcels will be requested for each of those too.
Auto Parcel Size calculation settings are covered in another tutorial.
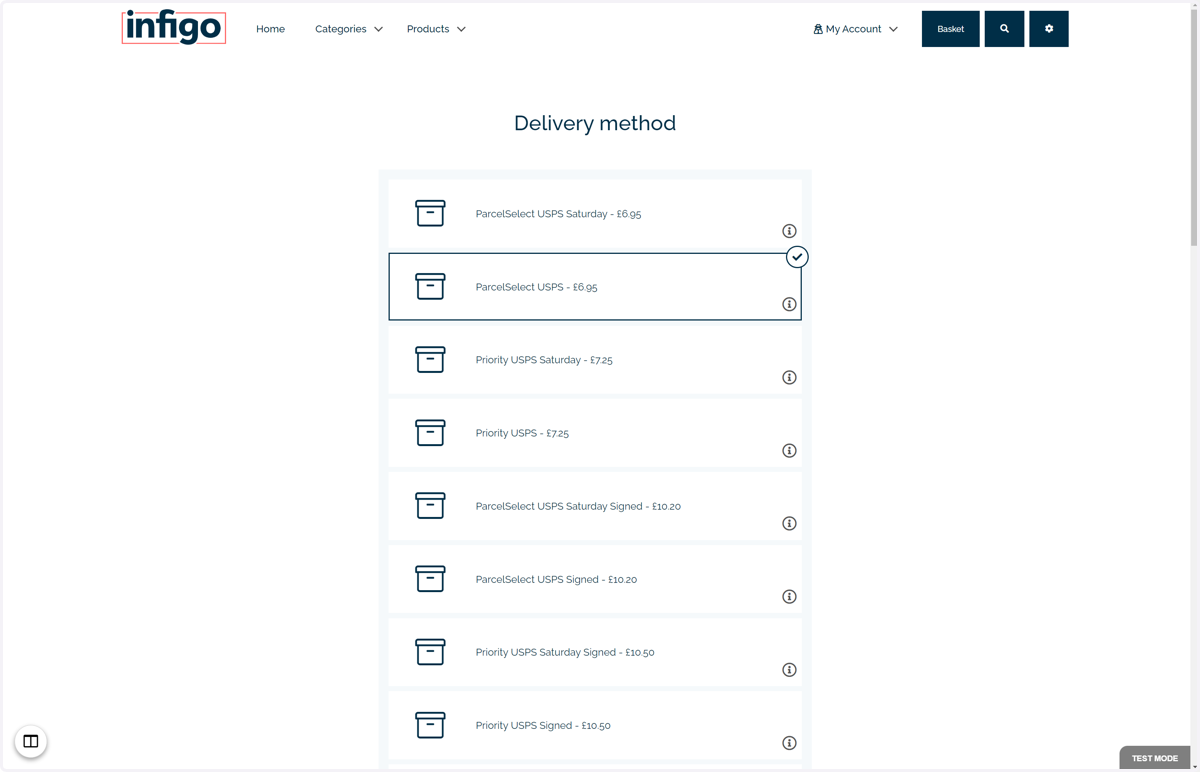
3. Next, we will place an order on our storefront, selecting a carrier with rates provided by Easypost
Easypost
4. Go to www.easypost.com
With this order placed, we will verify the shipment order has been placed within Easypost.
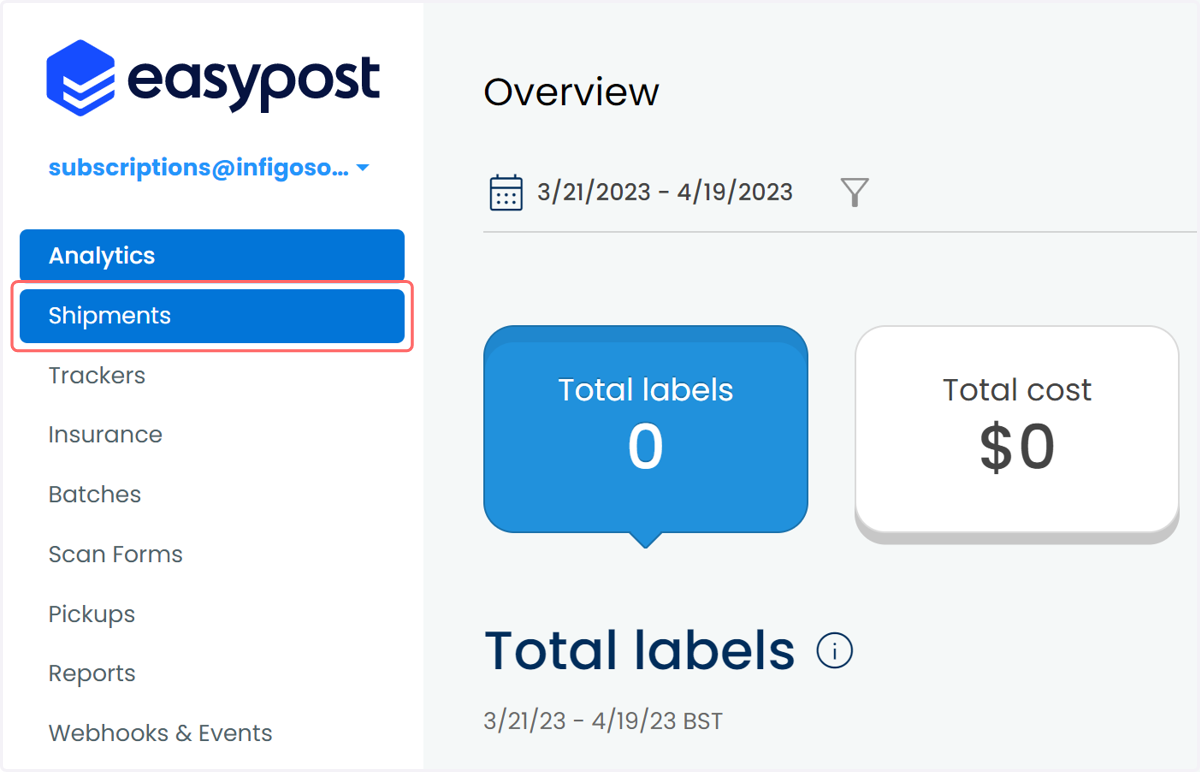
5. Click on Shipments
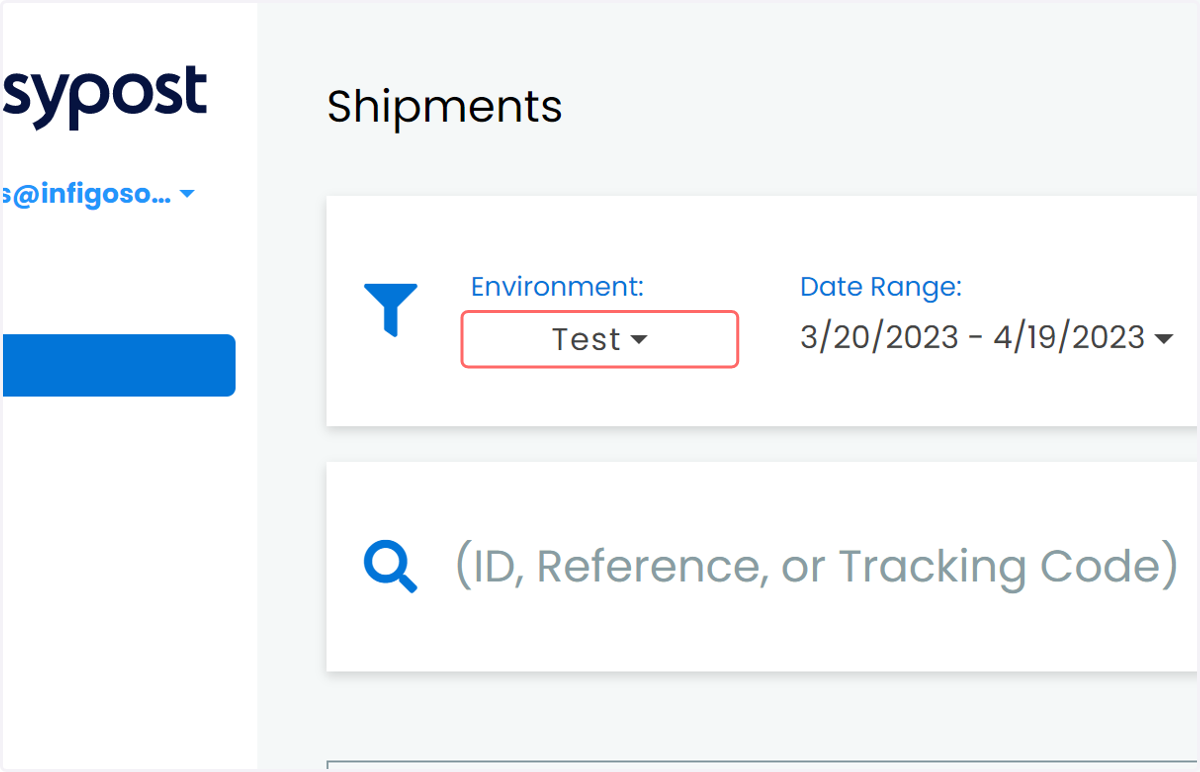
6. Click on Test
In our example, we are utilising the Test environment
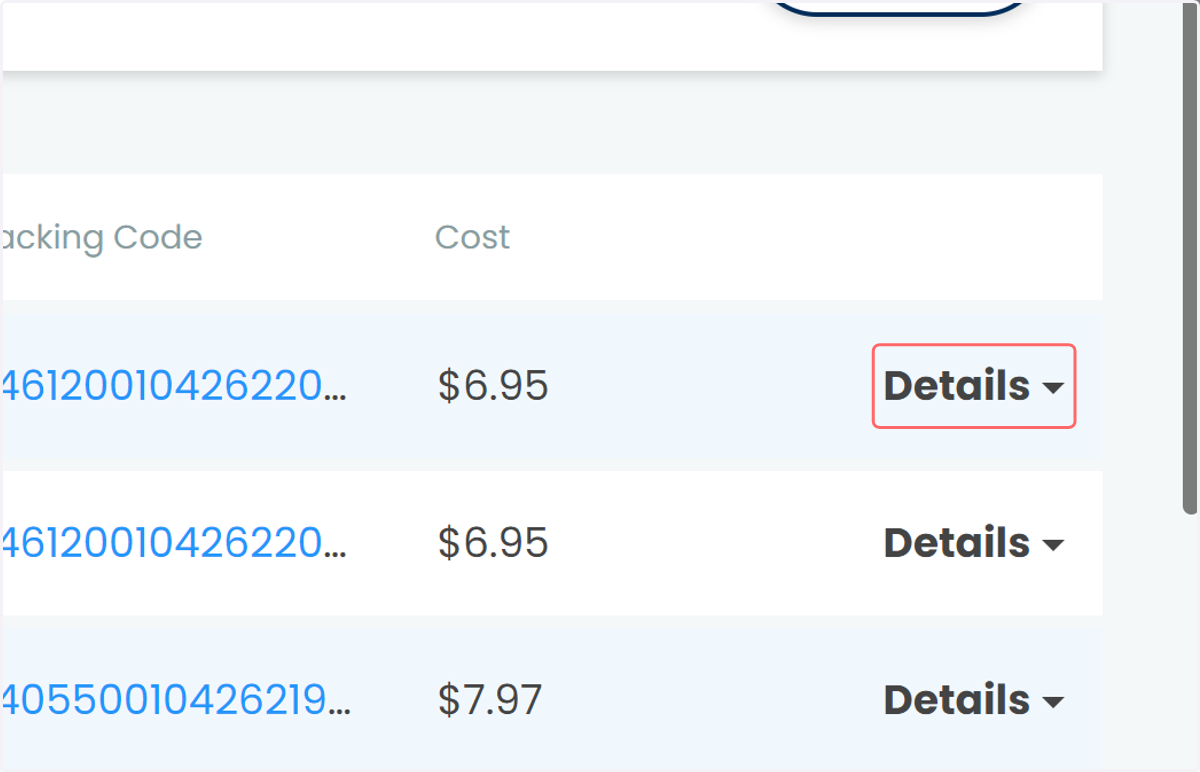
7. Our latest shipment order can be seen within Easypost. Click Details to access additional information.
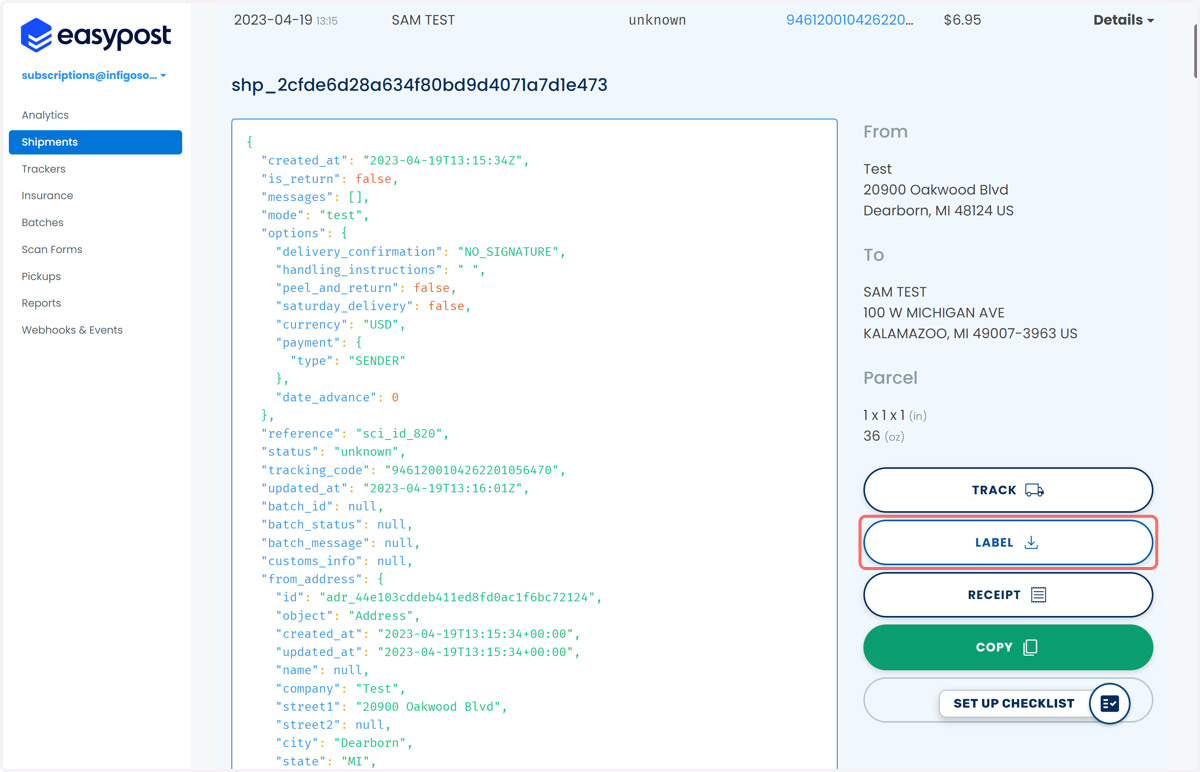
8. Information on the shipment order can be accessed
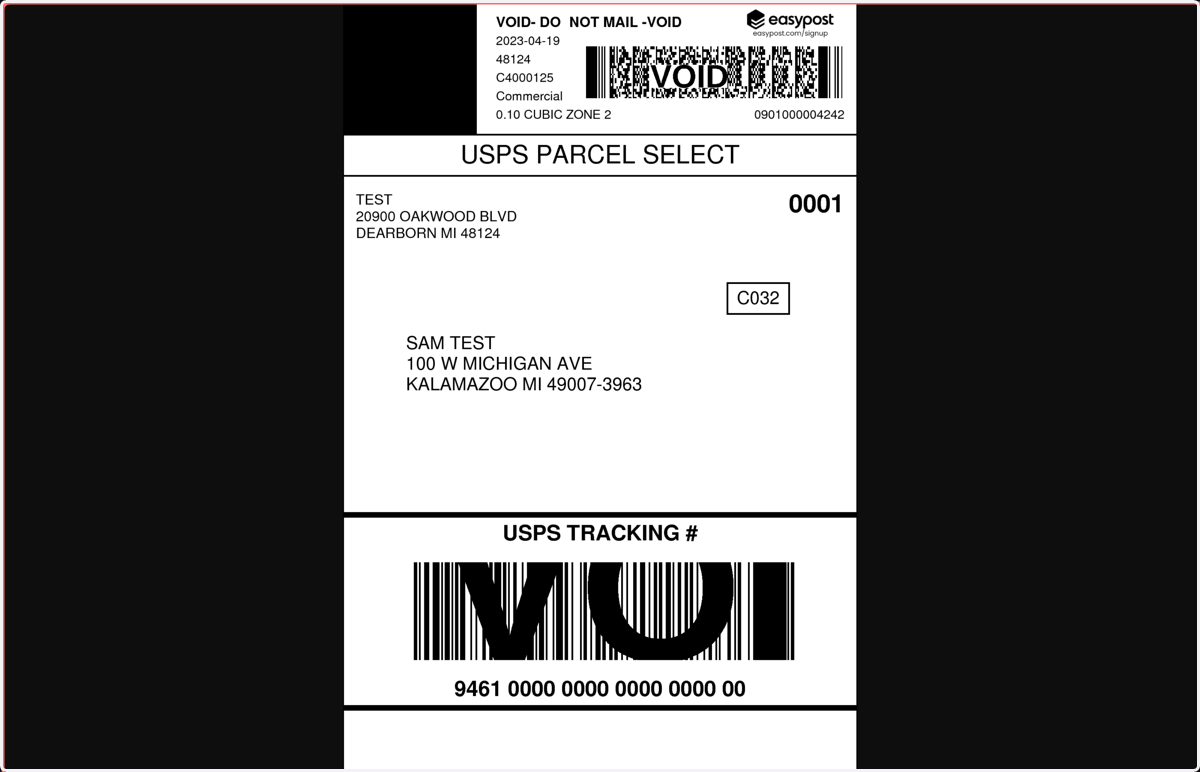
This includes details on order origin and destination, as well as tracking information, access to the shipping label and a receipt.
Amazonaws
9. Click on highlight
Infigosoftware
10. Go to your Infigo storefront admin area
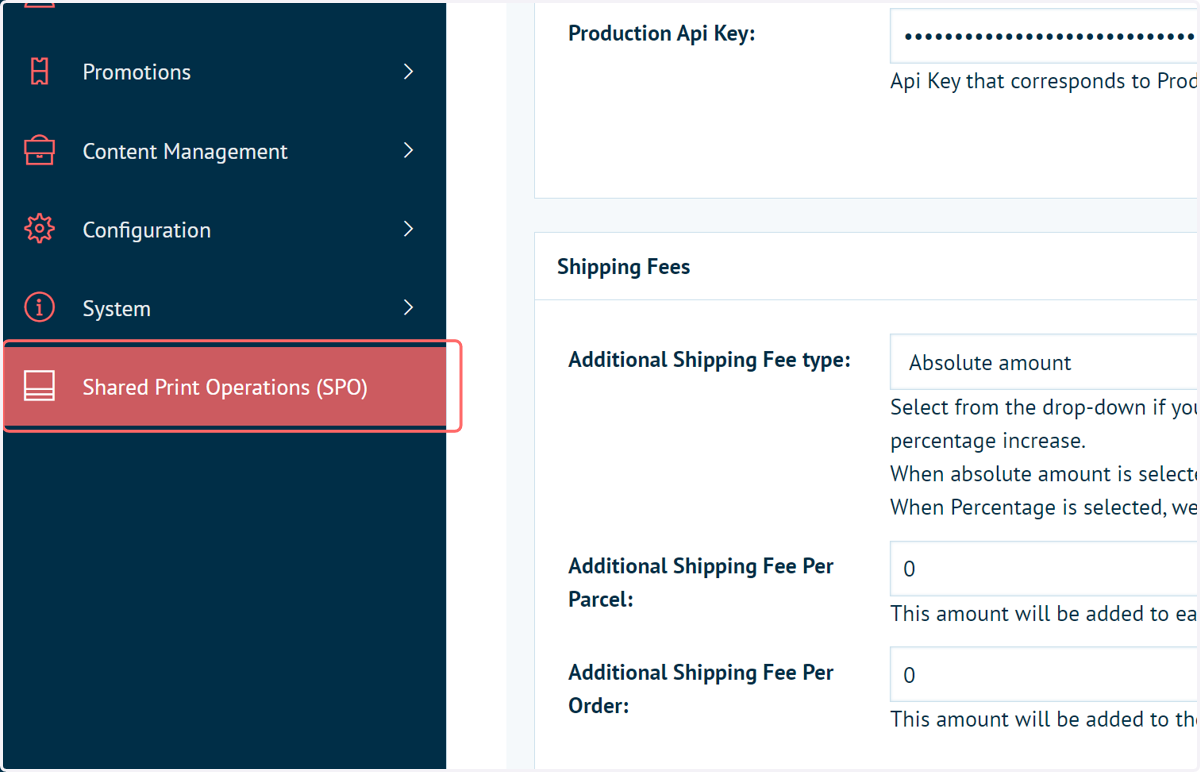
Next, we will take a look in our Shared Print Operations area within Infigo, to verify the information from Easypost has been passed back to Infigo.
11. Click on Shared Print Operations (SPO)
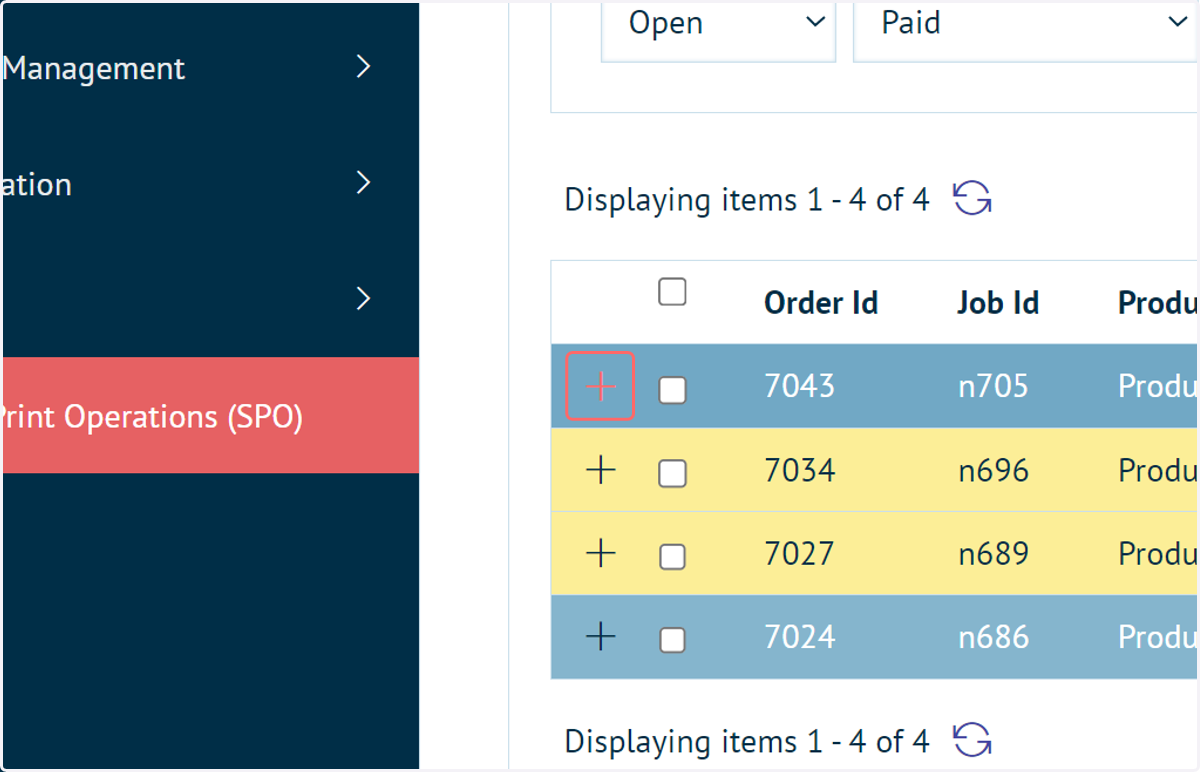
12. Locate your order and click the '+' icon to see further details
13. Shipping information is fully populated in SPO
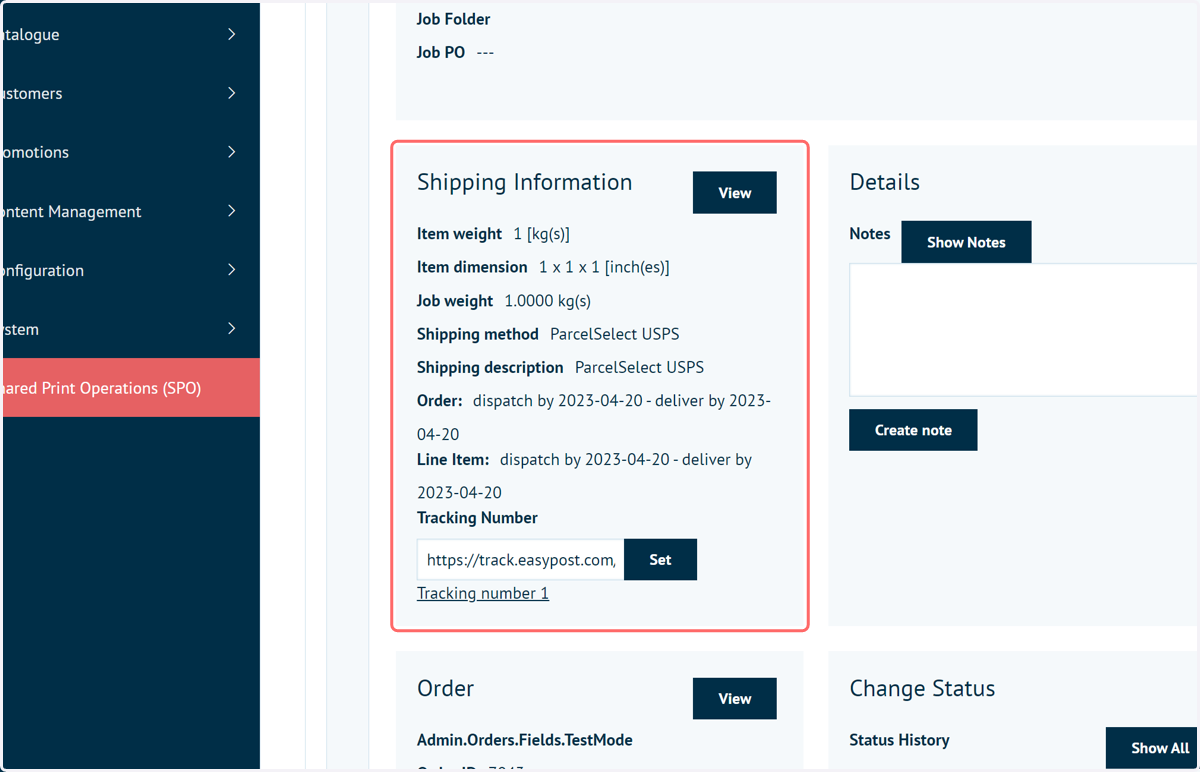
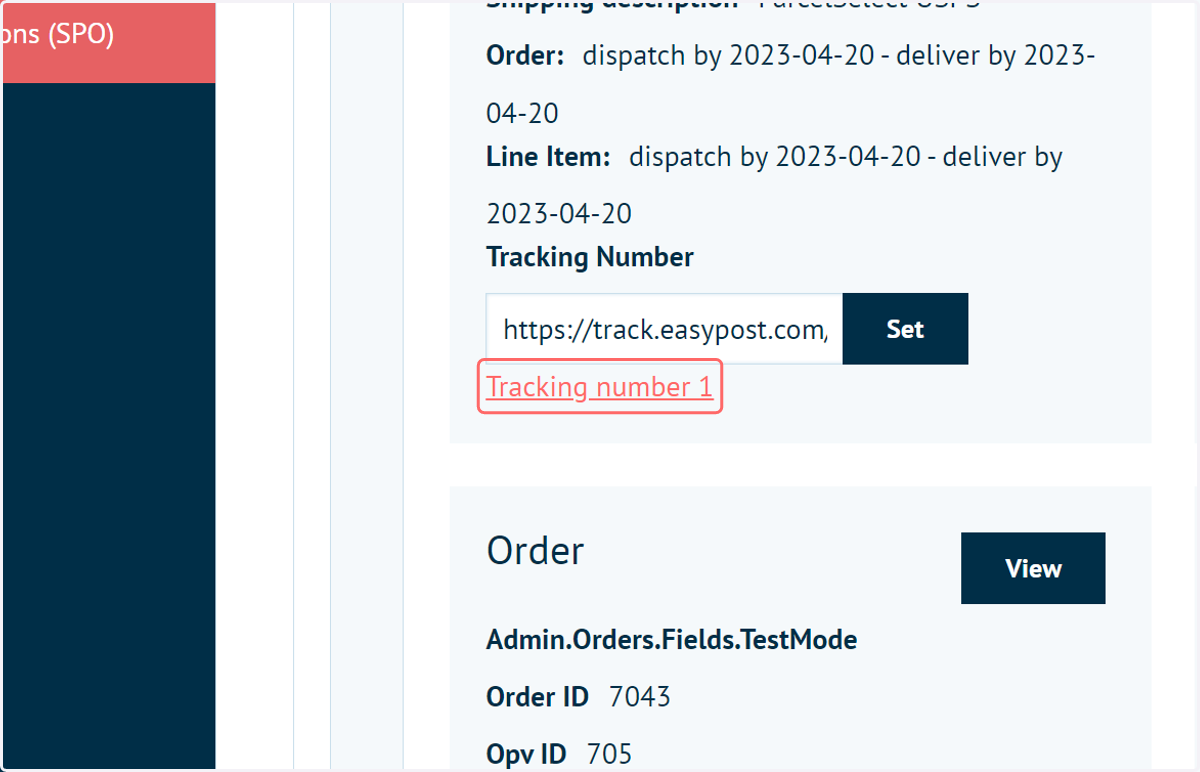
14. Tracking information can be accessed directly
Easypost
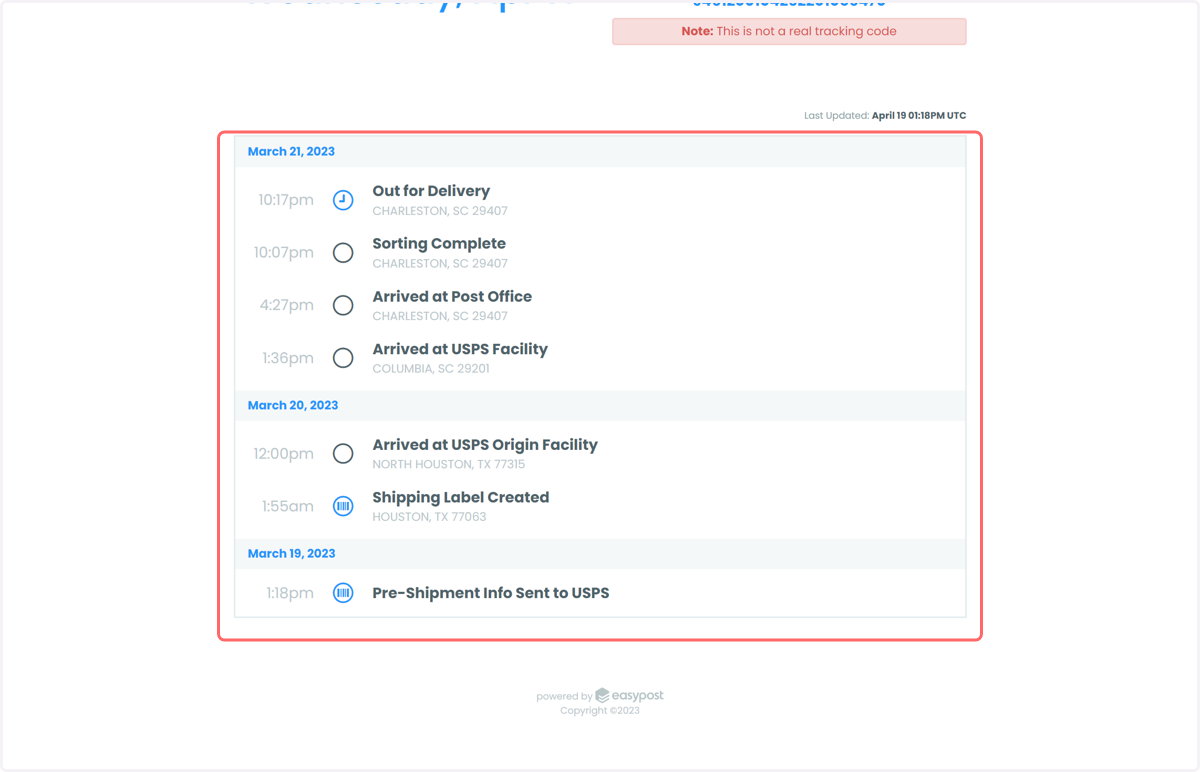
15. Click on March 21, 2023…
Infigosoftware
16. Click on View to access additional information on this shipping order
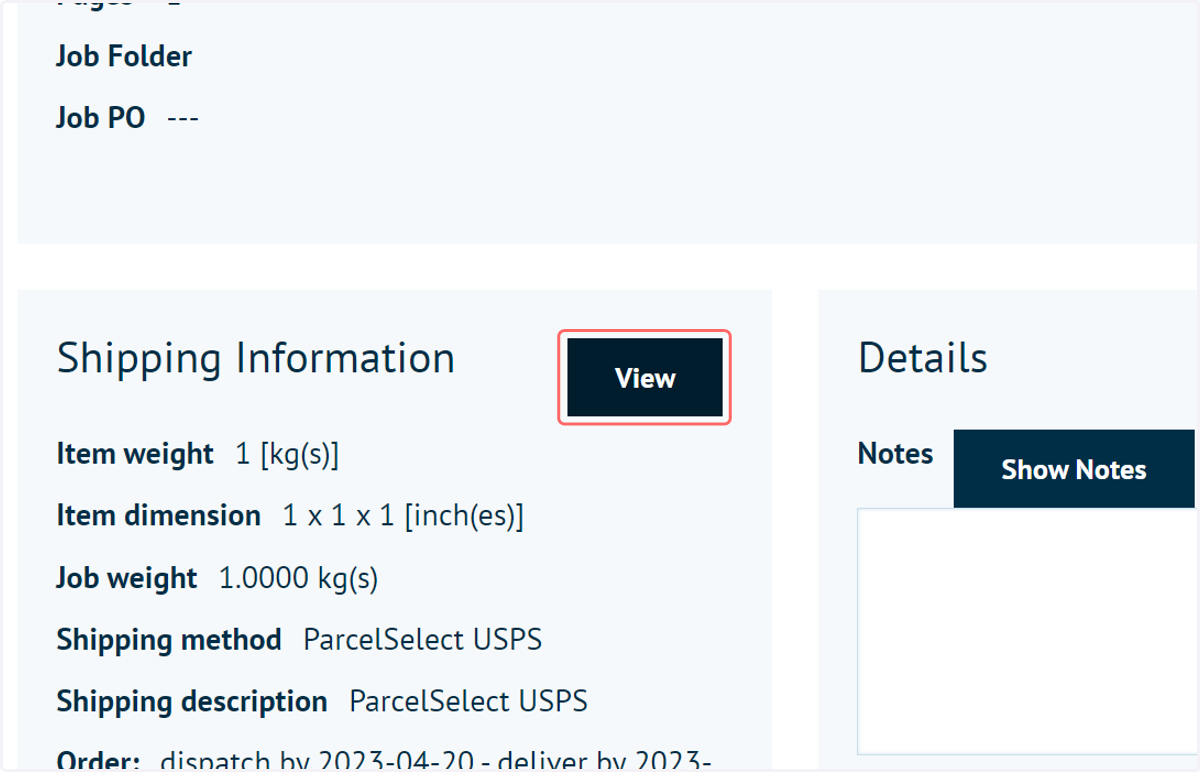
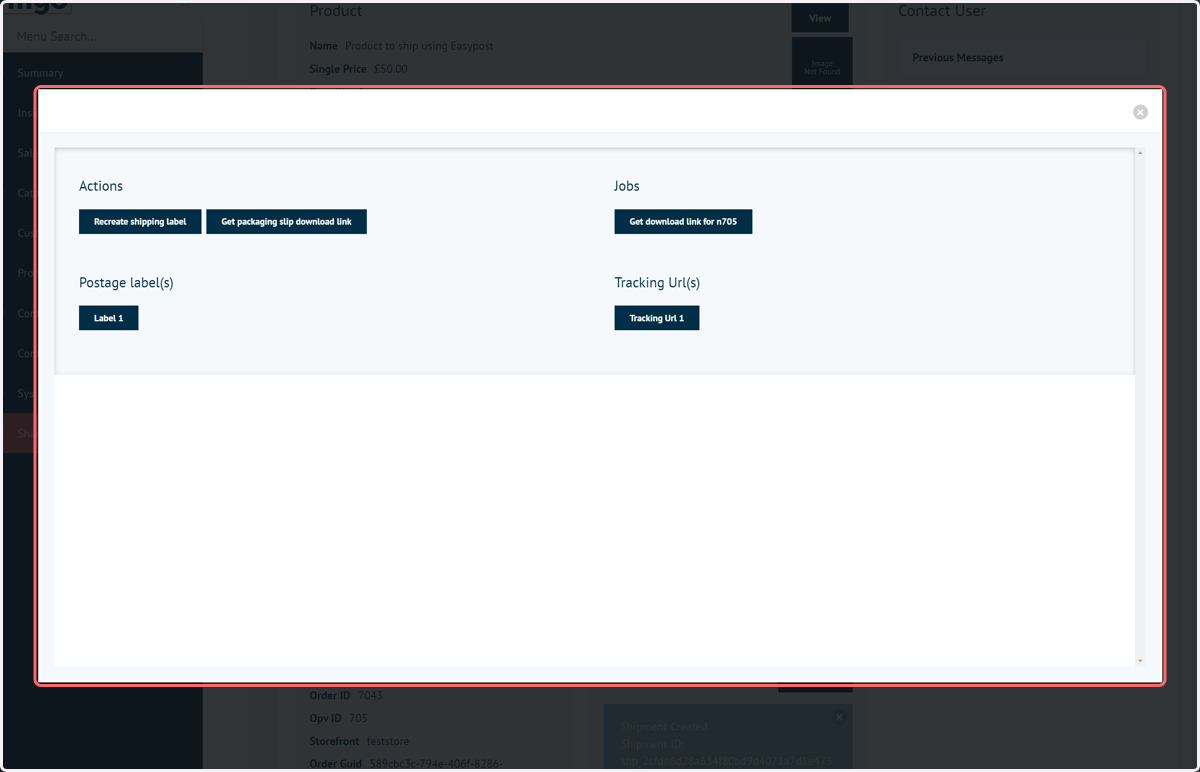
17. Shipment Order review screen
Additional commands on this screen allow you to download and view different elements of the shipment order, including access to the shipping label.