Group Suppression in Infigo Invent | IV_023
This tutorial will take a look at group suppression. This is a piece of functionality where fields on a dynamic template can be set to move based on the bahaviour of other fields.
In our example, we'll take a look at a business card, where users have the ability to enter:
A phone number
A mobile number
None
Both
In each of these scenarios, the bahaviour of the surrounding text fields is to change.
1. Our initial example
We have two form fields controlling two matching fields on the artwork.
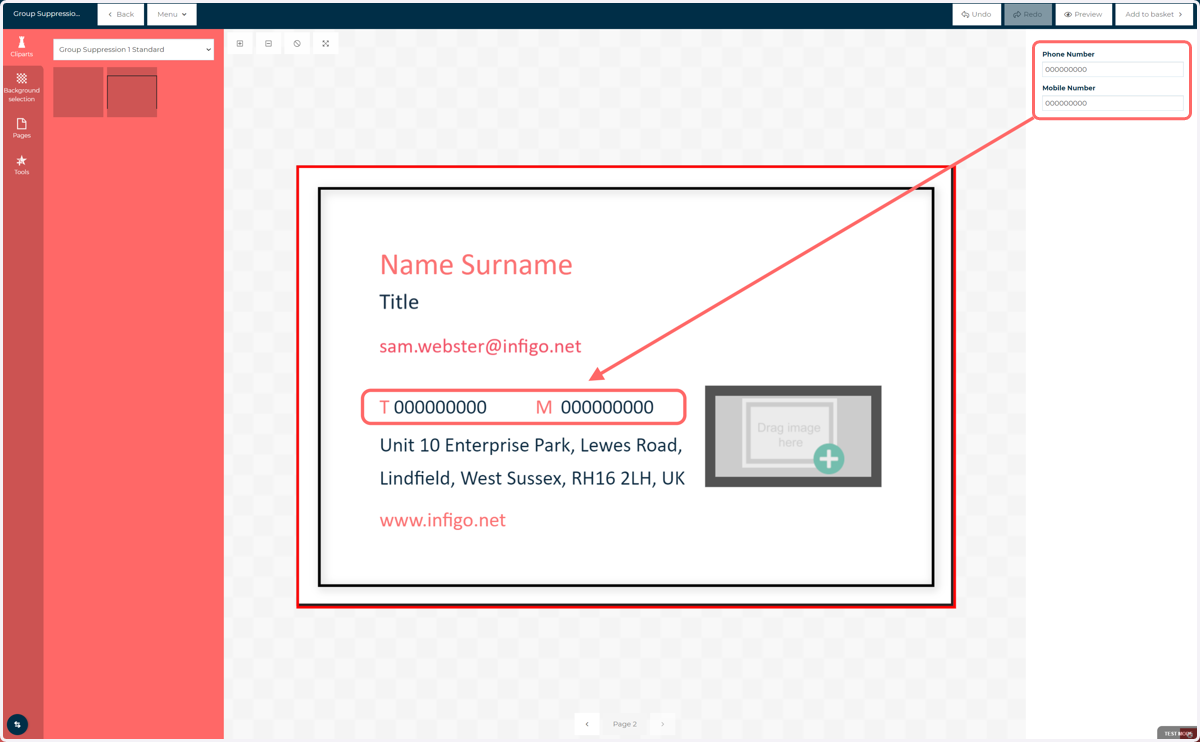
2. Horizontal spread
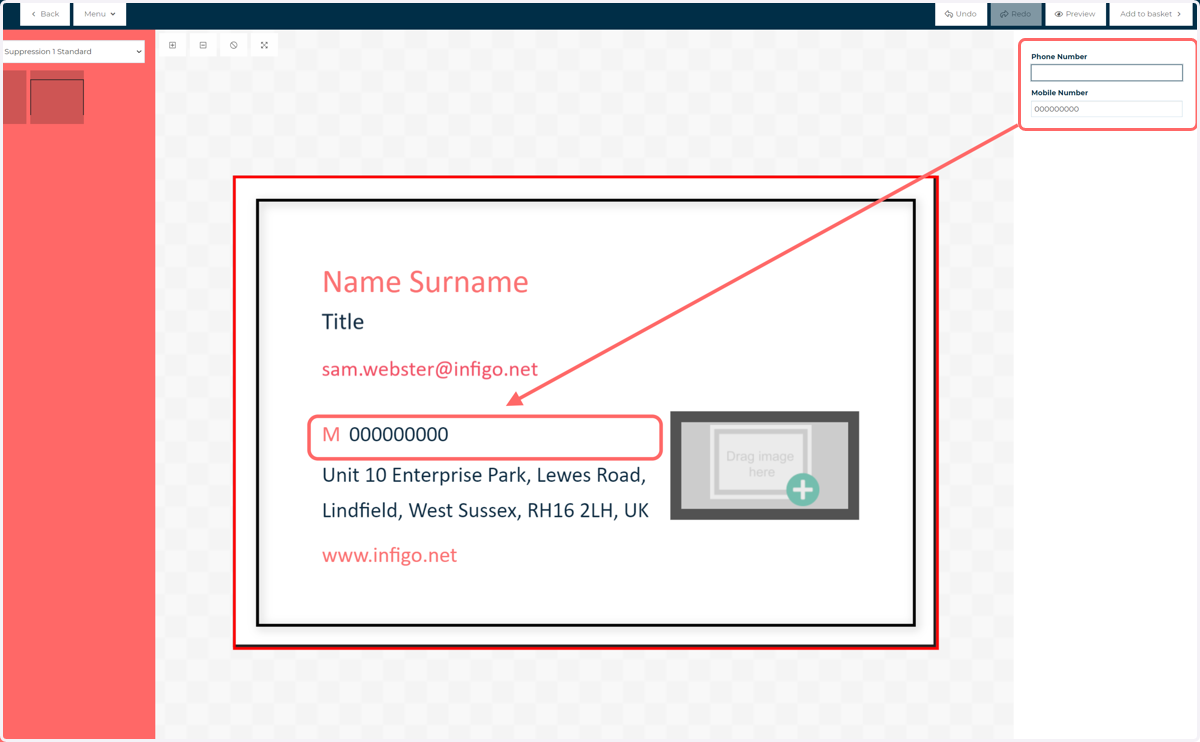
When we remove the phone number, both the number itself and the corresponding letter "T" are removed.
In addition, the Mobile number fields move to fill the space.
3. Horizontal spread
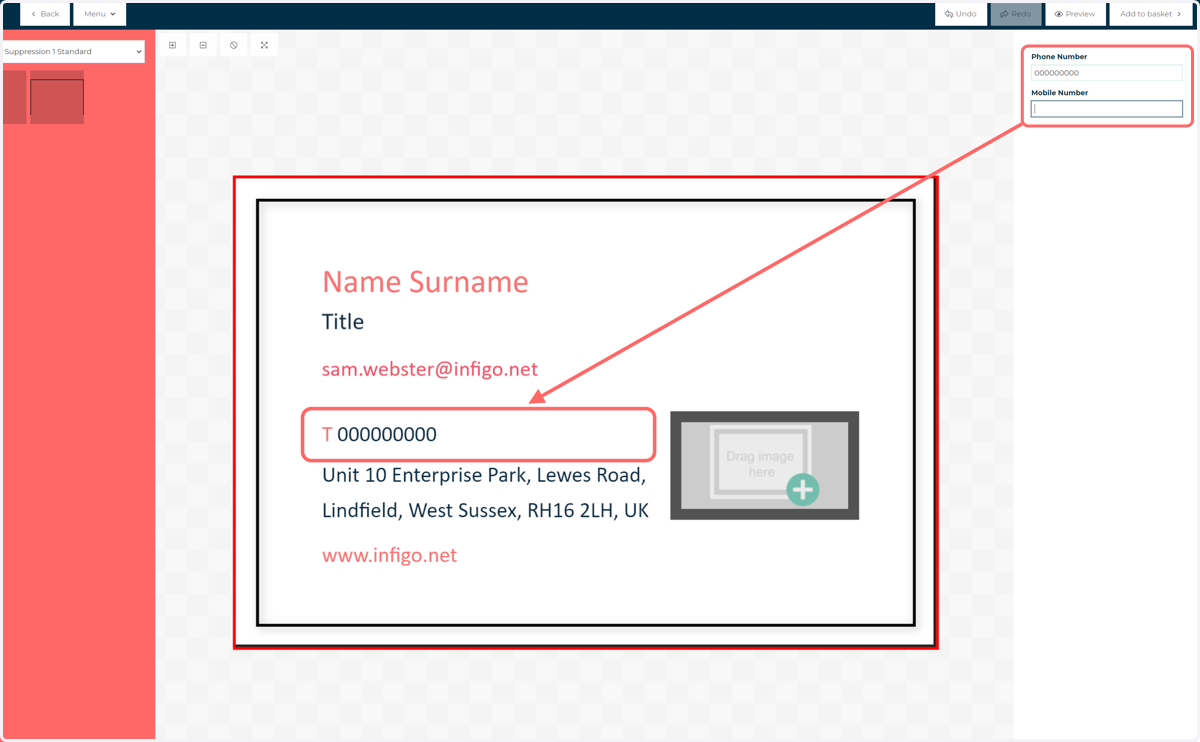
The removal of the mobile number removes both the number and the corresponding "M" from the artwork.
The telephone section is not set to move here, as it is already in position. This is accomplished using Horizontal suppression (covered later).
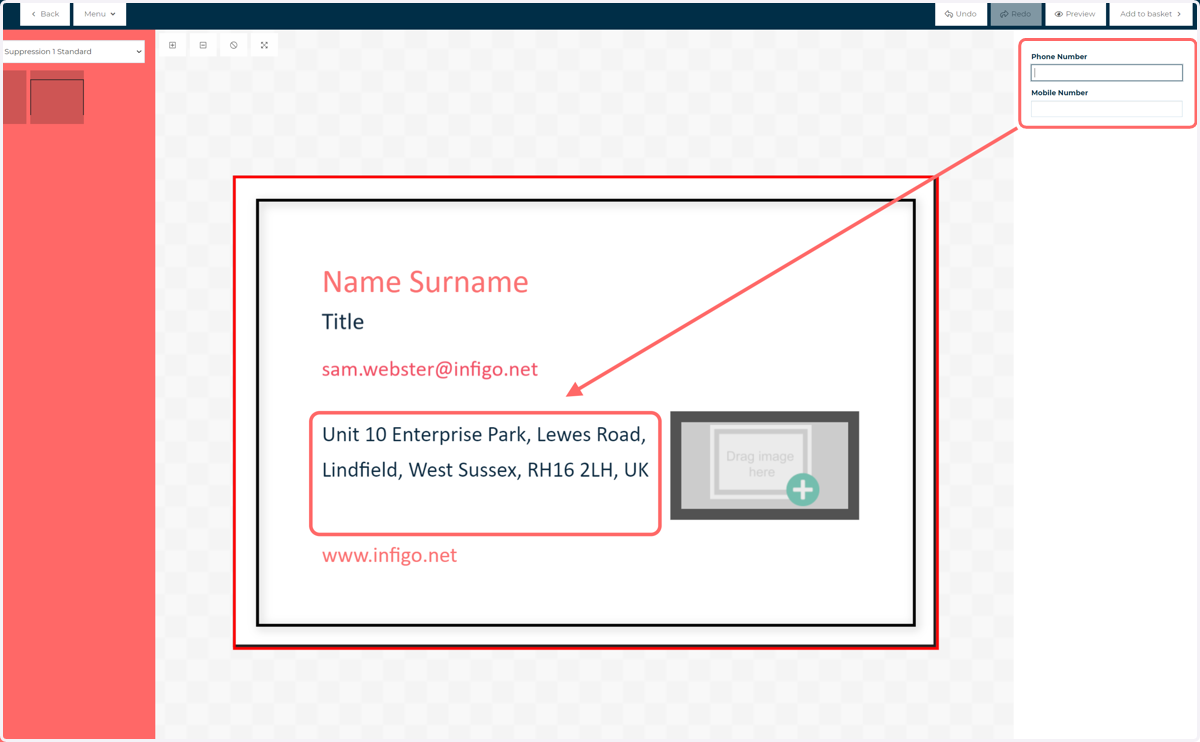
4. Horizontal and Vertical spread
Removal of both phone numbers means a large empty space would be present. The template has been configured so that, in this instance, the address moves upwards to full the void when neither phone number is entered.
Let's take a look at how this is done
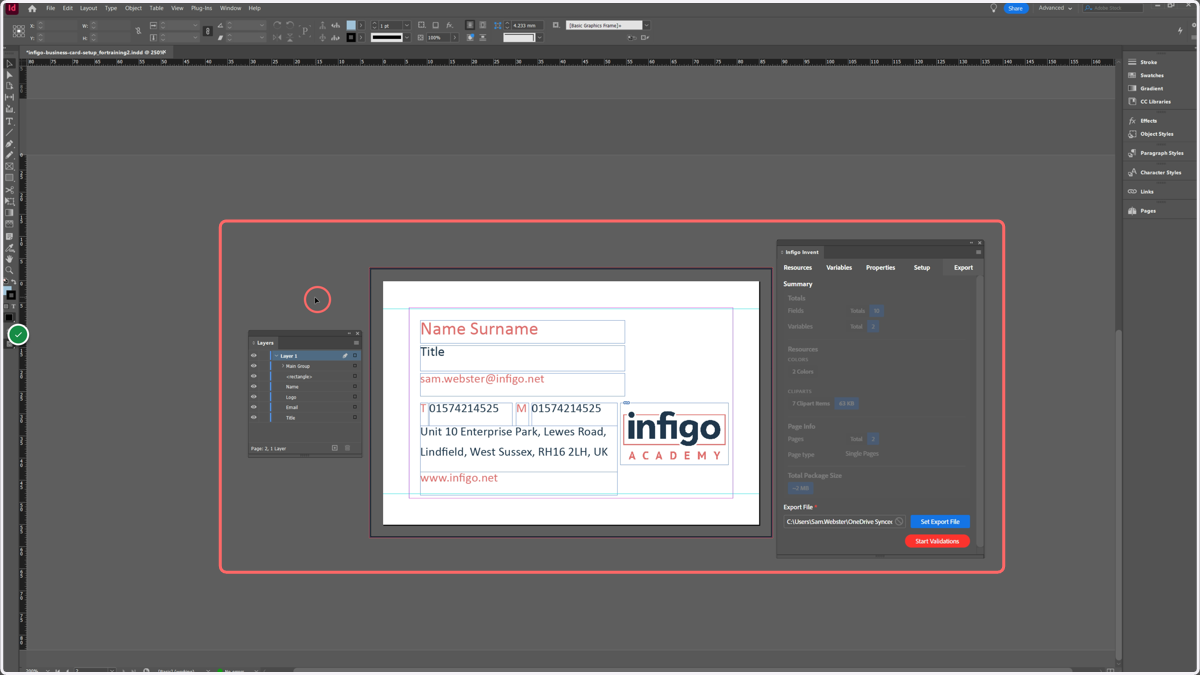
5. Our main tools
Our main tools for configuring this functionality are:
The main artwork
The Infigo Invent screen
The Layers screen
6. The secret to group suppression
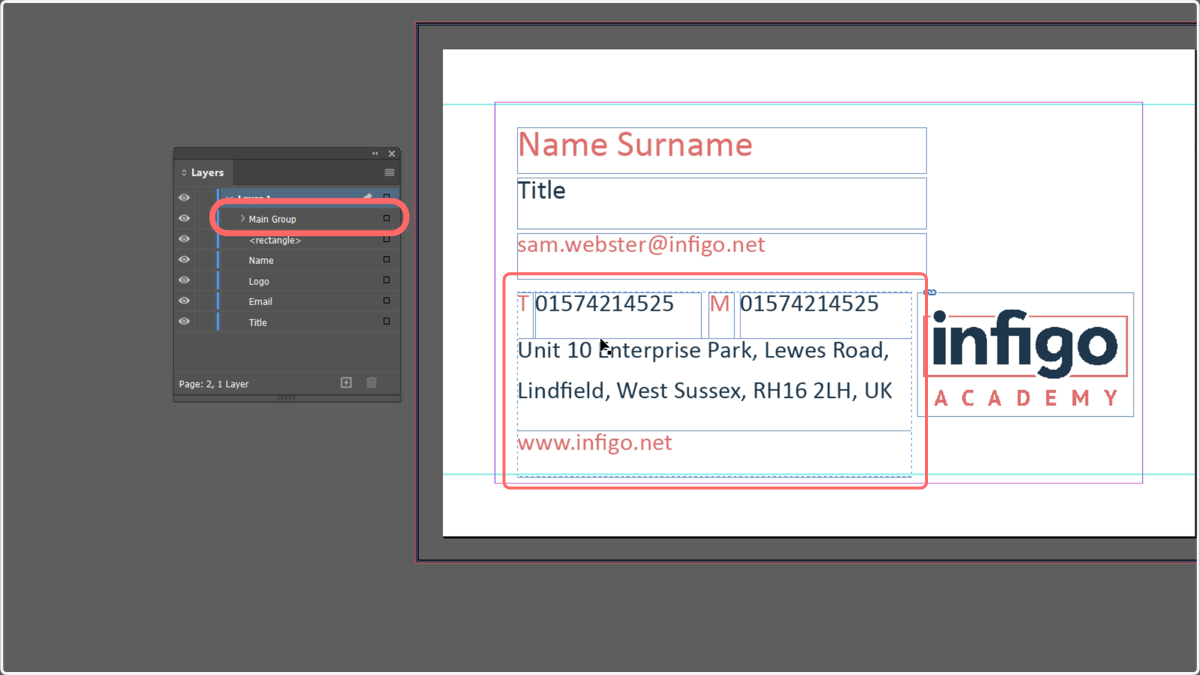
The secret to group suppression in Invent is in the name, groups. This is an InDesign piece of functionality where fields on the artwork can be grouped together.
Infigo Invent utilises these groups to control their behaviour. We'll see how to create groups later.
It's a great idea to rename your groups and individual fields in the Layers tab. This isn't strictly necessary, but will make your life a lot easier going forwards.
7. Nested groups
Groups can be created containing other groups. We use these within Infigo Invent to fine tune the behaviour of different parts of our template.
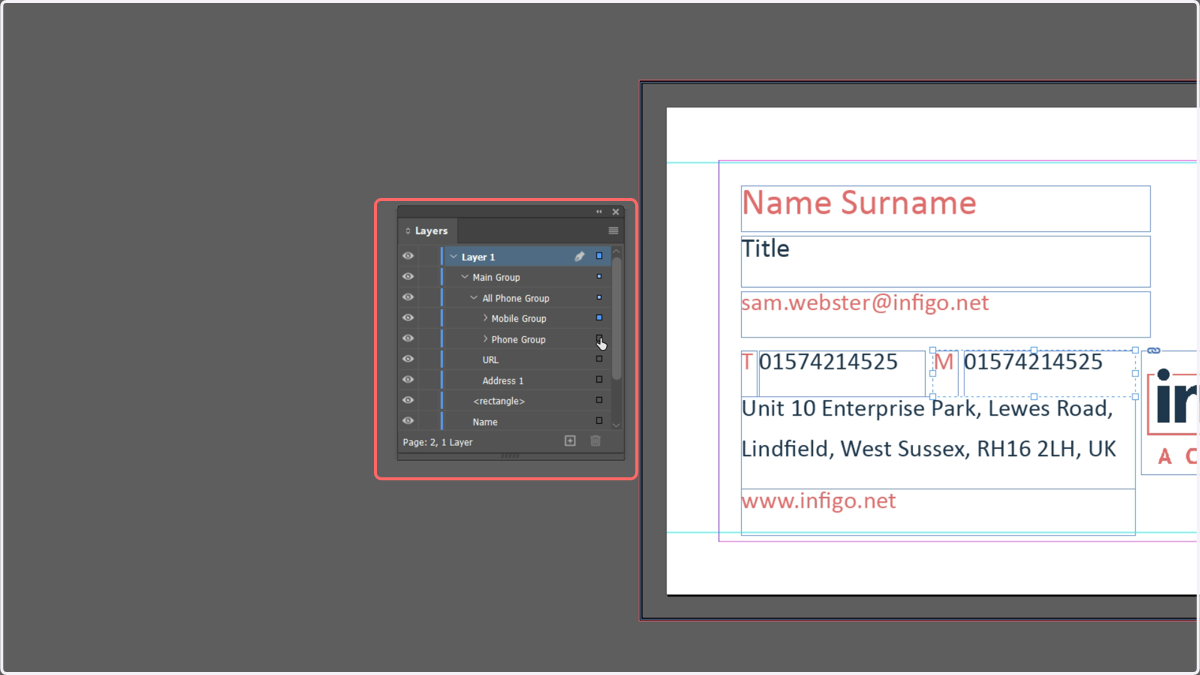
For example, in our example we have several groups controlling the behaviour mentioned at the start of this tutorial:
Telephone group | contains the "T" and the telephone number. Allows us to ensure both will disappear when the number is not entered.
Mobile group | contains the "M" and the mobile number. Allows us to ensure both will disappear when the number is not entered.
The combined telephone group | contains the telephone group and mobile group. Allows us to ensure one group will be repositioned when the other is not displayed.
The "main" group | contains the combined telephone group and the address field. Allows us to ensure the address moves up if no telephone numbers are entered.
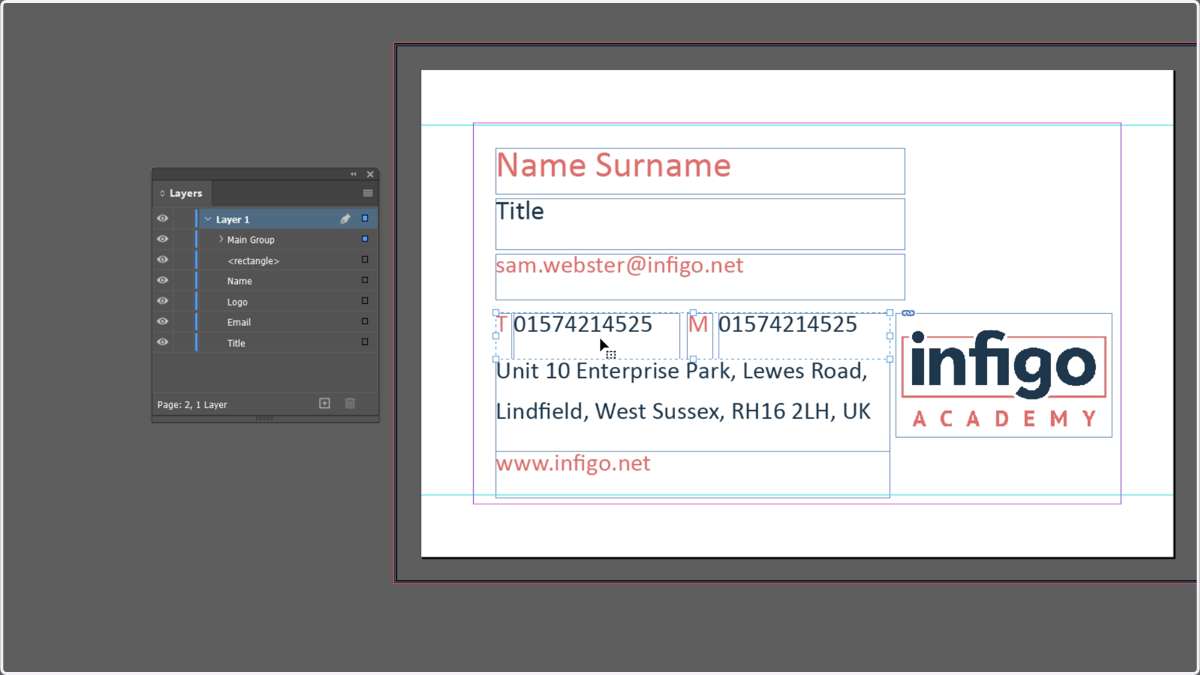
8. These groups can all be selected and renamed in the Layers window
9. Properties
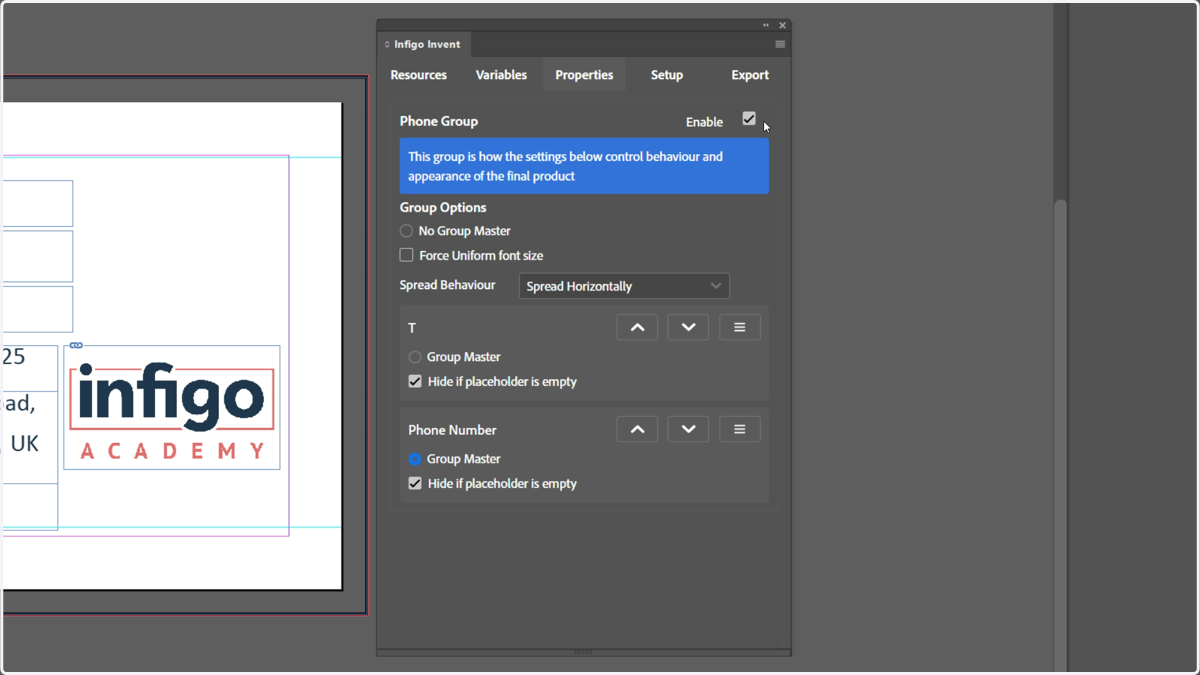
In order for a group to be controlled by Infigo Invent, EVERYTHING within that group must be set to enabled in the Invent Properties tab. This includes all individual fields and all contained groups.
This gives us access to spread behaviour and "Master" behaviour, which we'll cover shortly.
Let's take a look at applying some of this behaviour to the top section of the business card
10. Reconfigured business card
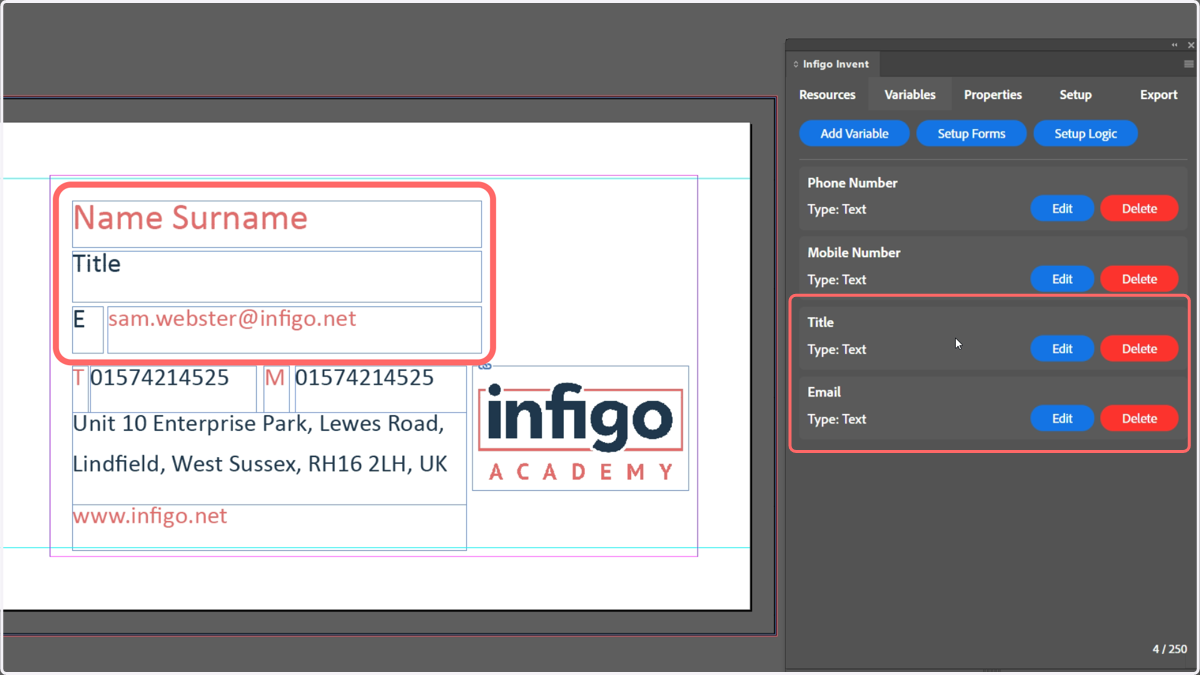
For the continuation of this example, our business card has been reconfigured slightly.
Two additional variables have been created for Title and Email, and are also linked to the appropriate fields on the canvas.
In addition, we have added an "E" field, which we will control along with the email address itself.
11. Begin by creating our Email group
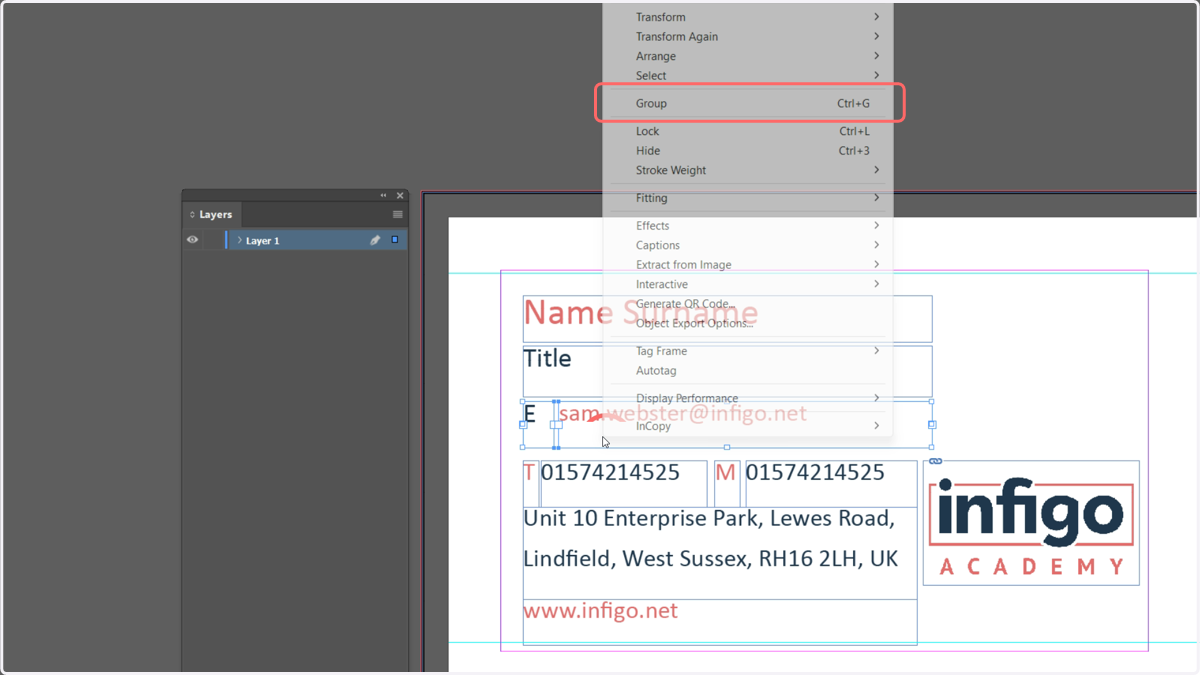
Select both the "E" and email address field.
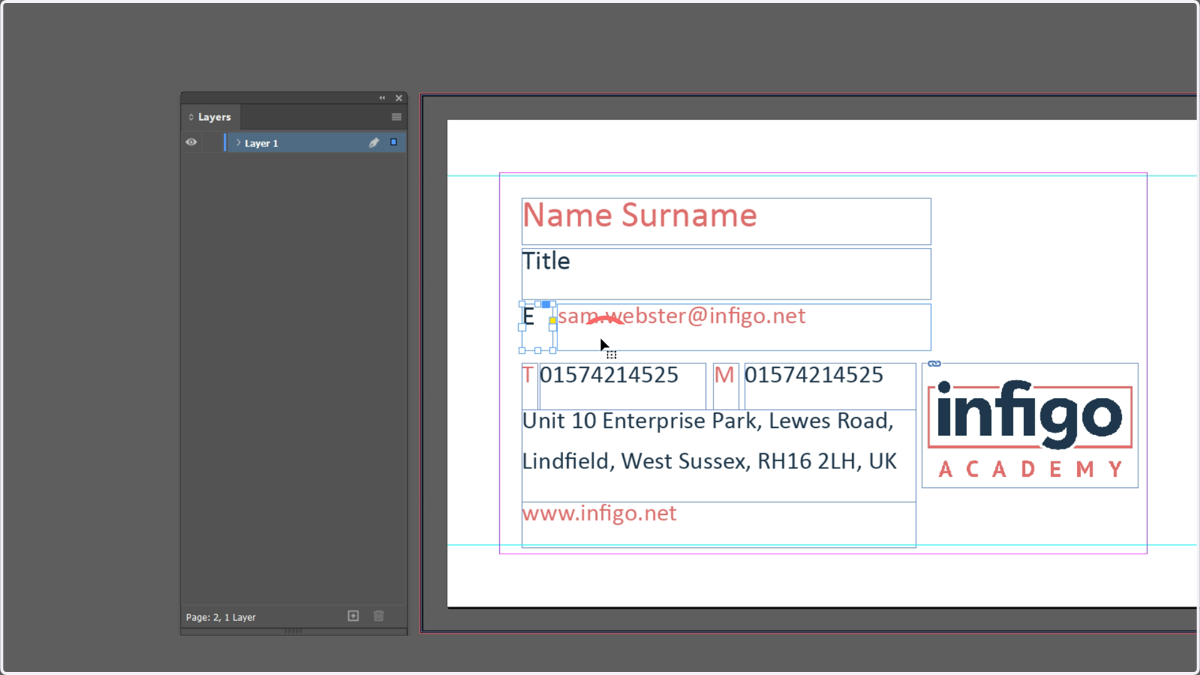
12. Right click and click Group
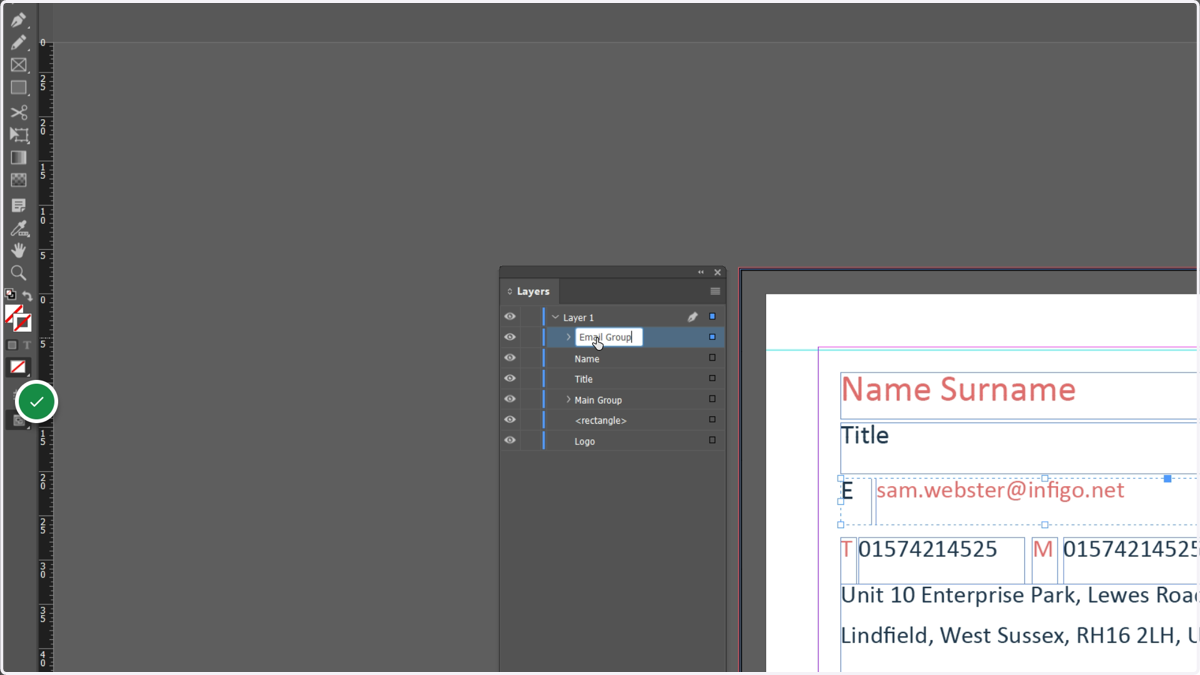
13. Click twice on the newly created group in the Layers window and enter a relevant name
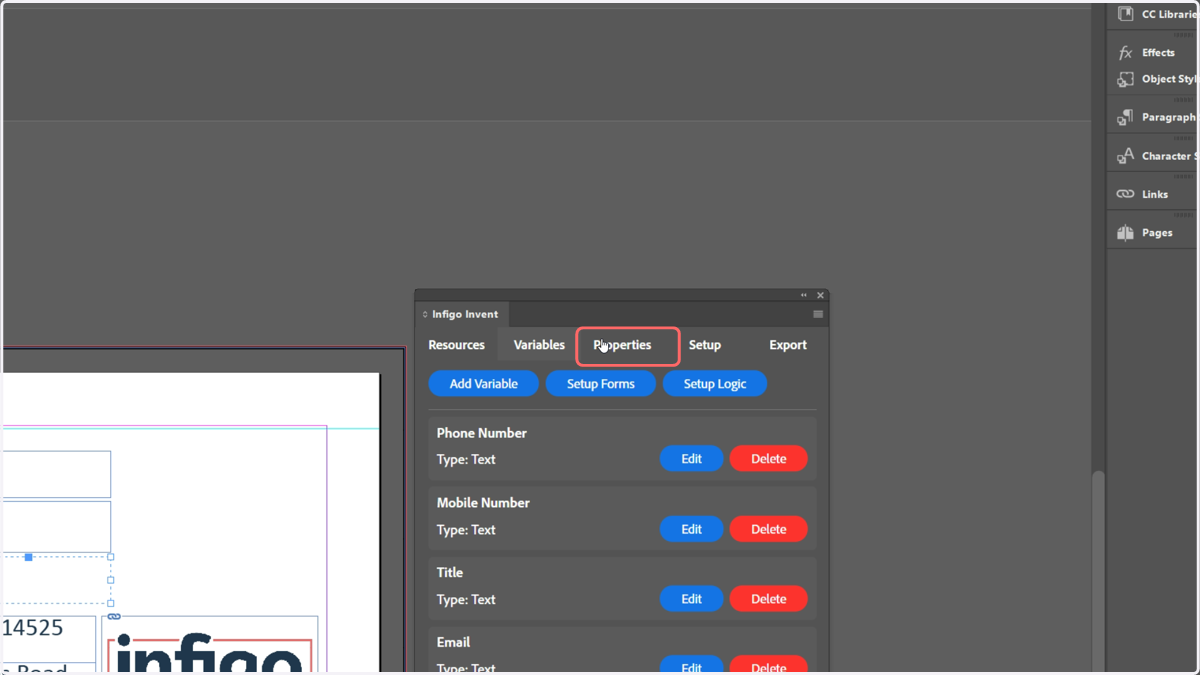
14. With the group still selected, click the Properties tab in the Invent window.
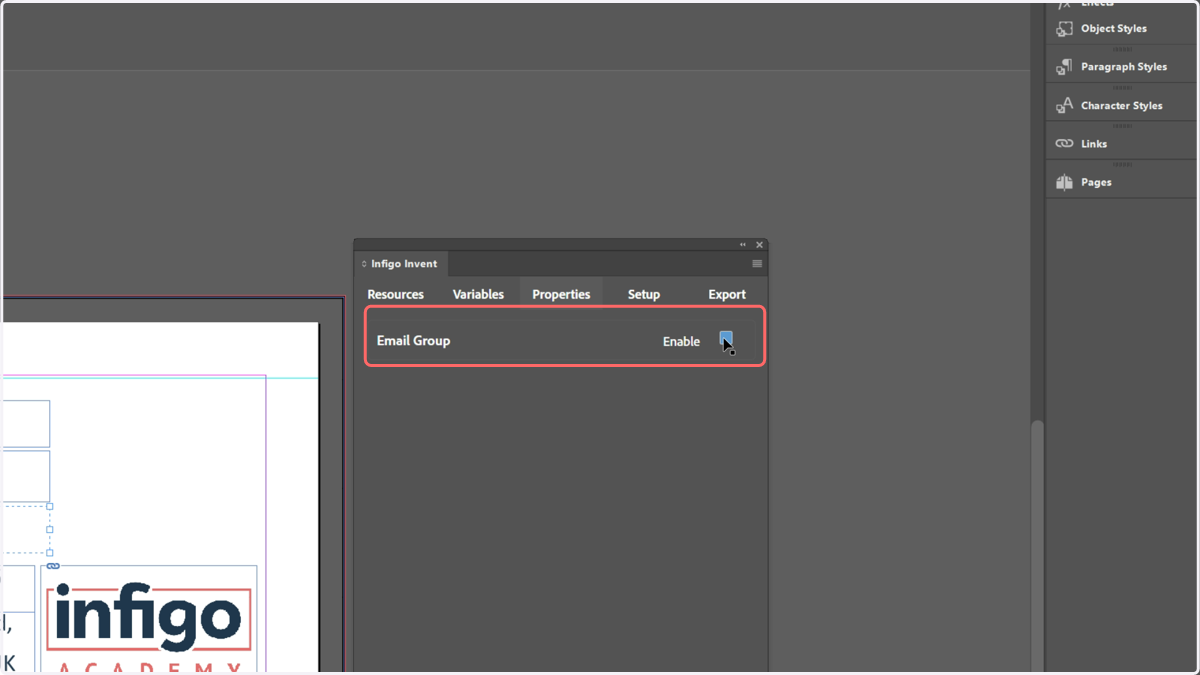
15. Click to enable the group
You will not be able to do this unless all individual fields within the group are also enabled in Invent.
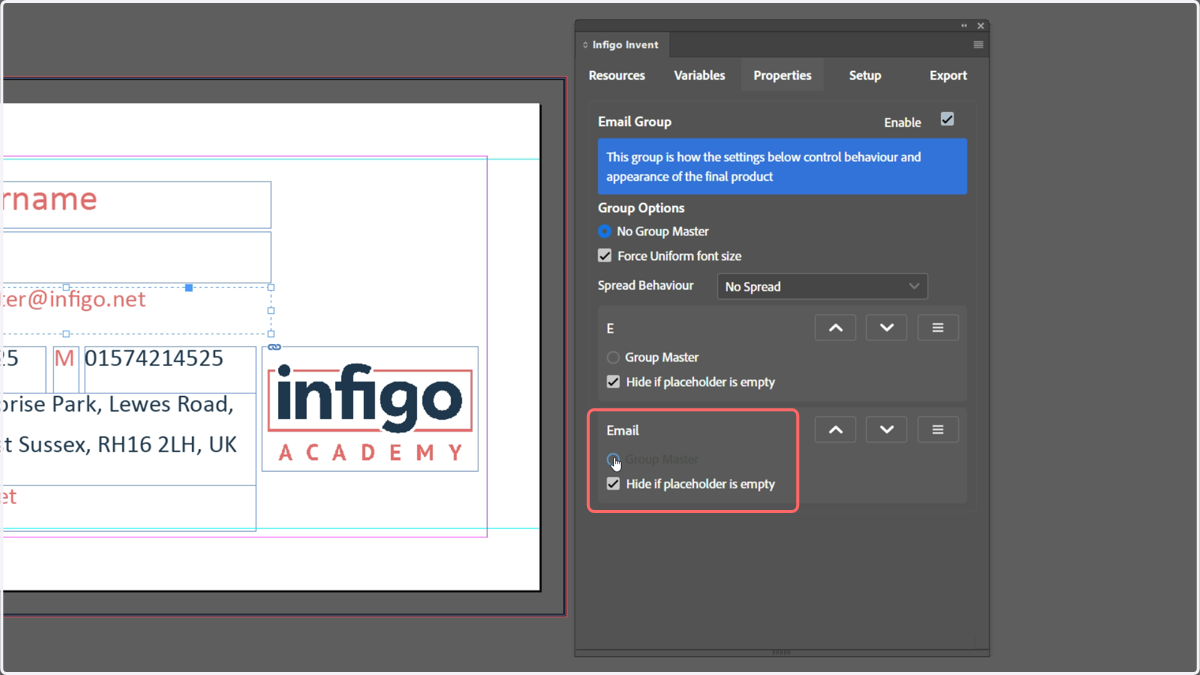
16. Set a group Master
Setting a group master means that the behaviour of the Master field will be mimicked by the other fields in the group.
So here, by setting the Email field to group master and checking "hide is placeholder is empty", we can ensure that should no text be input in the Email field, both it and the "E" field will be removed.
17. Next, create a larger group by multi-selecting them
This group will contain the following fields:
Email group
Name
Title
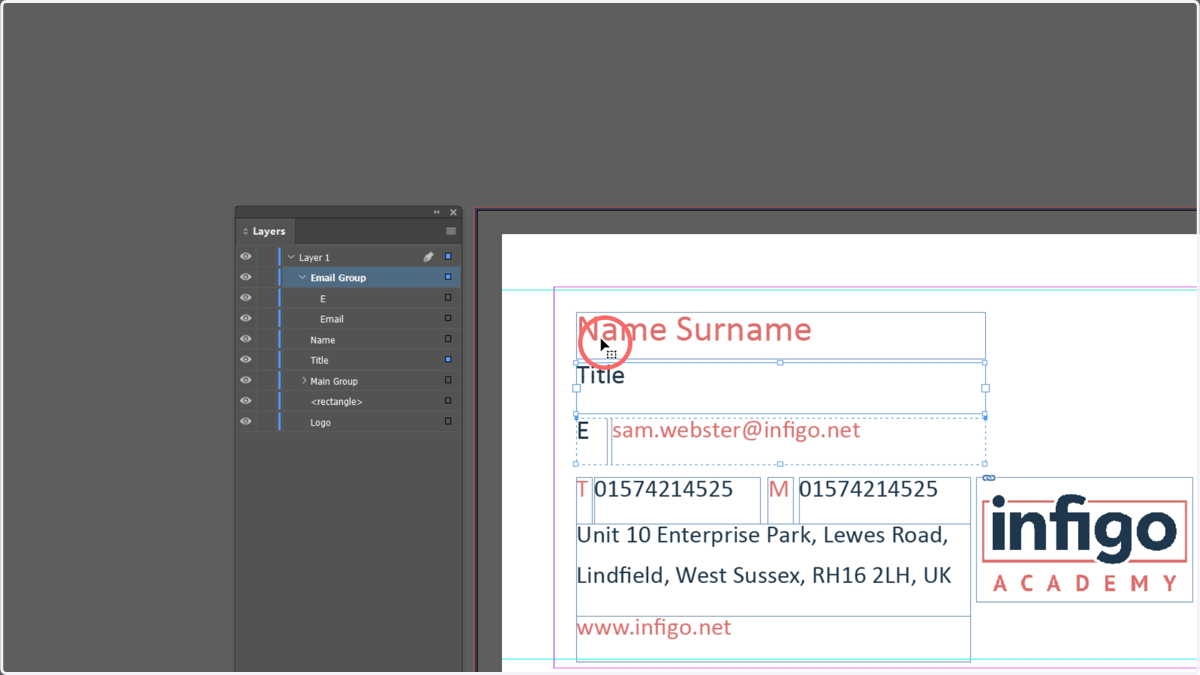
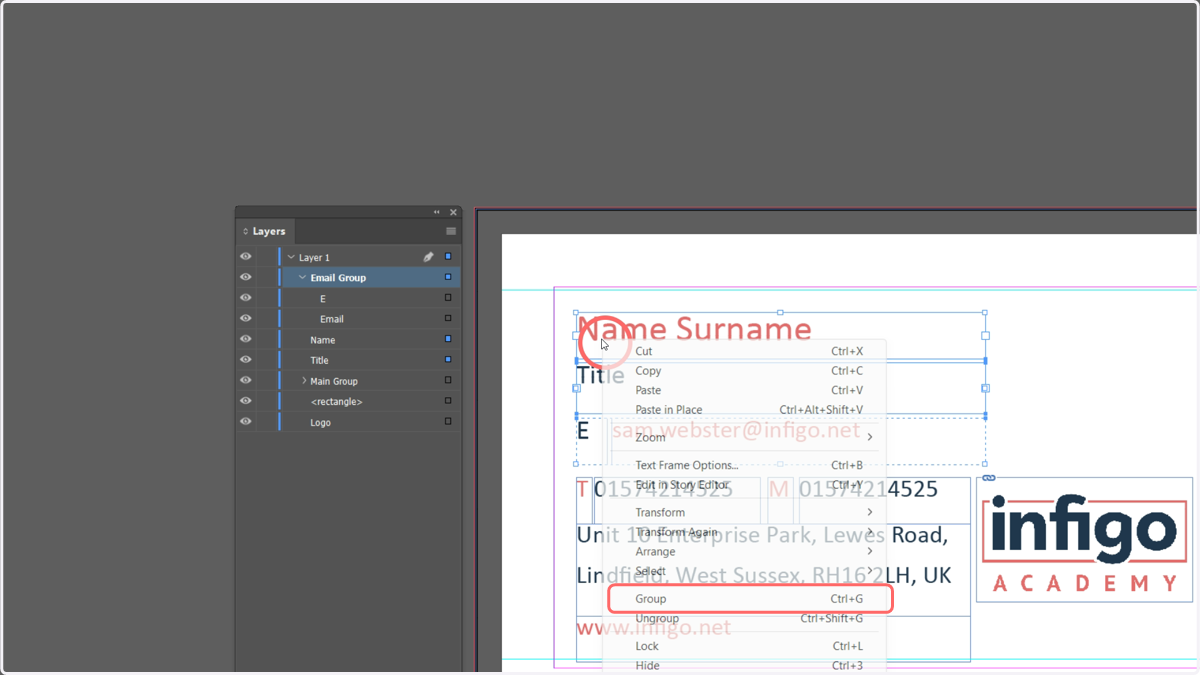
18. Right click and select Group
Remember, groups can contain other groups.
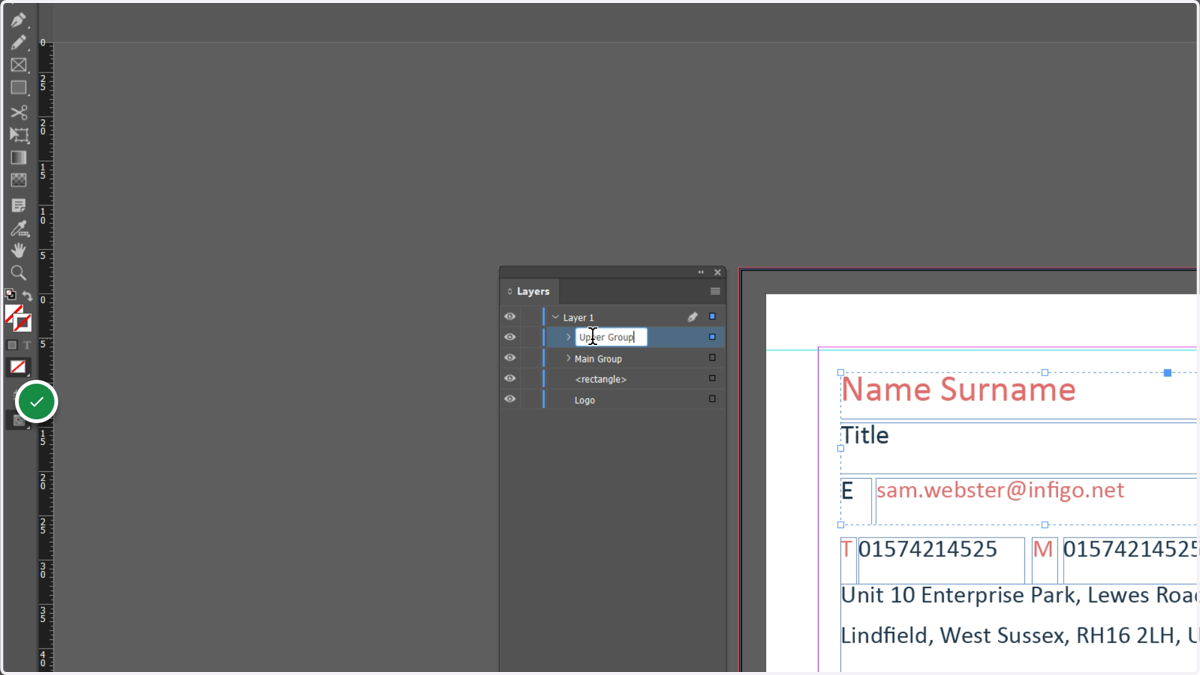
19. Rename the group in the Layers window
20. Enable the group

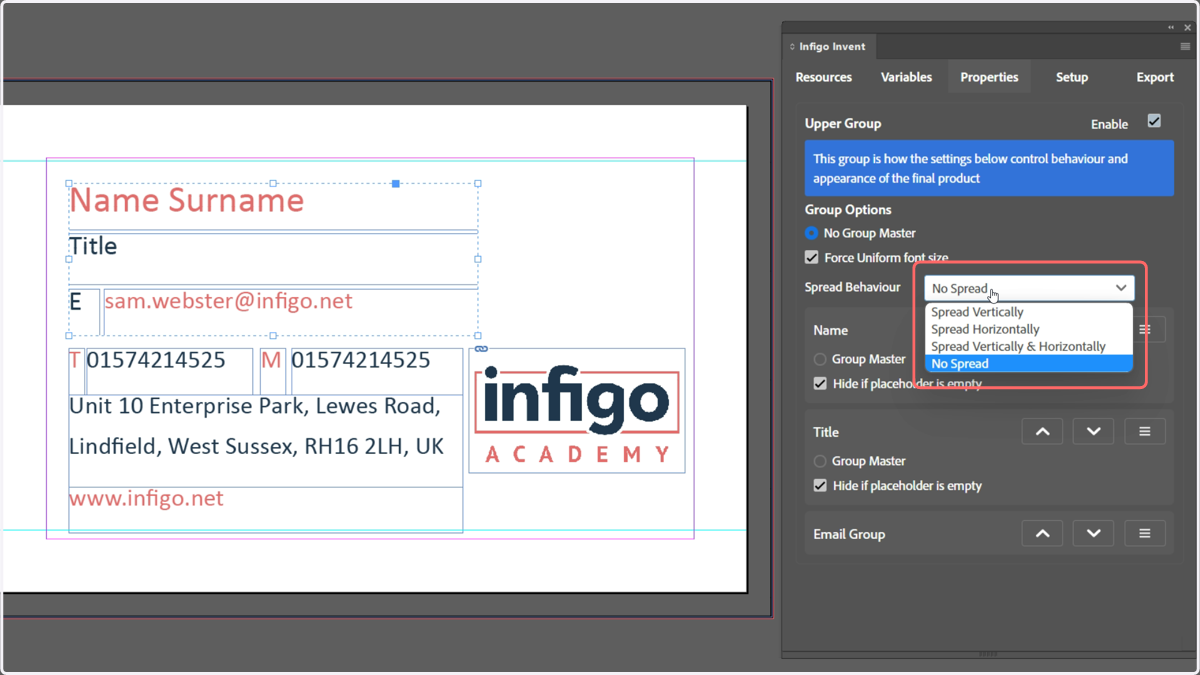
21. Spread behaviour
Here, the behaviour we wish to achieve is that fields reposition on the artwork if space is available.
In this case, we wish for the email group to move upwards if the Title field is not present.
This is controlled using spread behaviour, where you can select vertical, horizontal or both.
This option will ensure the fields can move in the selected axes if the space is available.
Here, for example, we will select Spread Vertically. This is because our required range of motion is a vertical movement only.
22. Export the template and import it as a MegaEdit product