Bullhorn Dashboard: Adding Cards
Recommended best practices for Cards on the Bullhorn Dashboard
Bullhornstaffing
1. Go to app.bullhornstaffing.com
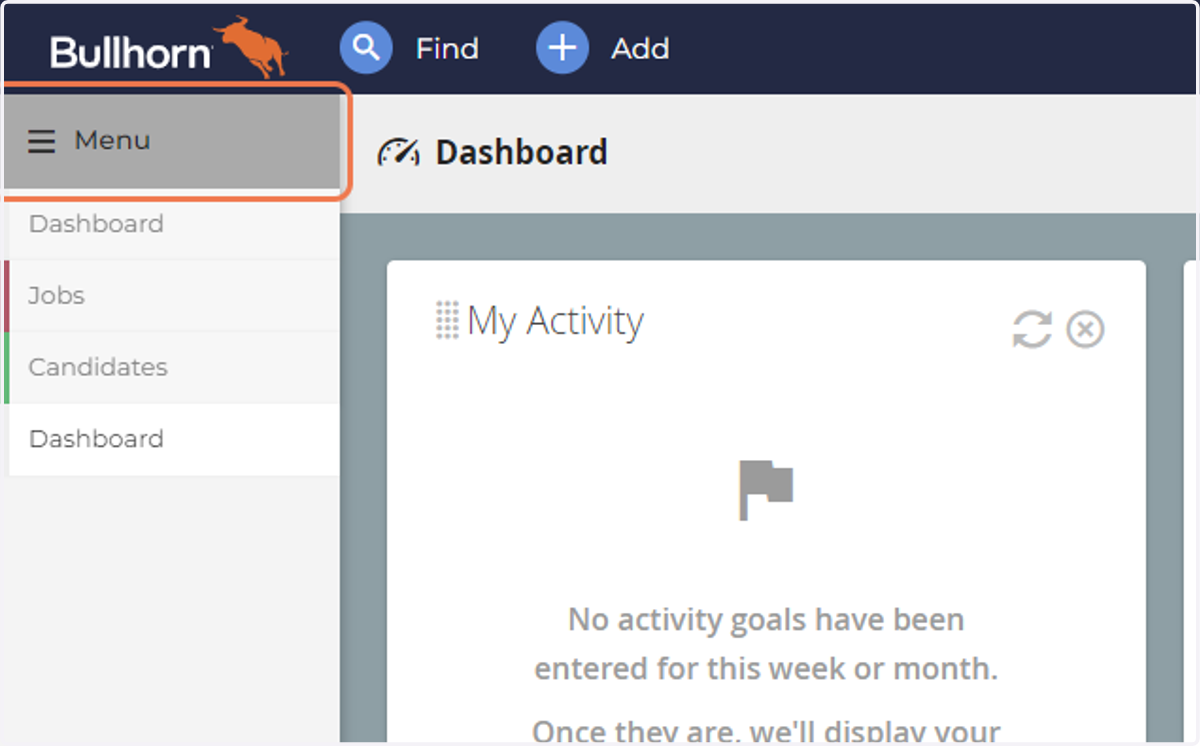
2. Click on Menu
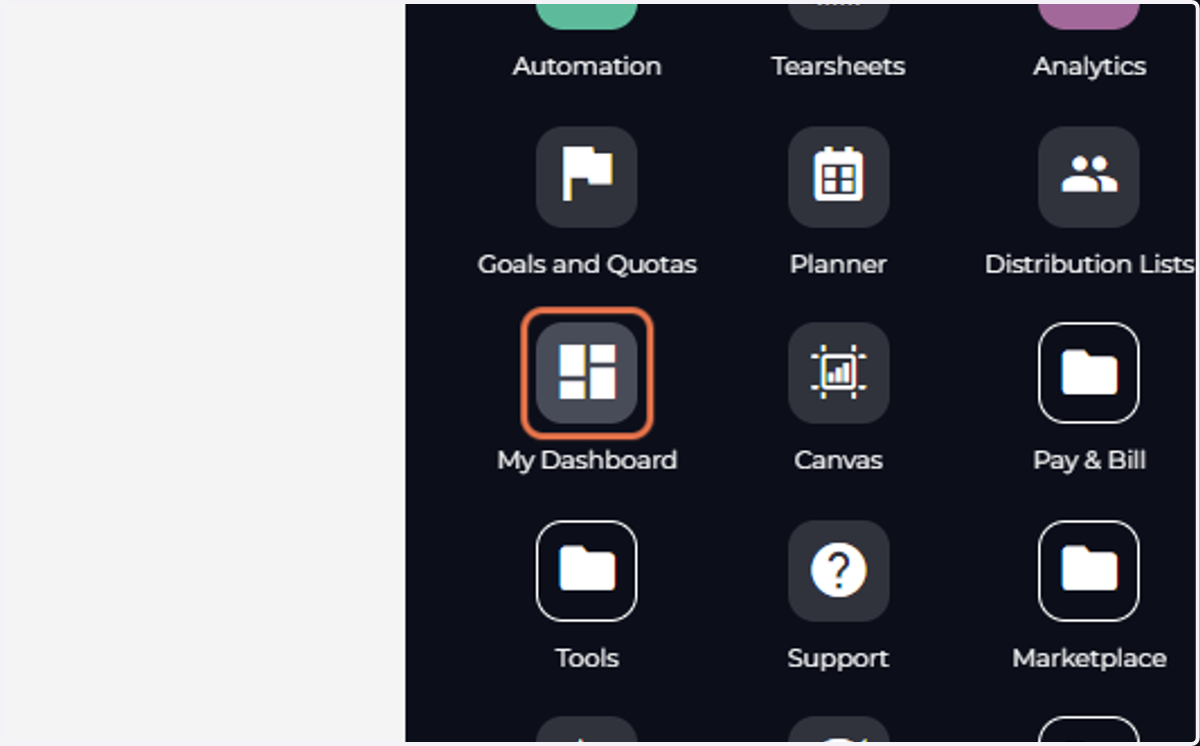
3. Click on My Dashboard
4. Remove Existing Cards
Bullhorn comes pre-loaded with 4 cards. Click the red "x" in the upper right corner of each card to delete them all to where your screen is blank.
5. Add Cards
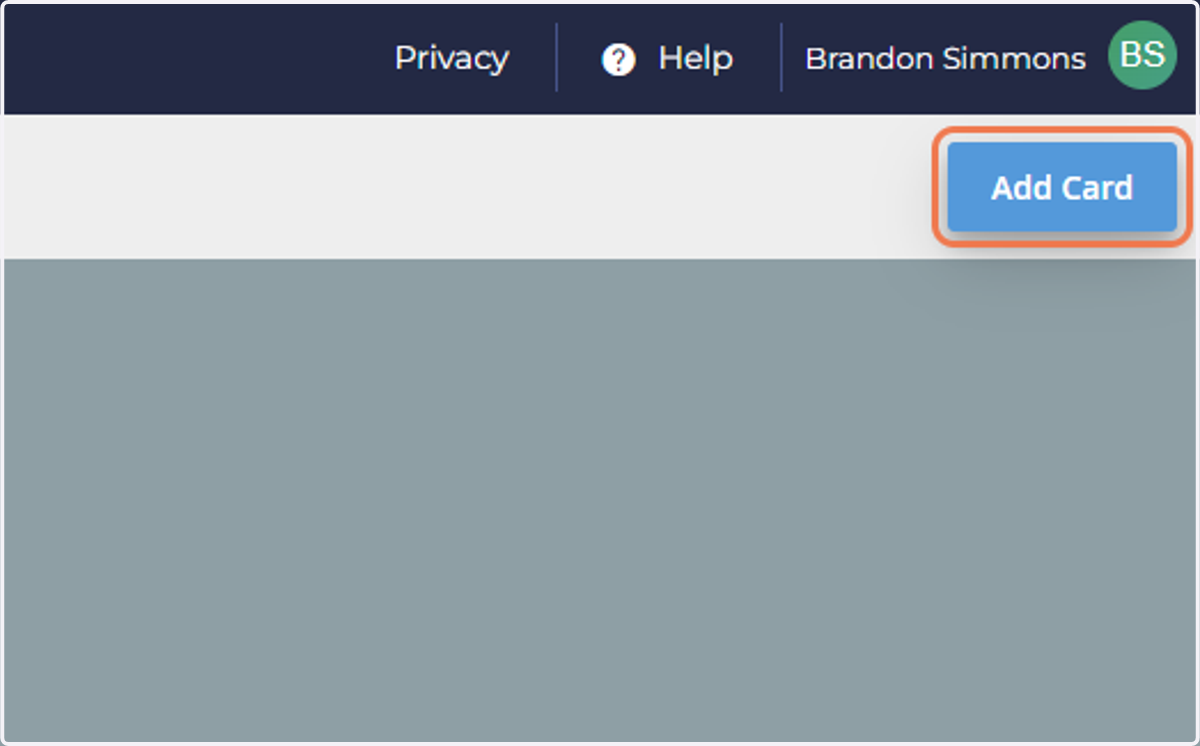
Once your Dashboard is Cleared, click on the blue "Add Card" button in the upper right hand corner
6. Starts & Ends
Scroll down to the Placements section and select the "Starts & Ends" card.
7. Configure the Starts & Ends Card
*Note - You can create as many Starts & Ends cards as you like, all with different configurations.
Examples include:
My Placements
Placements by Company
All Placements by LOB
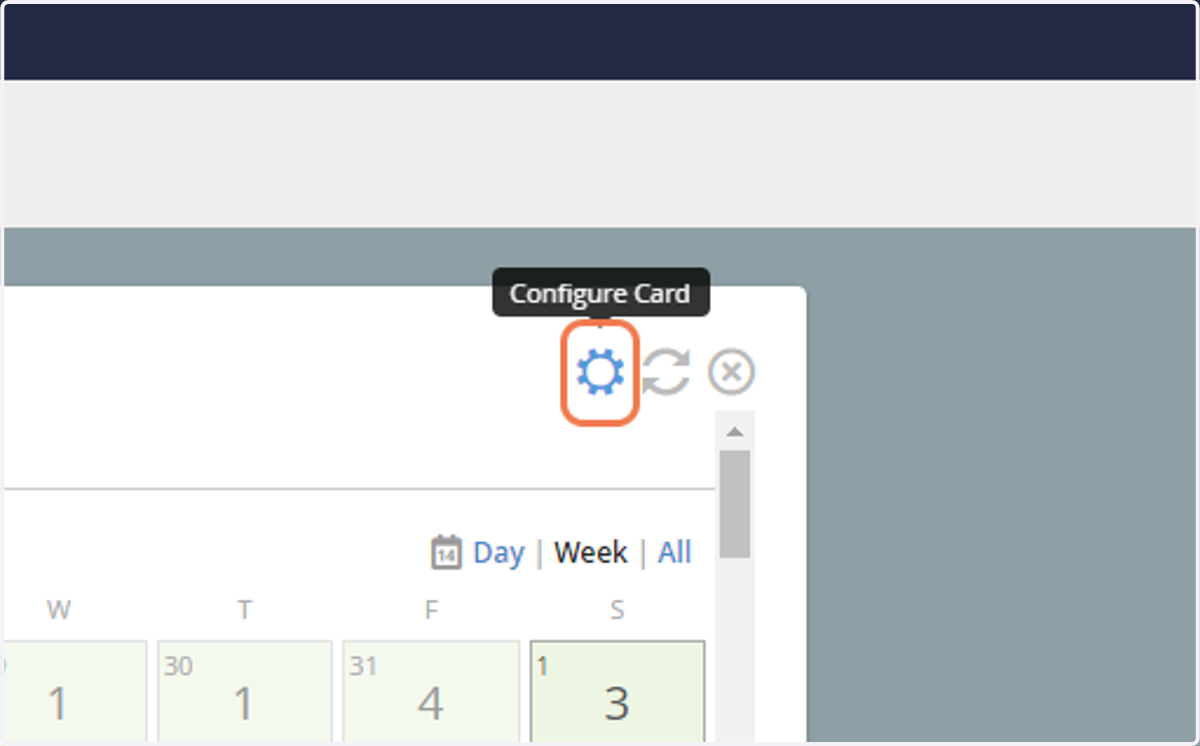
Click the Gear wheel in the upper right corner of the Starts & Ends card and configure the card as desired
8. Configure Starts & Ends by individual User
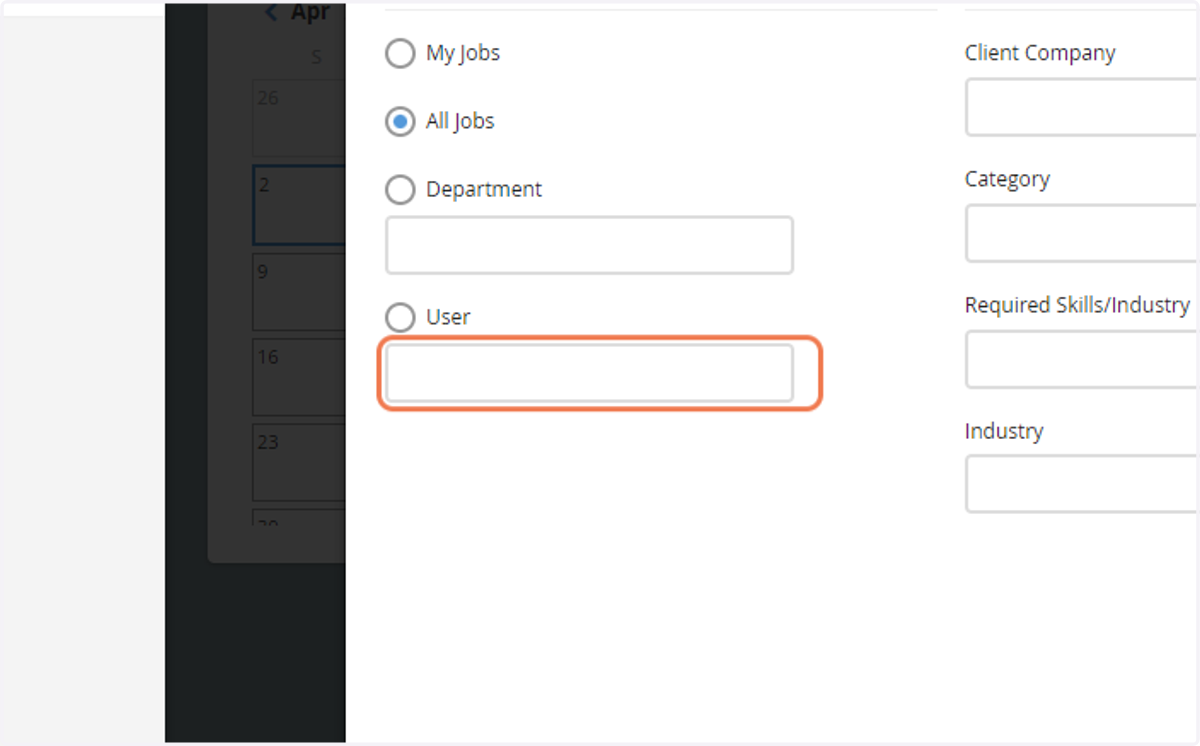
Click User and select your name
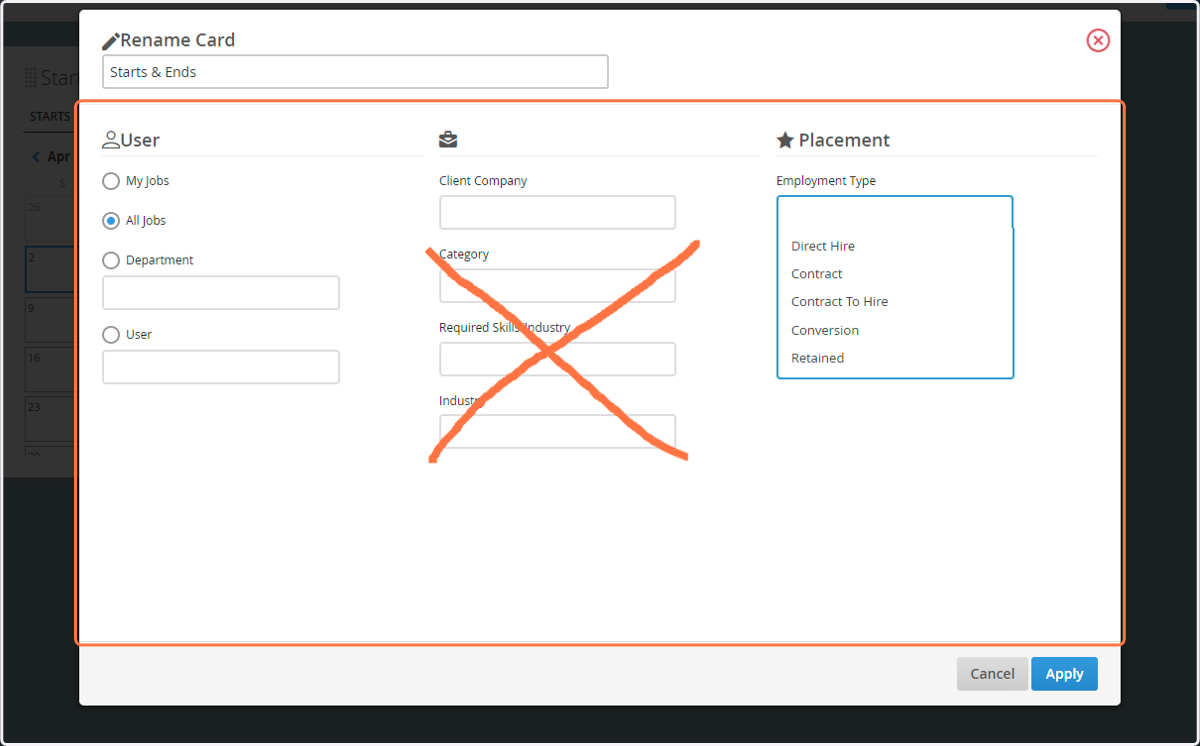
9. Do not use these Filters
Do not use any of these filters:
Category
Required Skills/Industry
Industry
We do not use any of these core Bullhorn fields so there will be no data or invalid data if used
10. Click on Apply
Once you have the filters set the way you want, click "Apply" in the lower right hand corner to save.
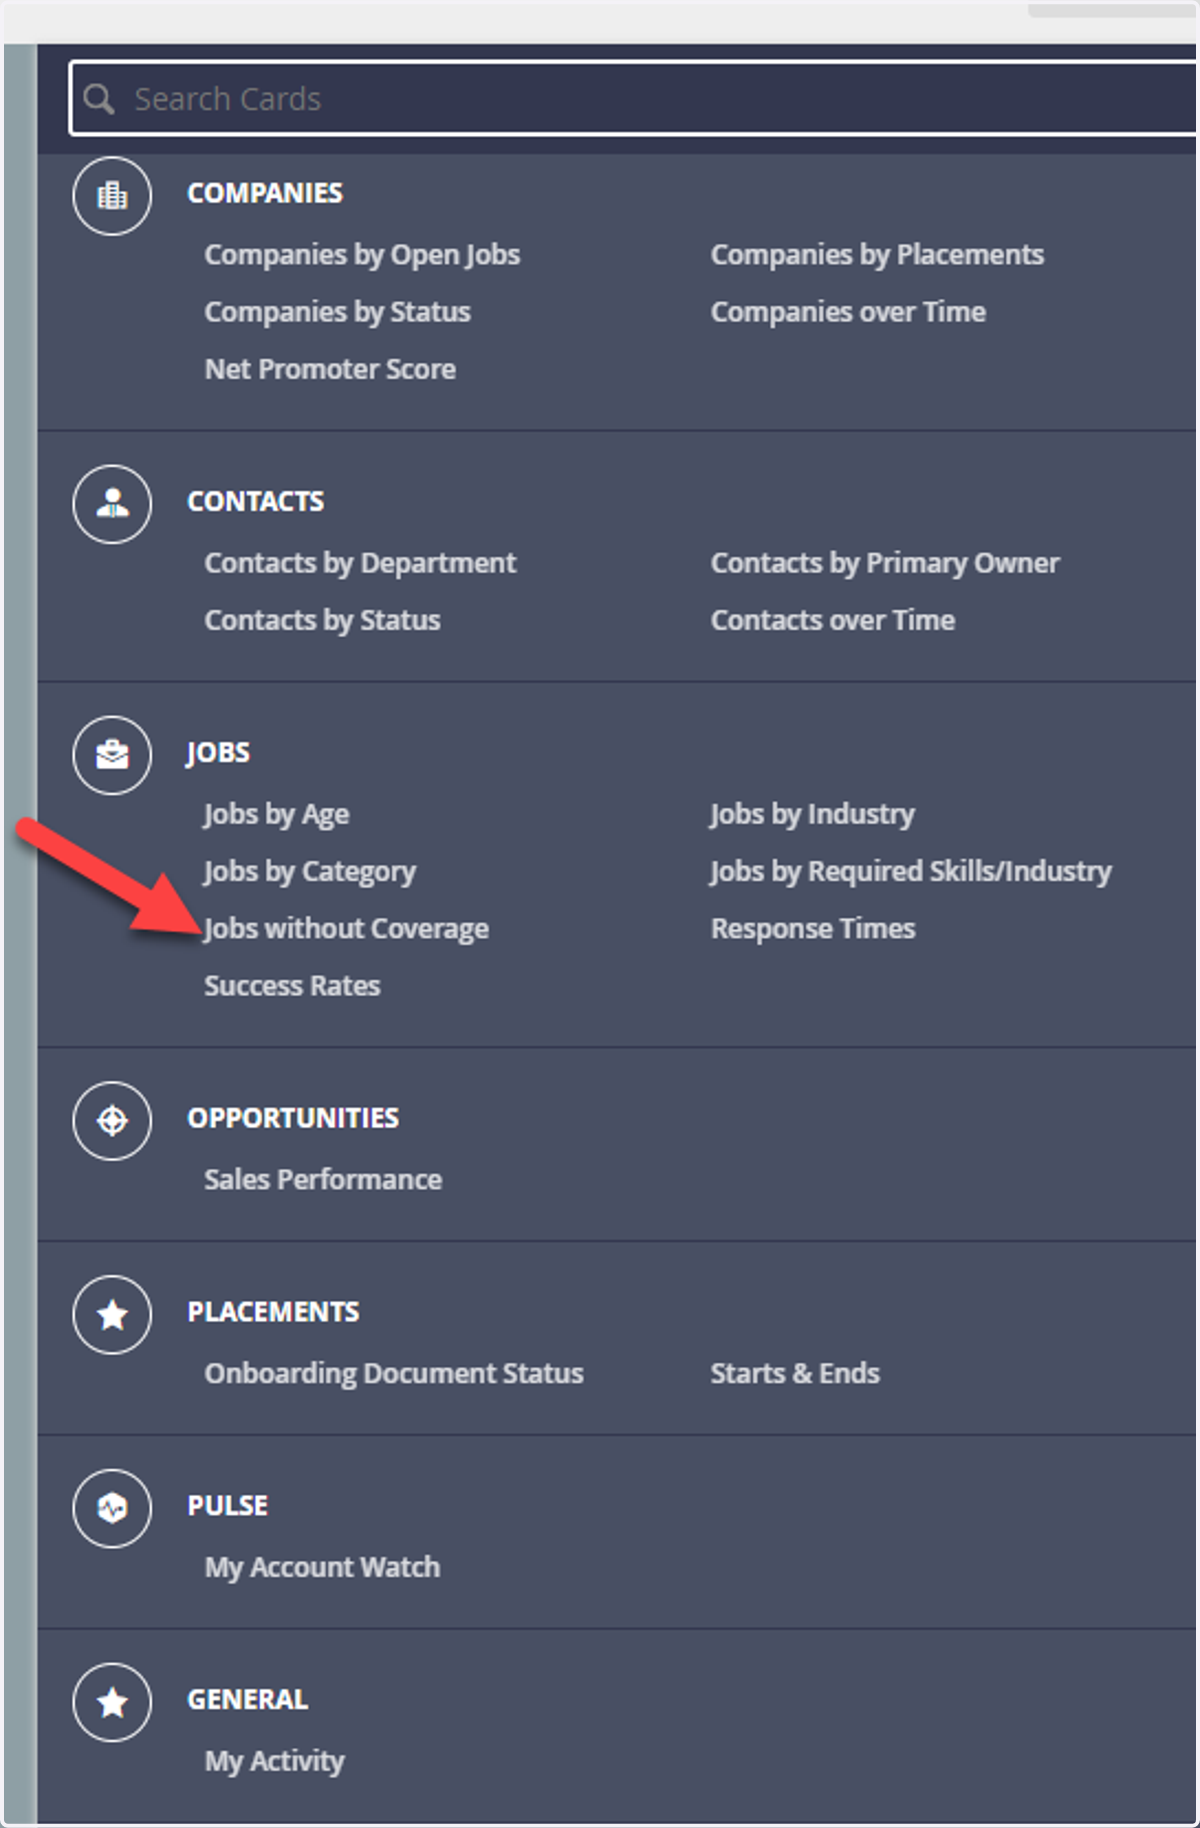
11. Add Next Card: Jobs Without Coverage
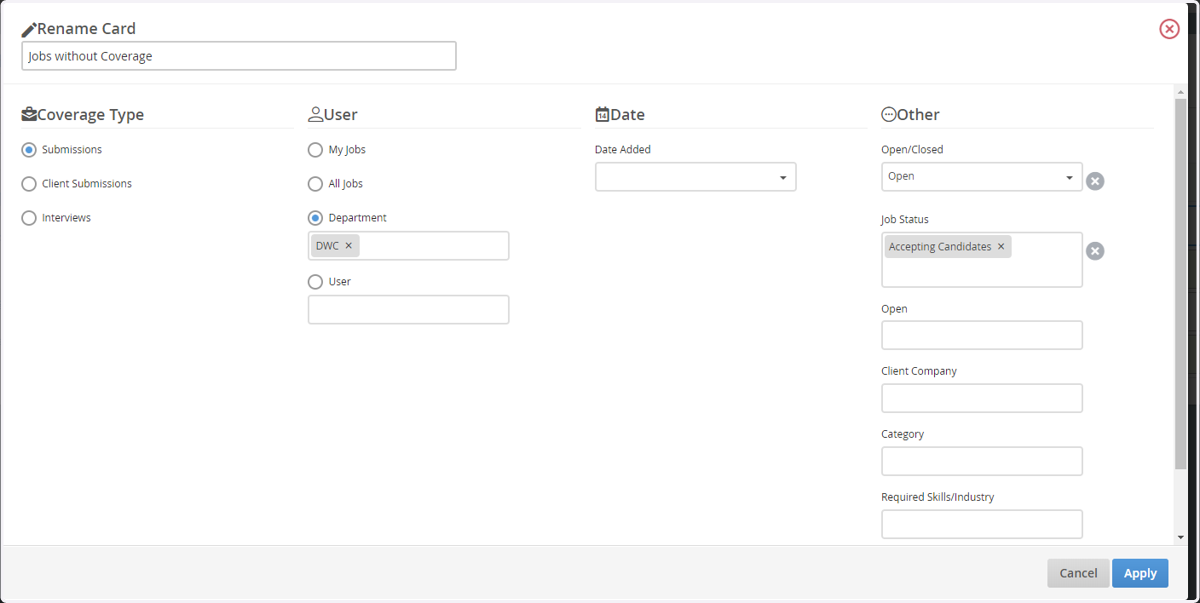
This card will show Jobs without coverage by chosen parameters.
Example: Show Jobs without Client Submissions.
*Shows Open Jobs that are Accepting Candidates that have not made it to the Client Submission status
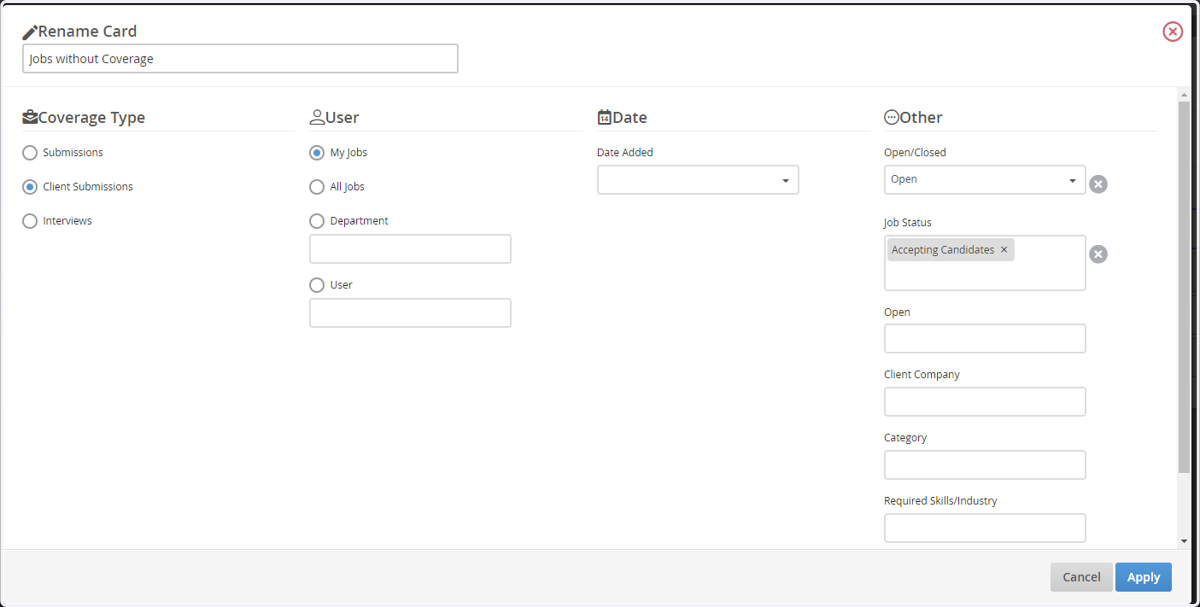
12. Configure "Jobs Without Coverage"
Configure the Jobs Without Coverage card as shown below if you are in a Sales role.
13. Configure "Jobs Without Coverage"
Configure the Jobs Without Coverage card as shown below if you are in a Recruiting role.
Note: Configure for your LOB.
14. Add Next Card: My Activity
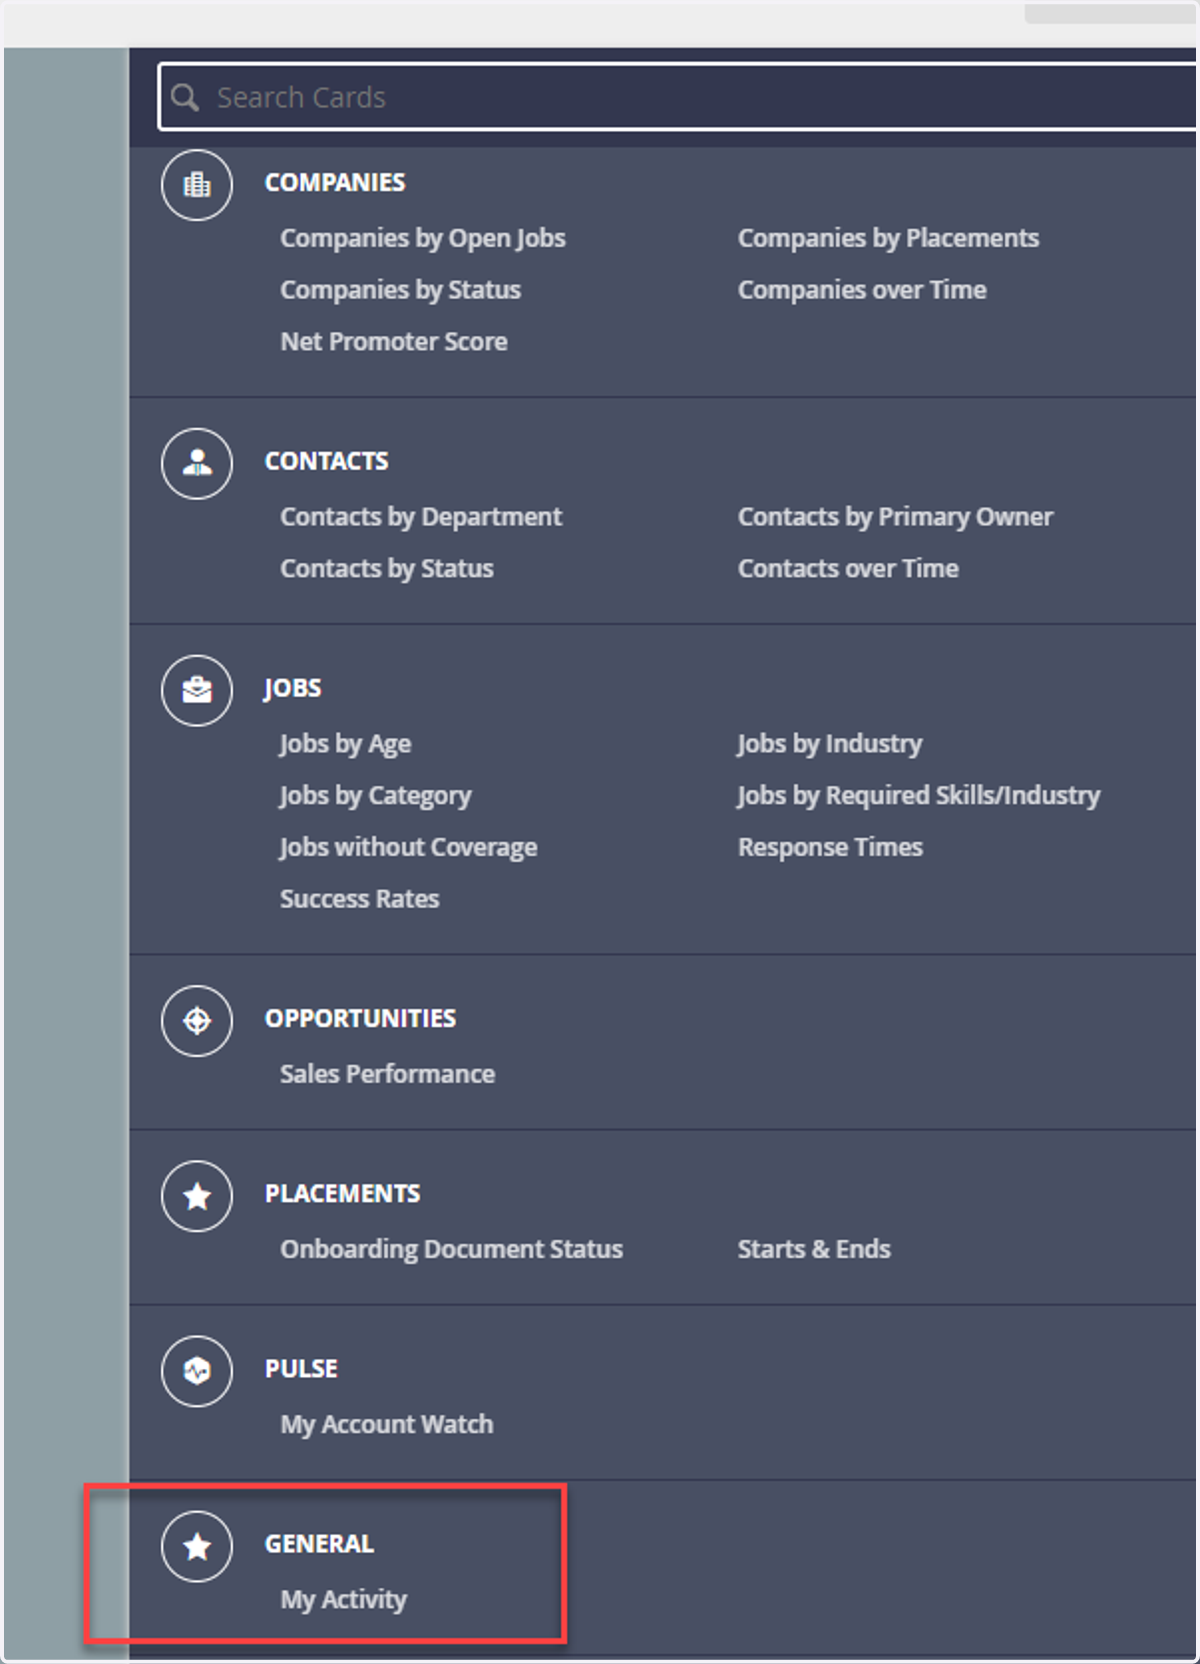
Click the Blue "Add Card: button again and scroll down to "General" at the bottom of the menu and select "My Activity"
All Goals that have been set-up for you will appear here (your view only)
*Note: You can only have 1 "My Activity" card
15. Goal Definitions
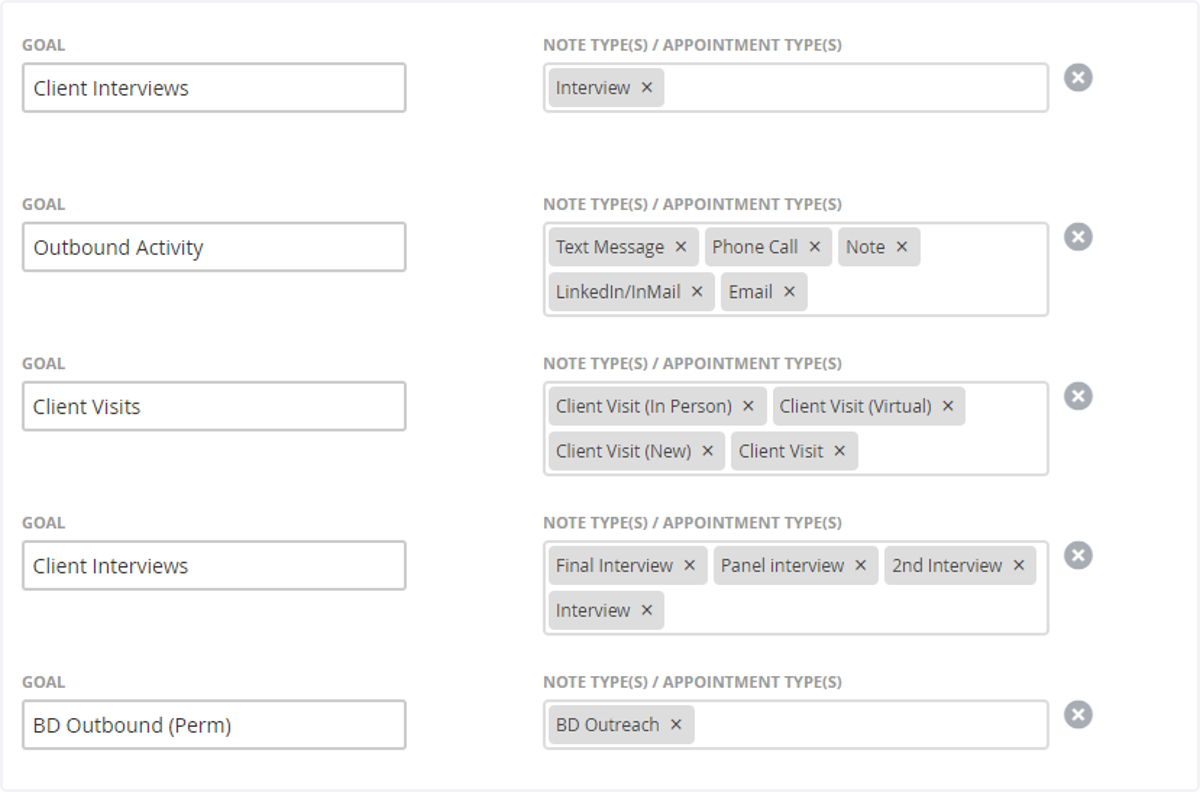
These are the Bullhorn Notes that sit behind the Goals.
*For Client Interviews, we utilize Appointment types to track interviews.
*The other Bullhorn Goals that you see are for pieces of the Job funnel from Submissions to Placement
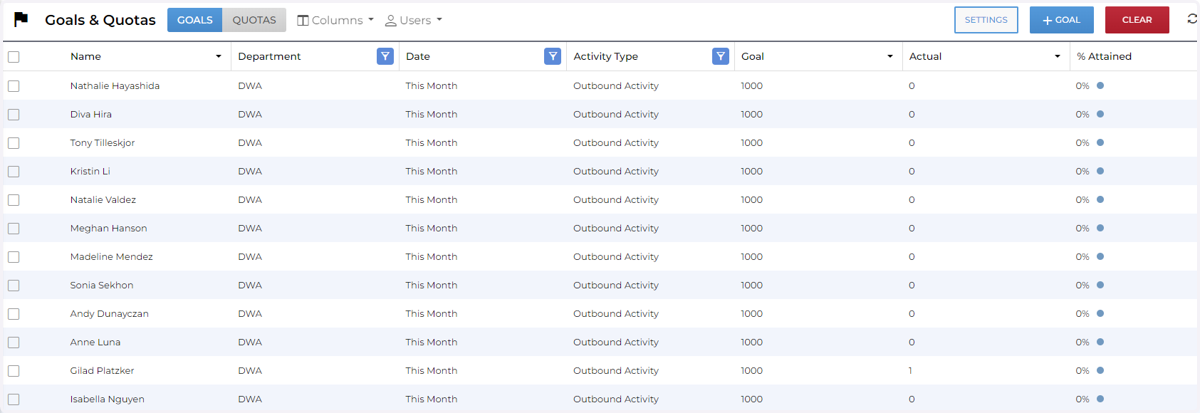
16. View Goals as a Leaderboard by LOB in Bullhorn
*Goals are configured for the Month (current)
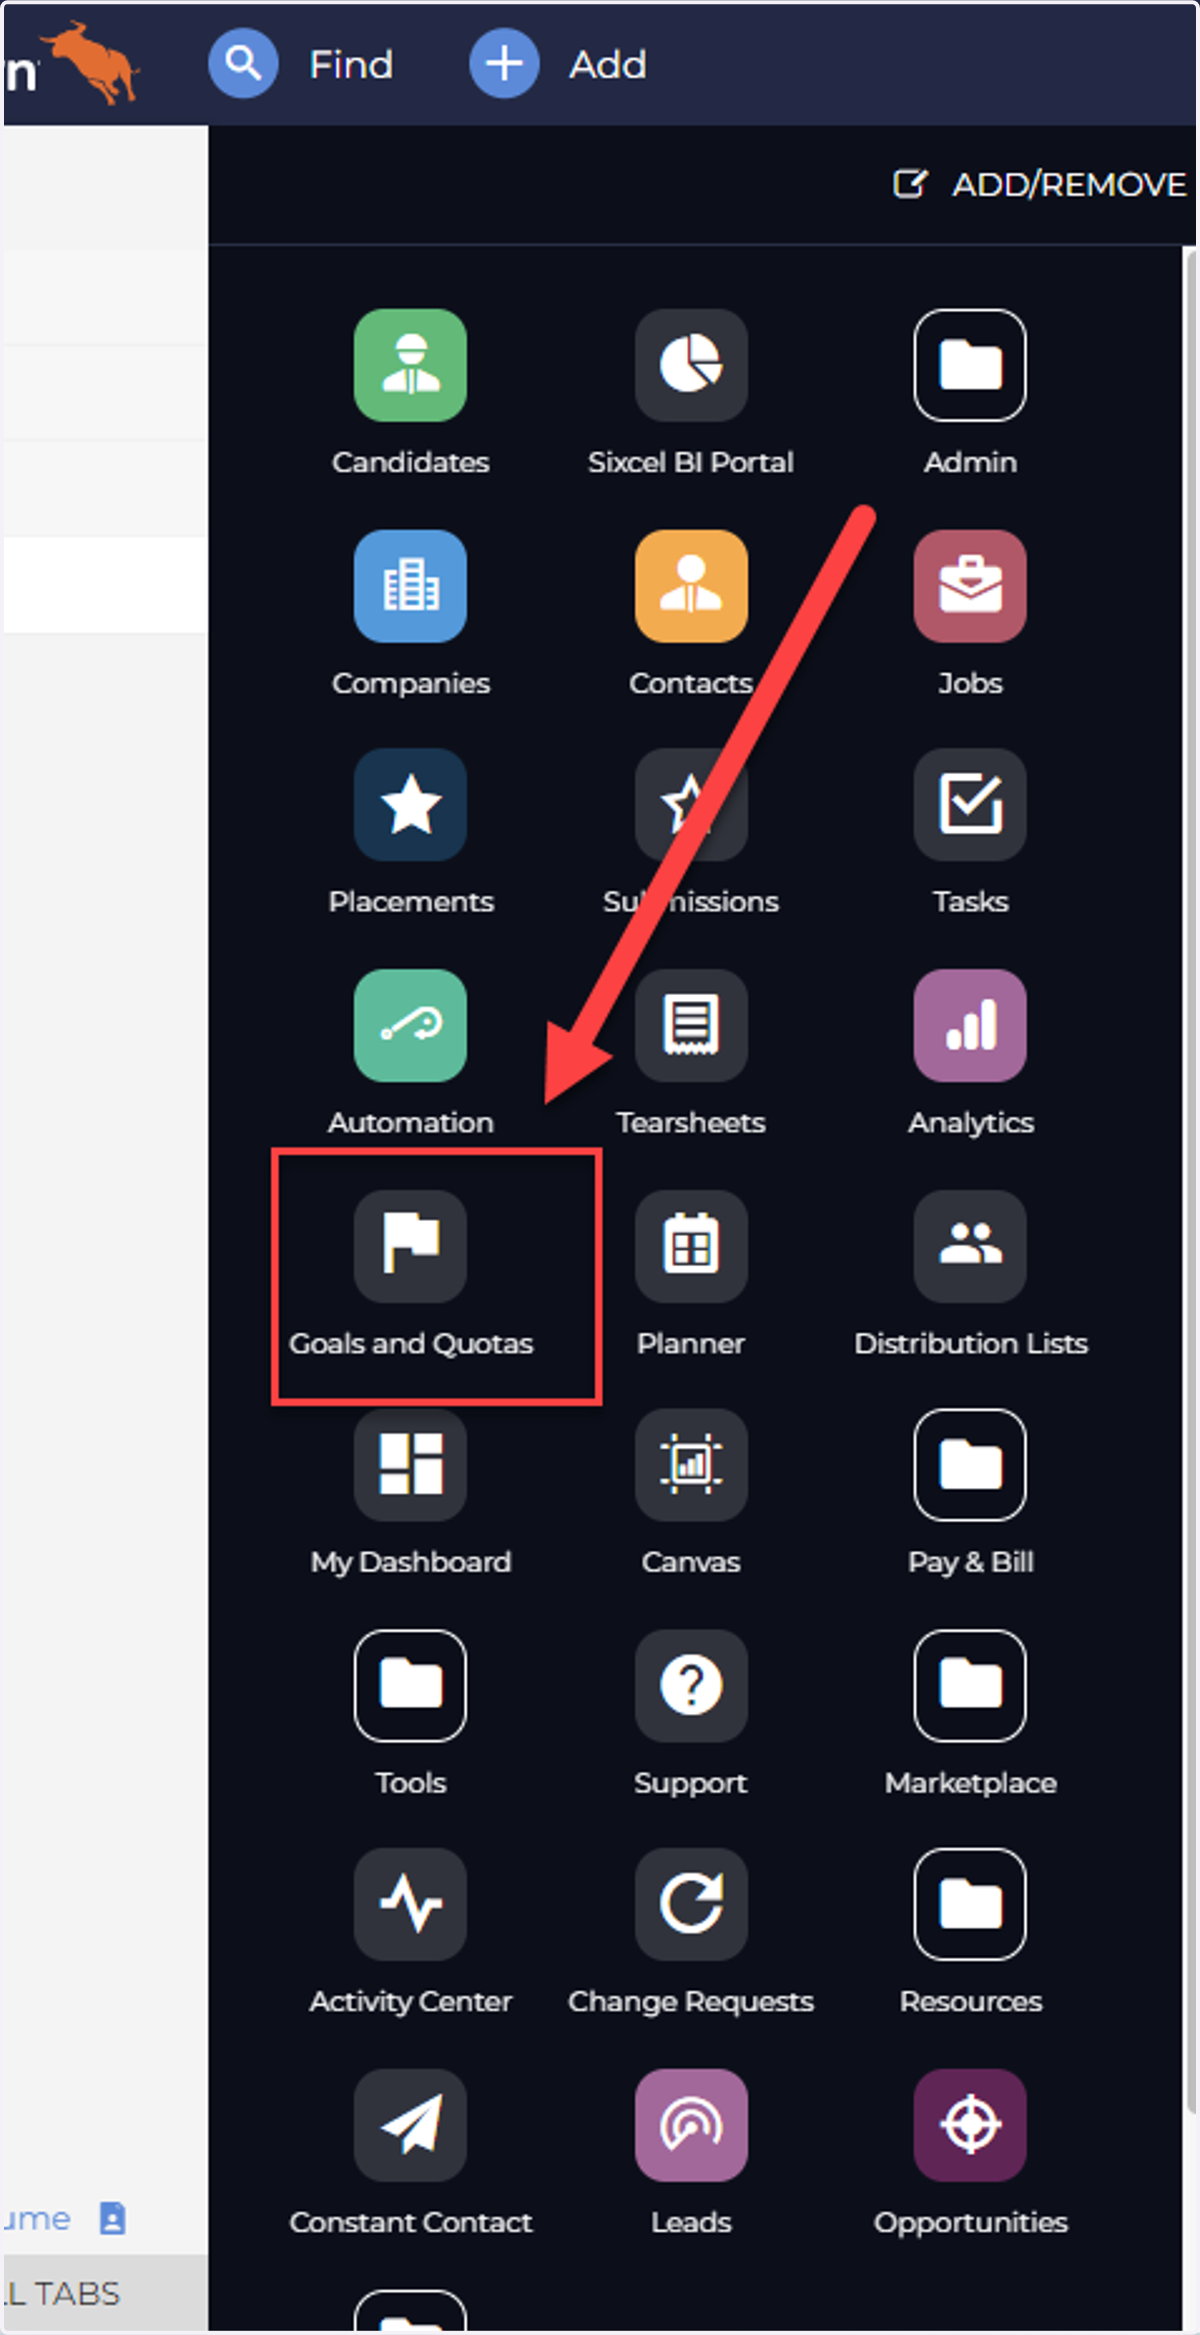
You can view Goals and where you rank amongst your peers in any Goal category by selecting "Goals & Quotas" from the Bullhorn menu.
17. Filter to see the Leaderboard
You can filter by:
Name: (to see only you)
Department: (to see your entire LOB)
Date: Always will be "This Month" as that is the only timeframe in which Goals are set in Bullhorn. We do not have any Goals for "This Week" so you can ignore that timeframe.
Activity Type: All Goals that are tracked
% Attained: You can filter this descending so the top % is on the top (default)
*Note: This works like all other Bullhorn List Views, it is "sticky" and will return to the way you left it filtered when you visited last.