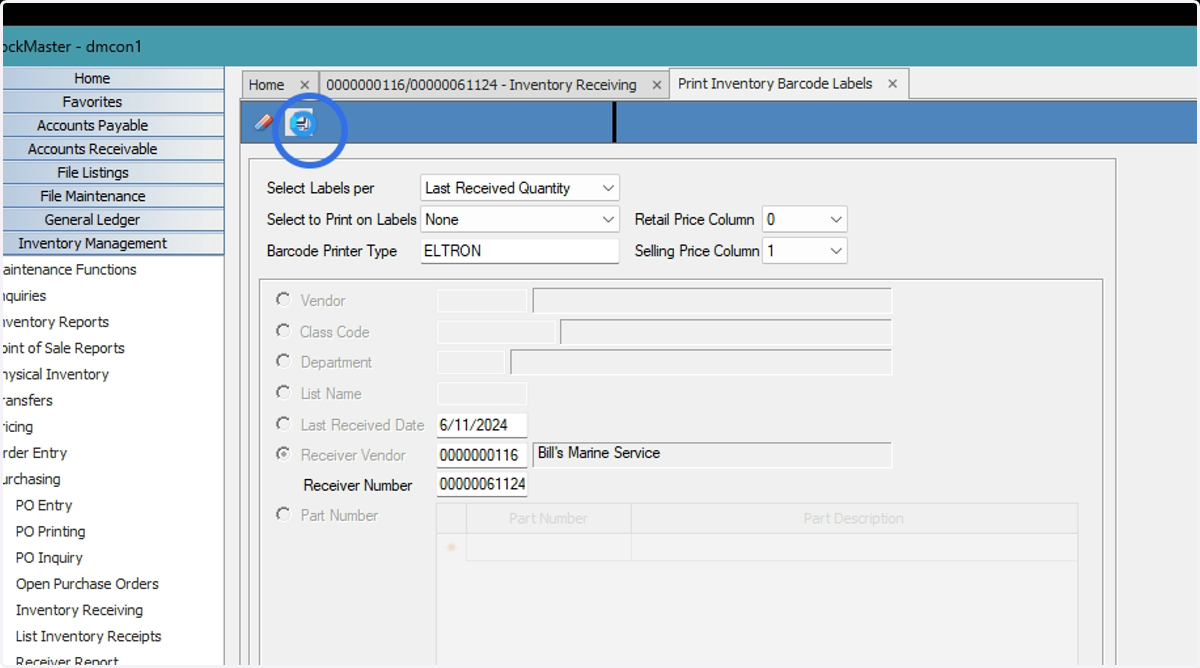
Receive Inventory Items
When items are received that you will be reselling either through POS or through Service Work Orders they need to be “RECEIVED” into Inventory to keep the Quantity on Hand and the Cost correct for all transactions.
DockMaster
1. Click Inventory Management
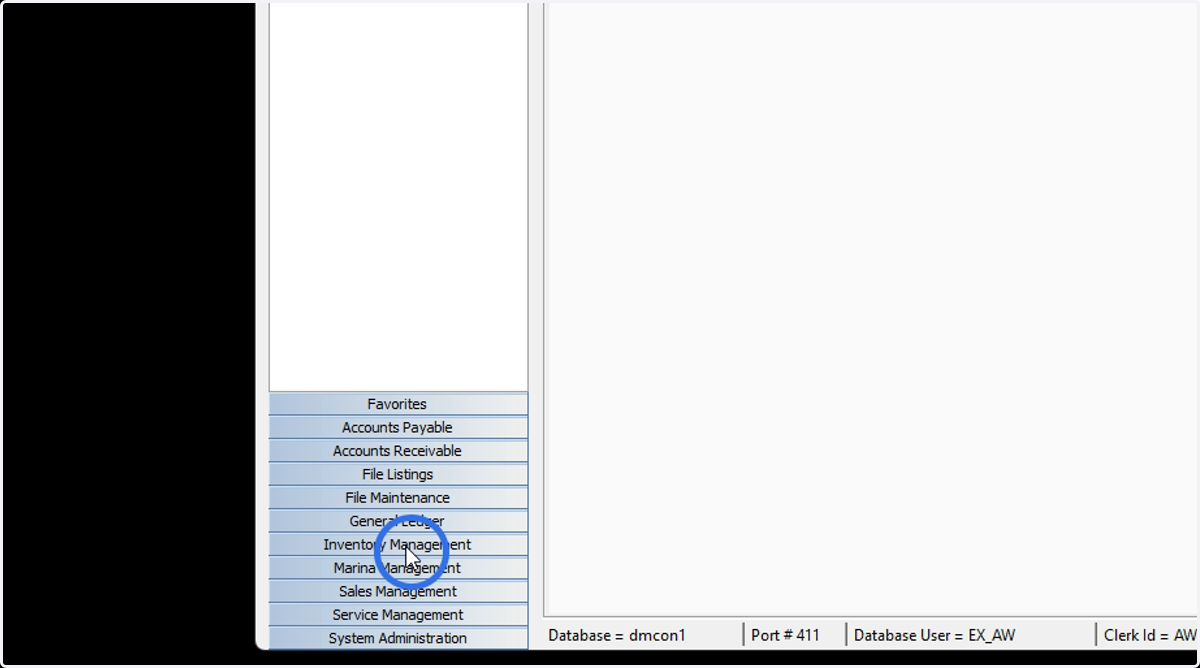
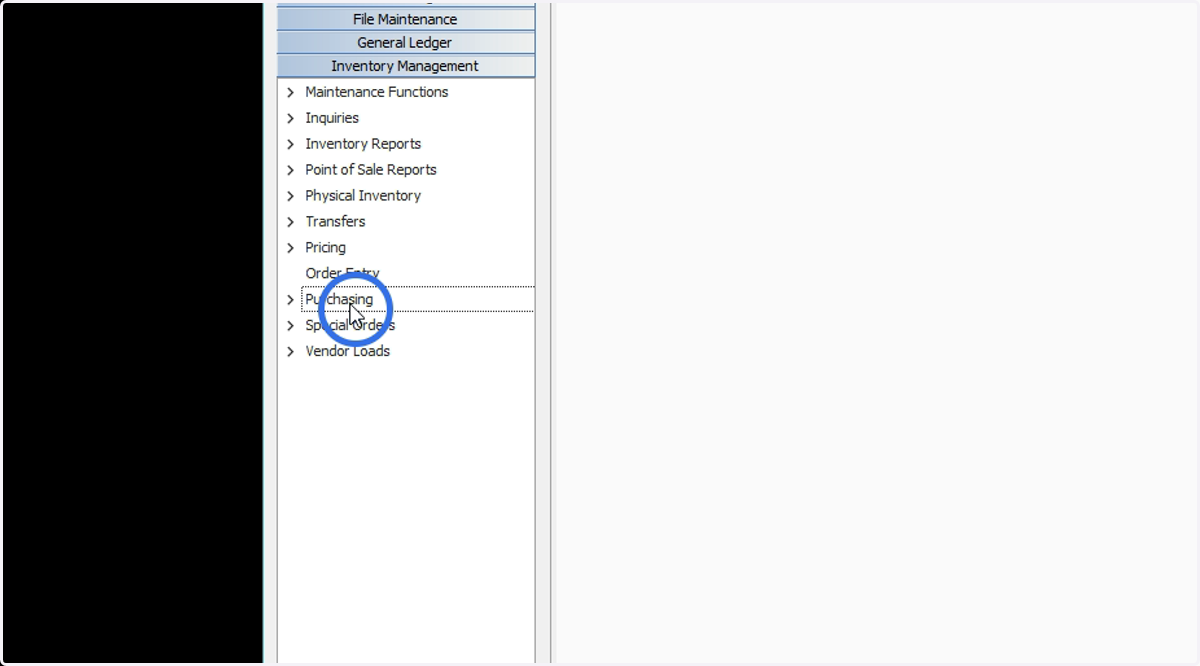
2. Click Purchasing
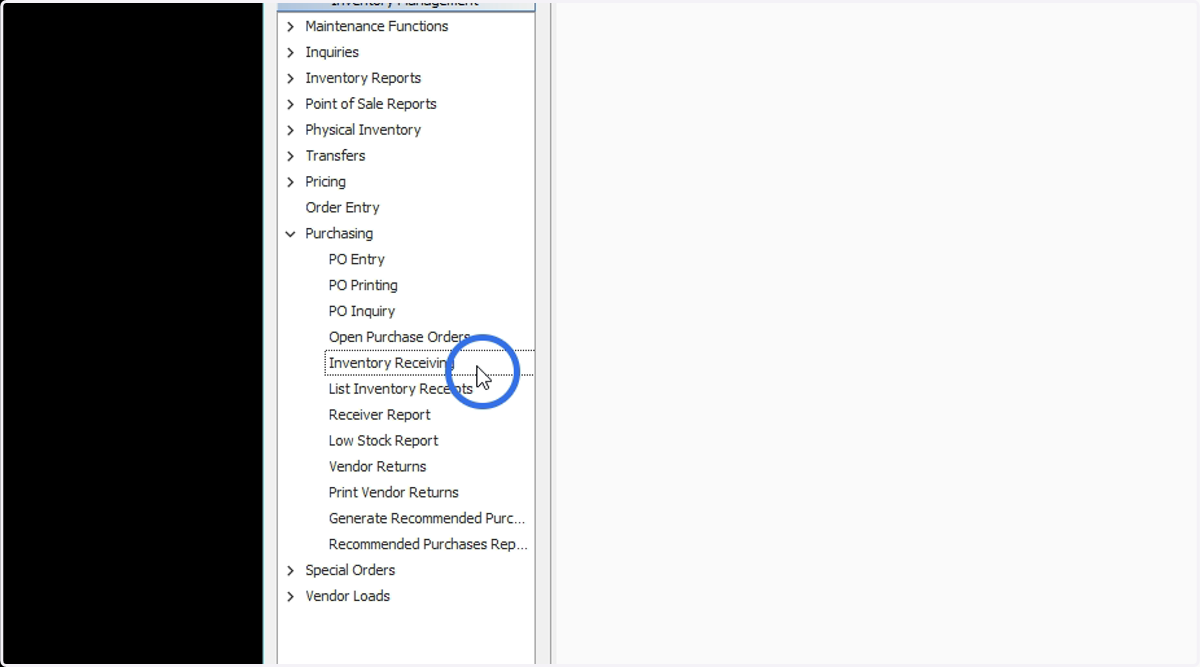
3. Click Inventory Receiving
4. Right click or press F6 to see a list of vendors
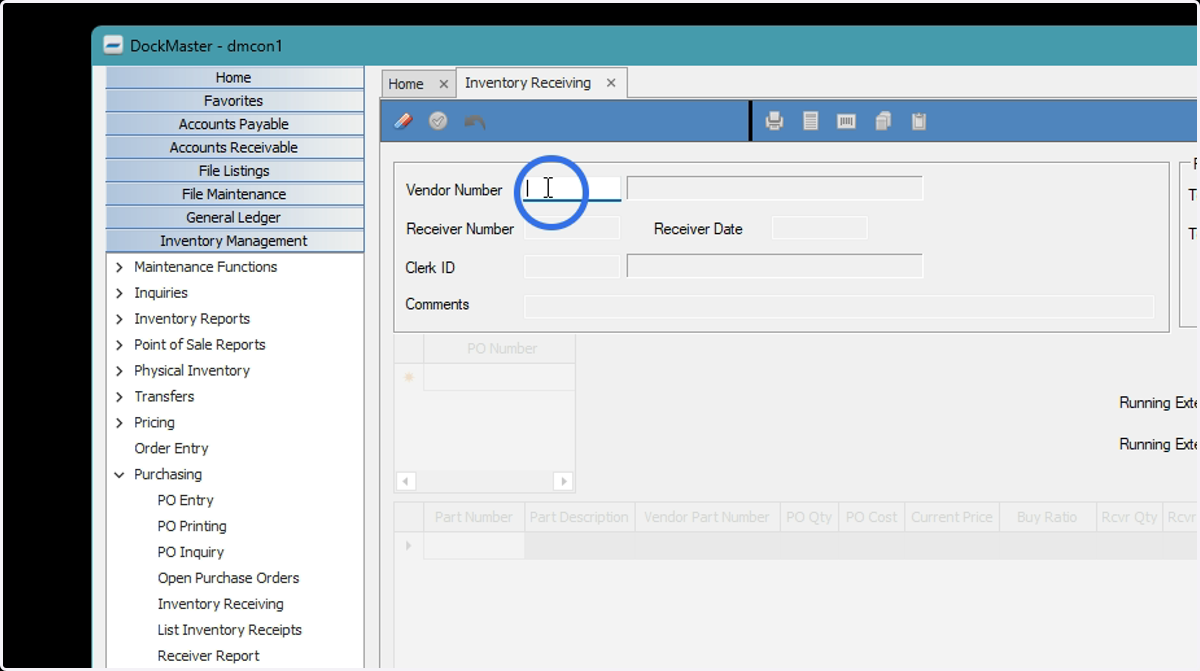
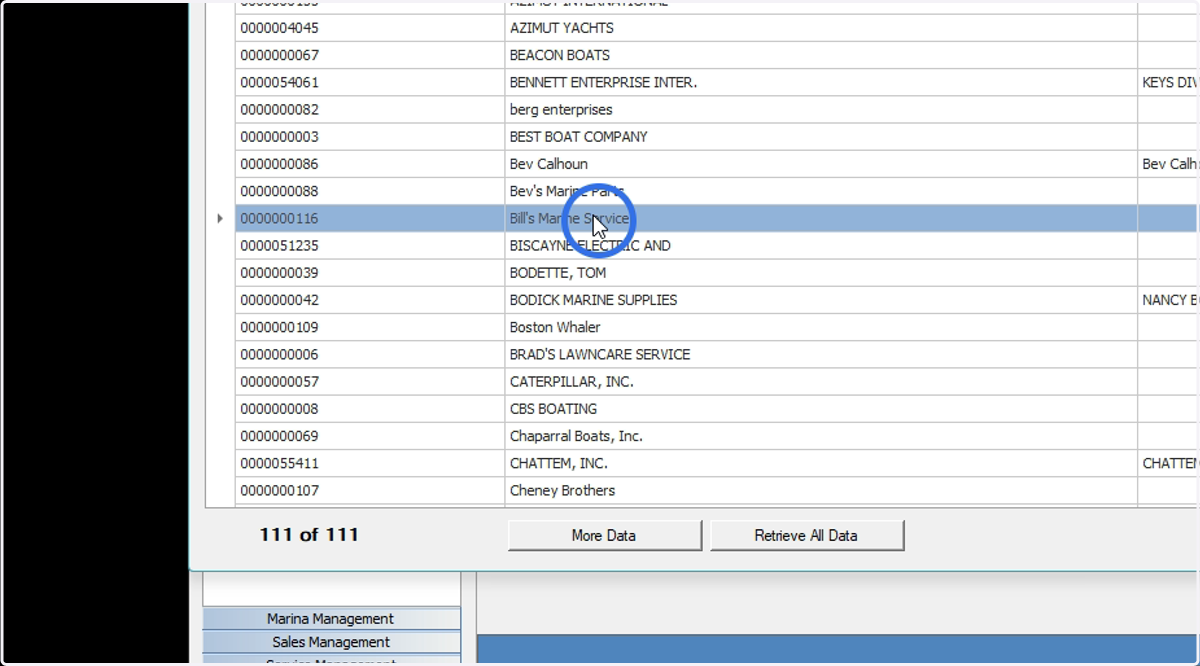
5. Select a vendor
Double click or click to highlight and press 'Select' to choose the vendor
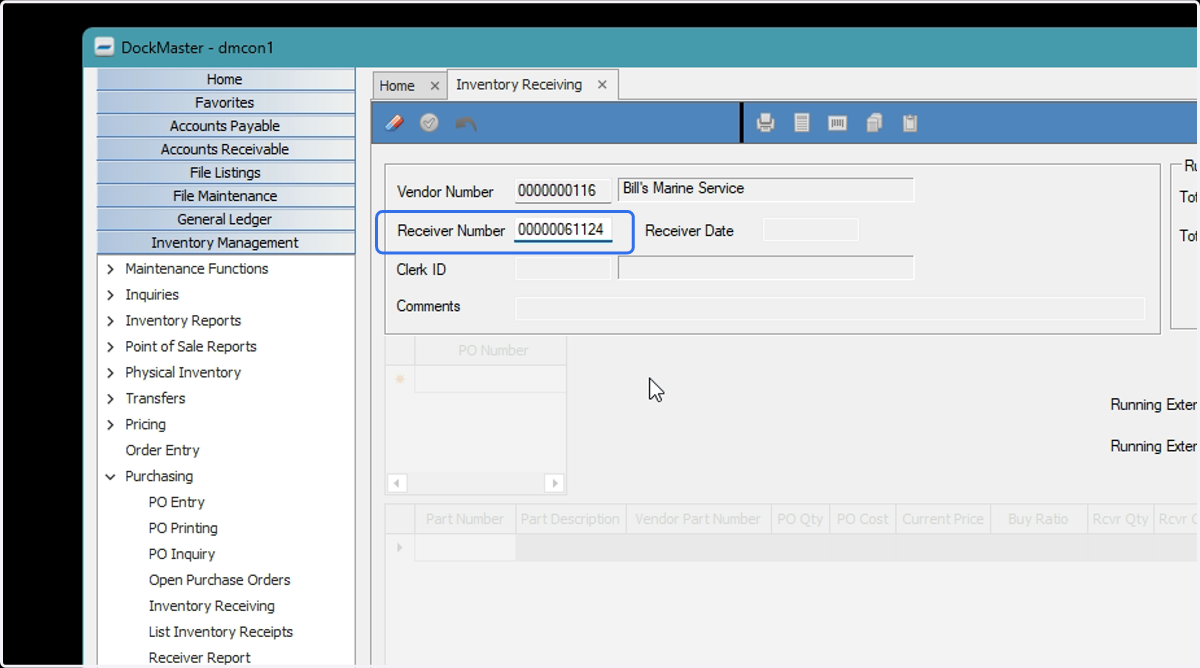
6. Enter the Receiver Number and press Enter to expand the available fields
This can be the Invoice number or a Packing List number or any other identifier number from form being used.
Receive Inventory WITH an Existing Purchase Order
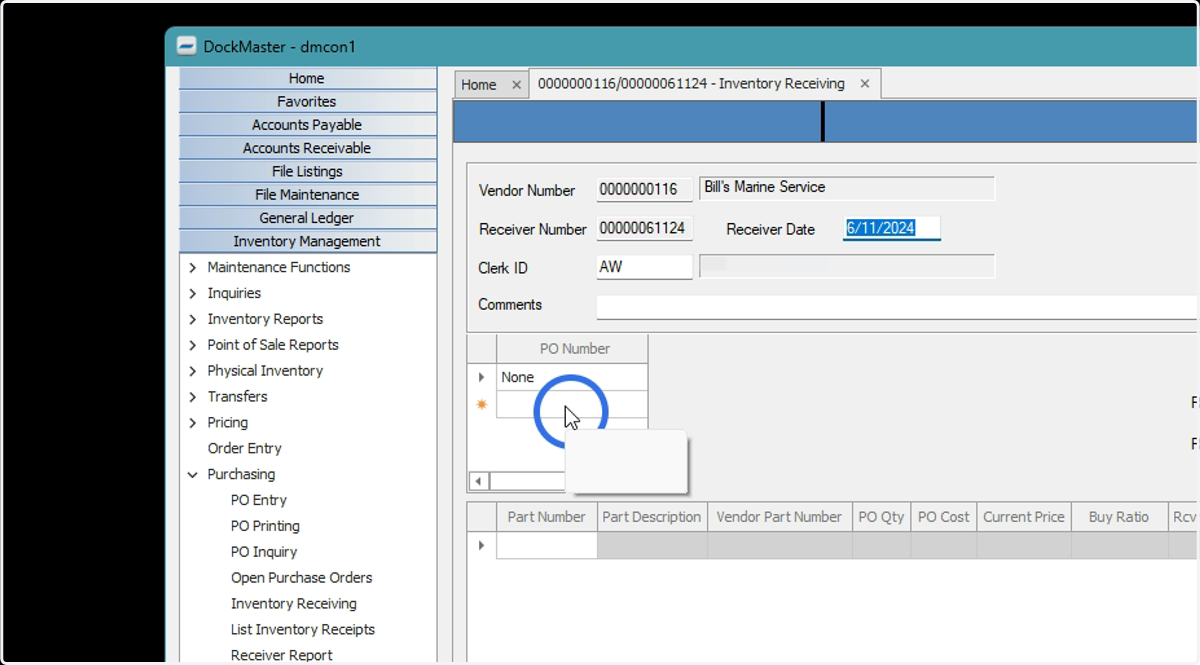
If a Purchase Order was created and sent to the vendor, you will click in the PO Number box, F6 to get a list of open purchase orders for this vendor and select the purchase order tied to this delivery. It is not required to have a purchase order to enter a Receiver.
7. Right click to search open PO numbers
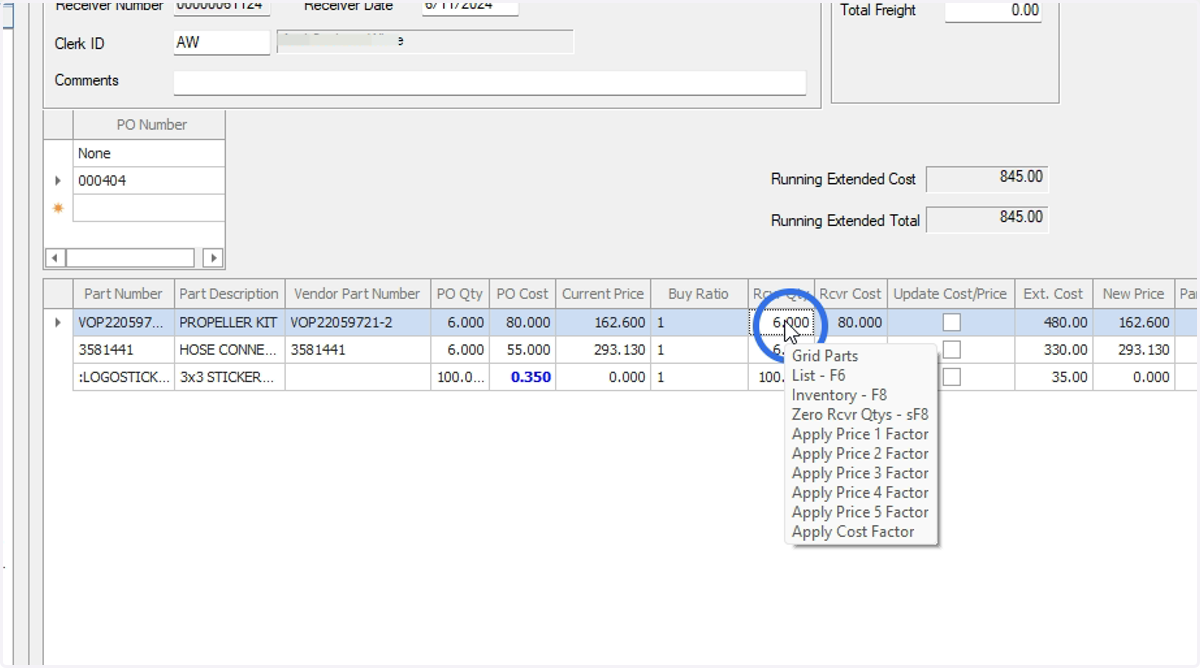
8. Enter the Receiver Quantity fields
When you select an existing PO, it will pull in all lines on the Purchase order so you will not need to look up the part numbers. Find each item received and enter the 'Rcvr Qty' and the 'Rcvr Cost.' If you did not receive the full order you MUST enter a “0” ZERO or the actual number received in the 'Rcvr Qty' if you received a portion of the items. These lines will remain Open and available for you to receive the remainder of the shipment in the future.
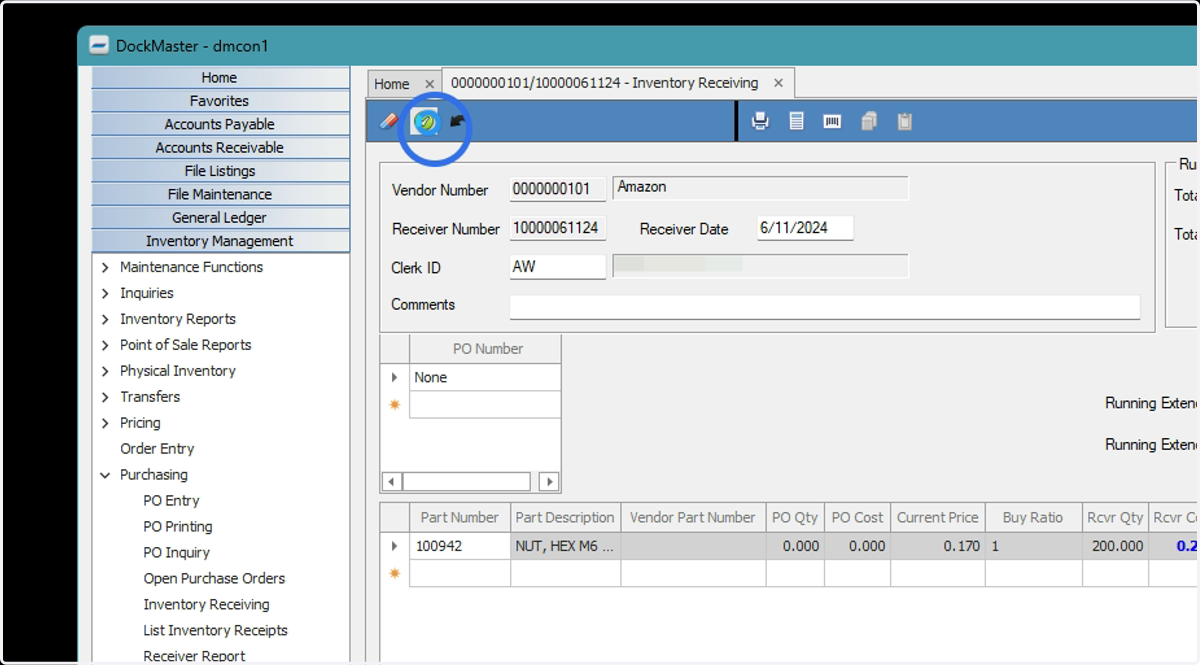
9. Press the green check mark to complete the process
Receive Inventory WITHOUT an Existing PO
Follow the steps to select the vendor, then continue with the steps below.
10. Add a part
Click in the Part Number box and type in the part number, type the “\” and the part description such as “\Paint”, to search. F6 will bring up the full inventory list.
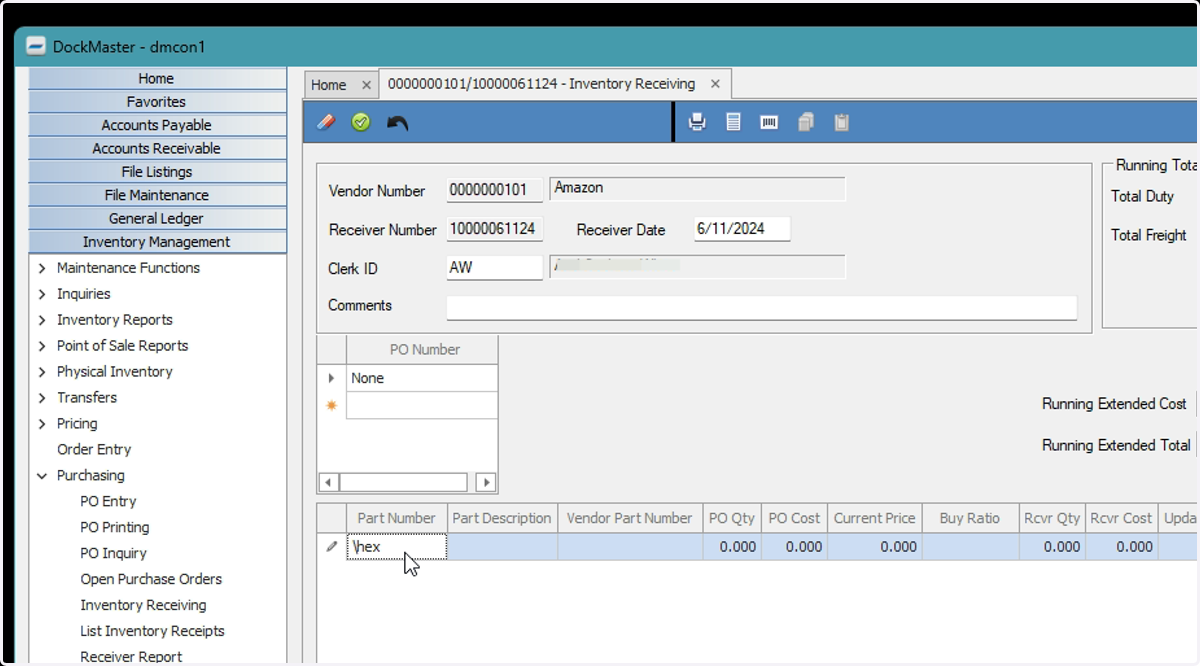
11. Use '\' and a partial name then press enter to expedite the search process
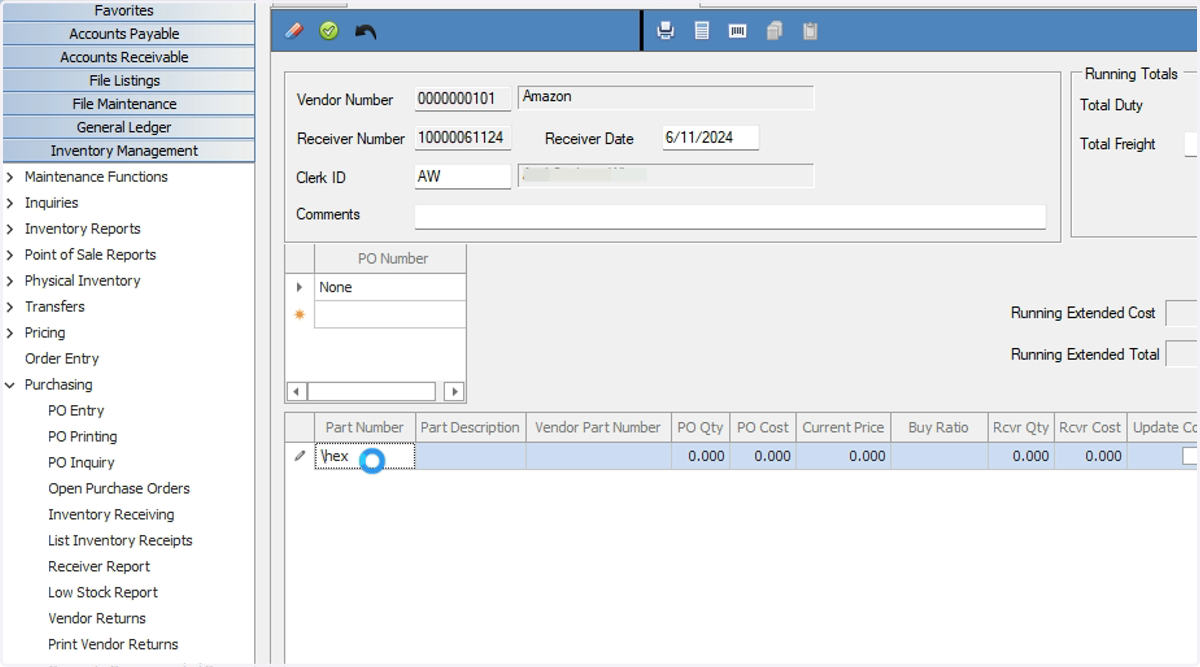
12. Add the part to the vendor
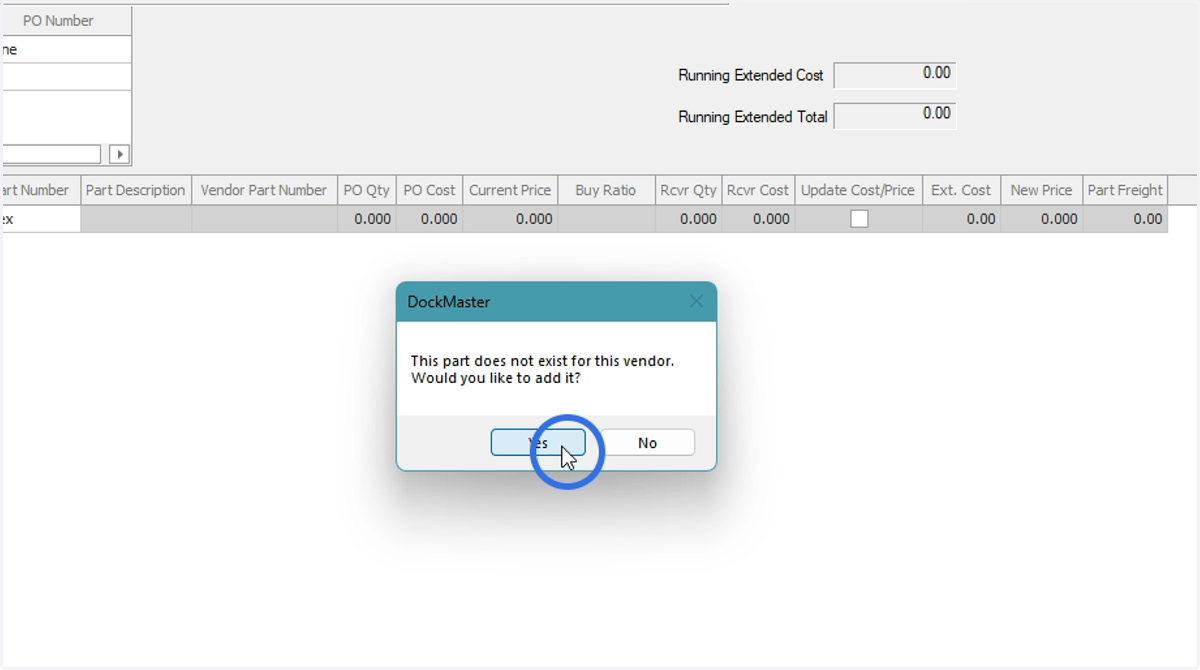
If you have never purchased this part from this vendor you will be prompted “This part does not exist for this vendor. Would you like to add it?” – Answer yes.
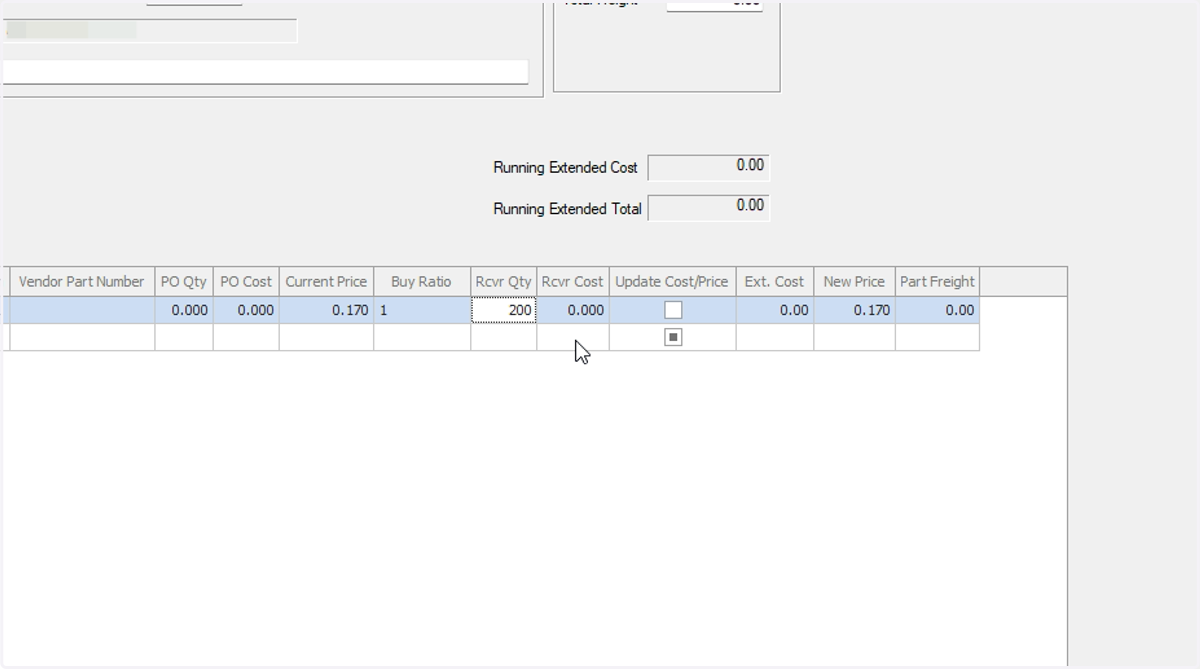
13. Enter the 'Receiver Quantity'
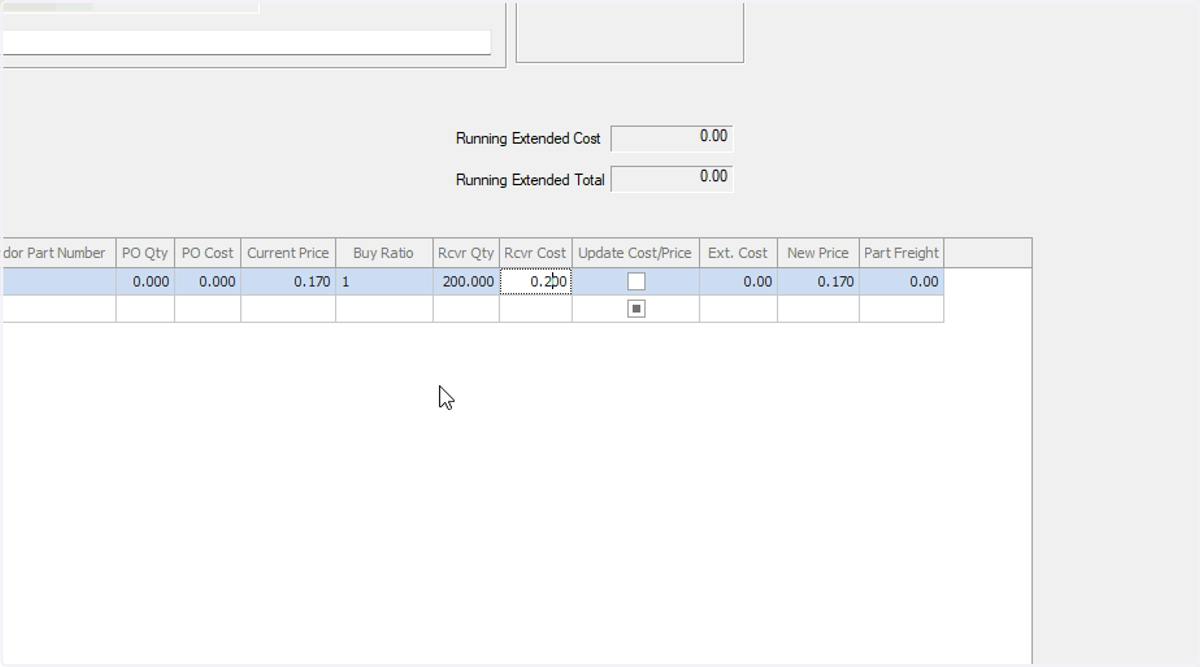
14. Enter the 'Receiver Cost'
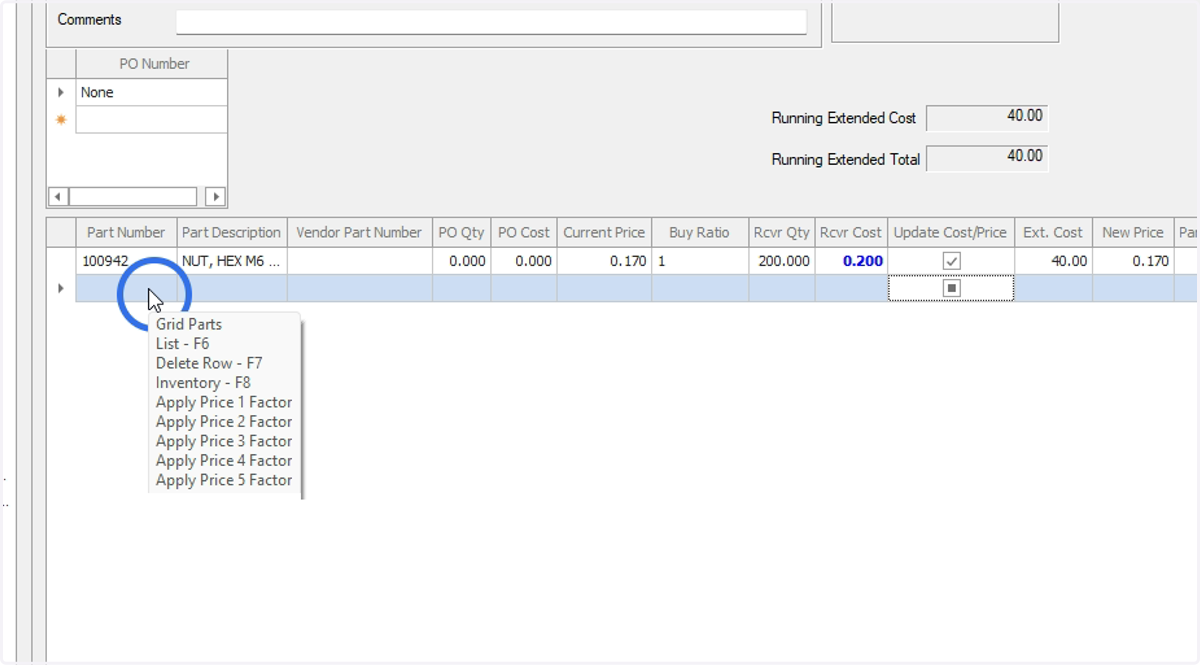
15. If you are receiving a brand new part that needs to simultaneously be added to Inventory, press F8
This will open a new tab with the Inventory Master File Maintenance page to add the part. Complete the process then return to the Inventory Receiving tab to search for the part you have just created.
16. Press the green check mark to complete the process
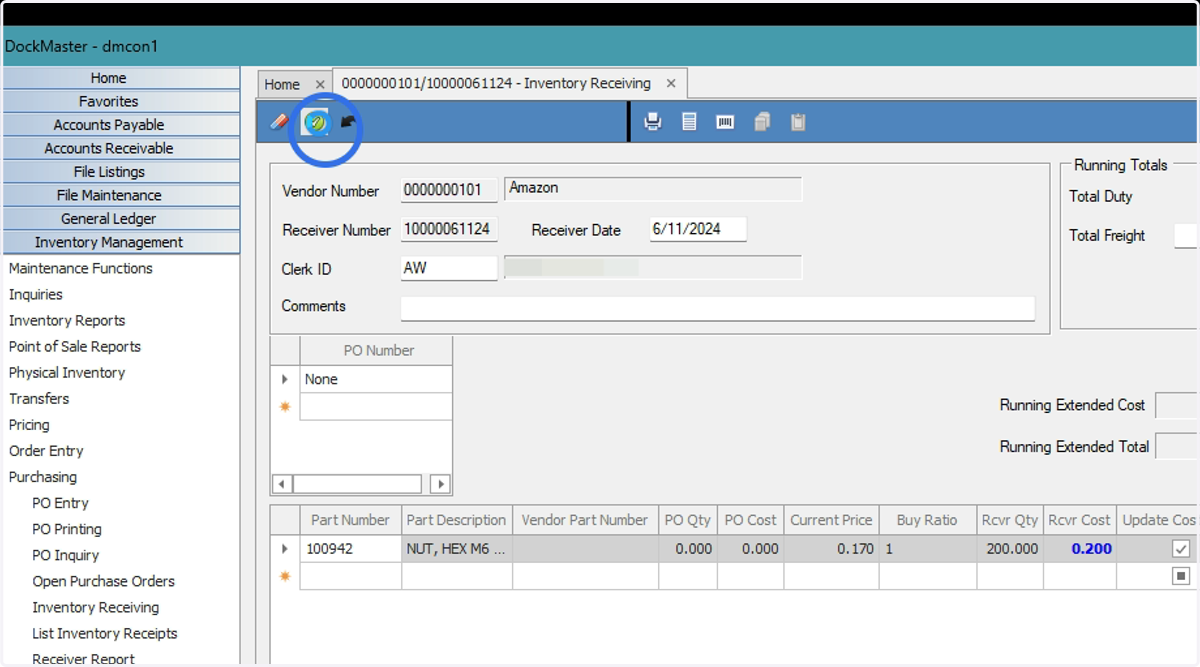
Update the Cost/Price of a Part
If an item has changed cost, check the box to 'Update Cost/Price' and enter the new information. This will update the cost of the item in your inventory and if there is a desired margin entered for the part it will recalculate the Price.
17. Enter the cost at the time of receiving the shipment
If an item has changed cost since the order was placed, enter the new cost in 'receiver cost.'
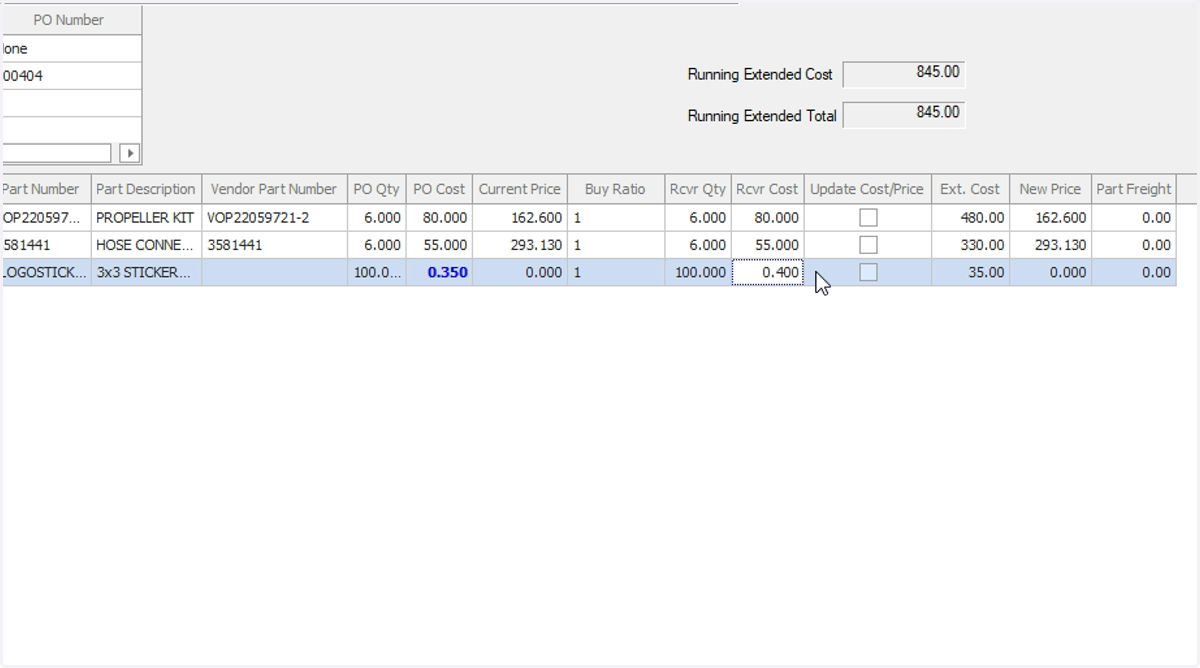
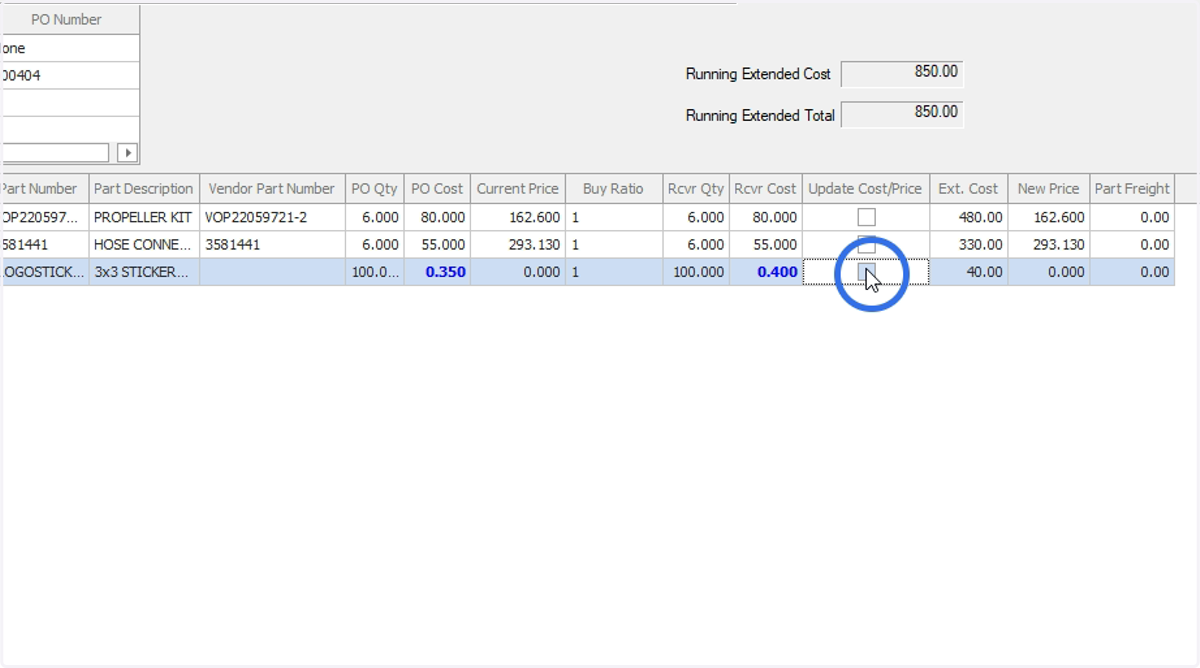
18. Check the box to 'Update Cost/Price'
This will update the cost of the item in your inventory and if there is a desired margin entered for the part it will recalculate the Price.
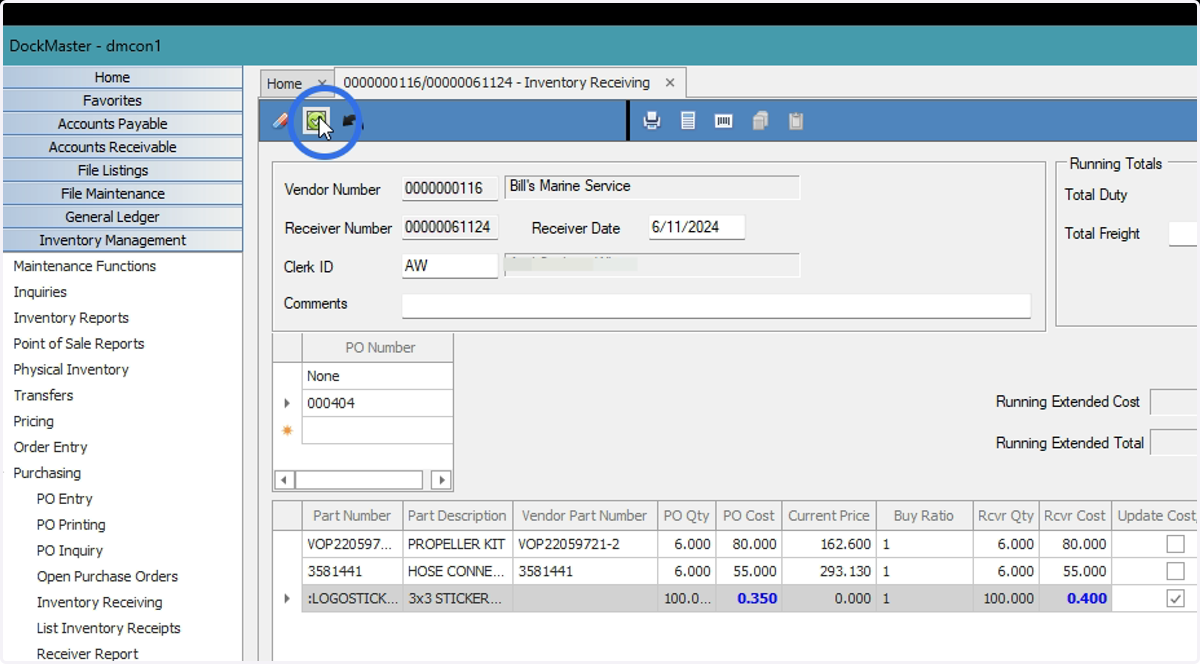
19. Click the green check mark at the top of the page when finished
Print Receiver Confirmation
20. Click the icon to 'Print Report/Post'
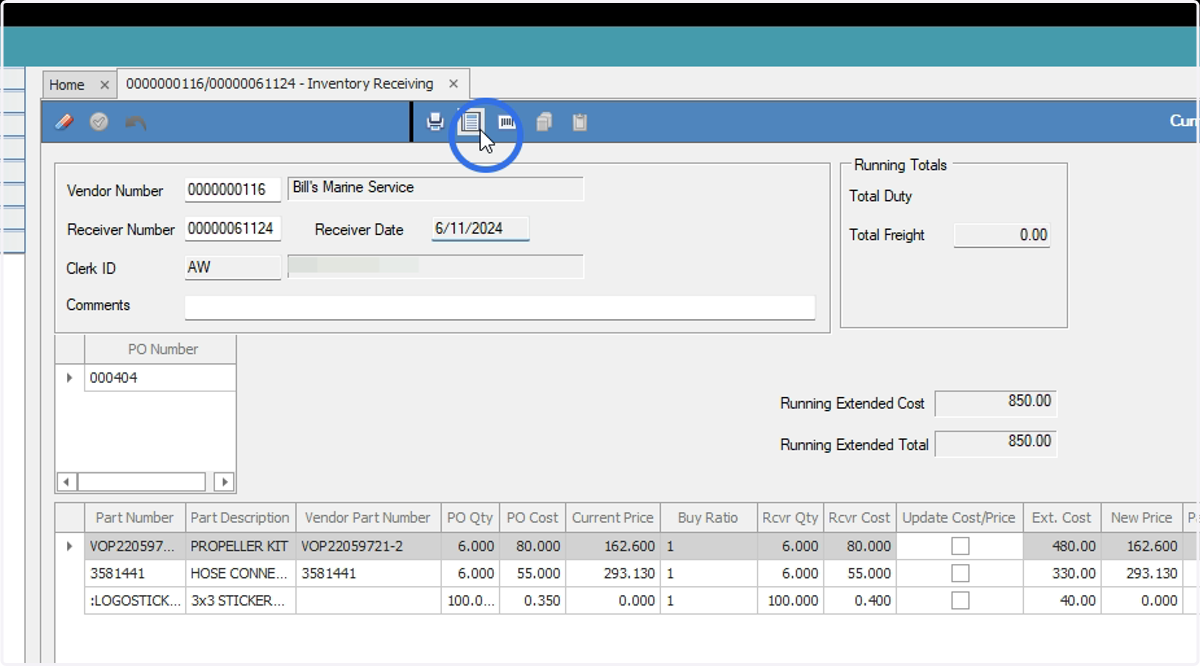
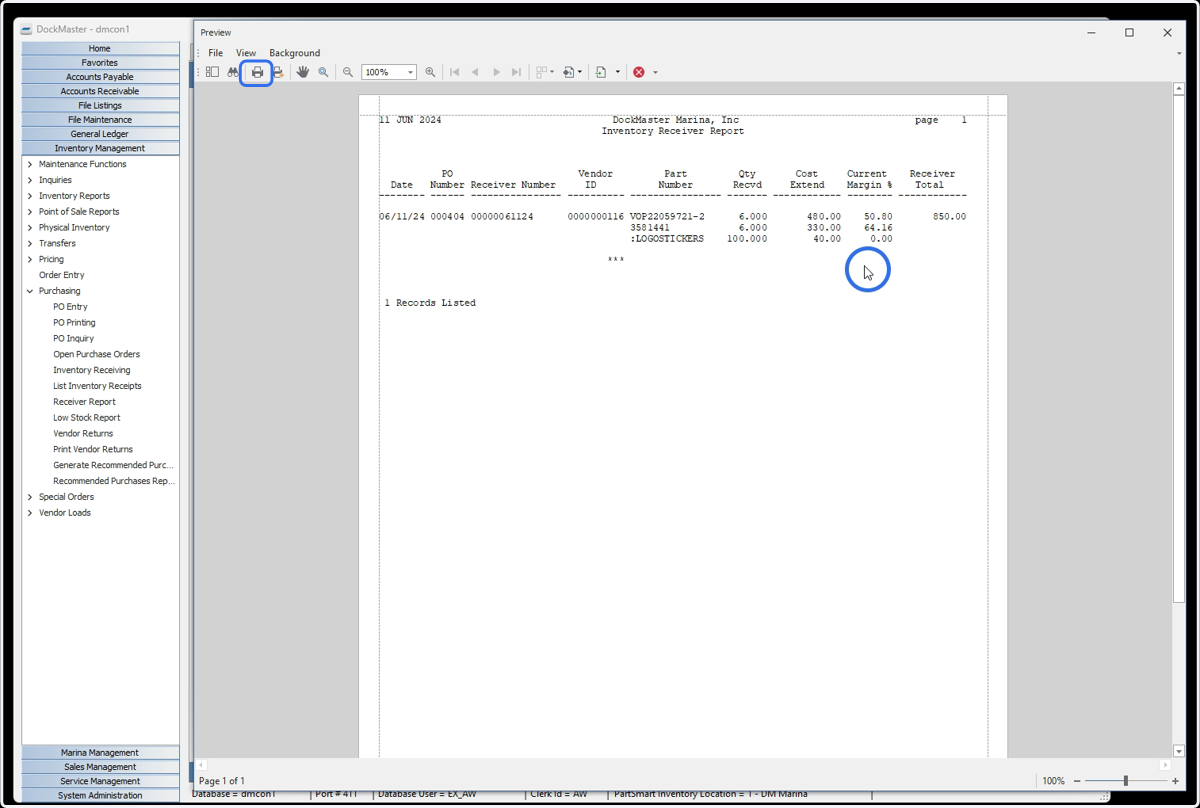
21. Optional: Click the icon to preview the Receiver confirmation
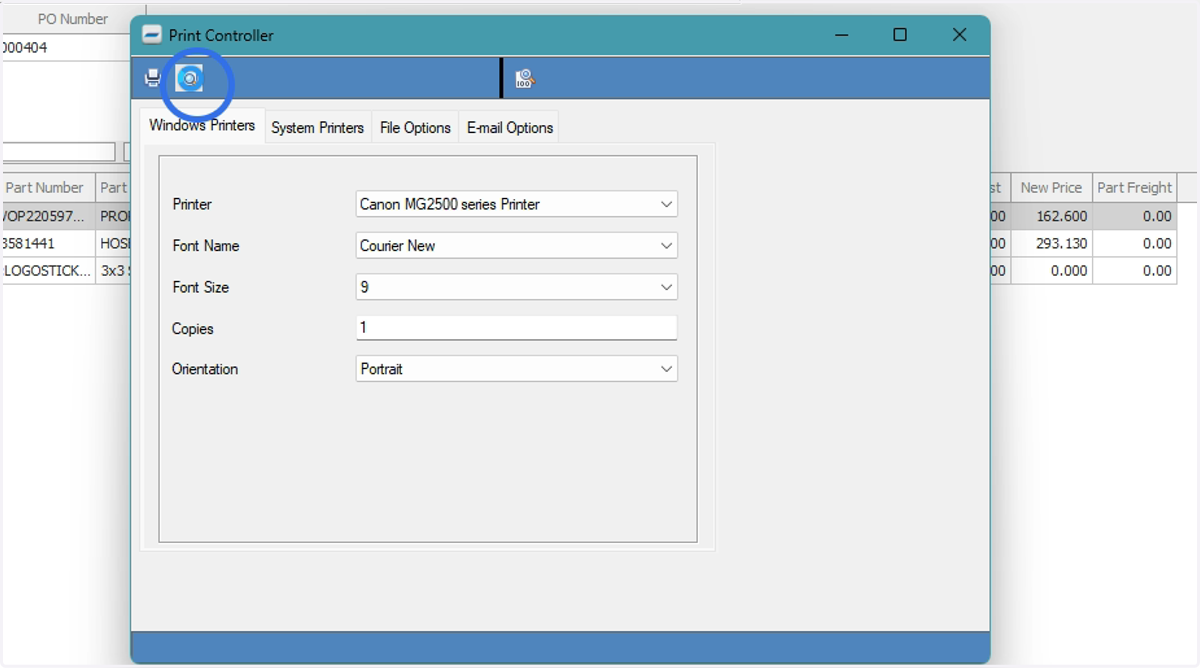
22. Print
Print Barcodes/Labels
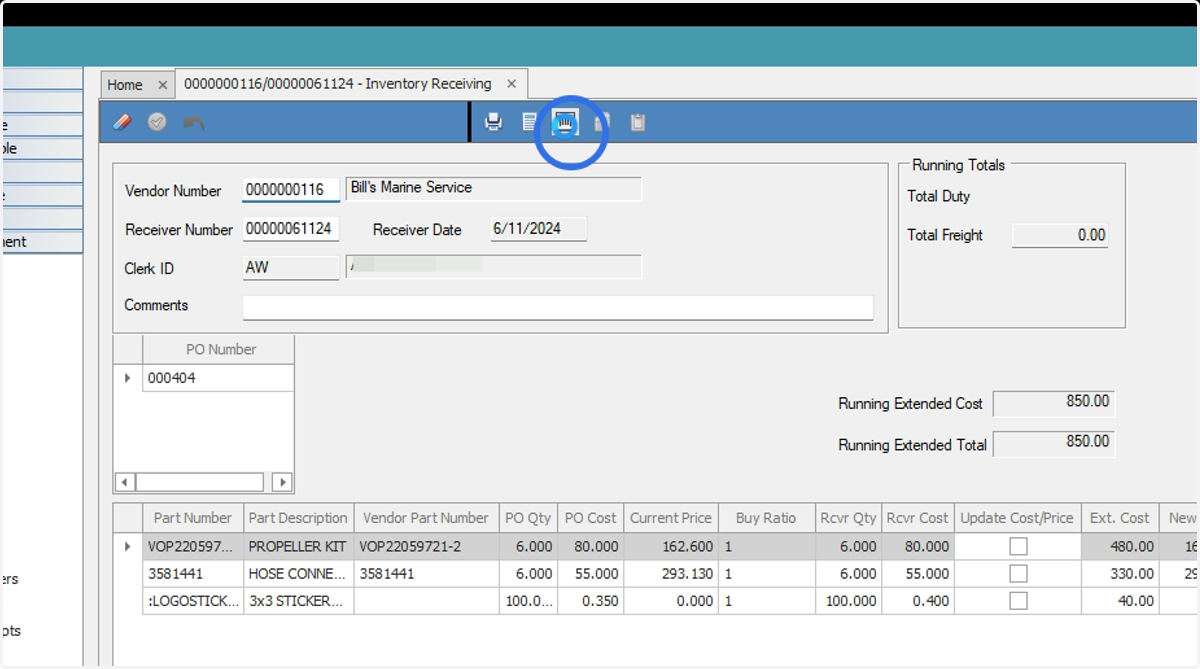
23. Click the barcode icon to print barcodes for the received items
24. Make any adjustments before printing
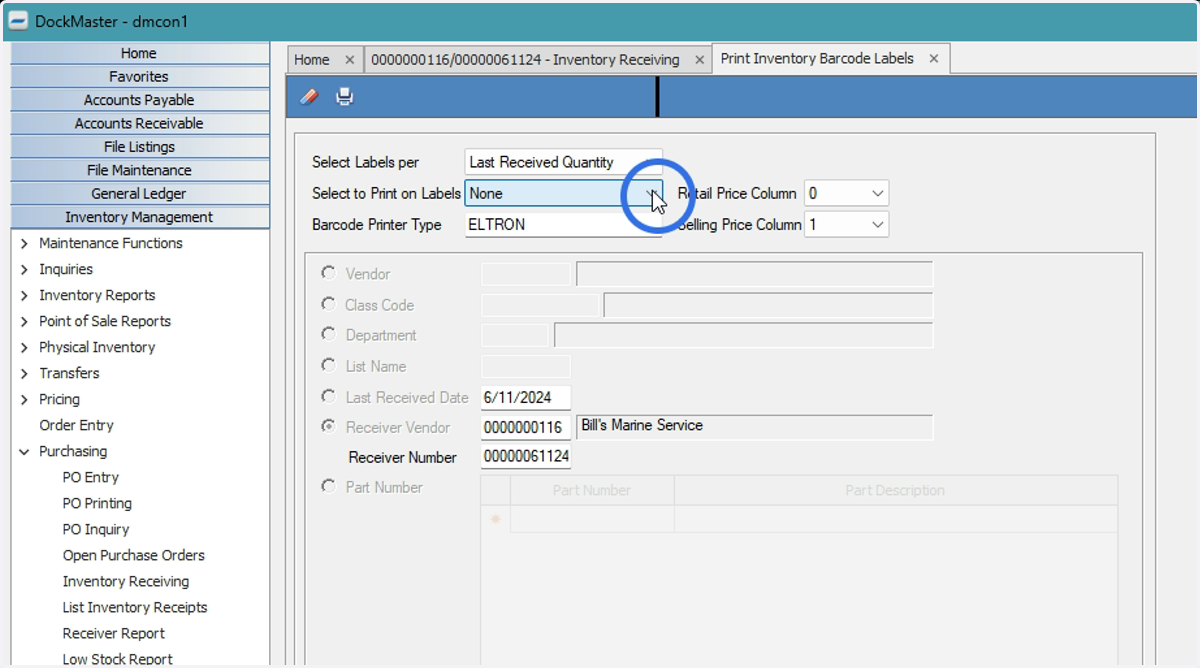
25. Print