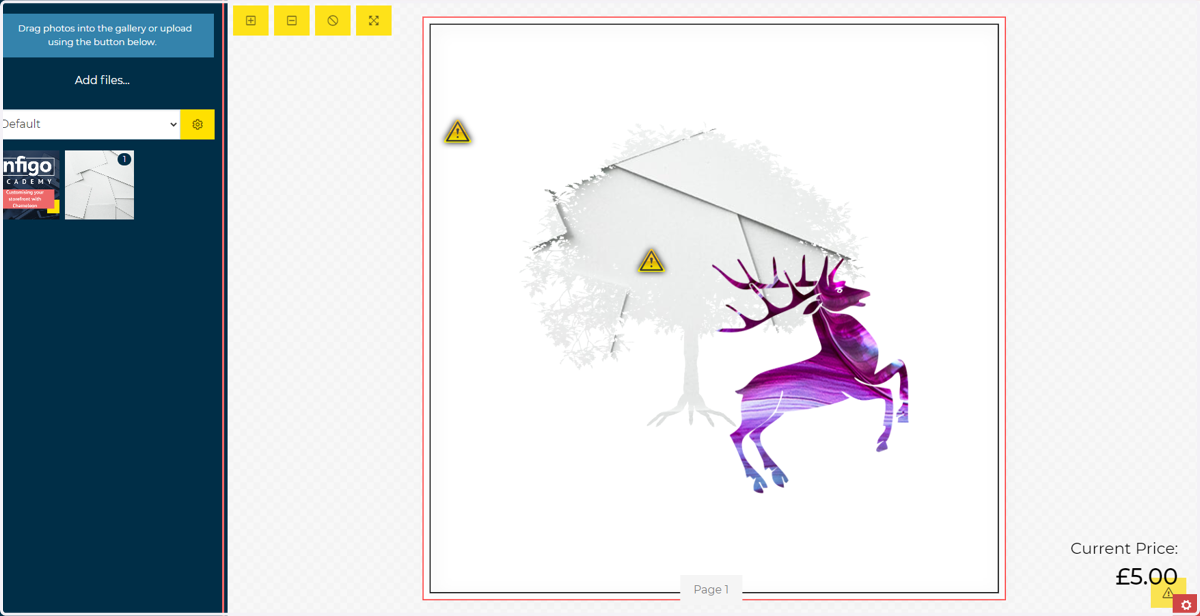
Masks in MegaEdit
This tutorial discusses the use of masks within images or cliparts within your MegaEdit canvas.
Masks allow you to apply custom shapes to your imagery, by applying an overlay which acts as an image outline.
Infigosoftware
1. What does a mask do?
A mask allows you to create a customised overlay on an image, allowing you to create custom image shapes.

2. Click on Catalogue
To begin, we will create a Mask Category. These contain details of one or multiple masks you wish to group together.
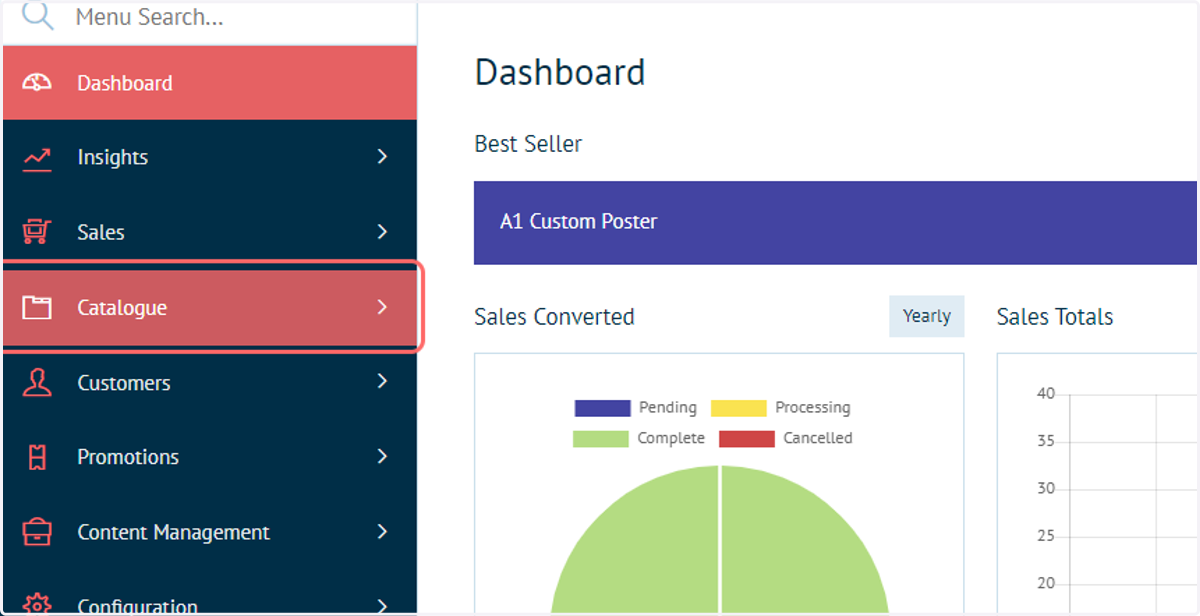
3. Click on Product Types
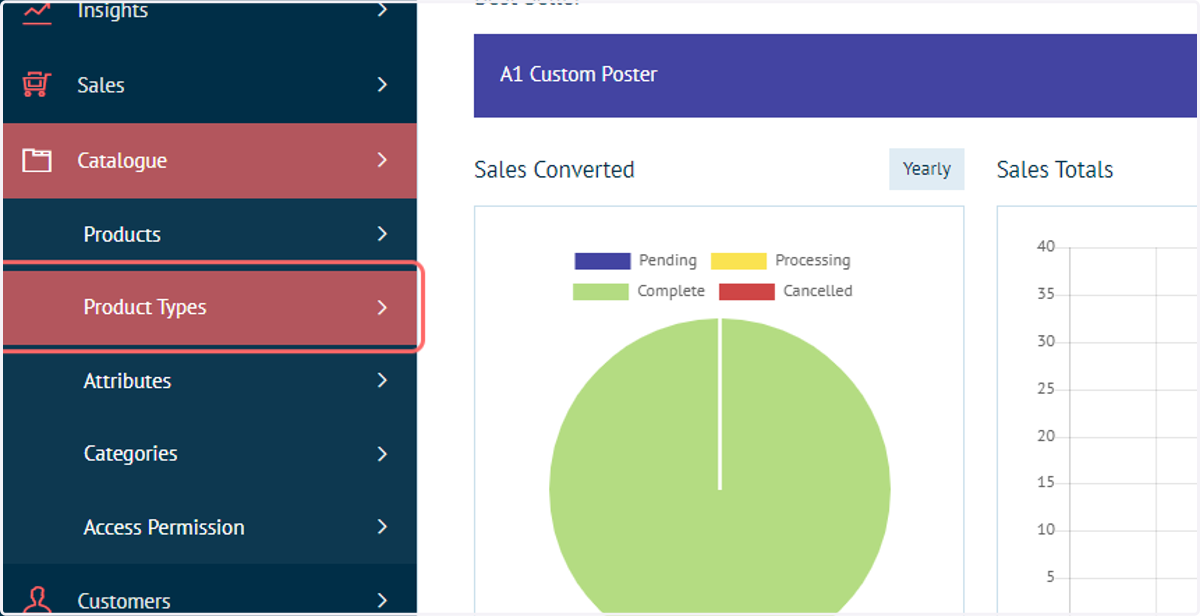
4. Click on MegaEdit
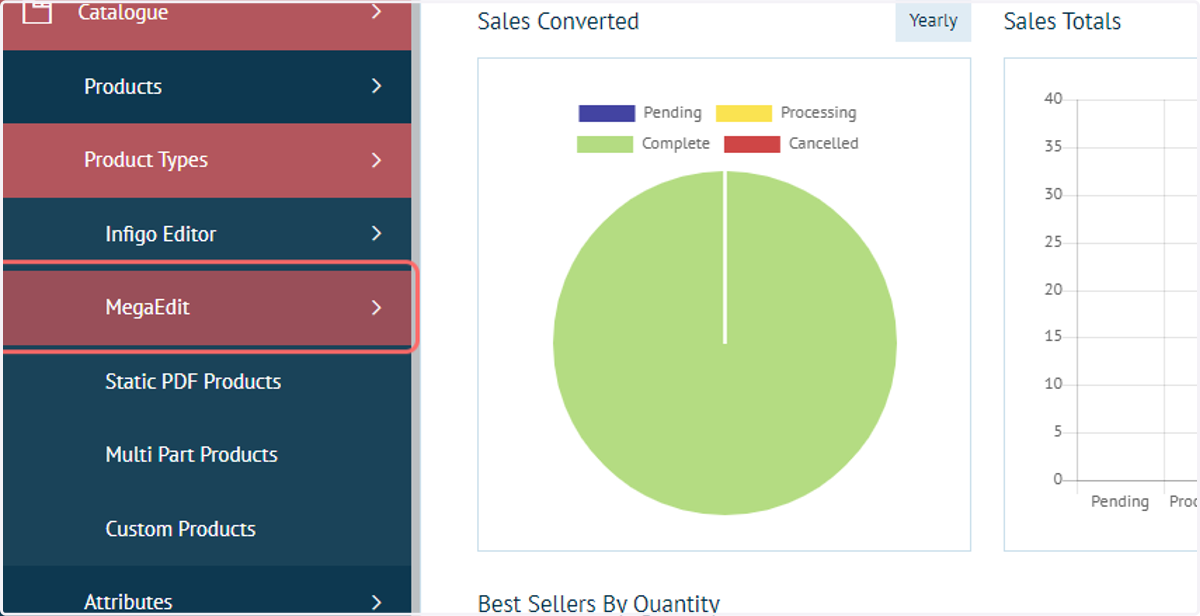
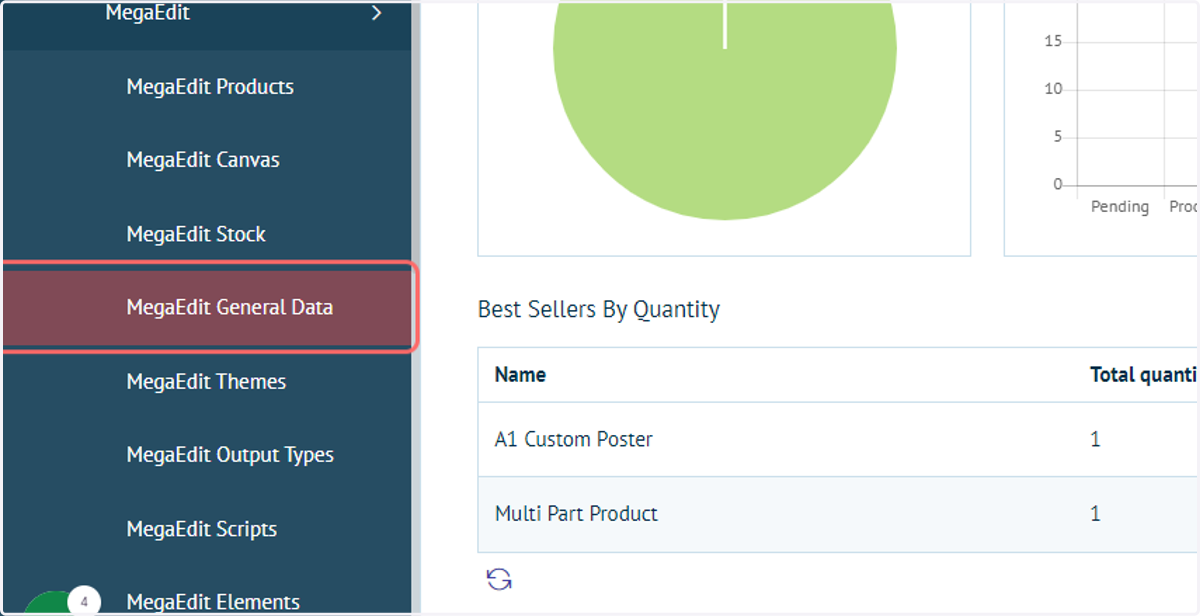
5. Click on MegaEdit General Data
Infigosoftware
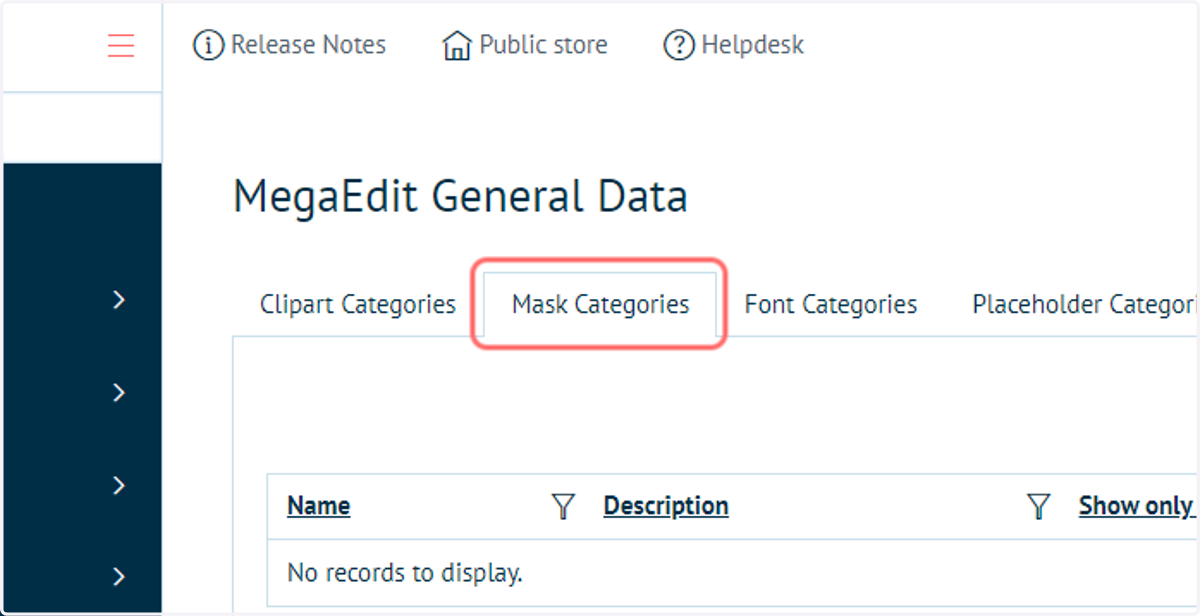
6. Click on Mask Categories
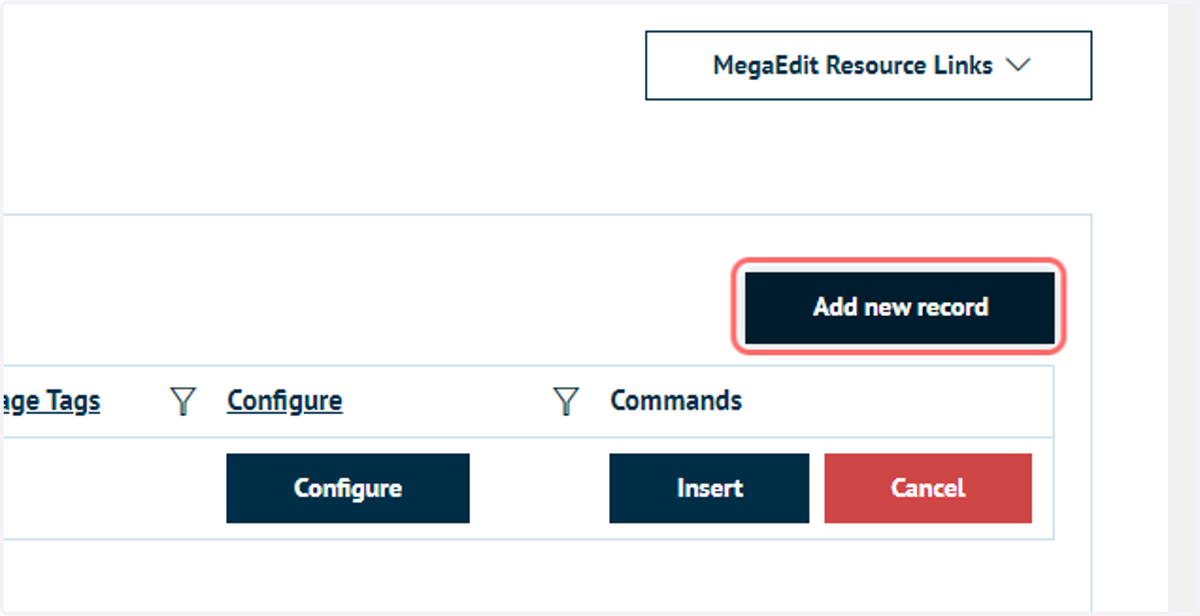
7. Click on Add new record
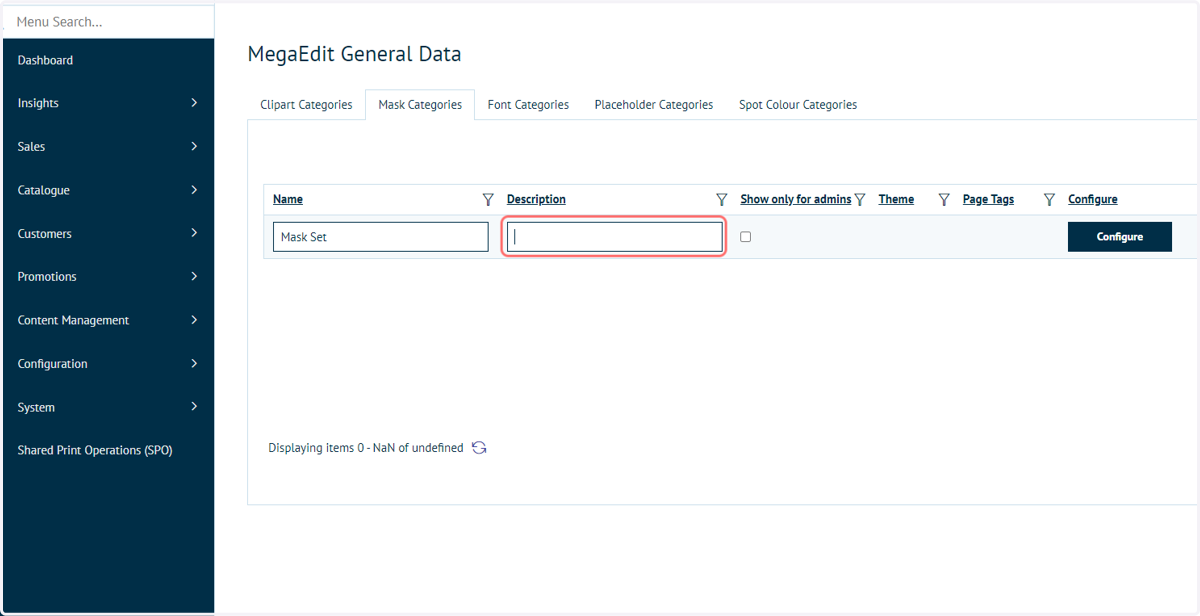
8. Input Mask Category details
Here, the administrator can also choose whether to make this Mask Category only available to administrators, or to both administrators and customers.
"Show only for admins" would be used when pre-defined templates are being configured, for which customers will not need to alter the masks used.
9. Click on Insert
Infigosoftware
10. Click on Configure
The Configure screen allows you to upload your mask templates
11. Creating Mask files
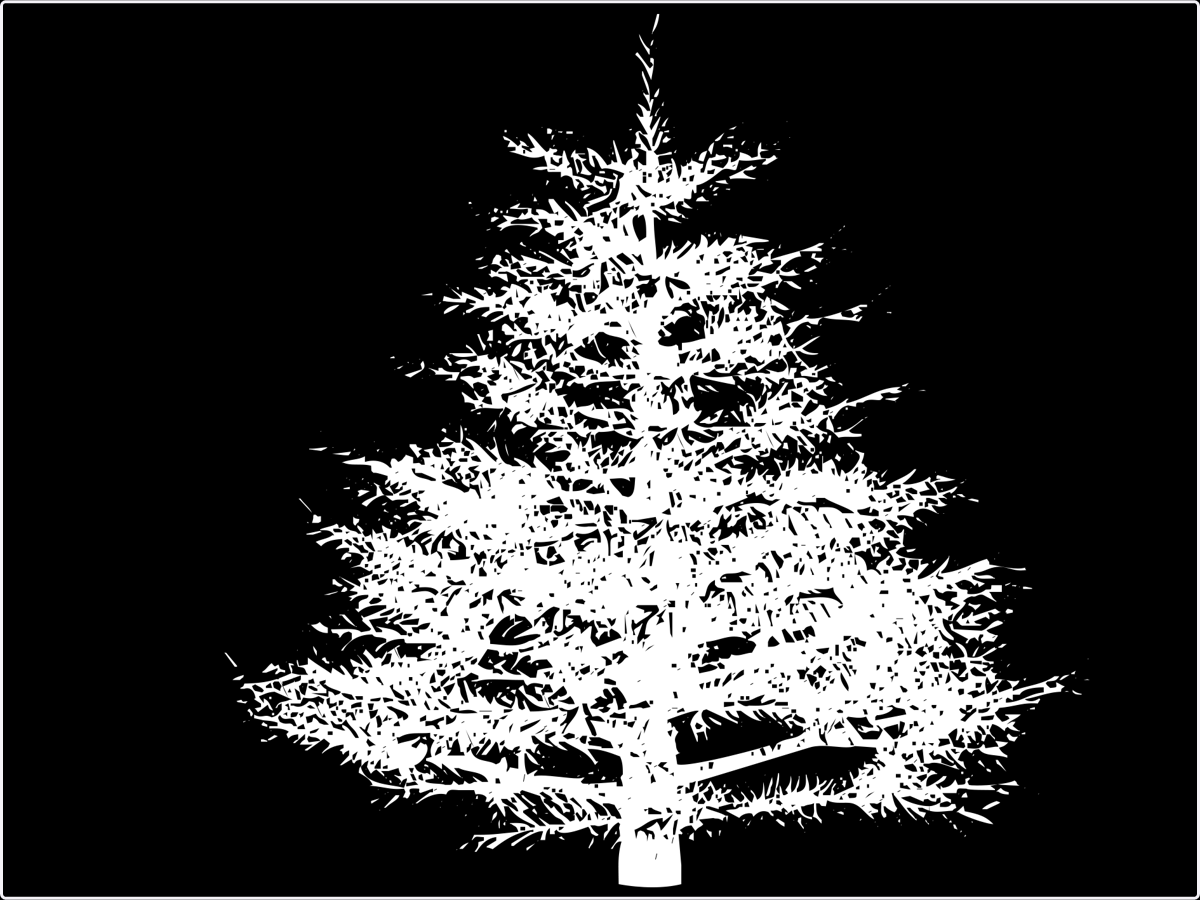
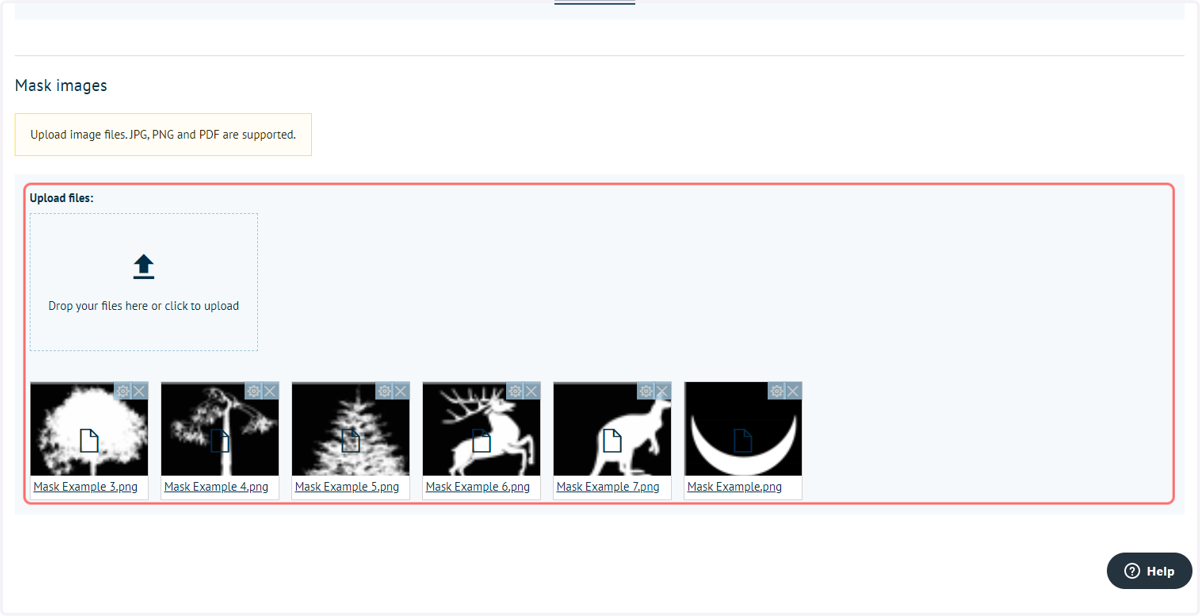
When uploading mask files to your Infigo Mask Categories, a specific style of image is required.
Mask images require a completely black background, with the required mask shape in white.
When used in the MegaEdit editor, images will only be displayed within the white area.
These files can be saved as JPG, PNG or PDF, for use in the MegaEdit editor.
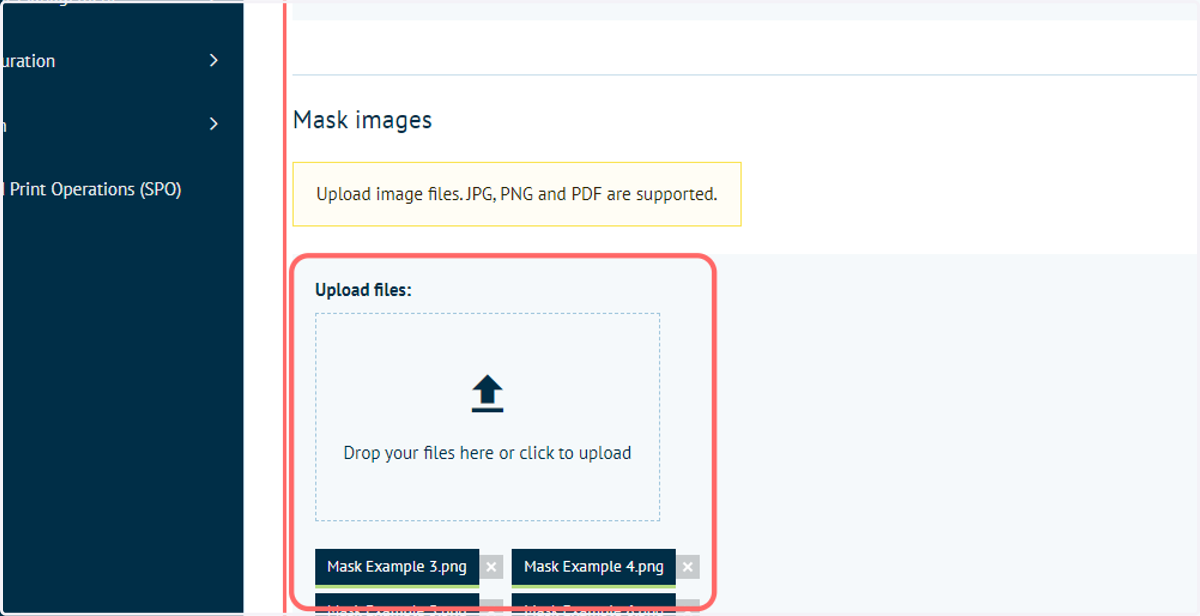
12. Drag and drop files into the upload area, or click it to launch a file browser
Once selected, the upload status of your mask files will be detailed next to the image name at the bottom of this screen.
13. Successfully uploaded masks will be displayed as thumbnails
14. Click on Catalogue
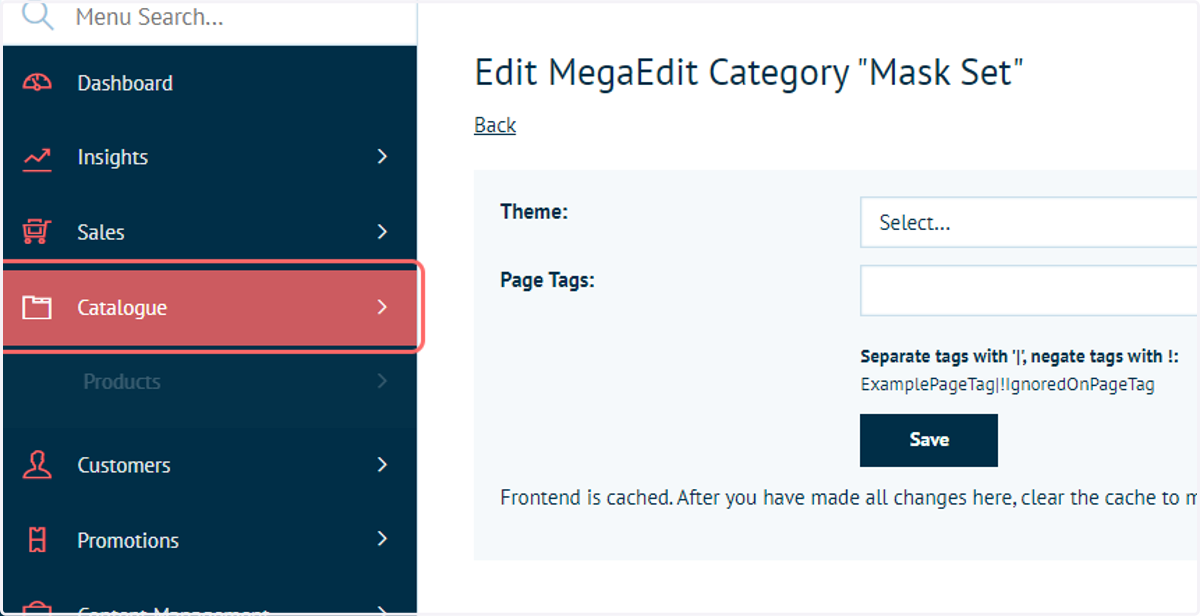
Next, we need to add our Mask Category for use on one of our MegaEdit products.
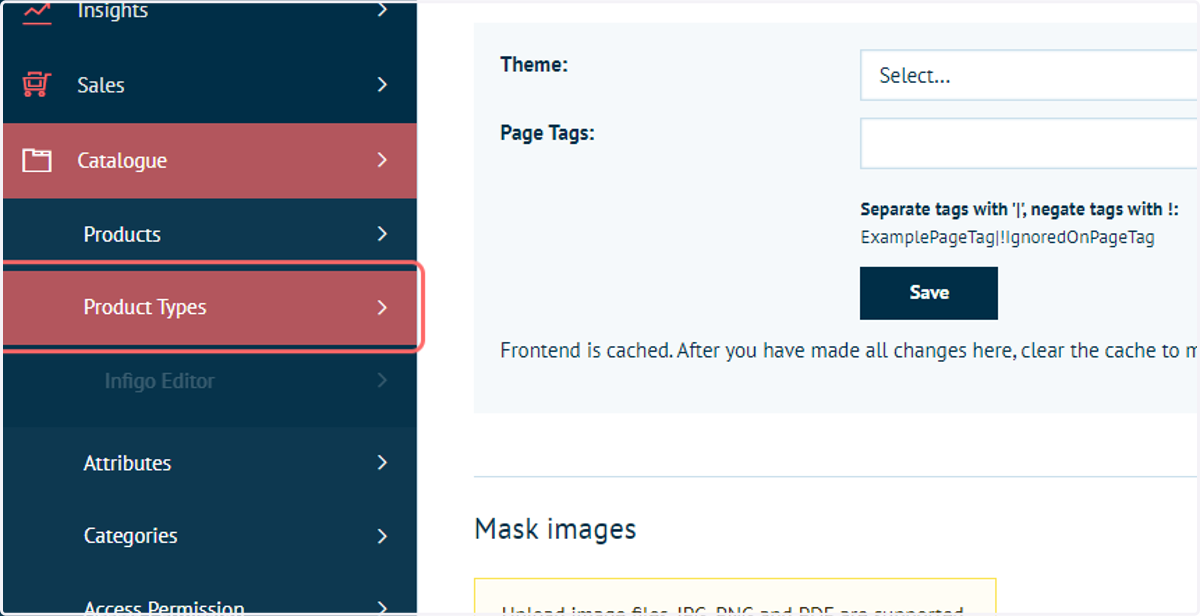
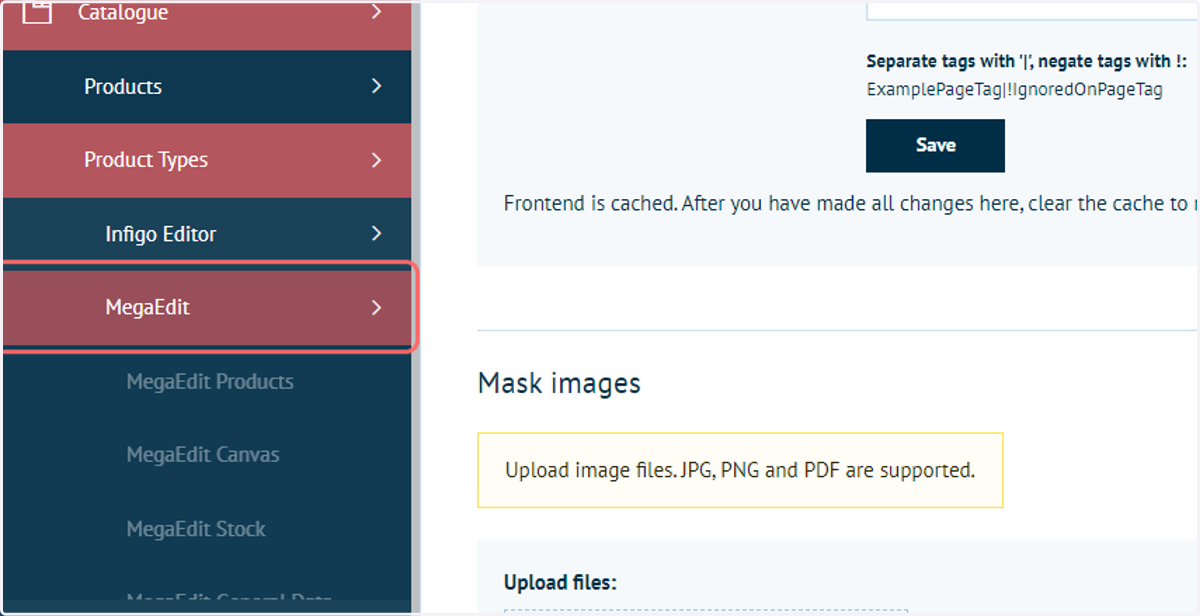
Start by navigating to your MegaEdit products.
15. Click on Product Types
16. Click on MegaEdit
17. Click on MegaEdit Products
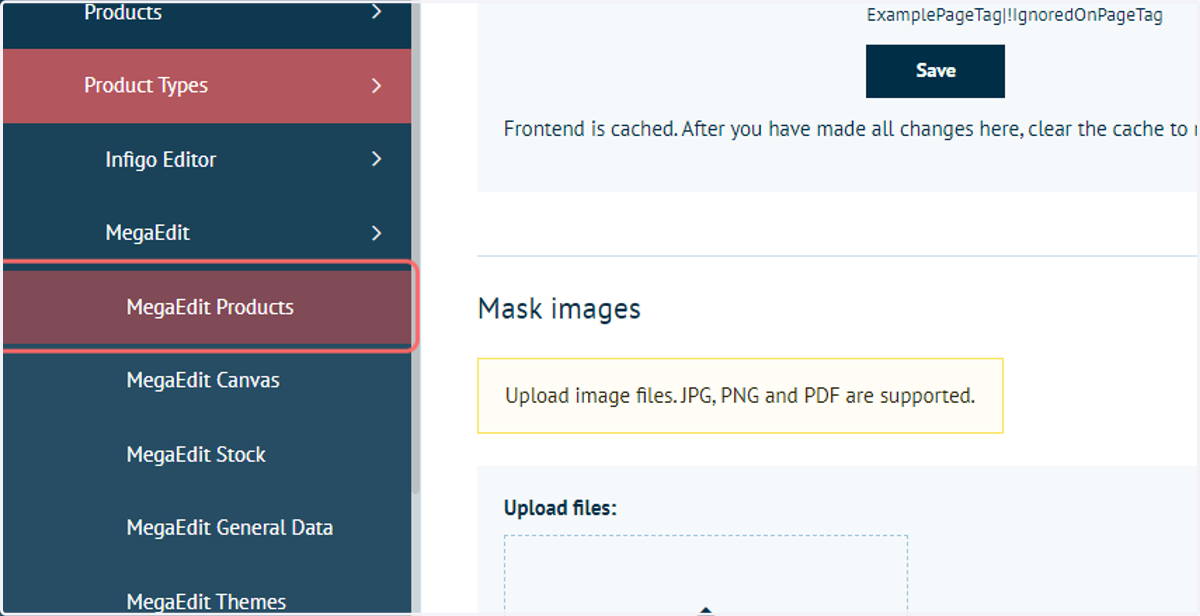
18. Click on Edit next to your MegaEdit product of choice
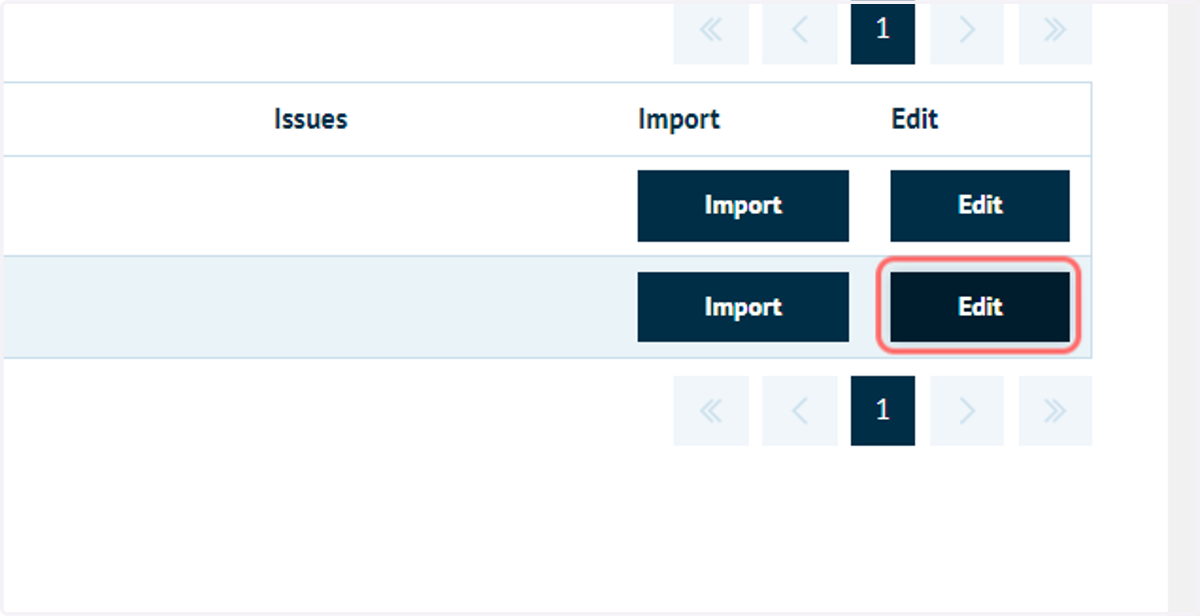
19. Click on Mask
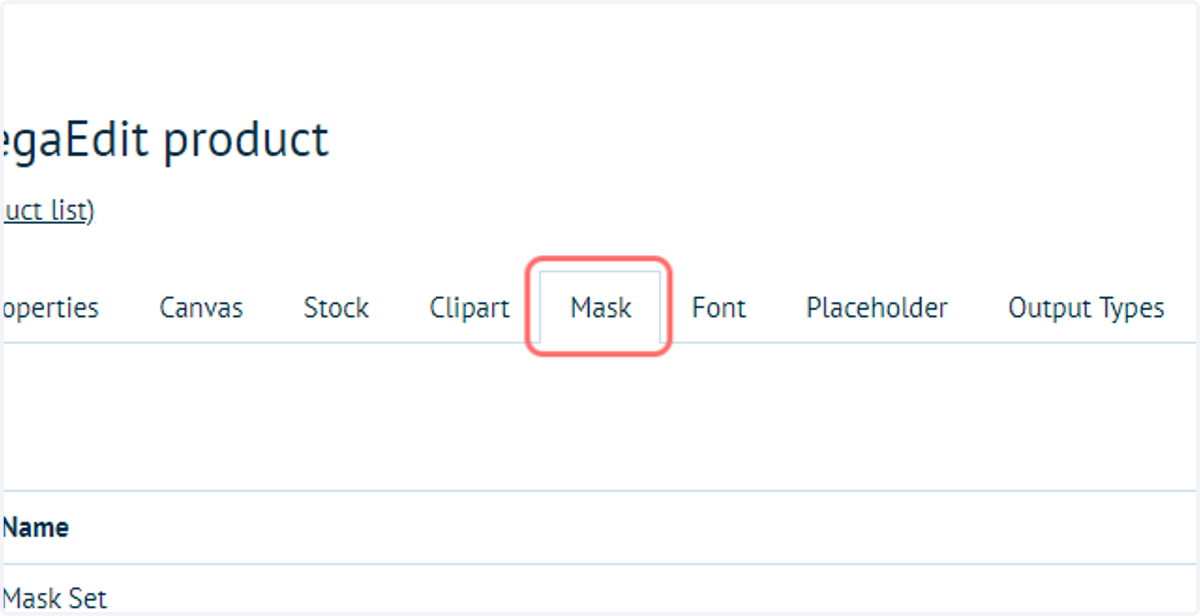
20. Select the mask set(s) you wish to use with this MegaEdit product
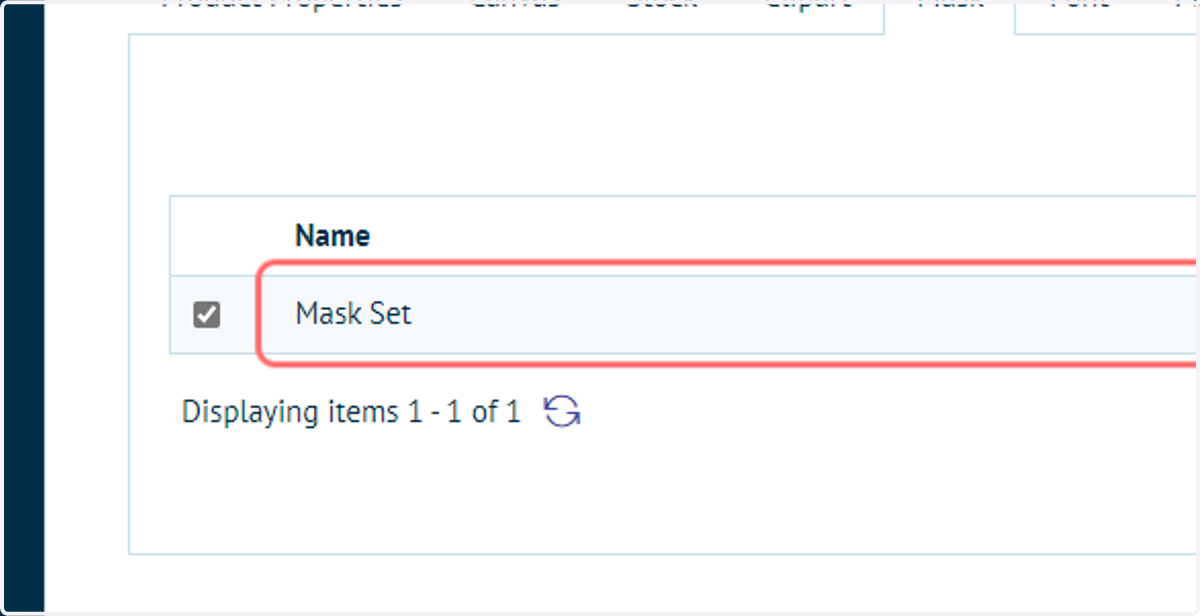
21. Click on Save changes
22. Launch the MegaEdit product of choice
23. Image fields and cliparts
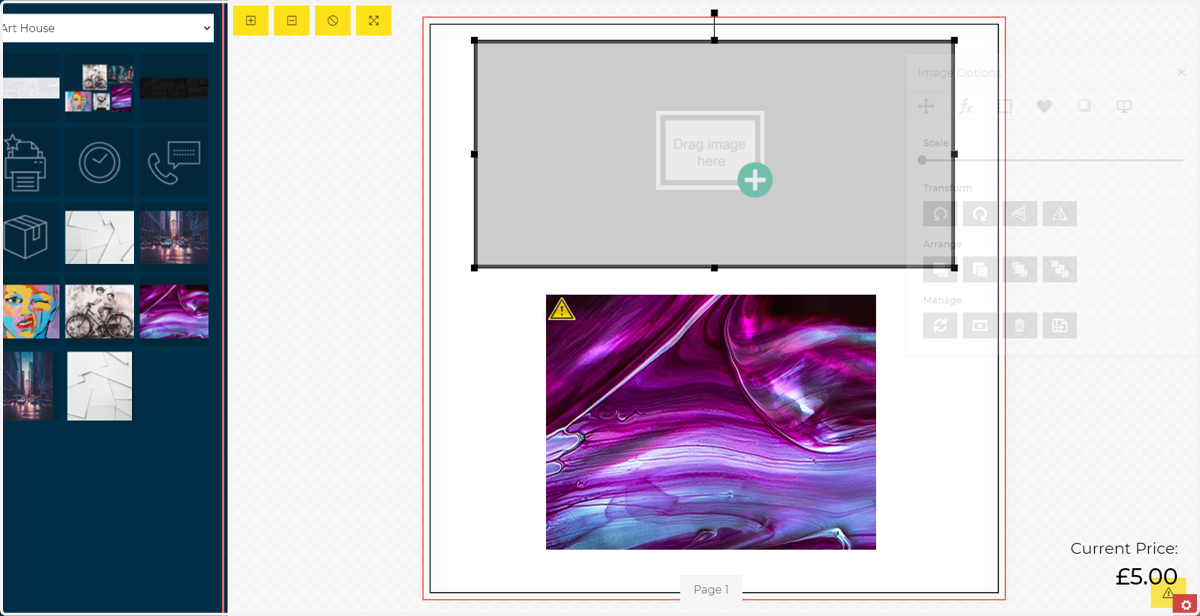
Masks can be applied to both image fields and cliparts.
In our example, one of each has been placed on to our canvas.
Infigosoftware
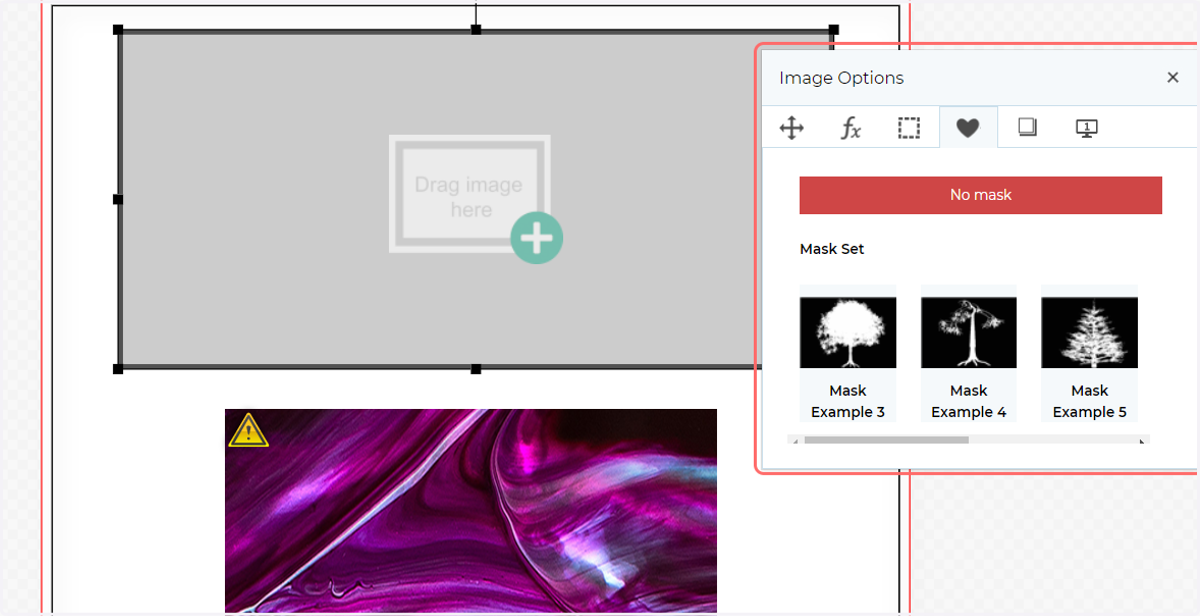
24. Double click an image to launch the Image Options pop up, then navigate to the Mask Options tab.
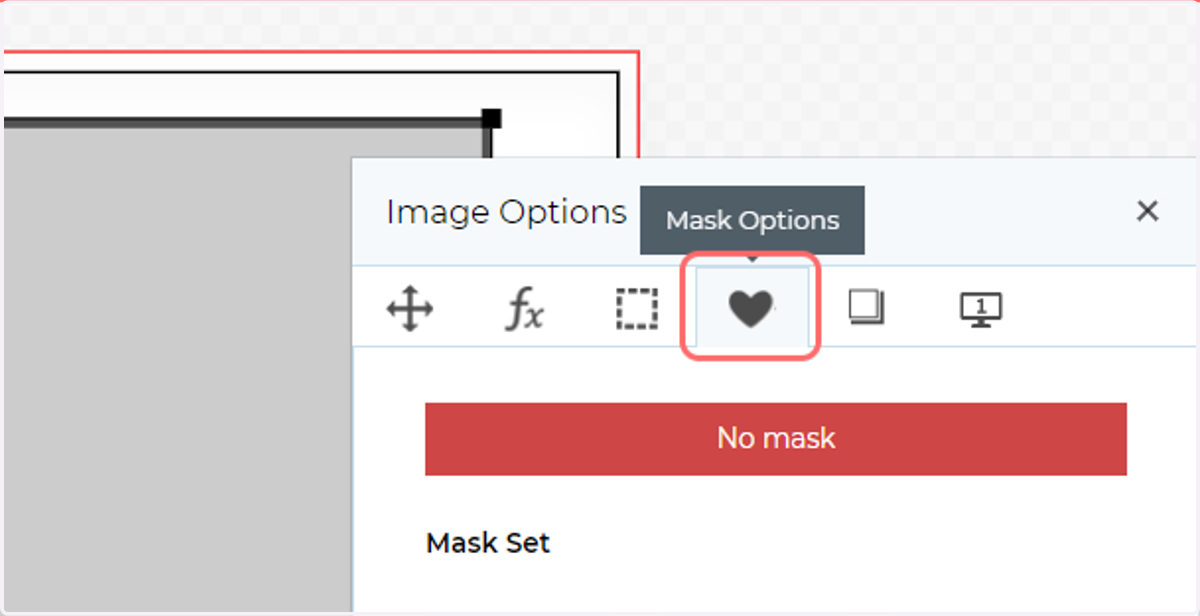
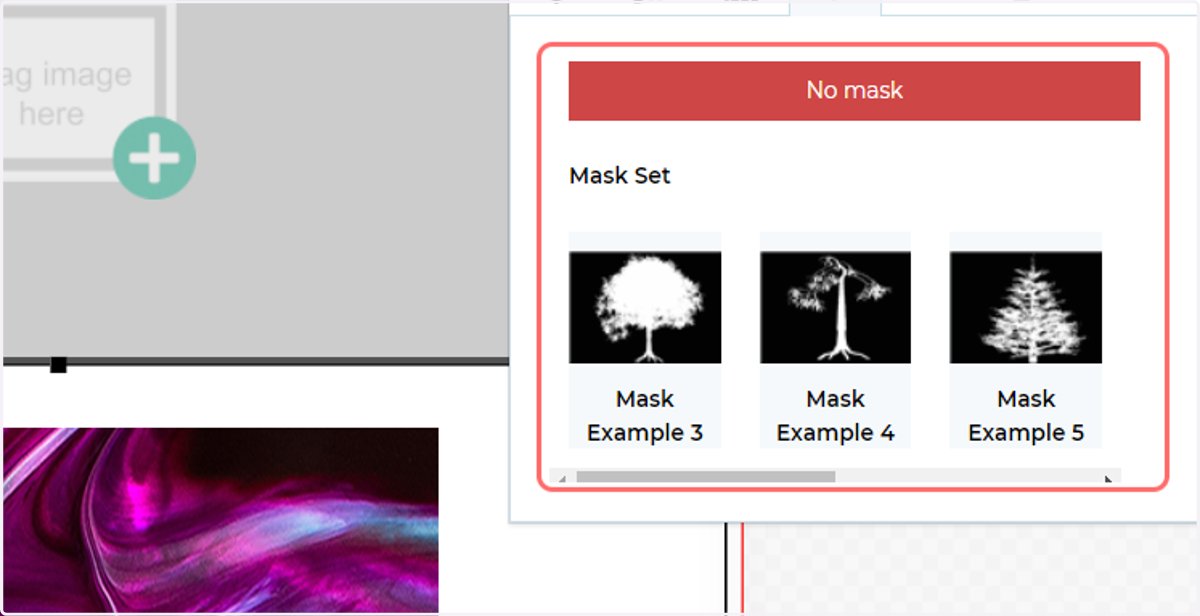
25. Available masks will be displayed
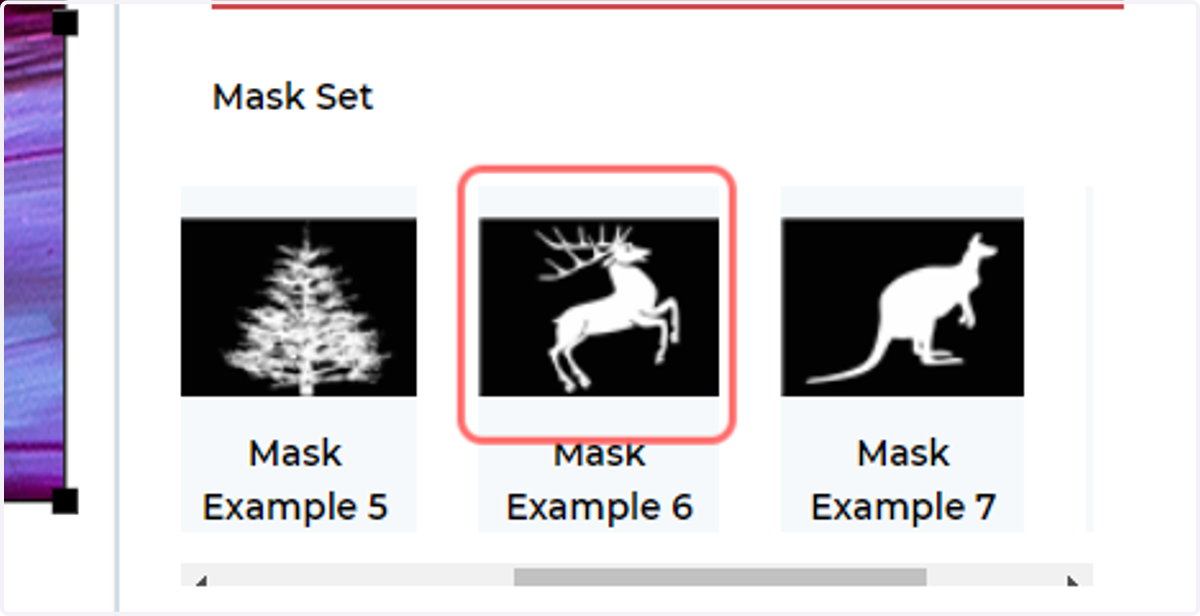
26. Select one of the masks to apply it to the selected image field or clipart
27. Masks on image fields
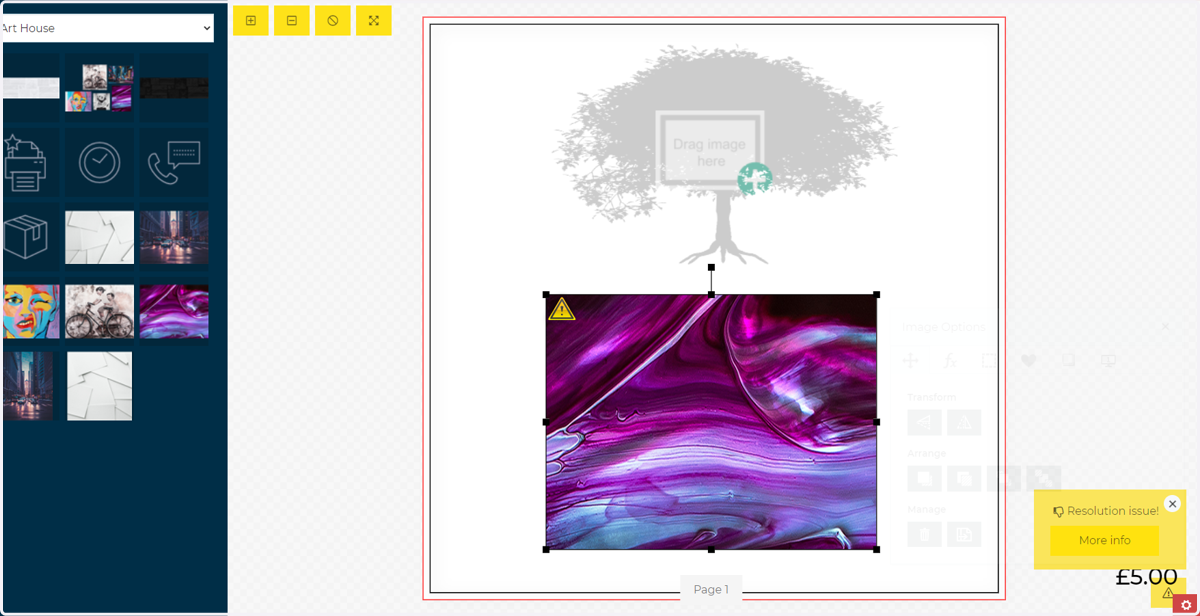
A mask can be applied to an image field, even if the frame is currently empty.
The mask will remain whenever an image is dropped into the frame from the Images tab.
28. Follow the same steps to apply a mask to a clipart image
29. Applied masks