Managing Vehicle Checks in MaxOptra
In MaxOptra, Vehicle check functionality helps fleet operators efficiently monitor the condition of their fleet by setting up customisable forms for any type of check. It is a paperless system that is easy to use for Transport Managers and Drivers.
Learn how to set up Vehicle Check forms in MaxOptra and assign to your vehicles below.
Configuring a new Vehicle Check form
1. Log in as an Account Administrator
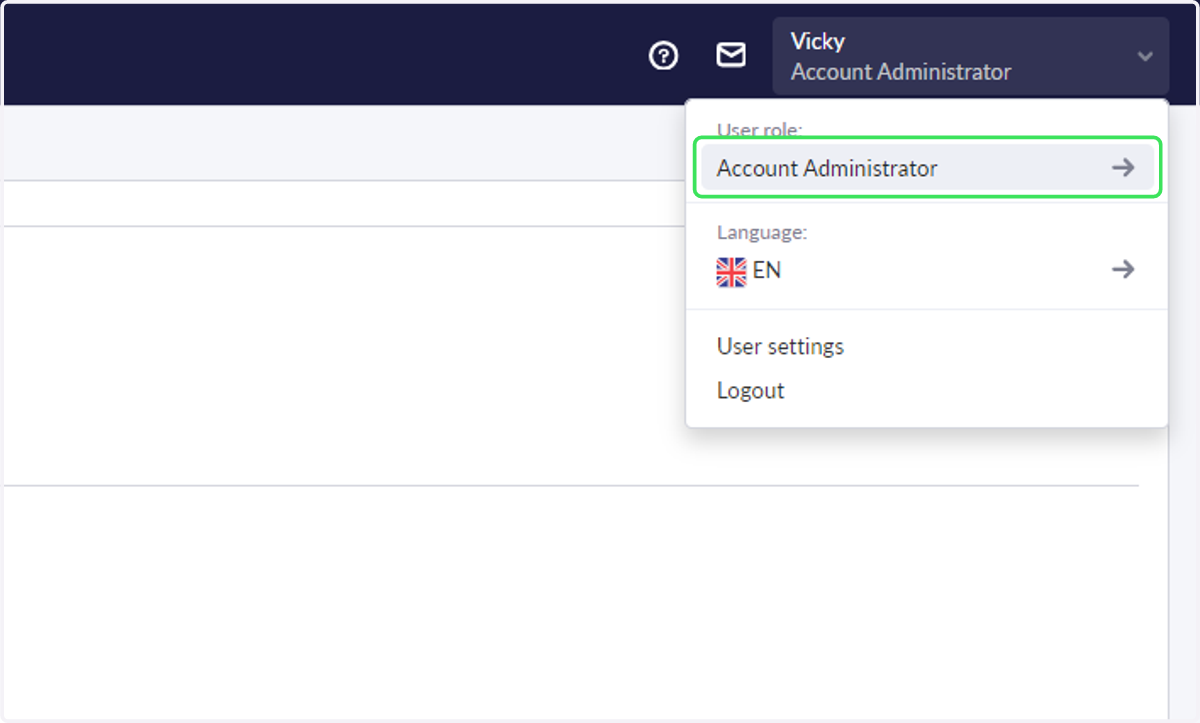
2. Click on Vehicle checks forms in the Settings to access all your forms.
If you do not have this option, then contact support@maxoptra.com to enable according to your subscription.
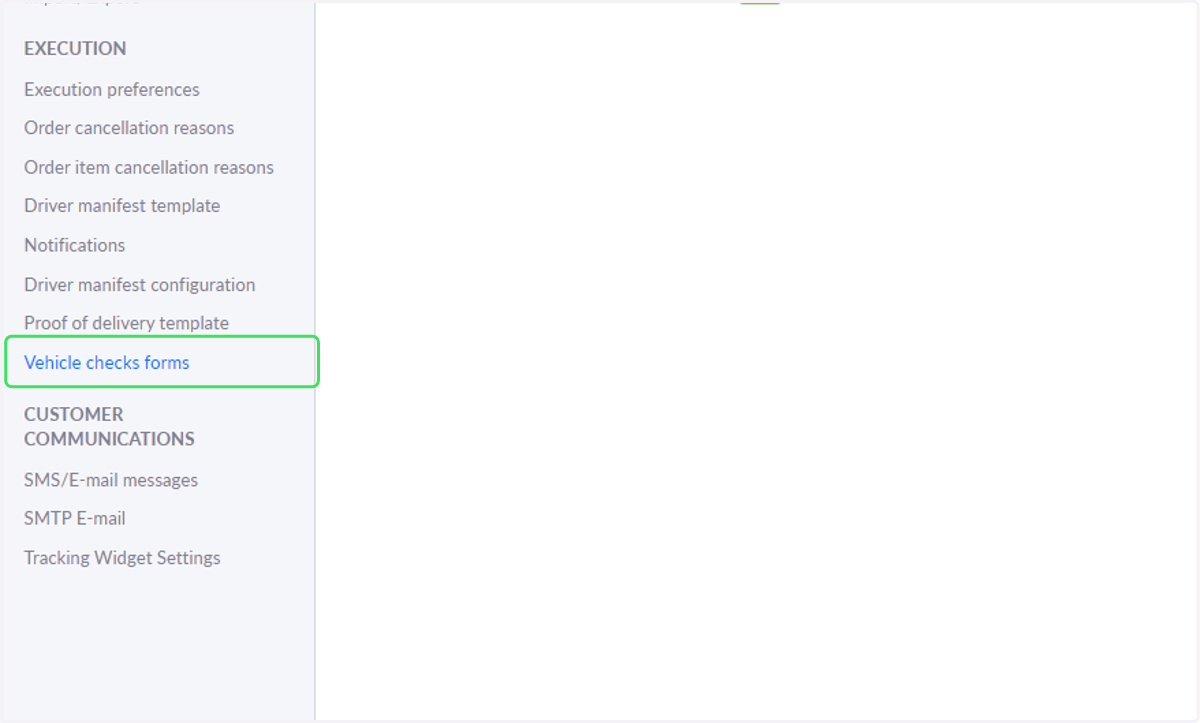
📗 Creating new forms
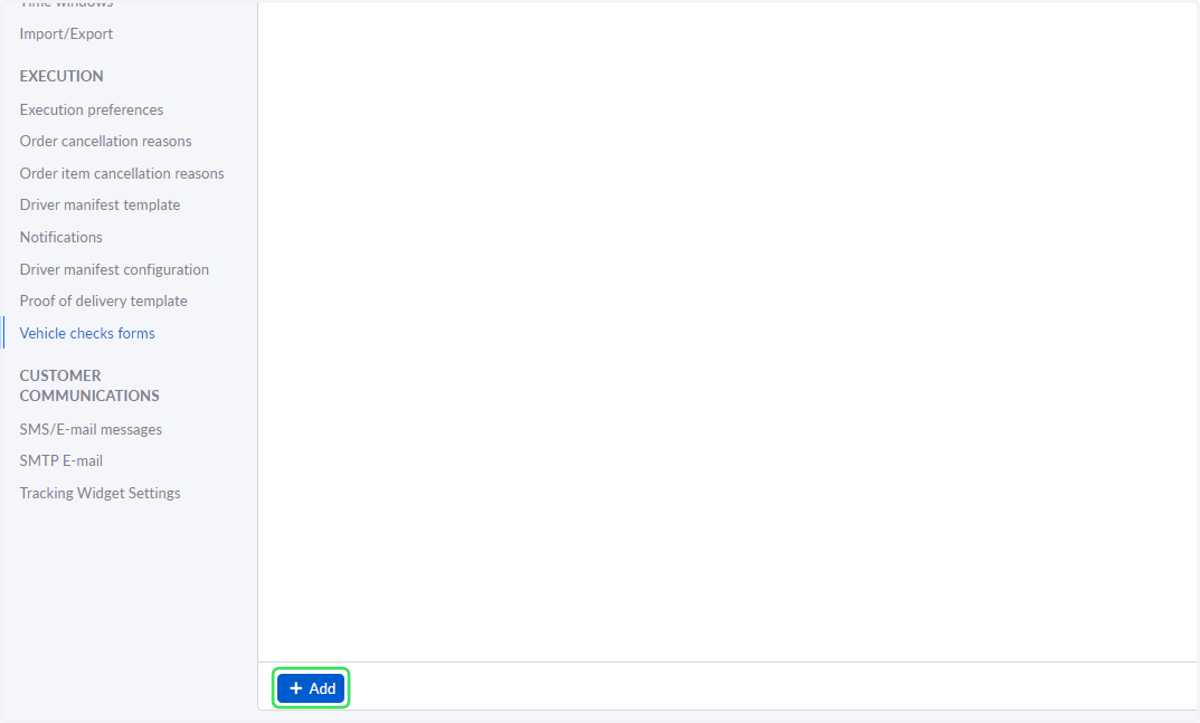
3. Click on 'Add' at the bottom of the page to create a new form
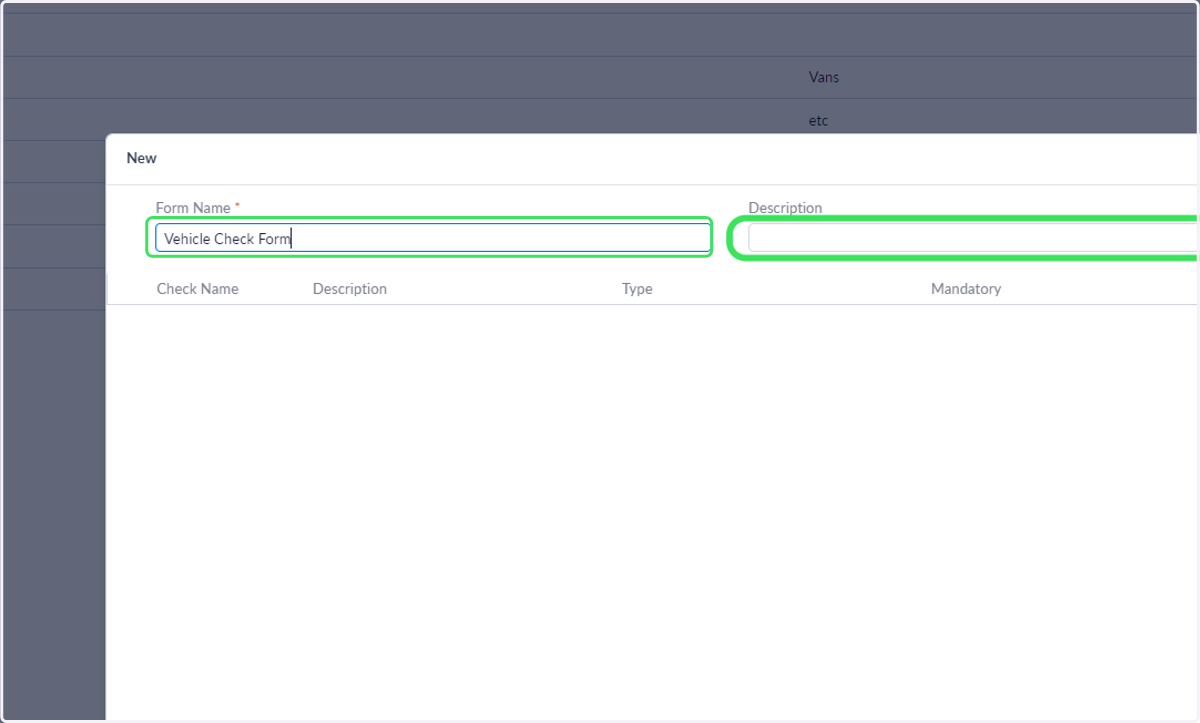
4. Fill out a name and description for the vehicle check form
5. Then click on 'Add Vehicle Check' at the bottom to start adding questions to the form.
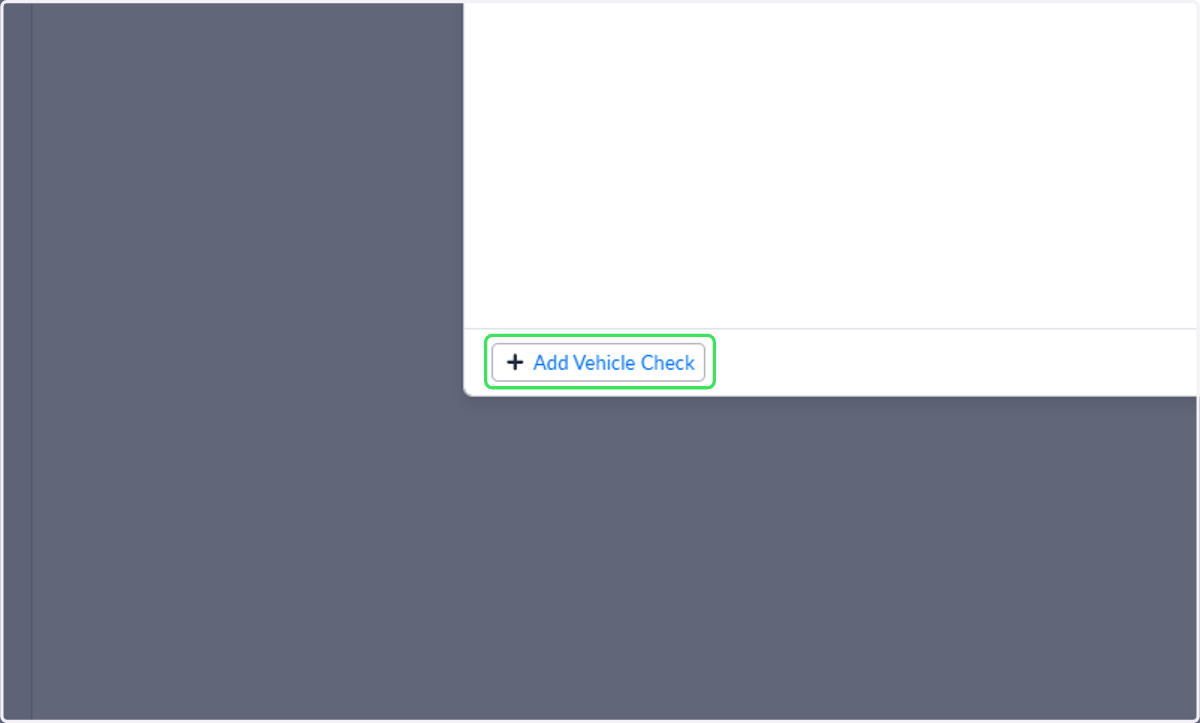
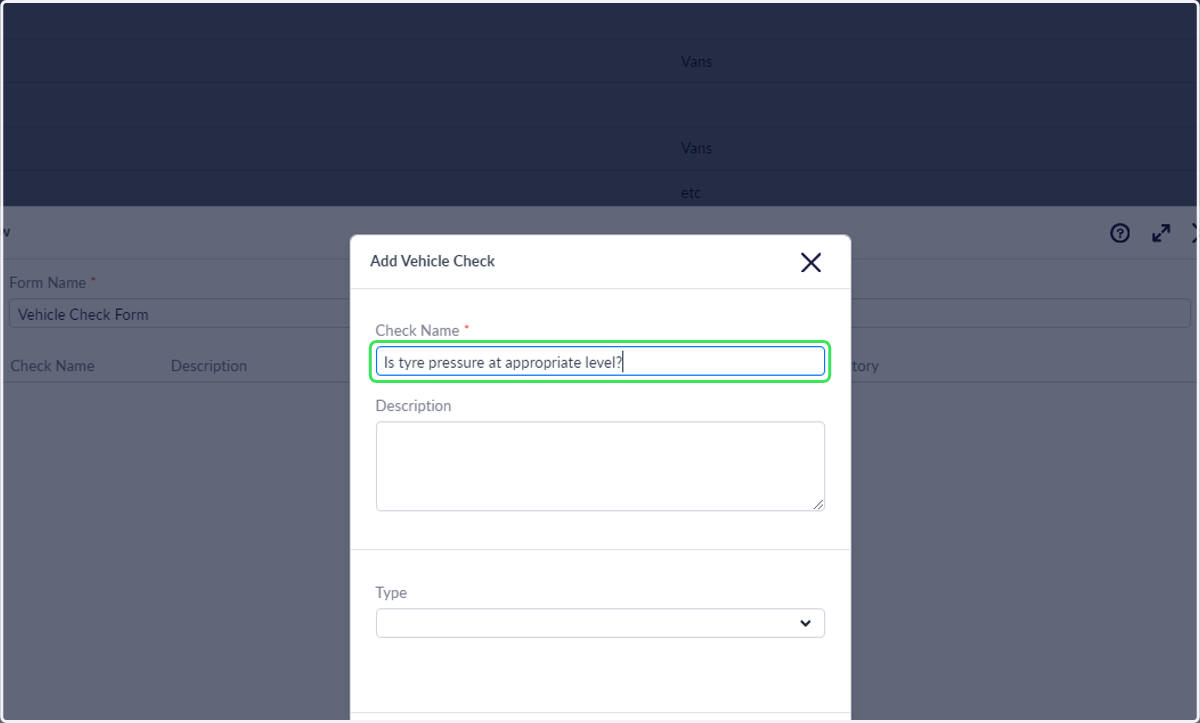
6. Fill out 'Check name'. This is the question title that will display in the app and is mandatory.
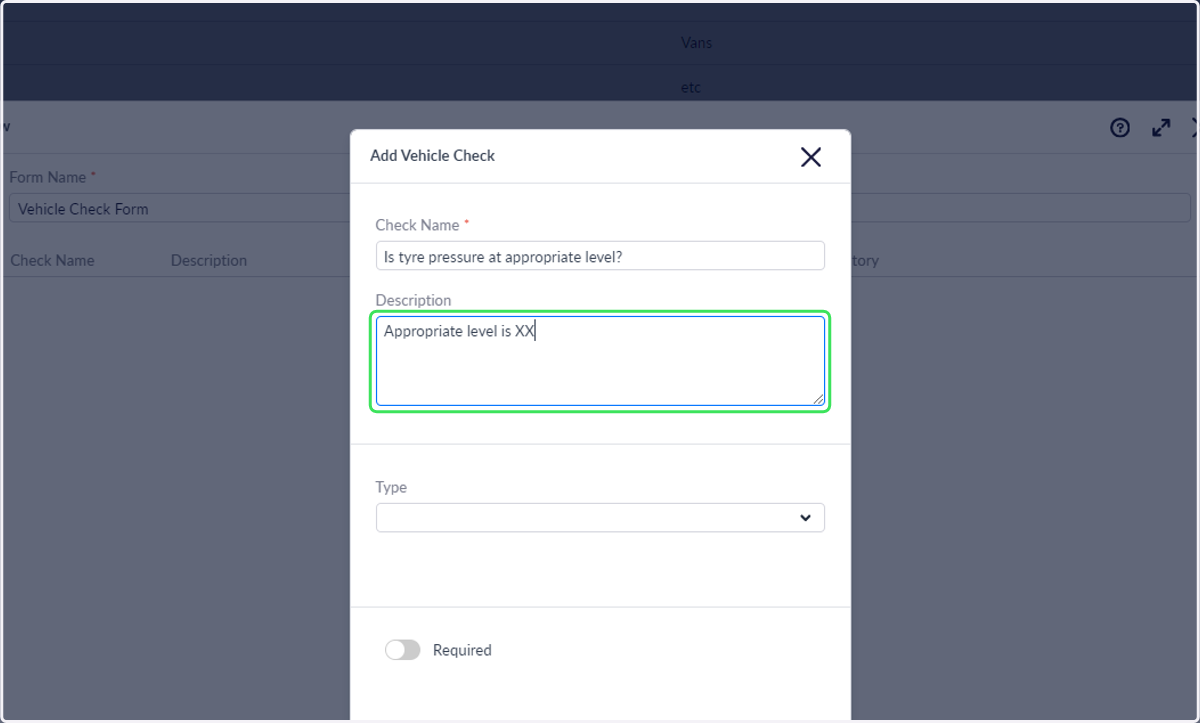
7. Fill out an optional description. This will also display in the mobile app.
8. Assign a question type. 'Confirm' is recommended for yes/no questions as they will report back faults if no is selected the driver completing the form.
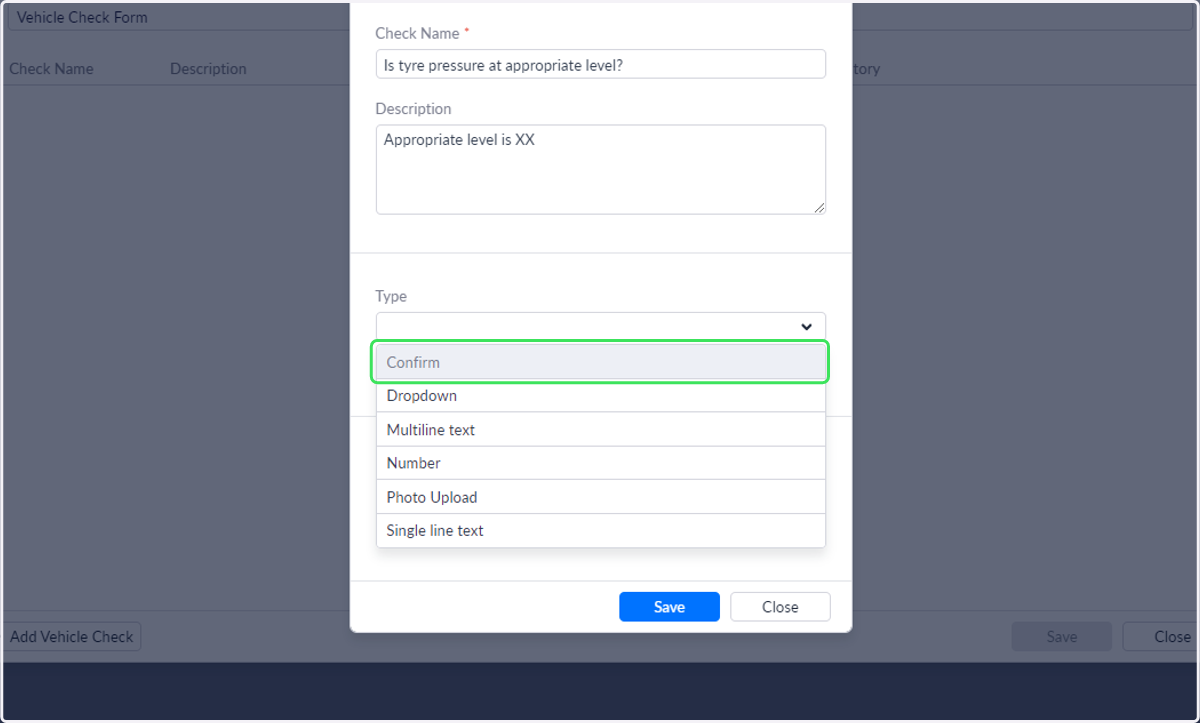
9. Other question types are available.
Dropdown allows you to configure pre-set options as the answer
Multiline and single line text are free text answers
Number allows a integer answer
Photo upload allow multi-photo upload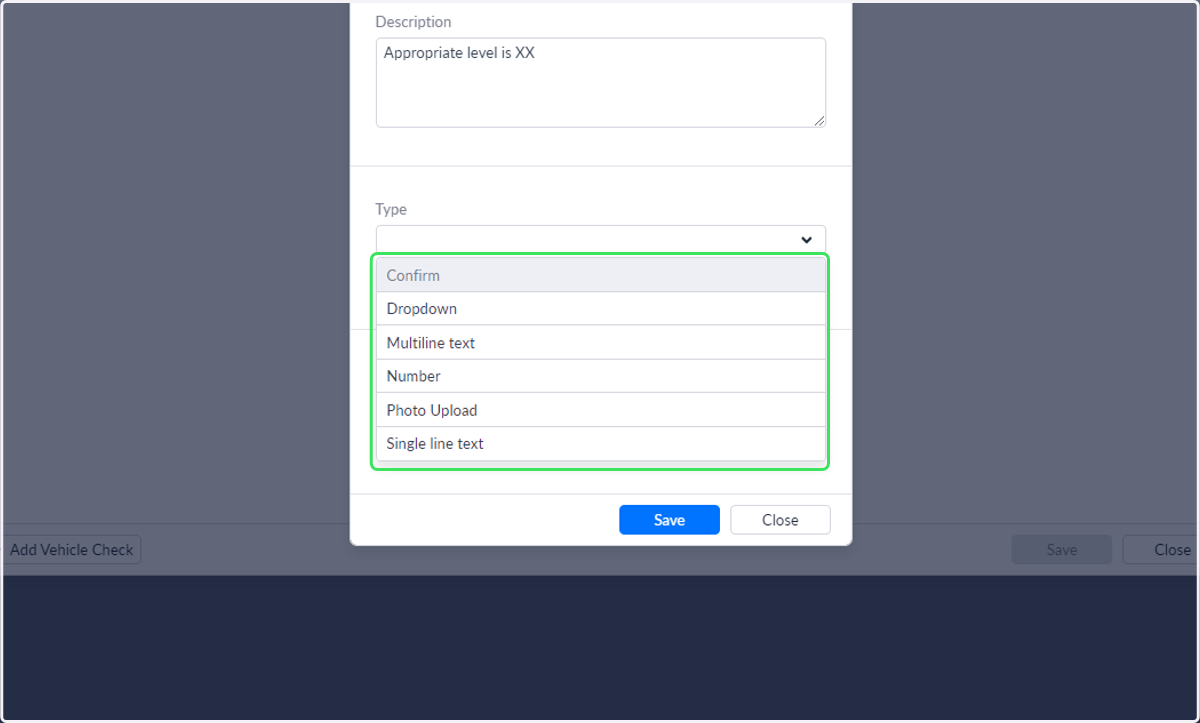
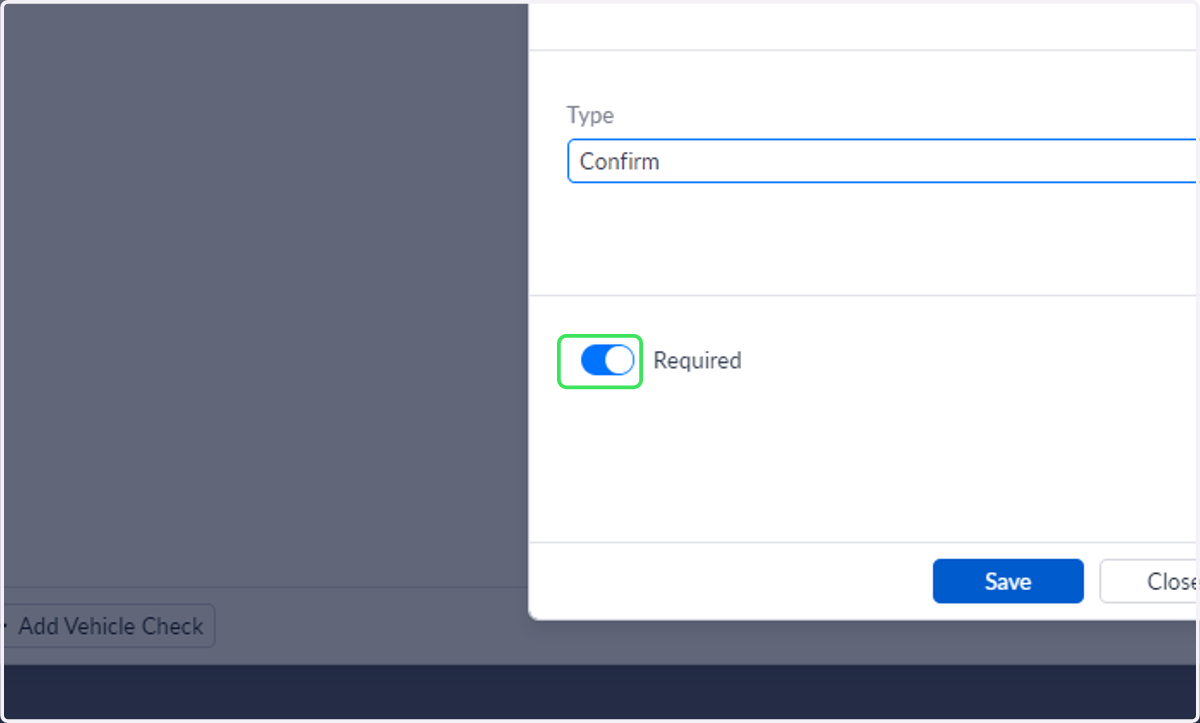
10. Set the question to required if it is mandatory for the driver to answer before submitting the form.
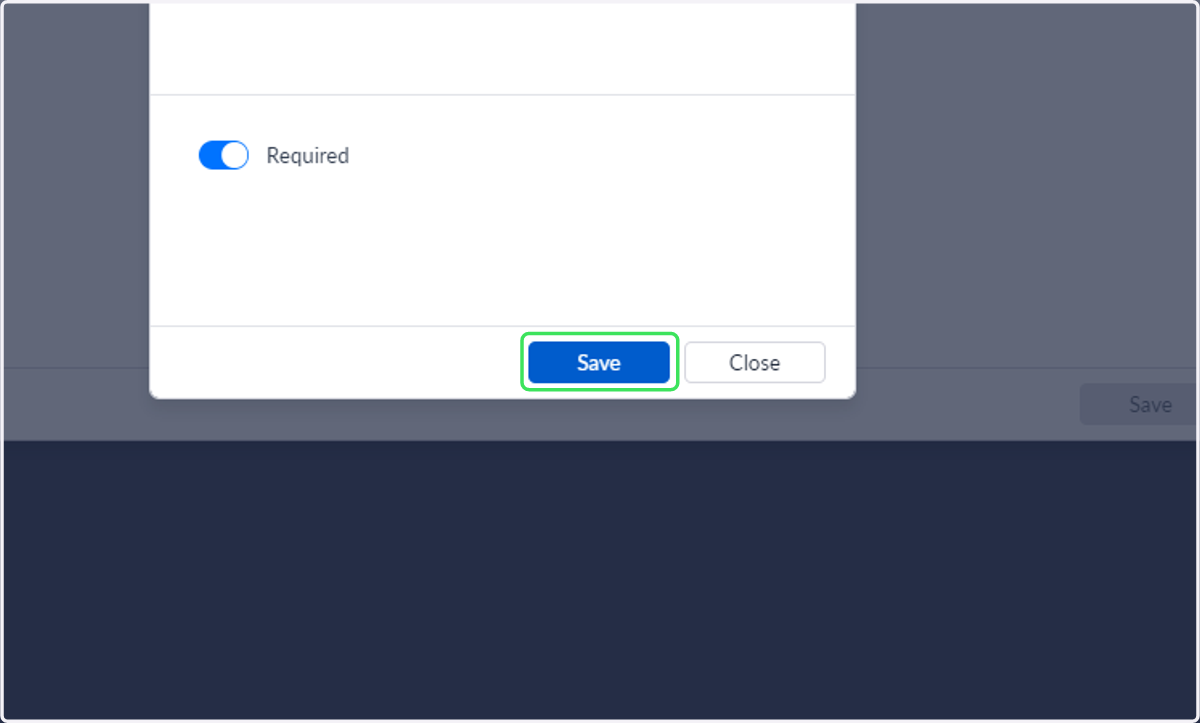
11. Click on Save to add the questions to the form.
12. To re-order the questions in the form, click and drag a question into the desired position
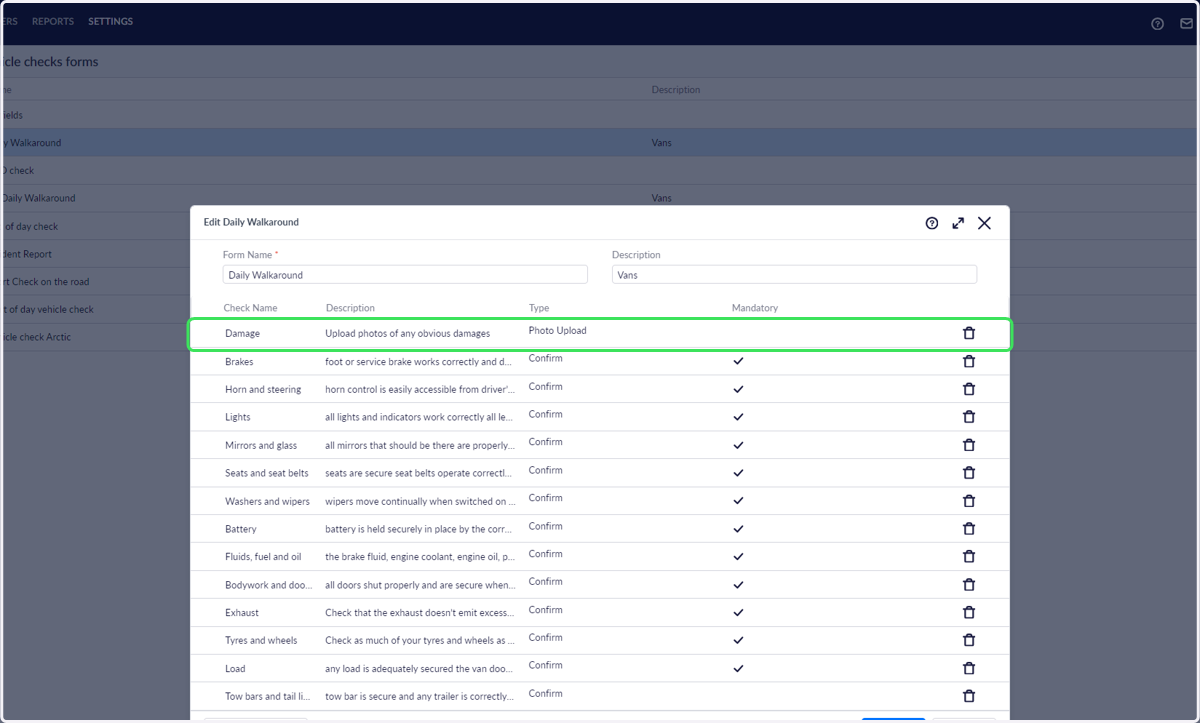
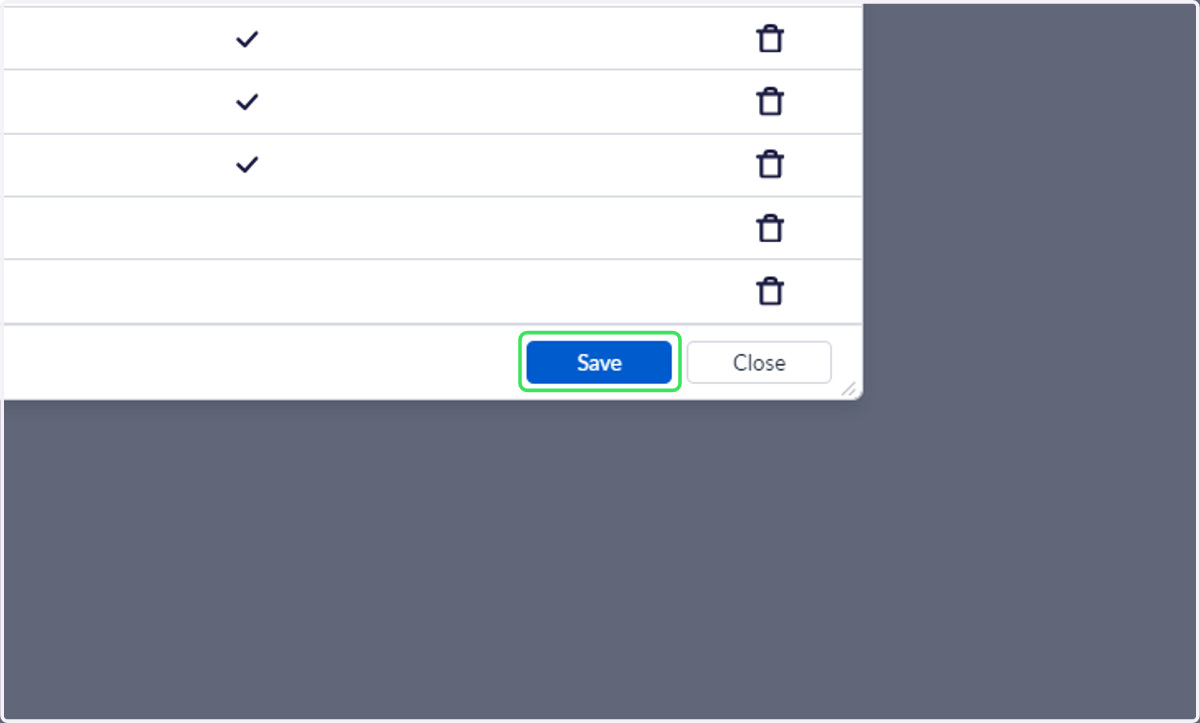
13. Click on Save to add the form to your account.
📚 Cloning existing forms
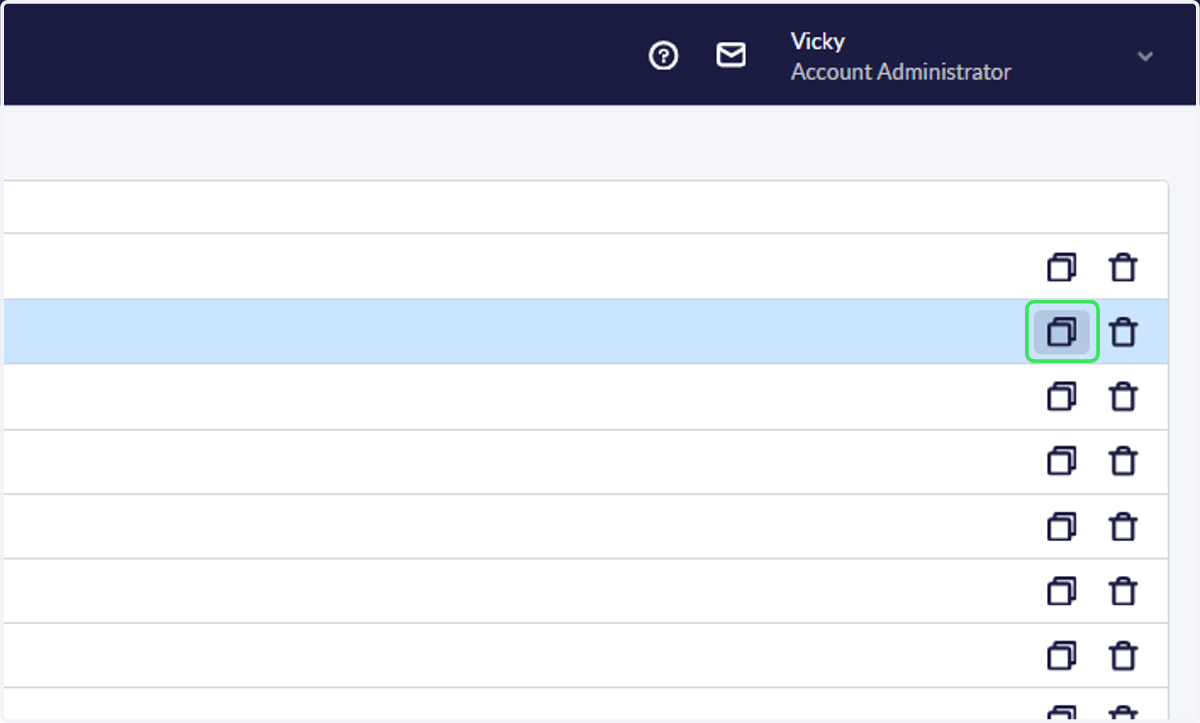
14. To quickly create new forms, click the clone icon to copy an existing form or follow the same steps as before
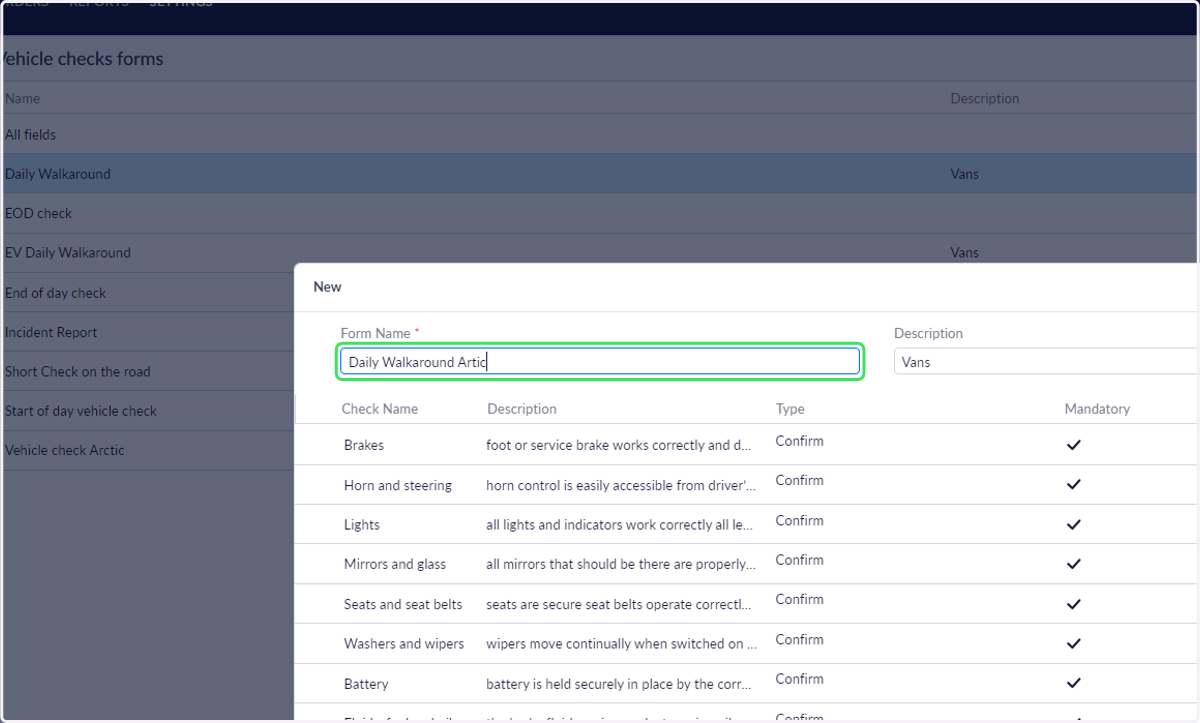
15. Edit the cloned form for your new form requirements and save to your account
🚚 Assigning forms to vehicles
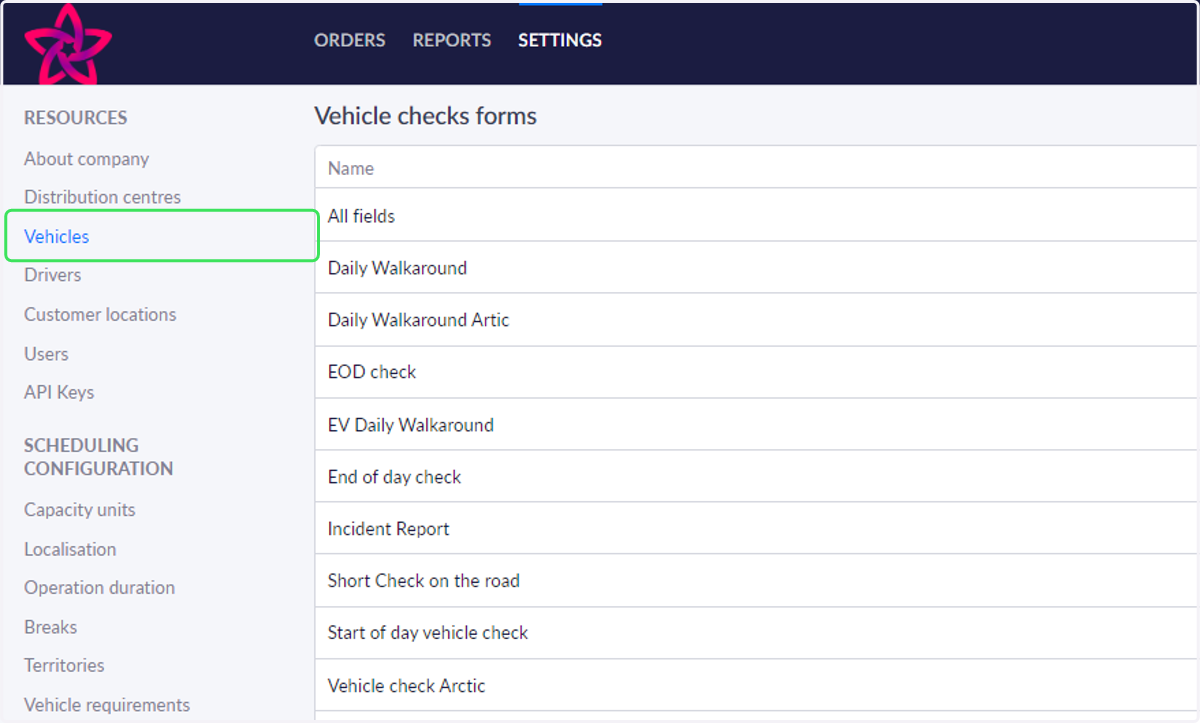
16. Click on Vehicles in settings
17. Click on a Vehicle to open the resource
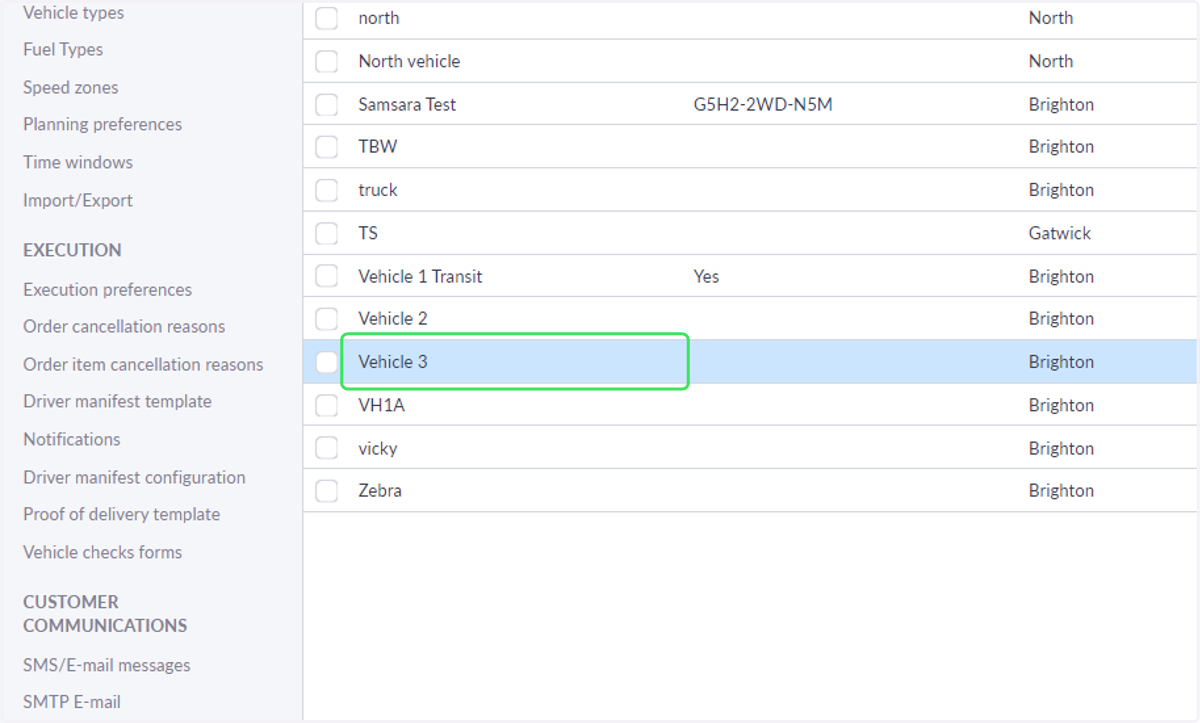
18. Select a form from the drop down in the 'Start of day vehicle check' and 'Additional vehicle checks' fields
Start of day vehicle checks will force the driver to complete a vehicle check form before starting their run in the driver app every day. A new form will be prompted 16 hours since the last vehicle check. This can be configured by our Support team.
Additional vehicle checks are stored within the menu of the driver app and can be launched at any time within a run.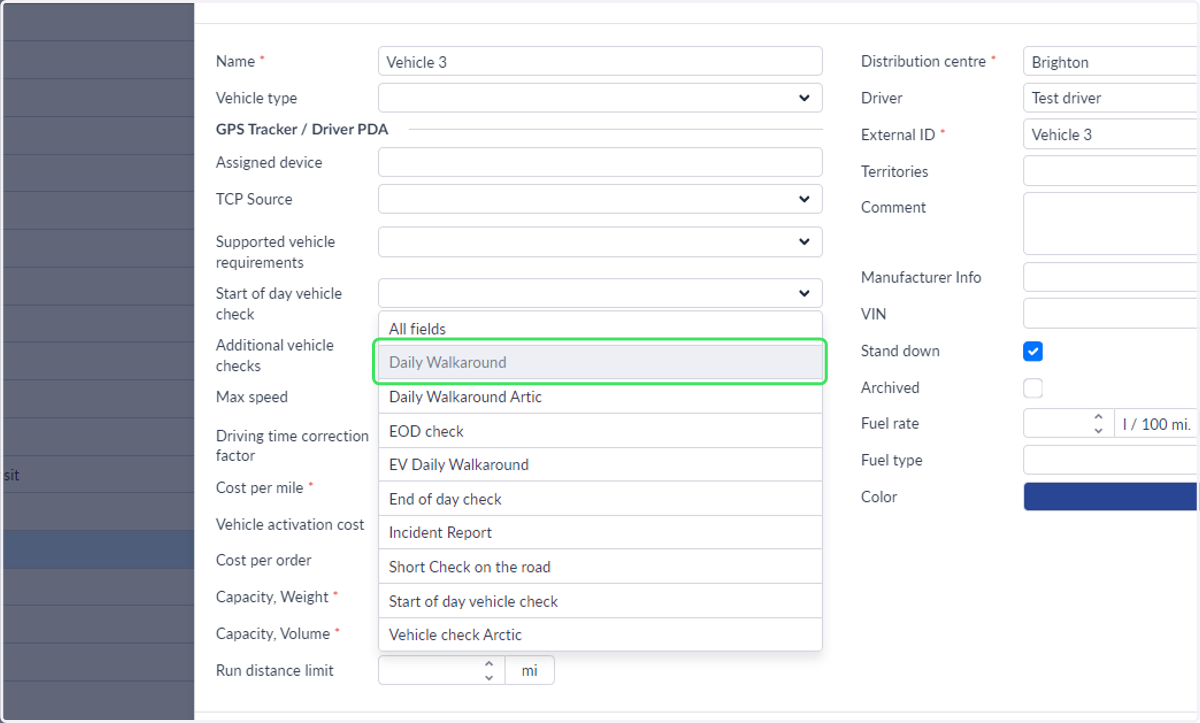
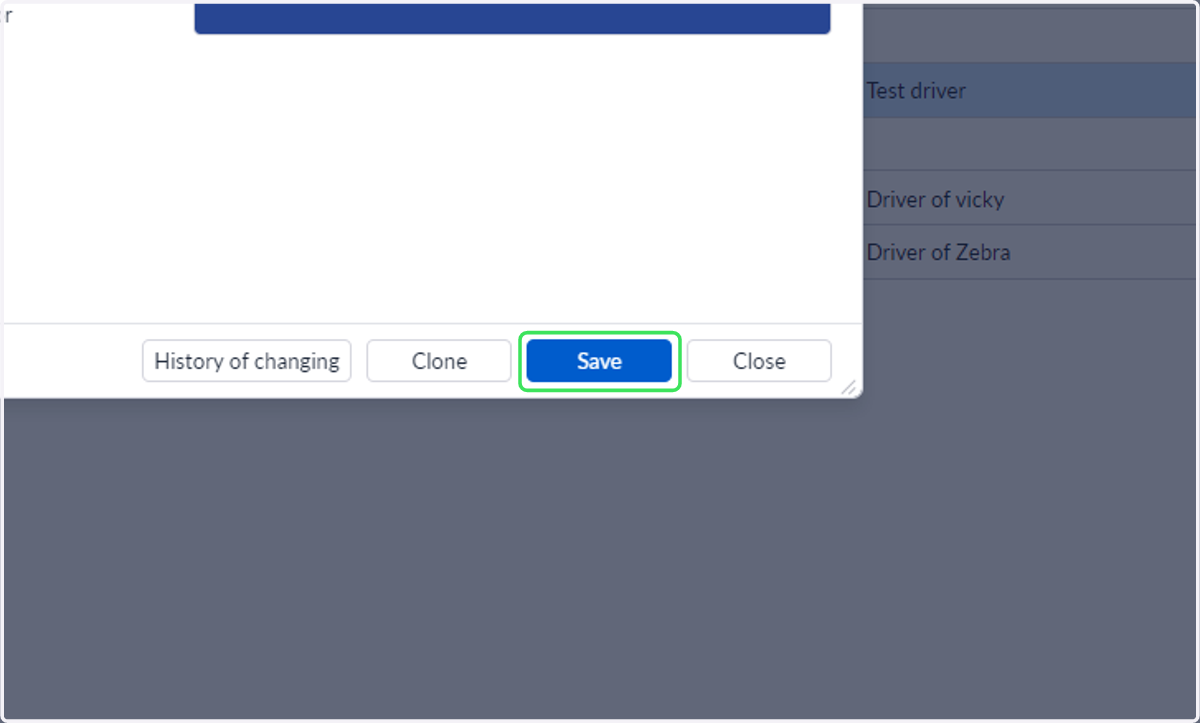
19. Click on Save to update your vehicle
Now the driver assigned to that vehicle will have access to the vehicle checks configured when they next login to the driver app.
📖 Vehicle Check Reports
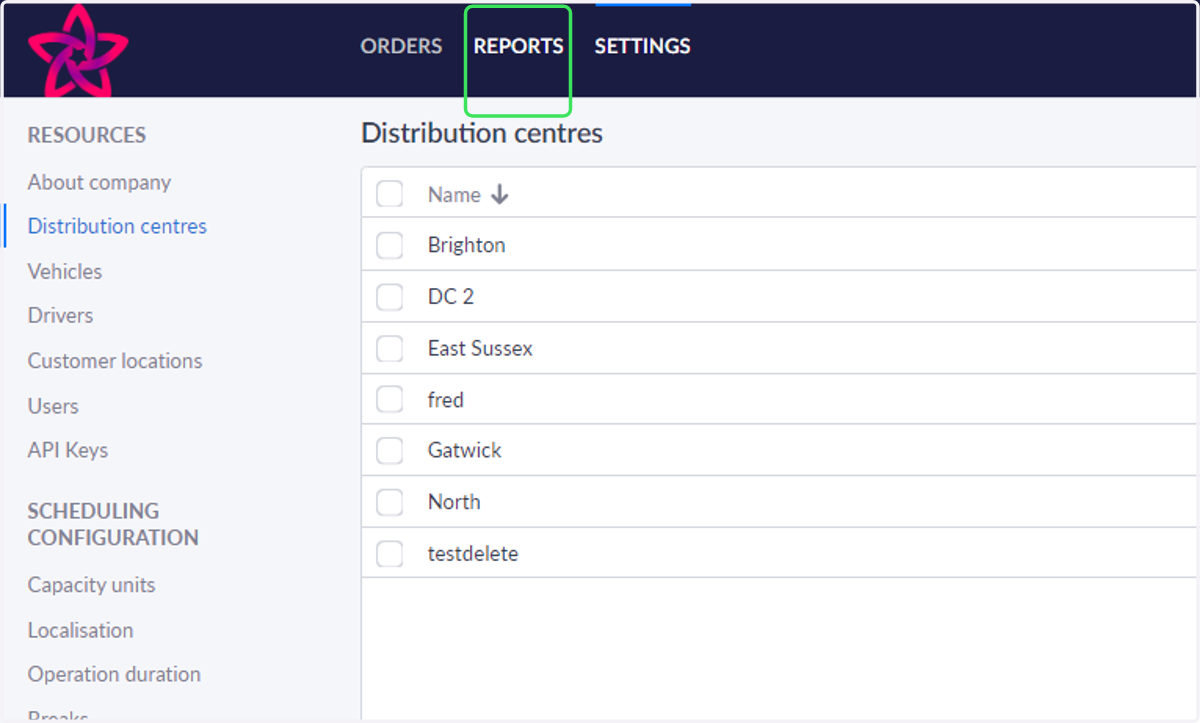
20. Click on REPORTS
The vehicle check reports are visible to Account Administrator and Dispatchers
21. Click on Vehicle checks forms
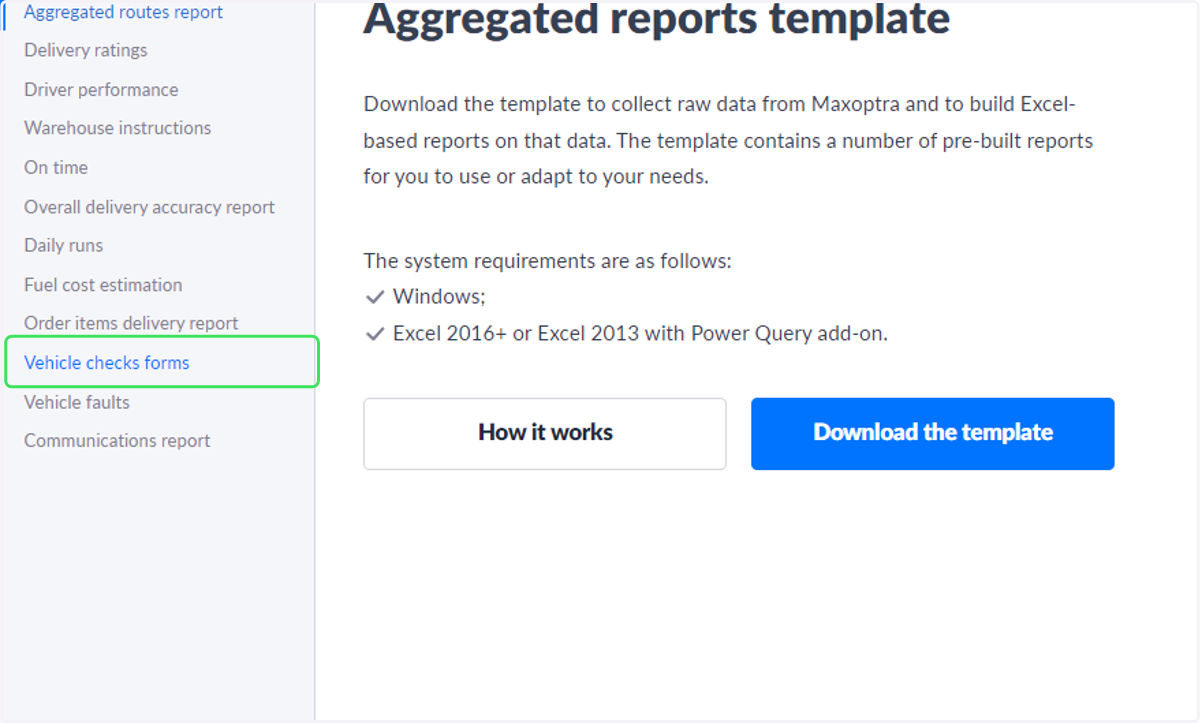
22. Use the filters to review the vehicle checks submitted for a specific day, driver or vehicle.
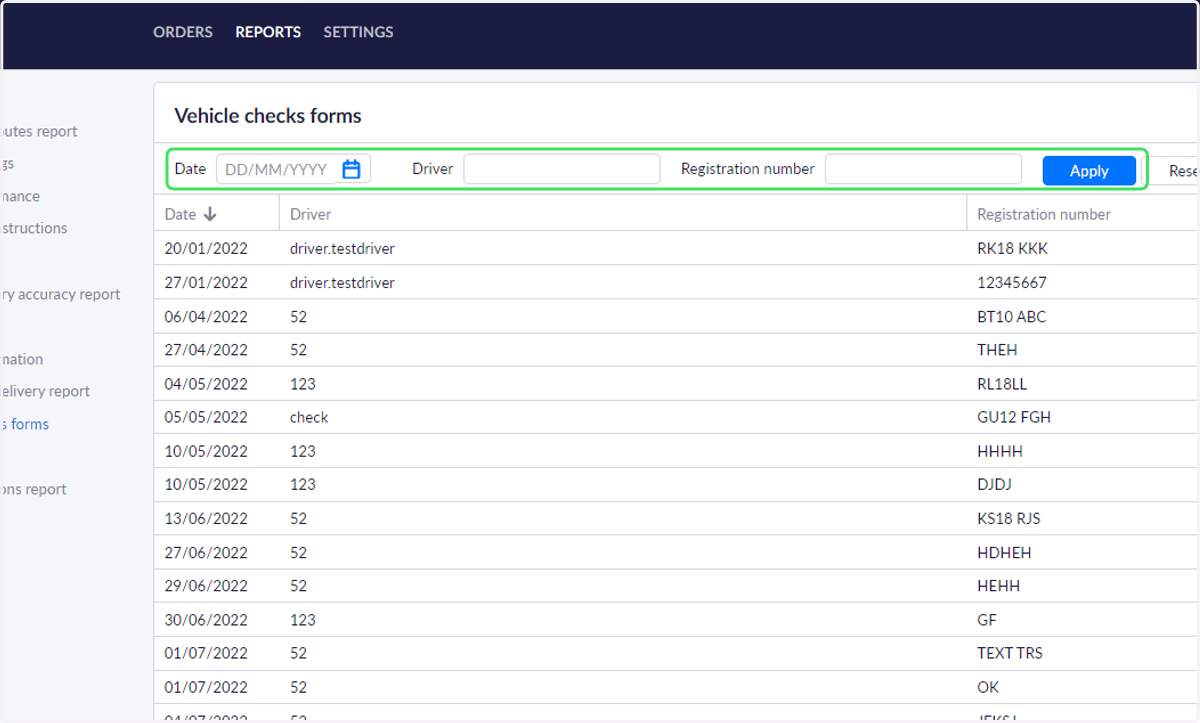
23. To view the details of the vehicle check submission, click on the record to open.
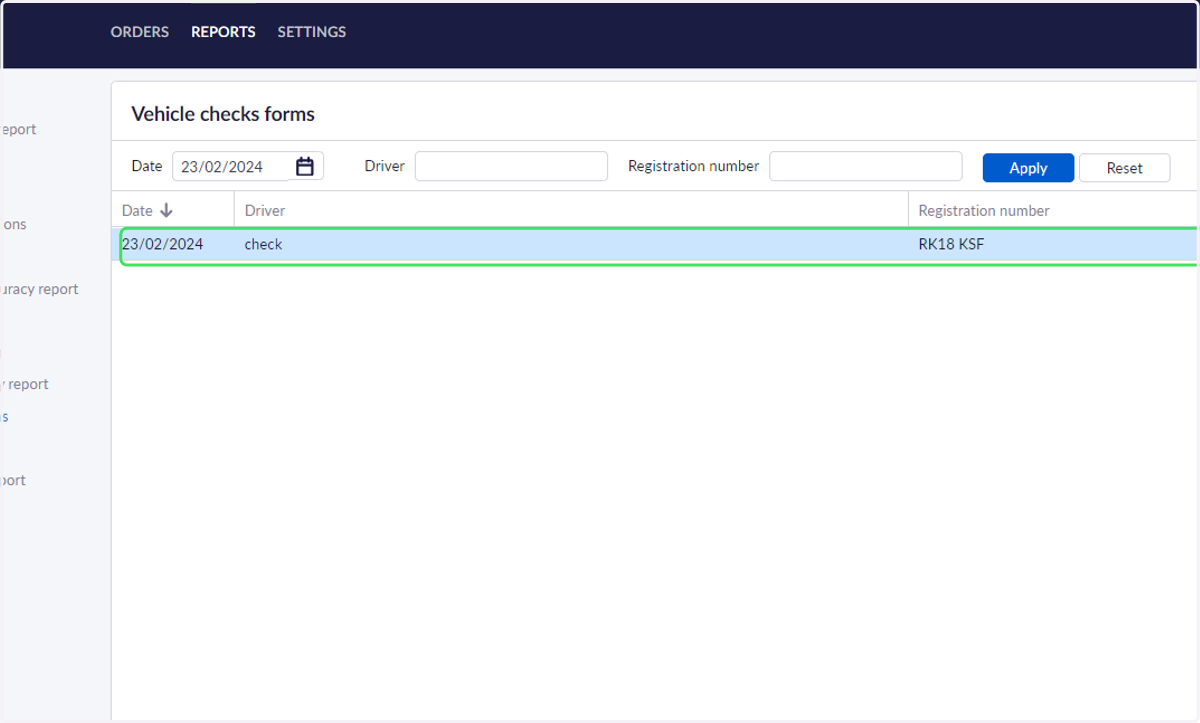
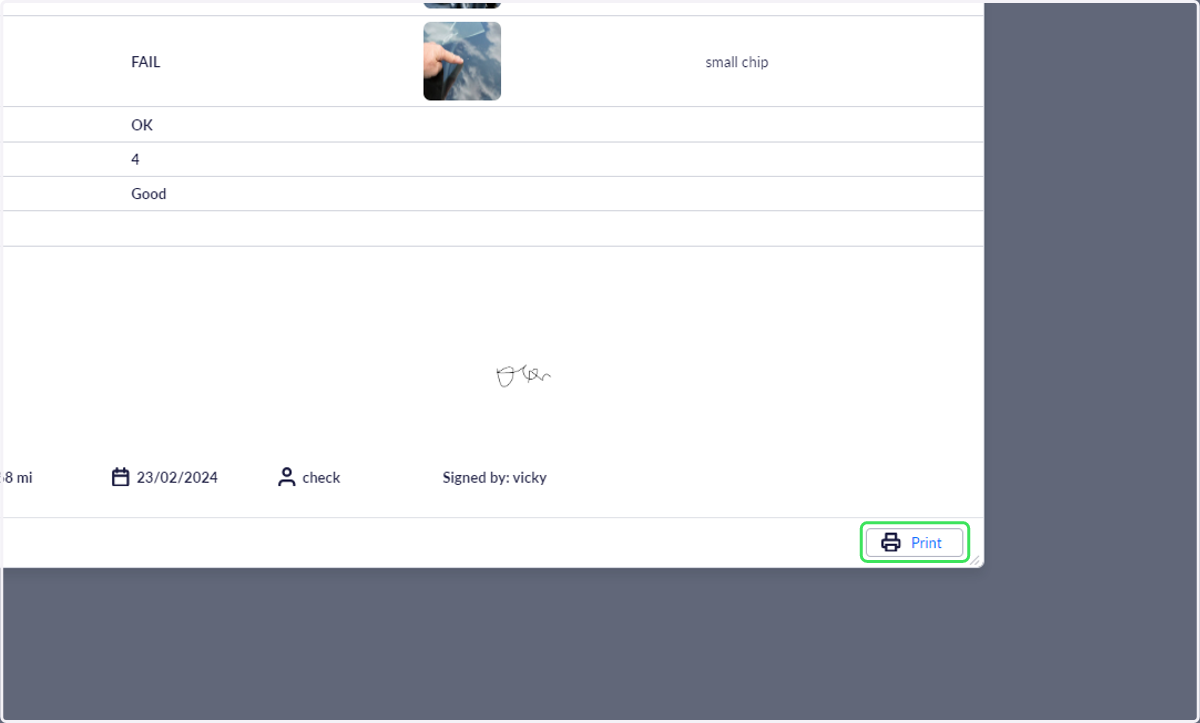
24. The vehicle check submission record will show all the details of answers, photos, comments and signature.
Click on the photos to enlarge.
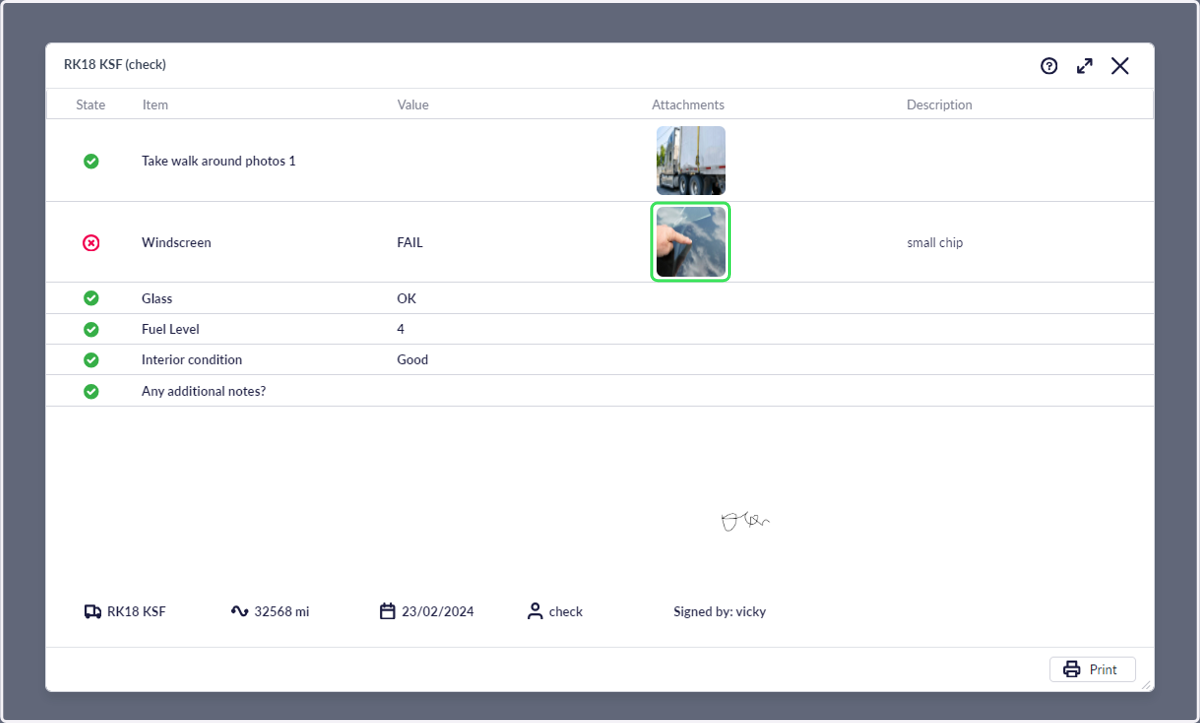
25. Click on Print for a printable version of the submission.
❌ Vehicle Faults Report
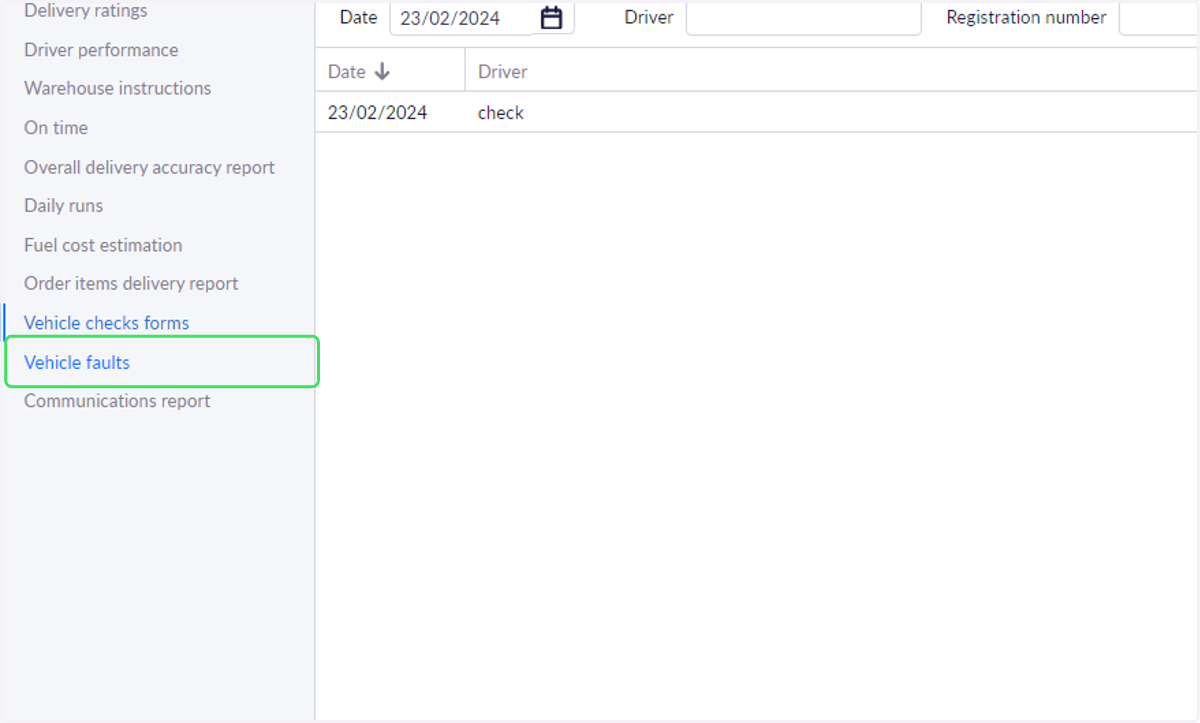
26. Click on Vehicle faults in Reports tab
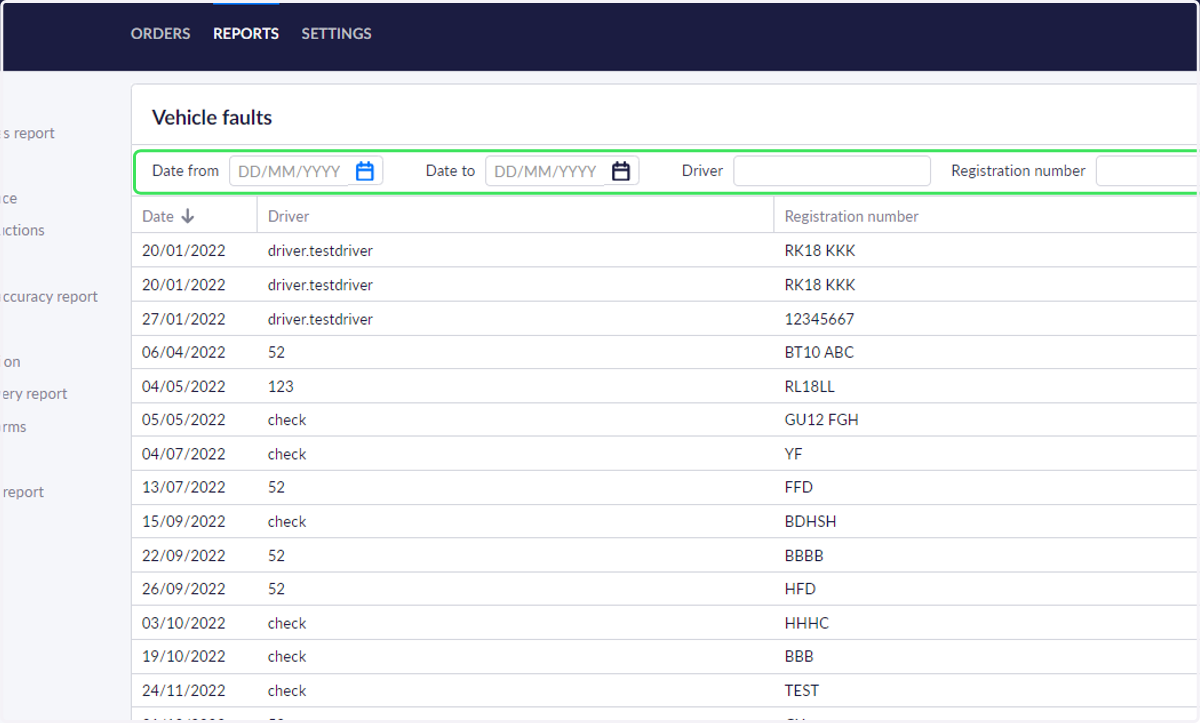
27. Use the filters to view faults from specific days and/or drivers.
28. Click on a fault record to open the details
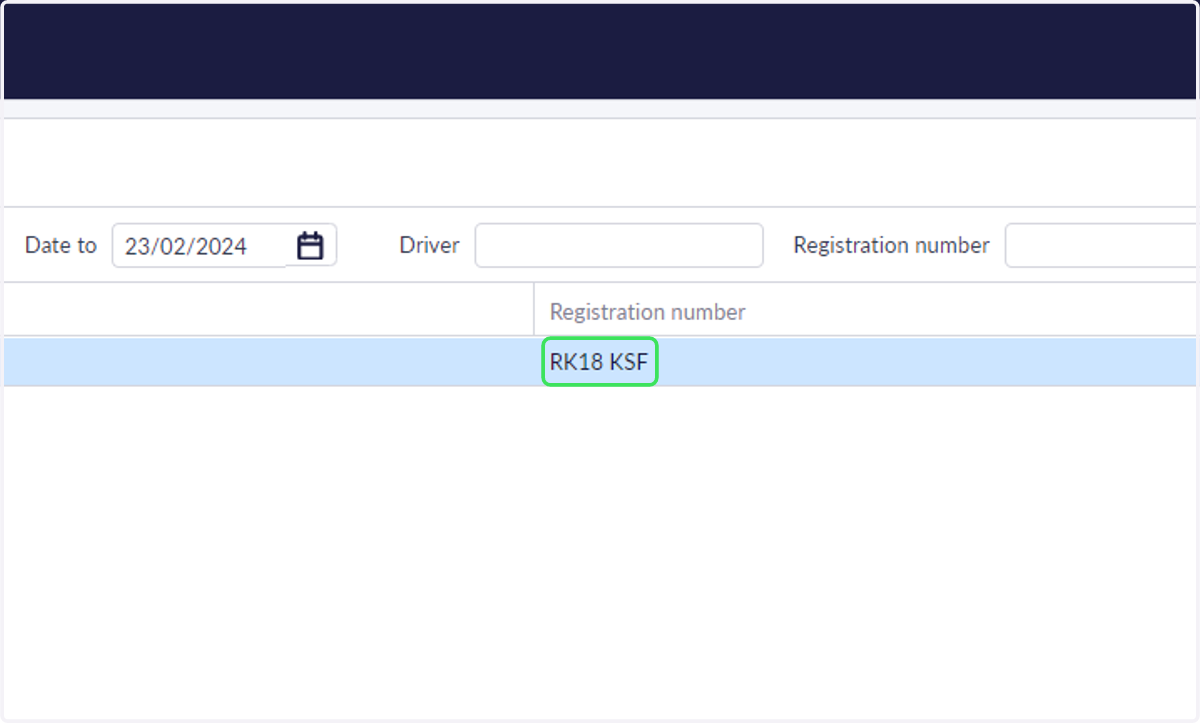
29. Faults details include the check name, photo and comments as well as the driver details and signature. All new fault statuses default to 'Registered'
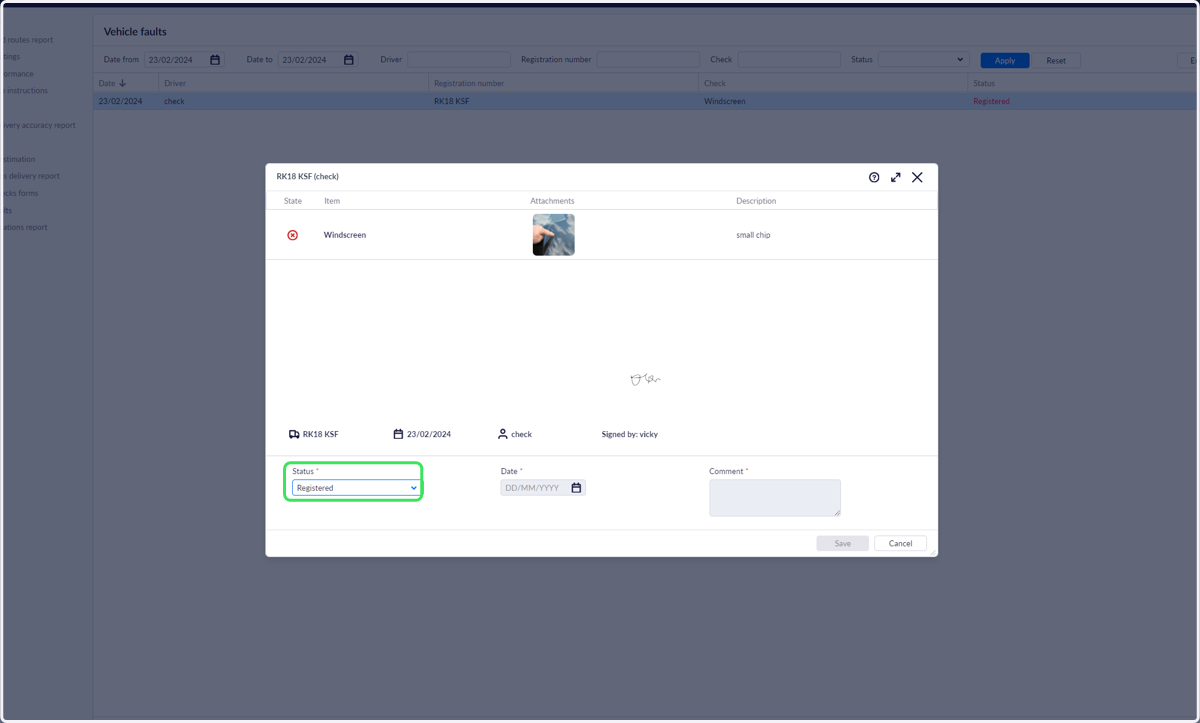
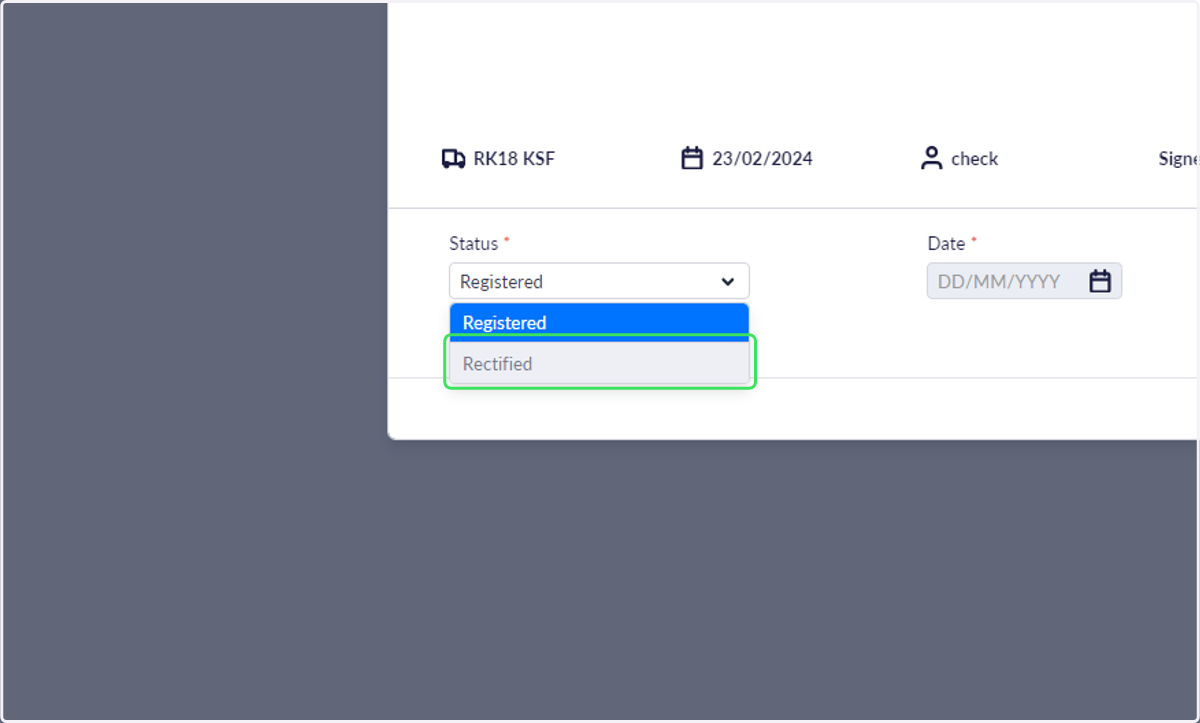
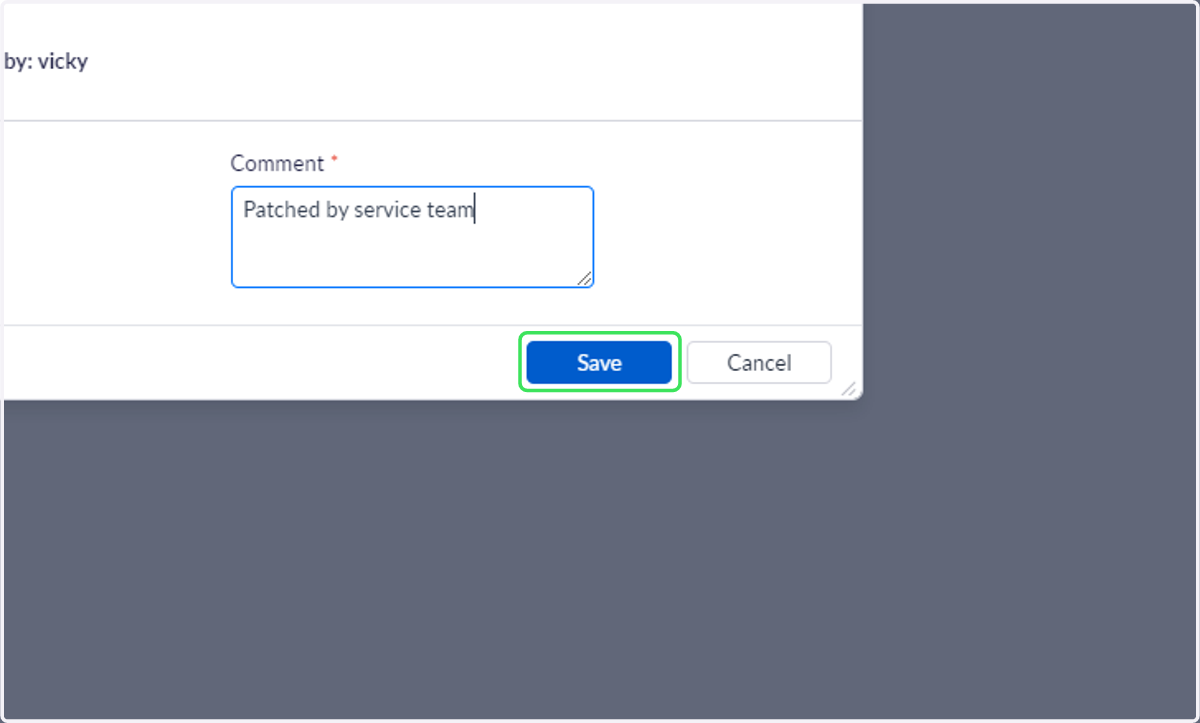
30. This report can be used to track rectified faults by changing the status to 'Rectified', assigning a date and comment.
31. Click on Save to update the fault status
Related topics
Completing start of day vehicle checks on Driver Application [link tbc]
Completing additional vehicle checks on Driver Application [link tbc]