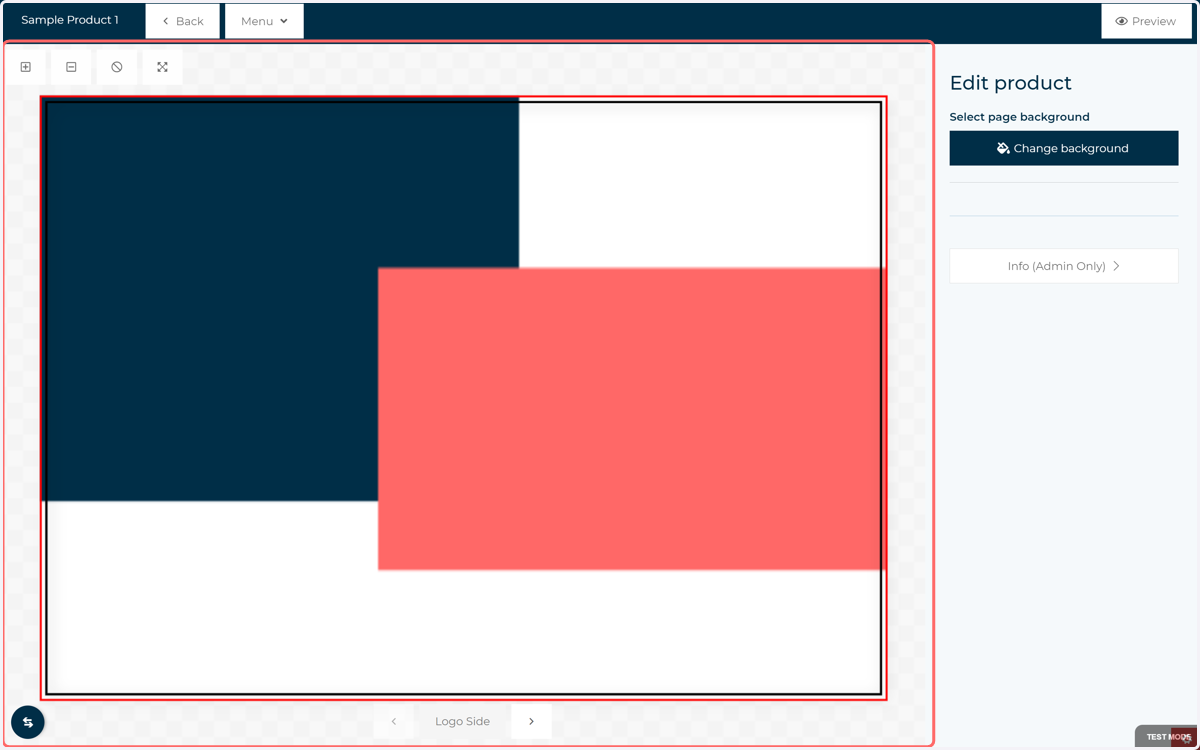
Configuring the page in the Form Builder | FB_005
In this tutorial, we'll take a look at how to configure some of the general settings for each of the pages in your MegaEdit product. This includes options such as renaming each page (instead of the basic "Page 1", etc) and allowing your users to change the background of the page from within the form.
1. Click on Custom Tab
The Custom Tab is available when you have the form builder script enabled on a Product. As we'll see in future tutorials, this is primarily used to control and configure individual fields on forms, however we can also use it to control elements of each individual page in the MegaEdit product.
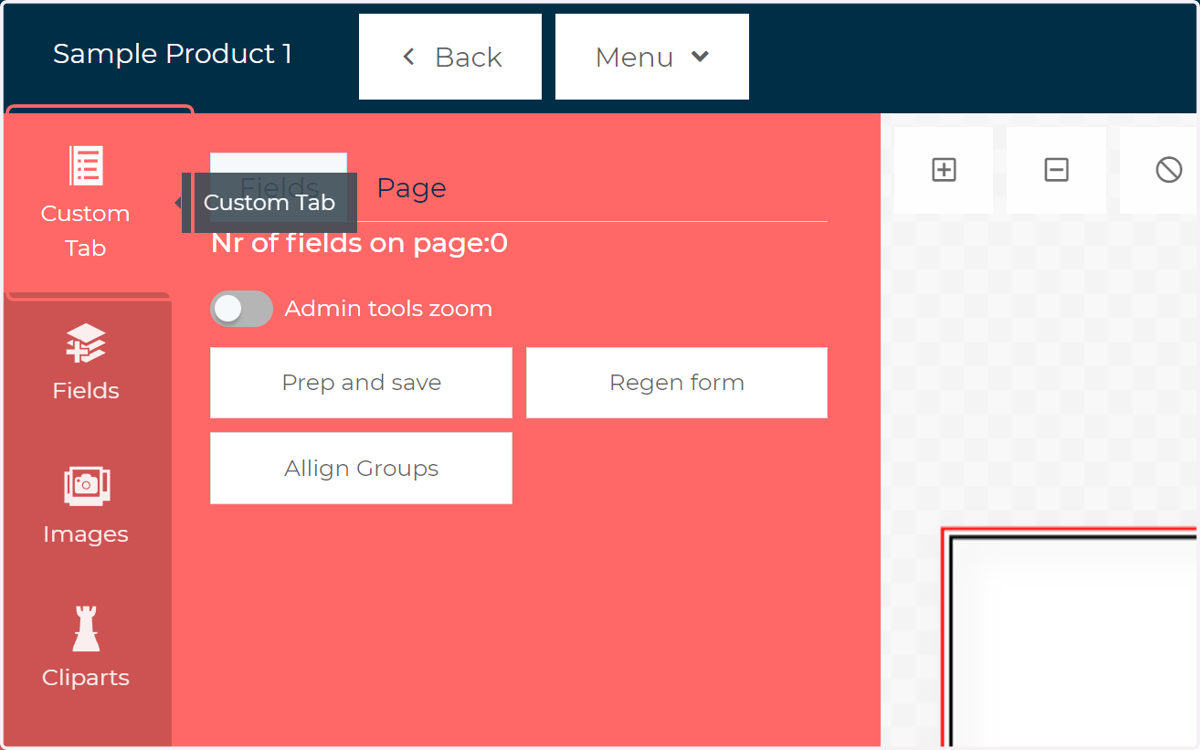
2. Click on Page
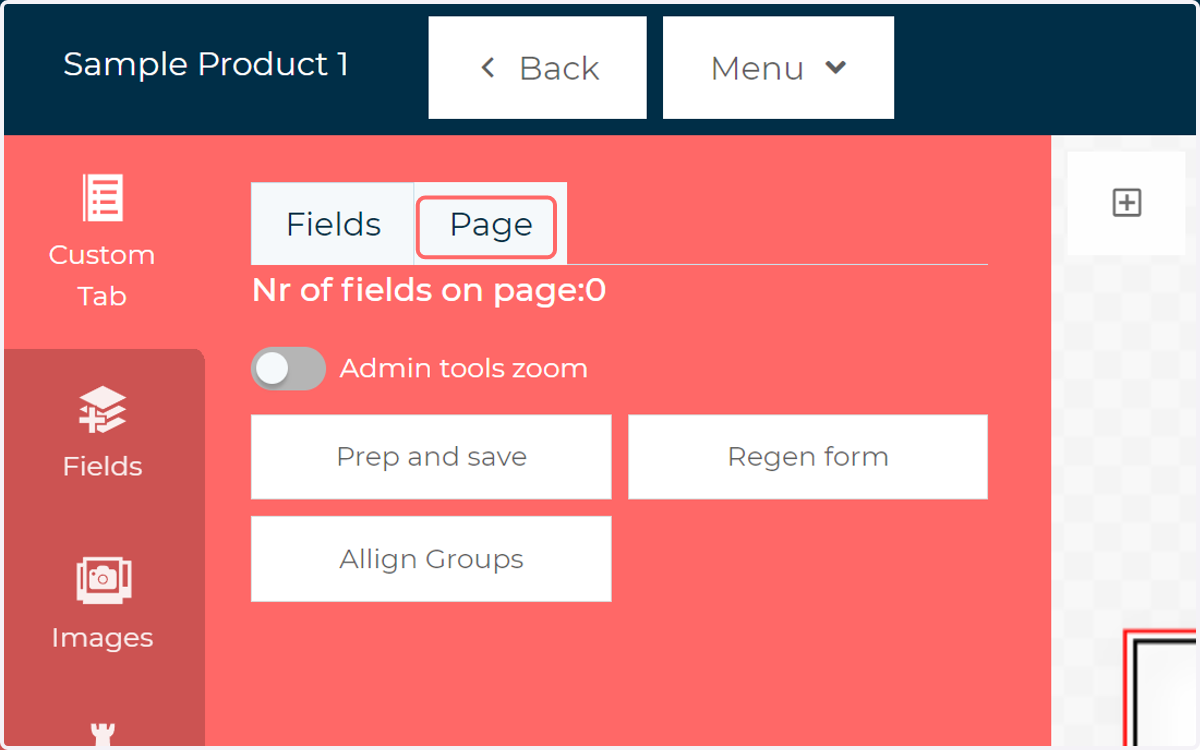
3. Enter a page name
Instead of the basic "Page 1", etc, you can name each of the pages by filling out this field.
This updated name will be shown in various locations, such as the page selector and within the form itself.
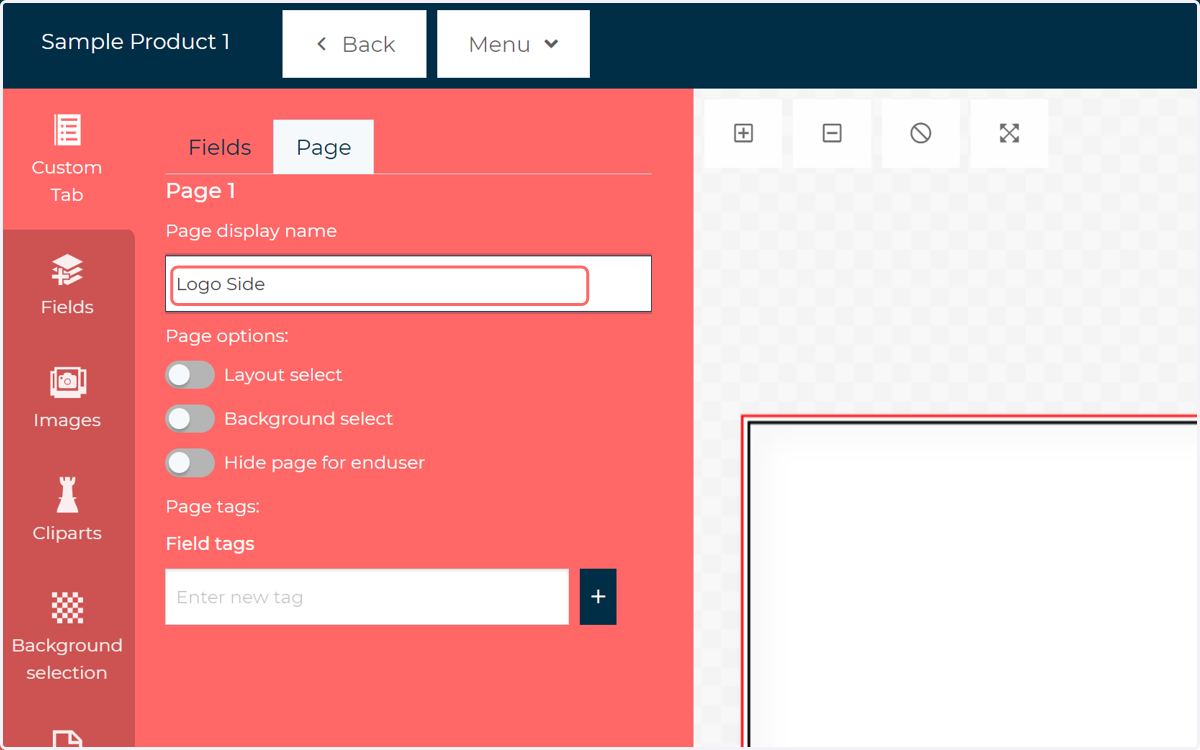
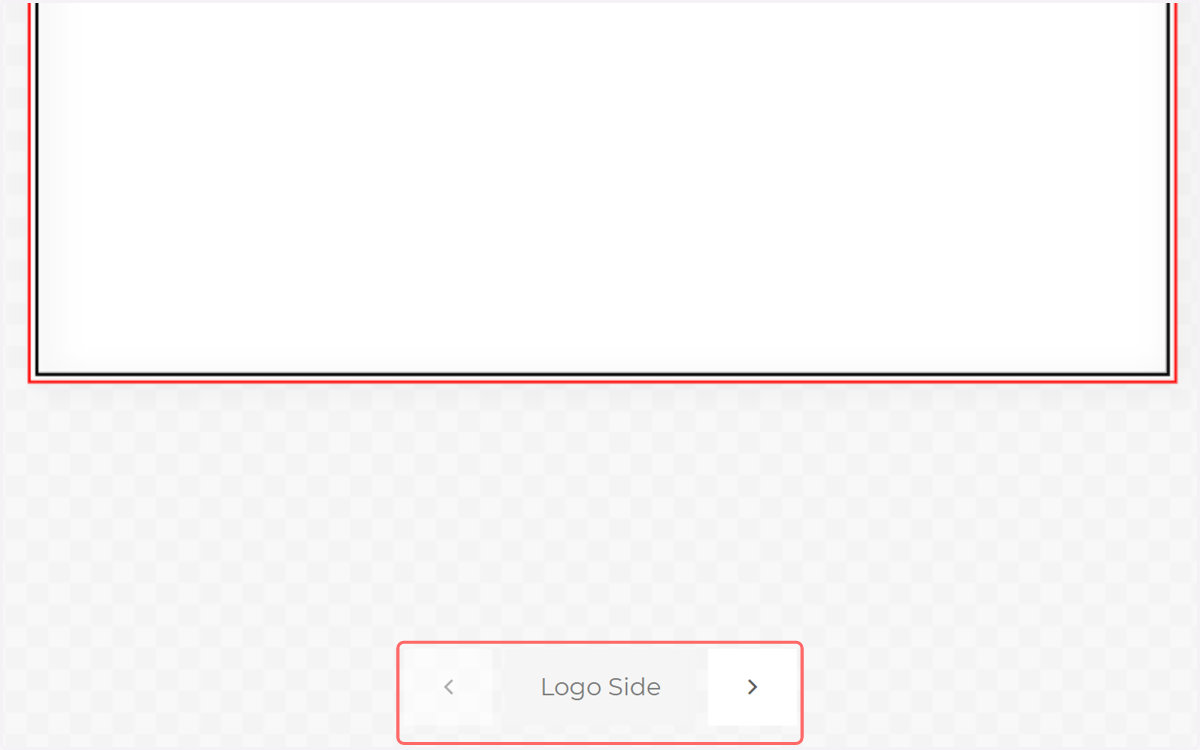
4. Change the page using the page selector and repeat the process on other pages
5. Click on Background Select and/or Layout Select
This option allows you to apply background categories or layout categories to the page from within the form.
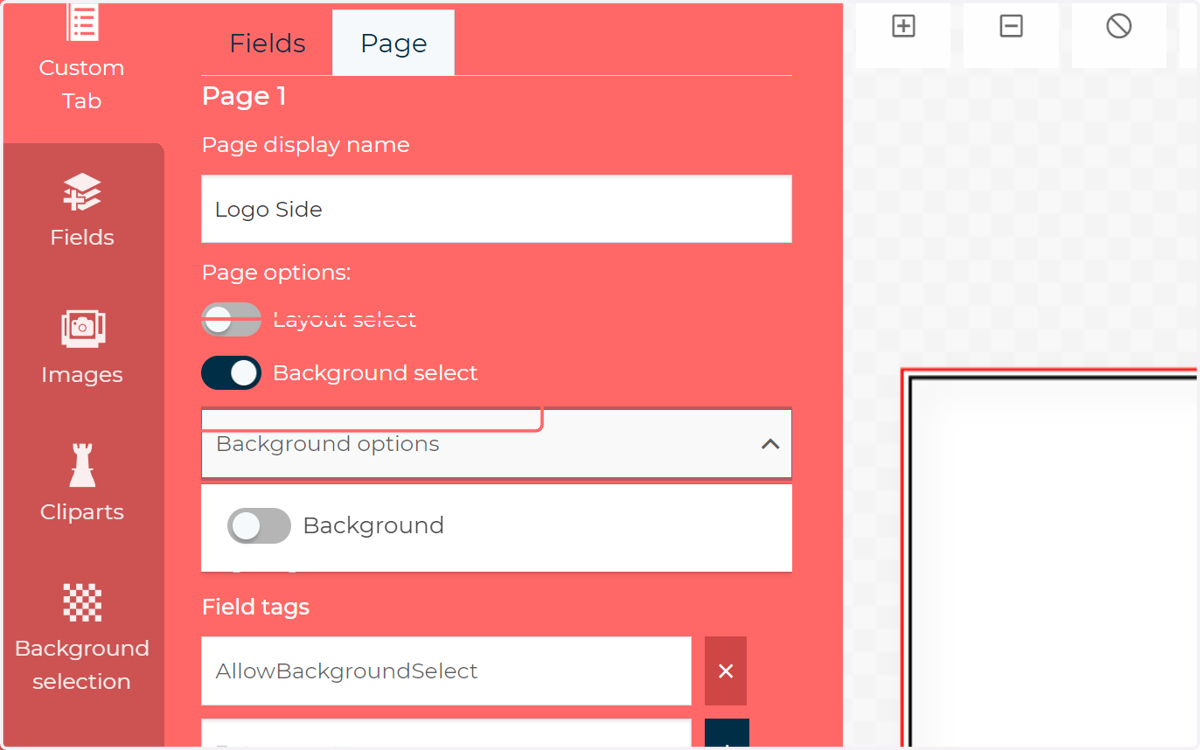
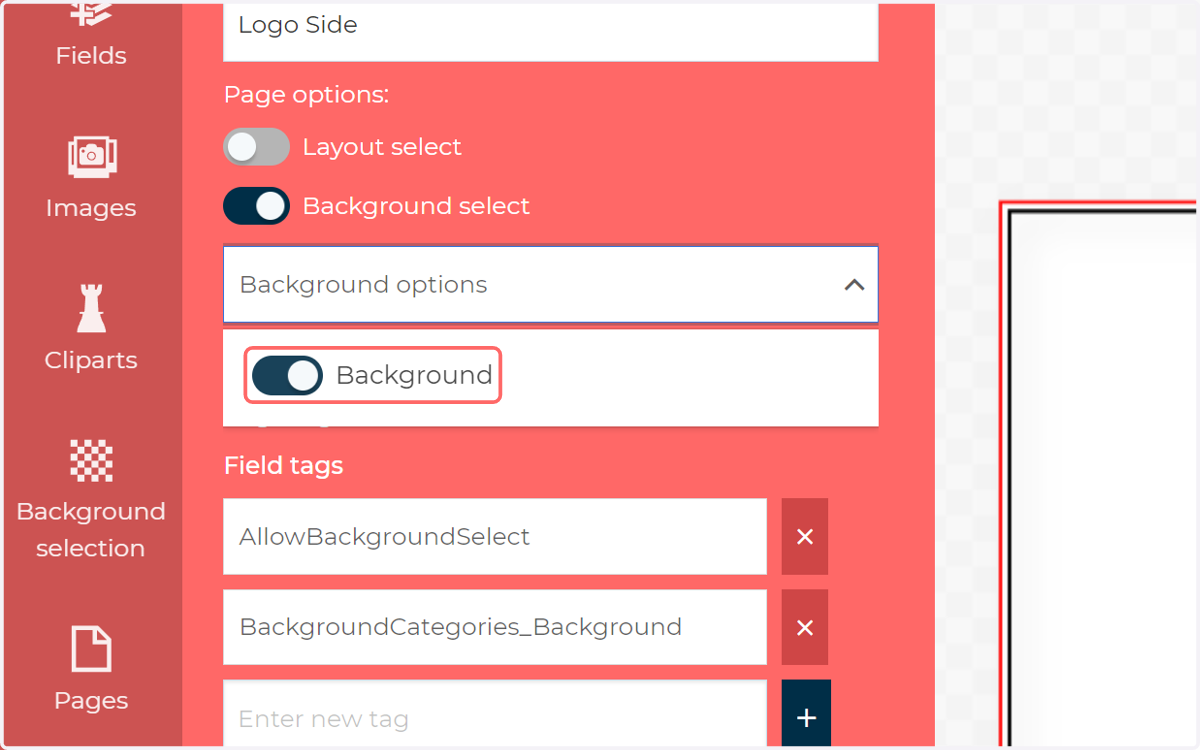
6. Select the background categories you wish to use
These are defined on the canvas you have in use.
7. Tags
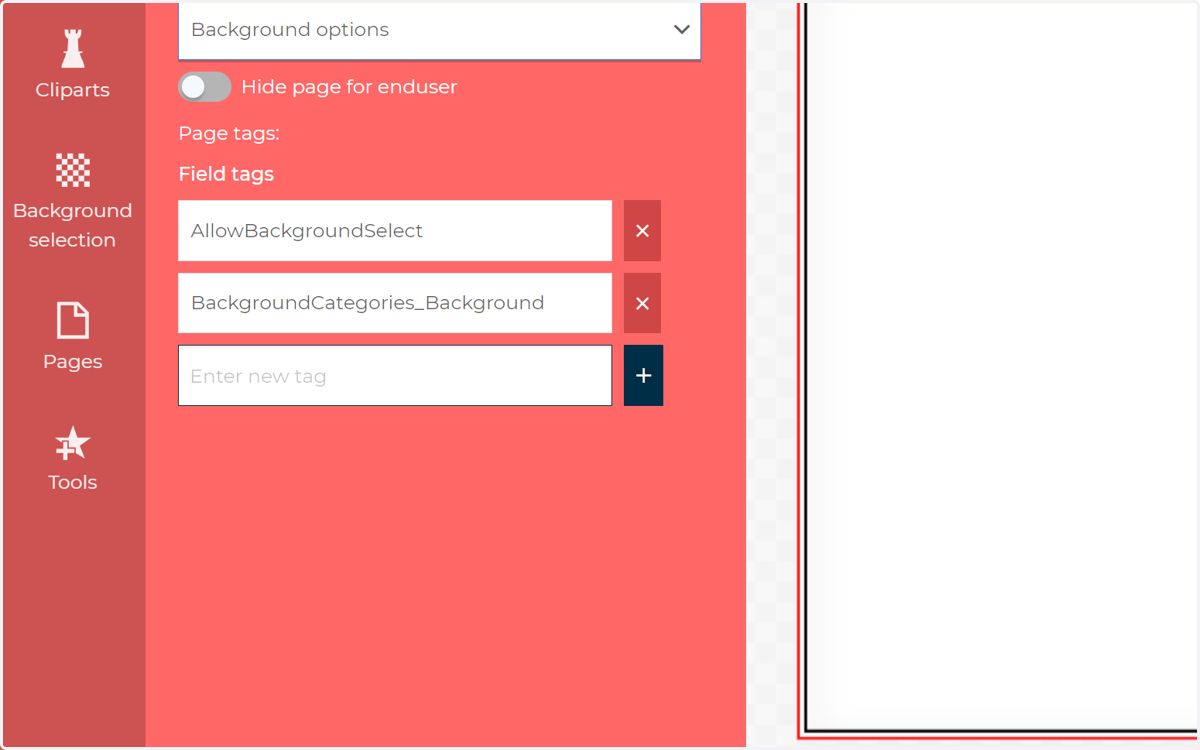
As you begin to change settings on the form builder, you will notice that fields tags appear and disappear. These inform the script of the settings you have applied.
You can add field tags manually if you wish. We intend to make a list of available field tags available in the near future.
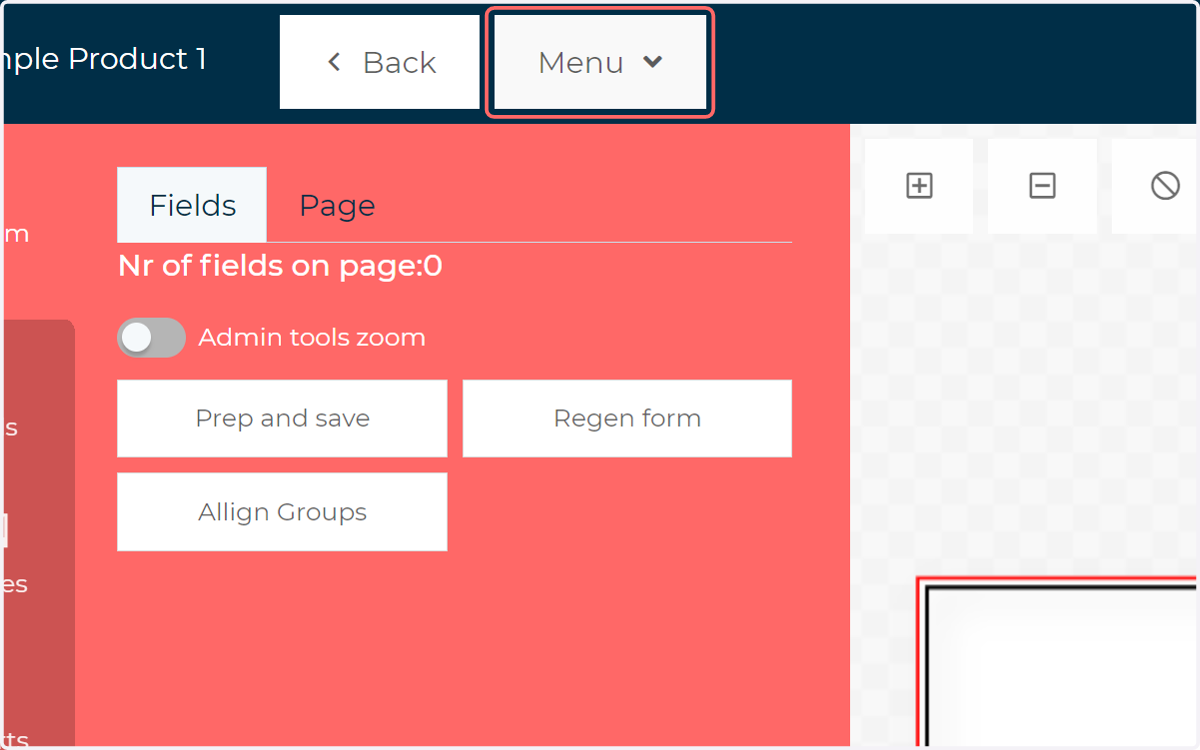
8. Click the Menu dropdown
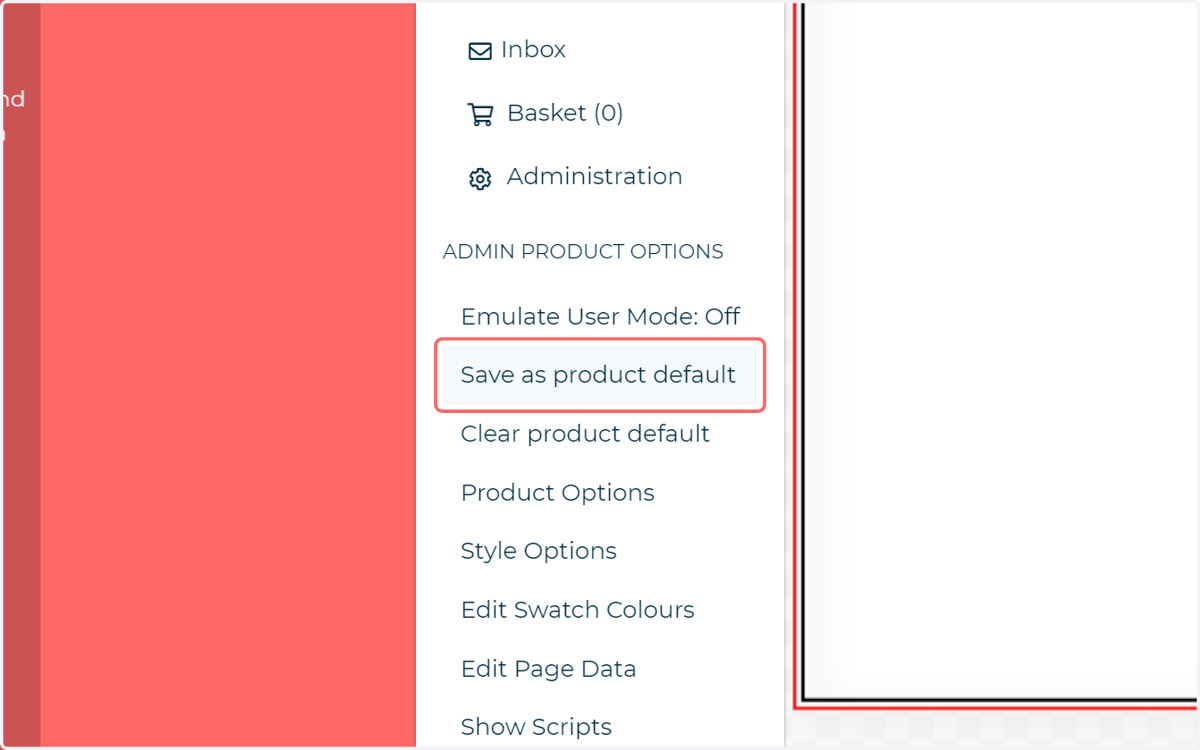
9. Click on Save as product default
This ensures that any changes you have made are applied to the default product.
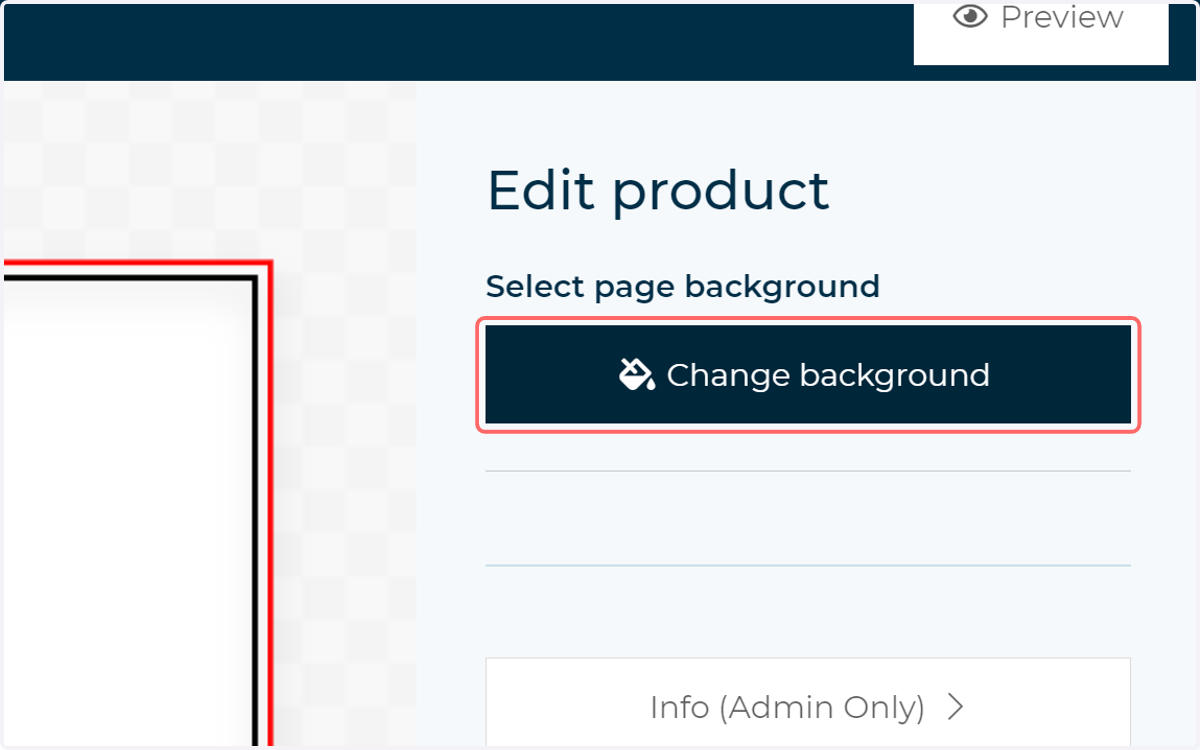
10. Click on Change background
With these changes made, you will see a "Change Background" or "Change Layout" button available at the top of the forms for the relevant page(s).
11. Clicking this will allow you to select between available entries within the selected Background categories or Layout categories applied to the form
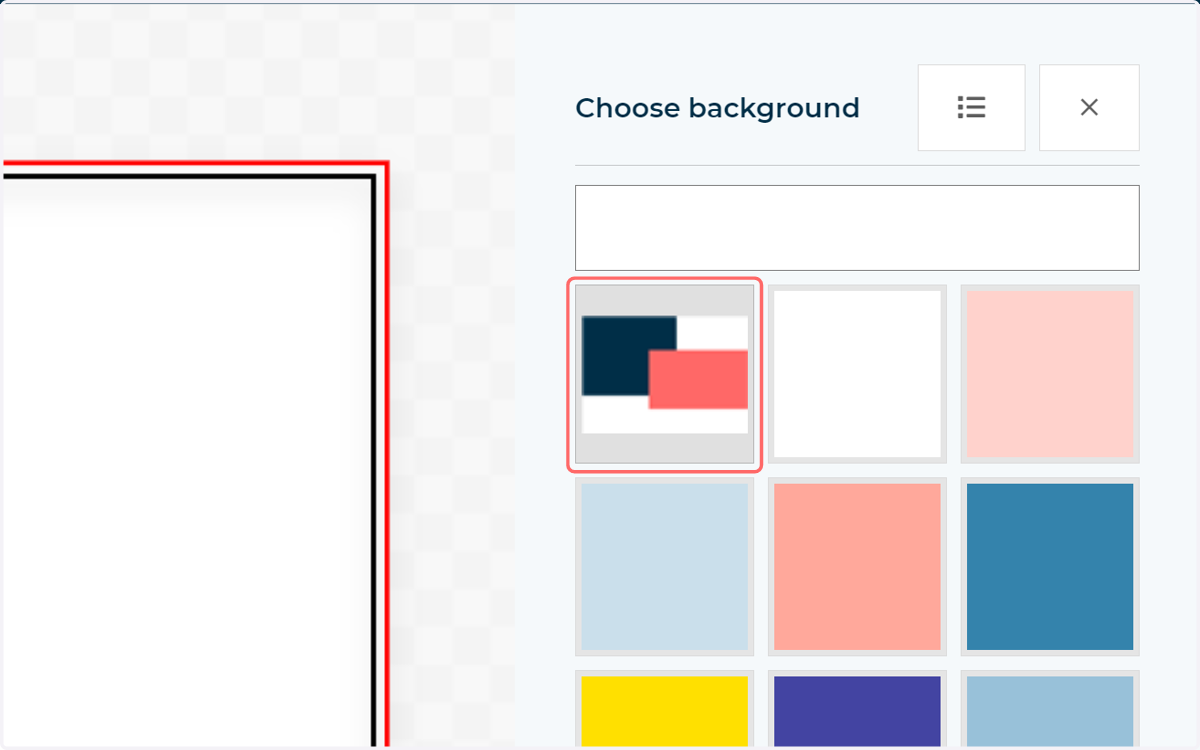
12. Example of applied background