Customising your page layouts
This tutorial shows how to utilise the Container and Module functionality within the Layout Editor to achieve customised web page layouts.
Key terminology:
Layout - The overall structure and configuration of your page.
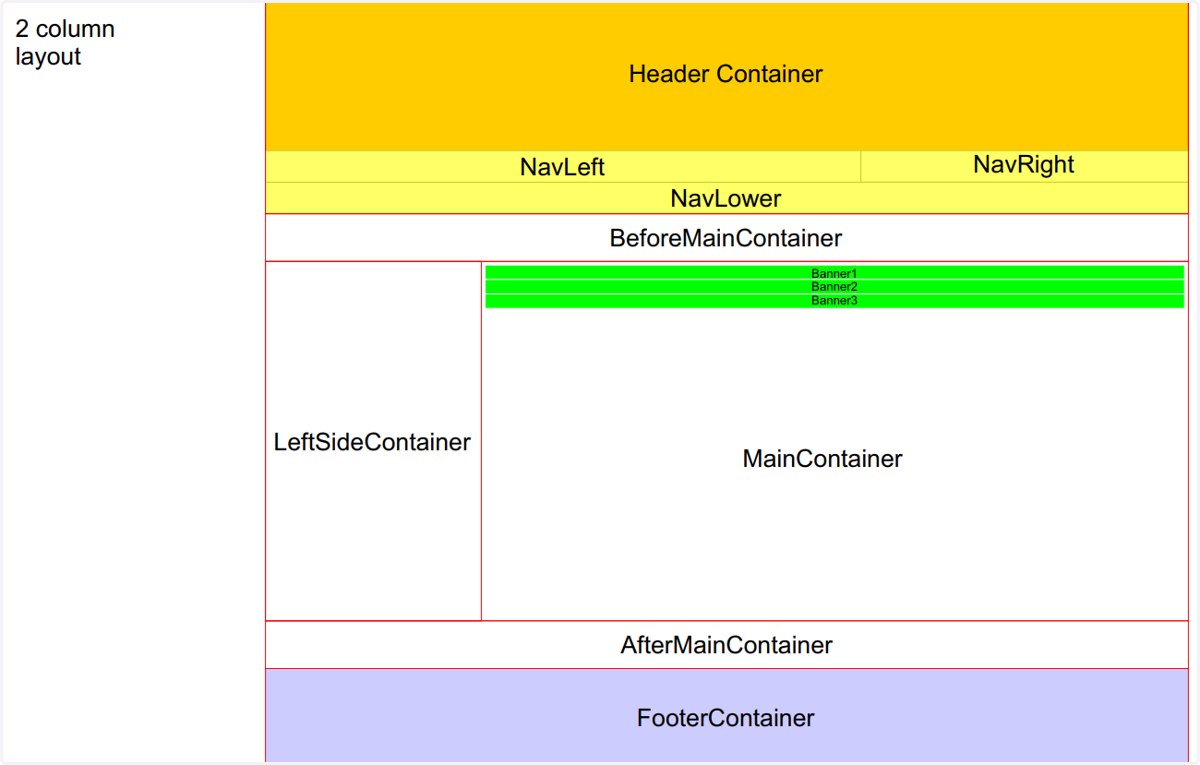
Container - A pre-designated area of your main layout, including elements such as a header, footer and main content. Modules are added to containers.
Module - Elements that sit within (or relative to) containers and add information or functionality to your page. This could include, for example; a search bar, product navigation or imagery.
Columns - The name given to the two main layout groups. 1 column pages and 2 column pages allow for greater variation in layouts. Containers are laid out differently between the two groups.
Infigosoftware
1. Click on Show layout administration panel
To begin, we will navigate to the layout administration panel located on the front-end of your storefront.
2. Identify and apply a layout to work on
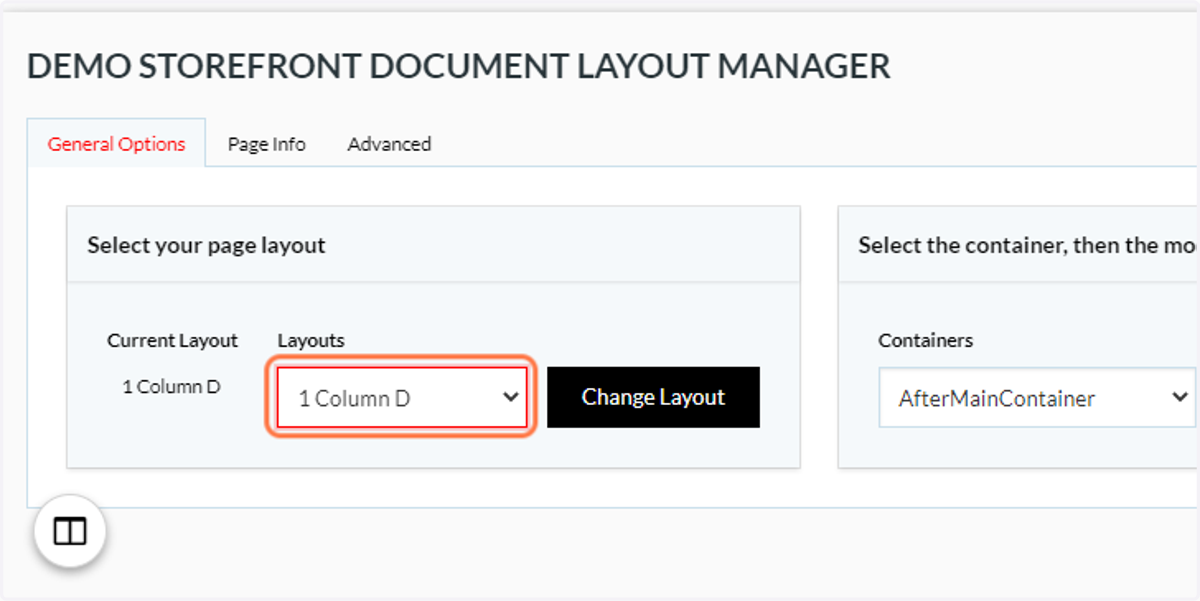
Many of the provided layouts are blank templates, awaiting user specification.
It is here that you will select between 1 Column and 2 Column layouts
3. 1 column container layout
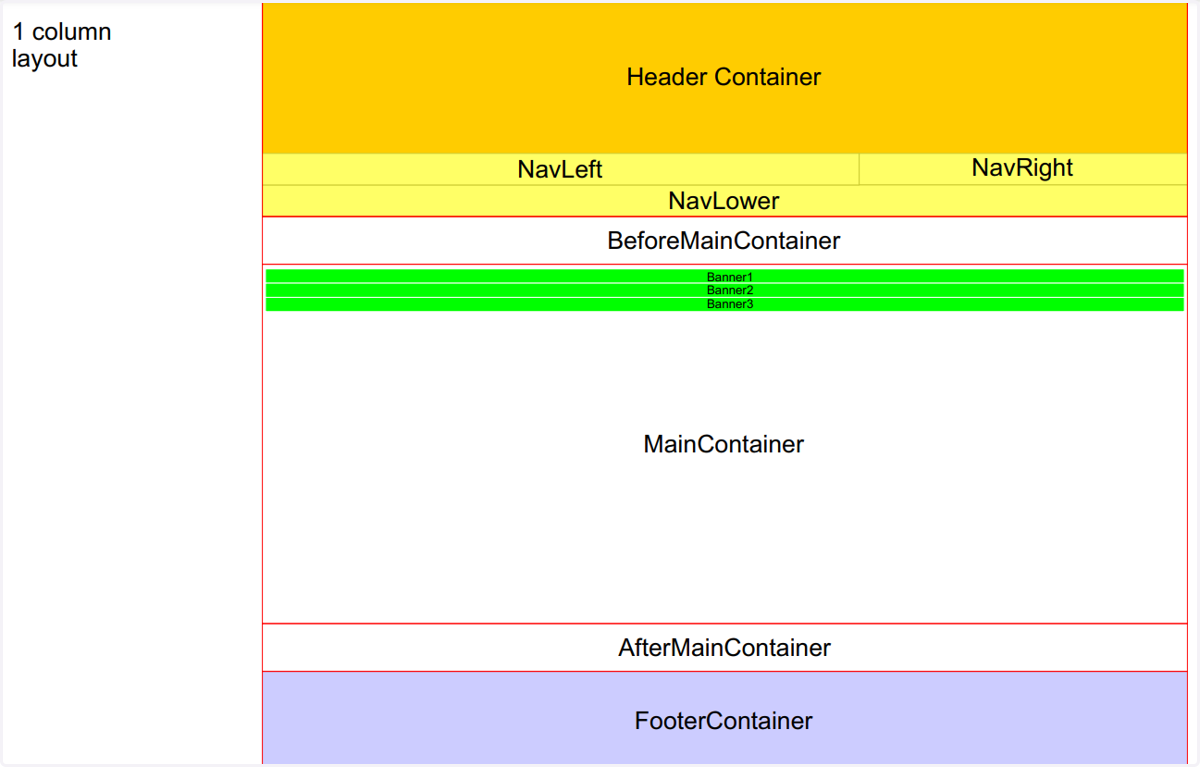
To serve as a good point of reference, the "MainContainer" will always contain the automatically generated content for the page, and will be different depending on which page you are on. For example, a product page will have the product information within the MainContainer, a category page will have all its products and subcategories within the MainContainer etc.
4. 2 column container layout
The 2 column layout includes an additional container on the left side of the page, called LeftSideContainer.
This is most notably used for the display of categories and products without losing the main body of content within the MainContainer.
5. The selected page template is applied.
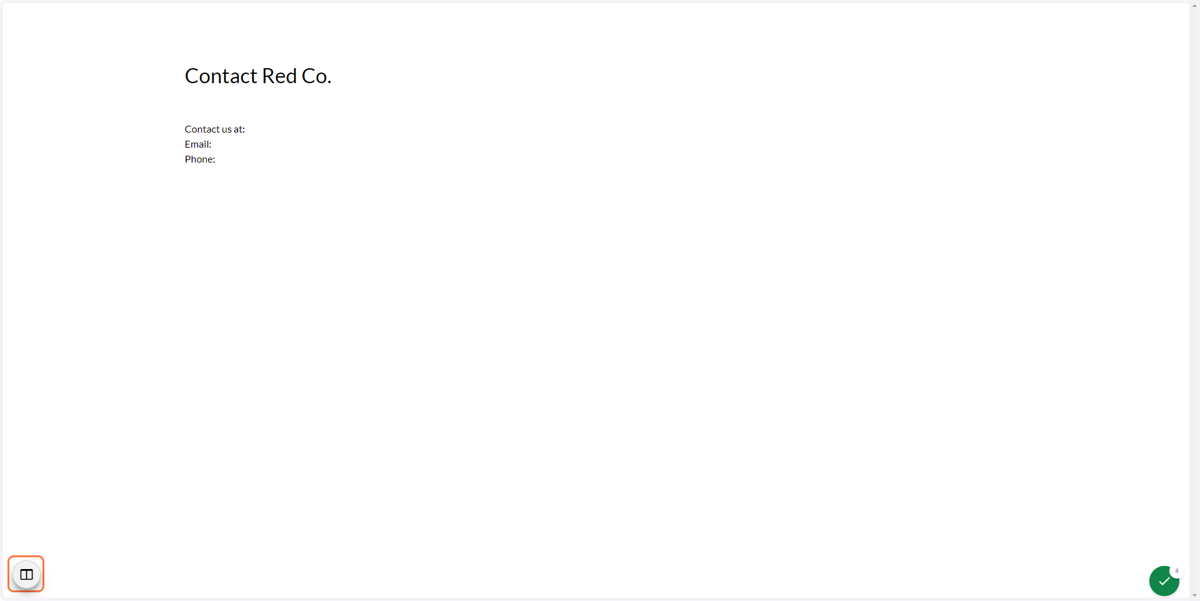
The image below shows that the template I have selected has no modules added to it. The only information on display is the generated content for the page (created in the Editable Content area of the storefront back-end).
Next, we will add our first module to a container.
Click on Show layout administration panel to further amend the page layout.
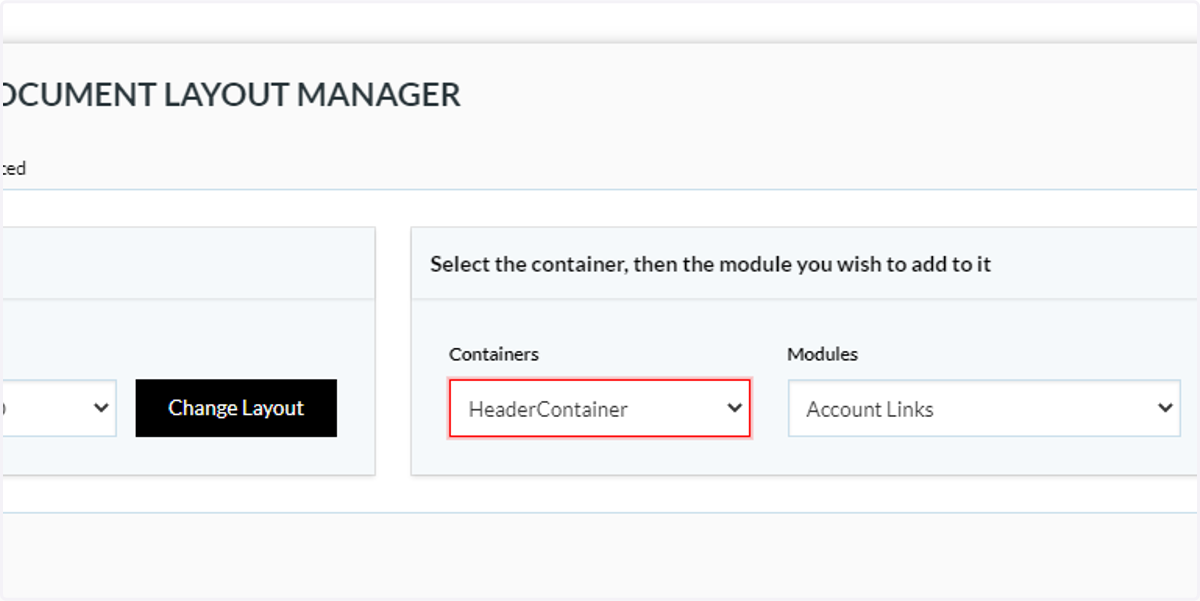
6. Click on HeaderContainer
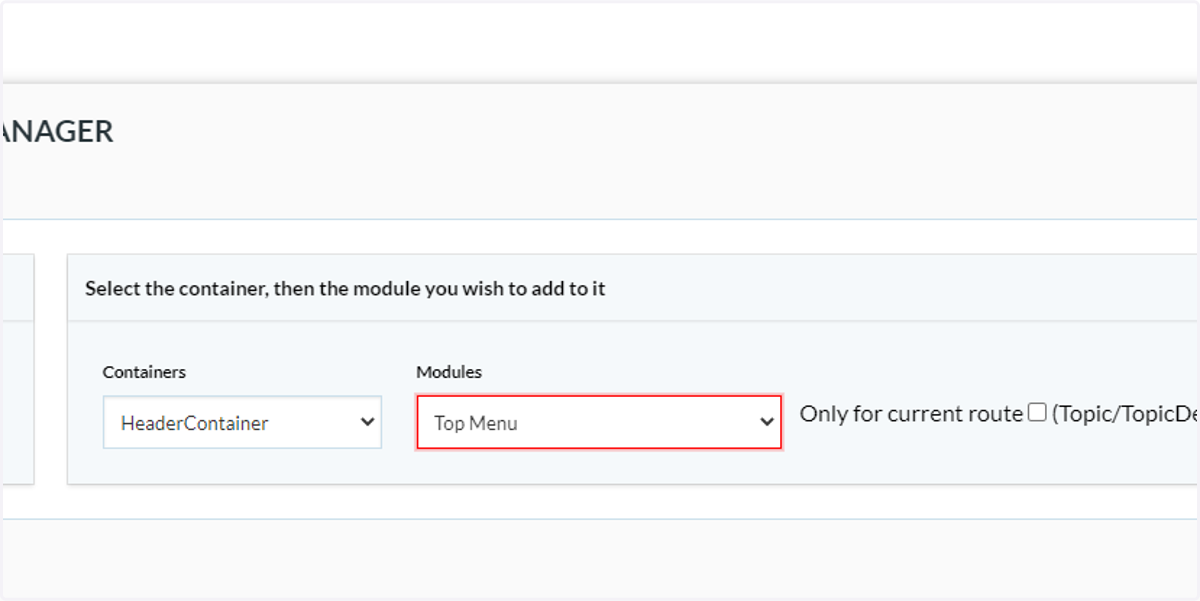
7. Click on Top Menu
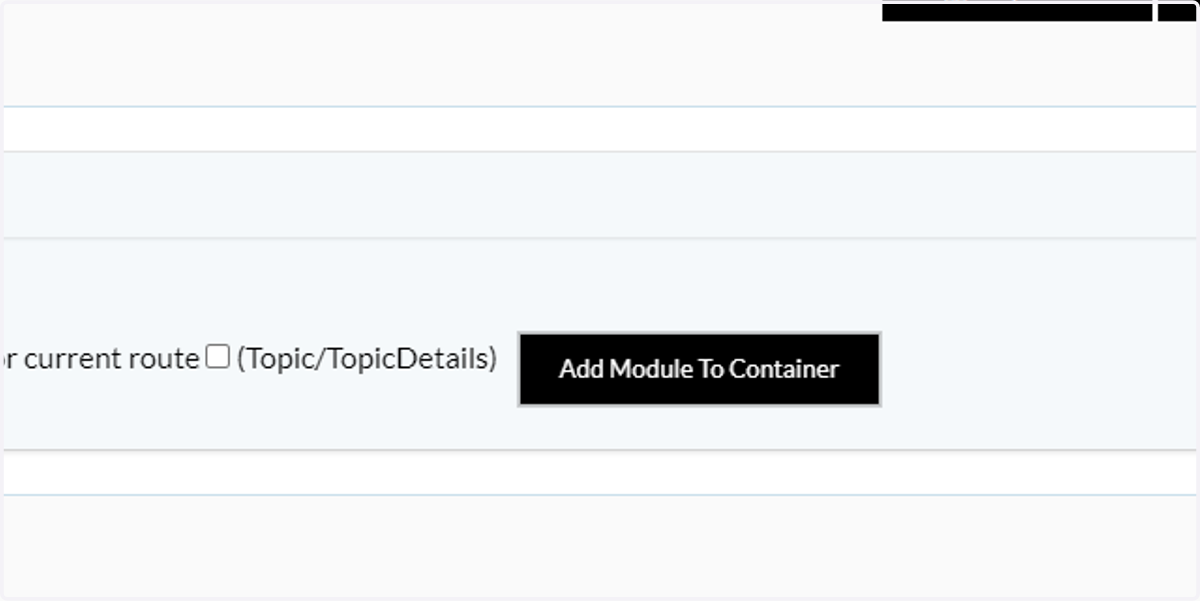
8. Click on Add Module To Container
9. View your updated page
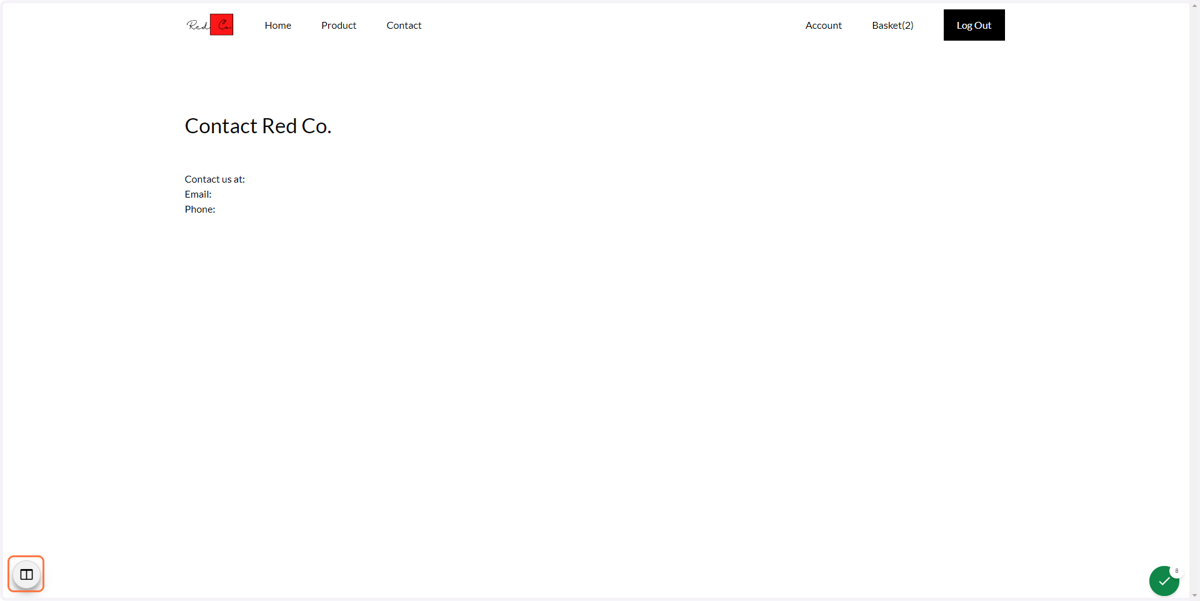
This will add the module named Top Menu (containing the information defined in the Header section of the Editable Content area) to the HeaderContainer.
In other words, we will how see our main navigation bar at the top of our page.
Click on Show layout administration panel to further amend the page layout.
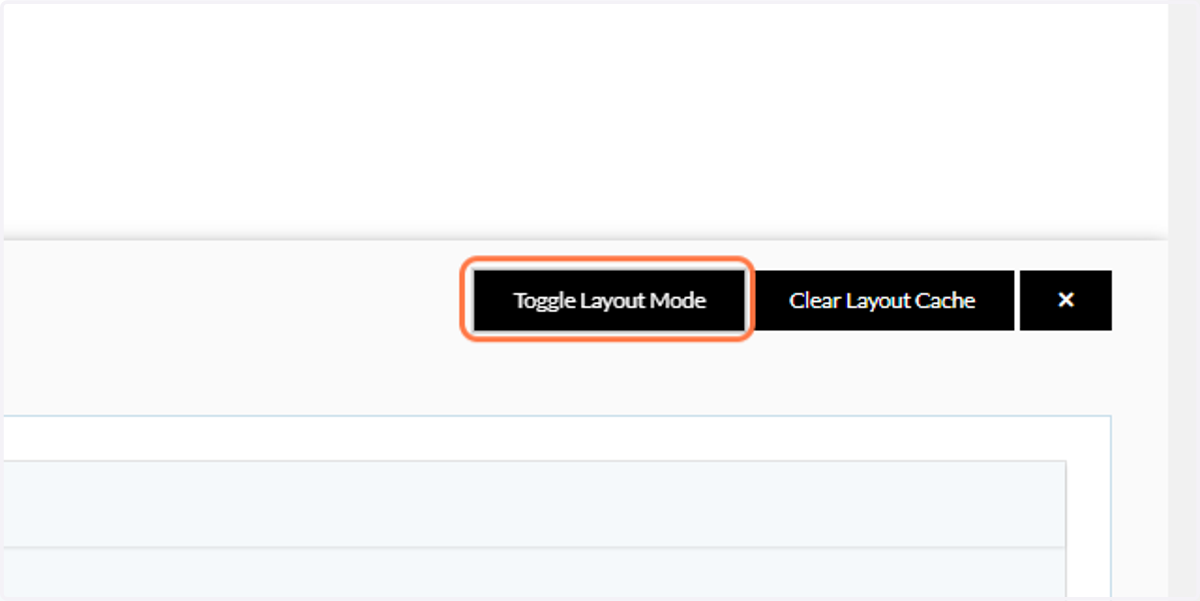
10. Click on Toggle Layout Mode
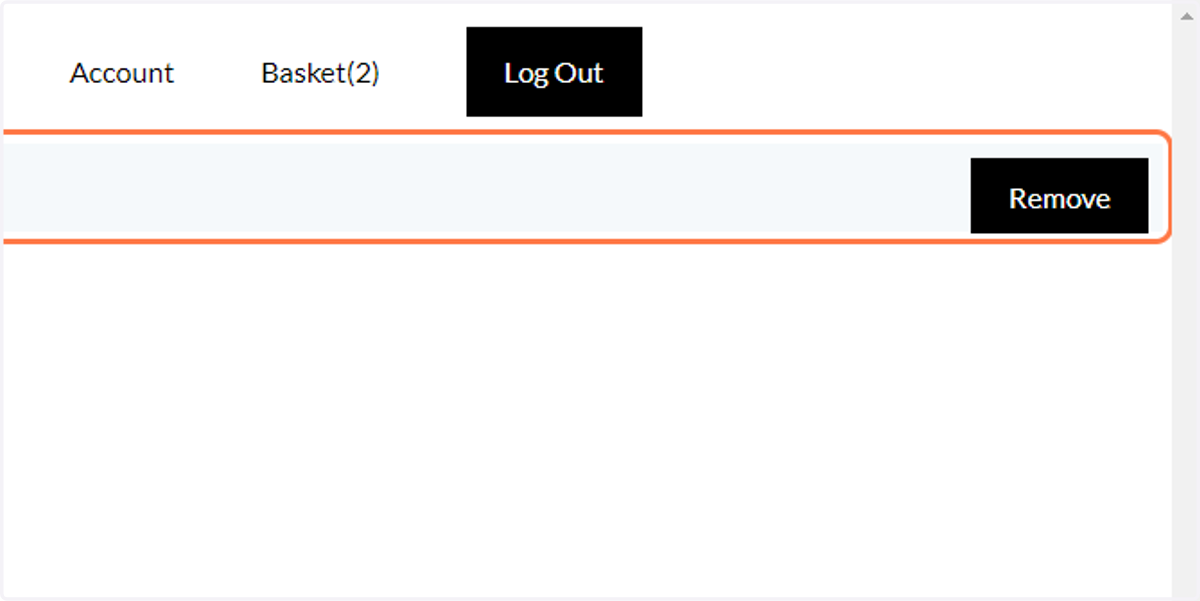
When selected, this option will show the Administrator the modules forming the page.
11. Toggle Layout Mode
It also presents the option to remove any unwanted blocks.
12. Next, we will see how different container and module selections influence final page layout
We will take a look at a few examples, primarily focused on the header container.
Click on Show layout administration panel to further amend the page layout.
13. Click on HeaderContainer
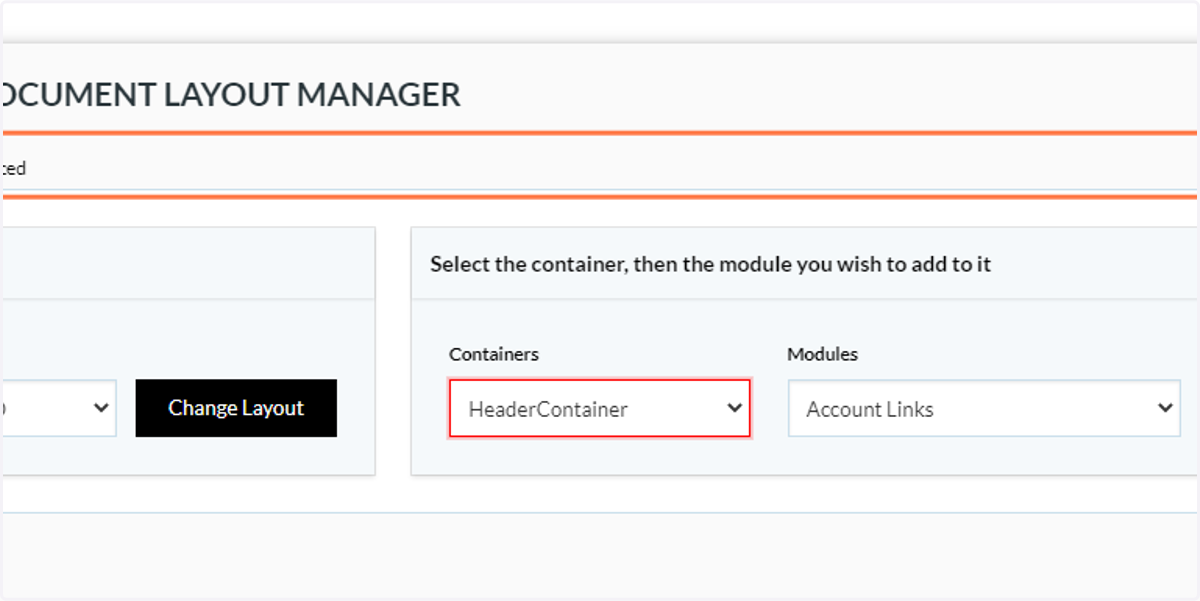
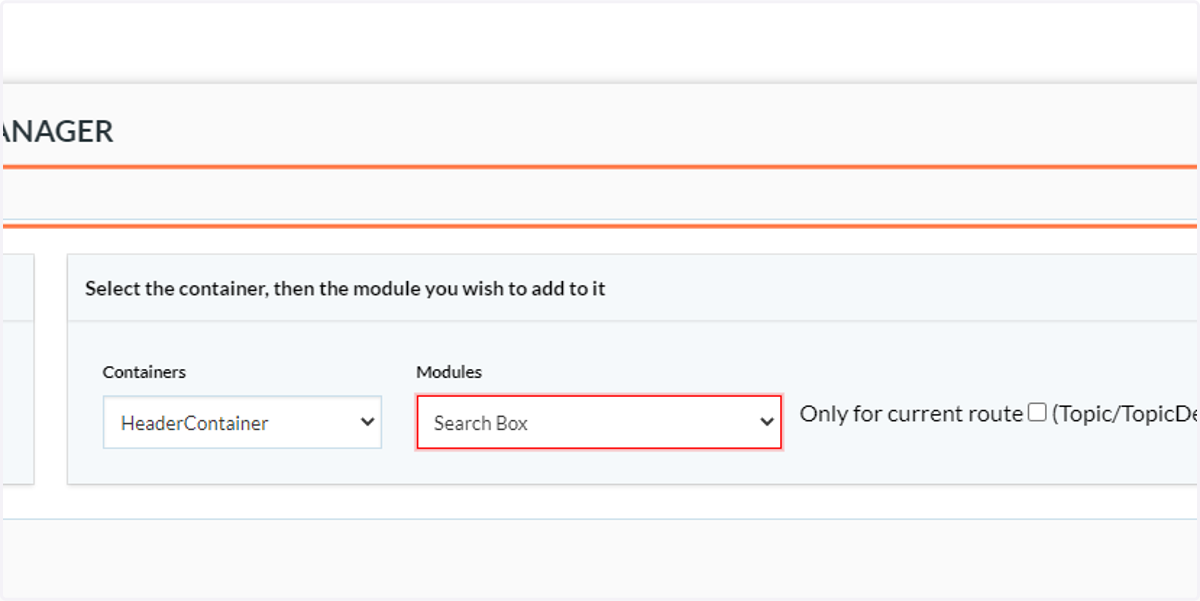
14. Click on Search Box
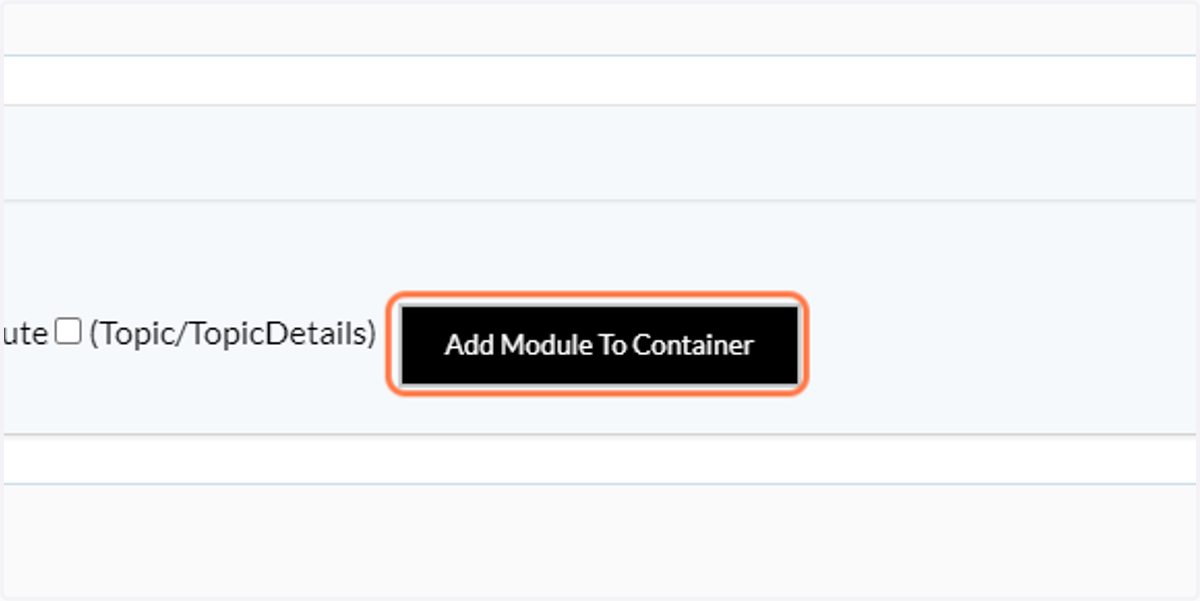
15. Click on Add Module To Container
16. Review page changes
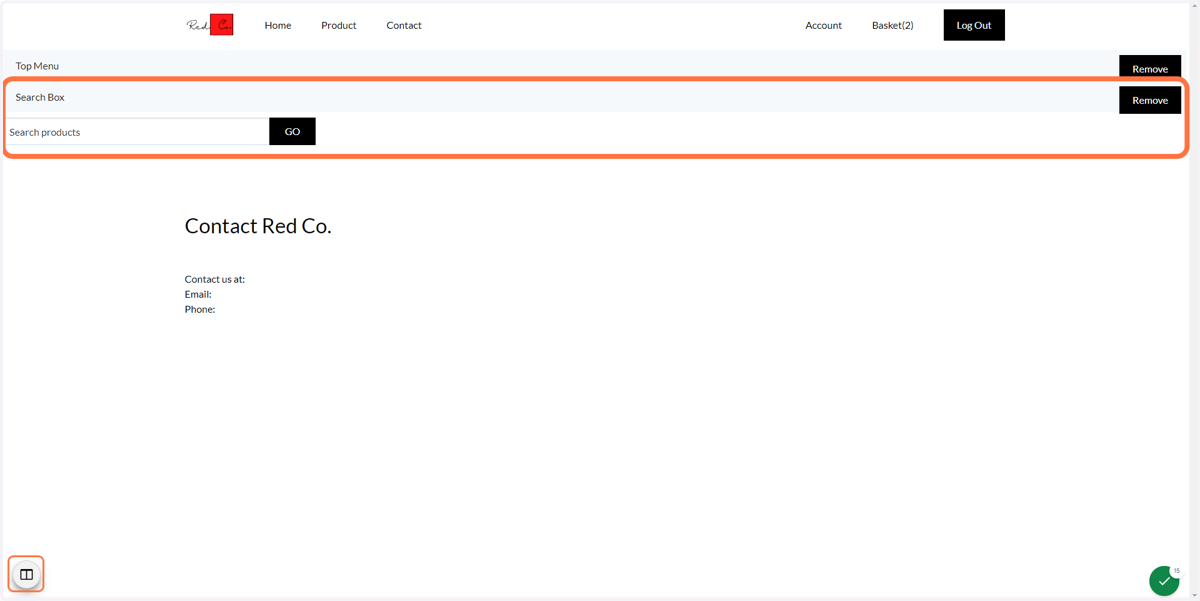
Adding the search box directly to the header container means the module spans the entire width of the page, as it follows the behaviour of the main header container.
This causes the search box to appear at the very left of our page.
Any subsequent modules added to the navigation header will appear directly below this.
Click on Show layout administration panel to further amend the page layout.
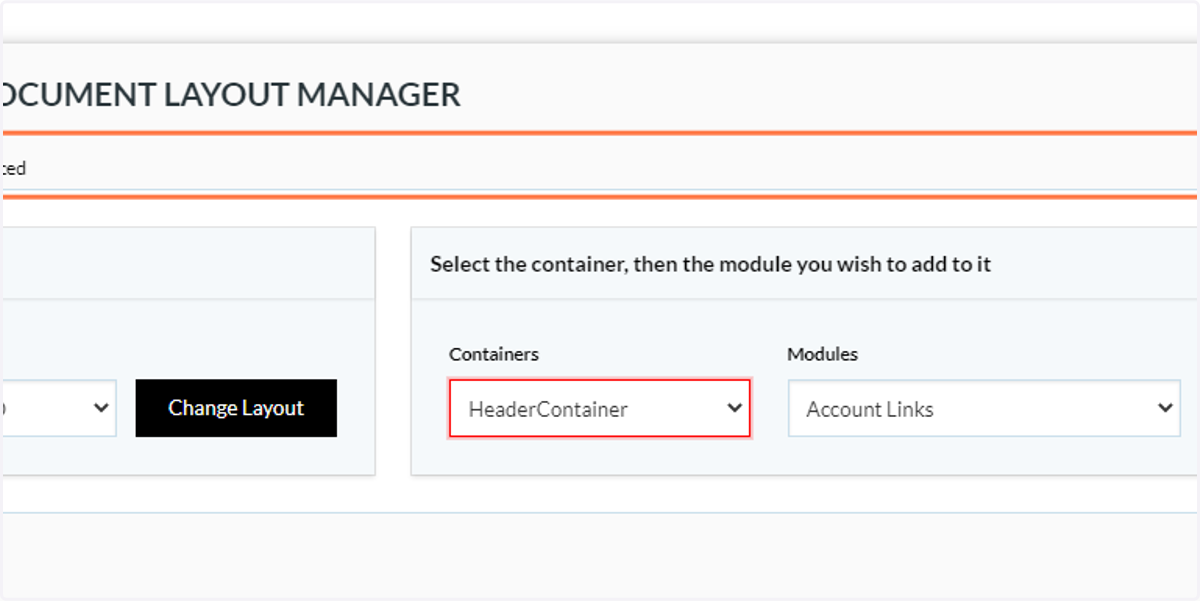
17. Click on HeaderContainer
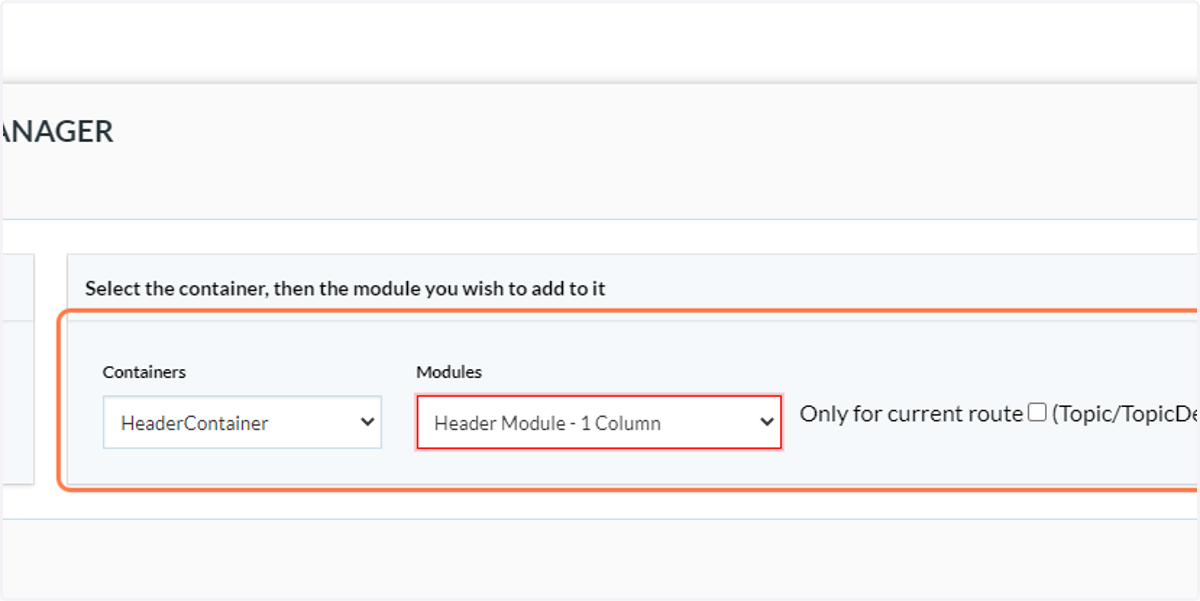
18. Click on Header Module - 1 Column
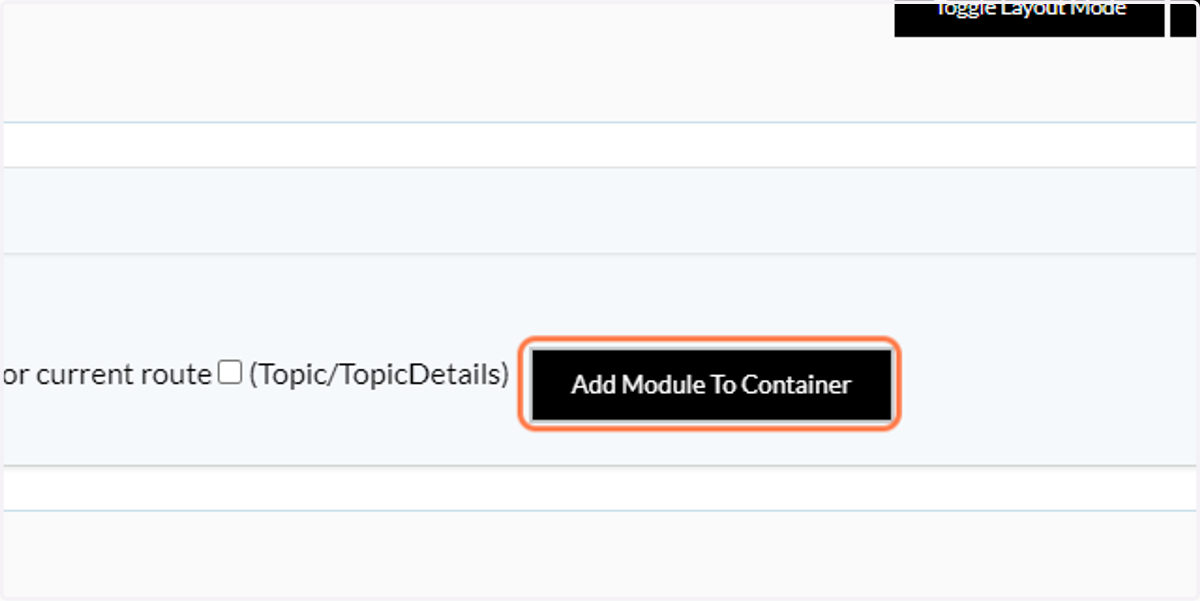
19. Click on Add Module To Container
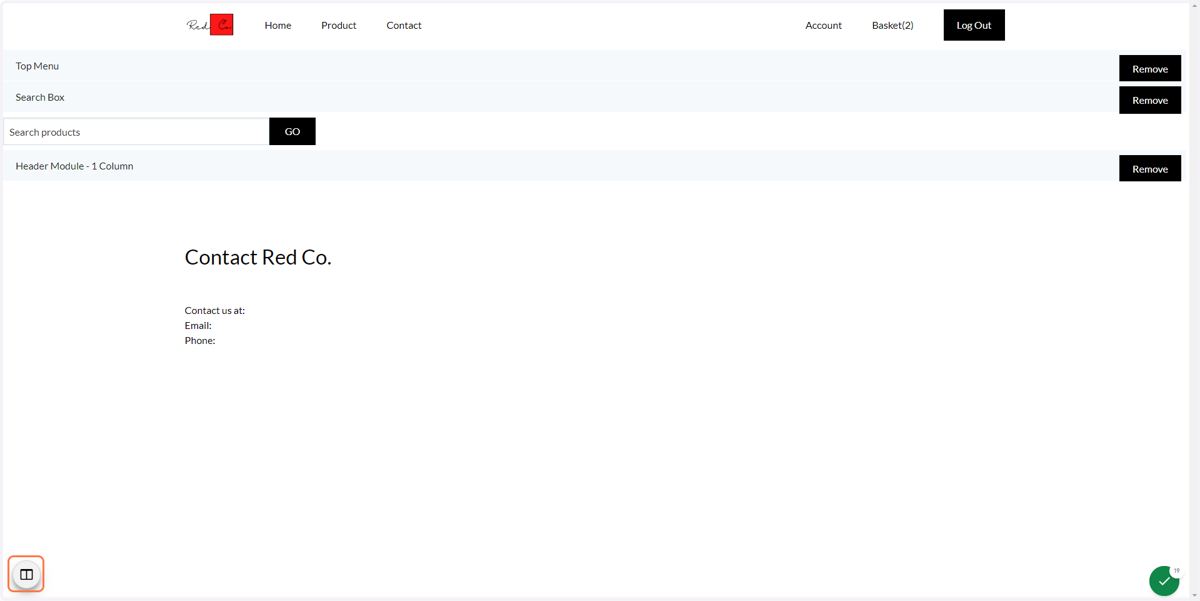
20. Review page changes
Here, we have added a module called "Page Header - 1 Column " to our HeaderContainer.
Modules such as this act as additional formatting, allowing us to configure a layout more in keeping with the rest of our page. This can be thought of as a sub-container.
Click on Show layout administration panel to further amend the page layout.
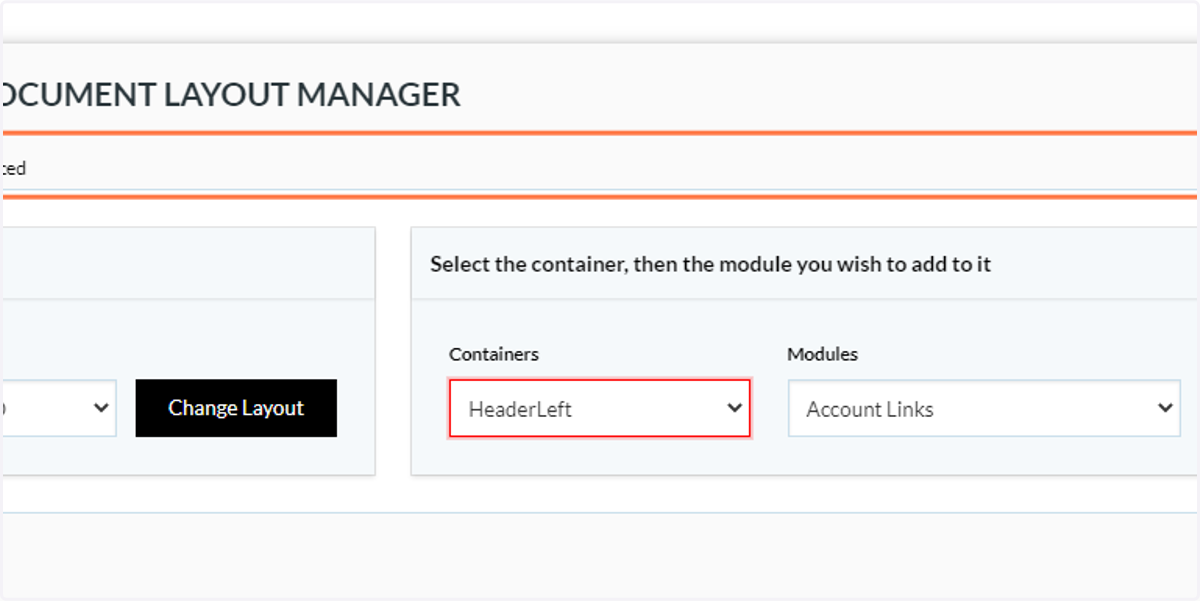
21. Click on HeaderLeft
We will now select a container called HeaderLeft. This can be thought of as a sub-container within within the HeaderContainer.
Modules placed within here will be formatted within the confines of "Header Module - 1 Column" module.
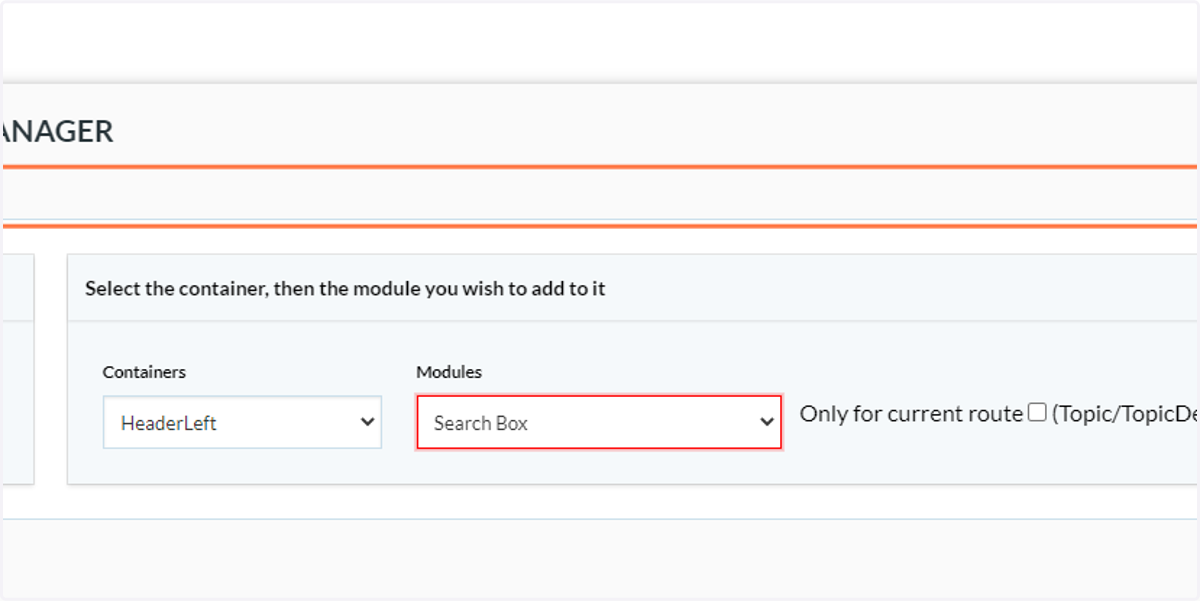
22. Click on Search Box
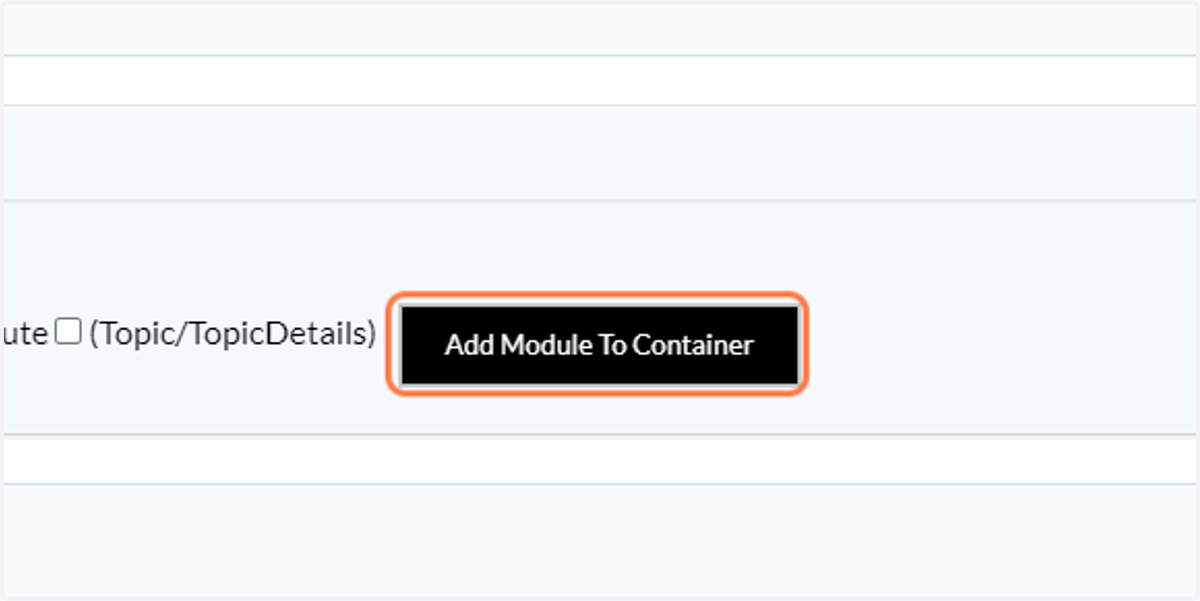
23. Click on Add Module To Container
24. Review page changes
Our new search box is now seen to be centralised, matching the format of the content within the MainContainer.
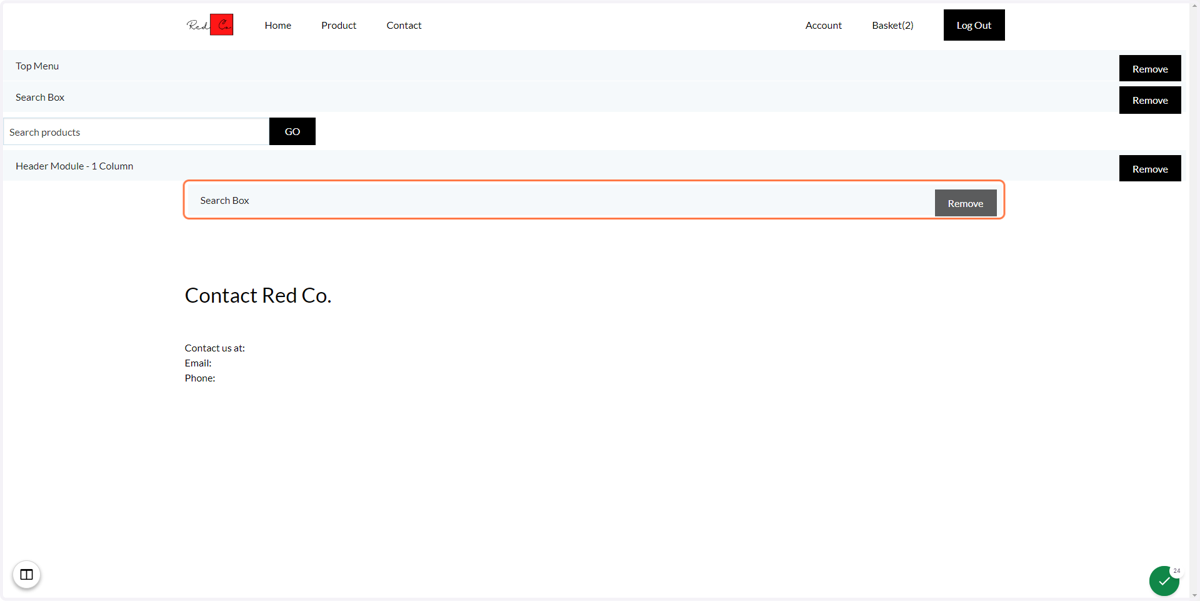
25. Adding extra columns without changing to a 2-Column layout
The use of modules giving sub-container functionality can also be used to group modules side-by-side.
In this example, we will place another module next to the search box we have just added.
Click on Show layout administration panel to further amend the page layout.
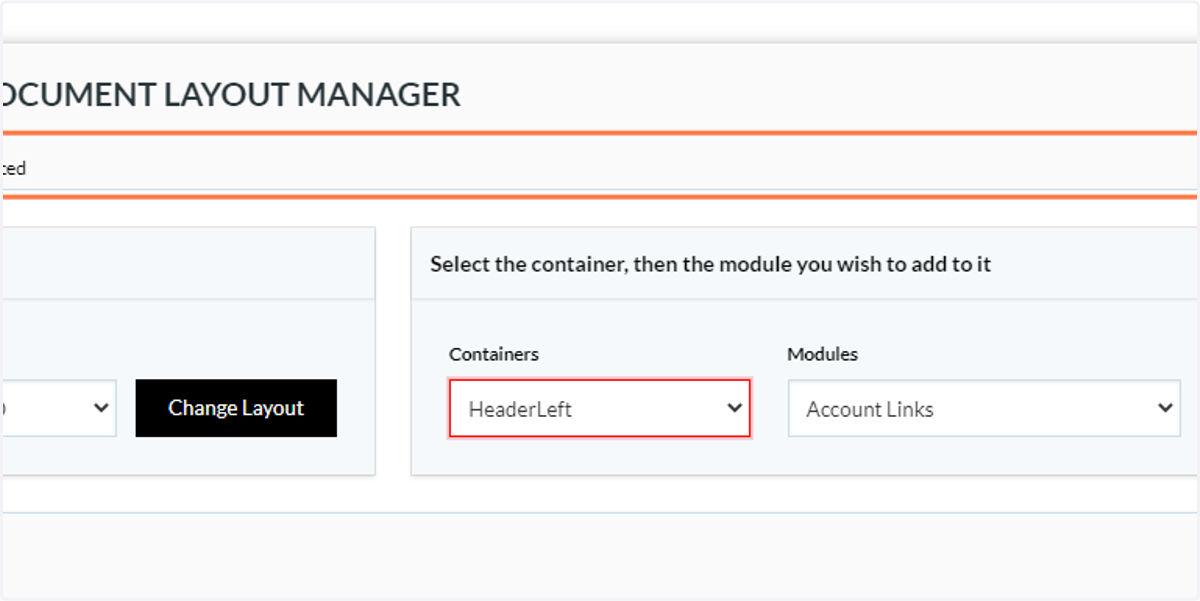
26. Click on HeaderLeft
Select the same container as the previous addition to facilitate them appearing side-by-side.
27. Click on Mini Shopping Cart
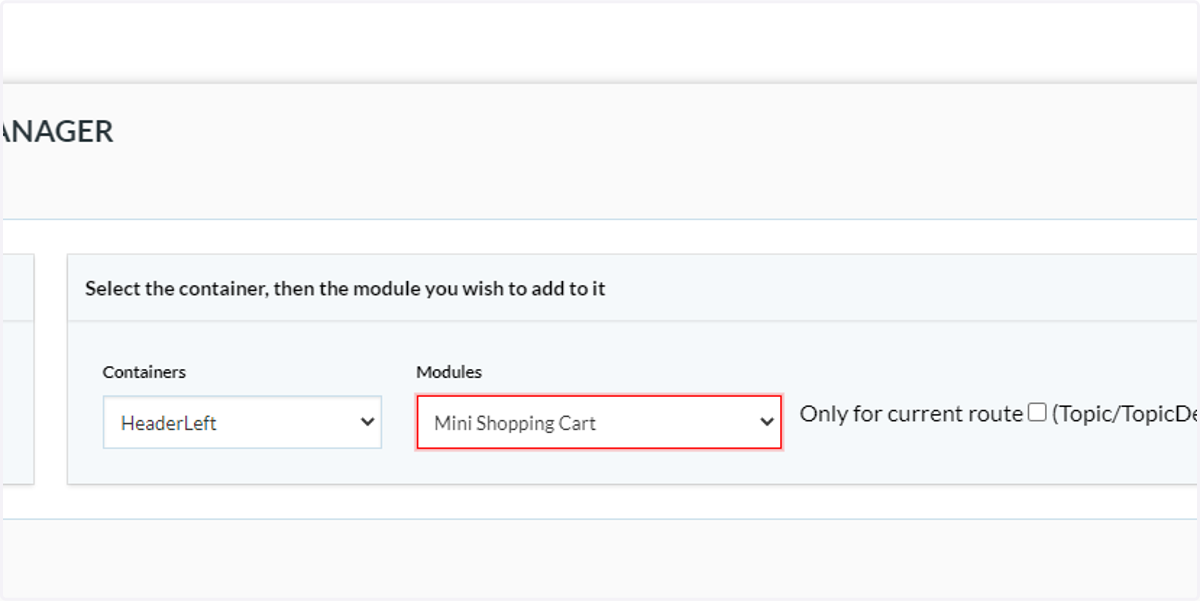
28. Click on Add Module To Container
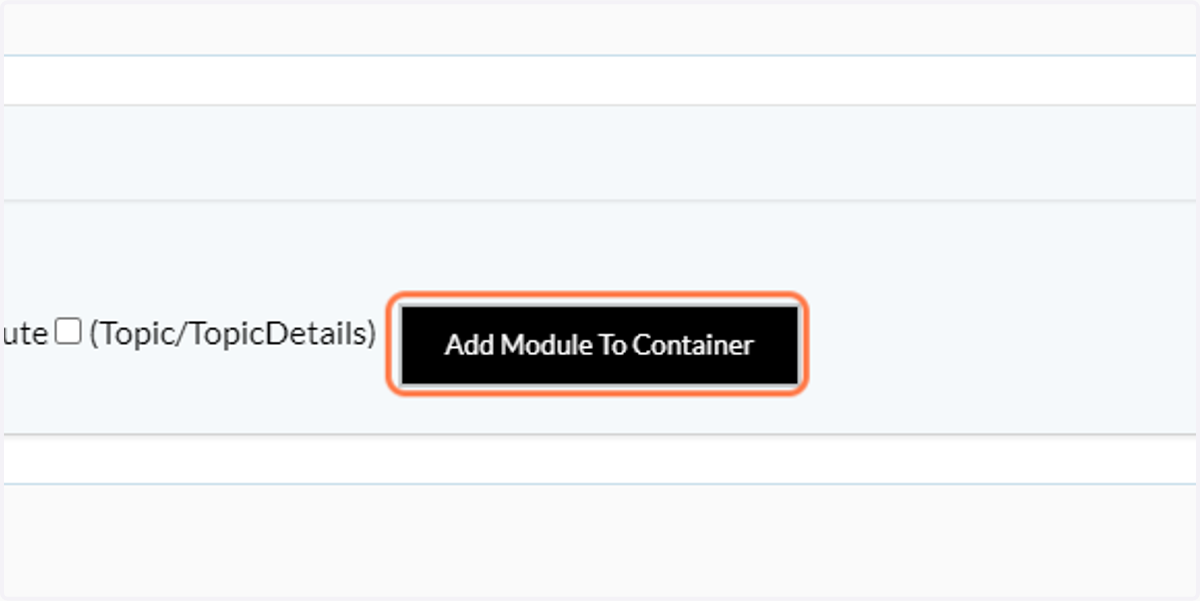
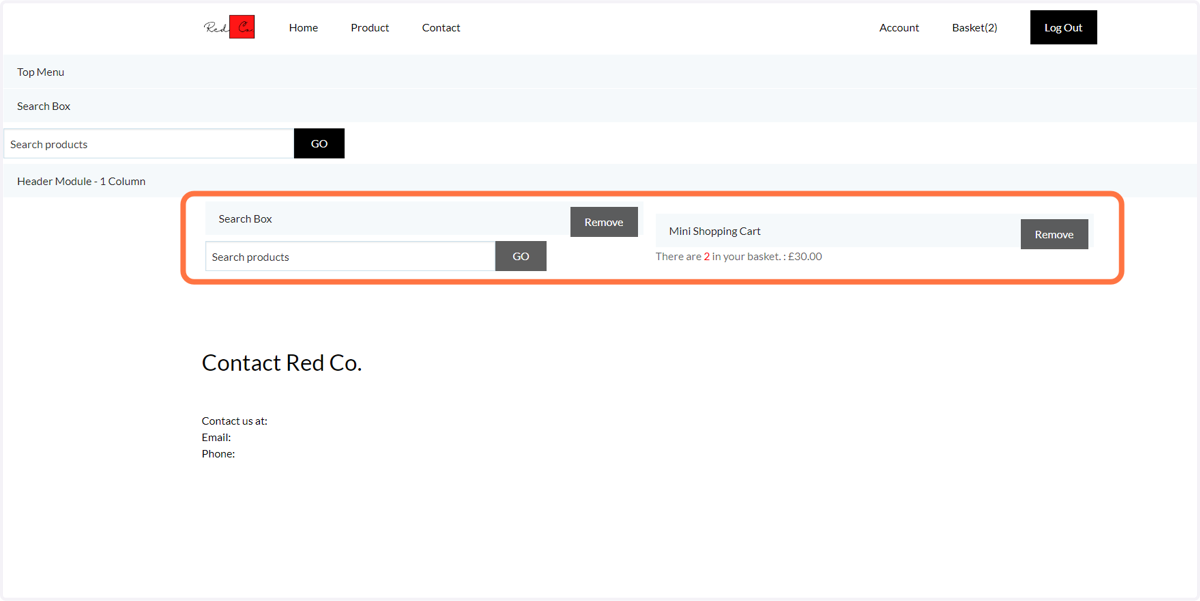
29. Review page changes
Our two modules now appear centralised, and side-by-side.
Click on Show layout administration panel to further amend the page layout.
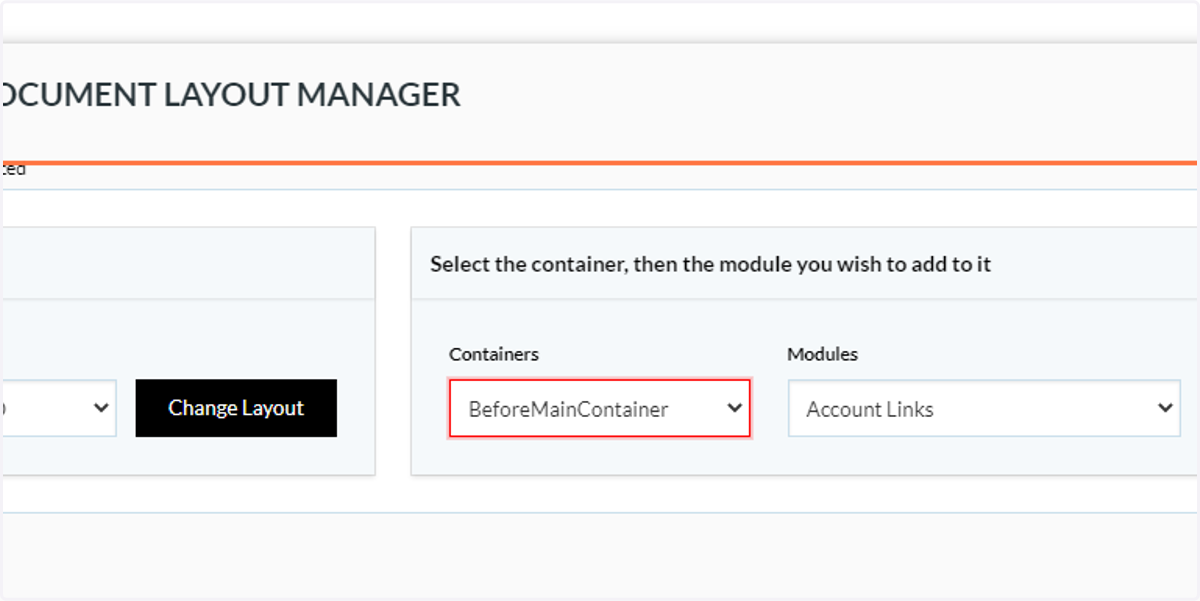
30. Click on BeforeMainContainer
Next, we will add content into the BeforeMainContainer area.
This spans the full width of the page and immediately precedes the MainContainer content.
31. Click on Slider
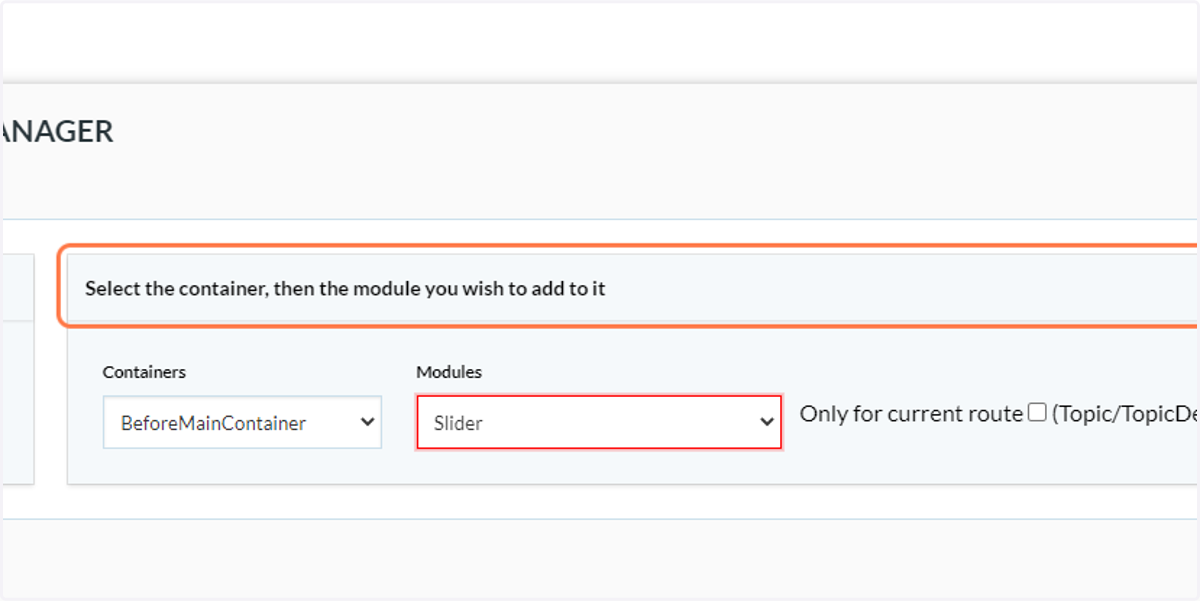
32. Click on Add Module To Container
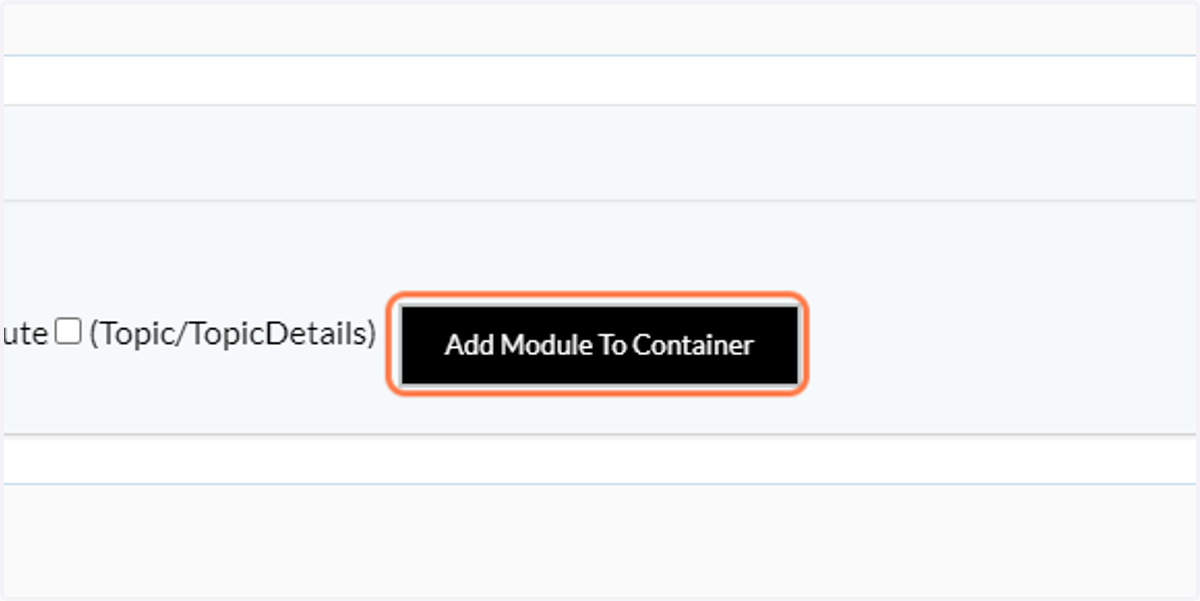
33. Review page changes
Our Slider module is seen to appear immediately before the main text content.
The Slider content itself is configured within the Editable Content area of the storefront back-end. This will be covered in another tutorial.
Click on Show layout administration panel to further amend the page layout.
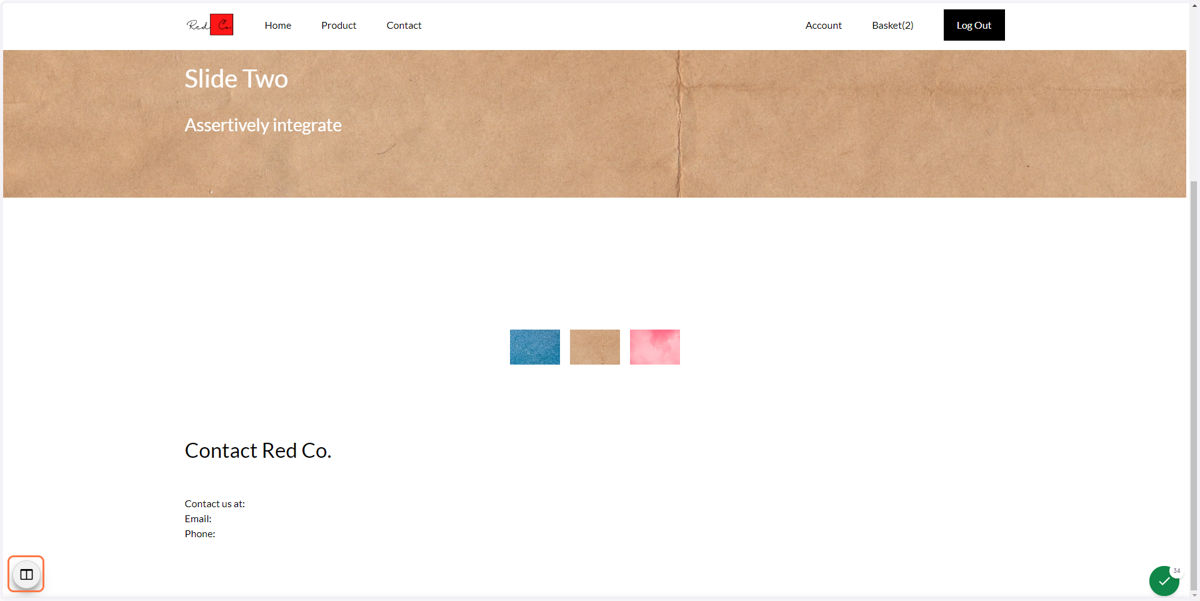
34. Click on AfterMainContainer
Next, we will add content into the AfterMainContainer area.
This spans the full width of the page and immediately follows the MainContainer content.
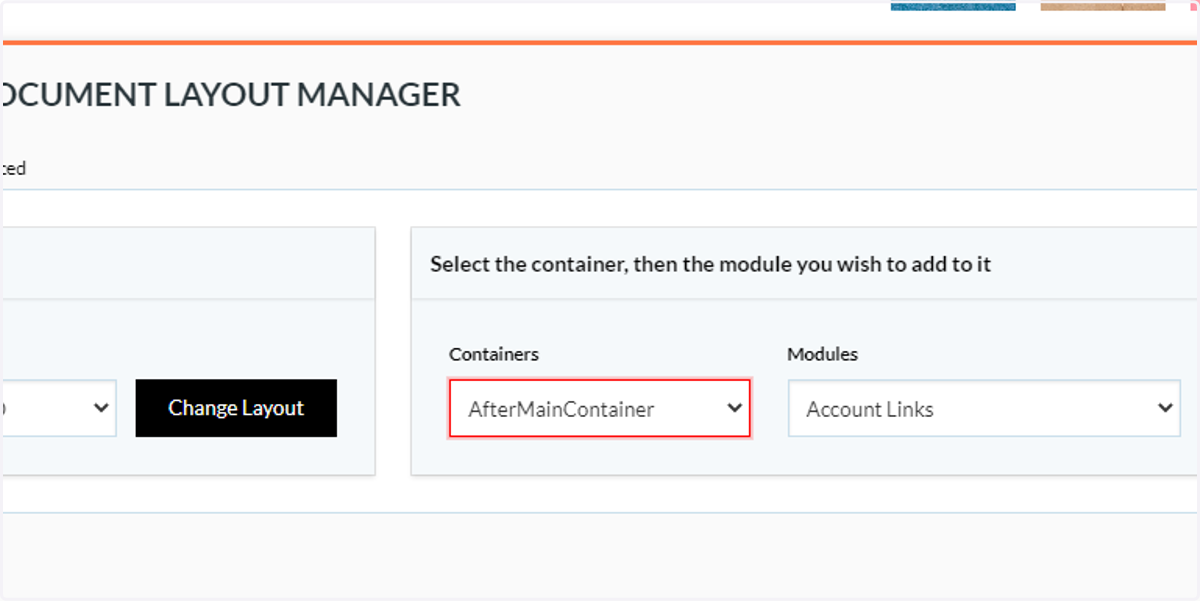
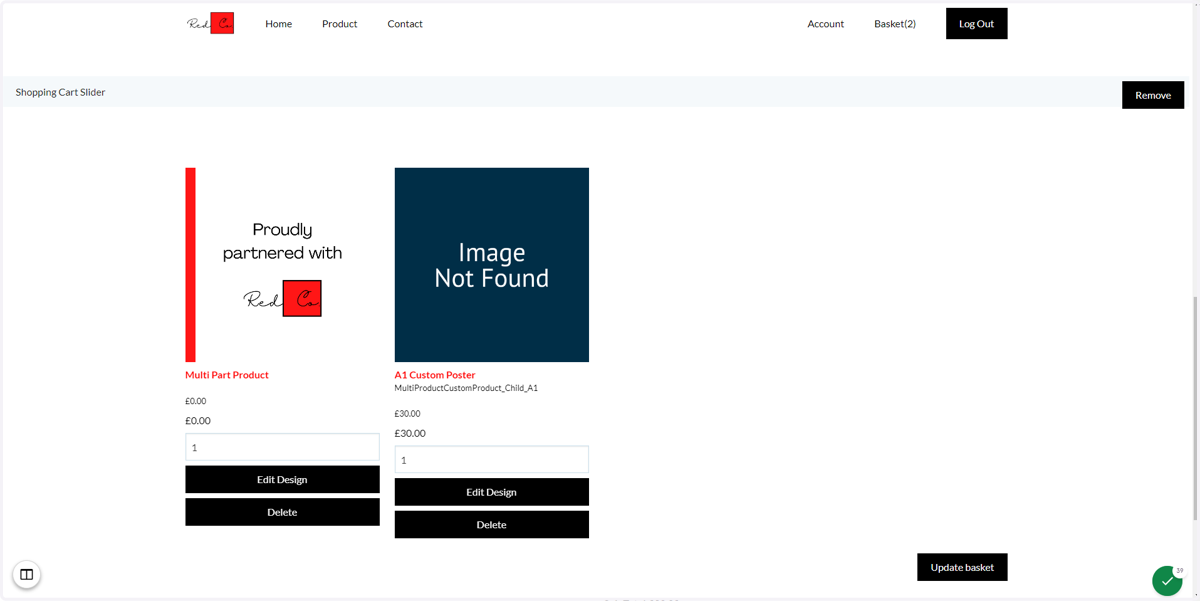
35. Click on Shopping Cart Slider
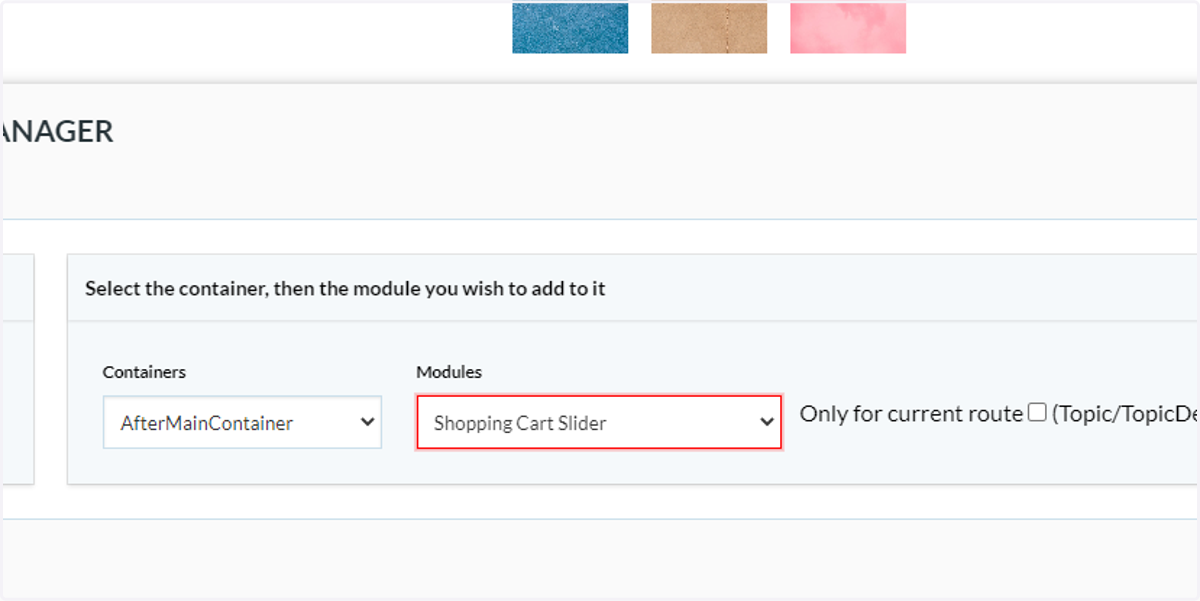
36. Click on Add Module To Container
37. Review page changes
Our new page content is now visible due to the addition of extra modules.
These examples are an introduction to this functionality, however the same methodology can be applied to build all required pages on your site.
These module changes you have made will now be saved to the selected layout. Any page utilising this layout will now contain the same configuration of modules.