Product Tags
GT_PR_010
In this tutorial, we will learn about product tags, and their use as an alternative method of grouping similar products.
A "Product Tag" on your Infigo storefront is a label or keyword that is associated with a product to help shoppers find and sort products more easily. It allows you to categorize products based on specific characteristics, such as color, size, style, brand, or material.
For example, your pens, notebooks and staplers may all be assigned a "Stationary" tag. Customers will then be able to see or search for this tag in various locations, giving direct access to all "Stationary" products.
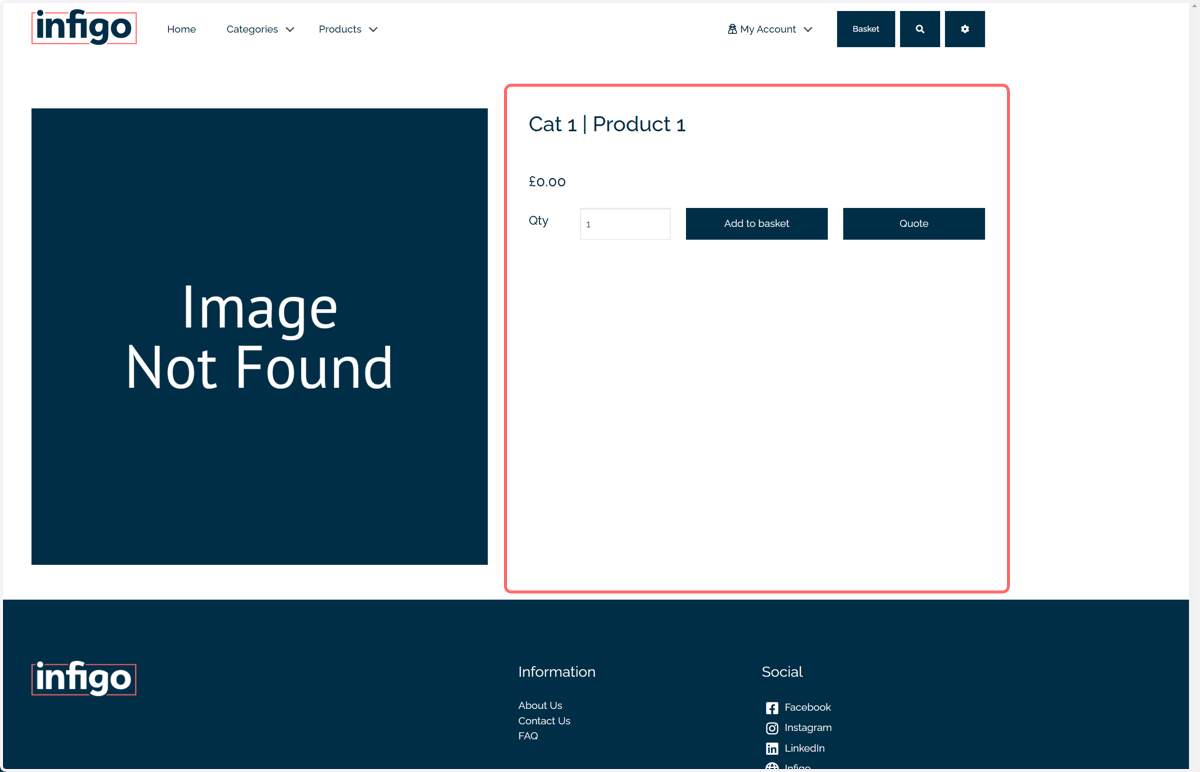
Product tags can be displayed on product pages, search results pages, and category pages. They are clickable, allowing users to filter products by a specific tag.
Tags sit separately from Infigo Categories. A product can be within one or multiple categories (such as "Pens") and can still have one or more tags (such as "Stationary" or "Writing equipment").
Infigosoftware
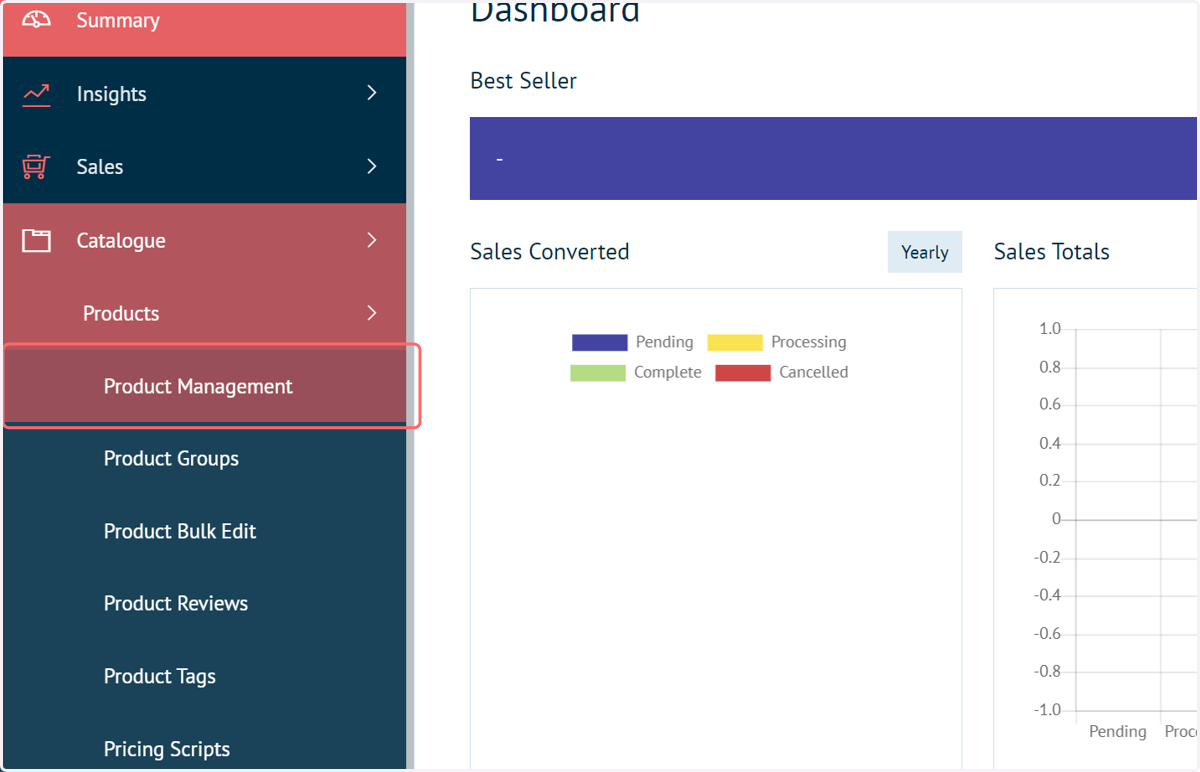
1. Navigate to the Product Management screen
We will begin by applying a tag to one of our products.
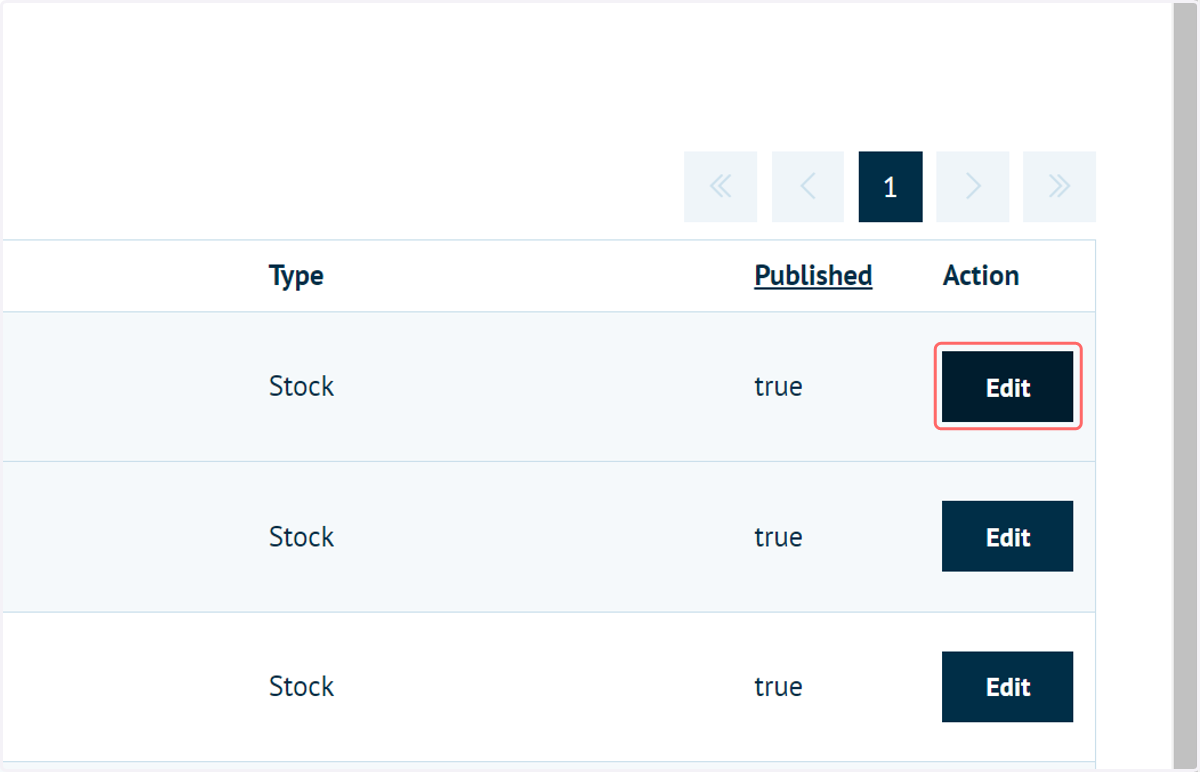
2. Click on Edit next to a product to launch product settings
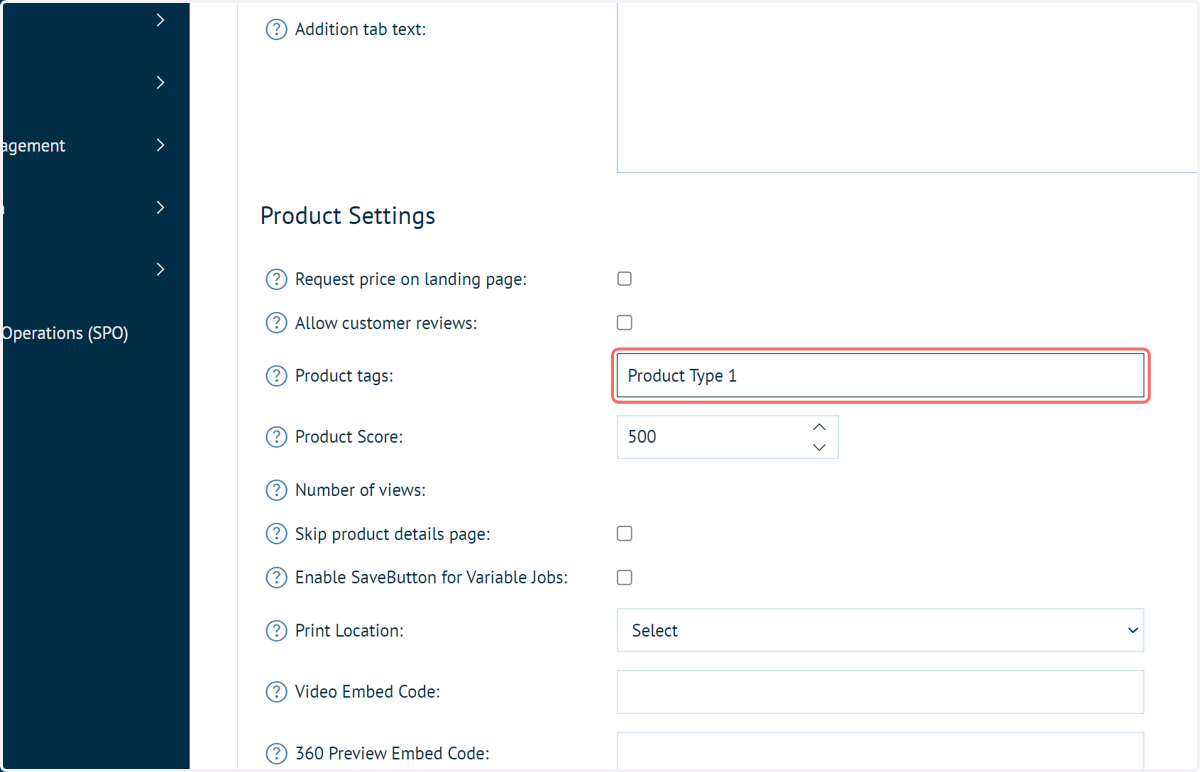
3. Click on Product tags
The "Product Tags" input is located at the bottom of the page, under Product Settings.
Click the input box to launch the tag editor.
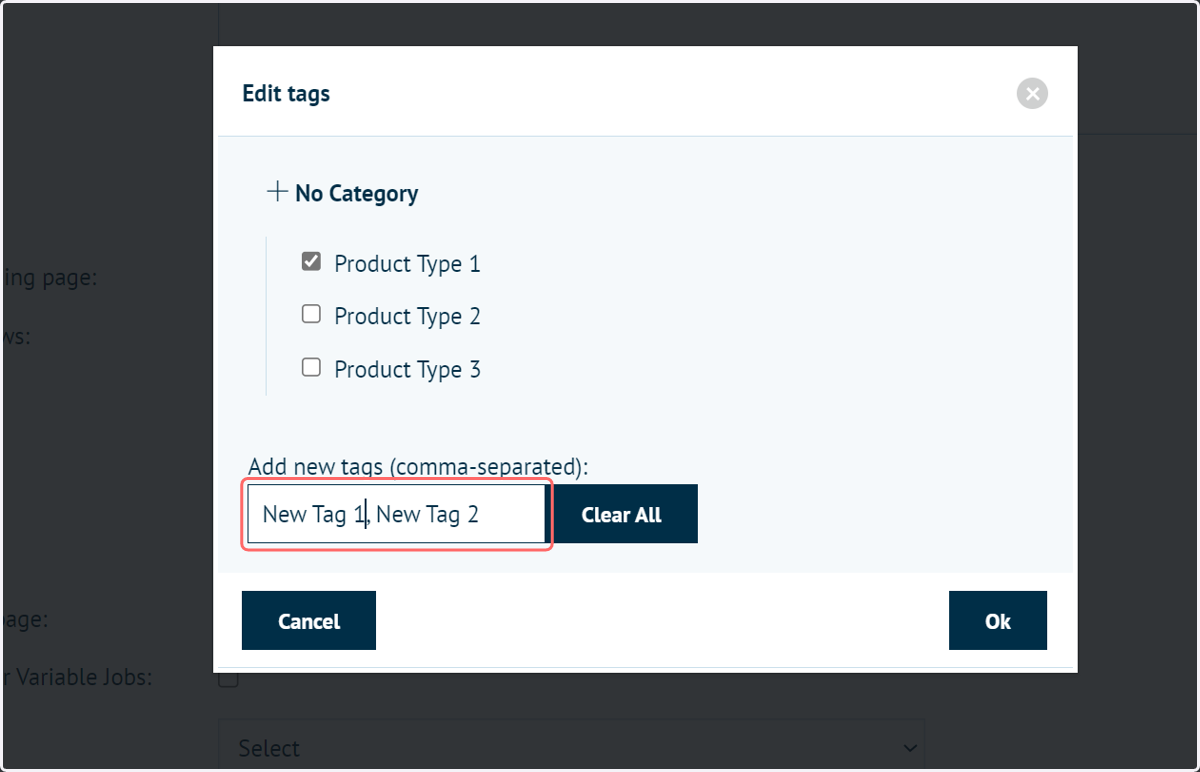
4. Define the product tags to use
Existing product tags are visible in the list, and can be added to the product by selecting the check box.
New tags can be created by typing the tag name into the list. To add multiple, ensure your tags are comme-separated. Such as,"New Tag 1, New Tag 2".
Multiple tags can be applied to a single product.
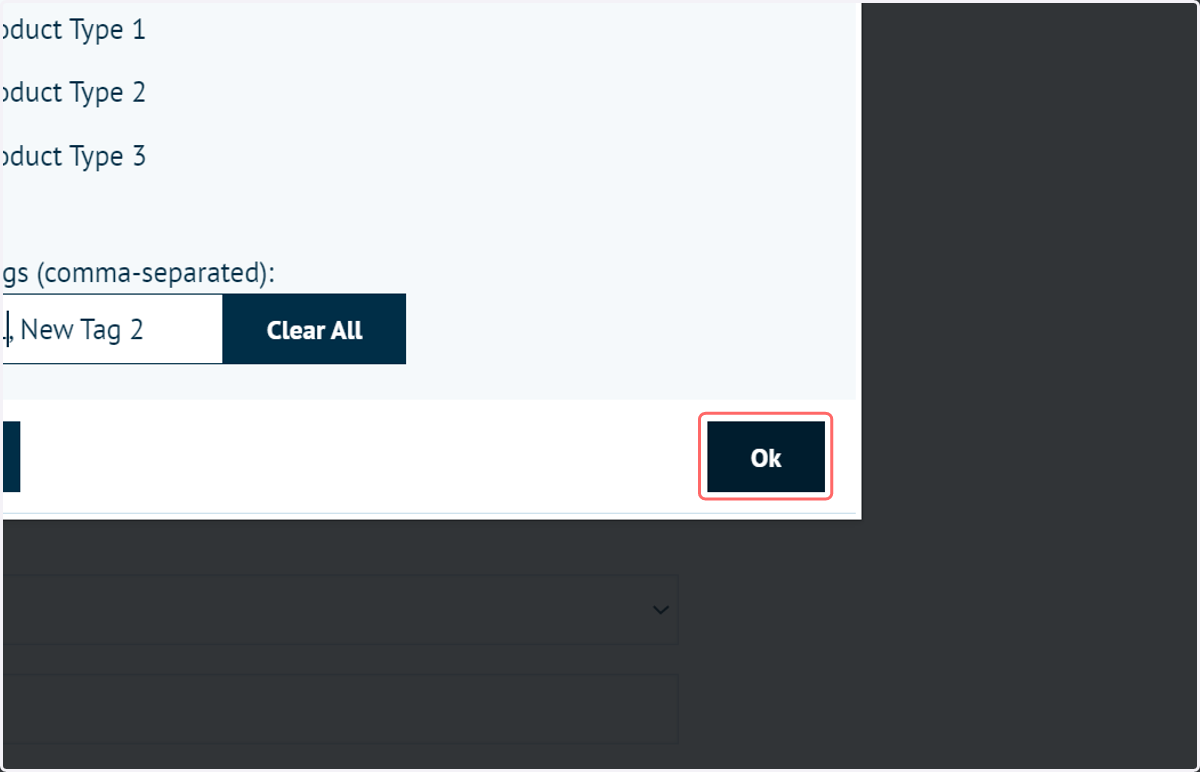
5. Click on Ok to confirm your tags
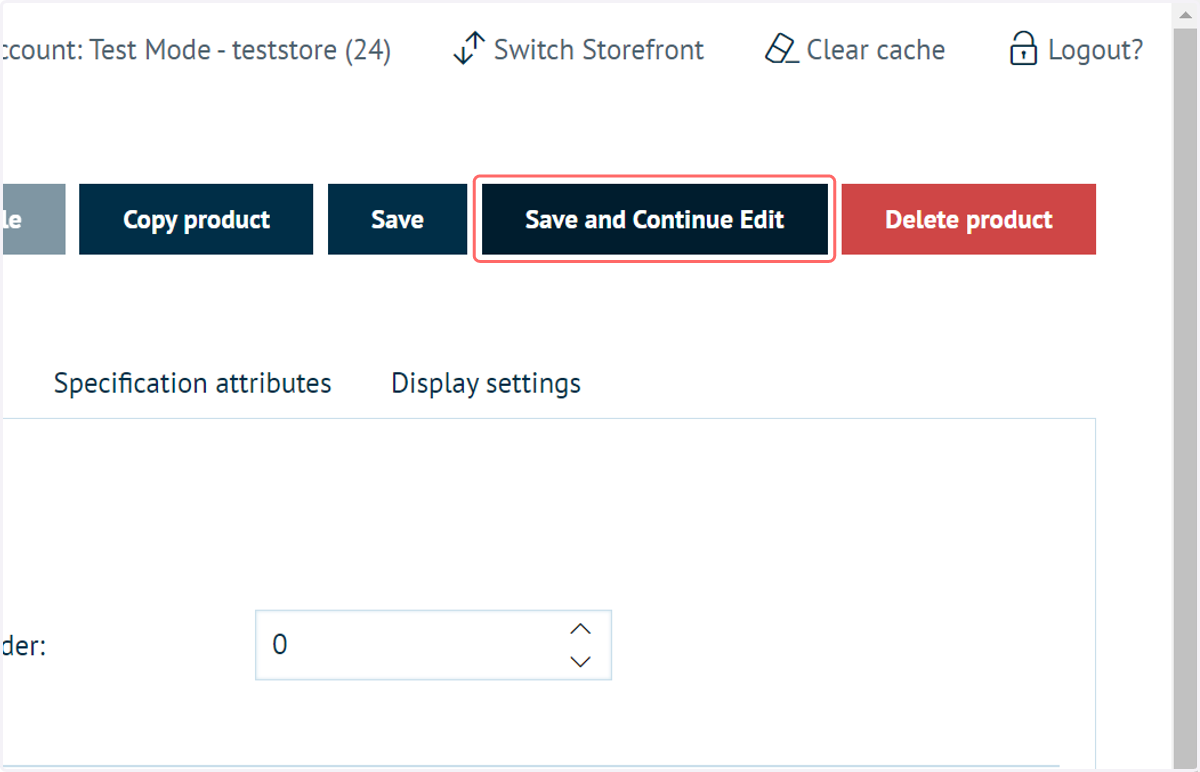
6. Click on Save and Continue Edit
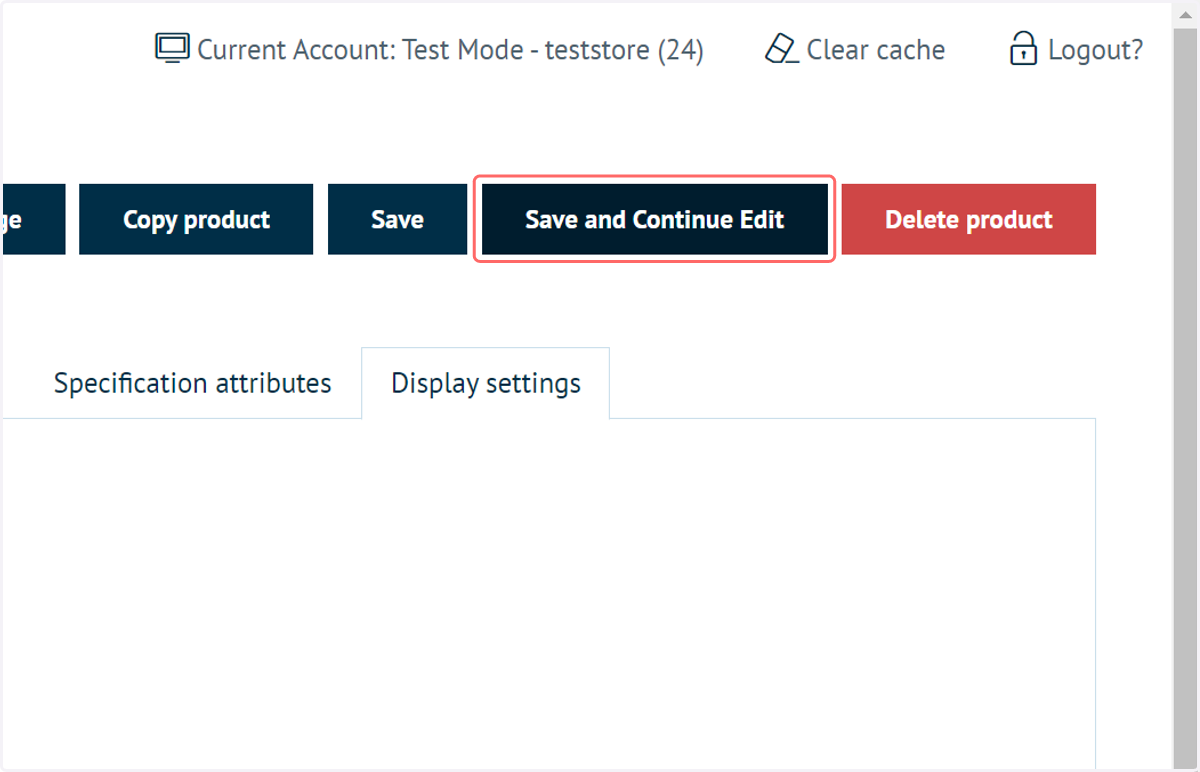
This will save the selected tags to your product
7. Next, navigate to the Product Tags screen
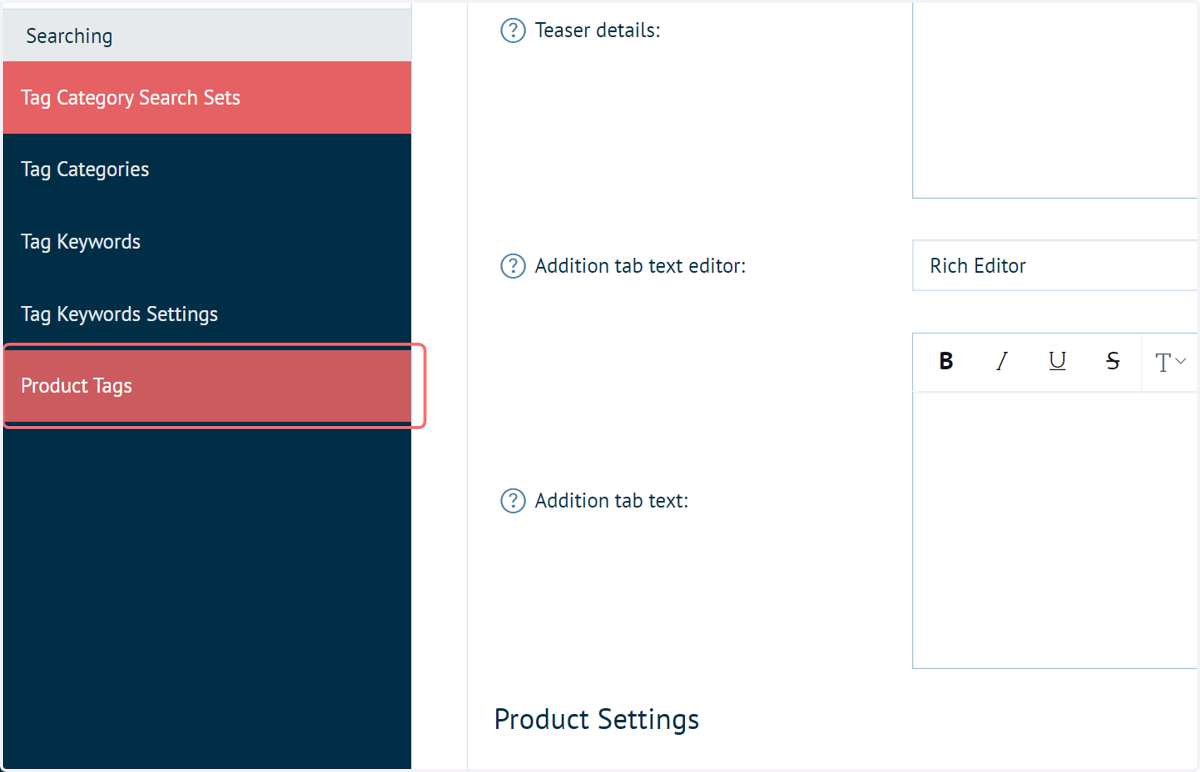
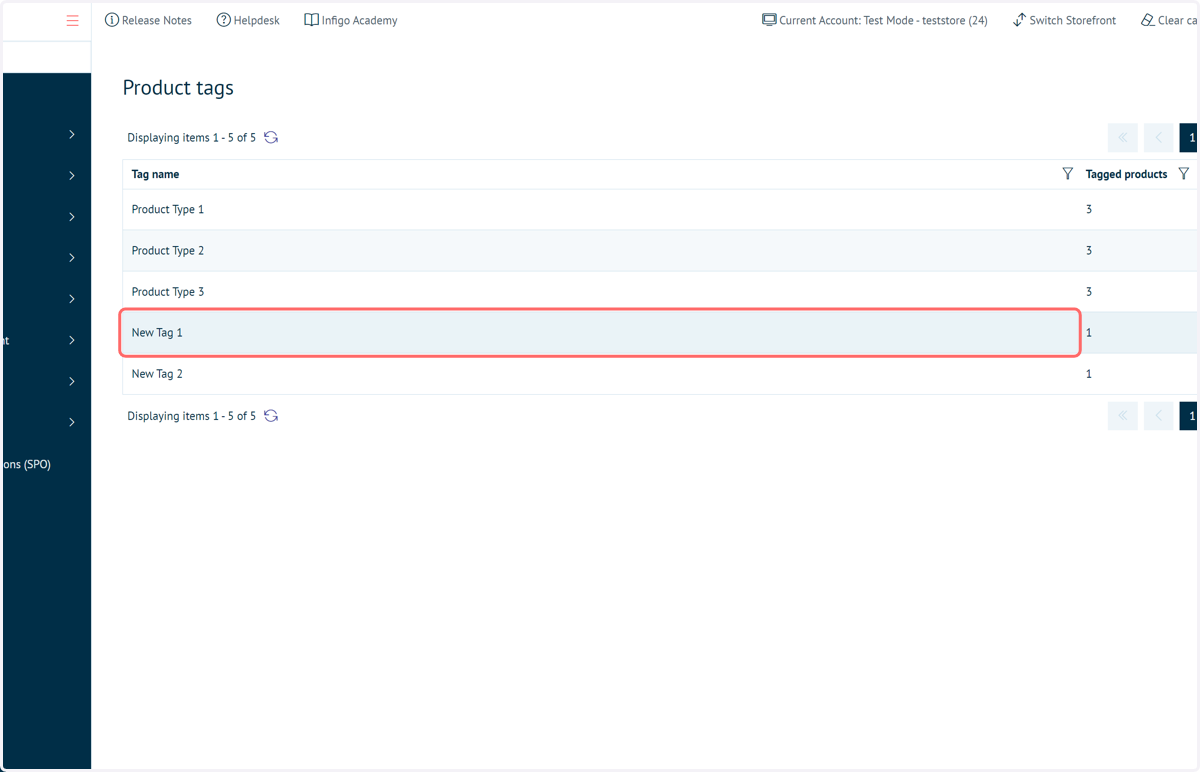
8. Here, we can see a list of available tags, along with the total number of products using that tag
9. Navigate to the product landing page for our product
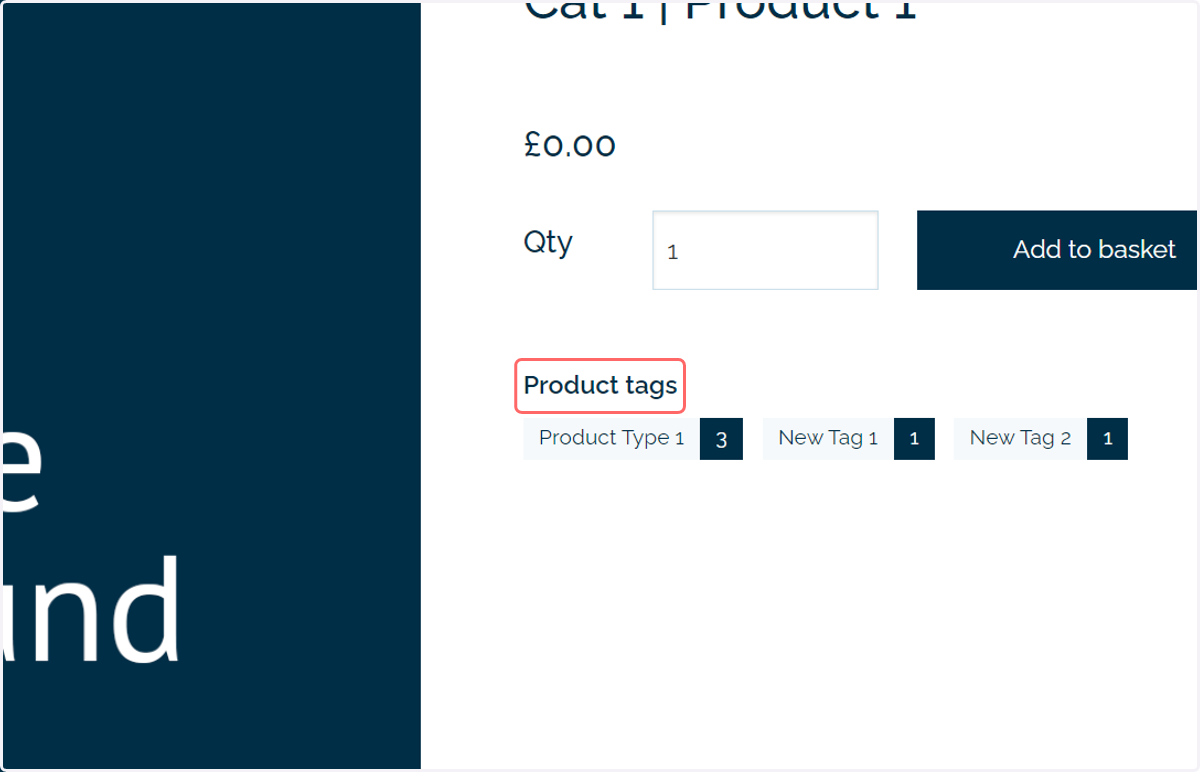
Our assigned tags will be visible on the product landing page by default.
They will also show the number of products utilising that tag.
10. Click on the tag
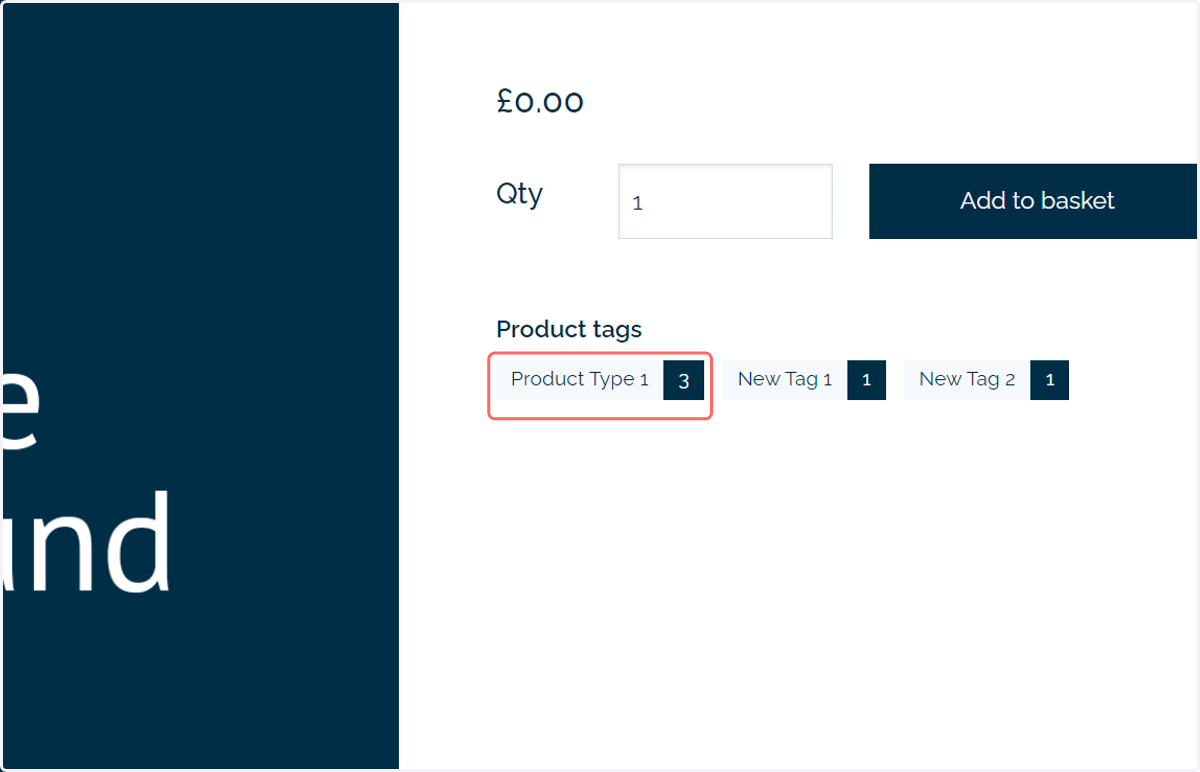
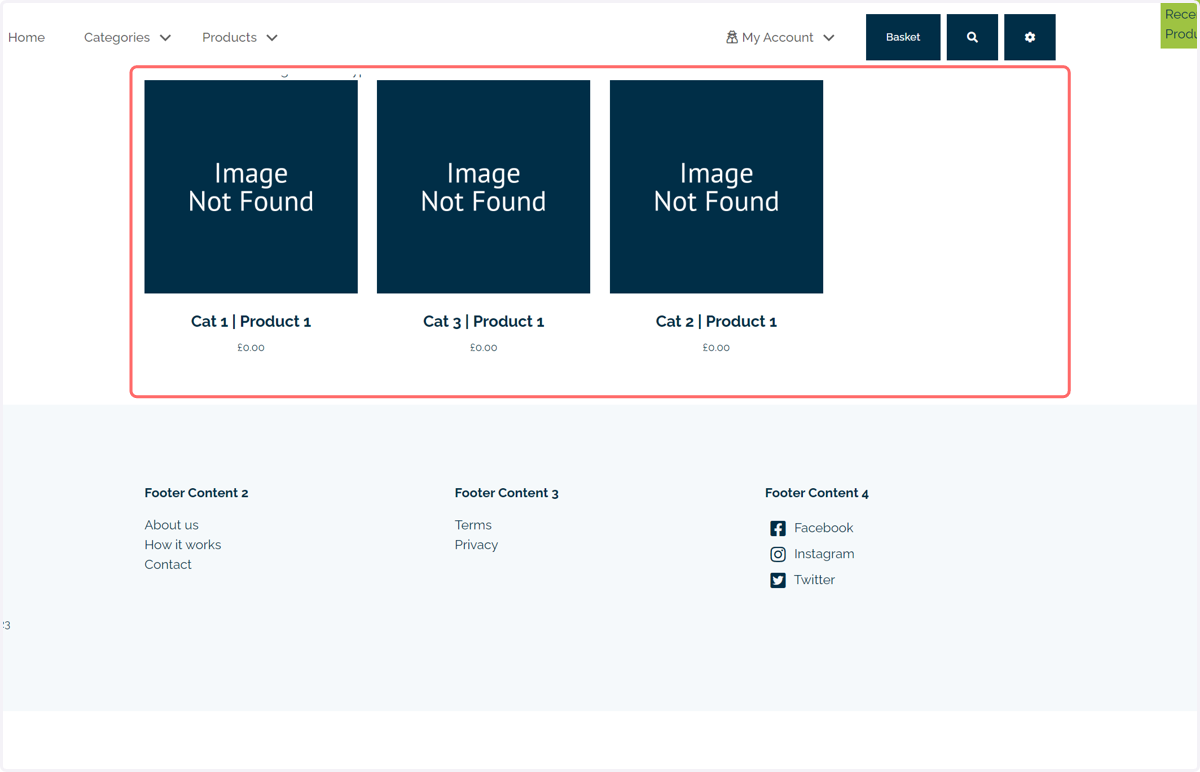
Tags on your product landing page are clickable, with Infigo subsequently displaying all available products sharing that tag.
11. Products sharing the same tag
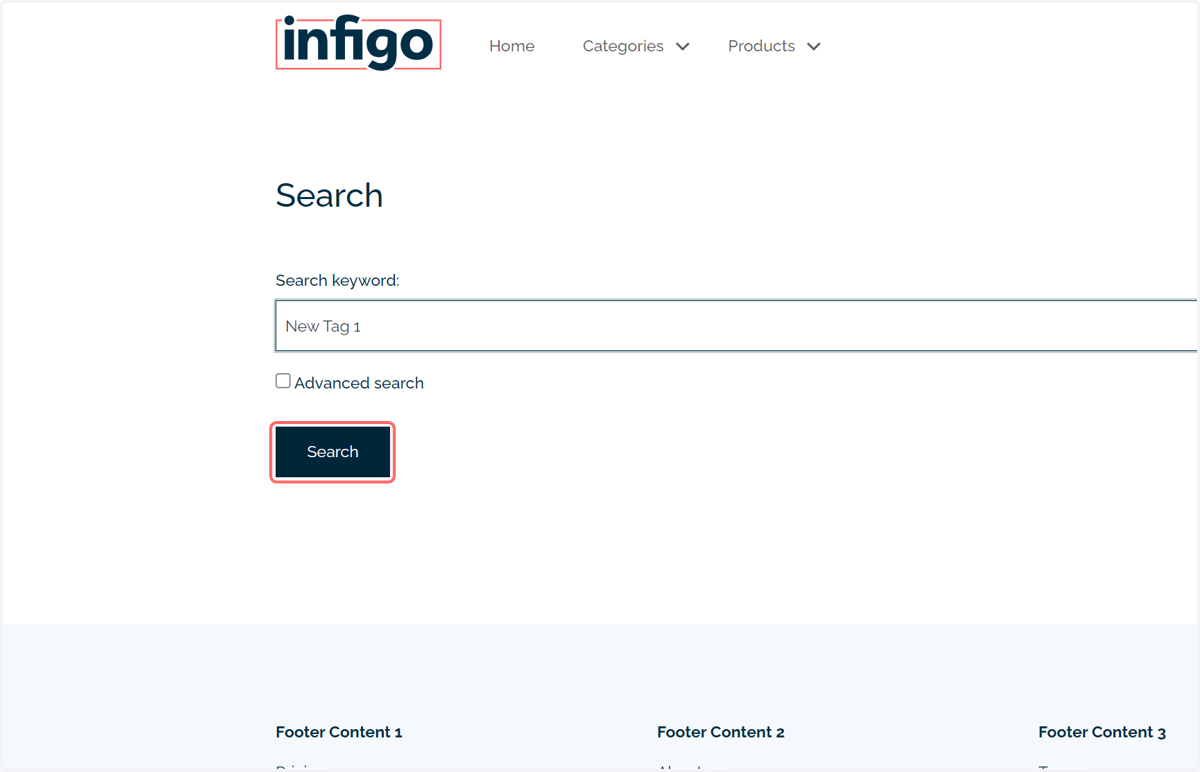
12. Tags can also be targeted within the storefront search engine
Type your tag name and click search, to bring up a complete list of available products sharing that tag.
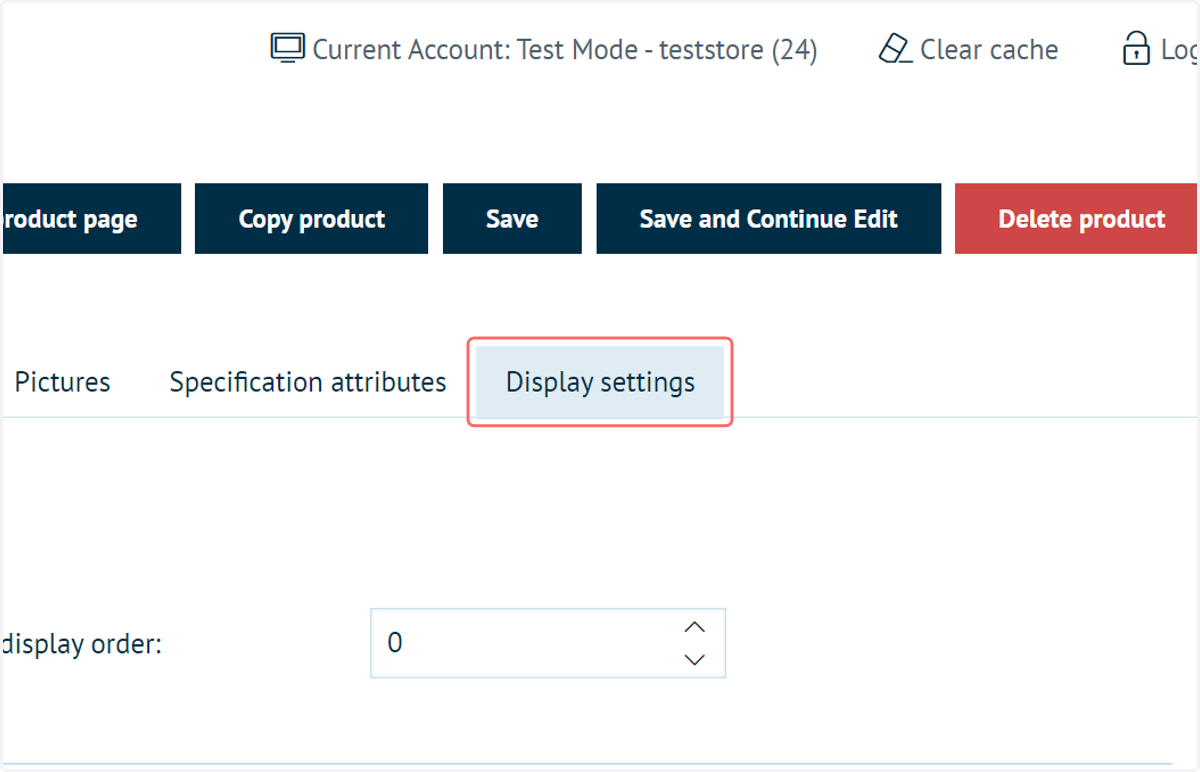
13. Navigate back to your product settings and click on Display settings
Next, we will modify some of the settings related to product tags.
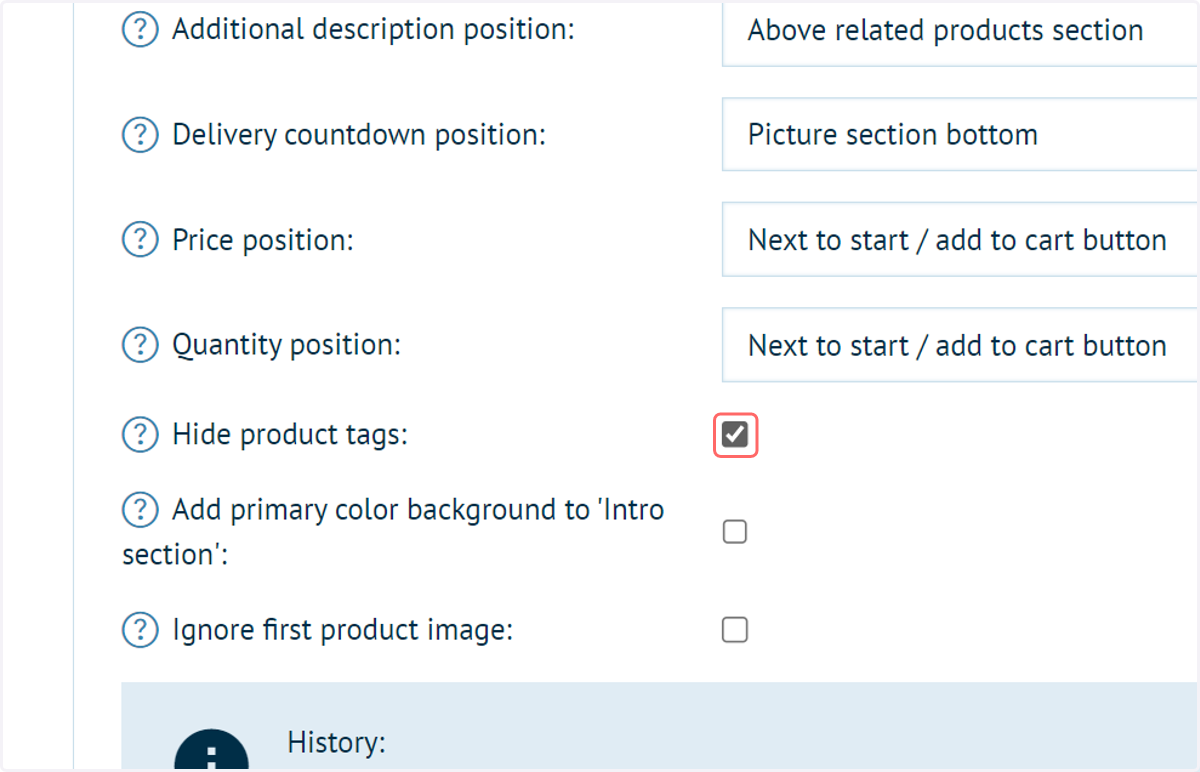
First, we will see how to hide product tags, so they are not displayed on the product landing page.
14. Check Hide product tags on your product Display Settings
15. Click on Save and Continue Edit
16. Navigate to your product landing page
Your product tags are no longer displayed for this product, however they are still active.
If you search for your product tag in the storefront search, this product will still be displayed.