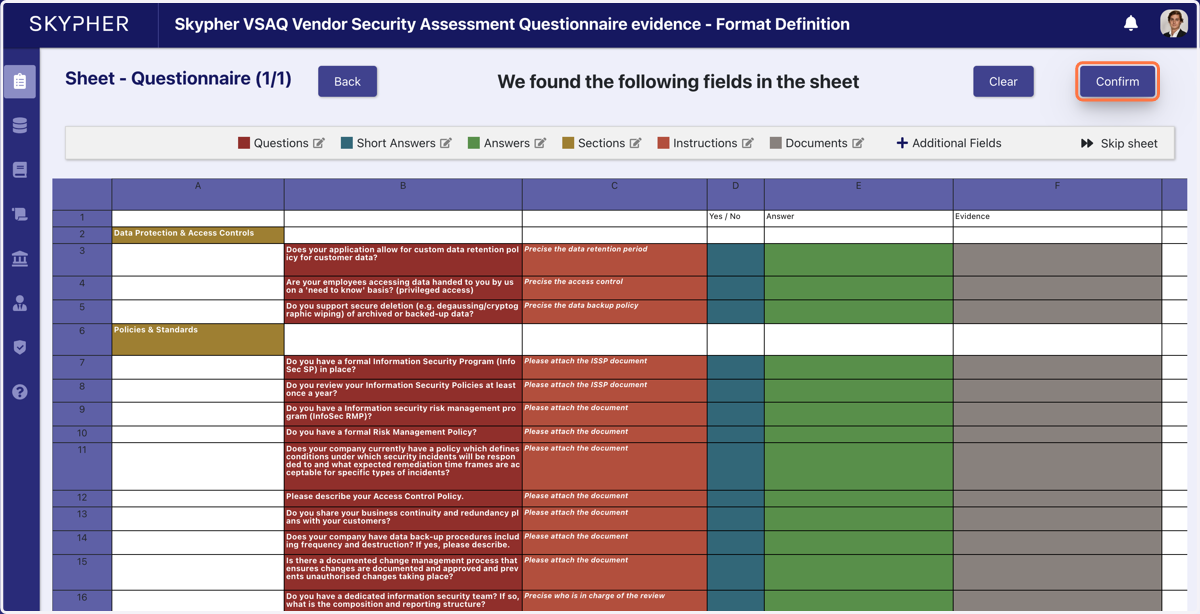
Changing categories and sections on an Excel questionnaire preview
Identifying the correct categories and spaces to put in the answers is a crucial step. First of all, this helps our algorithm to auto-generate answers. Second, once you download the finalised questionnaire, answers will be directly input into the selected cells of the Excel. This way, your document will be ready to send to your vendor!
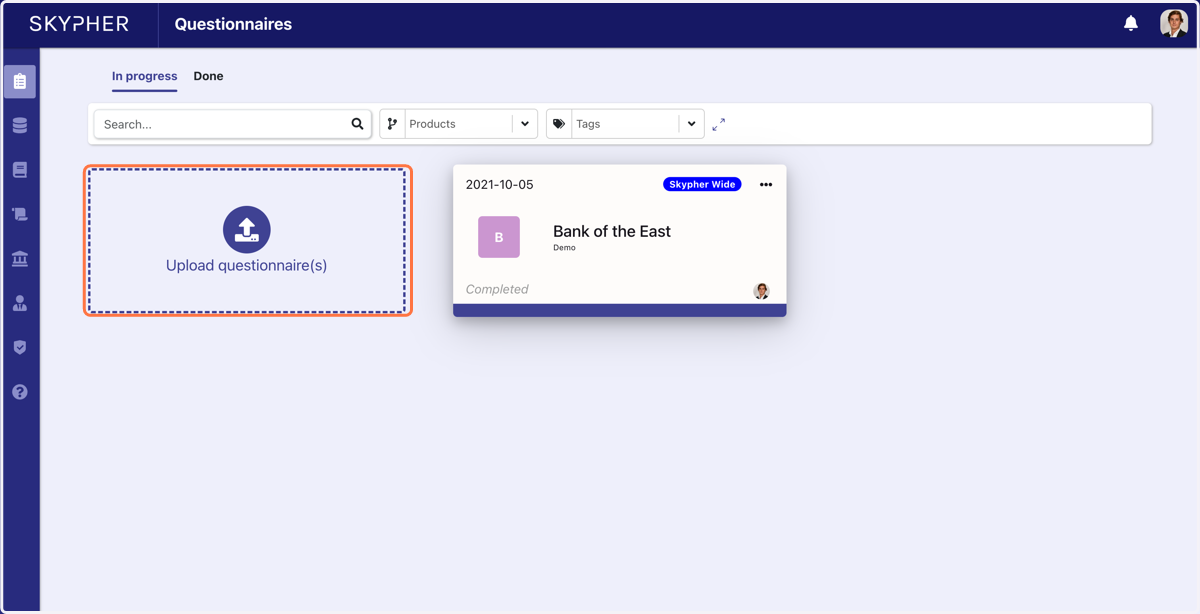
1. Upload the questionnaire
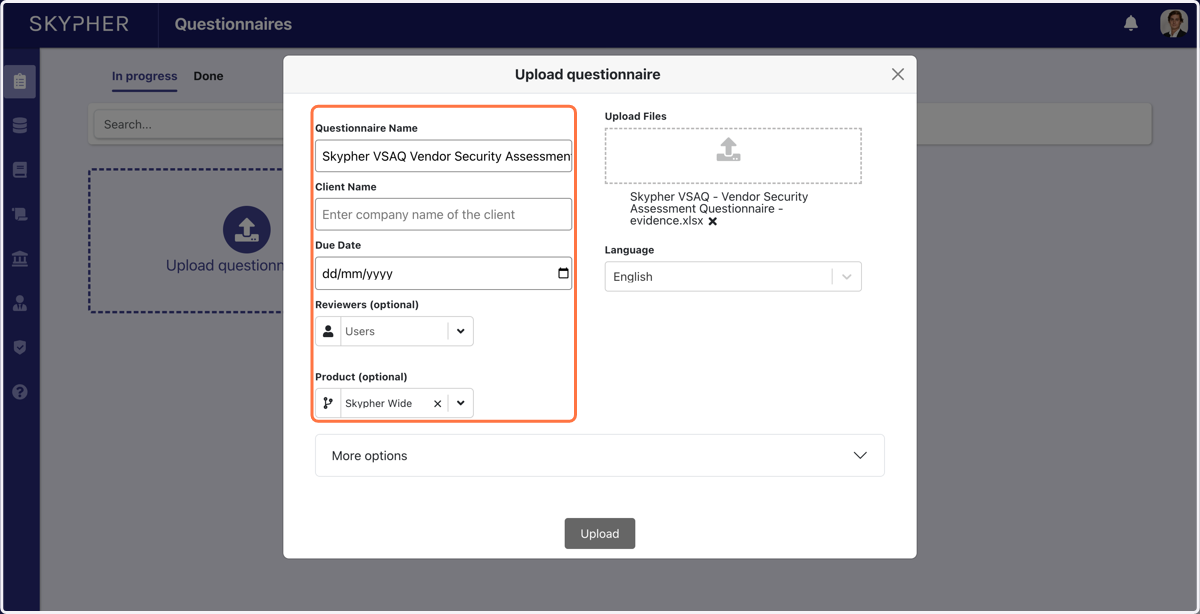
2. Add the questionnaire information - Client name, Due Date, reviewers, product etc.
3. Upload the questionnaire
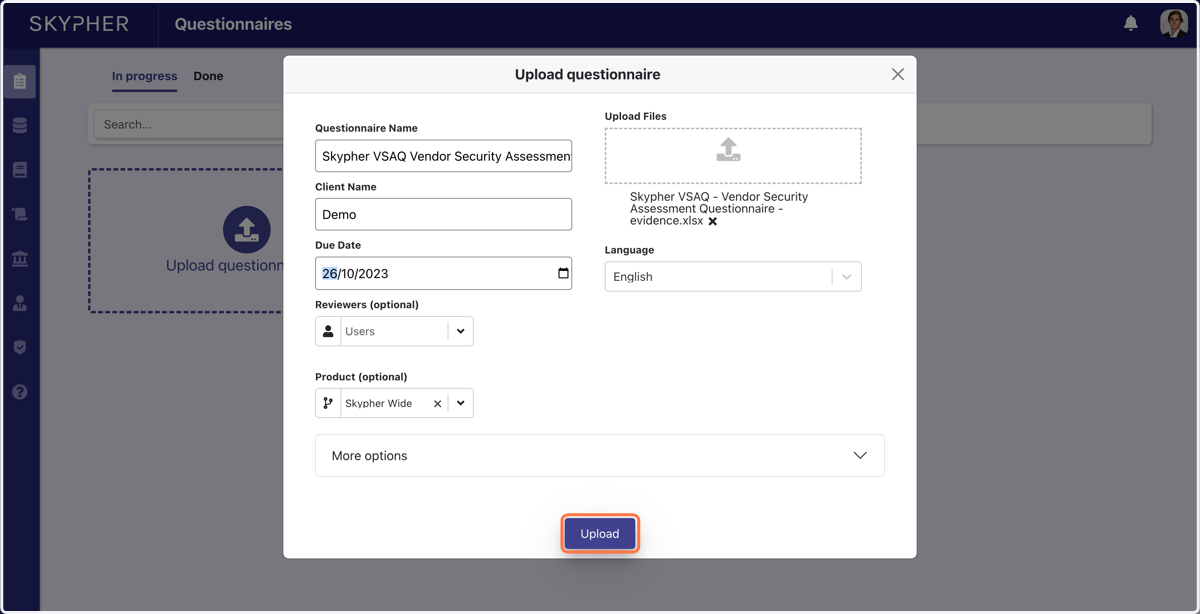
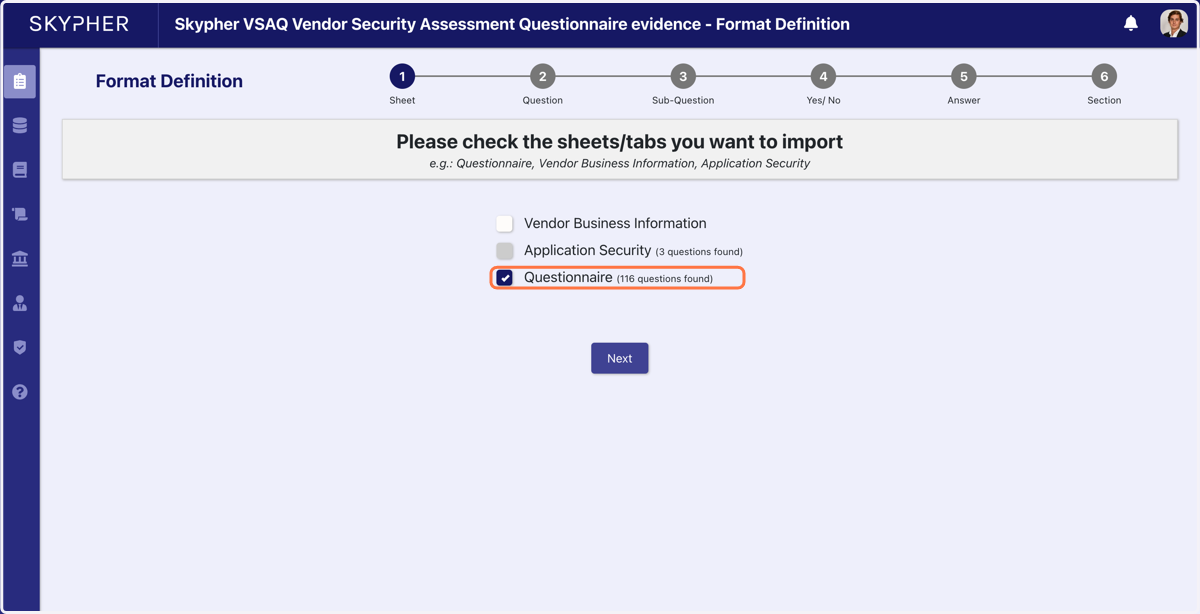
4. Choose the tab you will be working on and click on Next
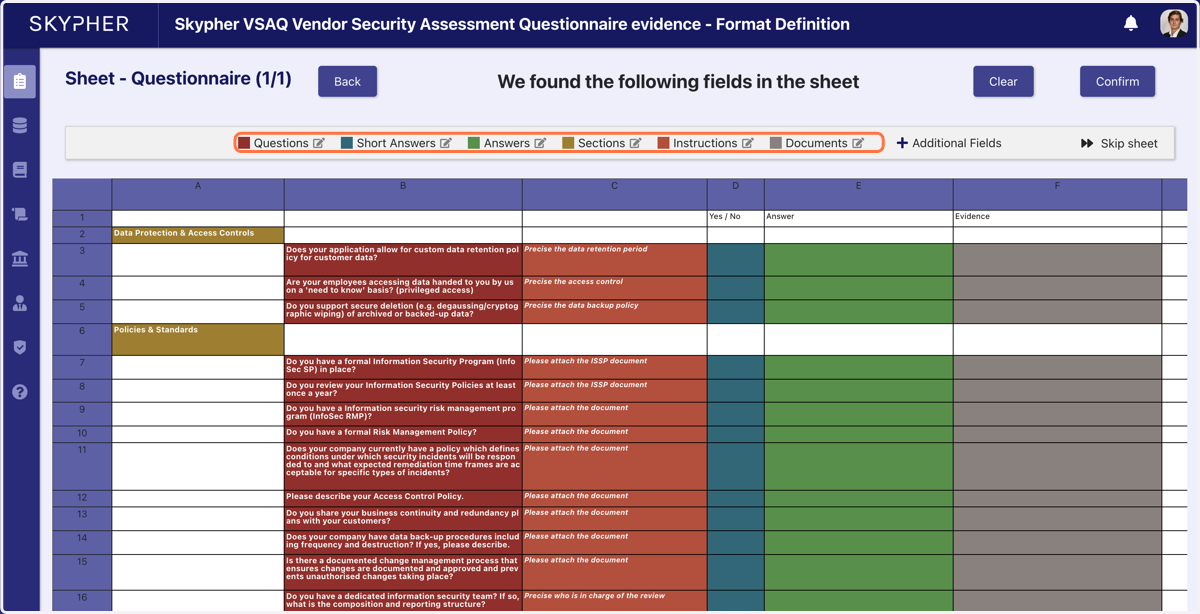
5. On the top, you have all the categories that have been identified by our algorithm
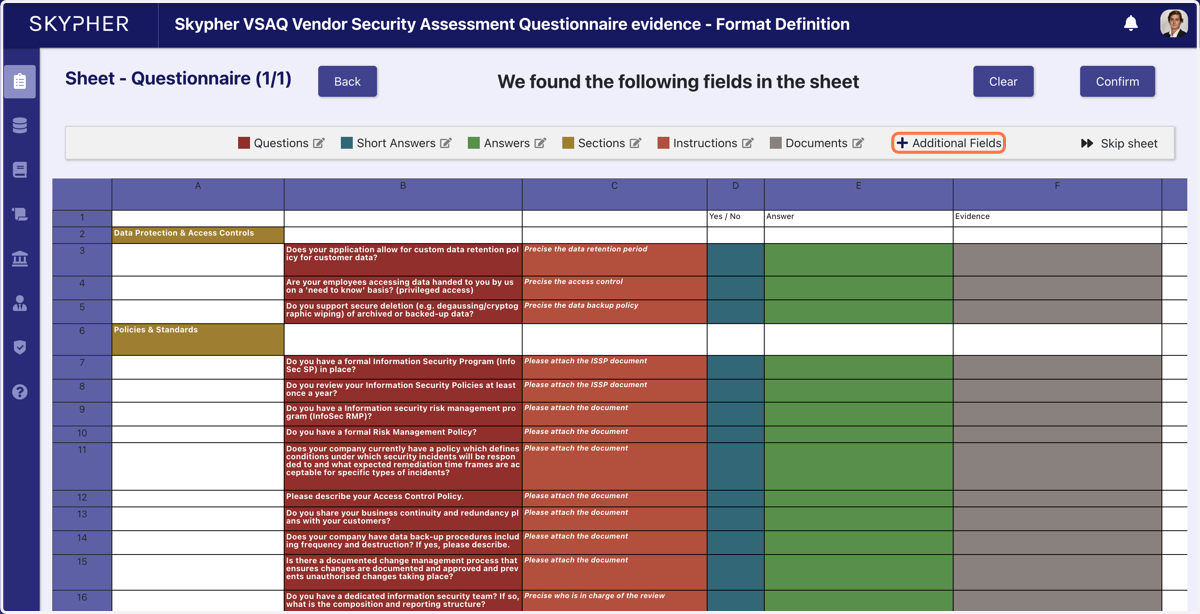
6. You can click on Additional Fields to add a category
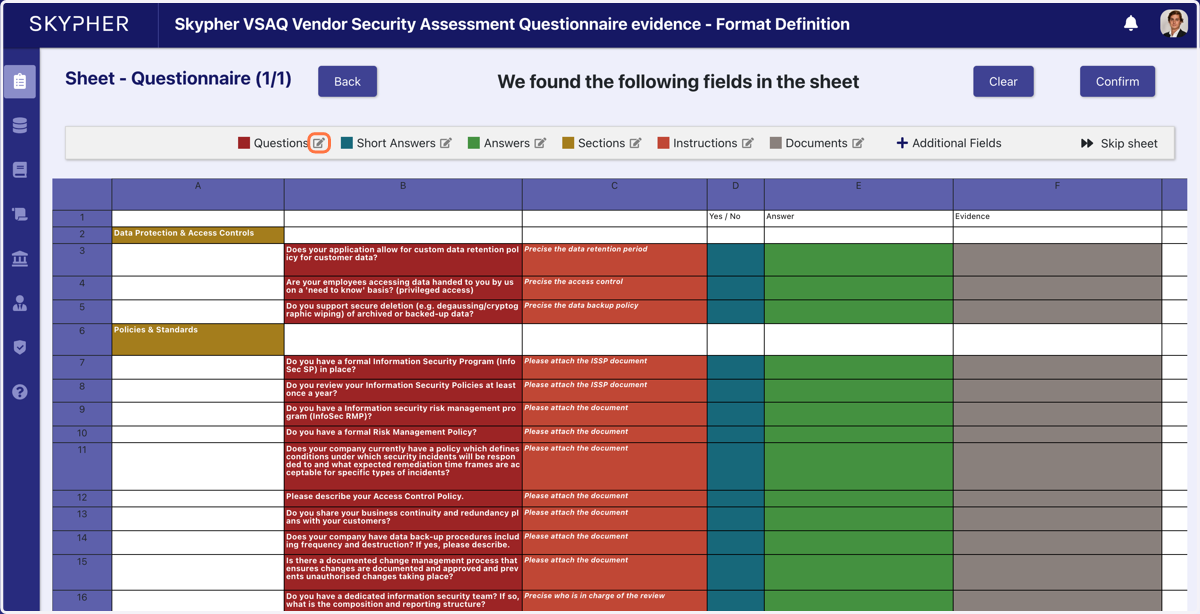
7. Click on Edit Questions if a question has been selected although it is not one. Or if the algorithm missed a question
8. Simply click on the question you wish to take into account
Or click again on the highlighted question you wish not to take into account
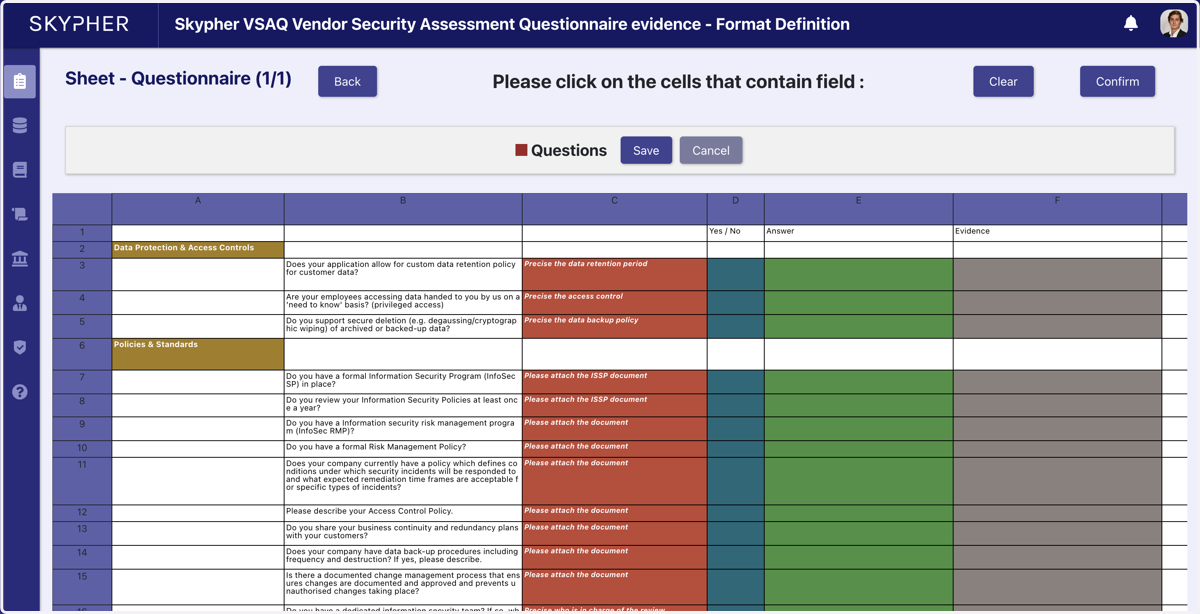
9. Once you have selected all the questions, simply click on save
You may repeat this process for every identified category
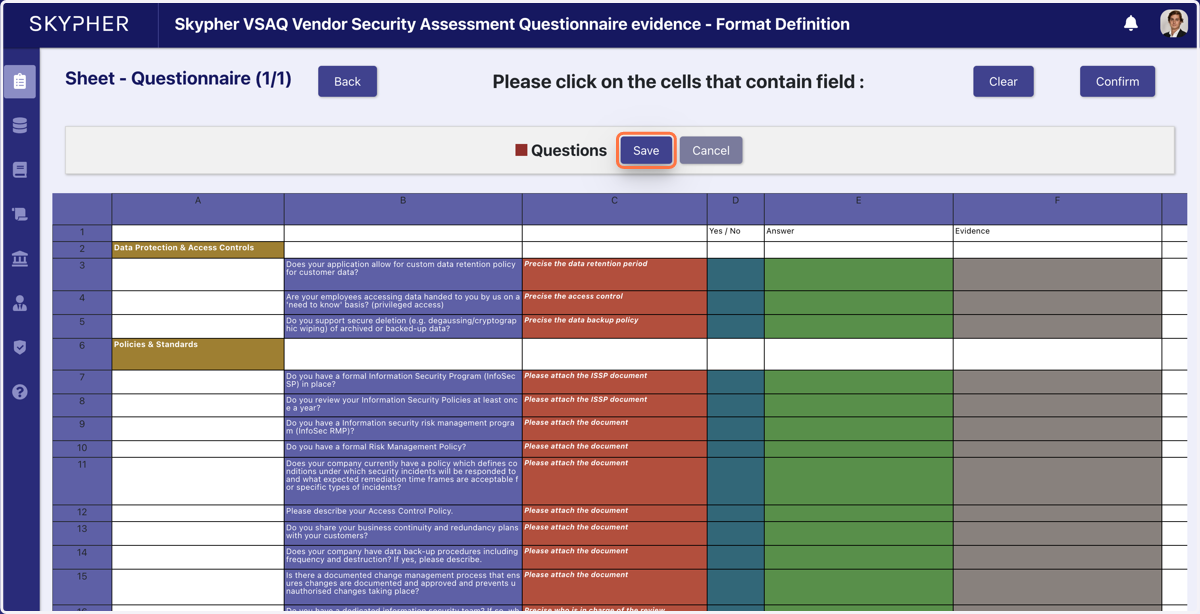
10. Once you are satsified with the categories, click on Confirm