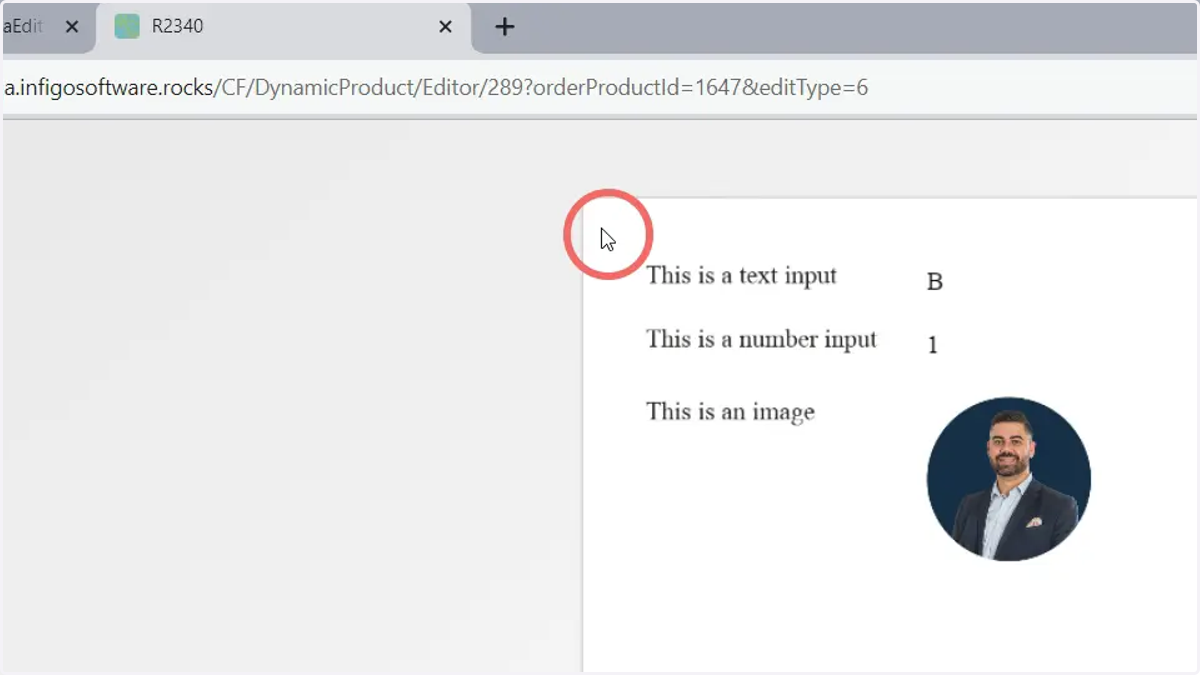
Batch mode in Invent | IV_021
The ability to upload product data in bulk via CSV or Excel documents has long been available within MegaEdit.
This functionality is used, for example, to easily populate multiple different business cards, without having to manually type in the data for each staff member.
This functionality has now been incorporated into Invent, allowing you to set up this capability prior to bringing your templates into MegaEdit.
In this tutorial, we will discuss how this is achieved.
1. Navigate to the Setup tab within Invent
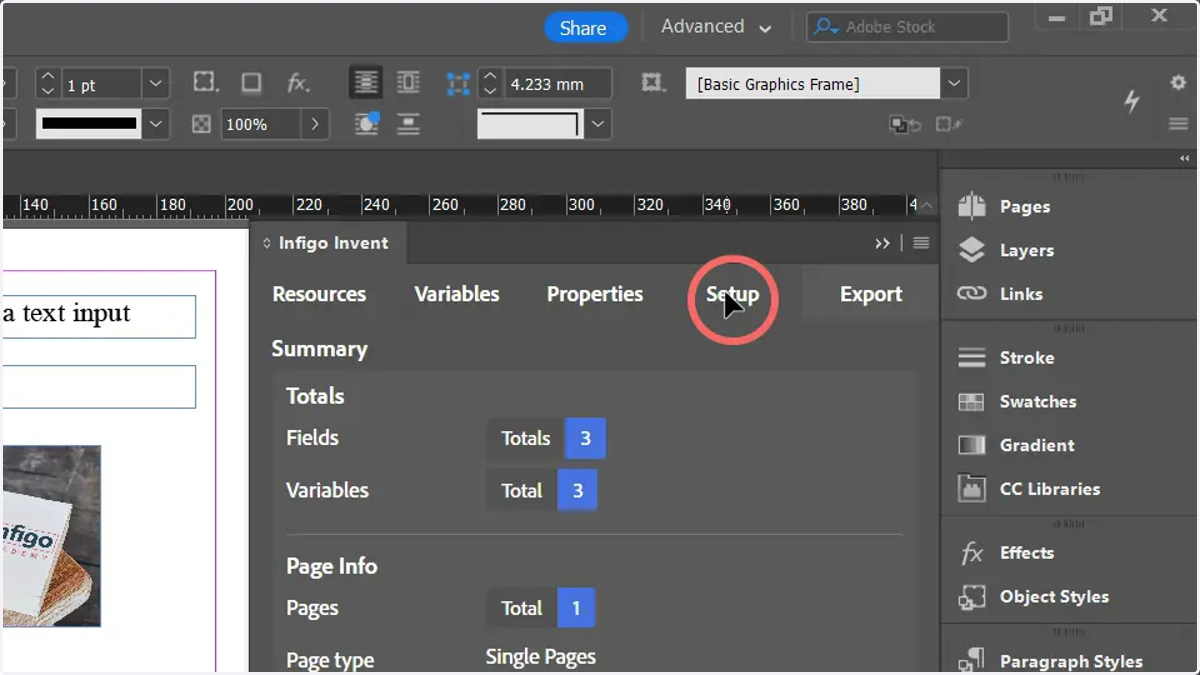
2. Click Mode
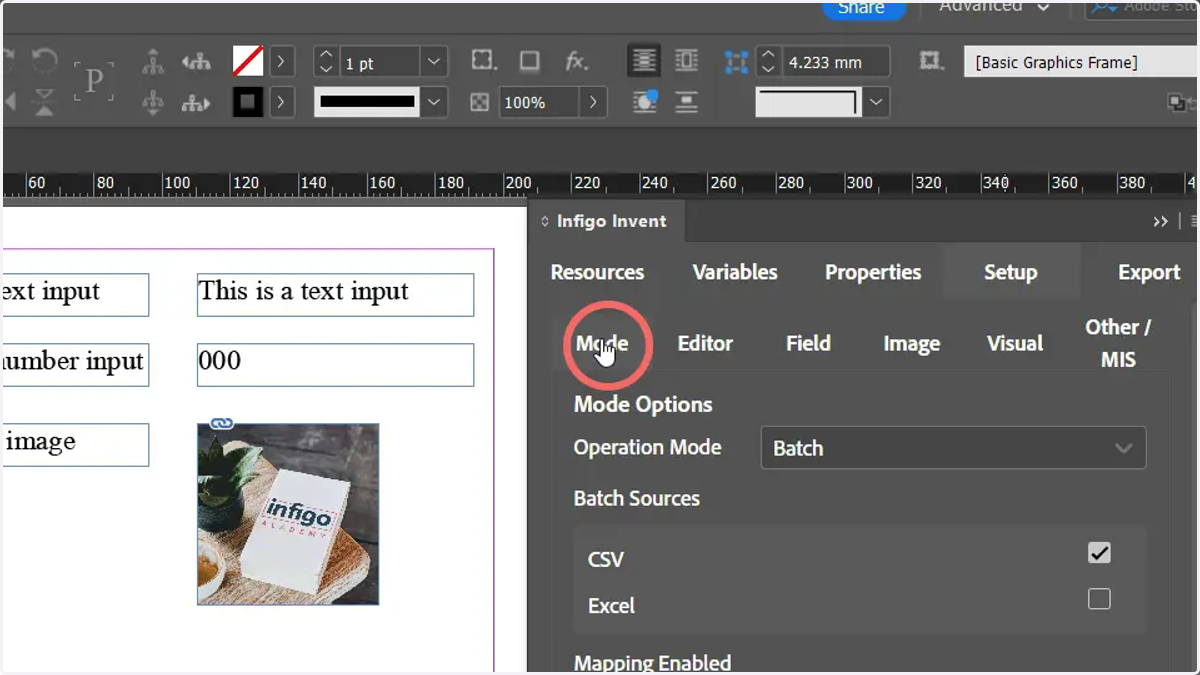
3. Switch the Operation Mode setting from Single to Batch
This enables the batch capability and reveals a range of additional settings.
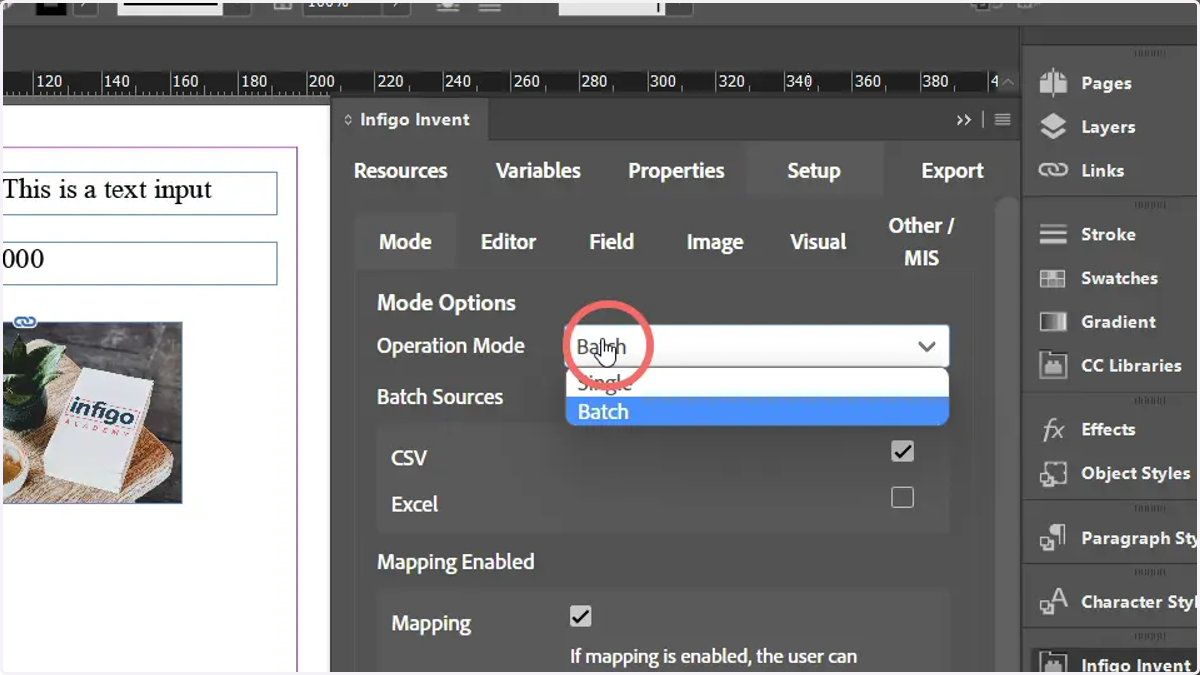
4. Batch Sources
Select whether you wish for users to upload CSV, Excel or both.
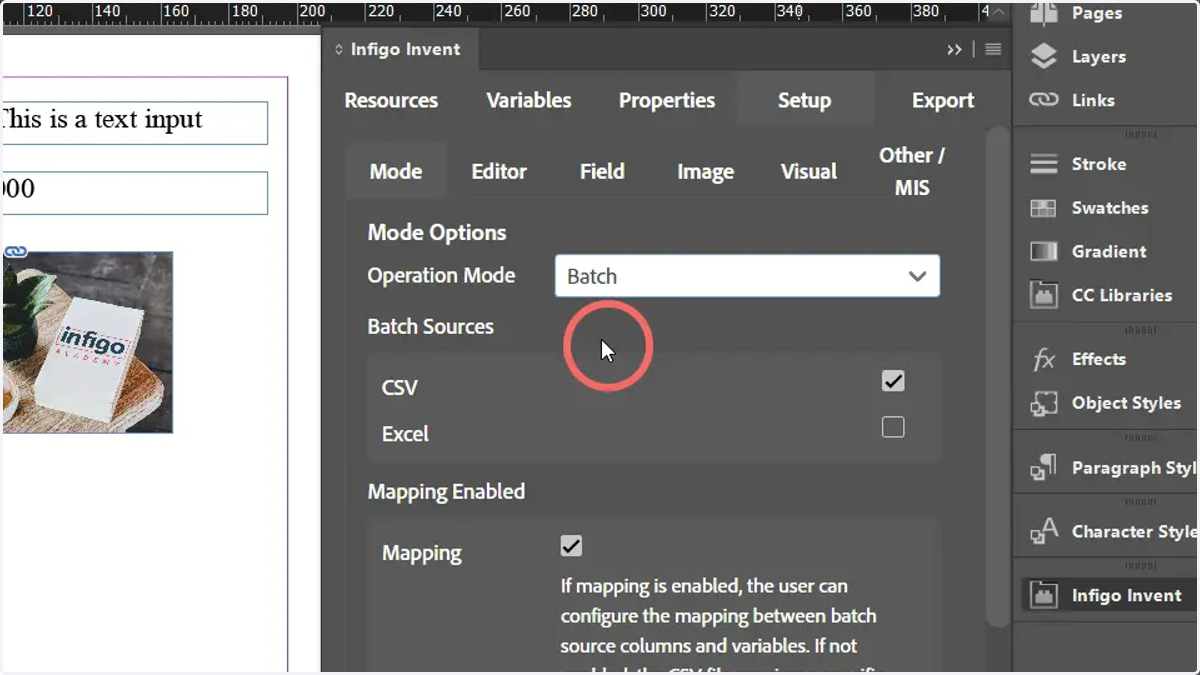
5. Mapping
Specifies whether a field mapping screen appears upon upload of a CSV or Excel data file.
This allows manual specification of the relationship between CSV columns and variable template fields.
Disabling this feature will mean very specific data formats are required (eg - variables, fields and CSV columns with identical naming conventions.)
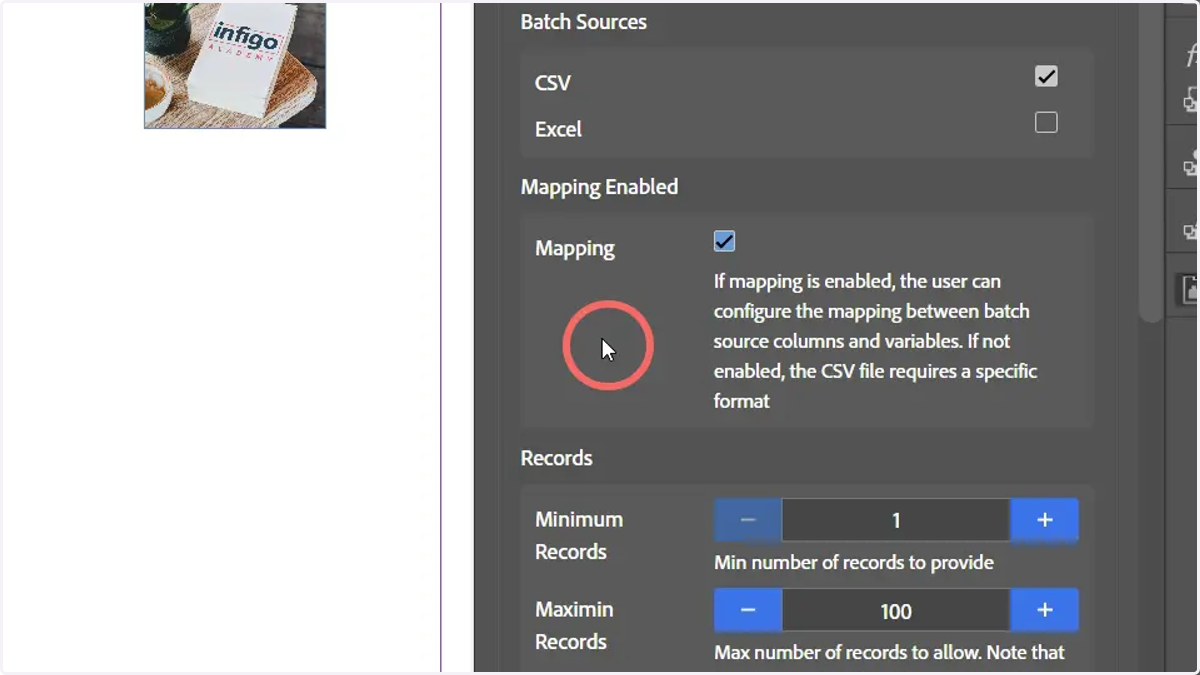
6. Records
Specify the minimum and maximum allowable number of records in the provided data file.
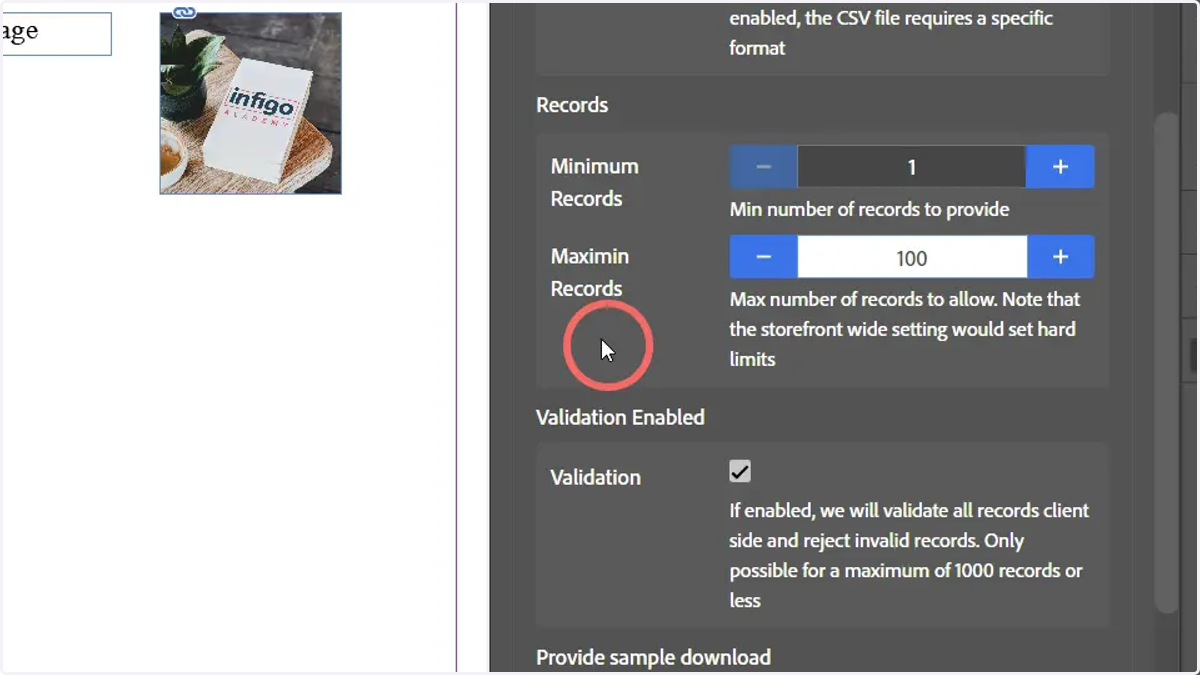
7. Validation Enabled
Records (up to a maximum of 1000) will be validated upon upload. Invalid records are rejected.
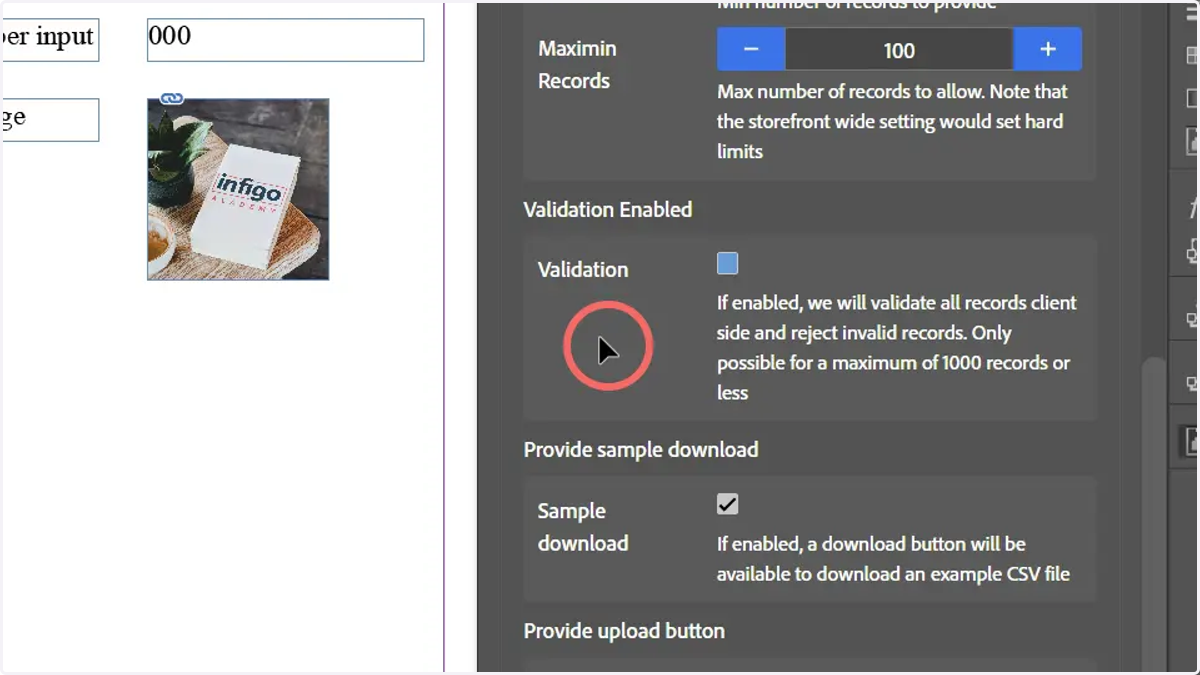
8. Sample Download
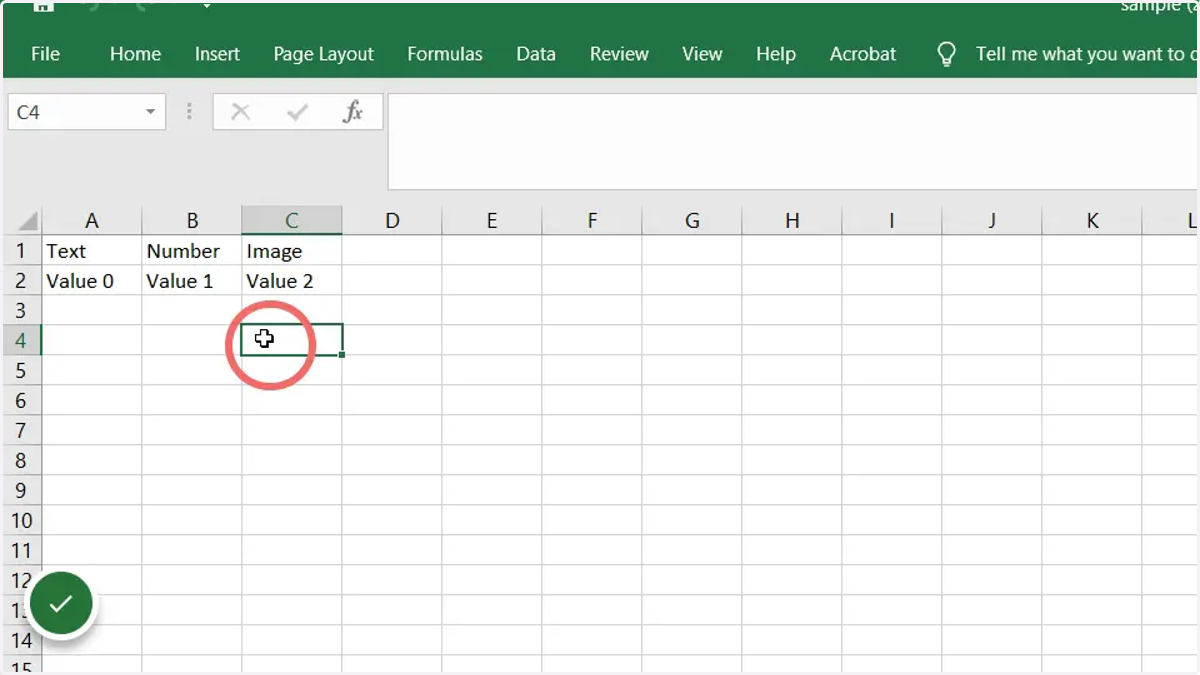
Enabling this option will mean an additional button is available within the MegaEdit editor when viewing the product. This will allow users to download a sample version of the required CSV or Excel template, with correct column readers and a row of sample entries.
This helps to ensure that only relevant data is uploaded and reduces problems.
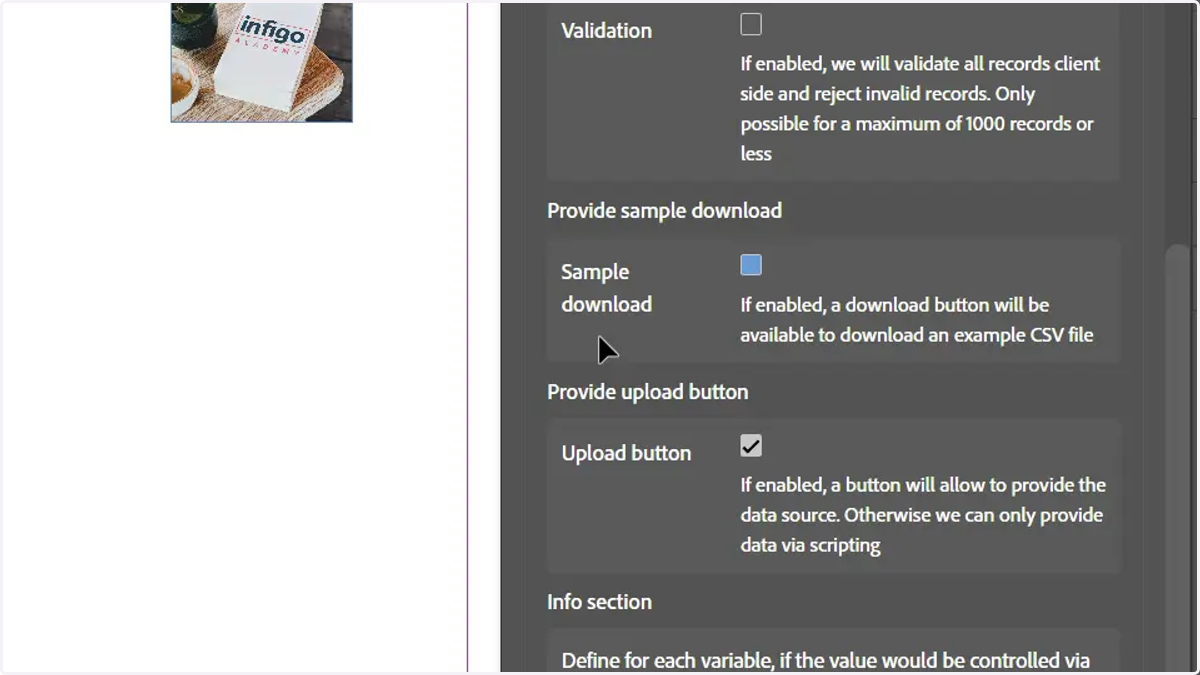
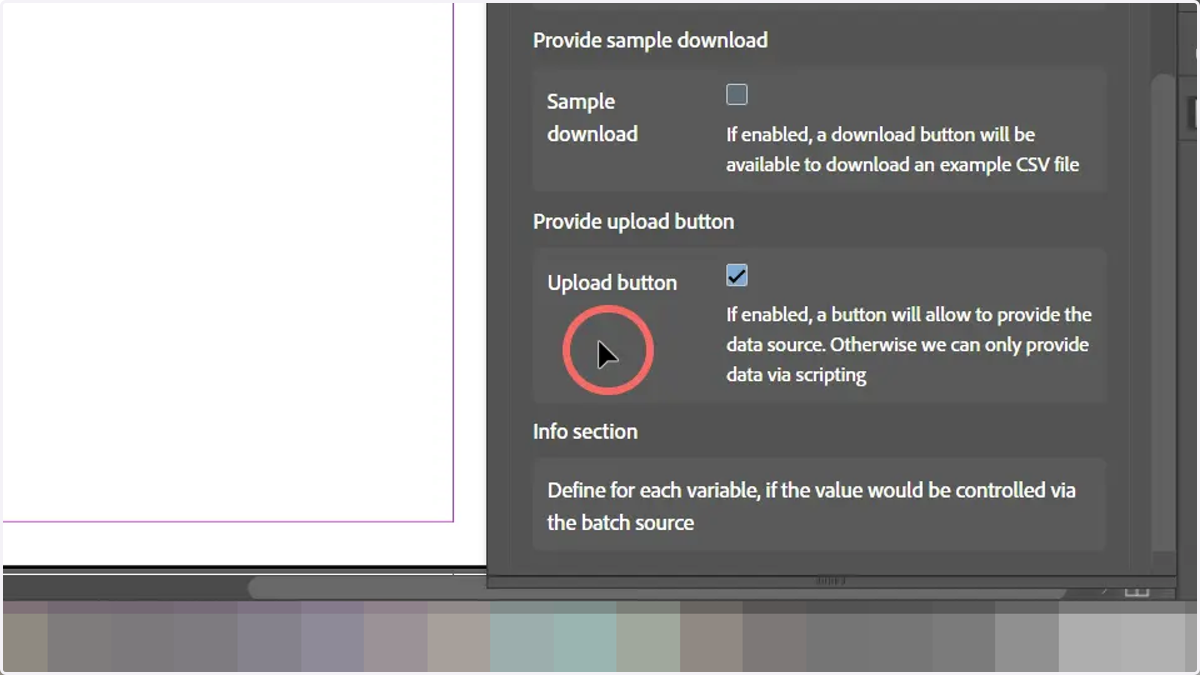
9. Upload Button
It is highly recommended to leave this selected. It provides an Upload button within MegaEdit allowing users to select their required file.
The alternative is to handle the upload via scripts, which we do not recommend.
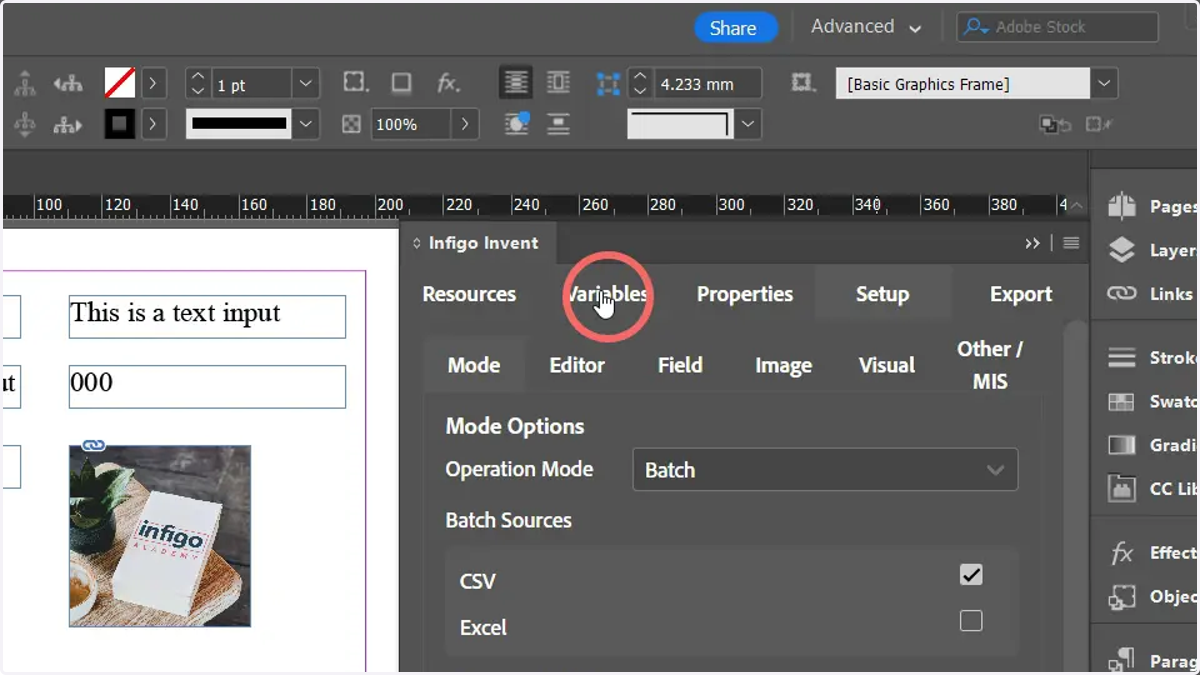
10. Click Variables
Next, we will look at any special considerations when setting up the variables for the batch mode.
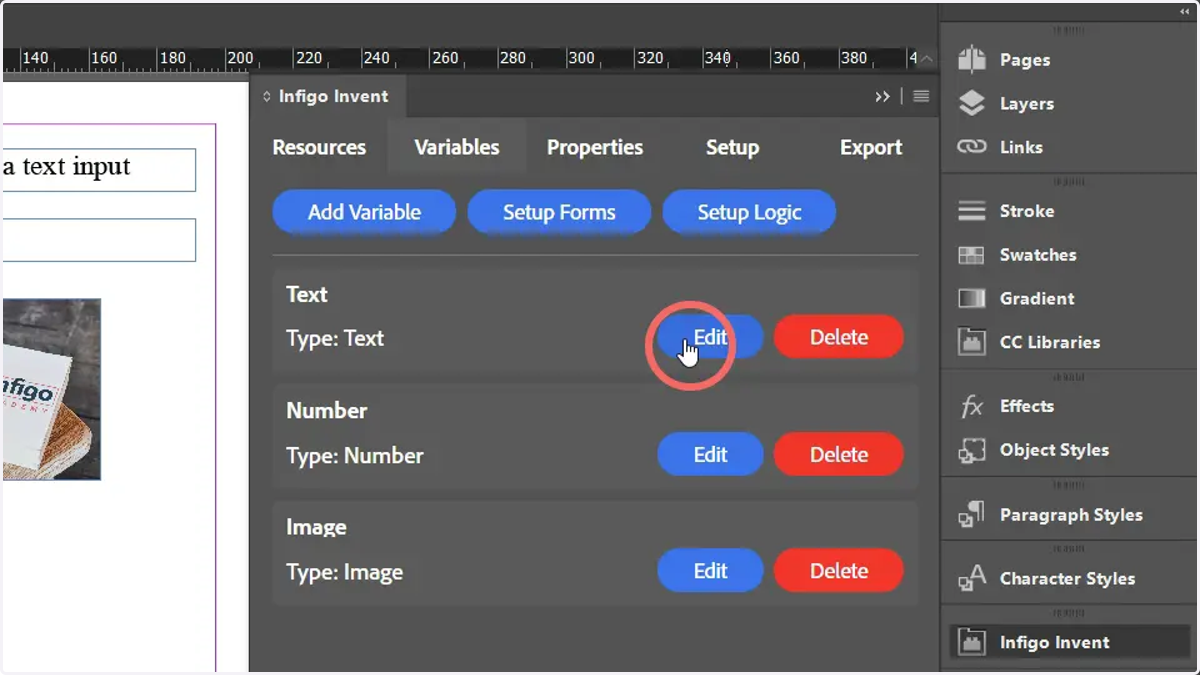
11. Click Edit or create a new variable
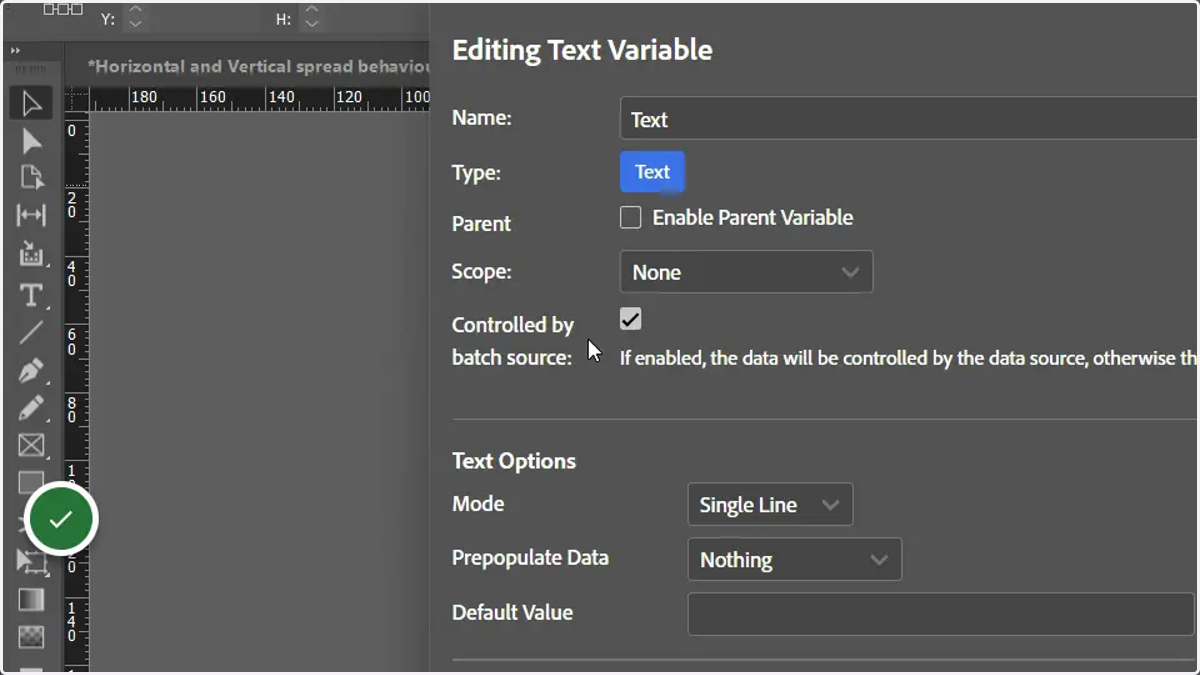
12. Controlled by batch source
This confirms to the variable that it will be controlled by the uploaded batch data, and will not appear within the MegaEdit form as a customisable variable.
We will see this in action later.
13. Navigate to the Layers tab in InDesign
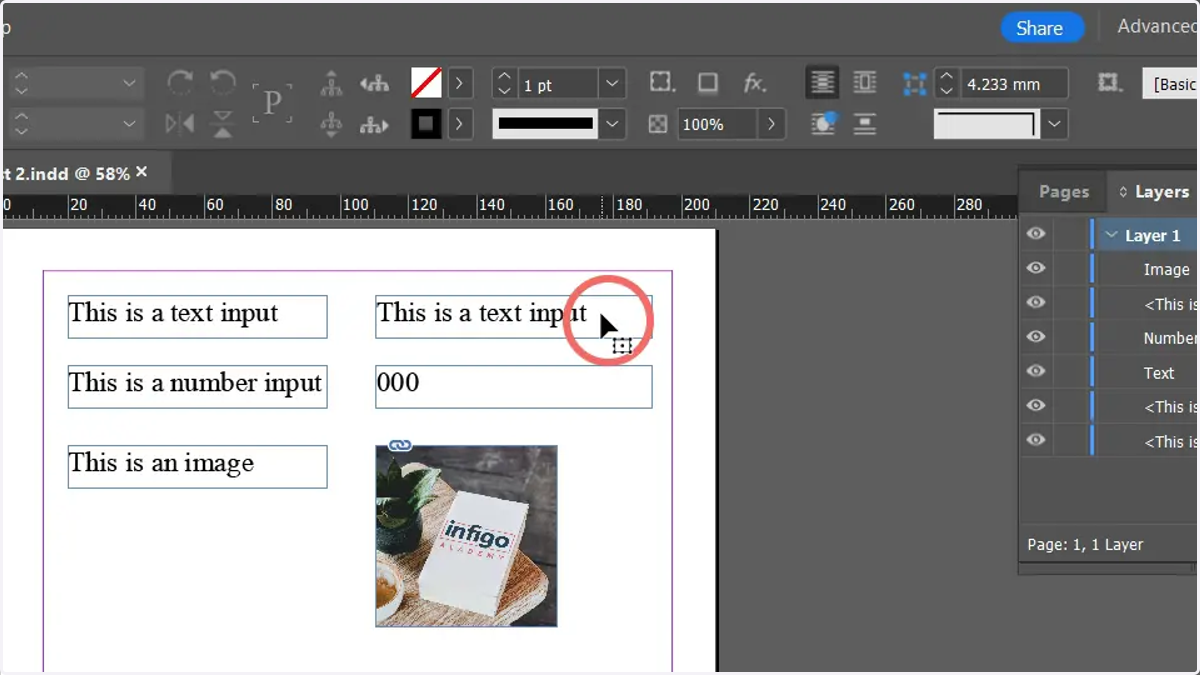
We need to ensure that our relevant layers (the text and image fields) are named identically to the variables we intend to link them to.
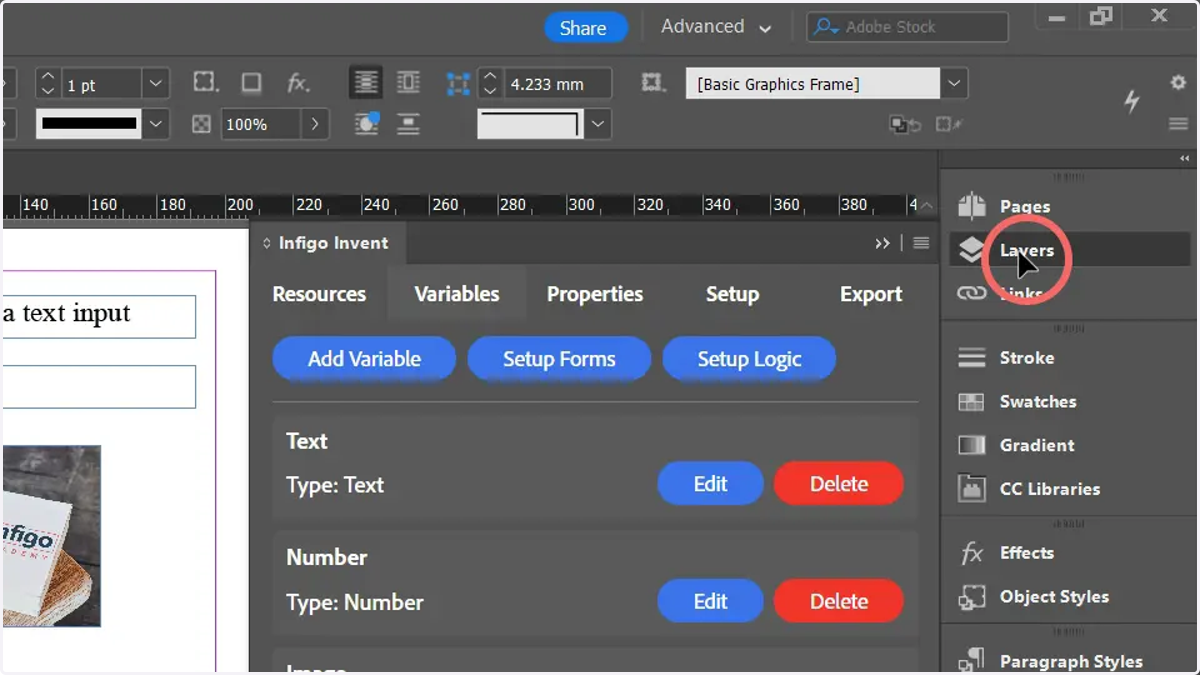
14. Select one of your text or image fields
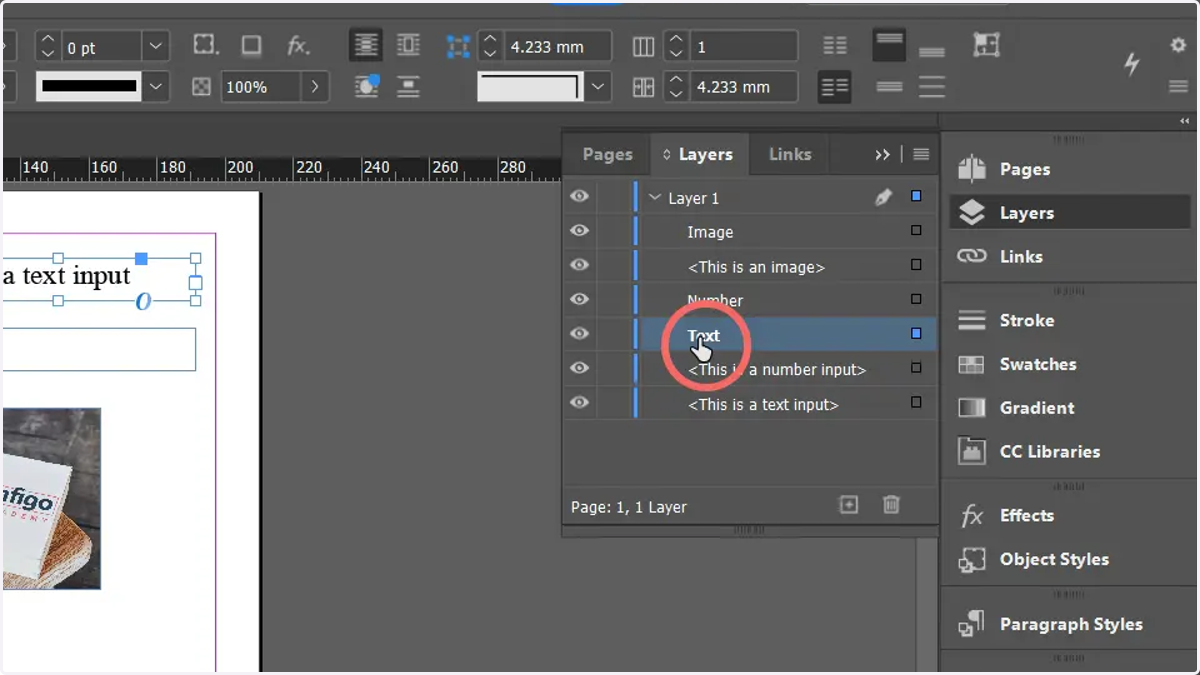
15. Rename the selected layer to match the variable it will be linked to
Rename by slow double clicking on the required layer.
You can identify the correct layer relating to that field as it is indicated by a blue square.
16. Navigate to the Properties tab in Infigo Invent
Next, we need to ensure our text or image fields are linked to the correct variables
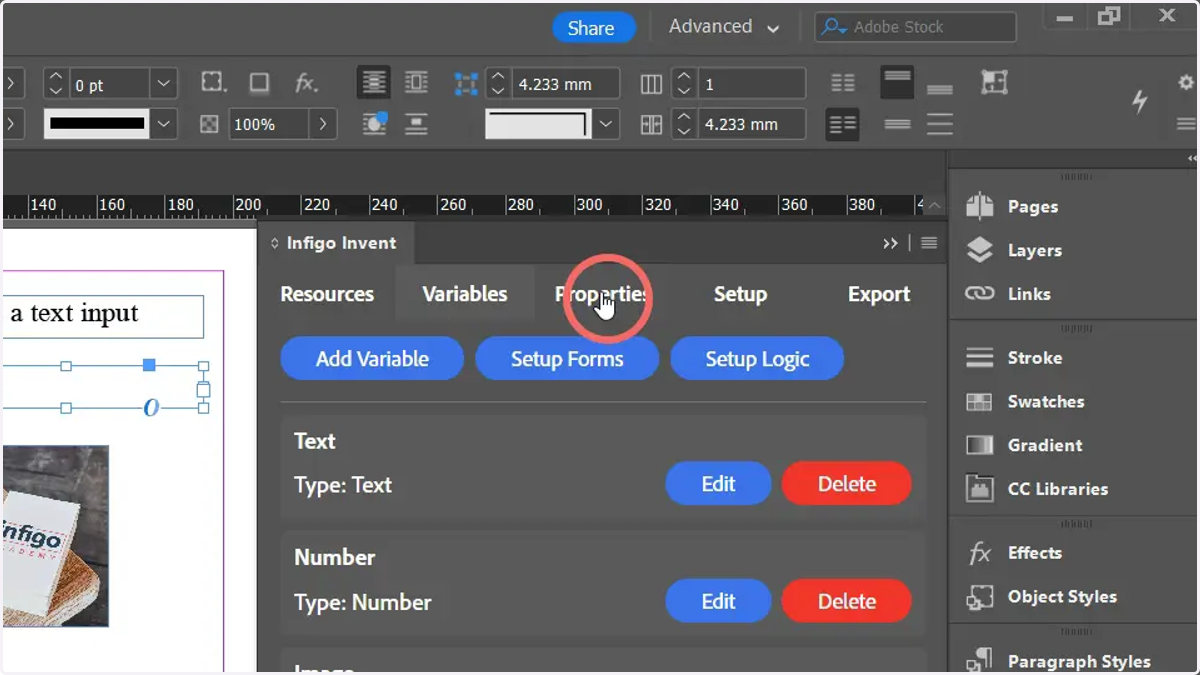
17. Mapped
Locate the Mapped section and select the correct variable to associate with the text or image field.
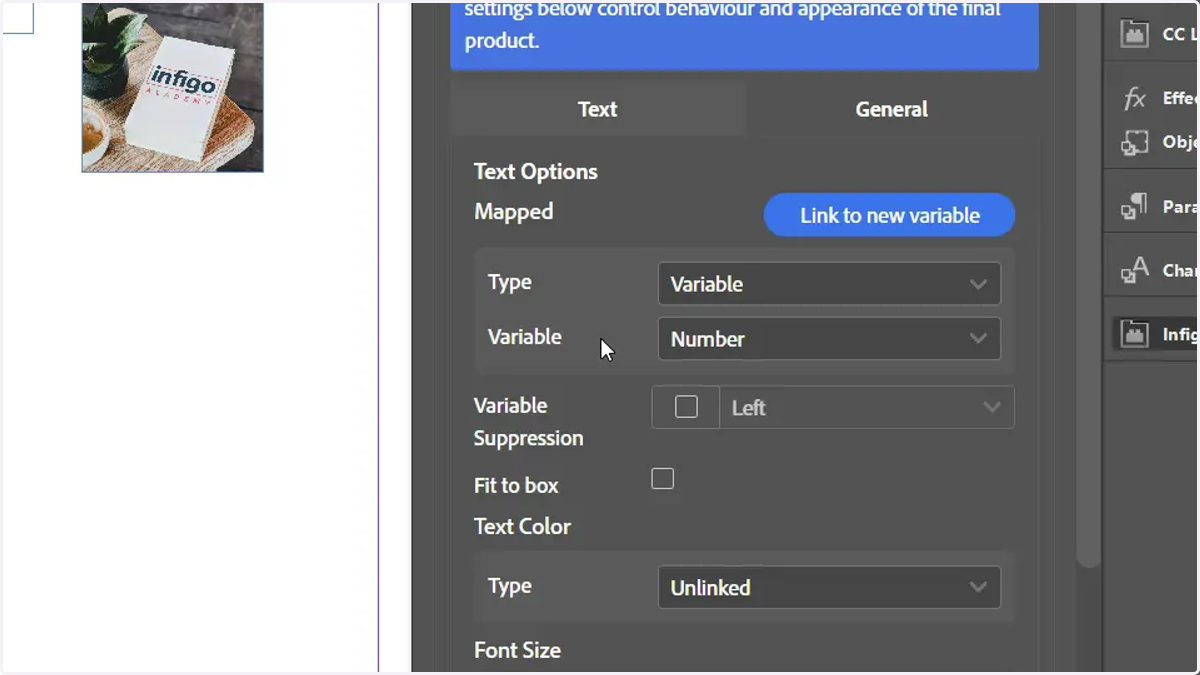
18. Images can also be controlled by the batch mode tool
Select an image field you wish to control. We will take a look at how to configure this functionality.
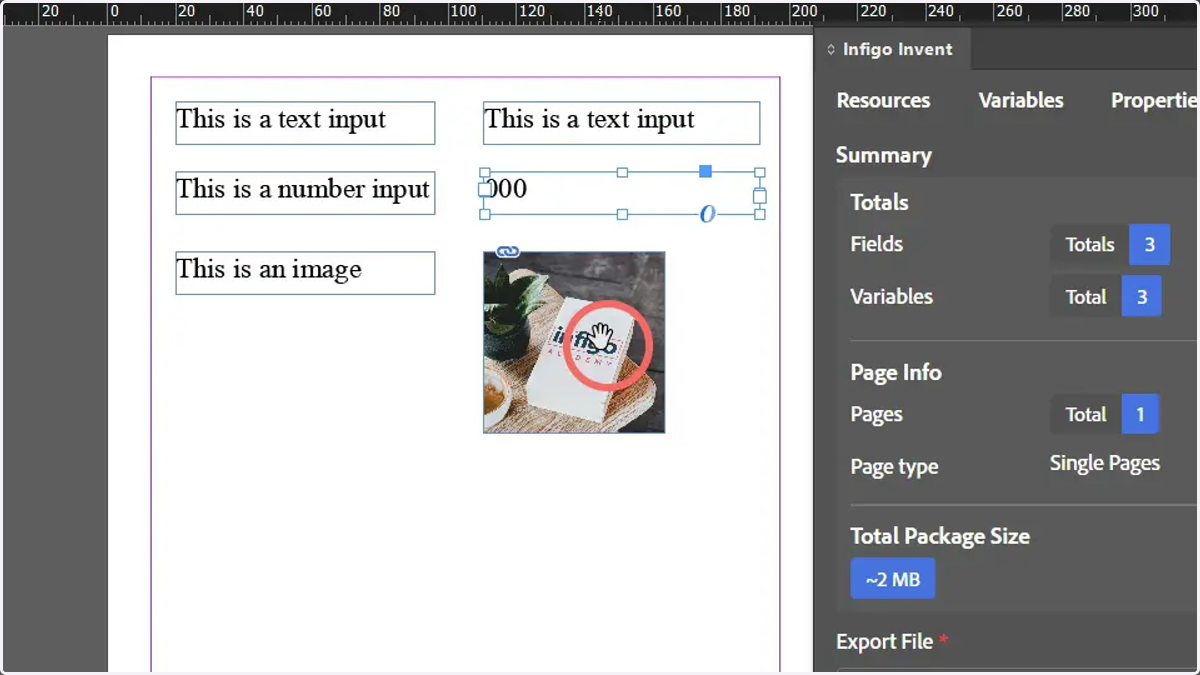
19. Click Setup
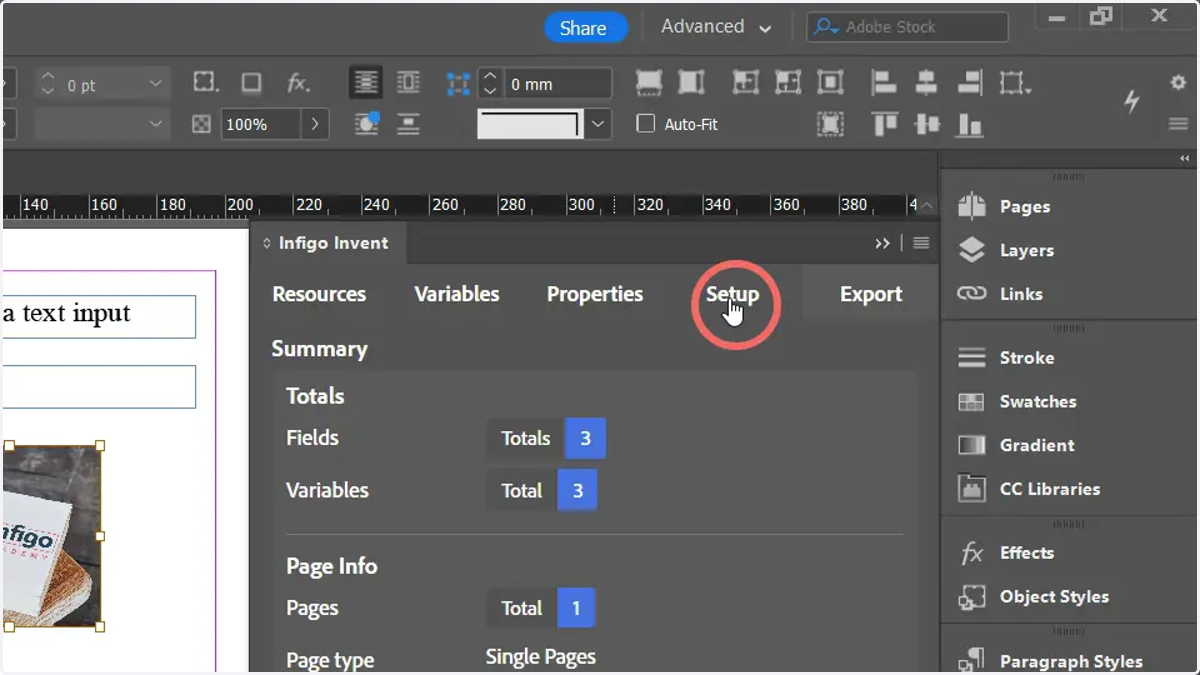
20. Click Image
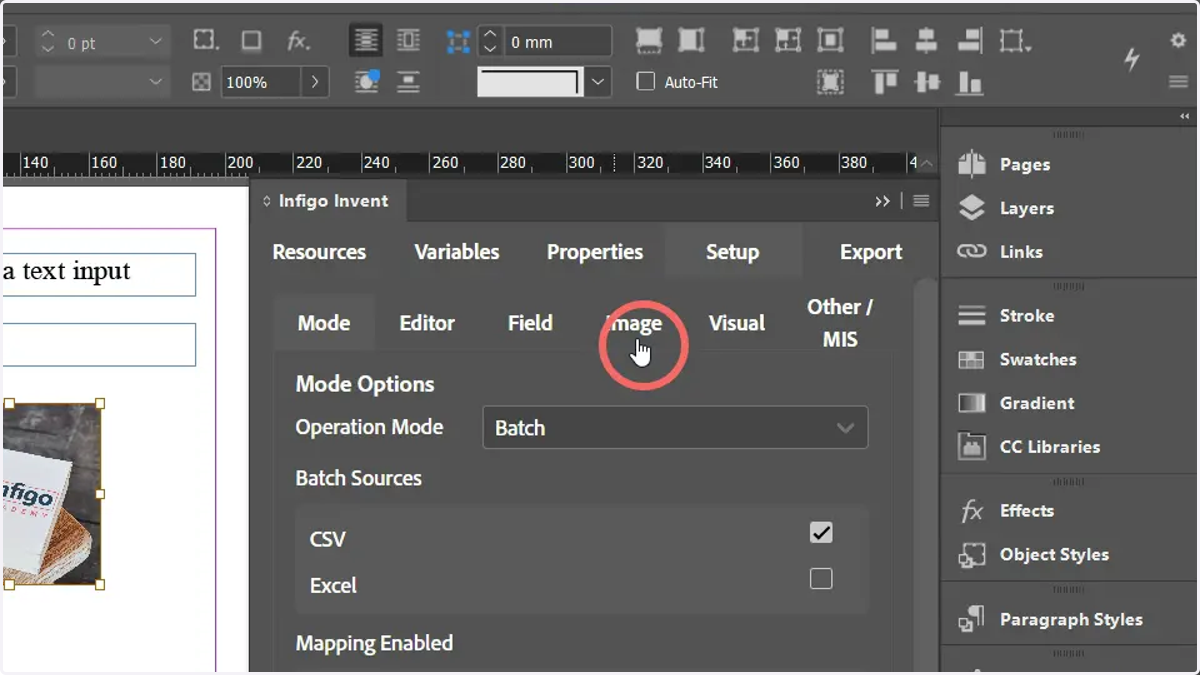
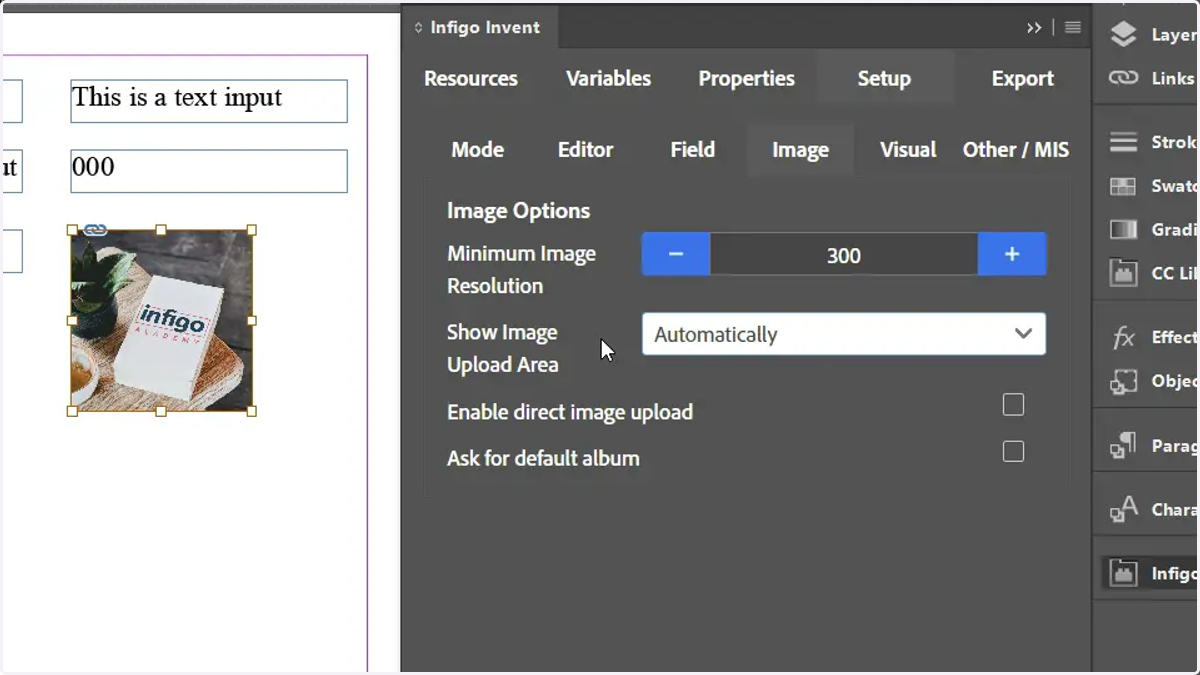
21. Change Show Image Upload Area to "Automatically"
This option means a tab will be visible within the MegaEdit editor window allowing users to upload their own imagery into galleries.
This does not HAVE to be done here. It is equally possible to enable this later within MegaEdit.
To utilise images via the batch mode, users will need to upload or have access to images they wish to use, within this tab. We will see this later.
22. Export the Invent template as a MEX file and import into Infigo as a MegaEdit template
Then, load the MegaEdit product.
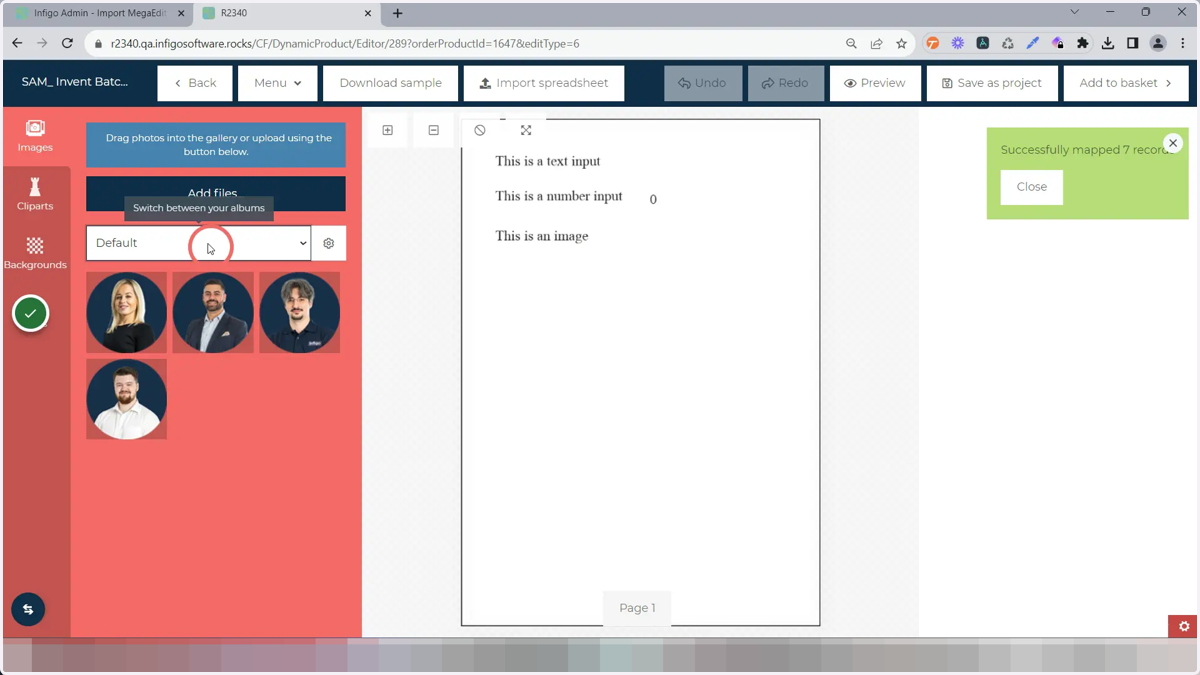
23. Upload pictures to the Images tab
Your users will utilise the names of these images to draw them into the product via the batch mode.
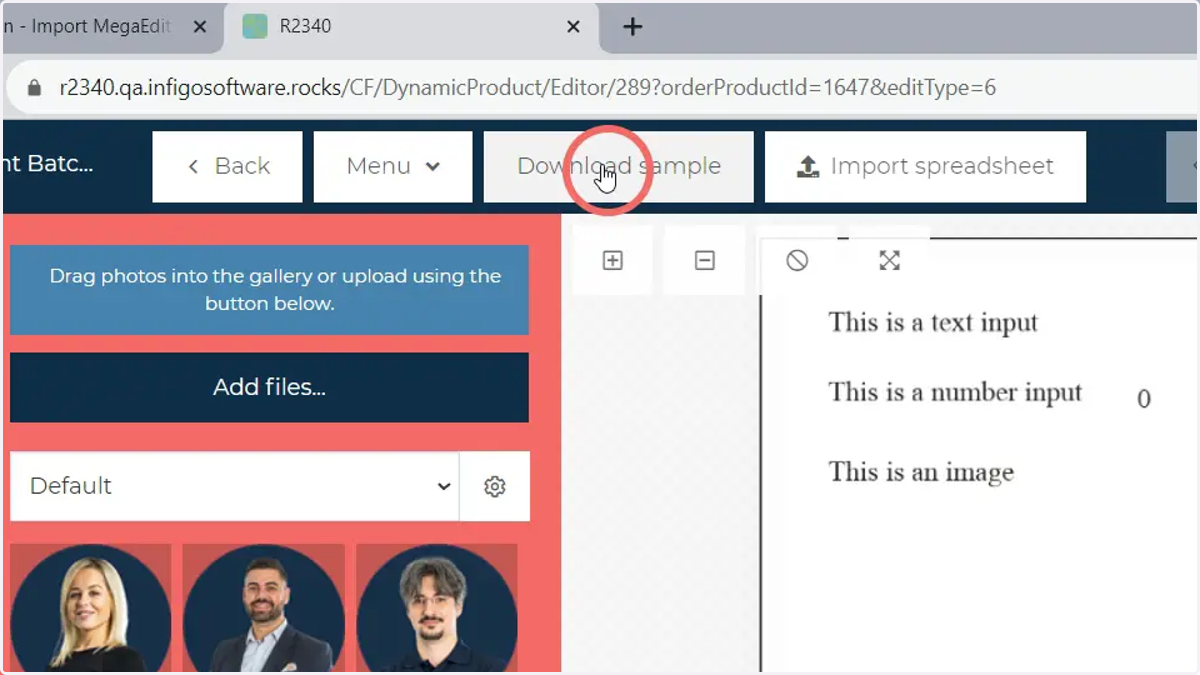
24. Click Download Sample
This will provide you with a simple template document, ensuring your users provide data in the correct format.
25. Sample document
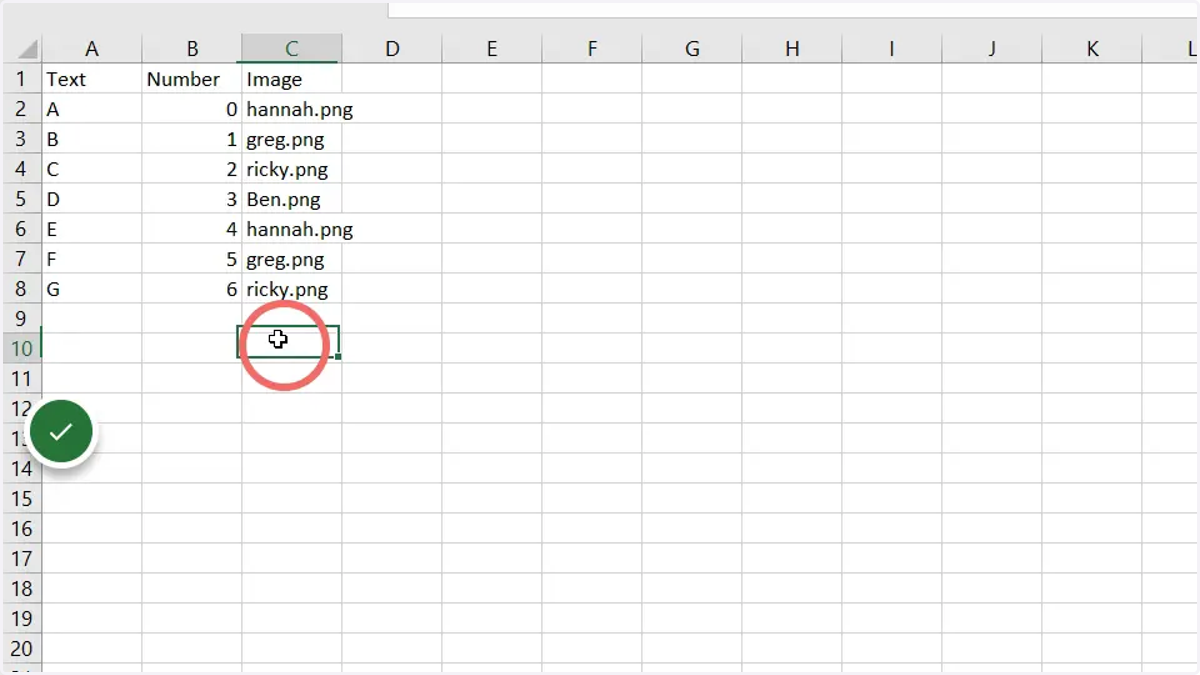
26. Complete the sample document, or modify your existing data to be in the required format
Ensure the data you enter is in the correct format.
For utilising an image uploaded to your image galleries, ensure you utilise the full image name plus file type extension.
If your image is contained within the default image gallery, simply put its name (such as image.png).
If your image is contained within an alternate image gallery, you will need to enter that location as part of this field (eg - gallery/image.png)
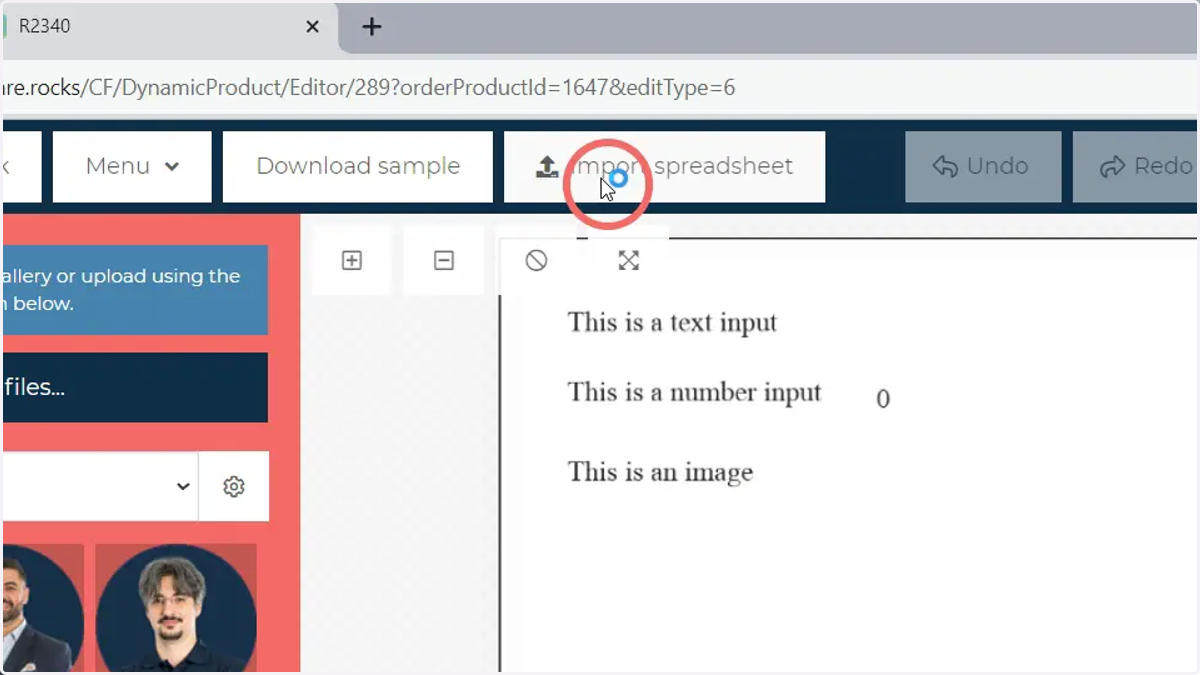
27. When the data is ready, click Import Spreadsheet and select the file
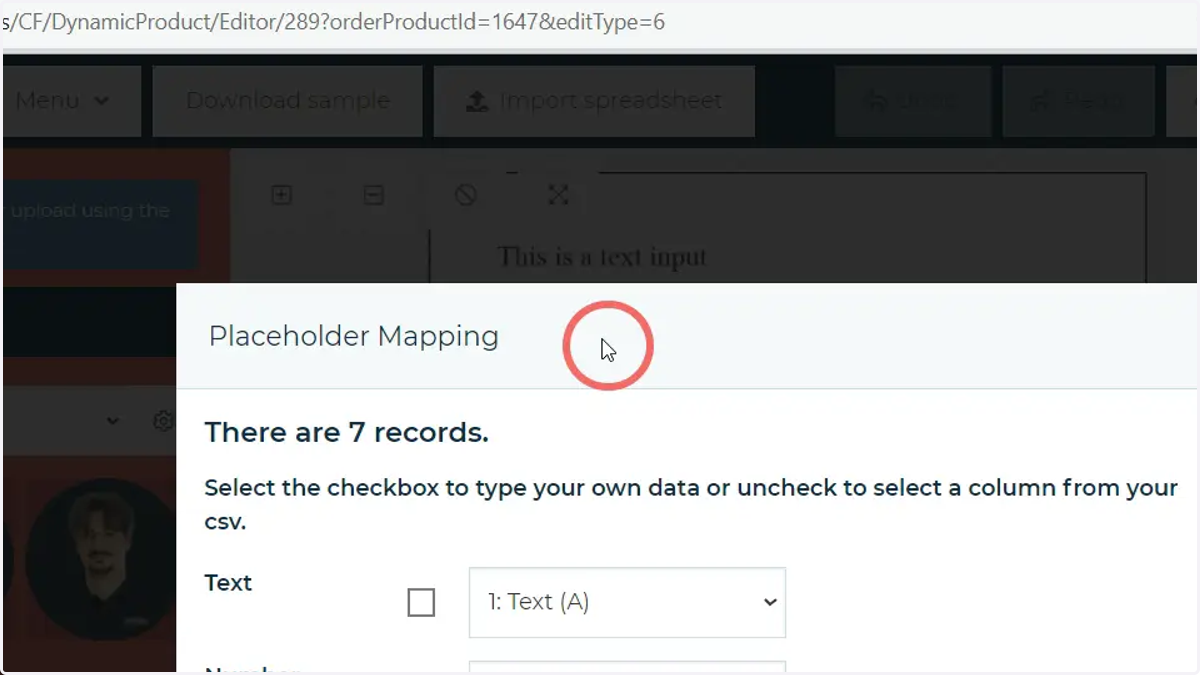
28. Placeholder Mapping
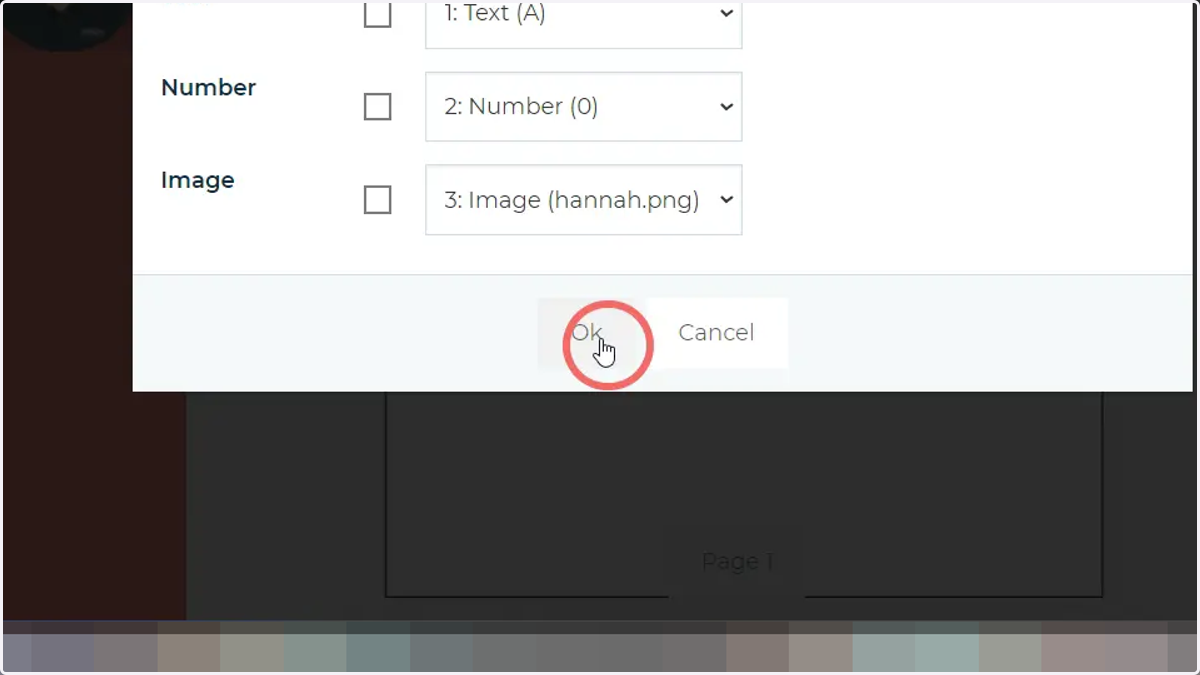
If you selected to enable mapping during the batch mode setup in Invent, you will be presented with a screen to specify how the fields relate to the CSV columns.
Entries with matching names will be paired up automatically, however you can alter them further if incorrect.
If you did not enable mapping in Invent, you will not see this screen.
29. Click OK
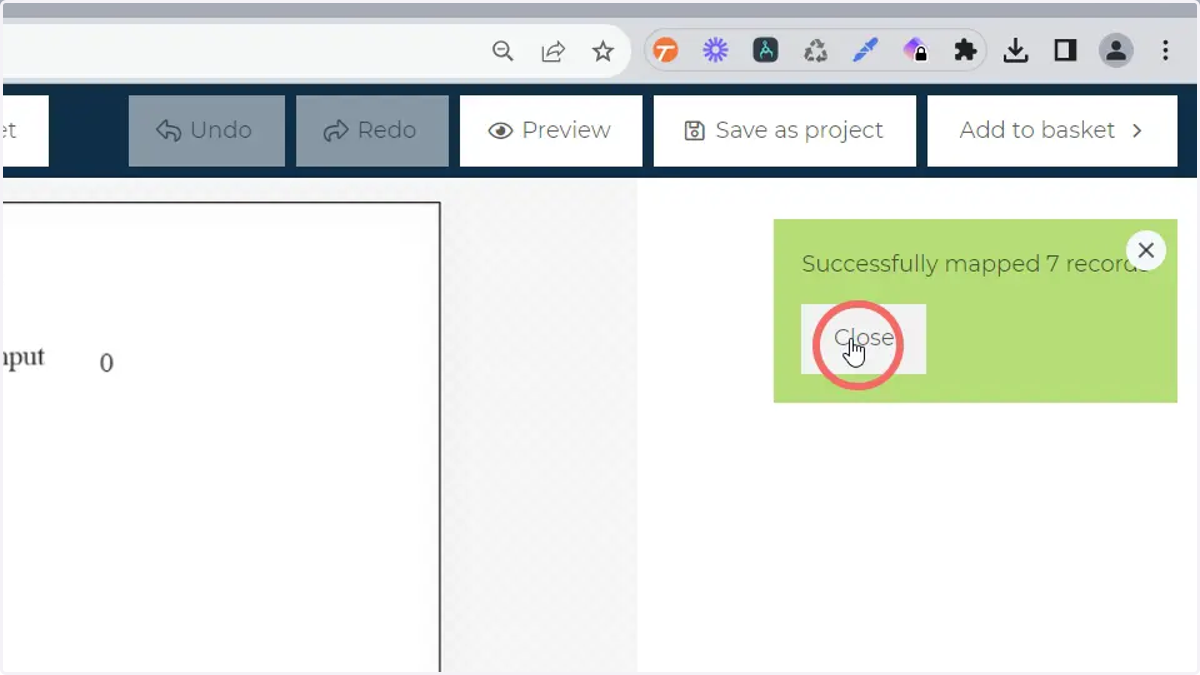
30. A message box will display the result of your upload
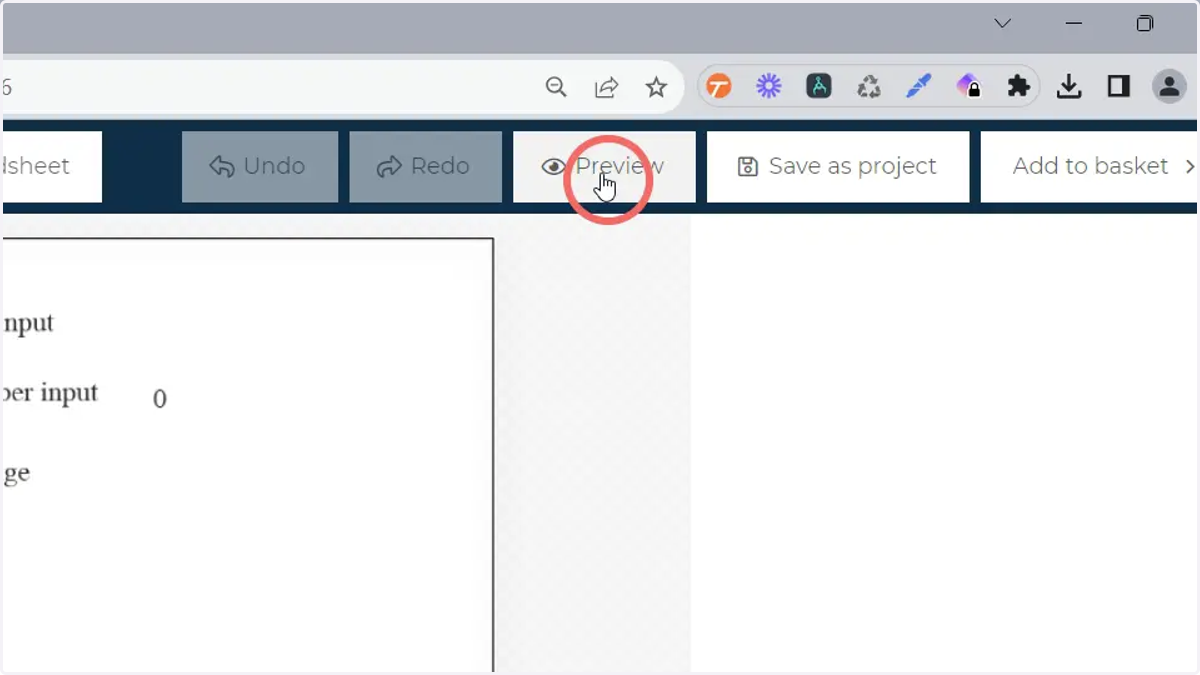
31. The entries input can be previewed by clicking Preview
32. The relevant fields have been populated
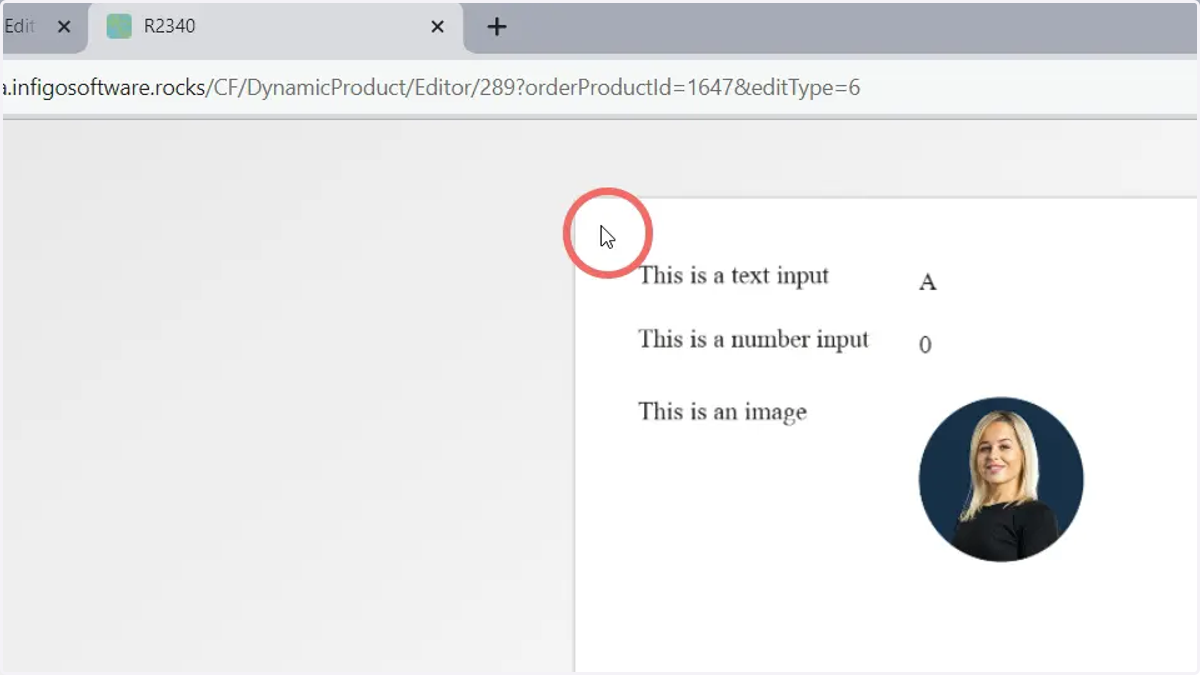
33. Click Next Record to view the next entry
34. Next entry