Cancelling a Registration and Issuing a Refund
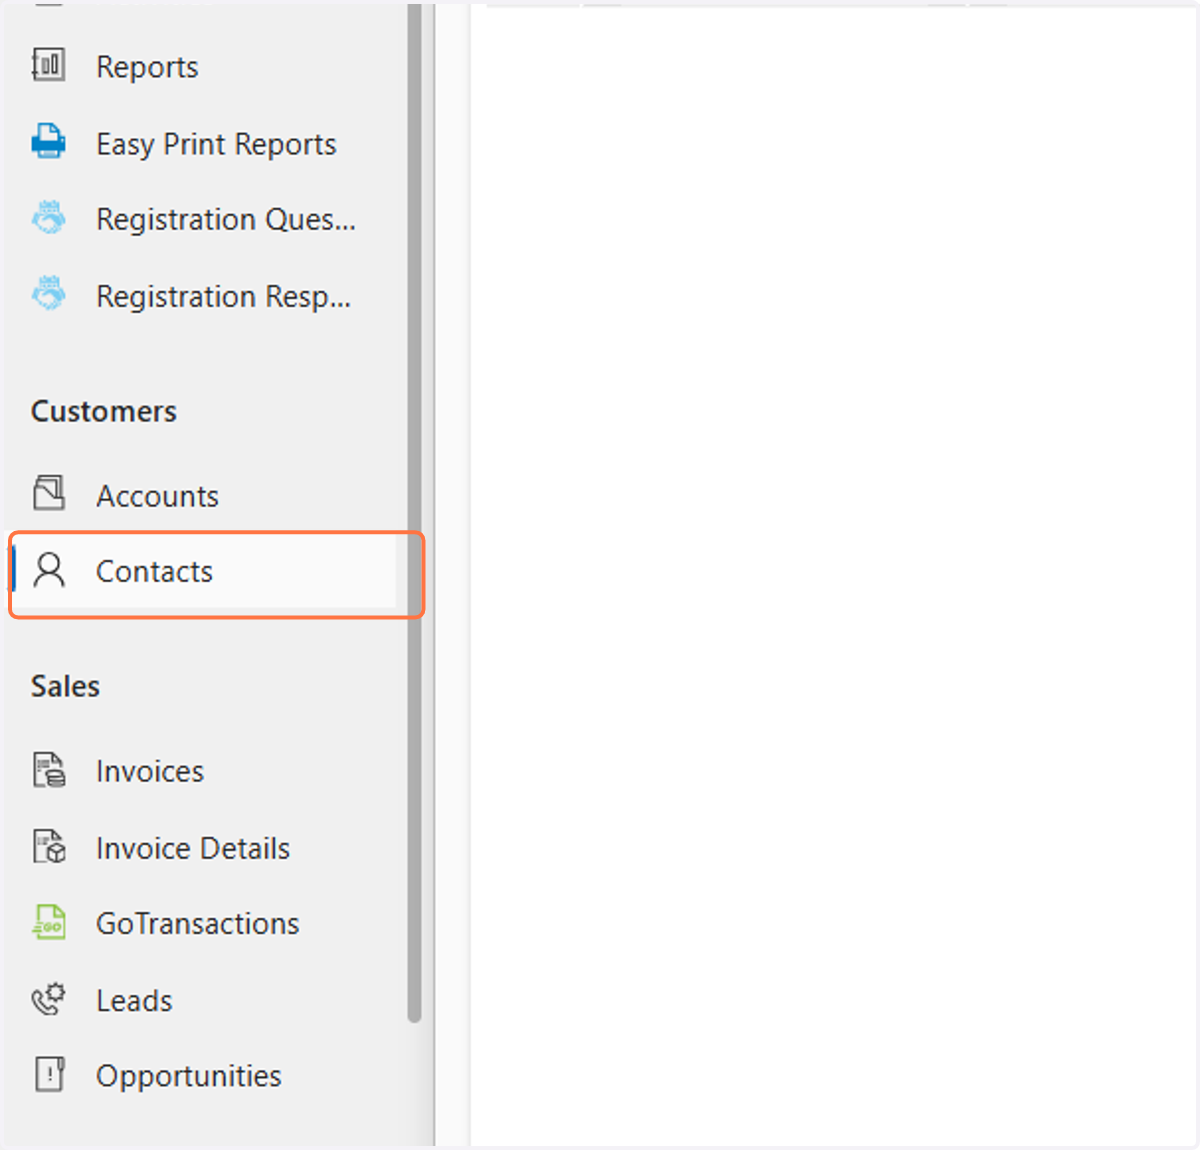
1. Click on Contacts
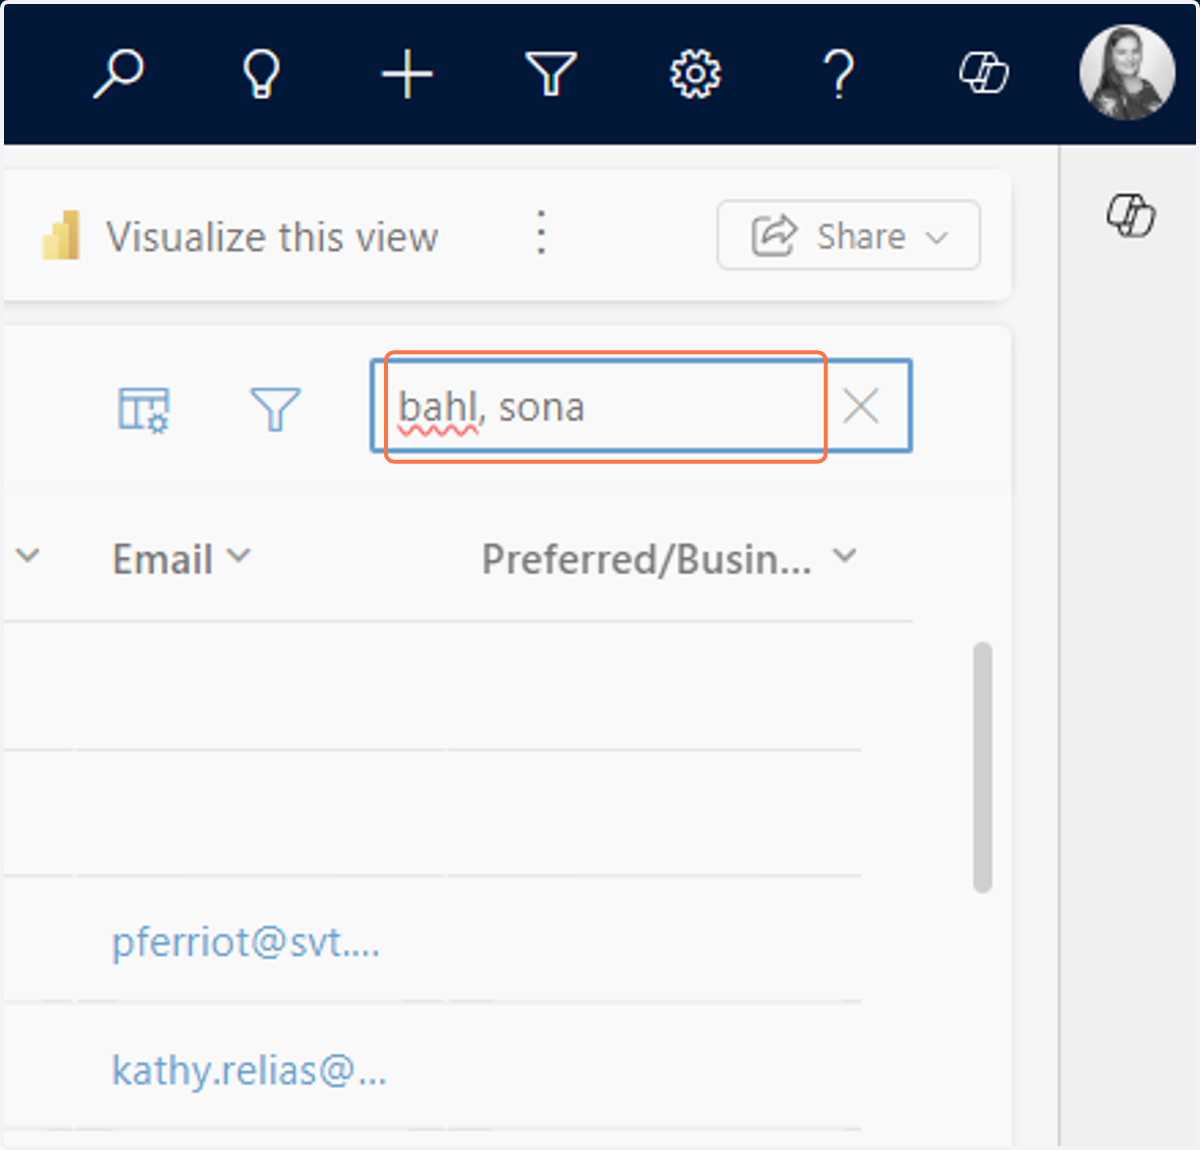
2. In the search field, type the last name, first name of the person and click enter
Note: in the search field you can use different options to search for a contact record such as email address or name.
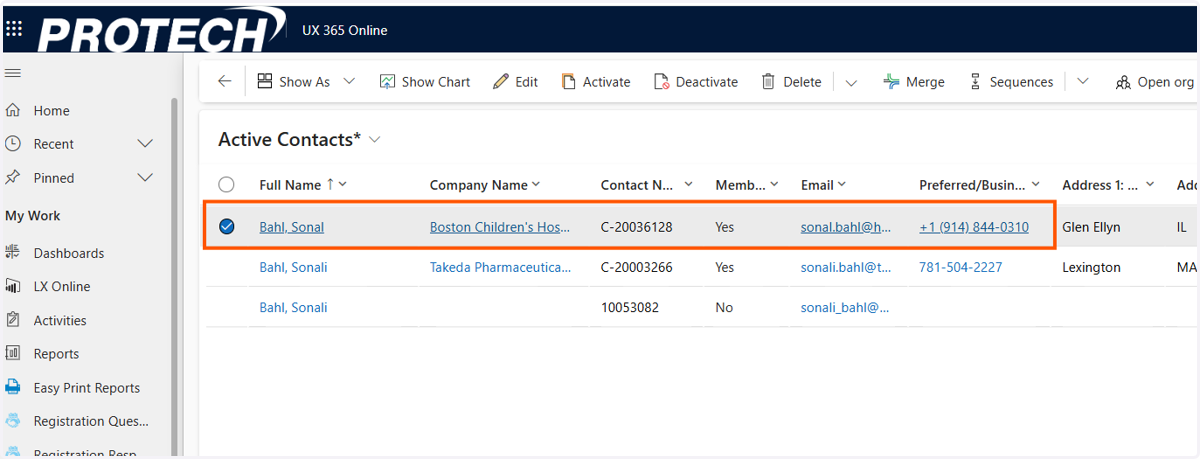
3. Double click on the contact record you want to open
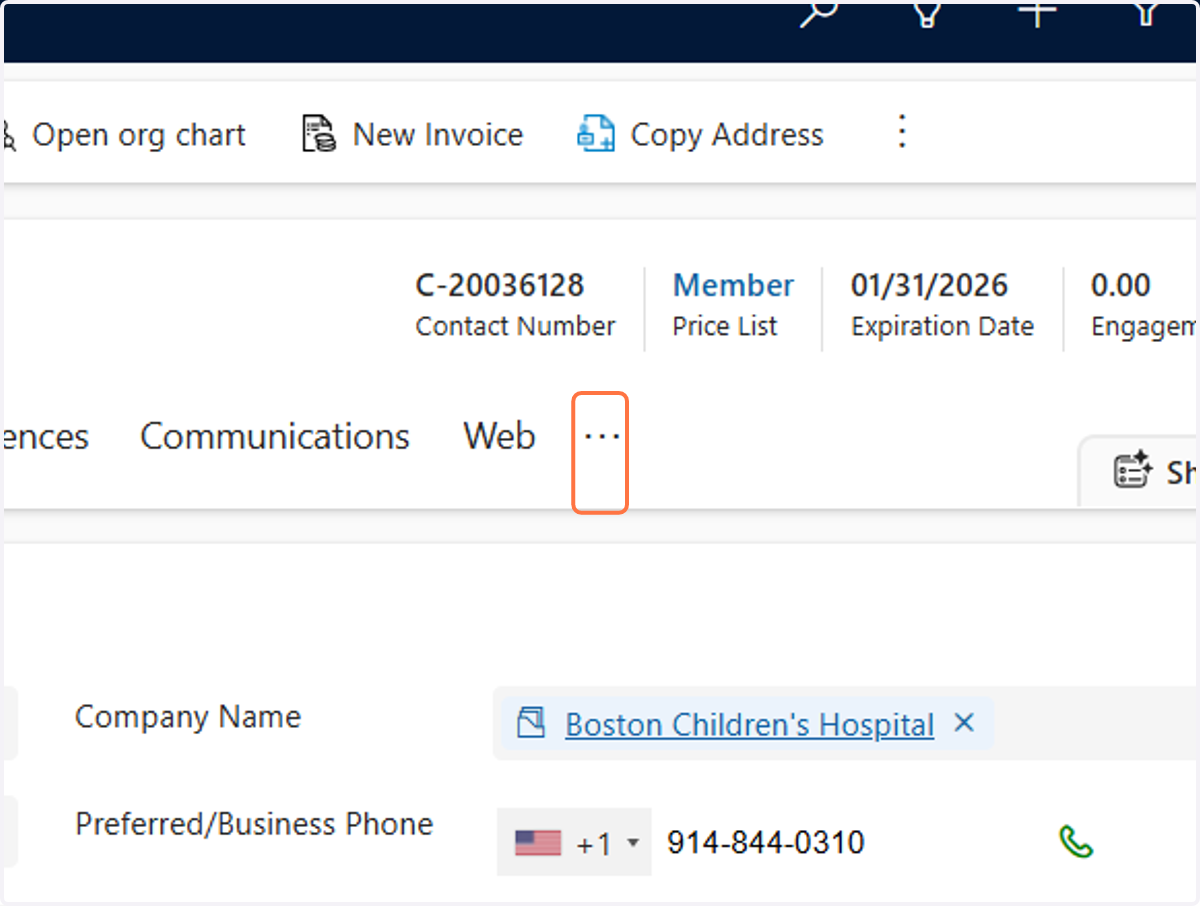
4. Click on More Tabs
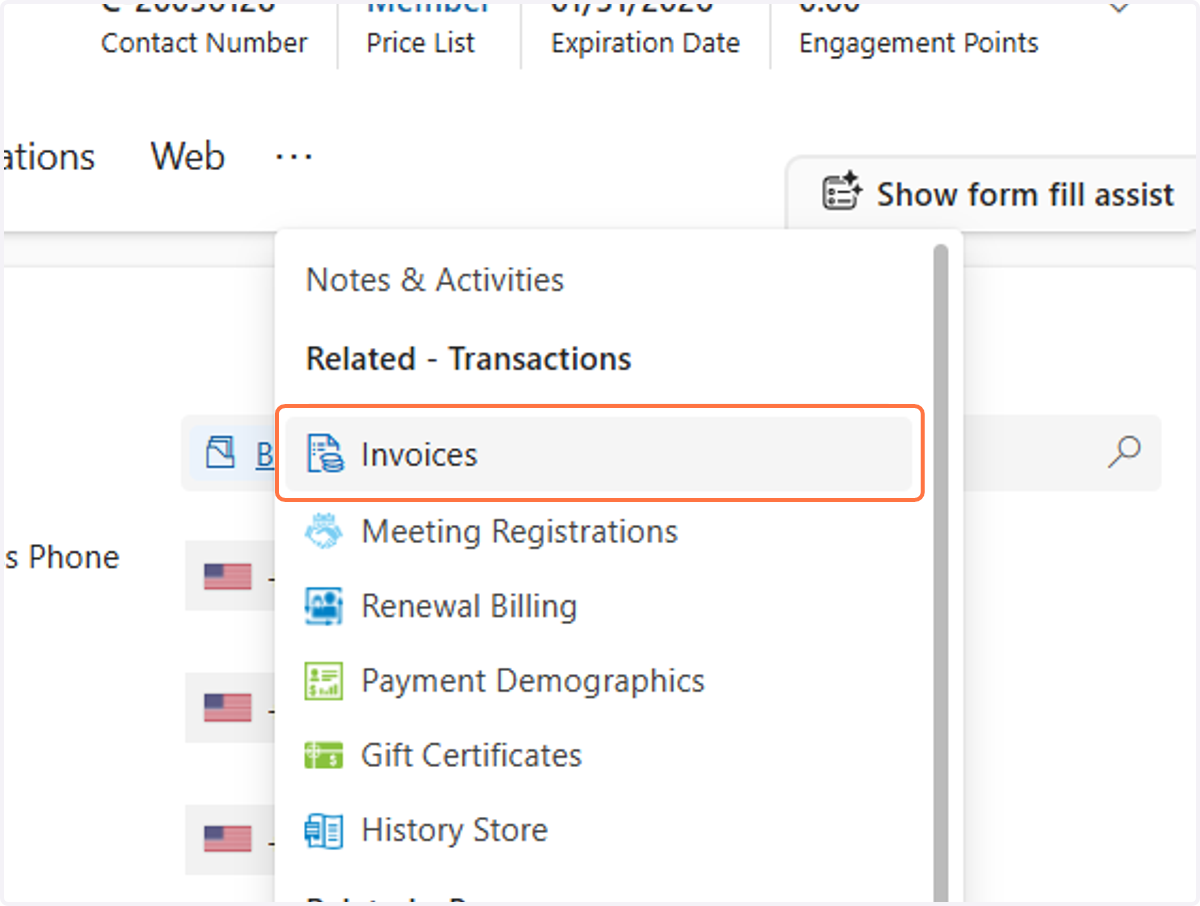
5. Click on Invoices
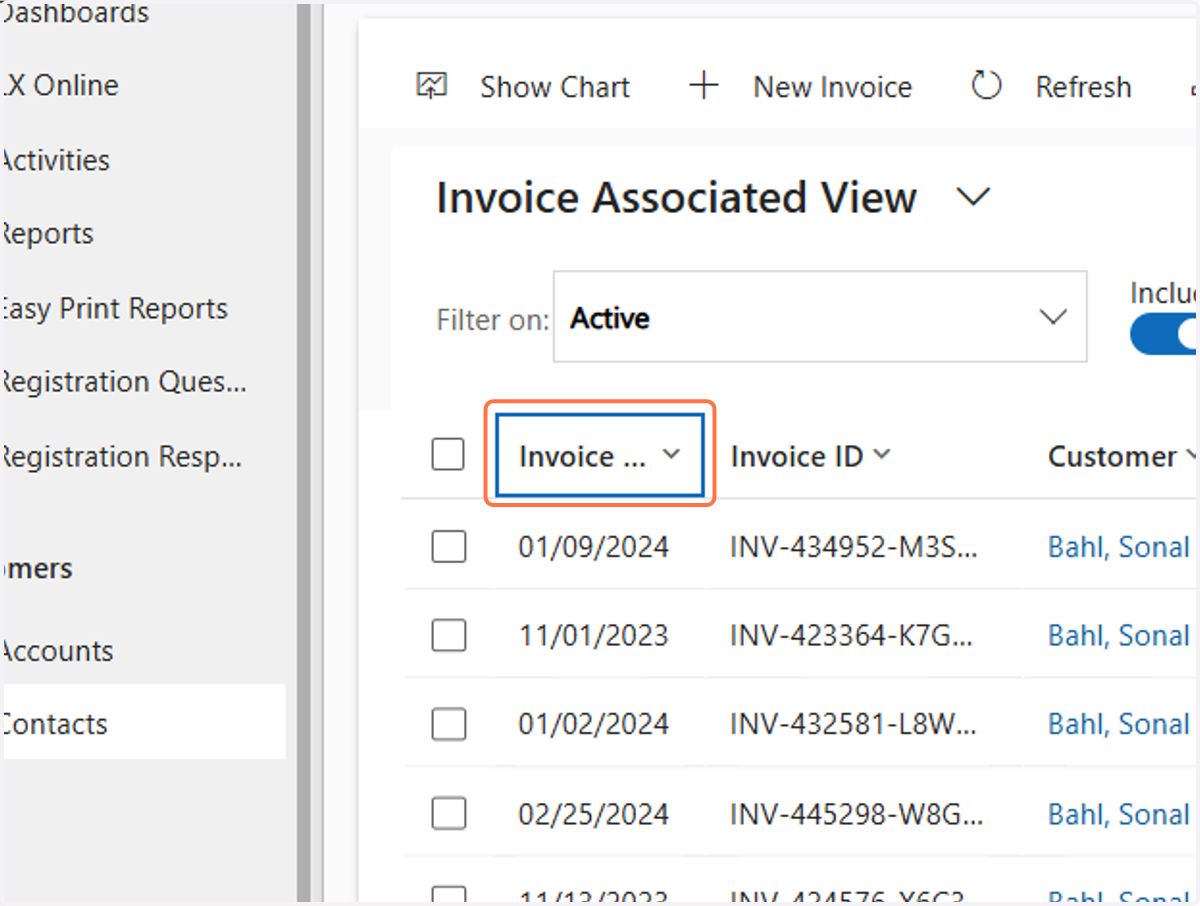
6. Click on Invoice Date
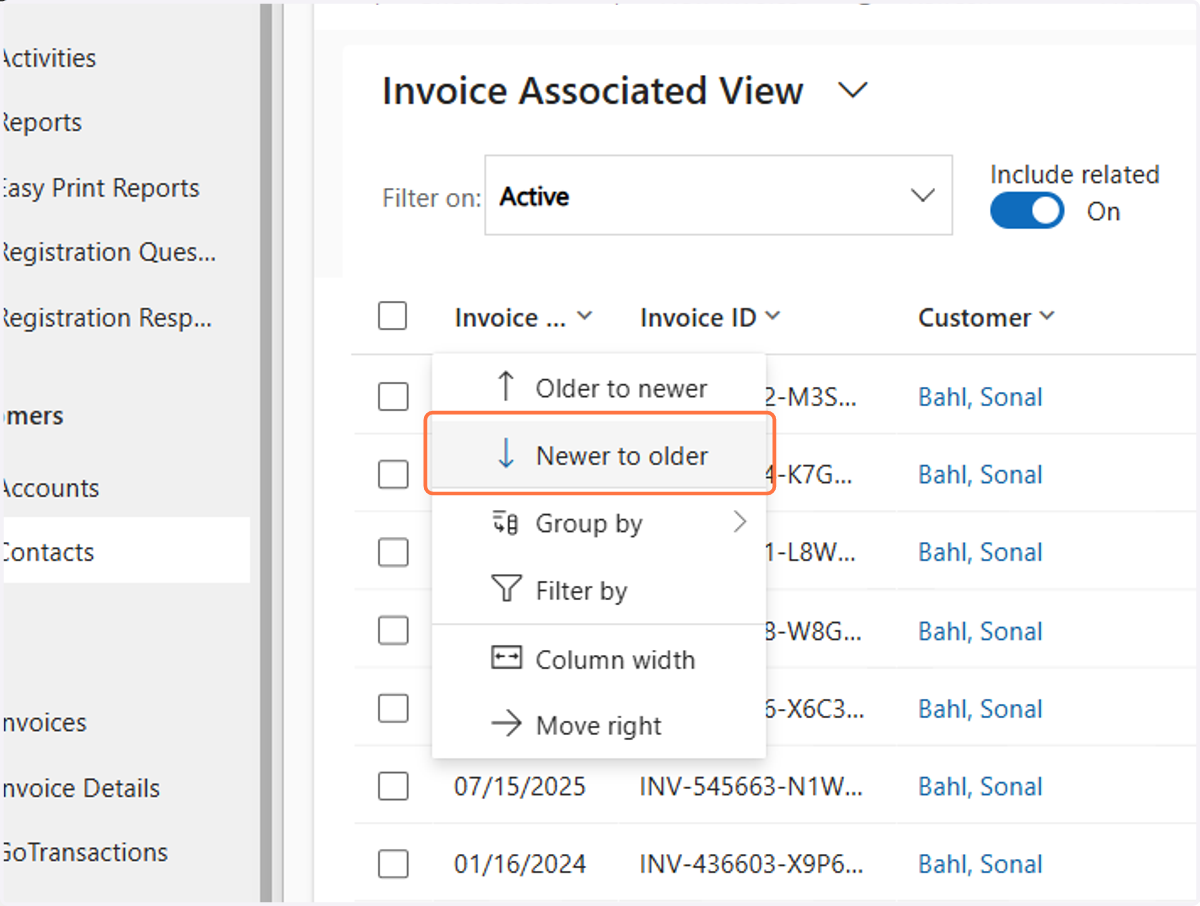
7. Click on Newer to older
8. Locate the invoice you want to open, and double click it
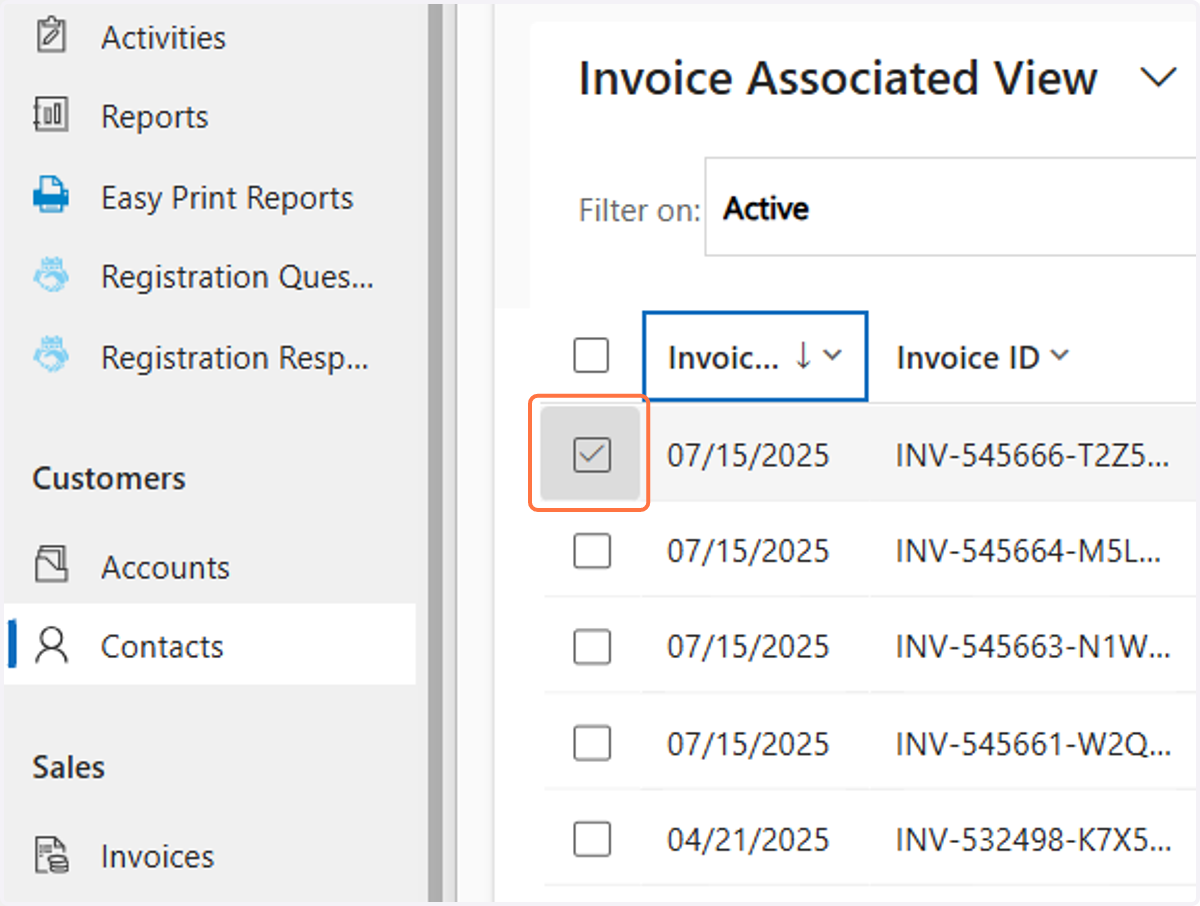
9. Click on Select Batch
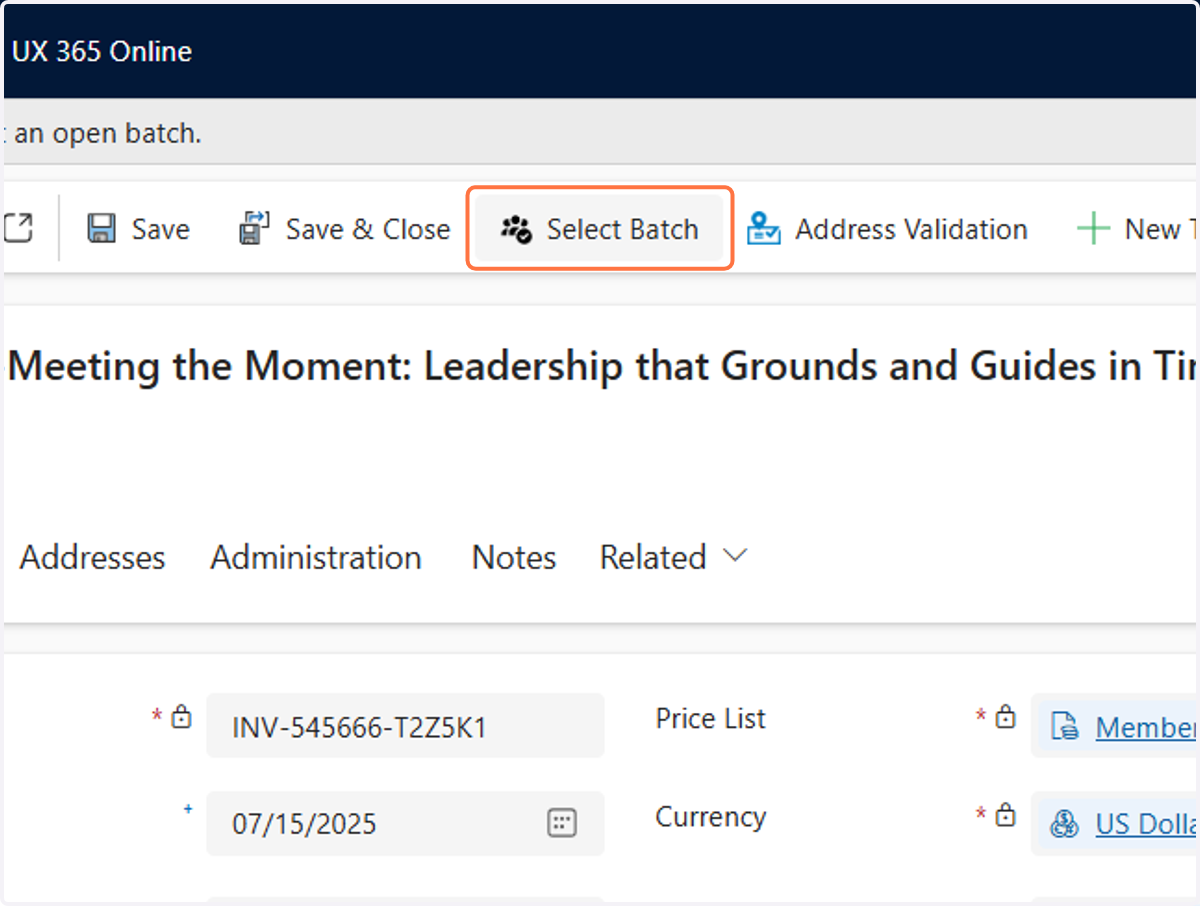
10. Click on Search
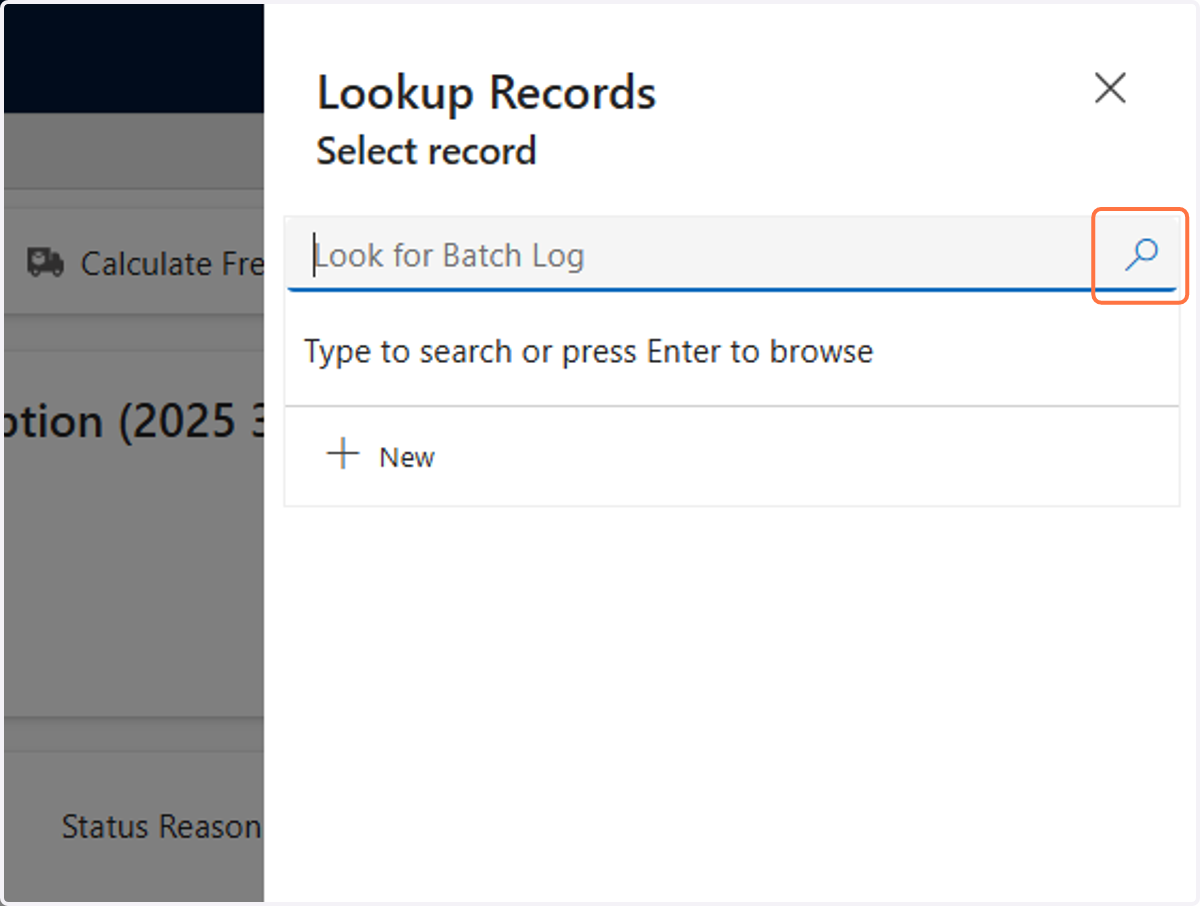
11. Select the current days batch (usually will say Daily Batch and then the date)
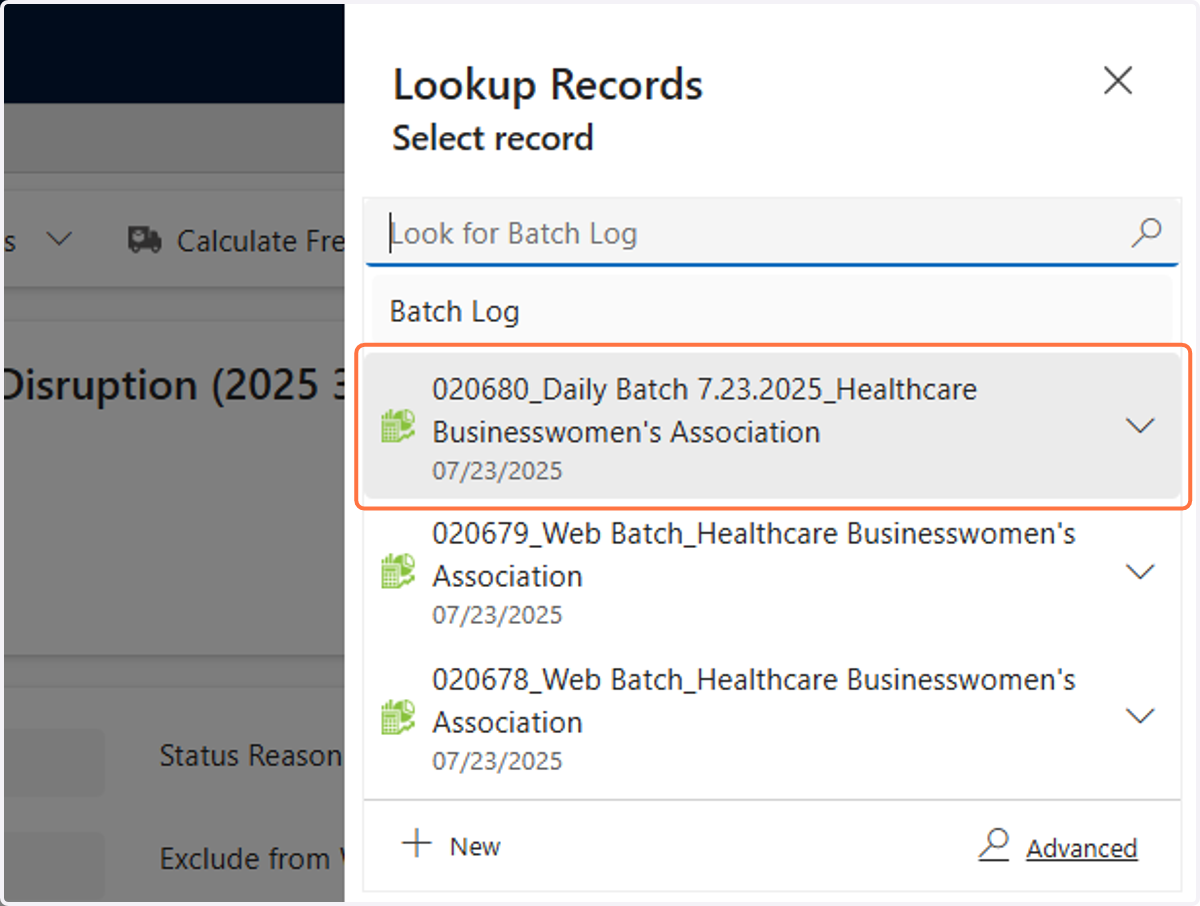
12. Click on Add
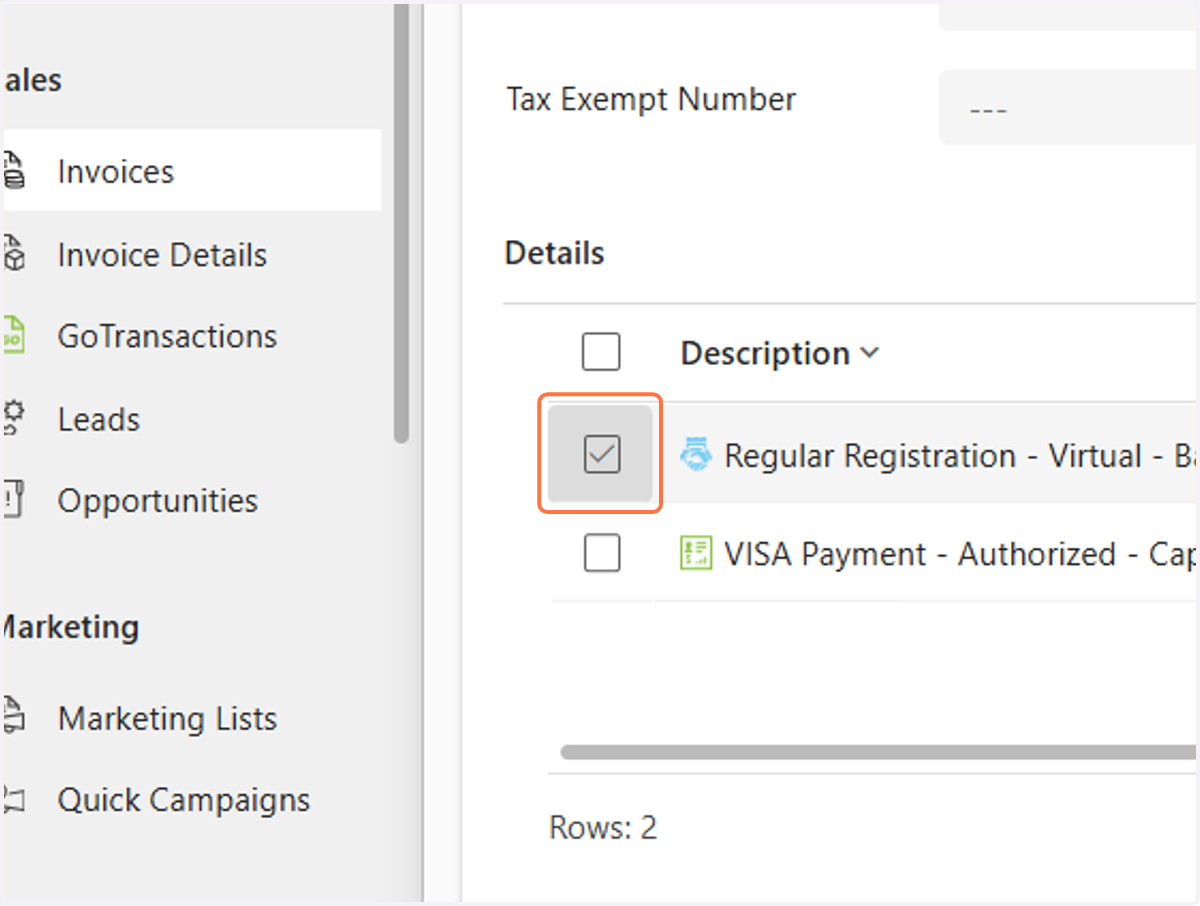
13. Click on the check box next to the event registration to select the event registration
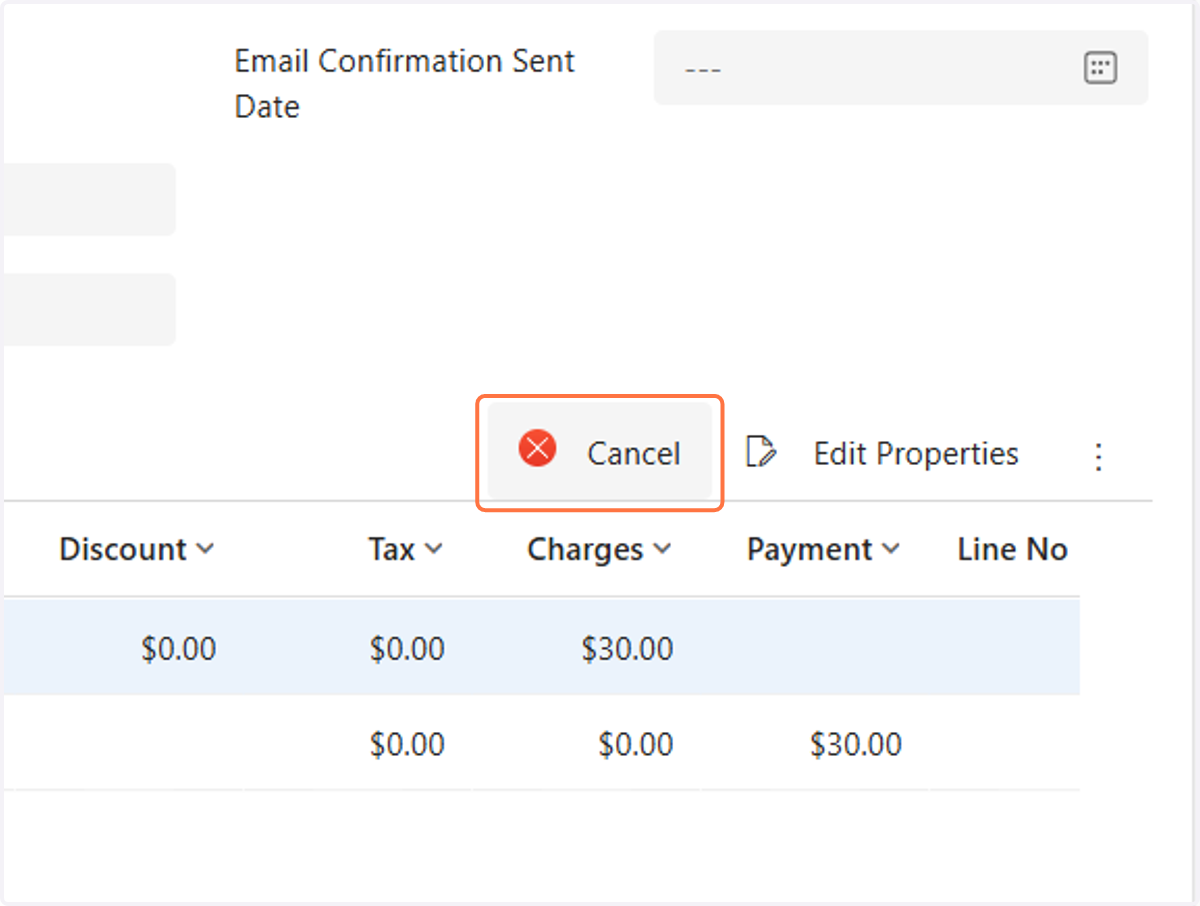
14. Click on Cancel
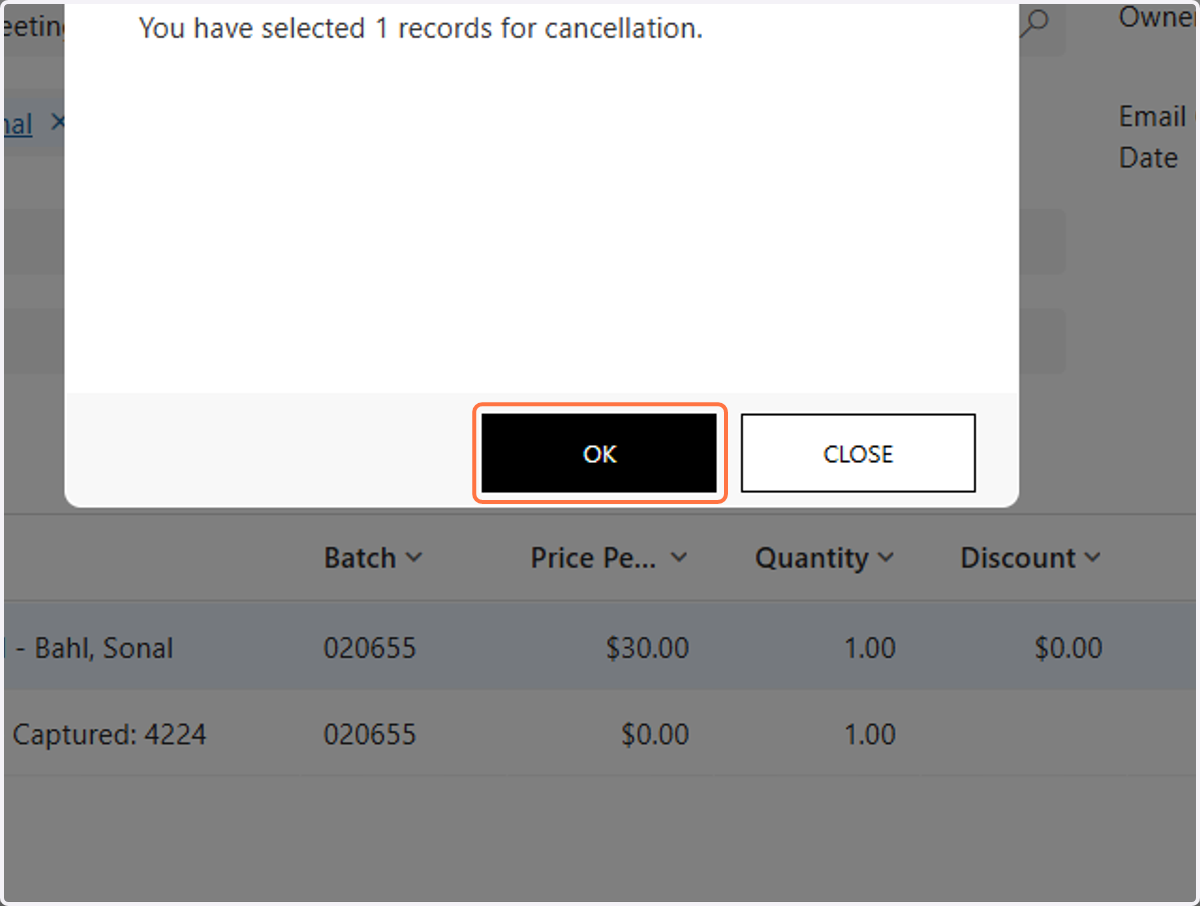
15. Click on OK
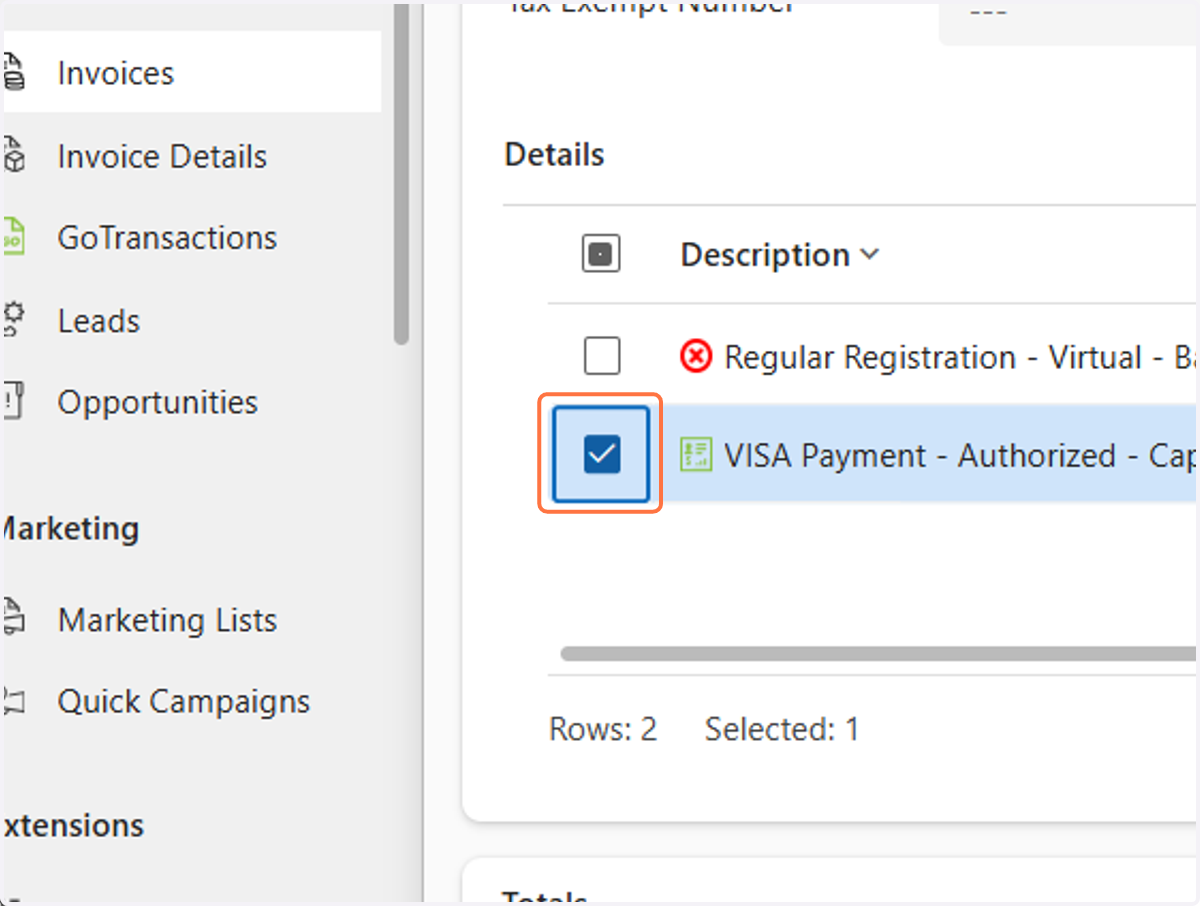
16. Double click on the check box next to the payment line
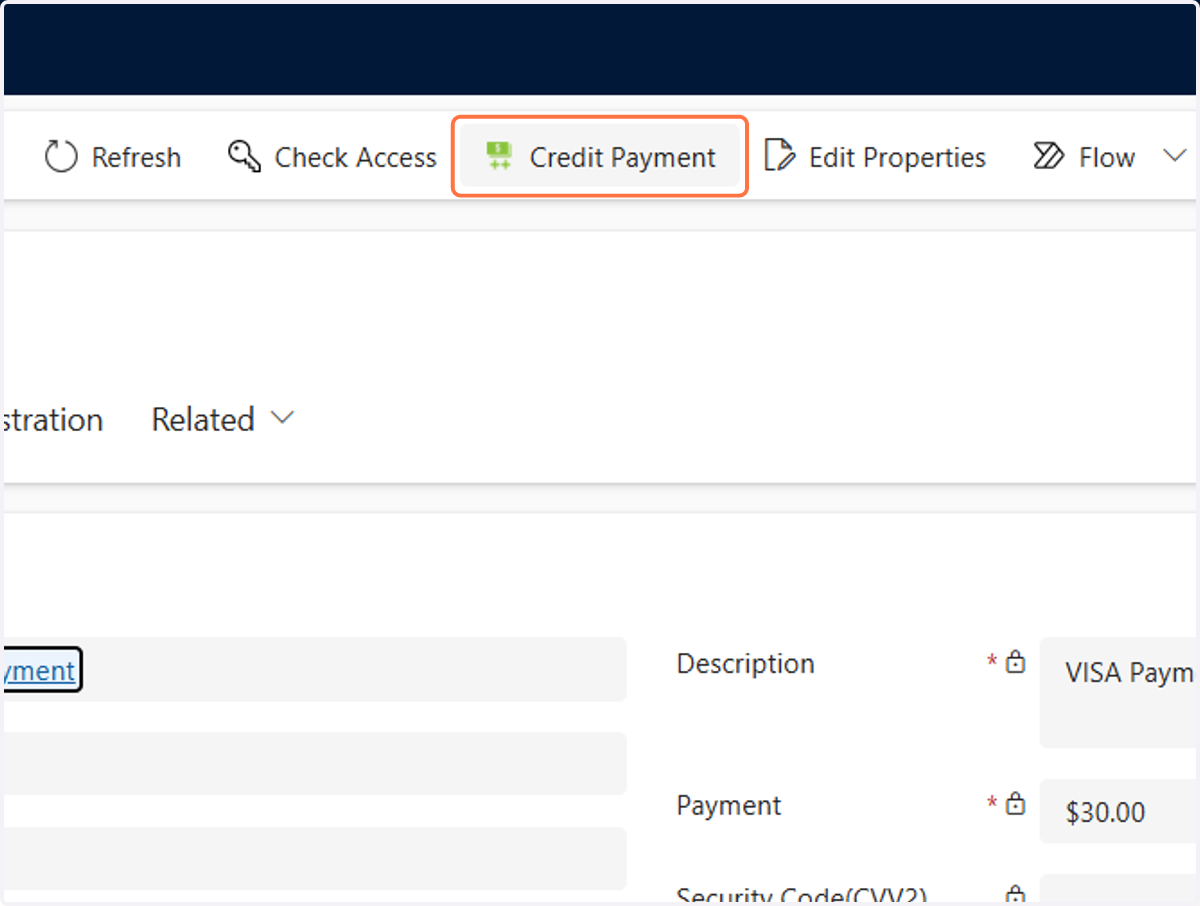
17. Click on Credit Payment
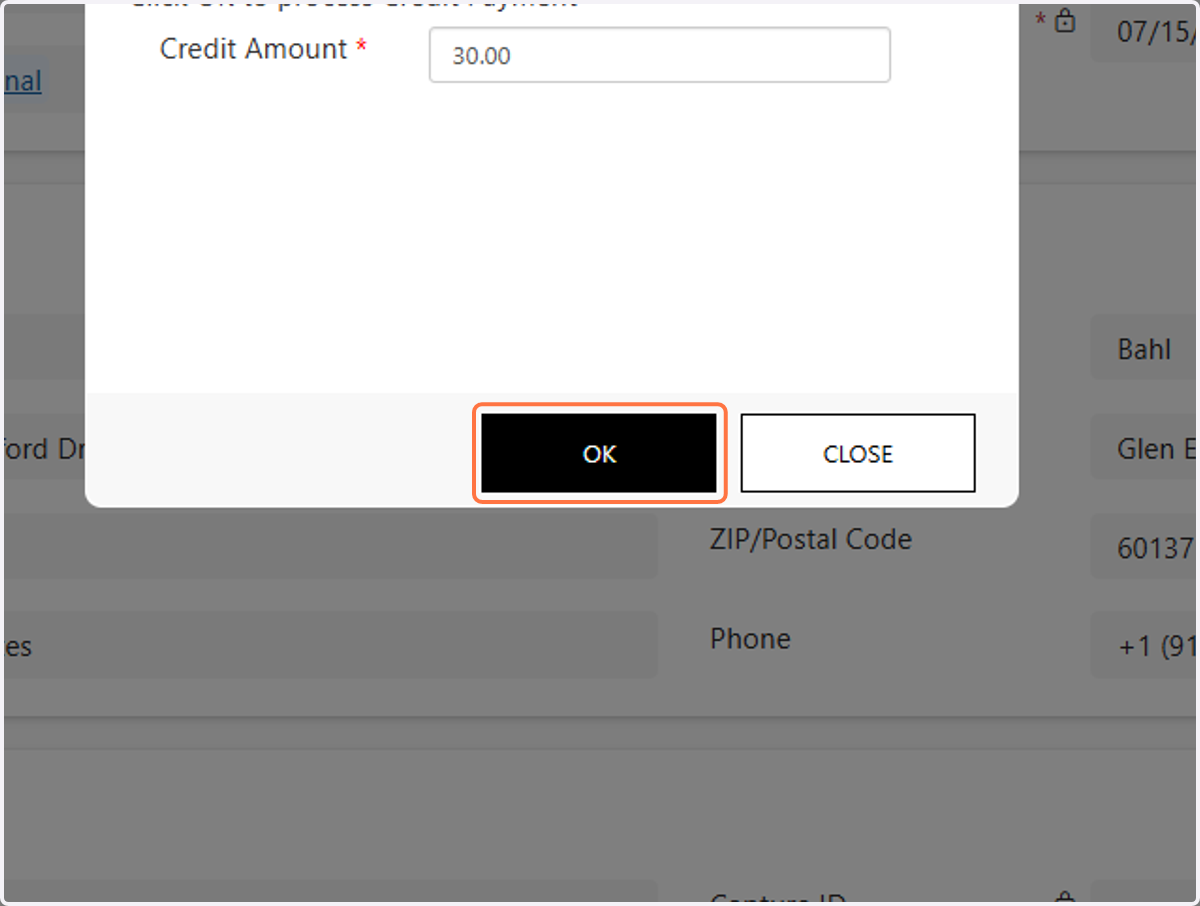
18. Make sure the "Credit Amount" field has the correct amount that you are refunding and click OK
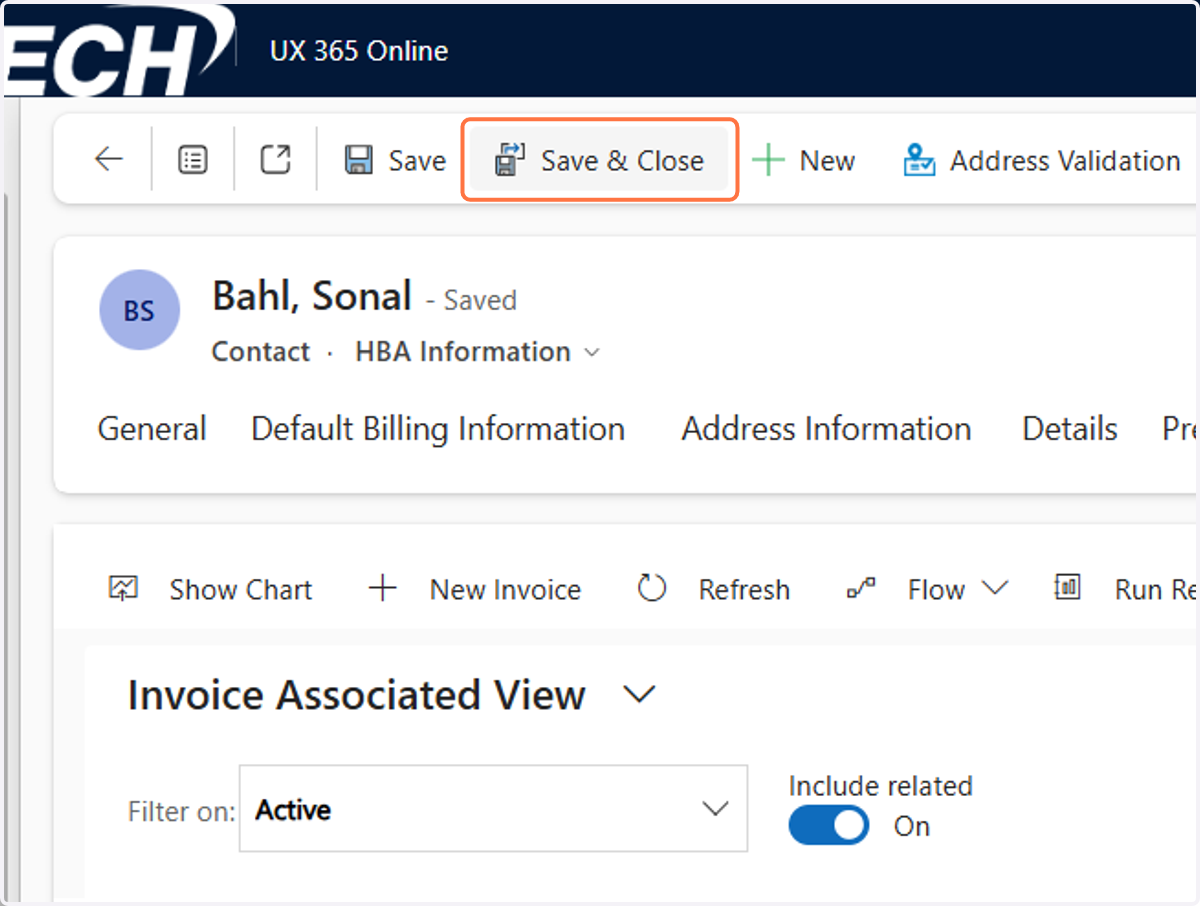
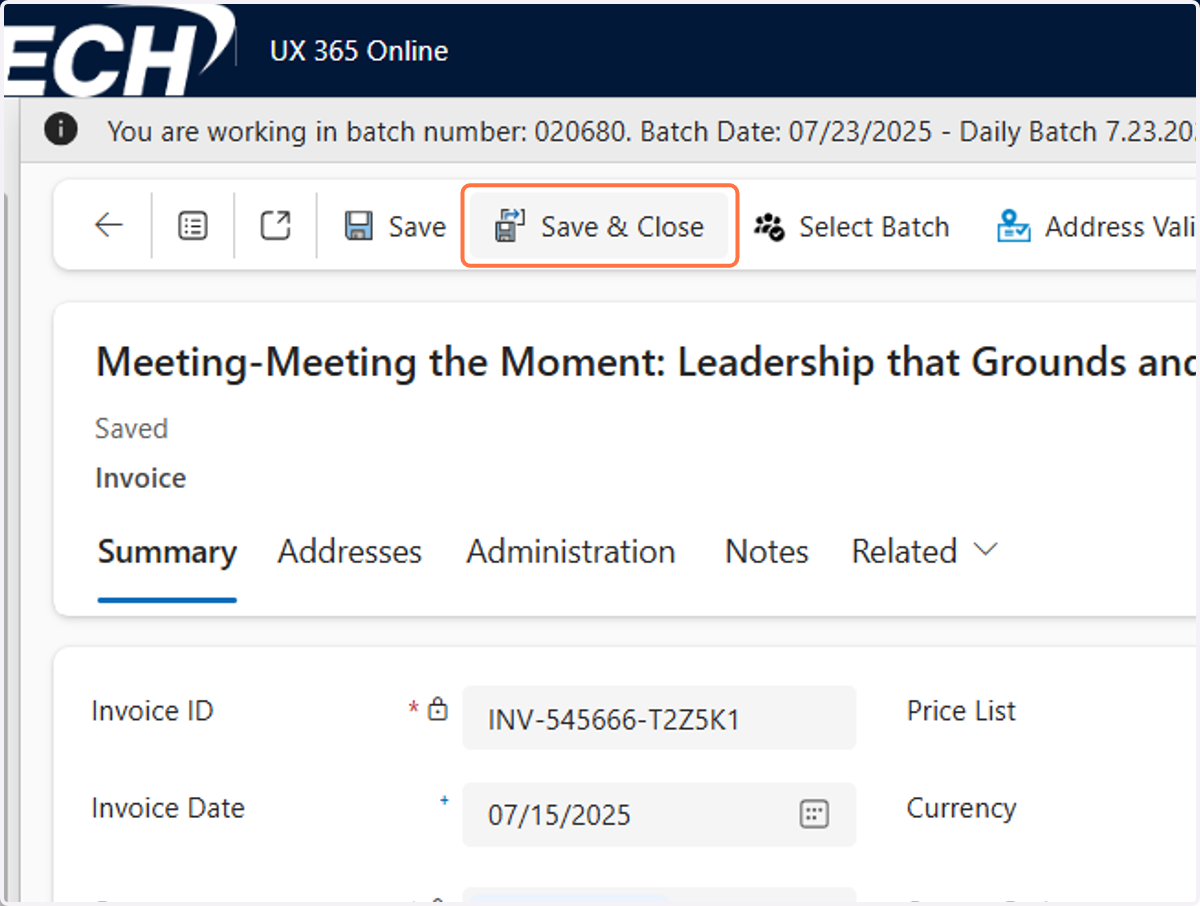
19. Click on Save & Close
20. Click on Save & Close