Connect: CERM | Ordering from the Catalogue
In this tutorial, we will investigate the process and back-end tasks associated with ordering from your CERM integrated Infigo storefront.
Our scenario is a logged in or non-logged in user accessing your storefront and navigating through your (Infigo) Product catalogue.
As we are interfacing between CERM and Infigo, it's important to distinguish between the different terminology used by both pieces of software.
(CERM) Estimates | (Infigo) Quotes - A specification for a currently unplaced piece of work. They have a fixed specification, but variable artwork.
(CERM) Products | (Infigo) Job - A piece of work with fixed specification and artwork, generated from the specification above
(CERM) Order - An instance where the (CERM) Product has been purchased.
1. Access a product linked to CERM
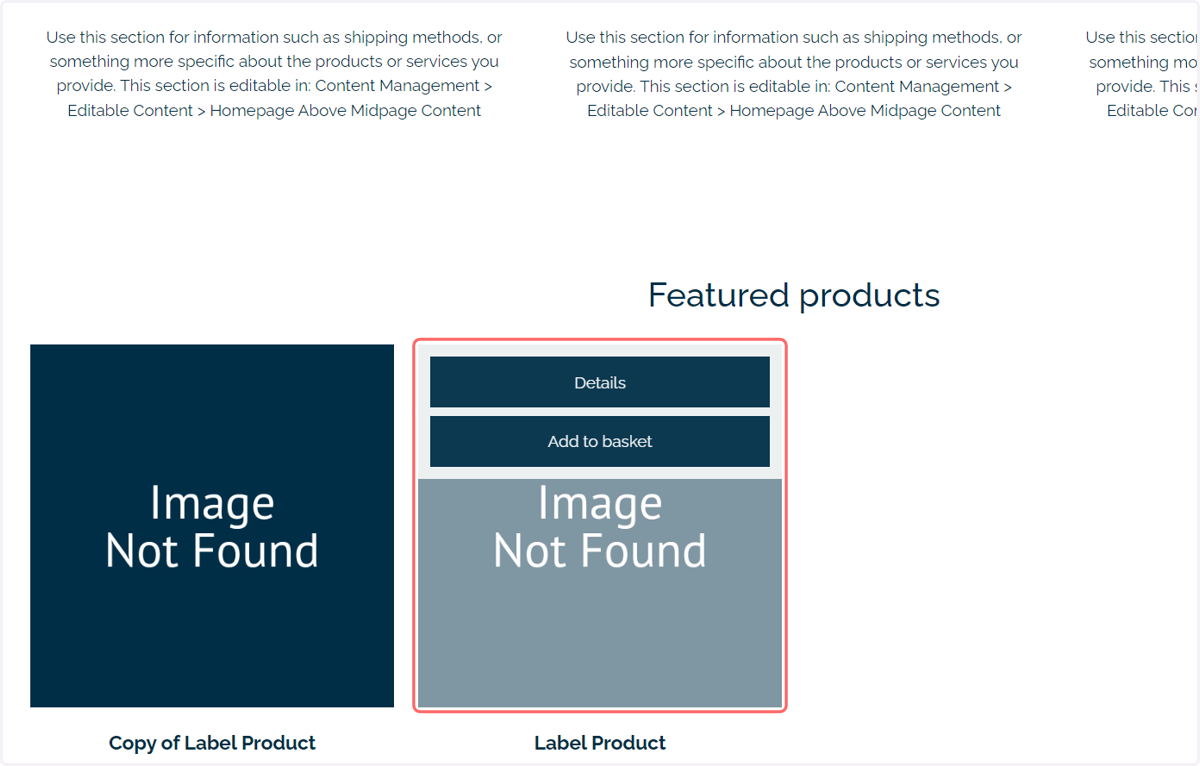
Whilst navigating your storefront, your users would access an (Infigo) Product linked to your CERM system.
Clicking on this (Infigo) Product takes them to the (Infigo) Product landing page.
This is an (Infigo) Multi Part Product as it is required that artwork be uploaded.
2. Input product specification
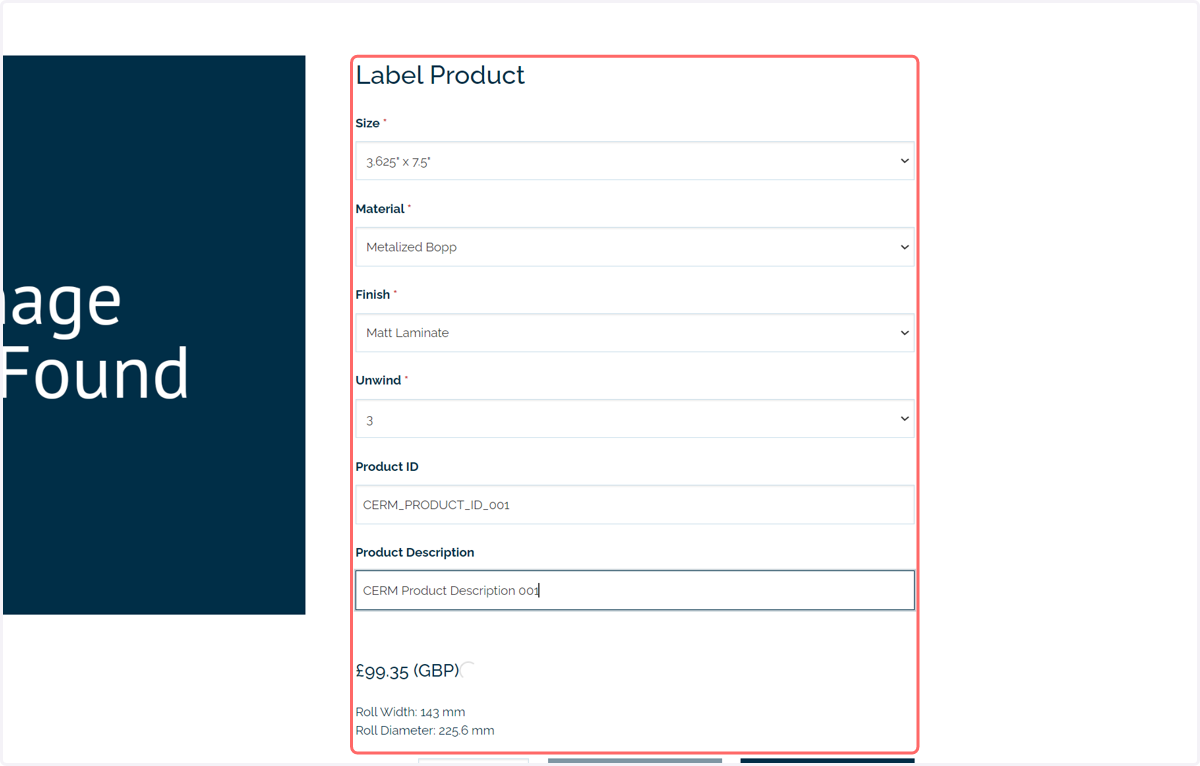
Complete the specification by filling in the (Infigo) Attribute fields.
These (Infigo) Attribute fields can include a (CERM) Product ID and (CERM) Product Description, which are passed to the CERM system once the order is placed.
The price displayed on the (Infigo) Product landing page updates as the specification is altered.
This works due to a live link with the CERM system. Each permutation or (Infigo) Attribute Combination will have a (CERM) Estimate associated with it. As the specification is altered on the (Infigo) Product landing page a different (CERM) Estimate is pulled from the CERM system.
3. Updating the quantity will also update the price based on pricing rules from CERM
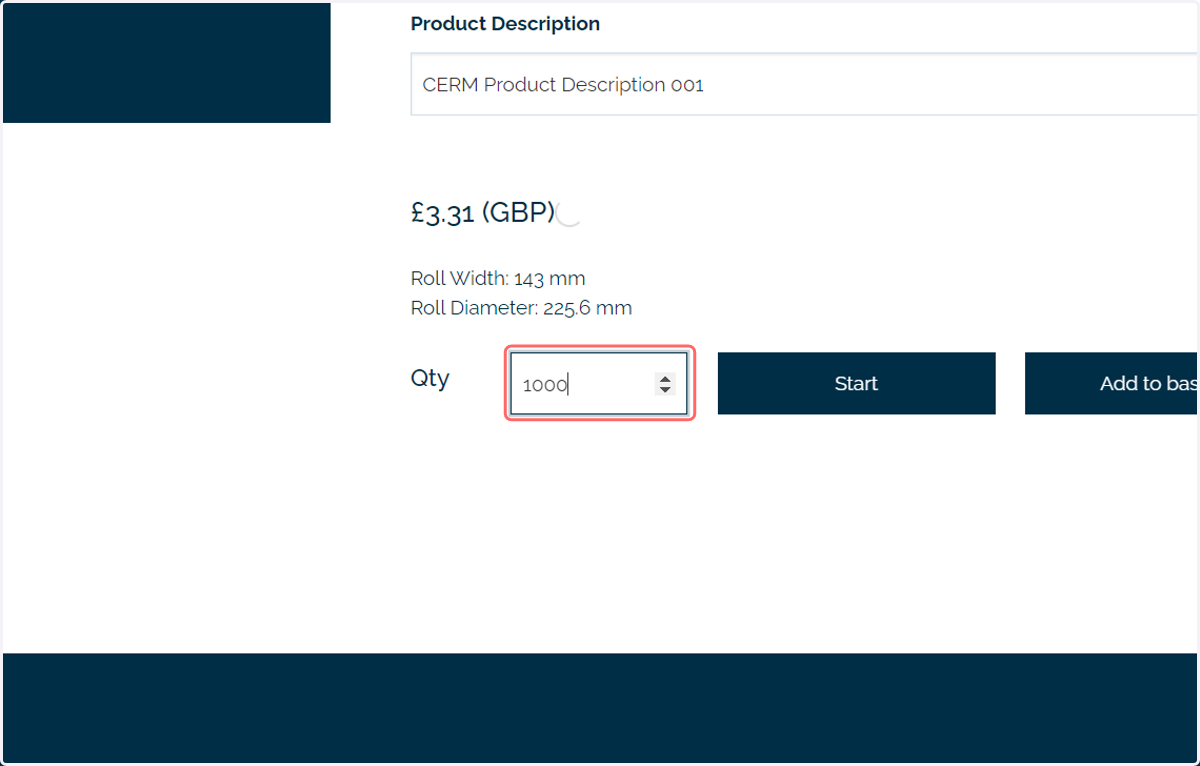
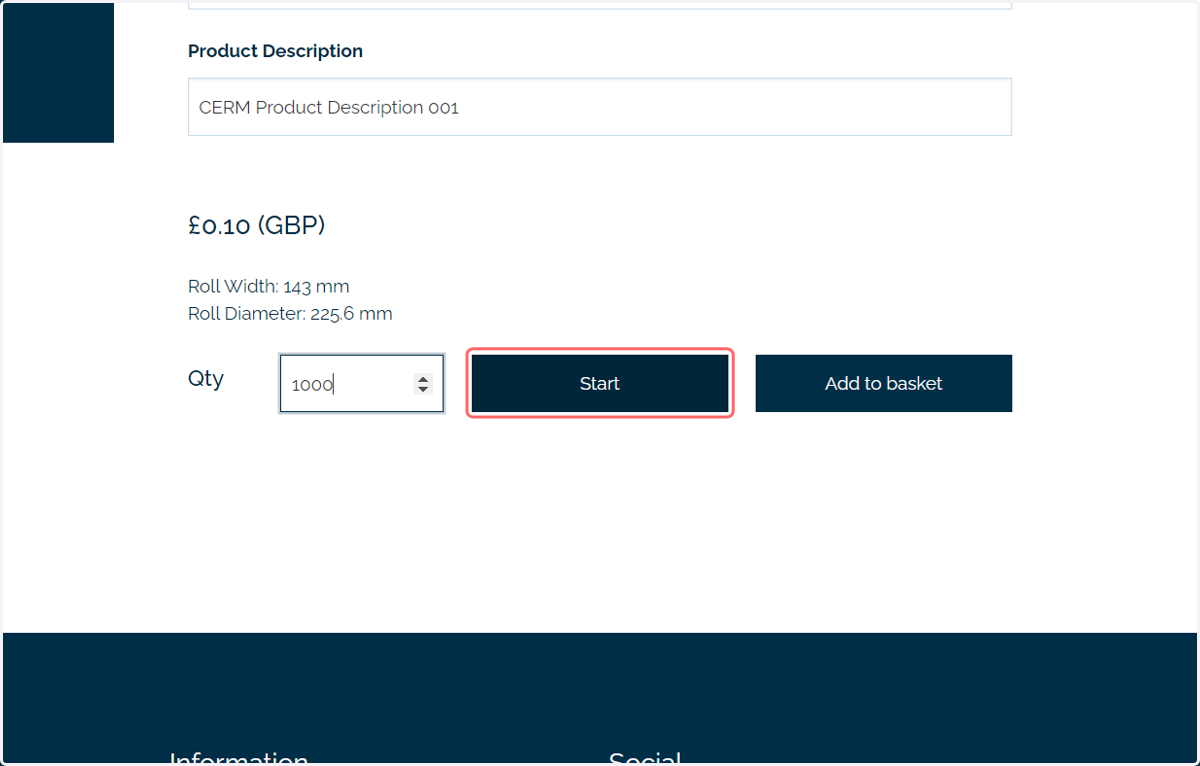
4. Click Start
Clicking Start will prompt the user to immediately upload the artwork associated with this project.
Alternatively, clicking Add to basket will skip the requirement to upload artwork at this stage. The order can be placed without artwork, which can be uploaded at a later date.
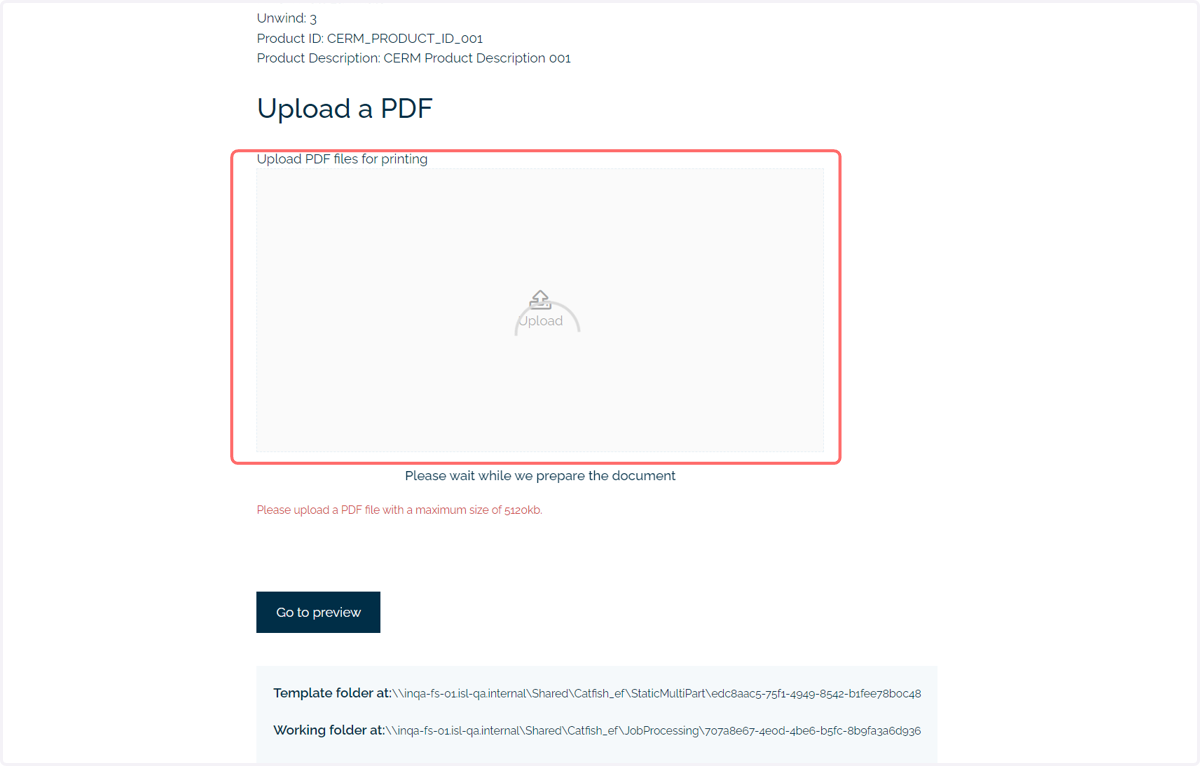
5. Select the required artwork
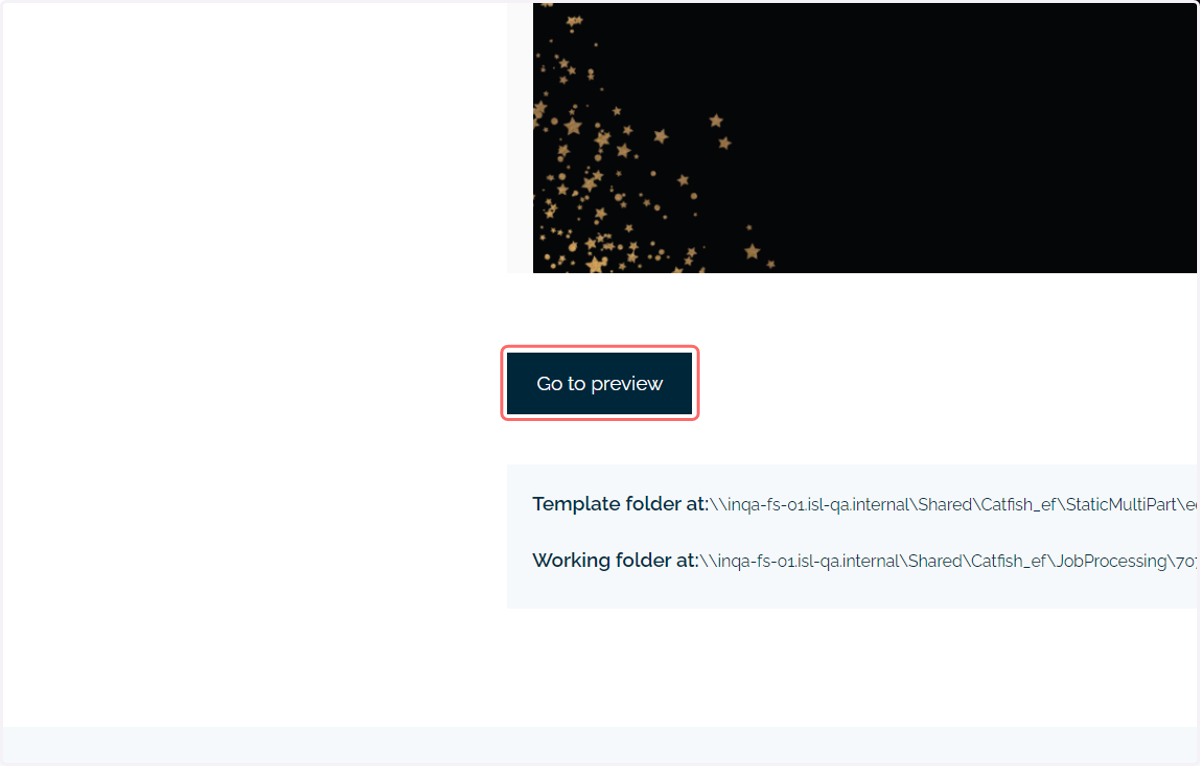
6. Click on Go to preview
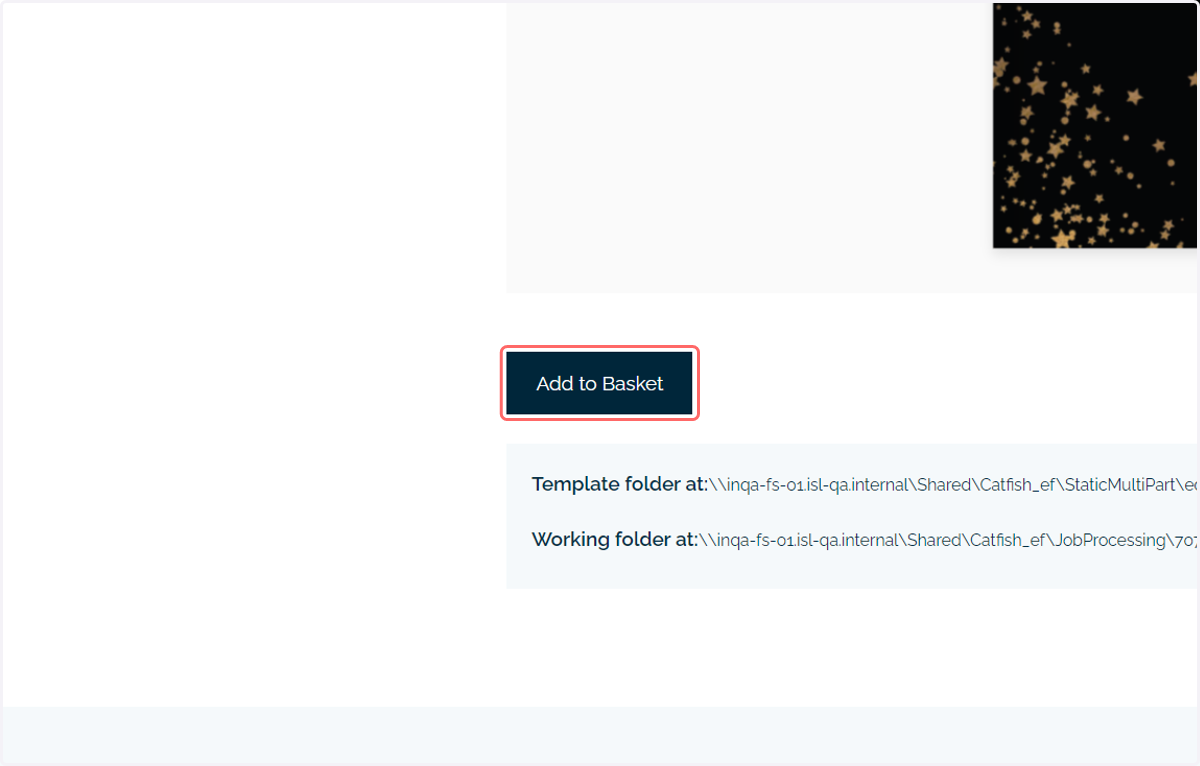
7. Click on Add to Basket
8. Click on Home
The fully specified (Infigo) Multi Part Product is added to the basket
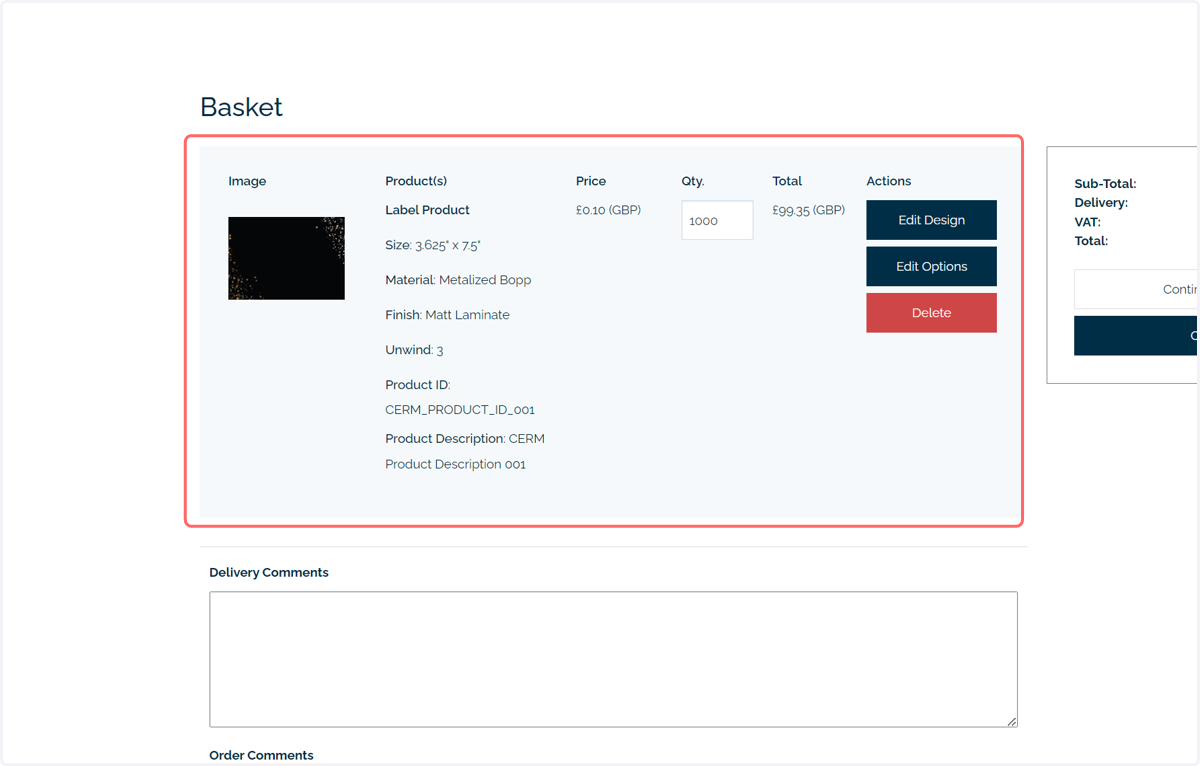
9. Add multiple products
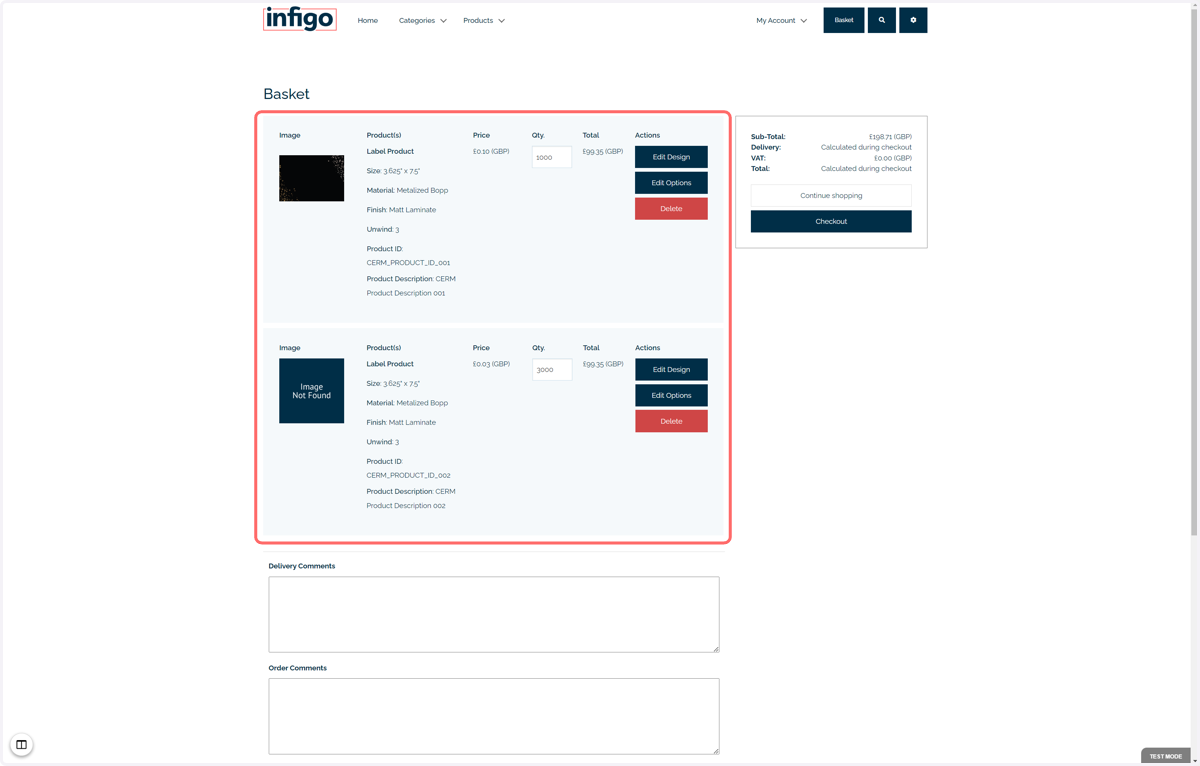
Multiple (Infigo) Products can be added to the basket, including multiple linked to different (CERM) Estimates.
In this example, two (Infigo) Products have been added to the basket. One with artwork, one without.
10. Complete checkout details
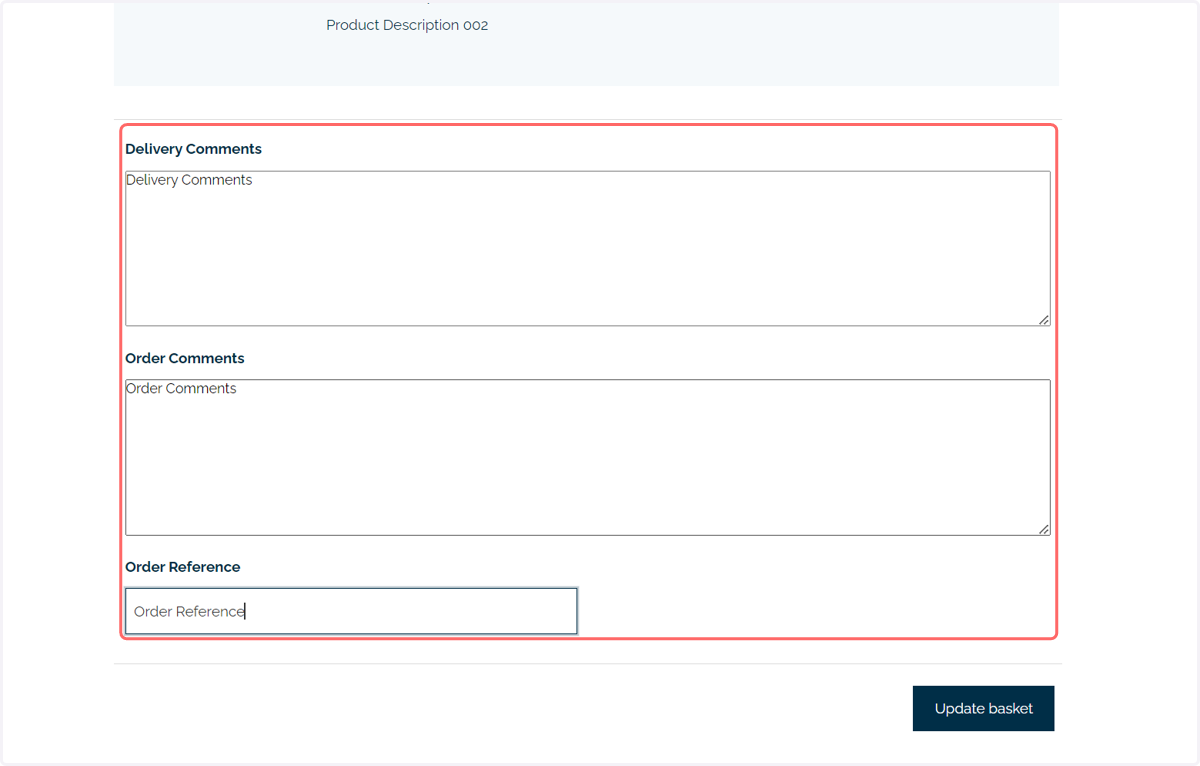
If configured, optionally complete the (Infigo) Checkout Attributes, linked to fields within CERM.
11. Proceed through the checkout and complete the order
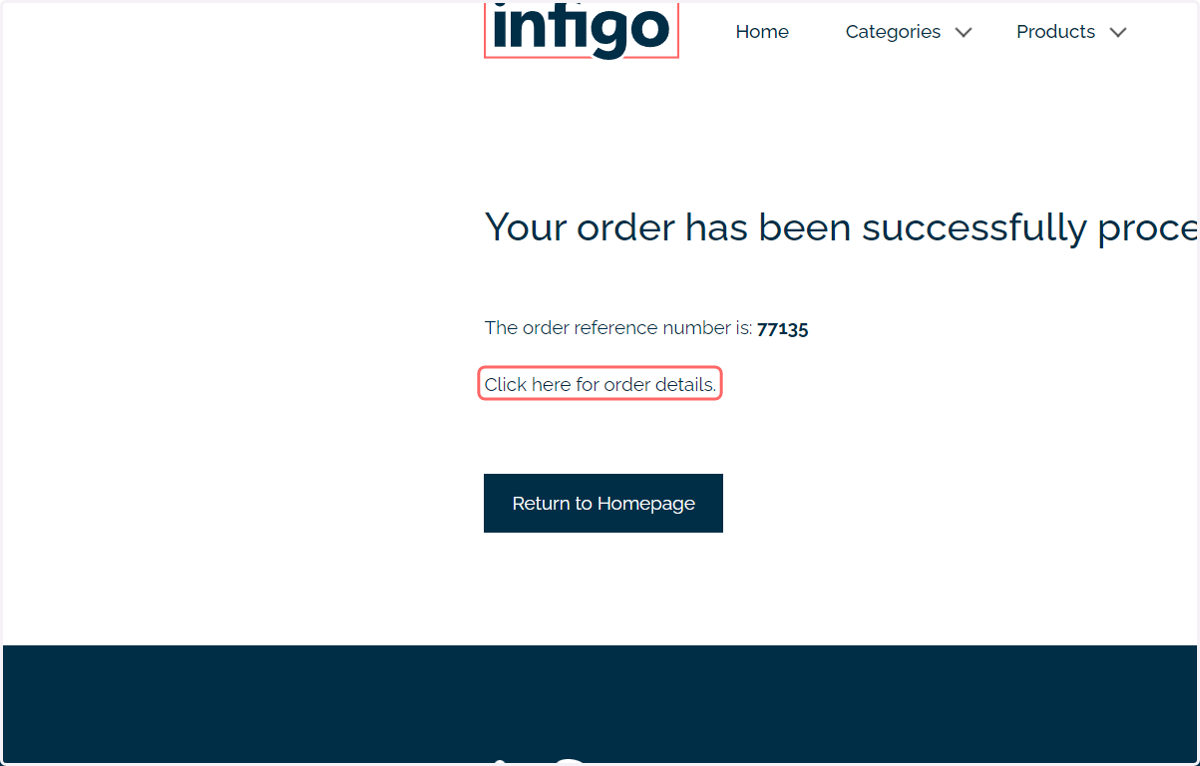
12. Order details can be accessed
13. Order details
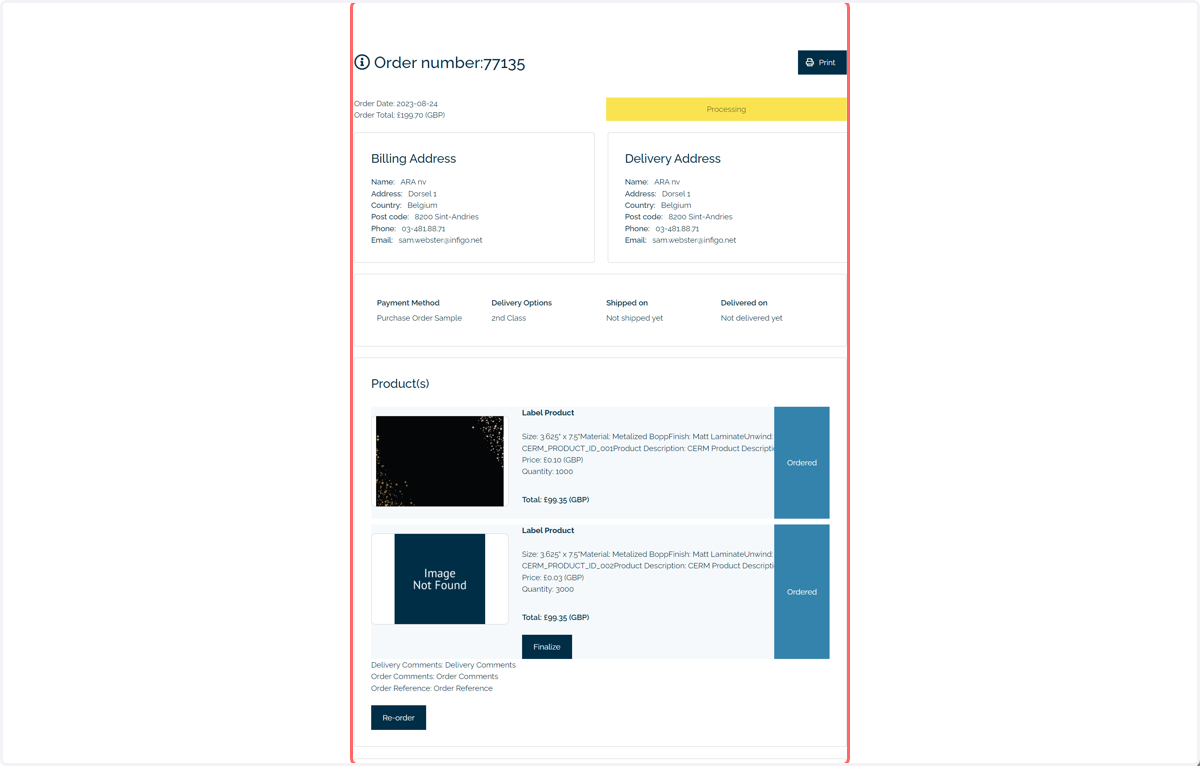
The order has now been placed.
Whilst completing this process in Infigo, several items have been created in CERM. These include:
A (CERM) Estimate | The equivalent of an (Infigo) Quote. These are the completed specification of a piece of work. Whilst the general specification (such as size and materials) is fixed, the artwork is variable. Users can directly reorder from an (CERM) Estimate.
A (CERM) Product | The equivalent of an (Infigo) Job. These are a static piece of work, with fixed specifications and fixed artwork. They are associated with the (CERM) Estimate.
A (CERM) Order | The actual order placed based on the (CERM) Product. In this example, two orders have been placed of the single (CERM) Product.
We investigate these concepts and how they can be utilised within Infigo in alternate tutorials.
14. Estimates
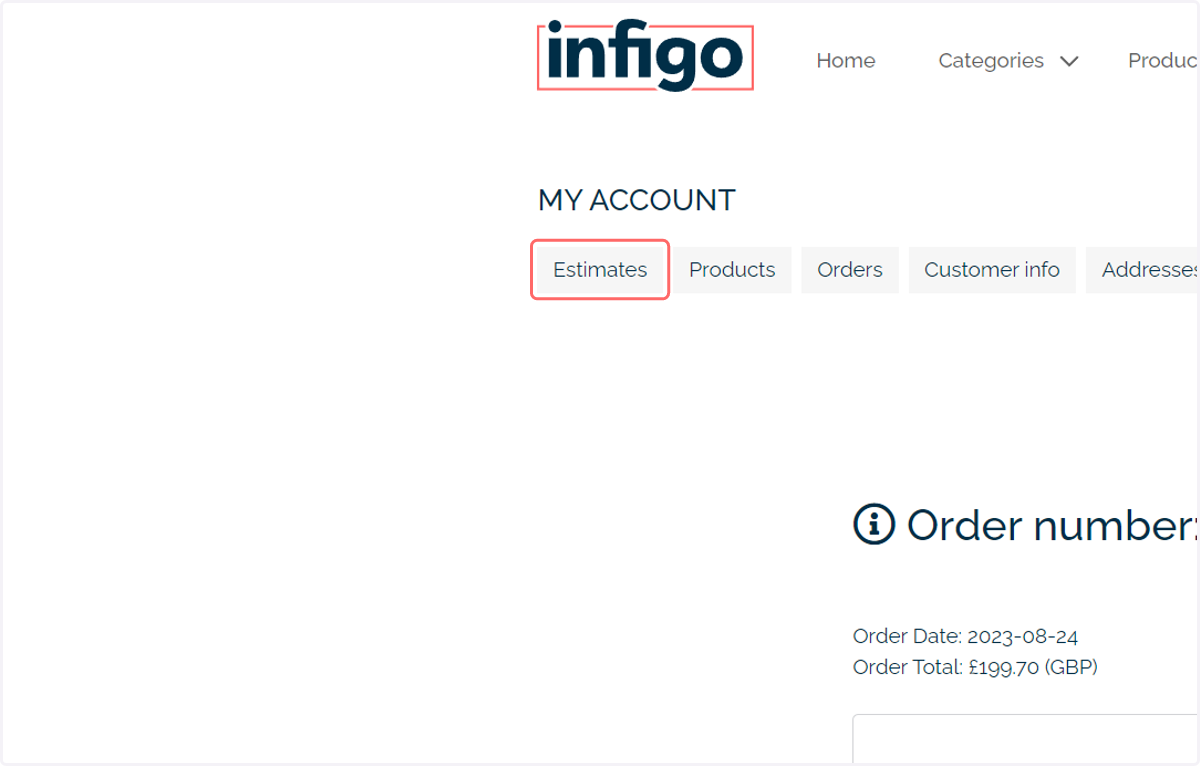
Whilst completing this process, a (CERM) Estimate has been created.
This can be viewed using the Estimates tab in the My Account section.
15. New Estimate
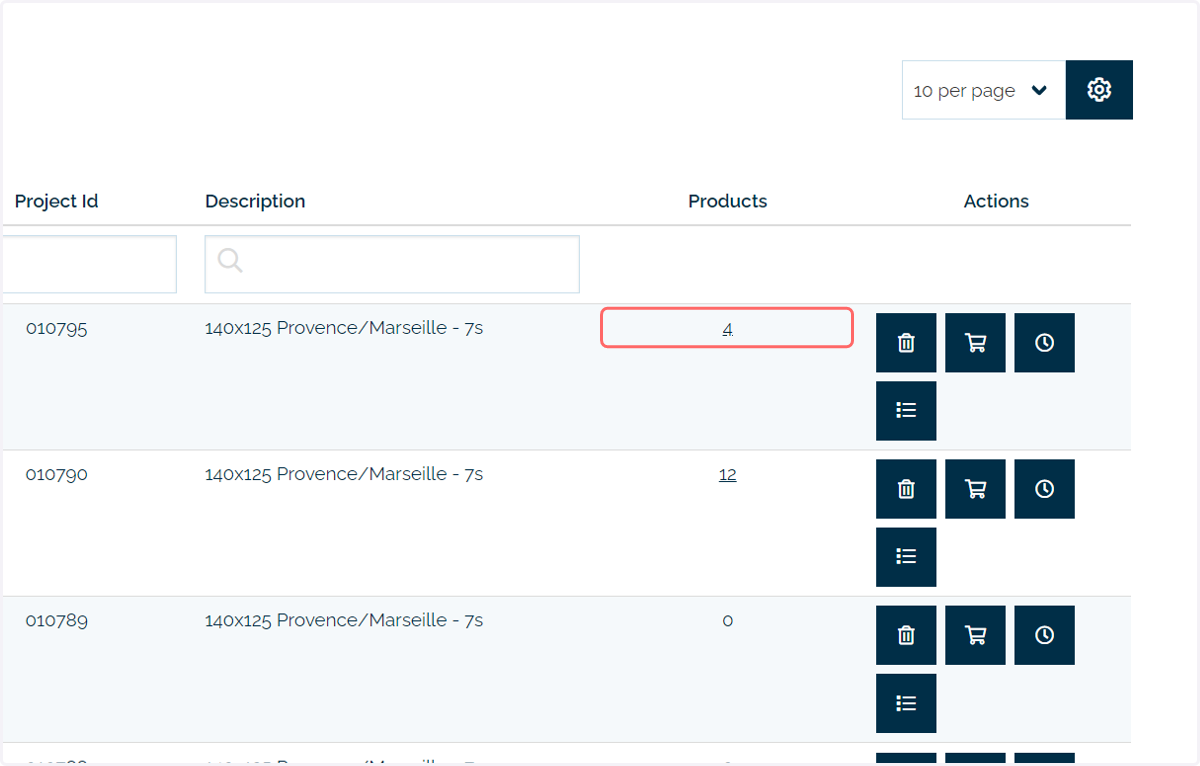
The newly created (CERM) Estimate is visible in this table.
From here, a user can:
View (CERM) Products created from this (CERM) Estimate
Delete a (CERM) Estimate
View and simulate a (CERM) Estimate
Order (CERM) Products using this (CERM) Estimate
Further detail on the Estimates page is found in other tutorials in this series.
In our example, we will click to view the (CERM) Products created from the (CERM) Estimate
16. Products
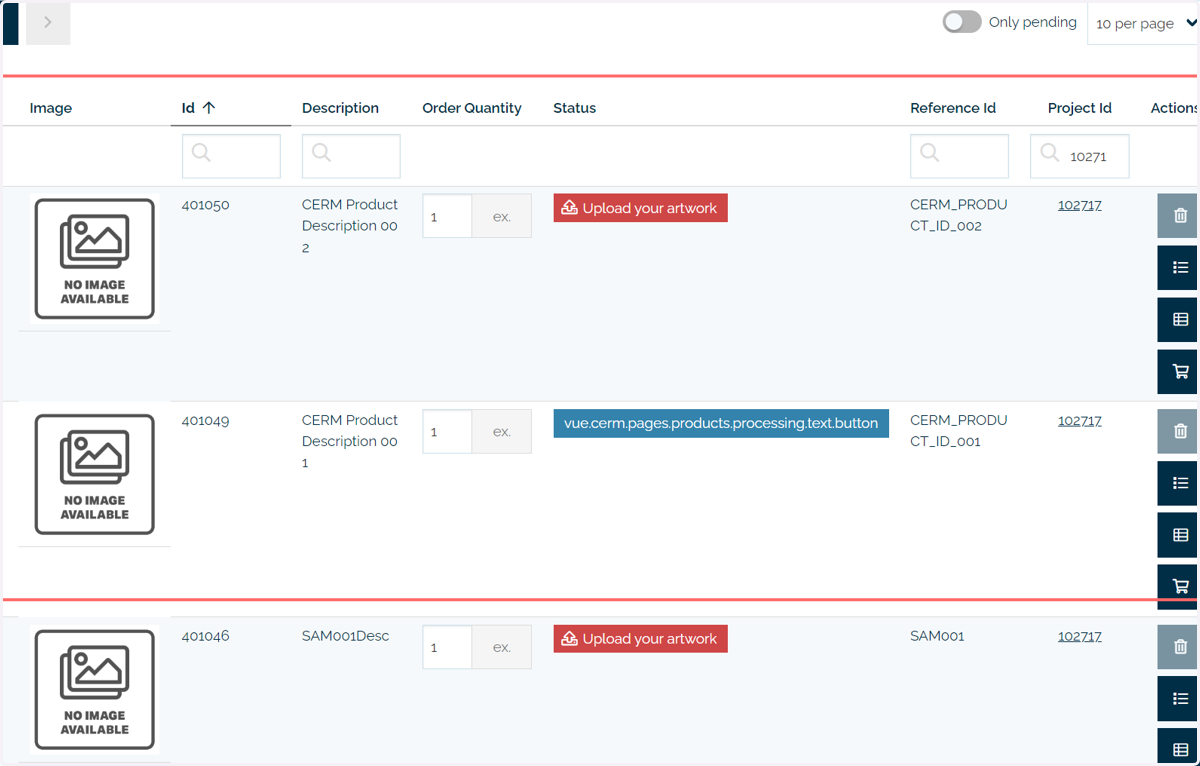
This page in the My Account section shows all (CERM) Products associated with the user.
In this case, the list has been filtered automatically using the Project ID column, to show only (CERM) Products created from the (CERM) Estimate we were investigating.
We can see the two (CERM)Products created from our recent order. One has artwork uploaded, whilst the other is awaiting the upload of artwork.
Descriptions and IDs have been populated based on data entered on the (Infigo) Product landing page.
Further detail on the Products page is found in other tutorials in this series.
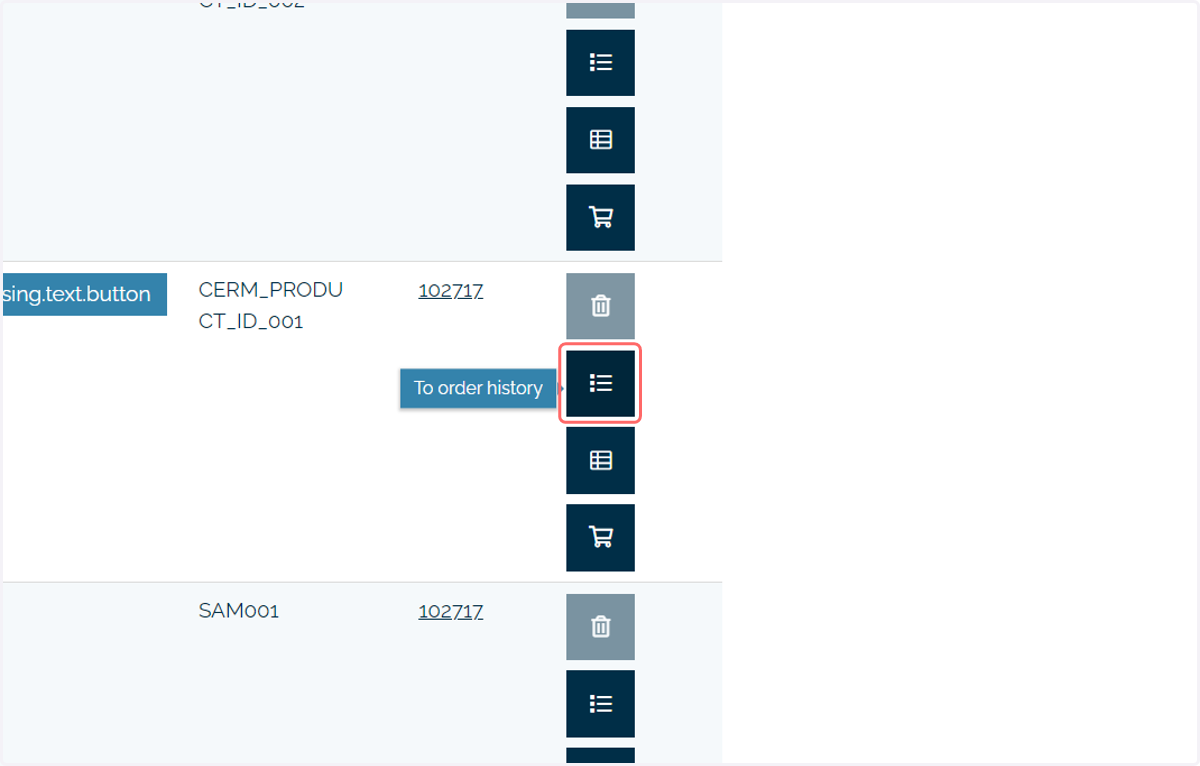
17. Click on To order history
In our example, we will click to view the (CERM) Orders created from the (CERM) Product
18. Individual orders
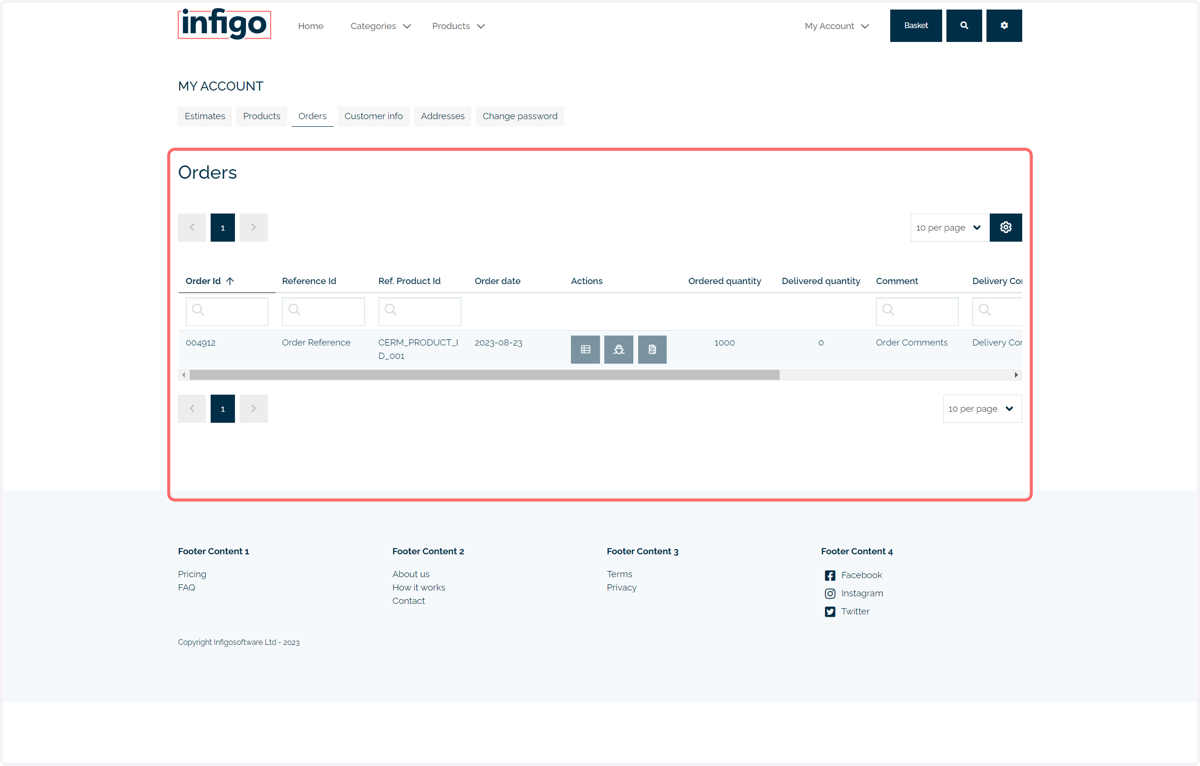
Individual orders of each (CERM) Product are displayed on the Orders page of the My Accounts section.
Further detail of that order can be obtained from this page.