4. Contact Submission Process

User Guide | HubSpot

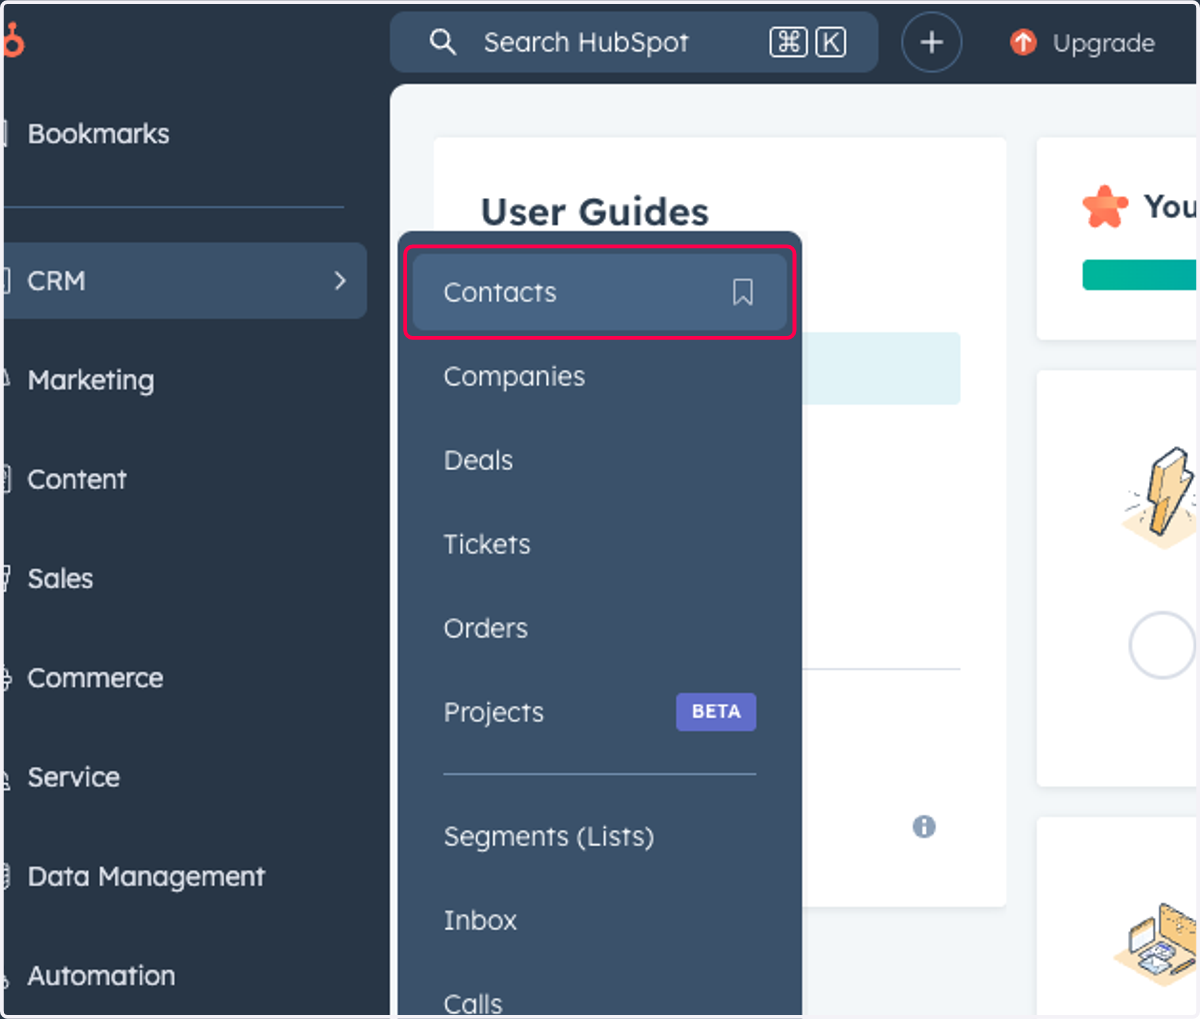
  1. 1. Click on Contacts

    Click on Contacts
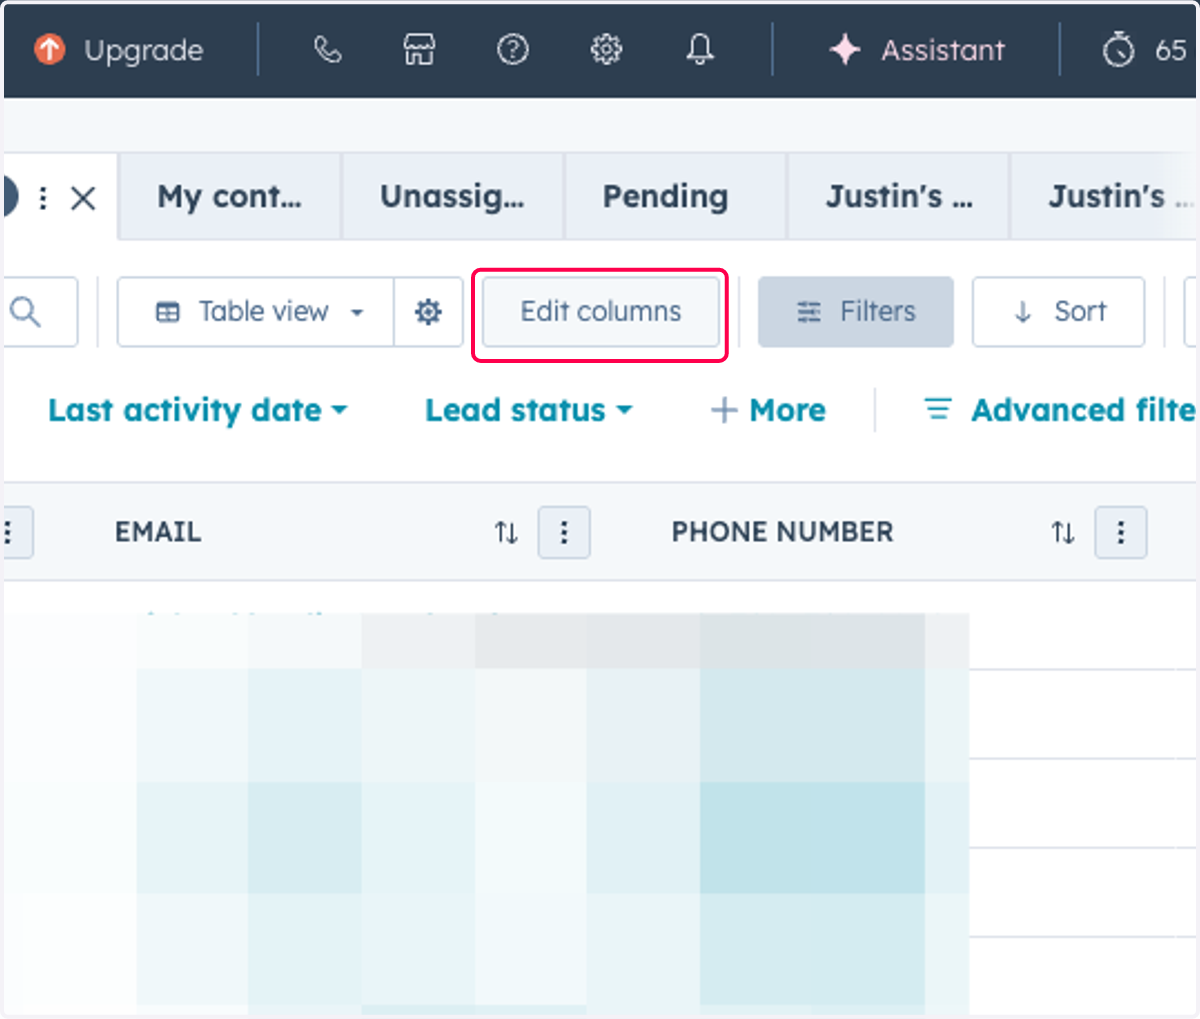
  2. 2. Click on Edit columns

    Click on Edit columns
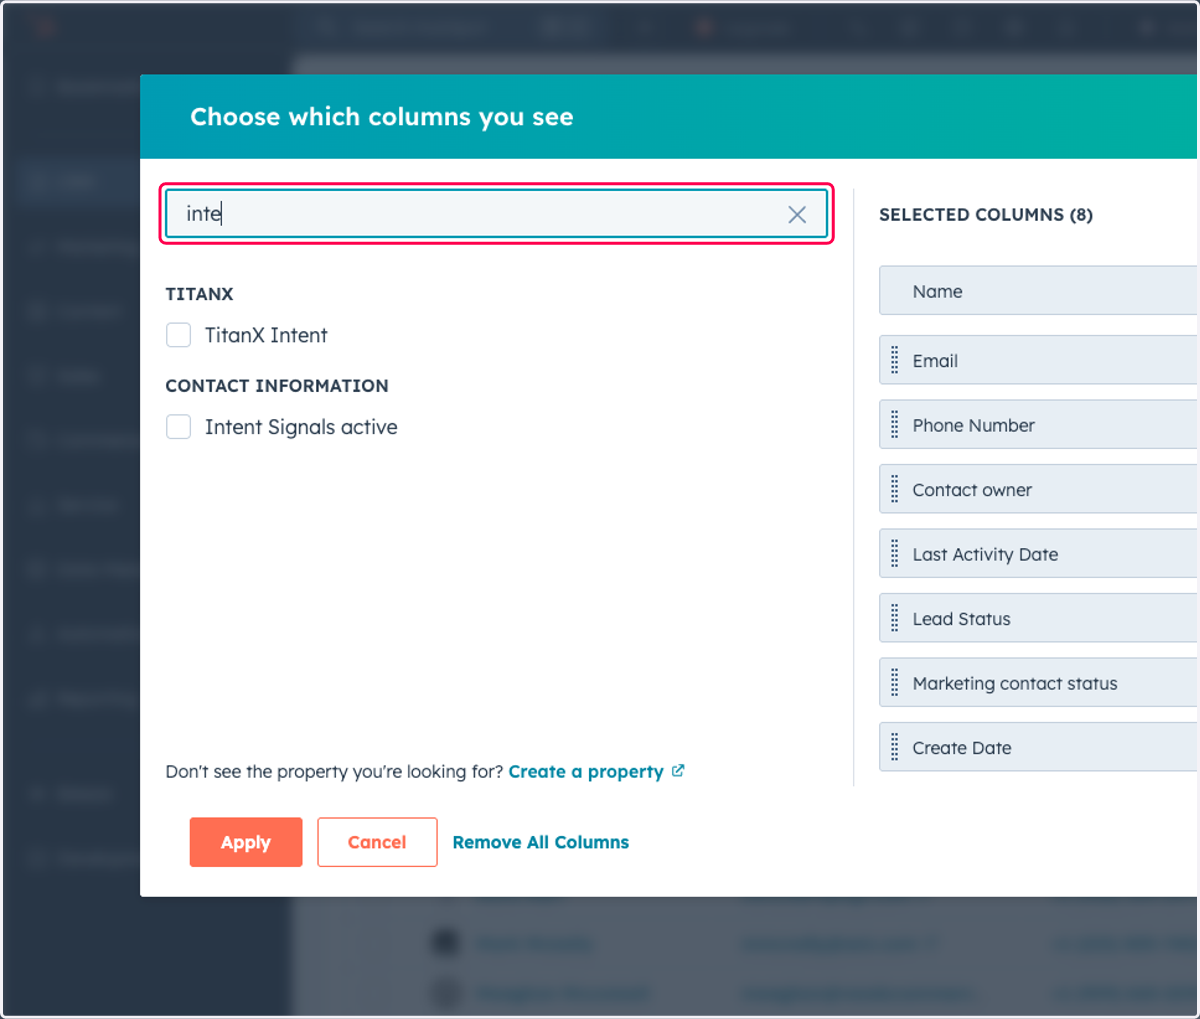
  3. 3. Type "inte"

    Type "inte"
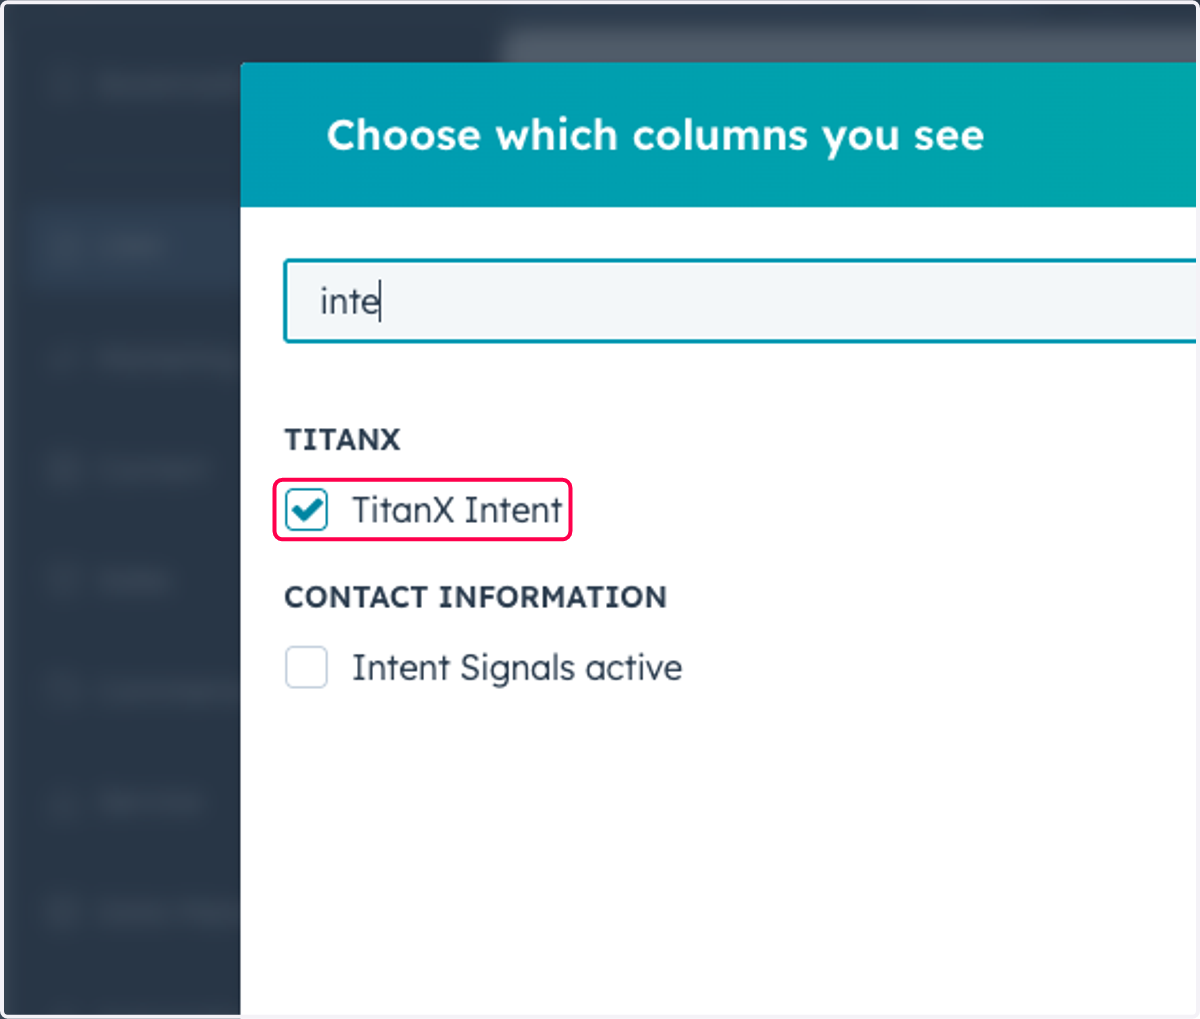
  4. 4. Check TitanX Intent

    Check TitanX Intent
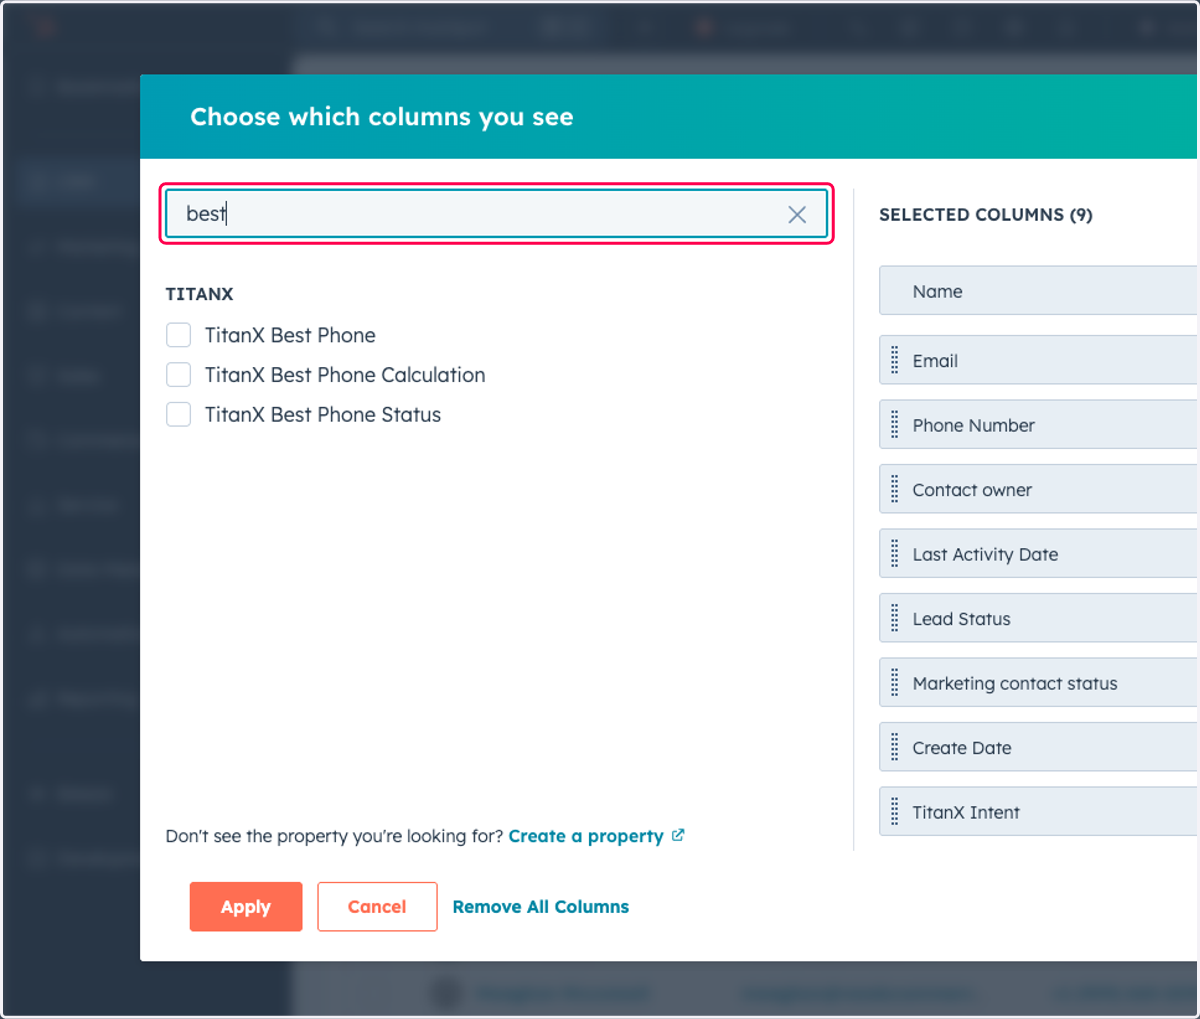
  5. 5. Type "best"

    Type "best"
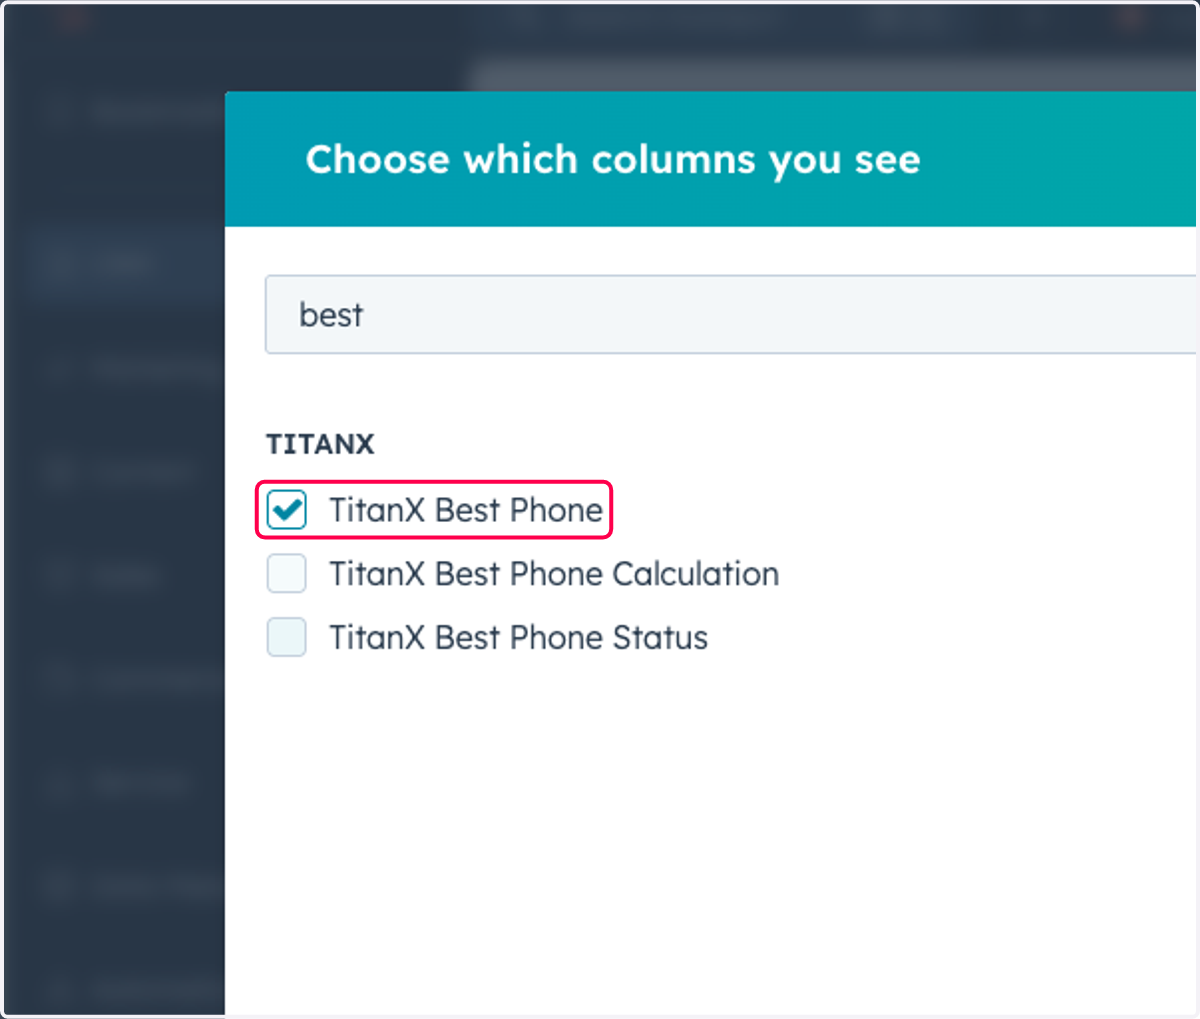
  6. 6. Check TitanX Best Phone

    Check TitanX Best Phone
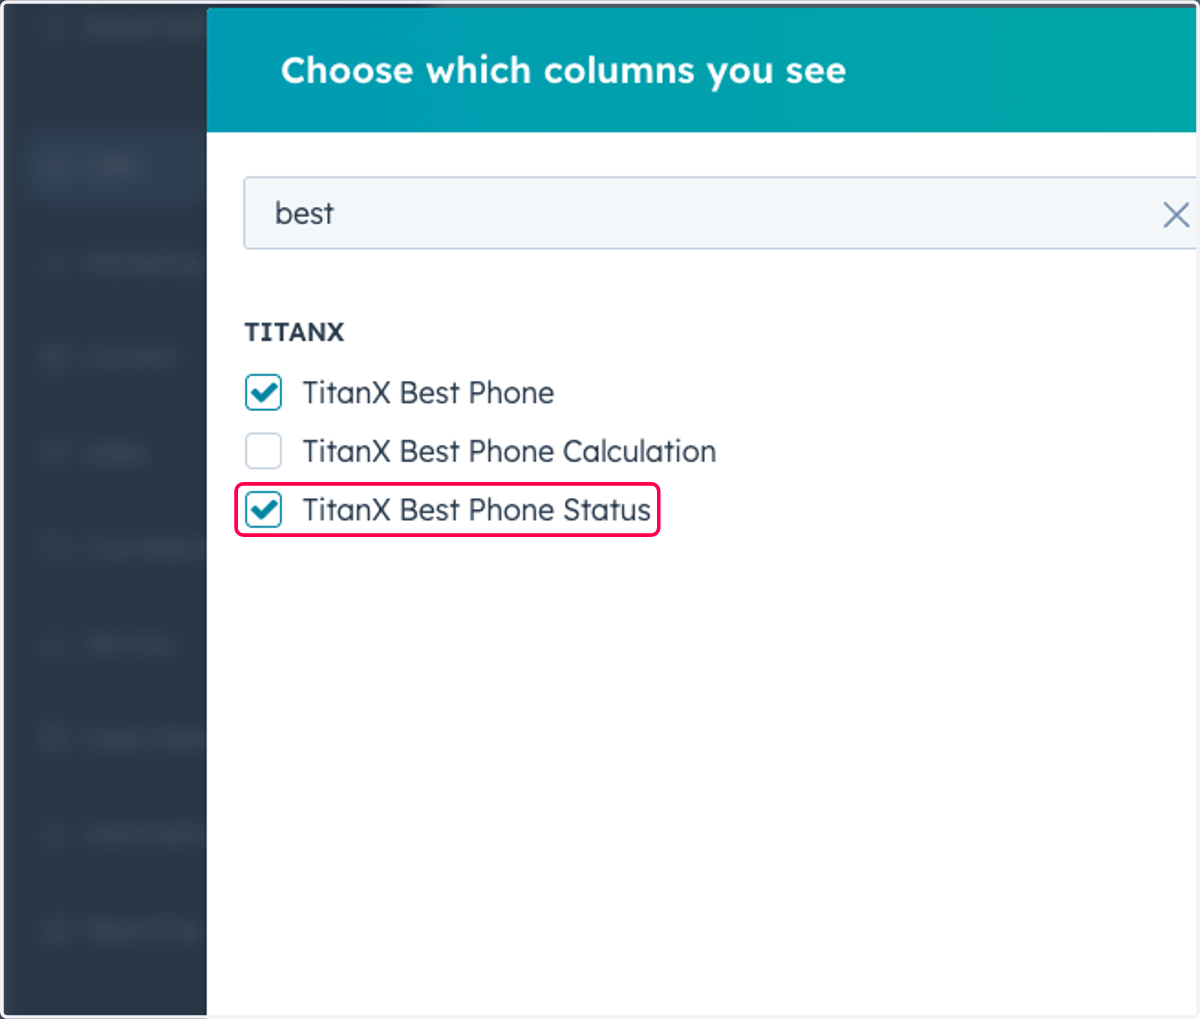
  7. 7. Check TitanX Best Phone Status

    Check TitanX Best Phone Status
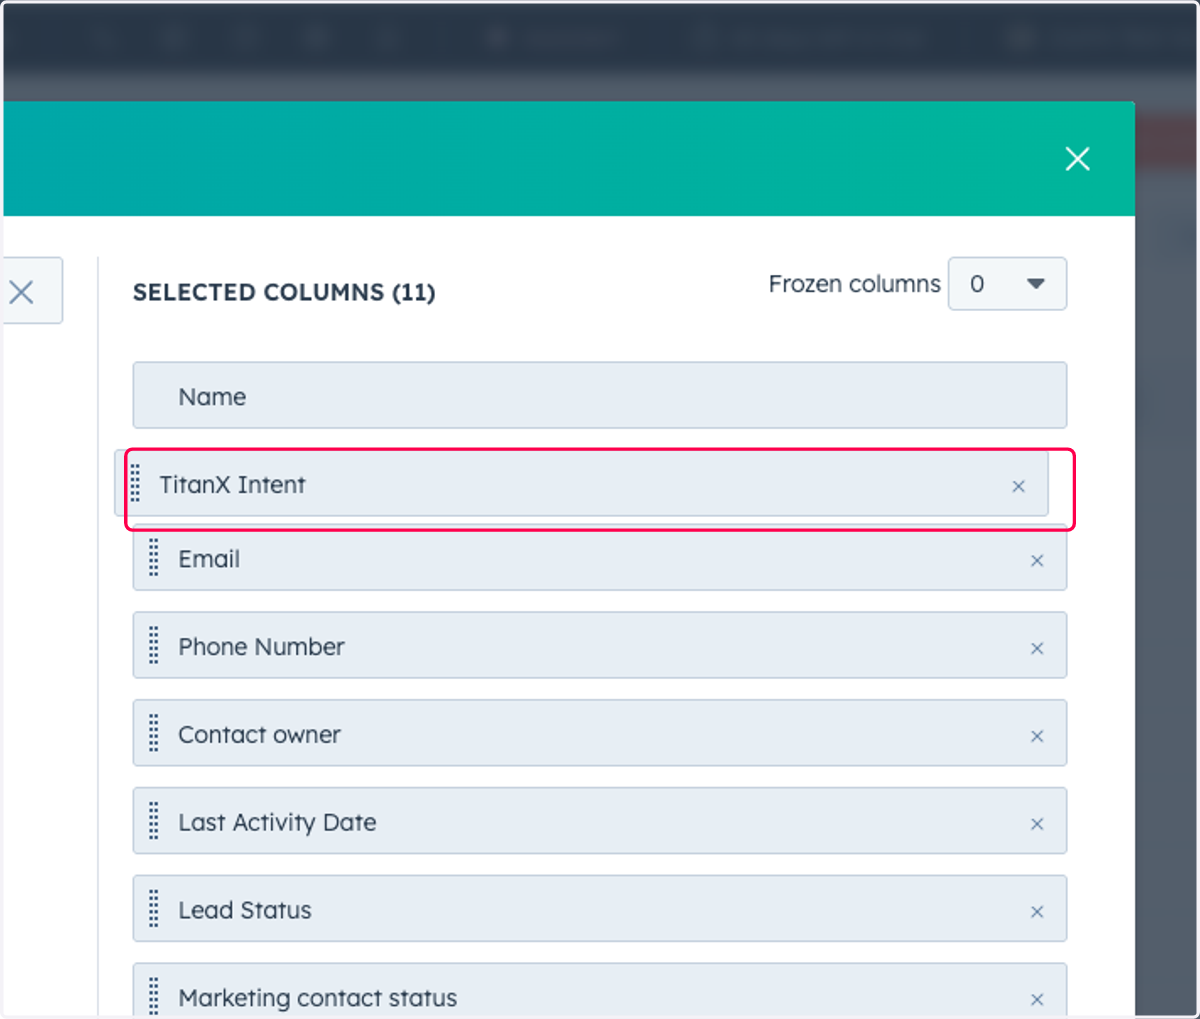
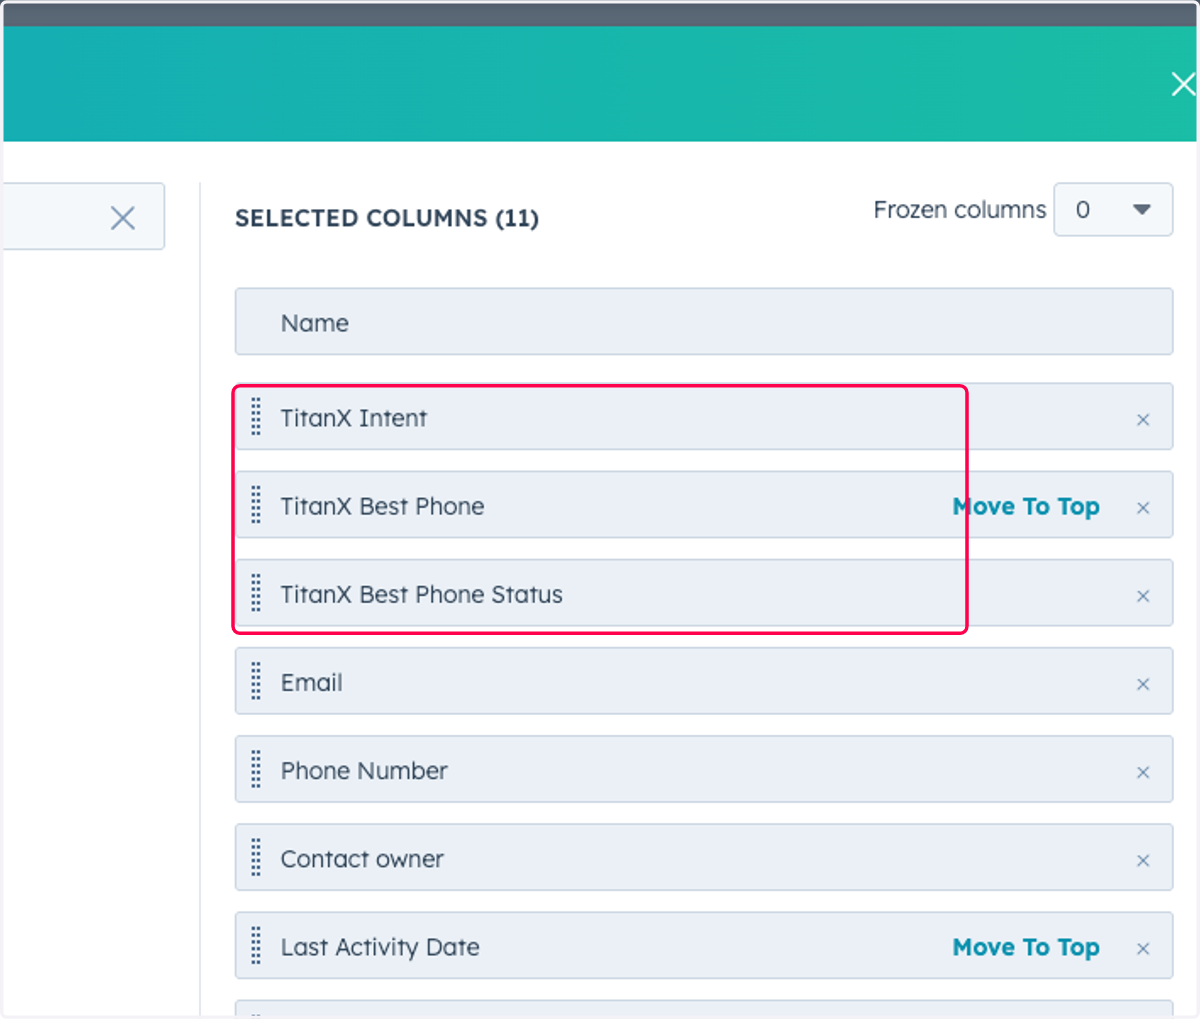
  8. 8. Drag TitanX Fields Up

    Drag TitanX Fields Up
  9. 9. Confirm Layout

    Confirm Layout
  10. 10. Click on Apply

    Click on Apply
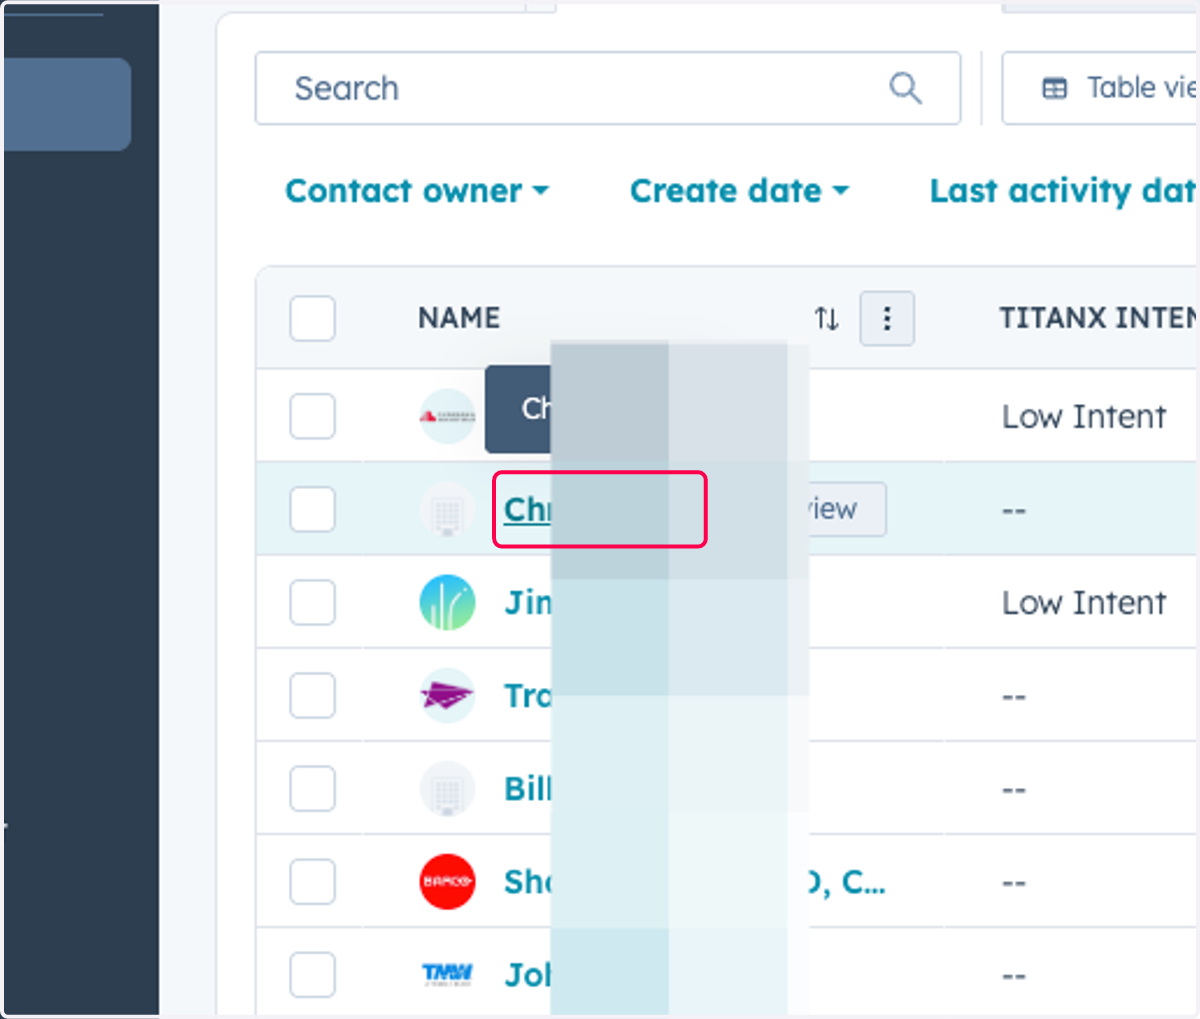
  11. 11. Click on a Contact

    Click on a Contact
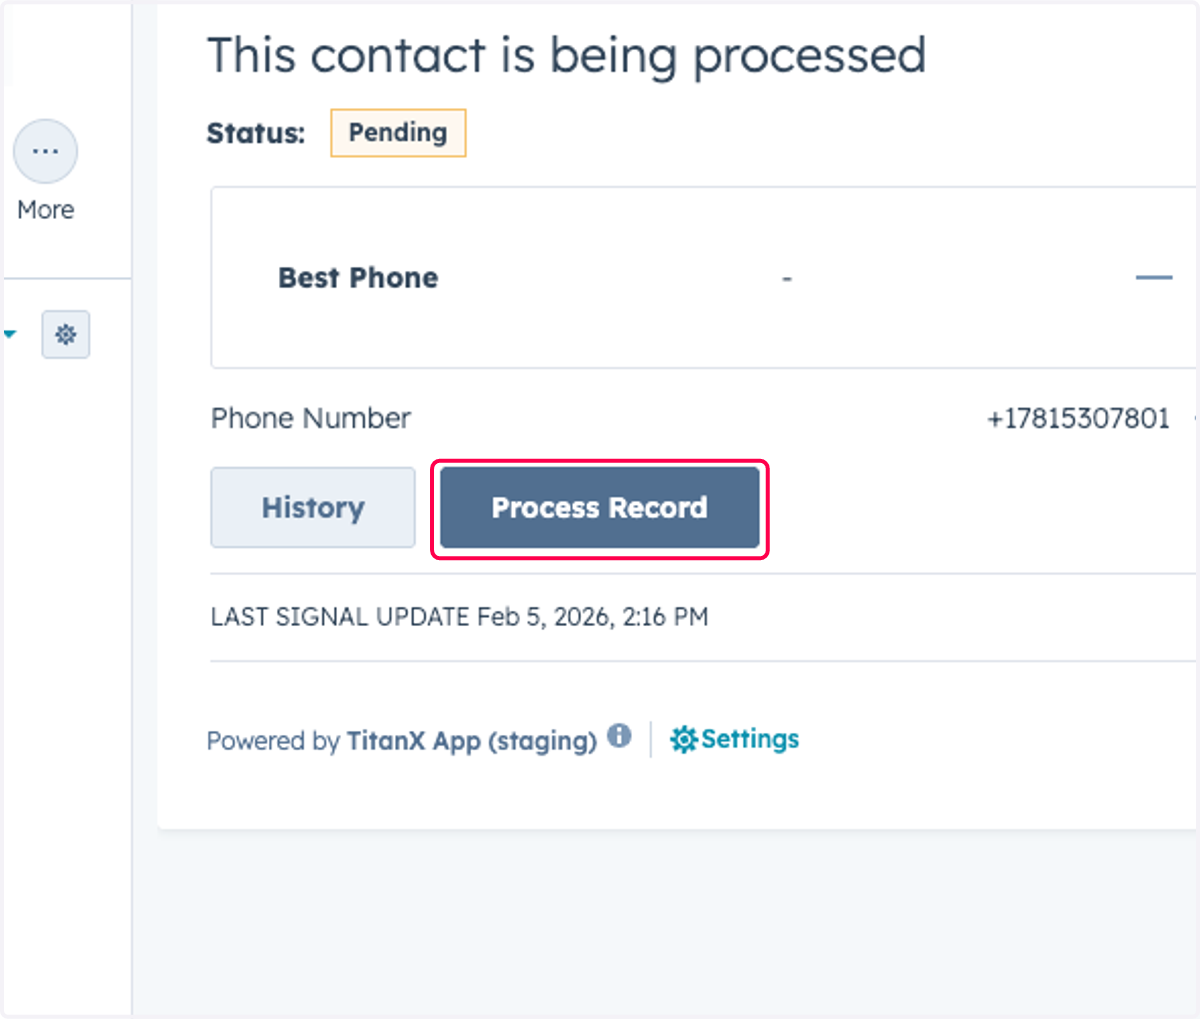
  12. 12. Click on Process Record

    Click on Process Record
  13. 13. Click on your preferred scoring model
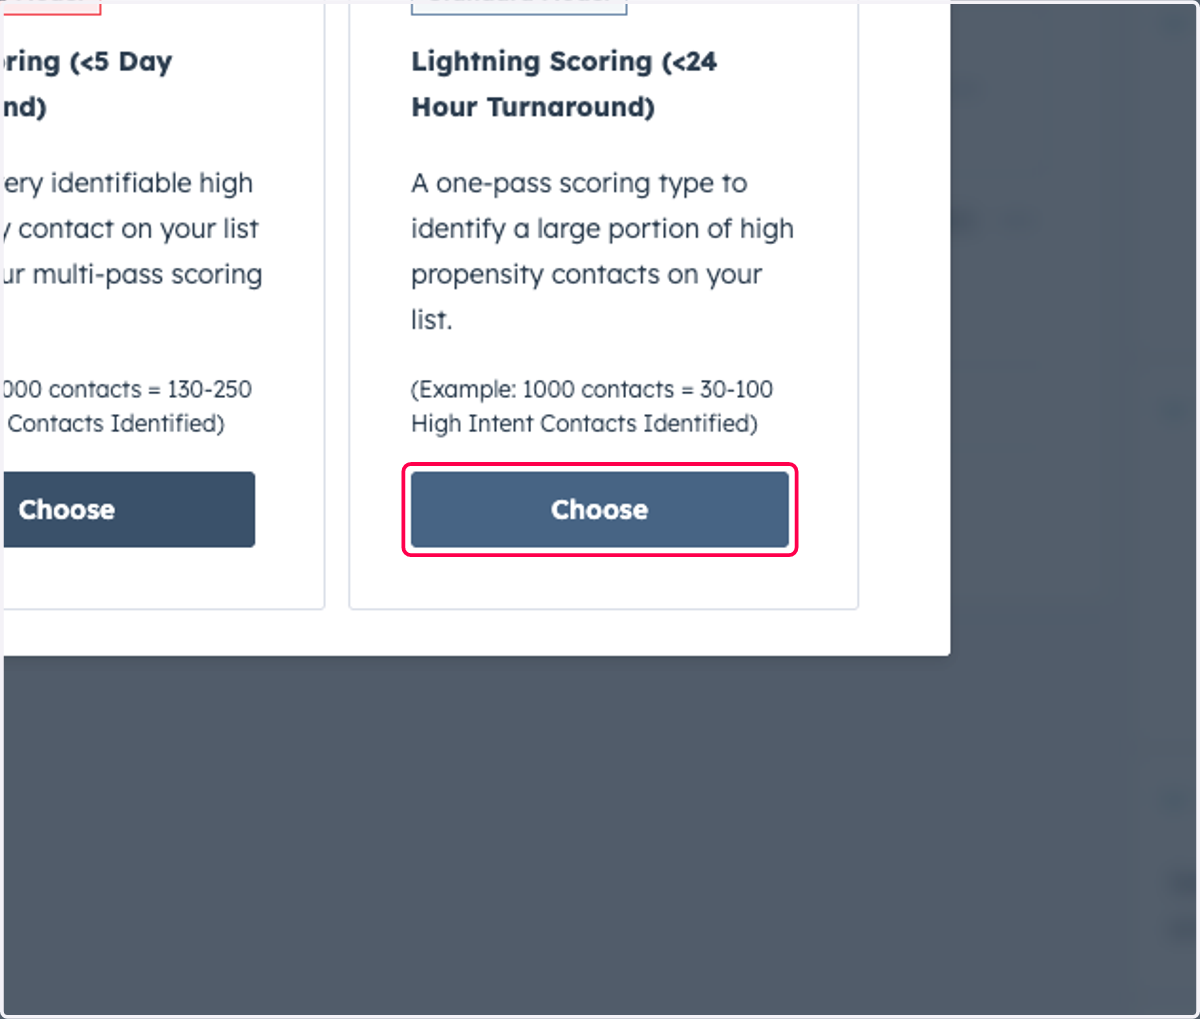
    Click on your preferred scoring model
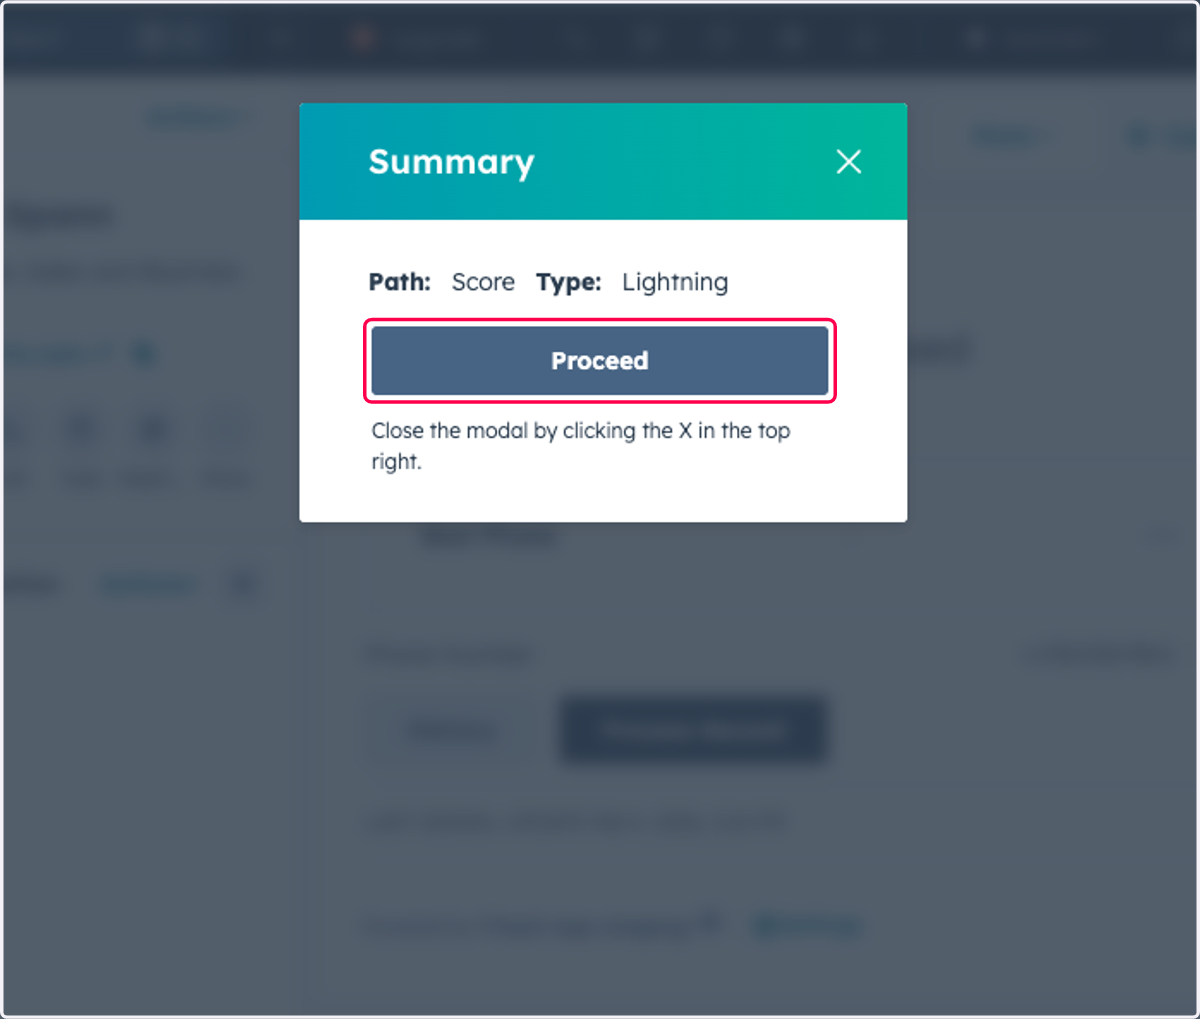
  14. 14. Click on Proceed

    Click on Proceed
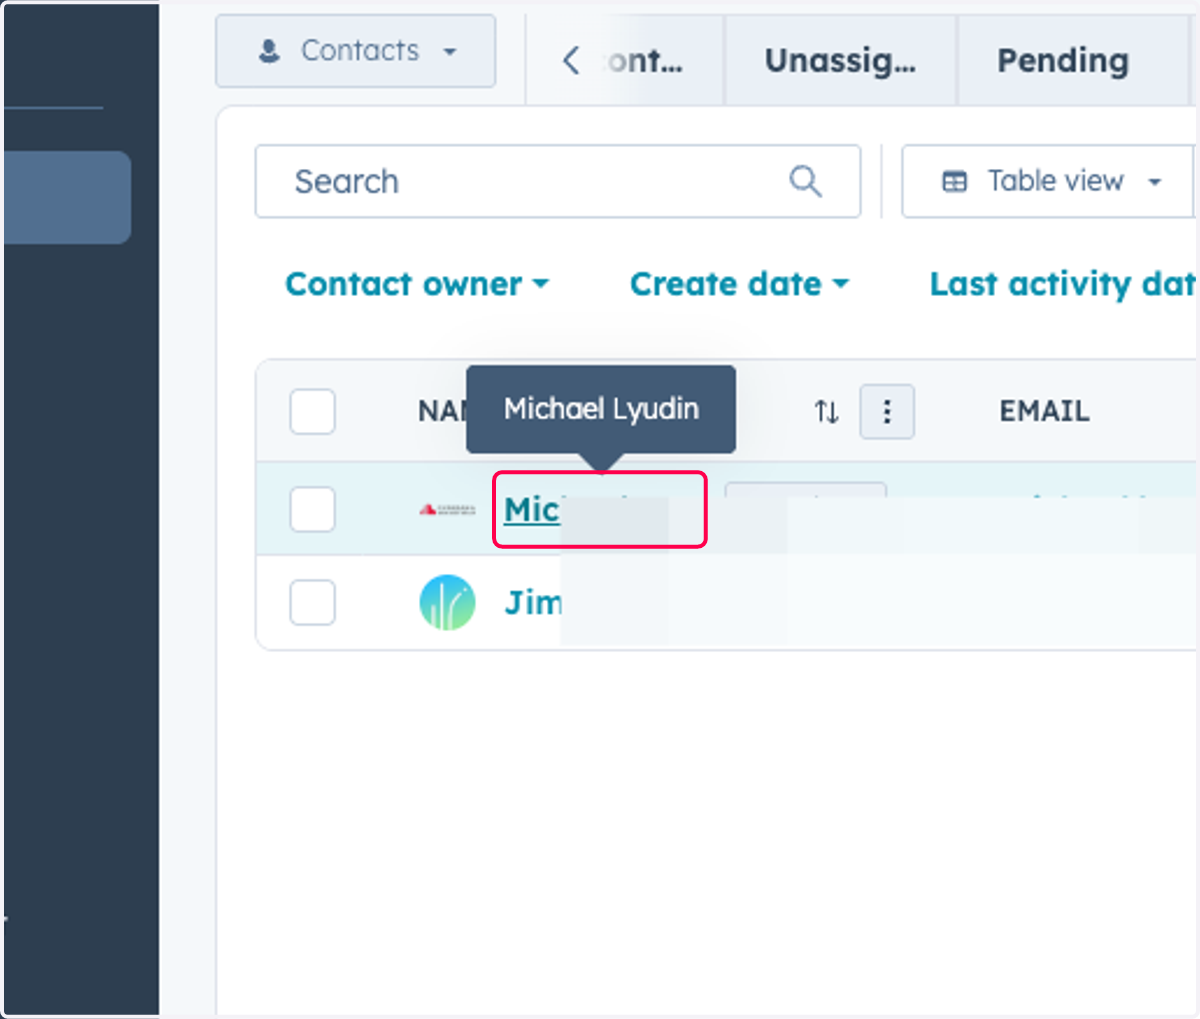
  15. 15. Contacts that are actively being scored will have a "pending" status
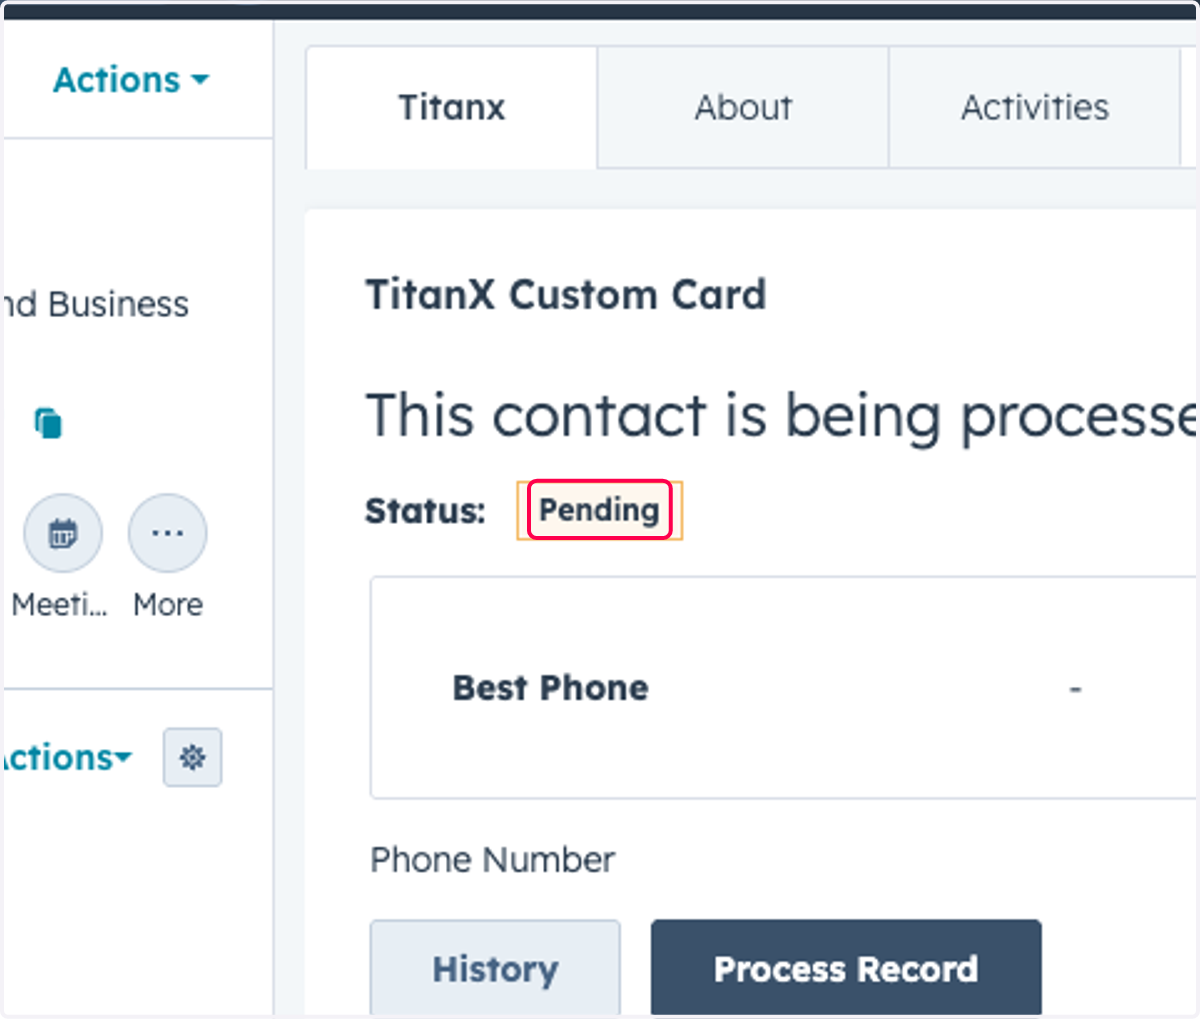
    Contacts that are actively being scored will have a "pending" status
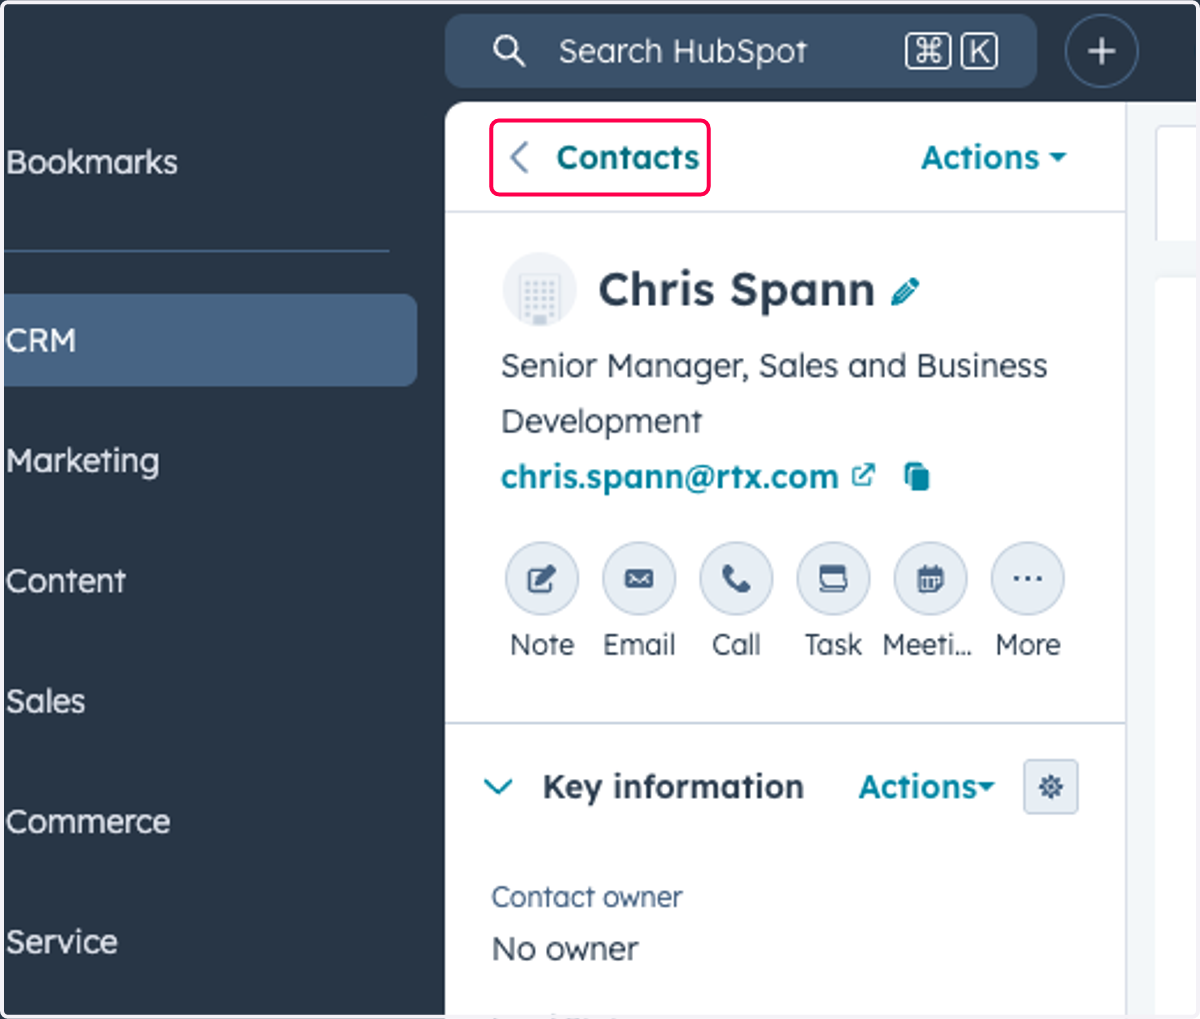
  16. 16. Click on Contacts

    Click on Contacts
  17. 17. Once scoring is complete you can go to your custom contact tables to view
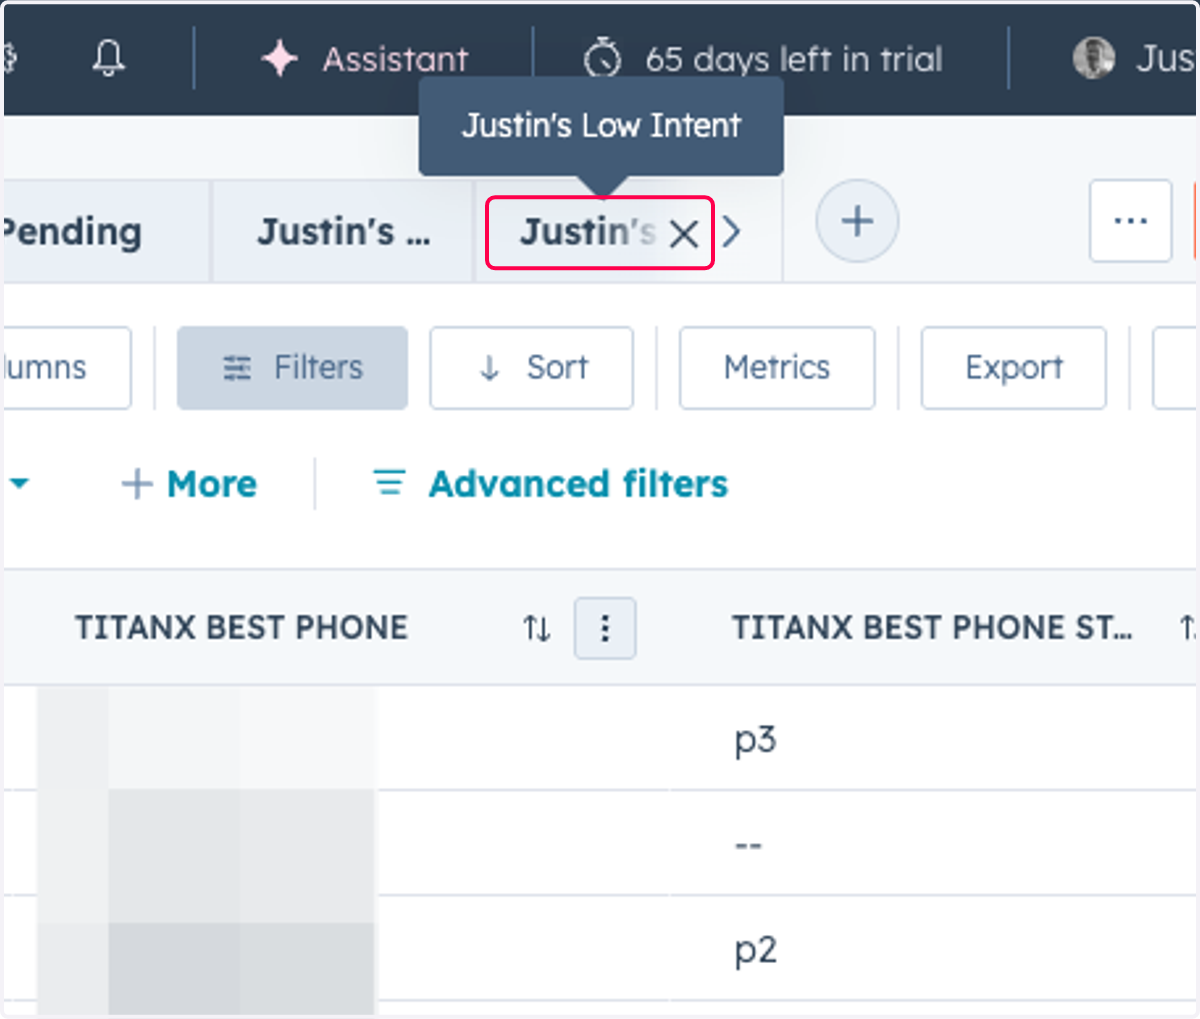
    Once scoring is complete you can go to your custom contact tables to view
  18. 18. Click on a contact

    Click on a contact
  19. 19. This is what a completed record will look like
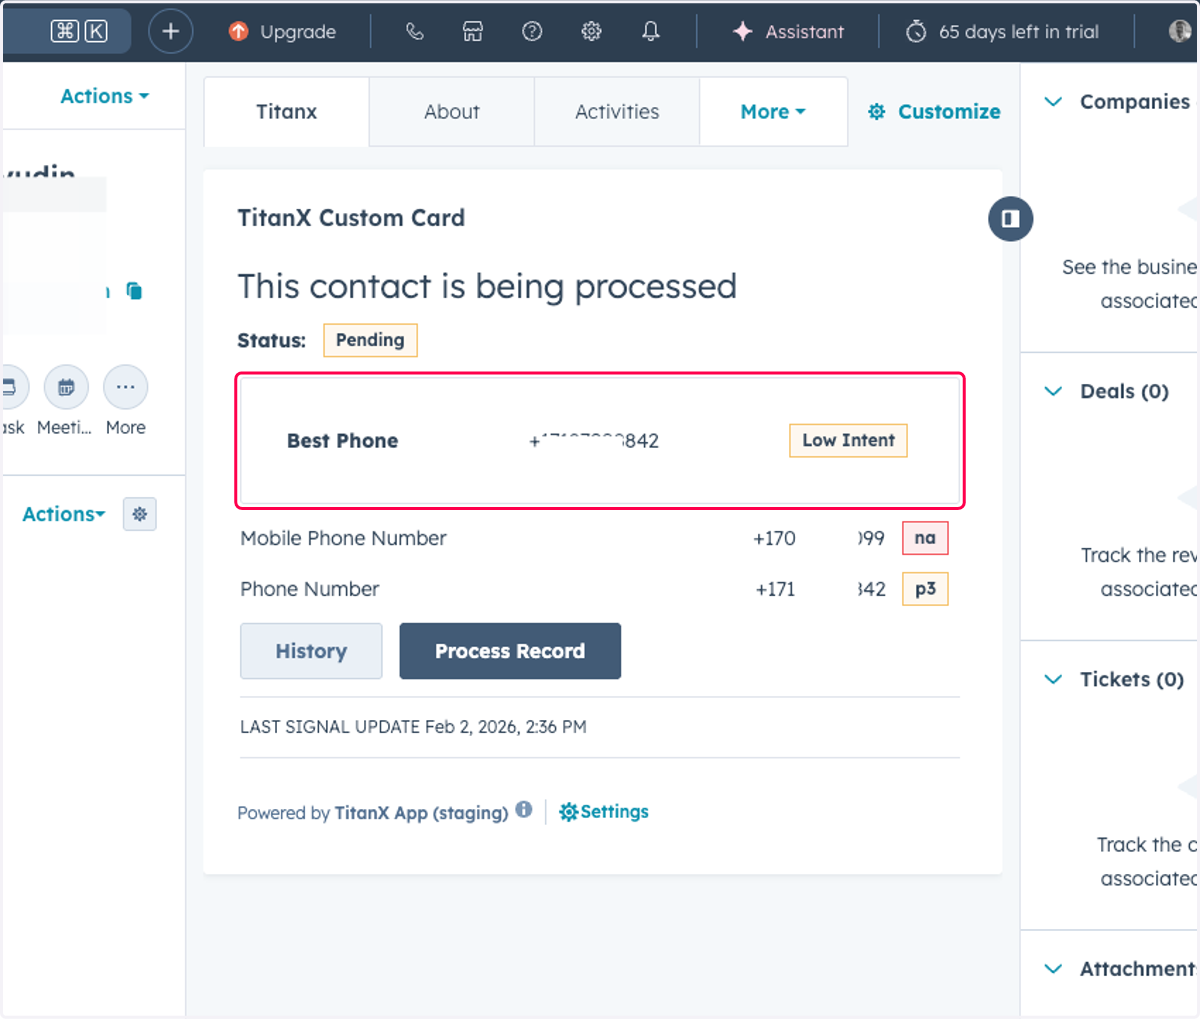
    This is what a completed record will look like
  20. 20. Click on History to view your submission history on that contact
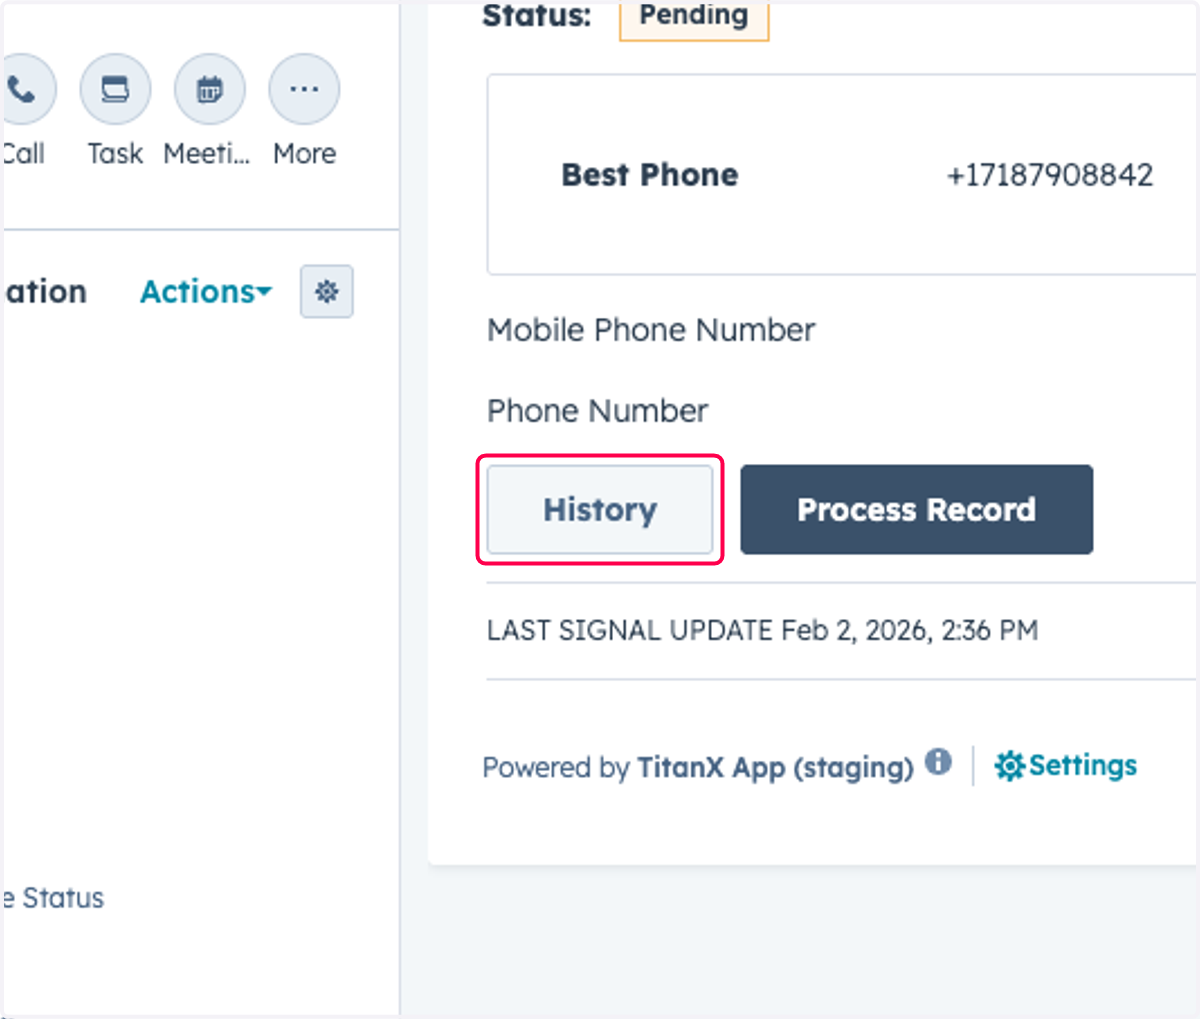
    Click on History to view your submission history on that contact
  21. 21. Here you will see a record of each time a contact was submitted
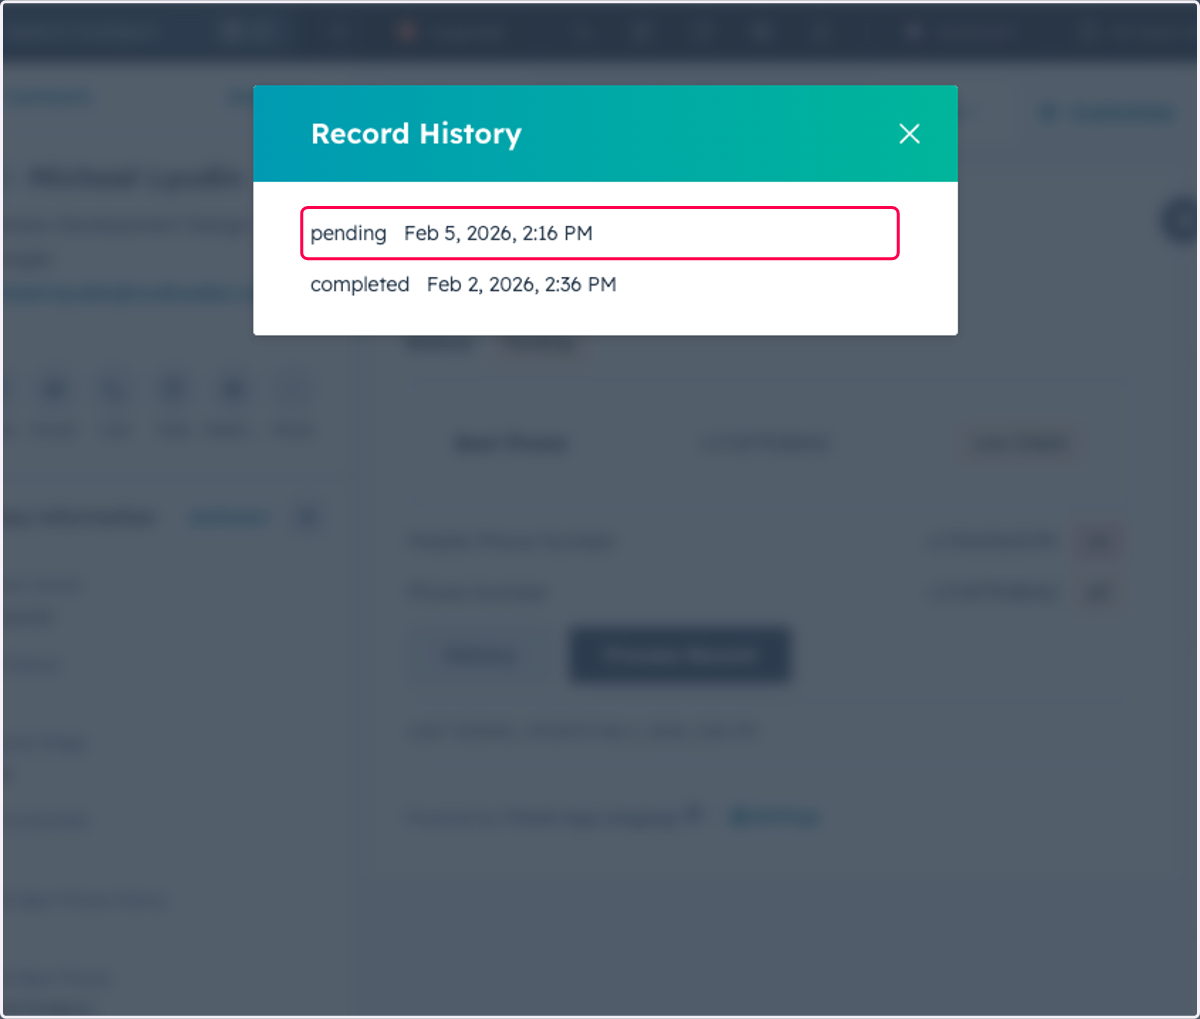
    Here you will see a record of each time a contact was submitted
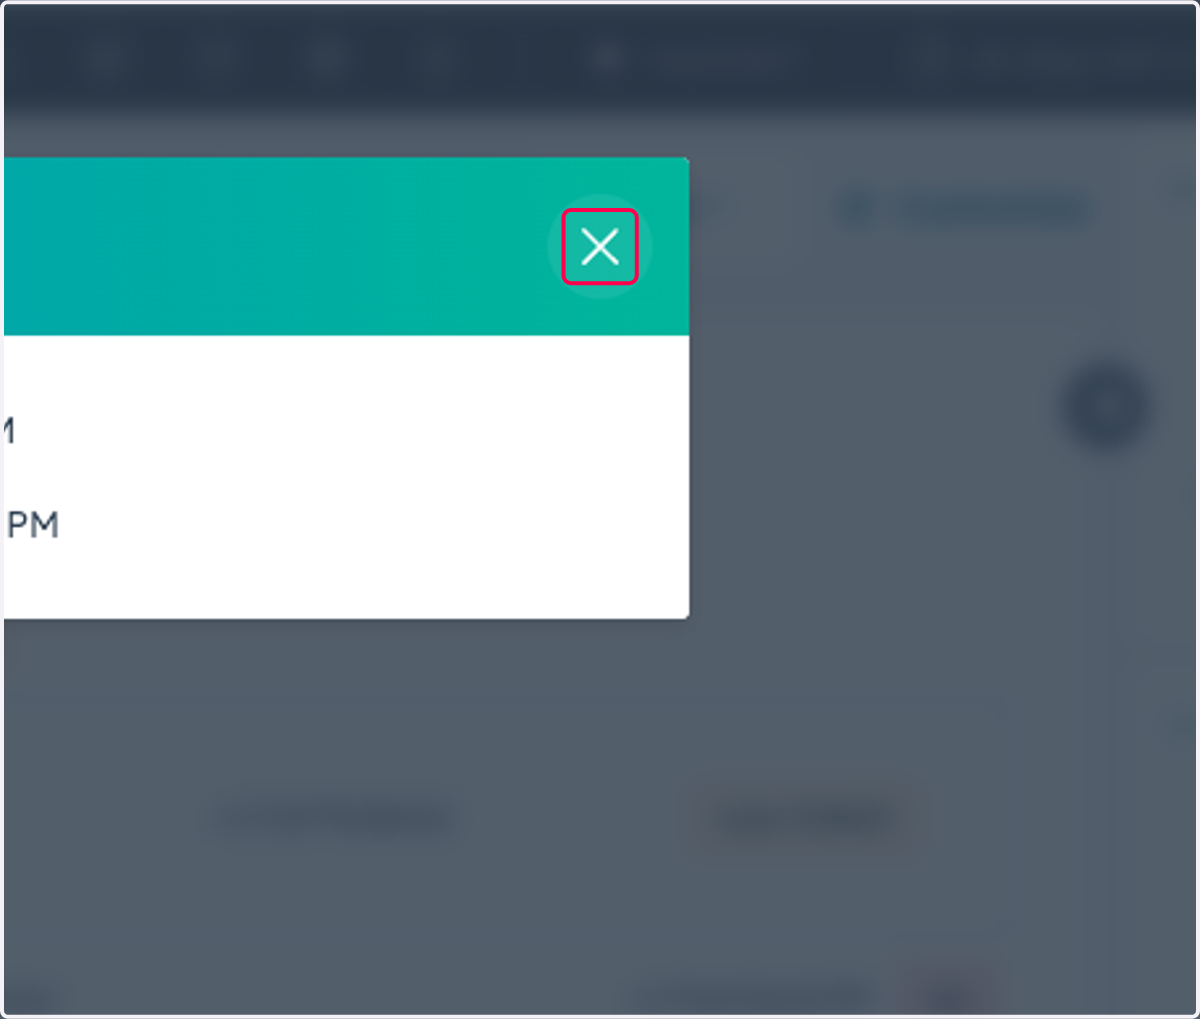
  22. 22. Click on Close

    Click on Close