Managing Special Orders
Create or Edit a Special Order
1. Click Inventory Management
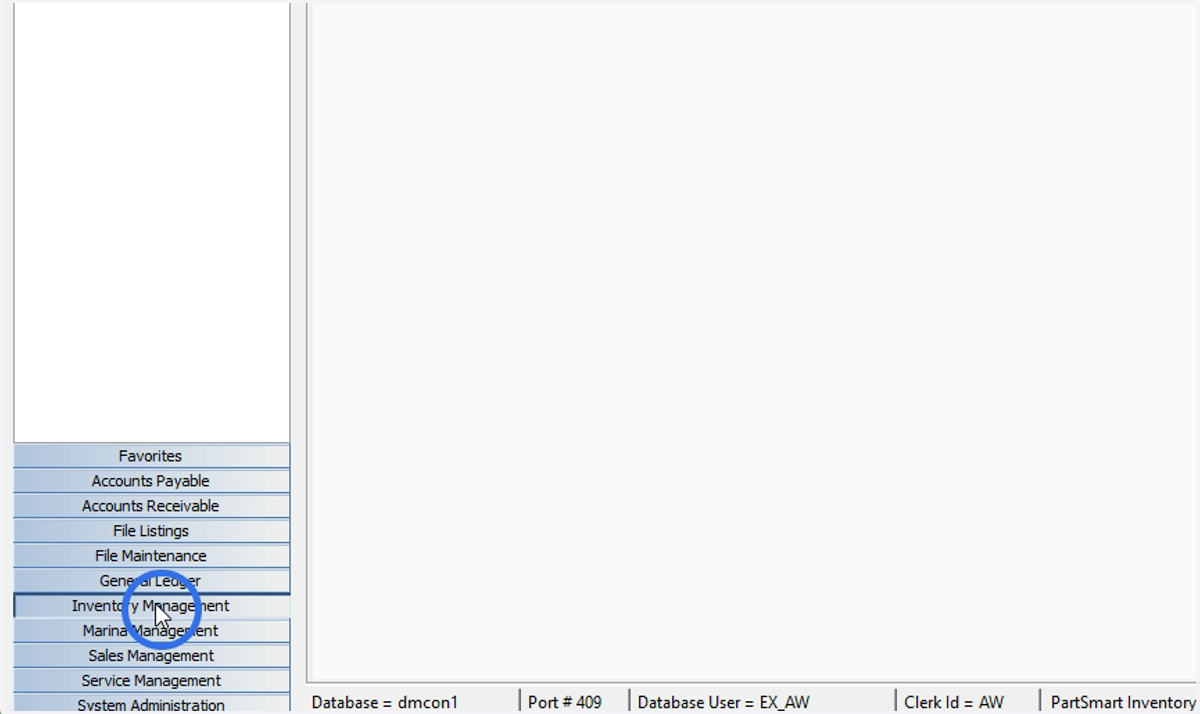
2. Click Special Orders
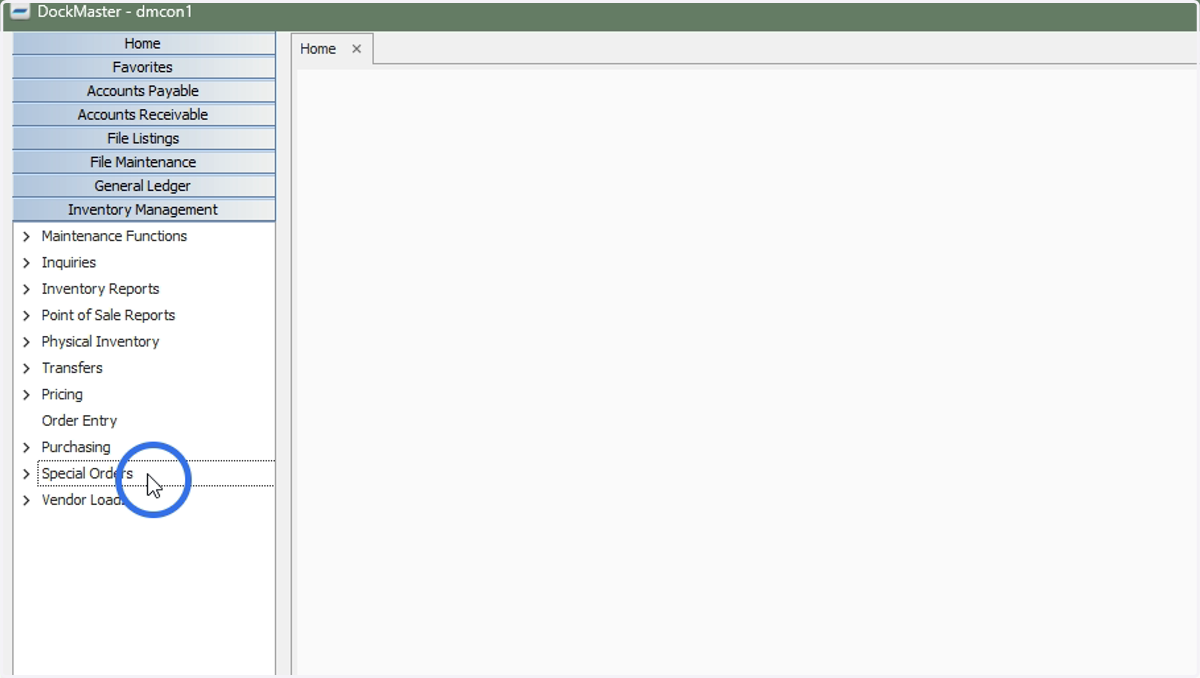
3. Click Maintenance
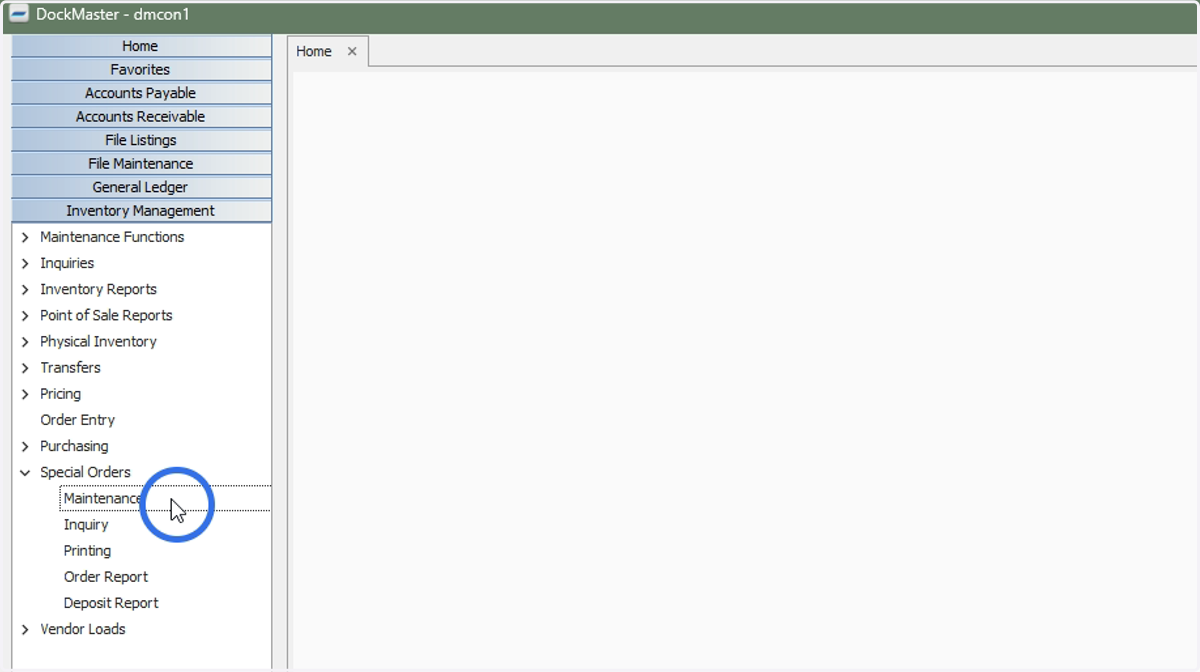
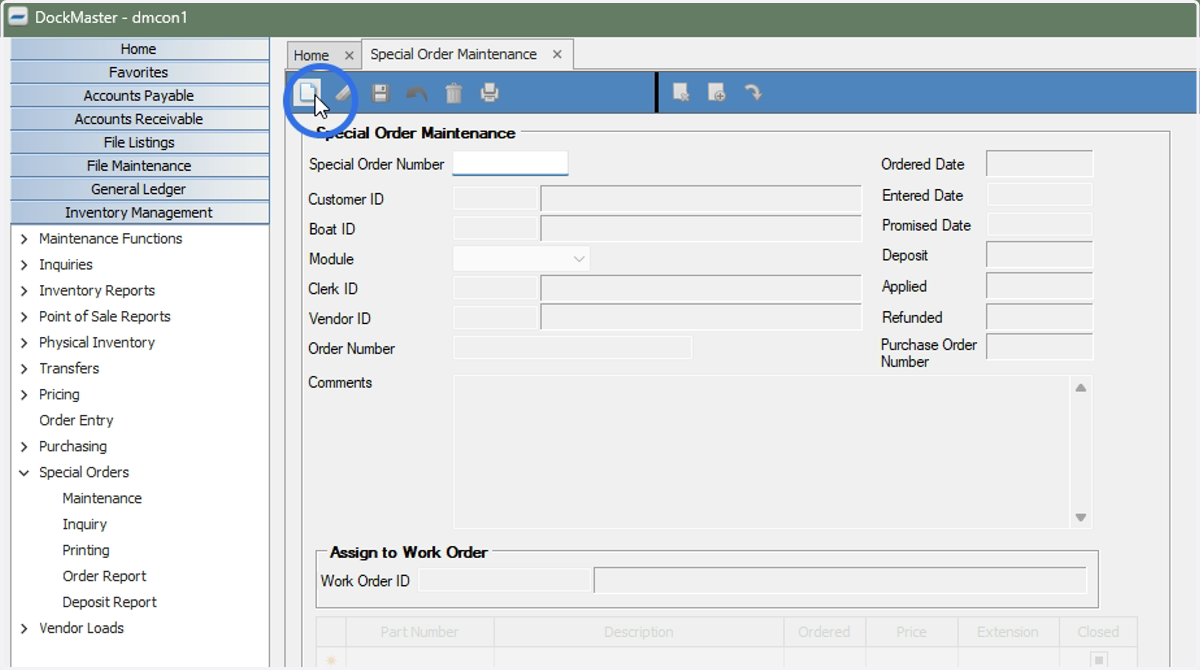
4. To create a new SO, click the blank sheet icon or type 'N' and press enter
To edit an existing SO, right click and list or enter the special order number
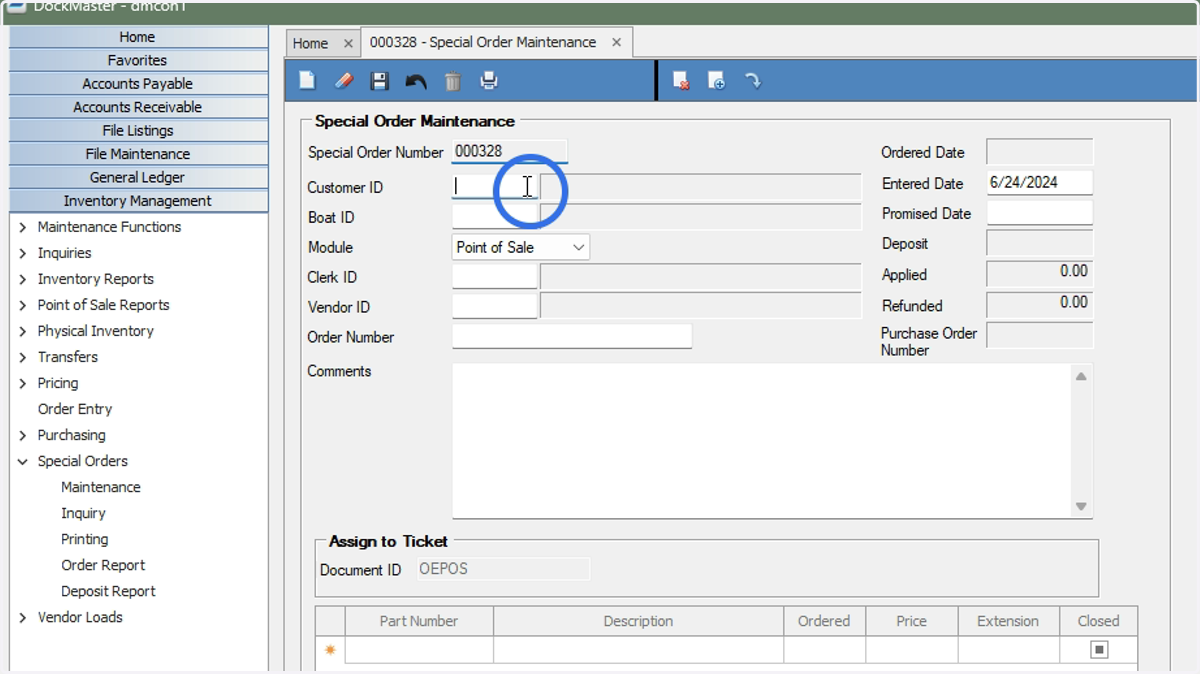
5. Enter the Customer ID
Right click and list or F6 to search existing customers
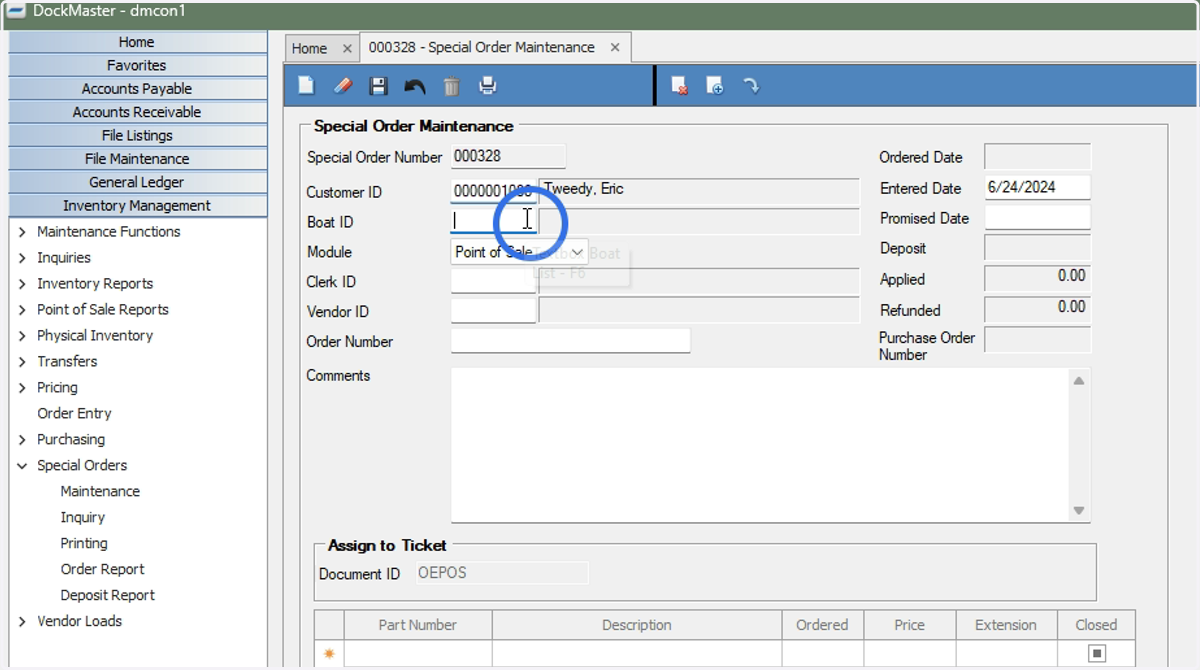
6. Optional: Enter a Boat ID
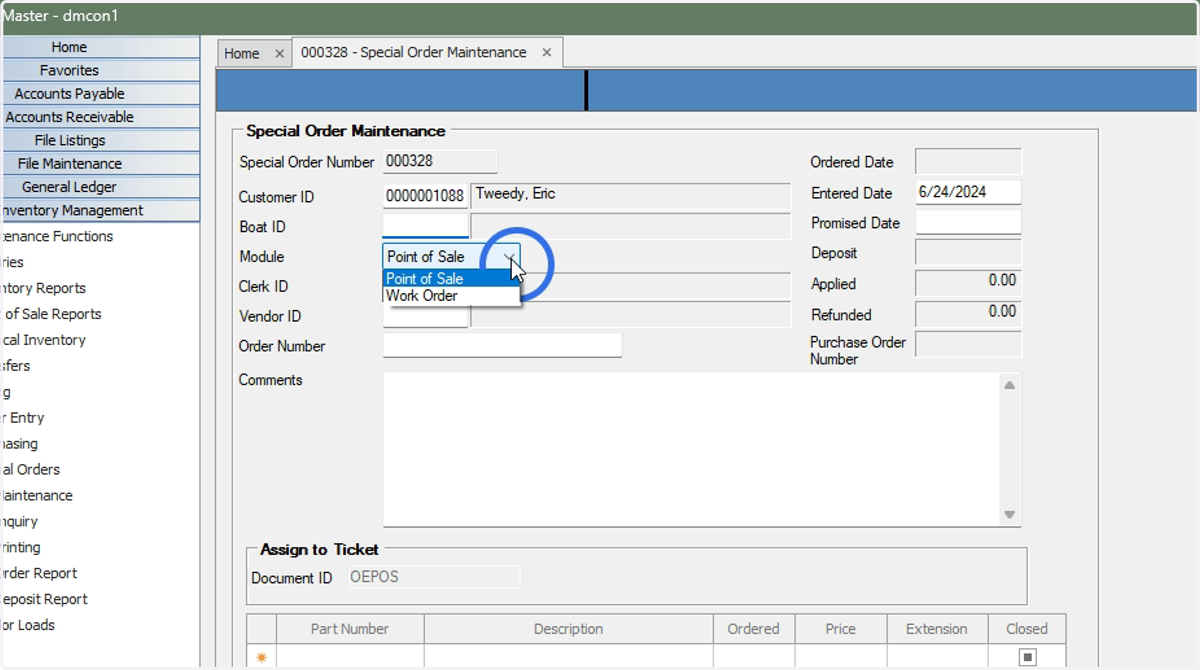
7. Select the module where the Special Order originated (Point of Sale or Work Order)
8. Enter the Clerk/Technician ID depending on the module selected
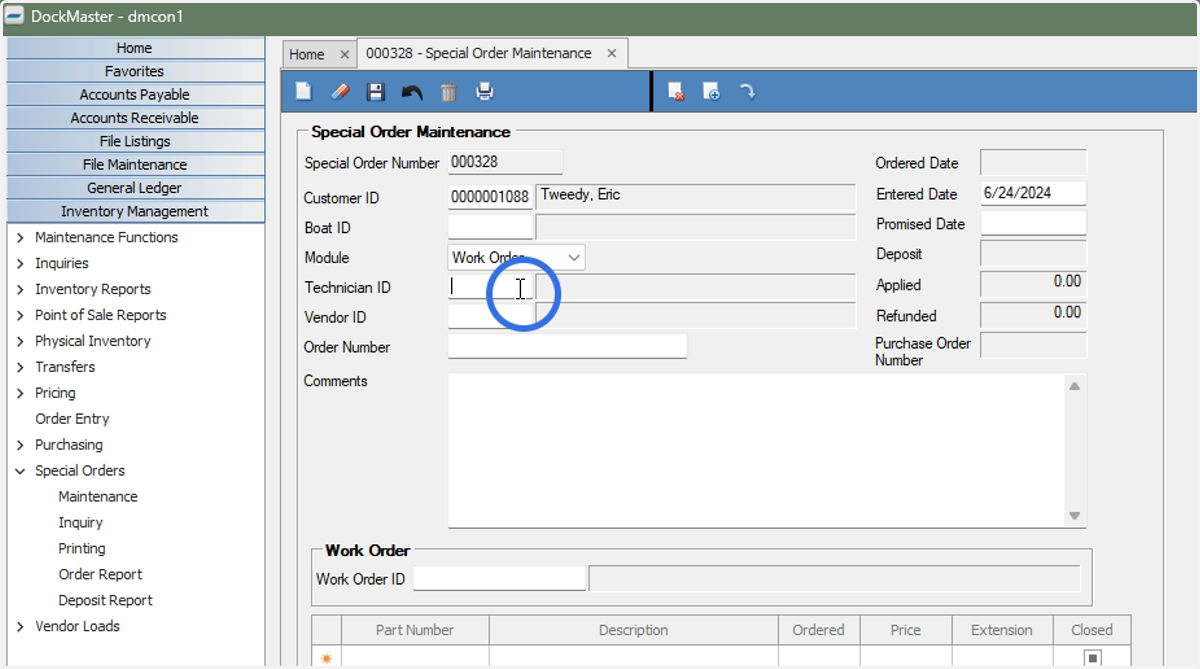
9. Enter the Vendor ID
Right click and list or F6 to search
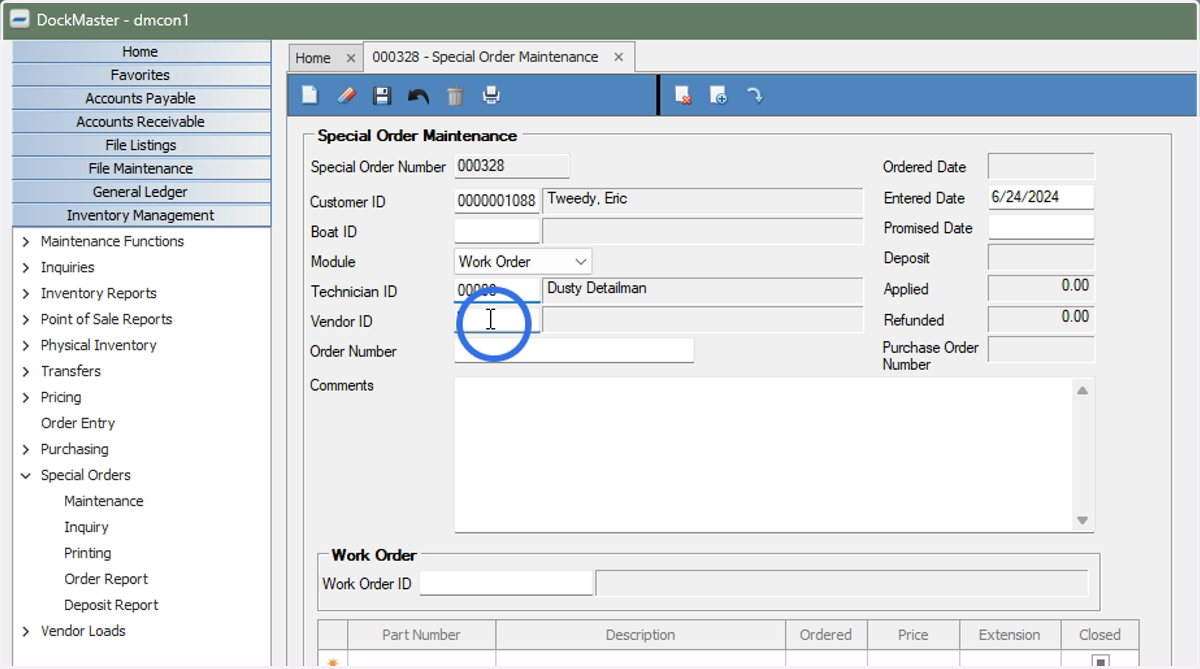
10. If applicable, enter the purchase Order Number that corresponds with the Special Order
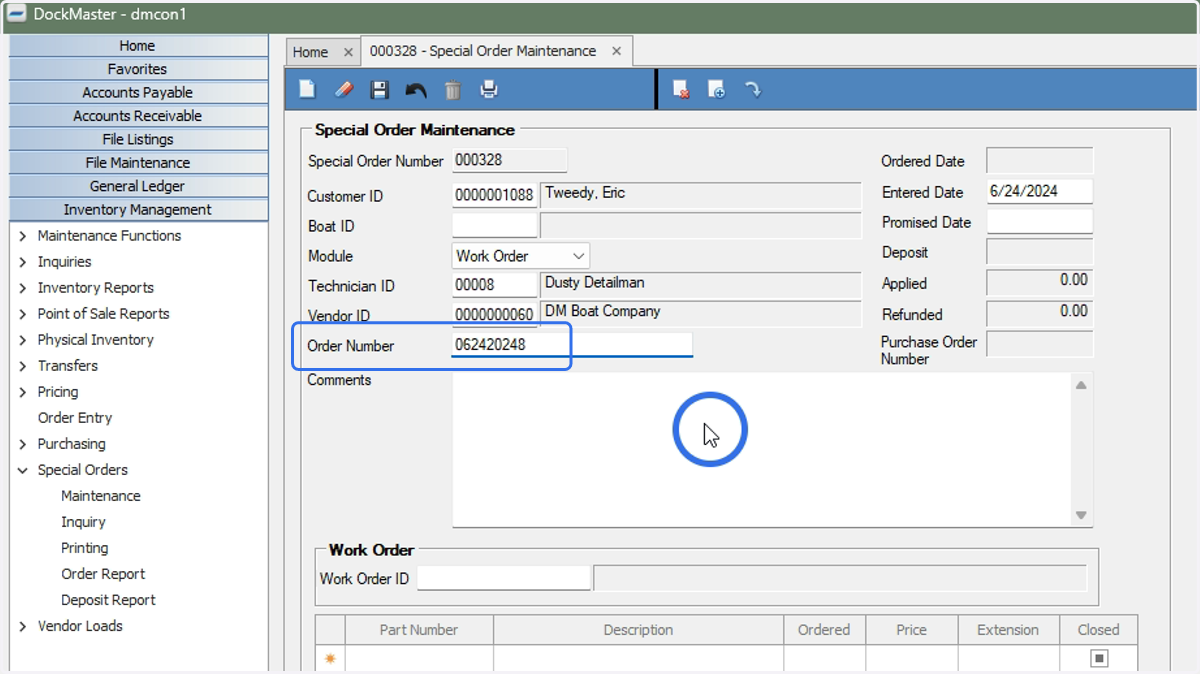
11. Optional: Enter additional details in the Comments and Promised Date fields
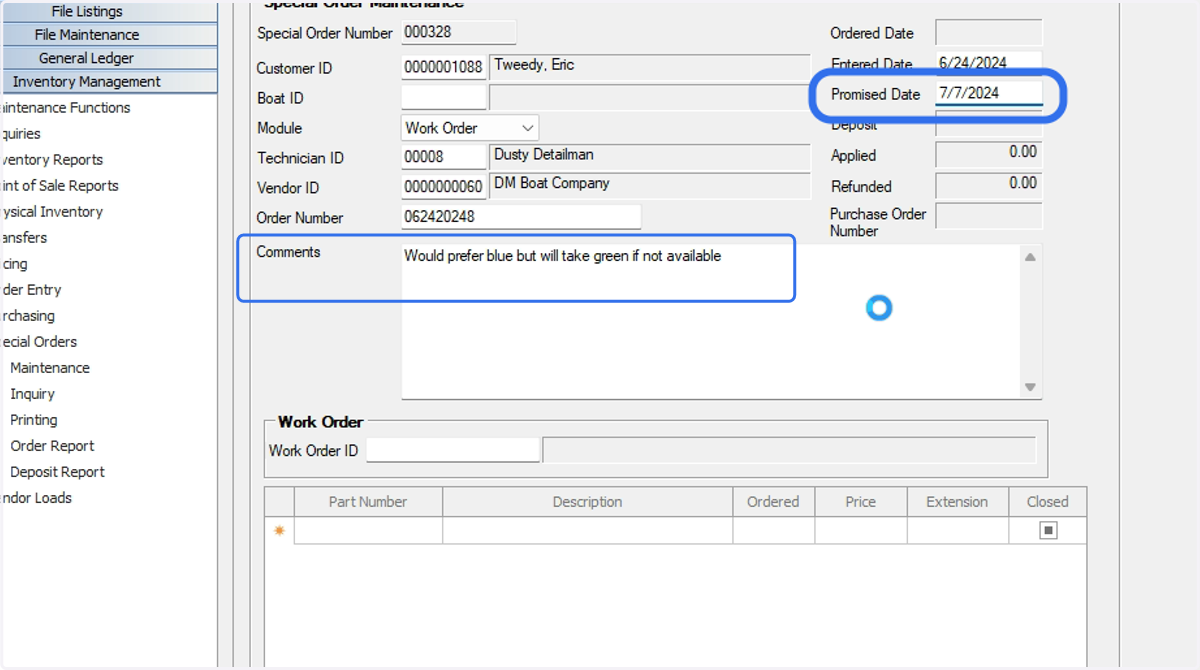
12. If the Special Order corresponds with a Work Order, enter the number in the text field
Right click and list or F6 to search
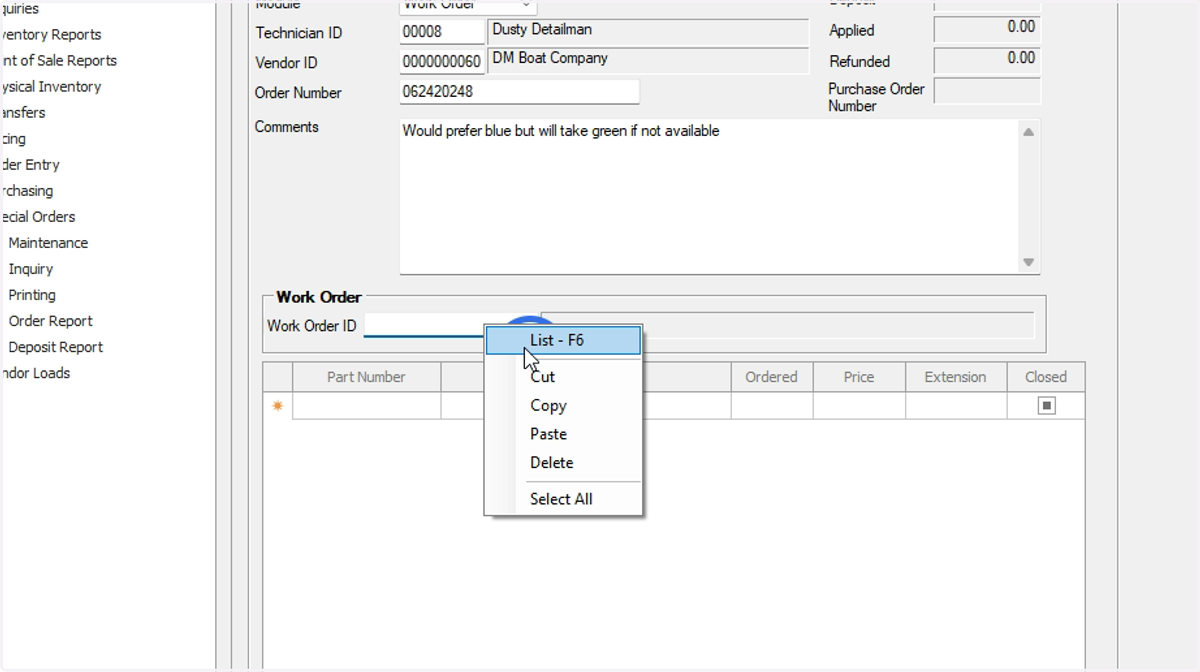
13. Add the Part(s)
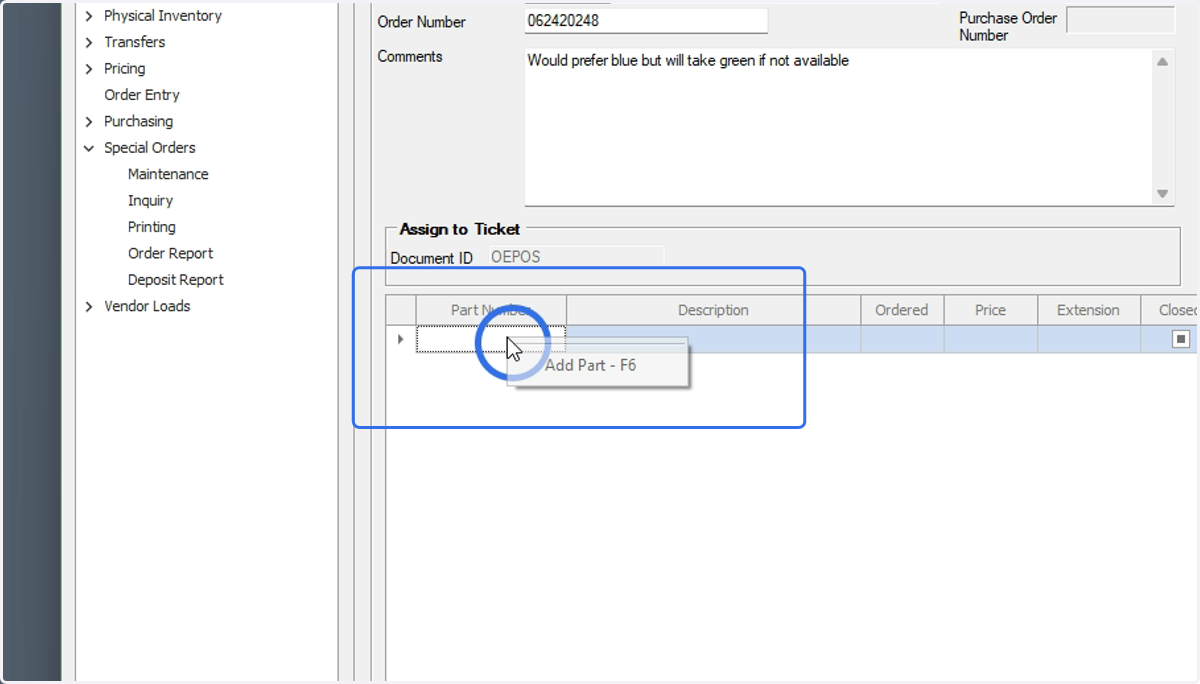
14. Search Part Numbers
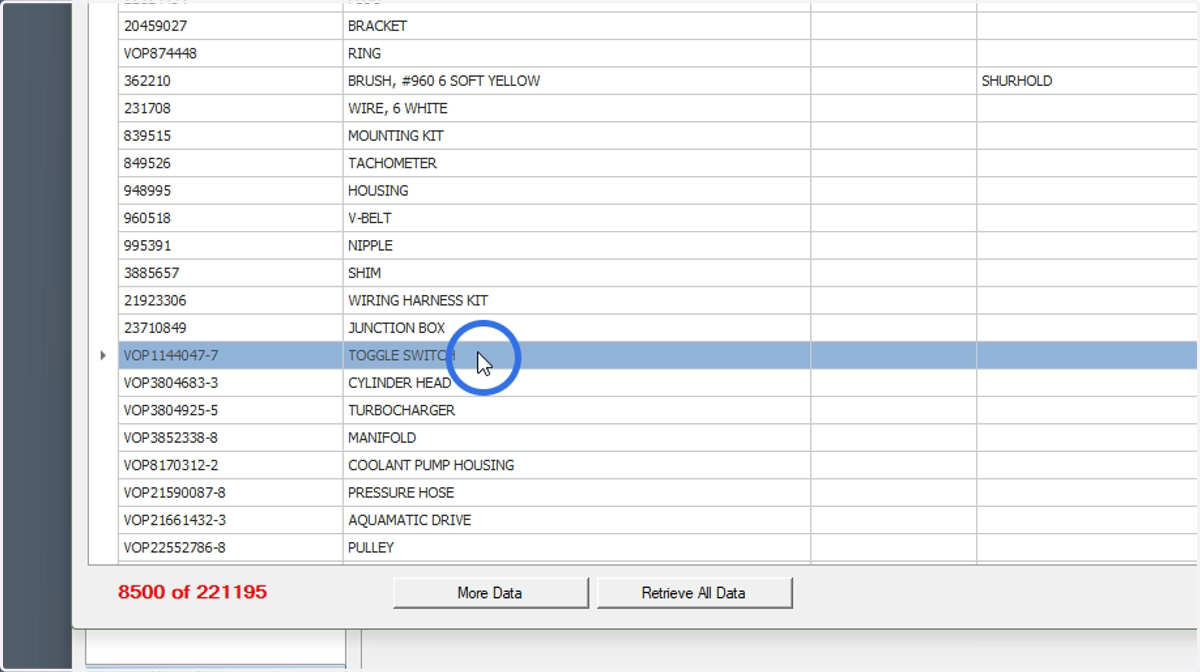
15. Select the item
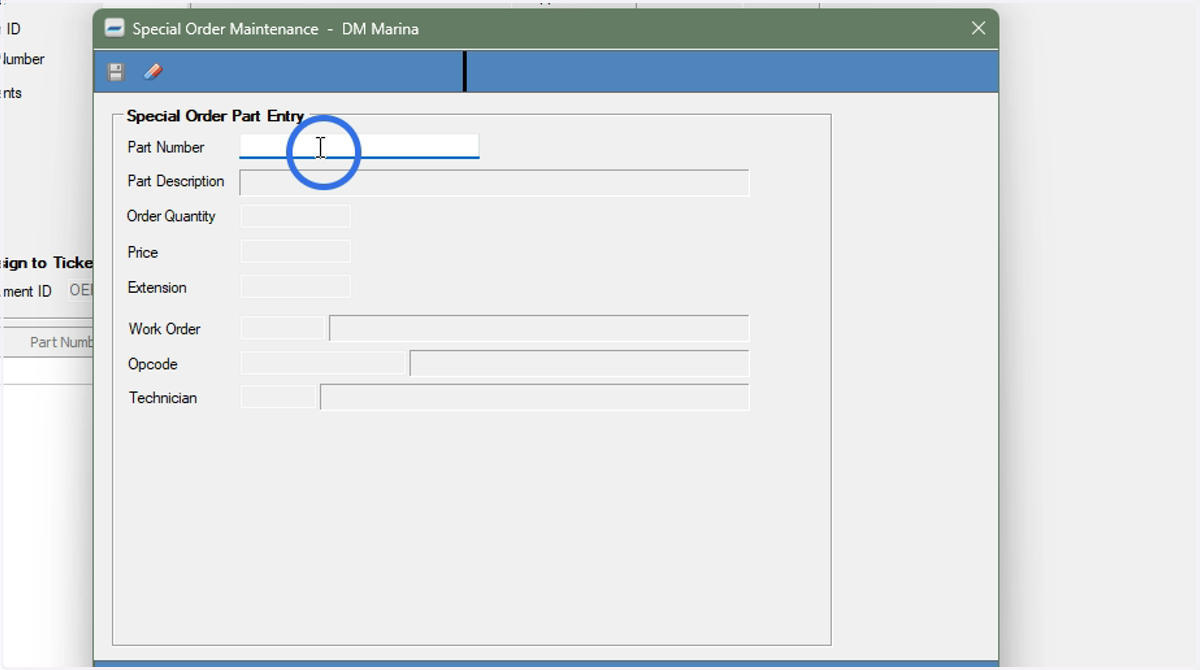
16. If the part is not associated with the selected vendor, you may add it
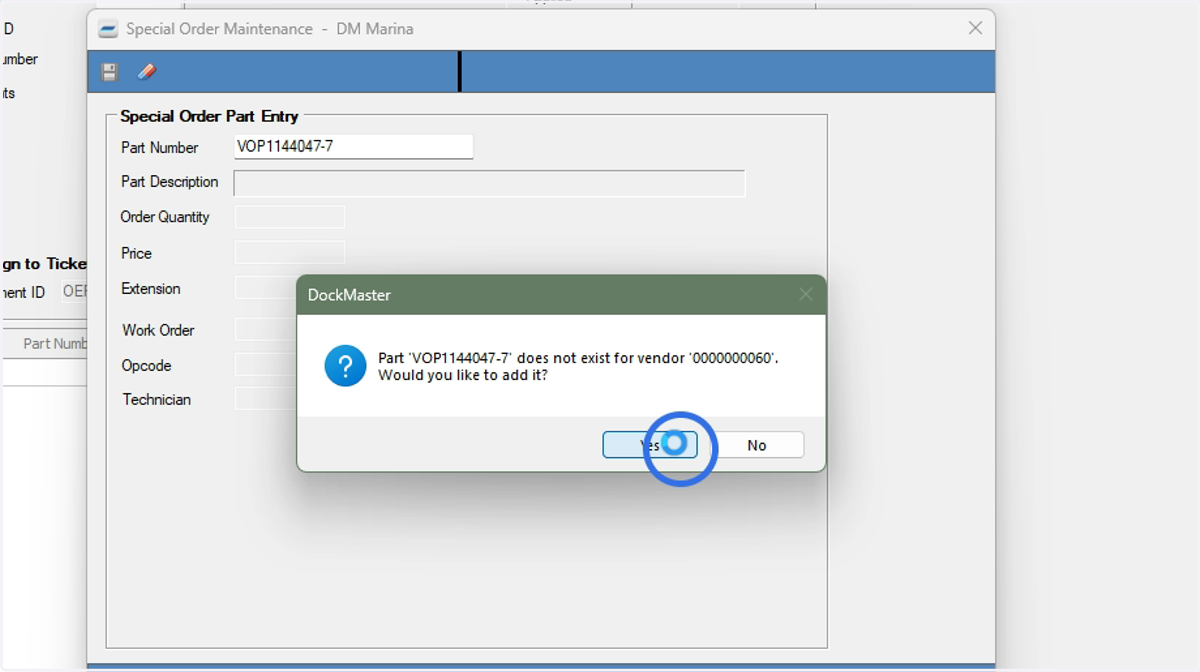
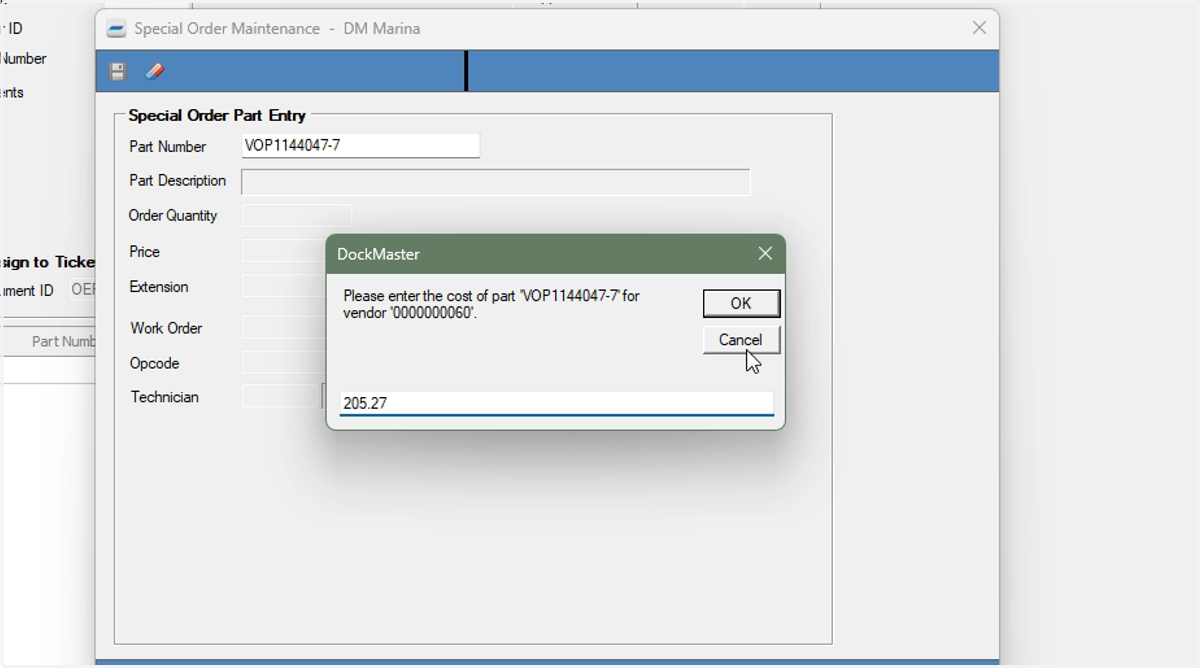
17. Follow the prompts to add the part to the vendor
18. Save to add the Part to the Special Order
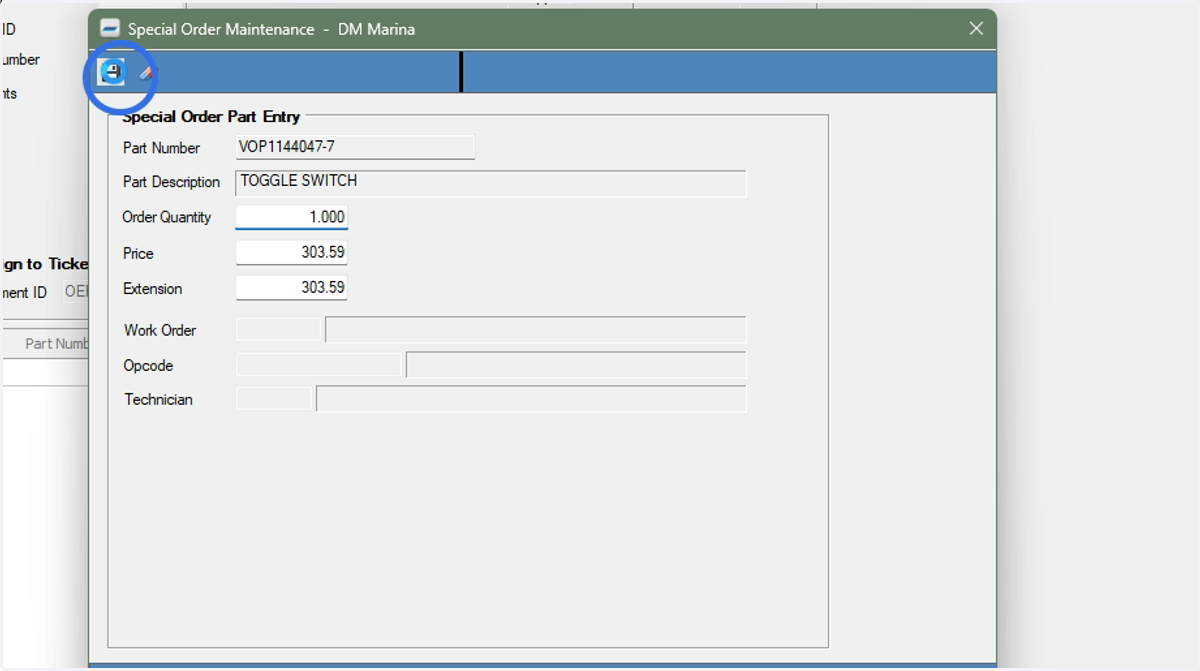
19. The Part will be added in the background and the prompt will refresh to add additional parts
If no additional parts are needed, close the prompt window
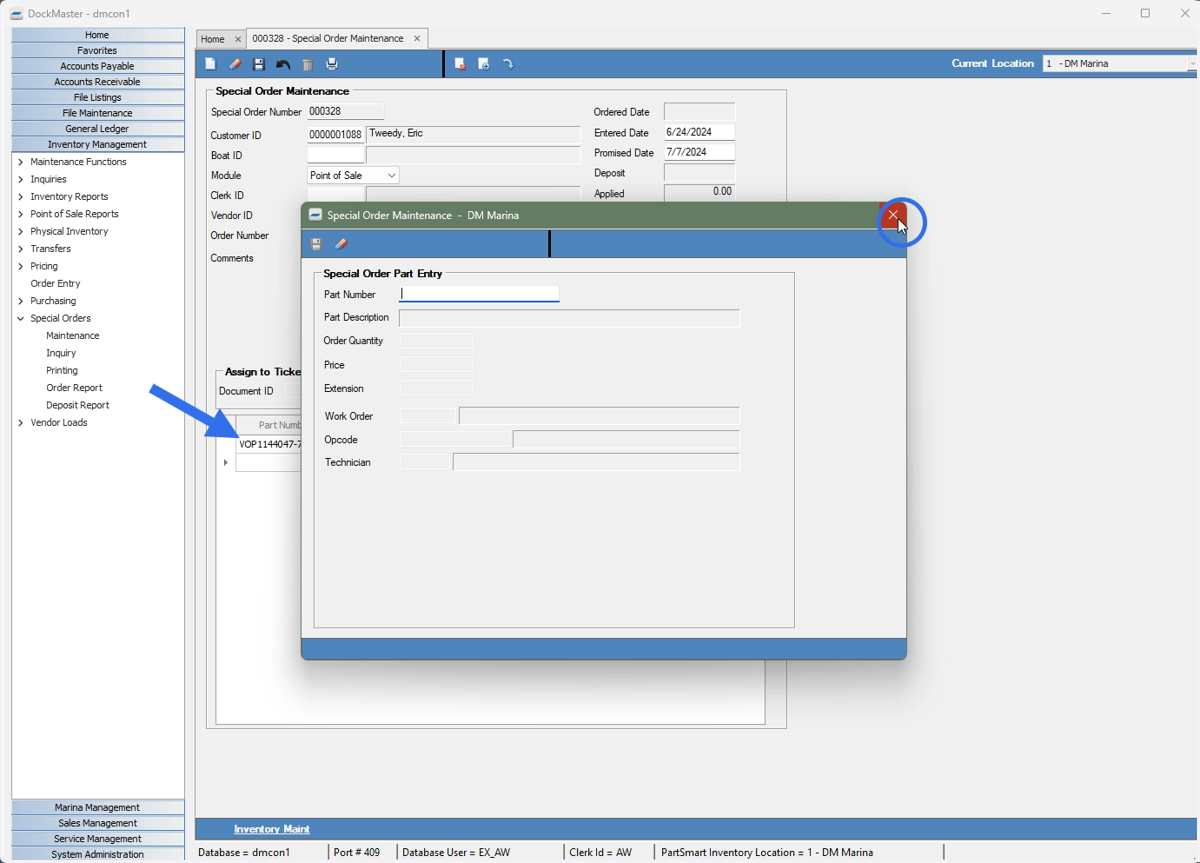
20. Save the Special Order
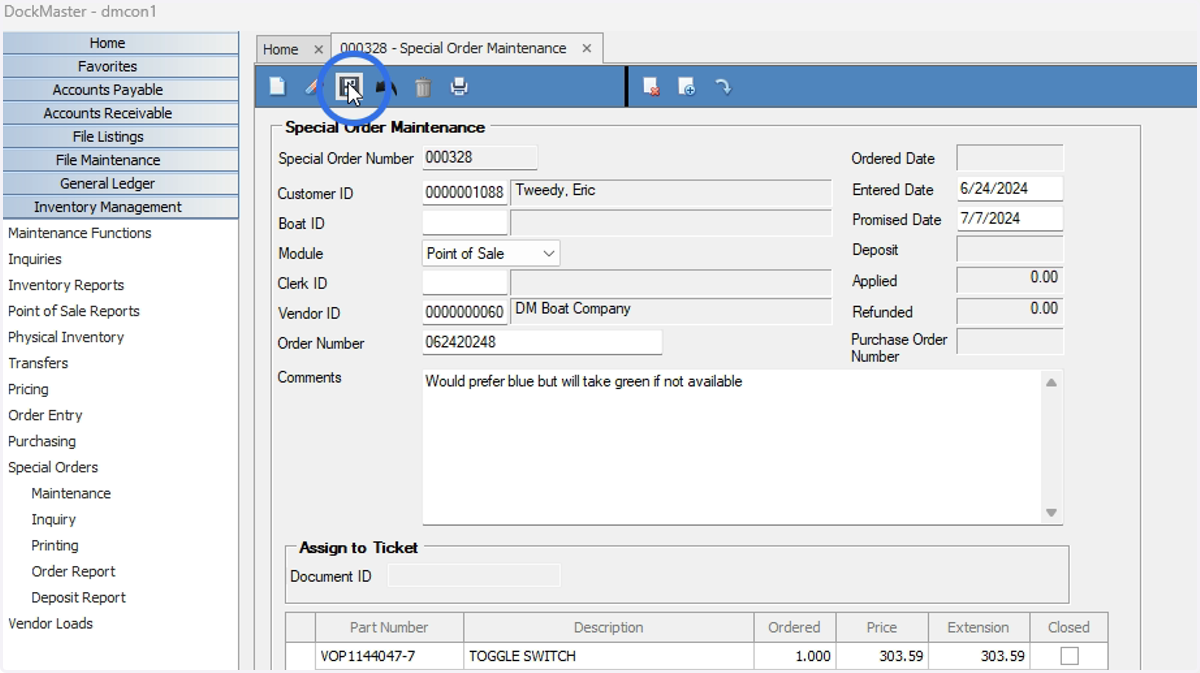
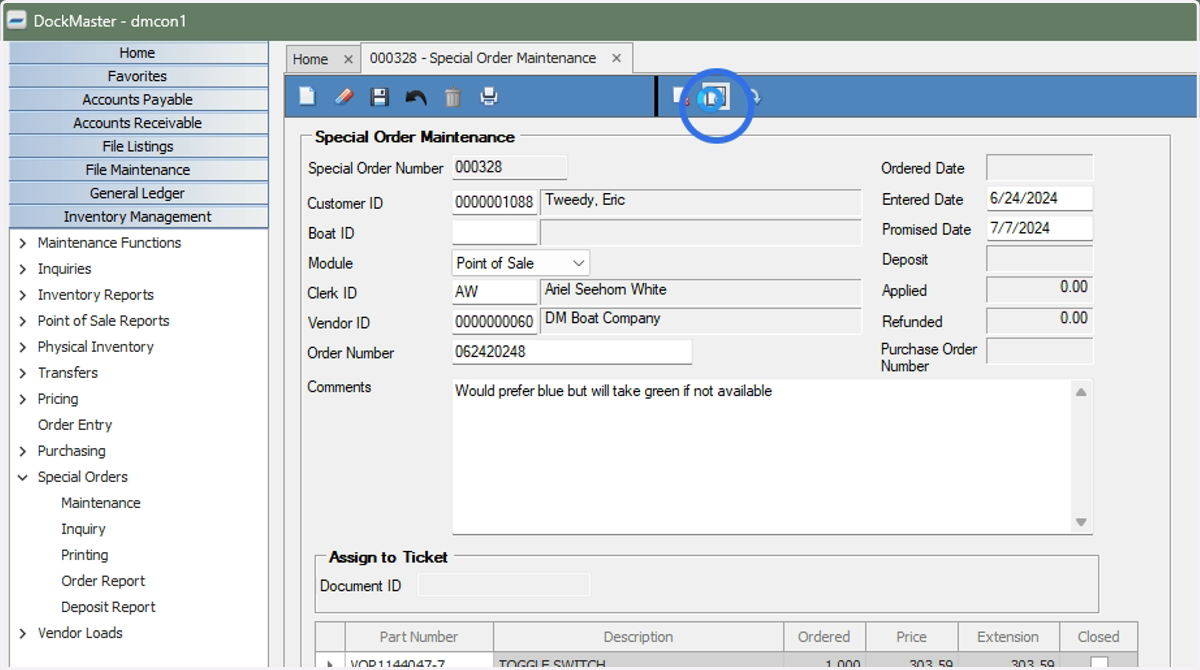
21. Click the blank paper with the (+) icon to create a Purchase Order and add the Special Order
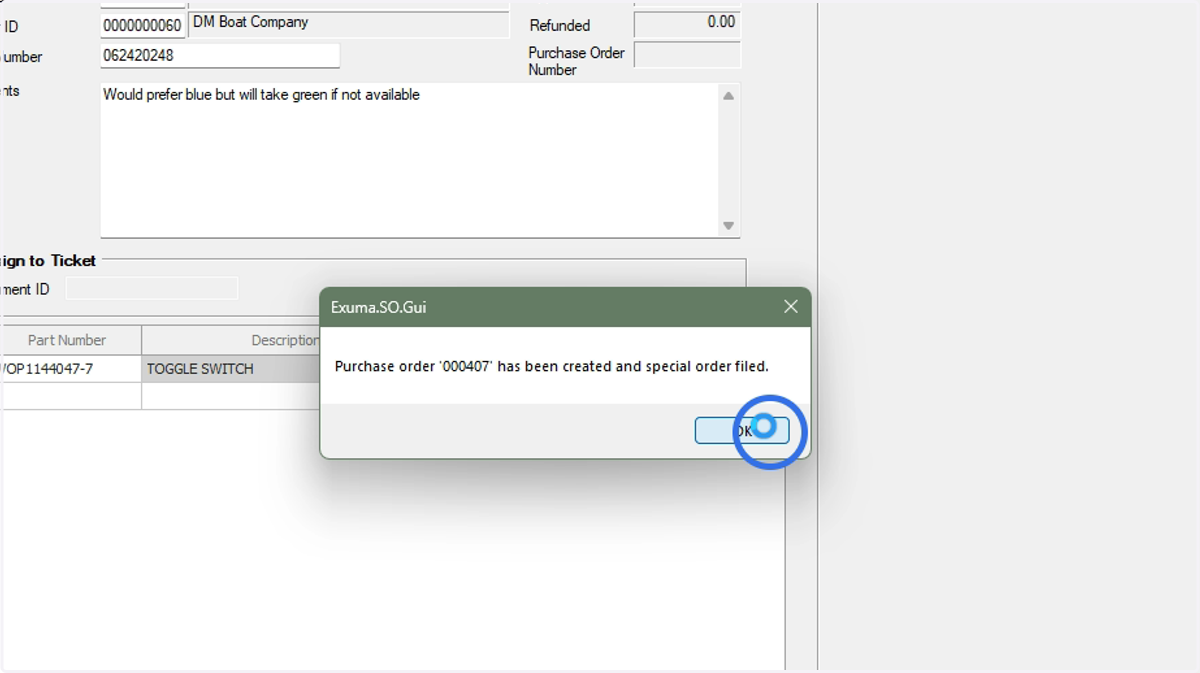
22. Click OK
Special Order Inquiry
The Inquiry pages within DockMaster allow you to view information at any time without editing or interfering with an open process.
23. Click Inquiry under Special Orders
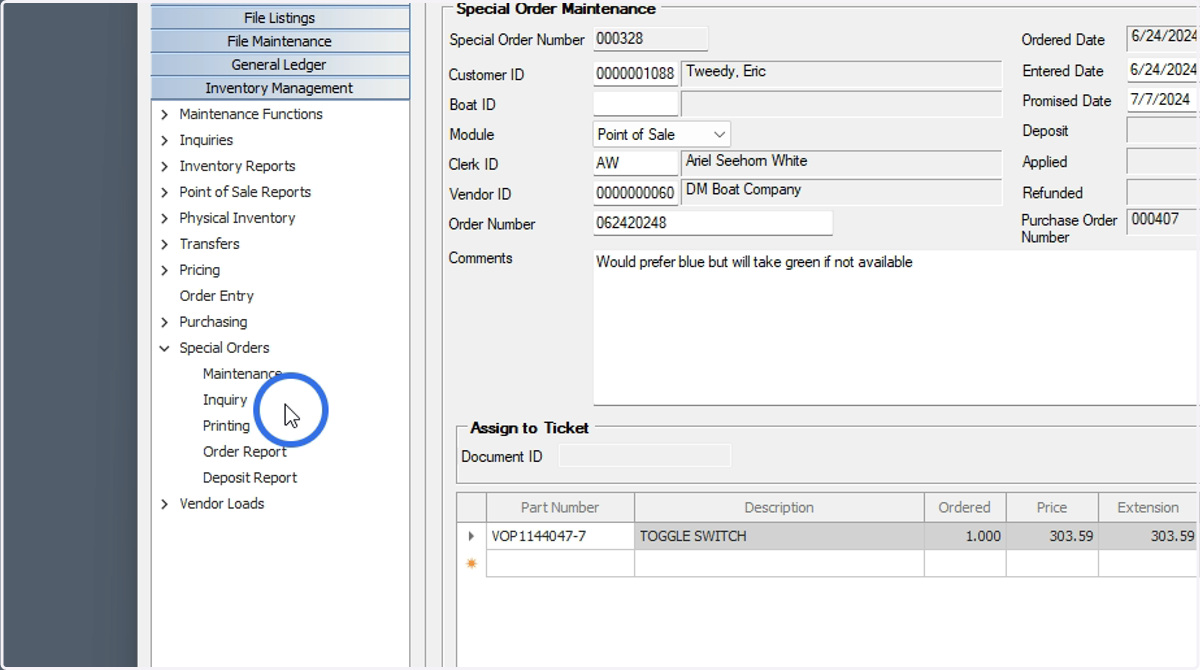
24. Enter the Special Order number
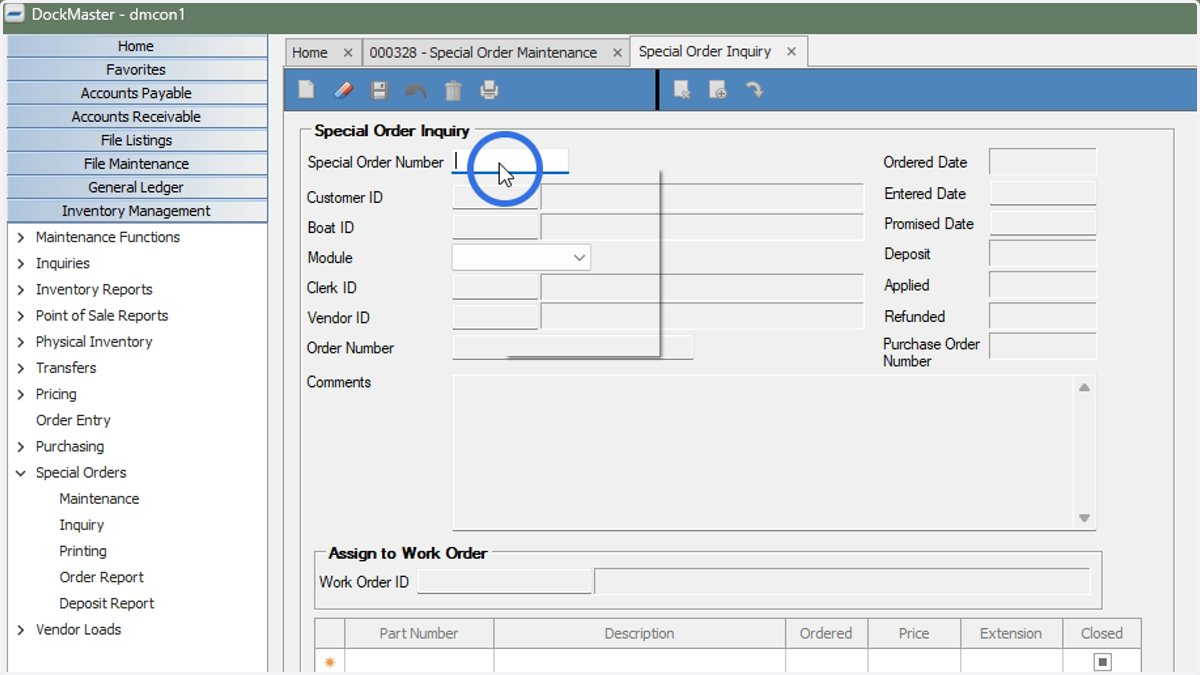
25. The Inquiry view allows you to view and print the Special Order, but not make changes
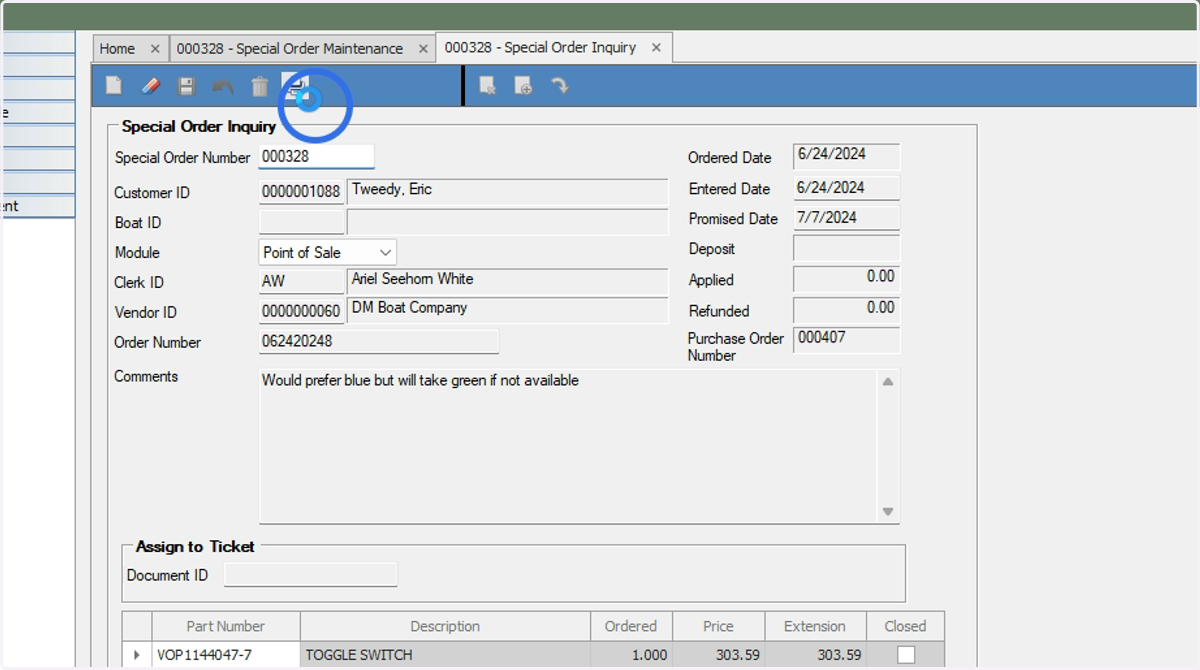
Printing
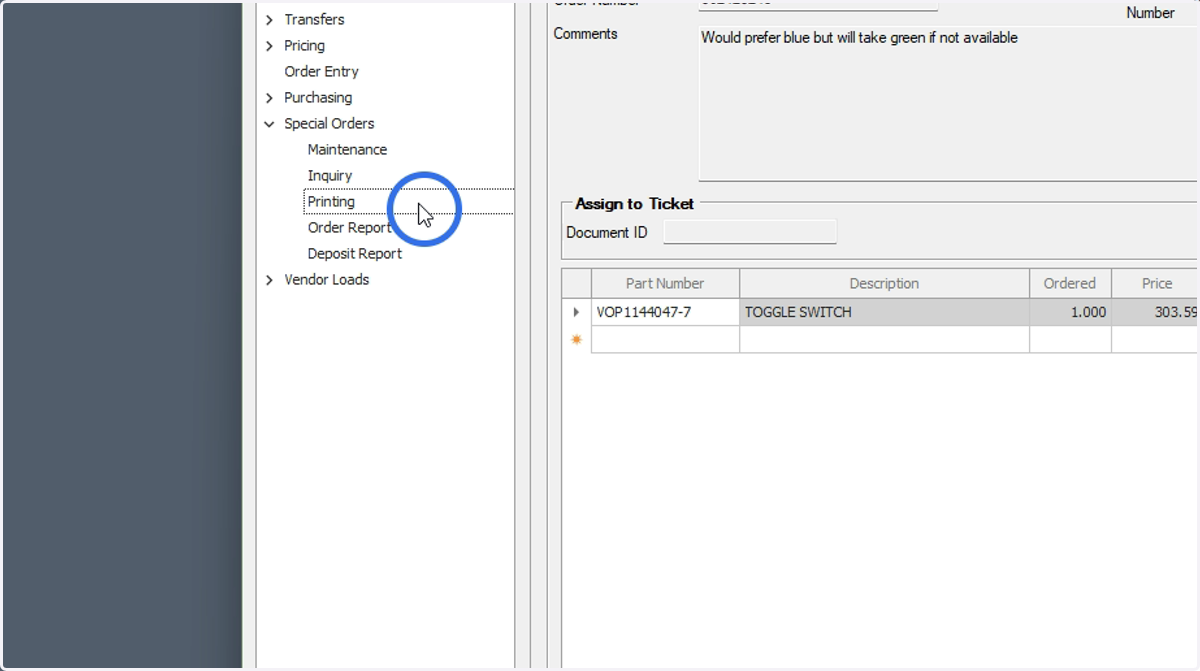
26. Click Printing under Special Orders
27. Enter information in any of the fields to filter down results or leave blank to display all
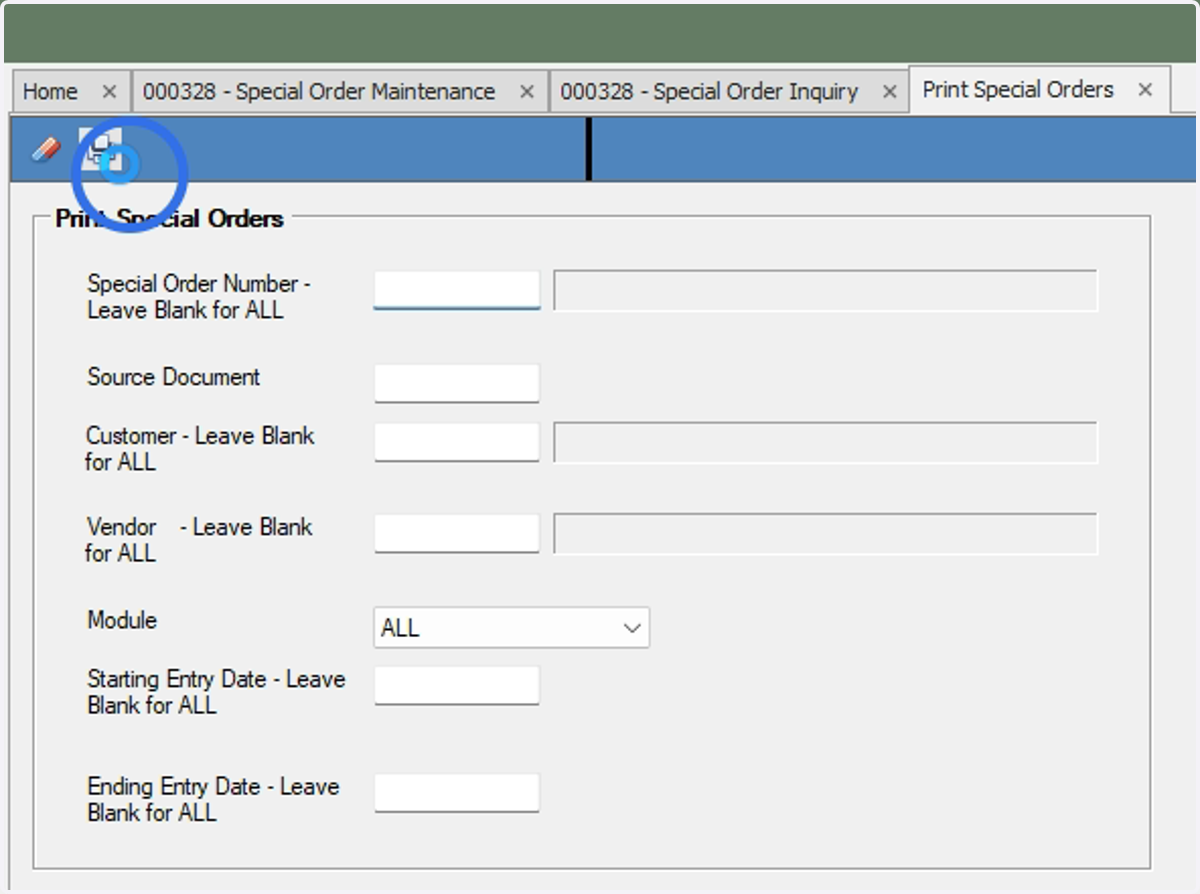
28. Click the Printer icon then preview the results or print
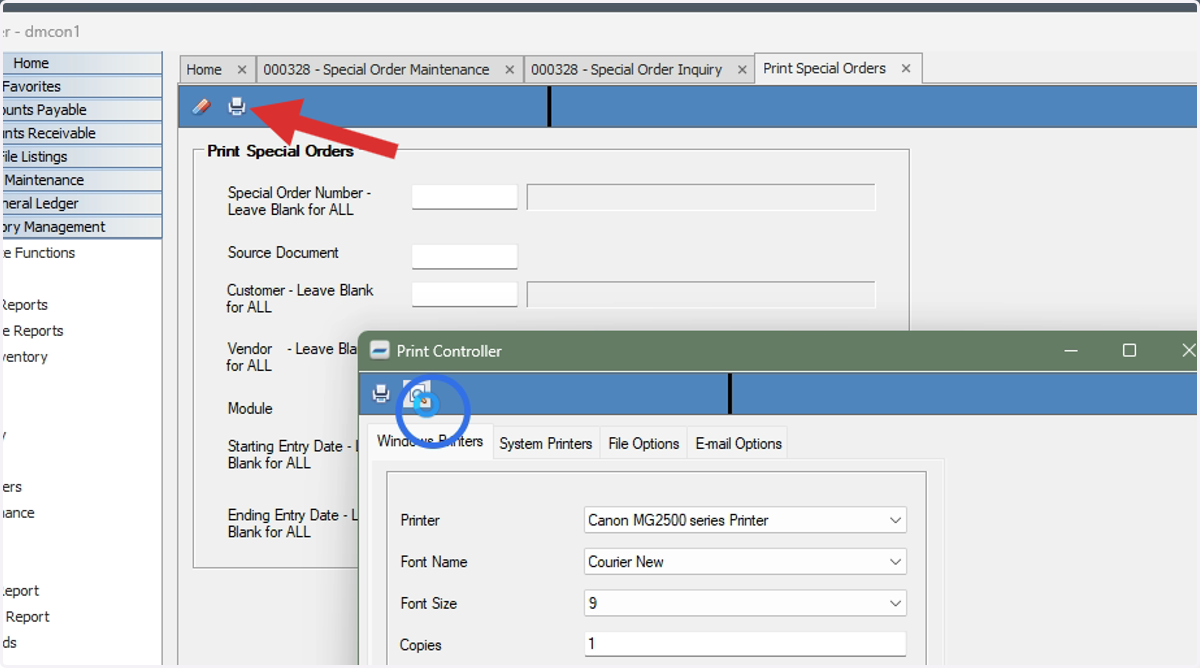
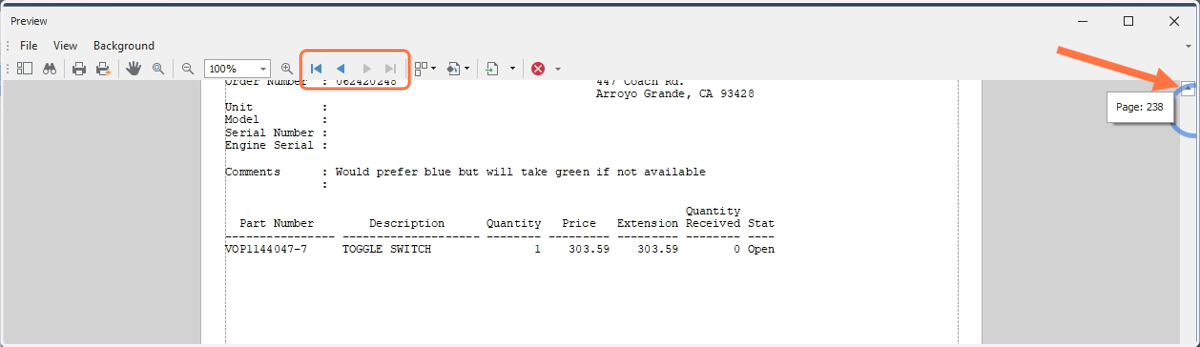
29. The results will display the Part Number, Description, Quantity, Price, Extension, Qty Received, and Status of all Special Orders that meet the filters you have selected
Each Special Order will display on its own page. Scroll down or page through to view additional orders.
Order Report
Generate a Special Order to view detailed information based on date, status, module, customer, vendor, employee, or location.
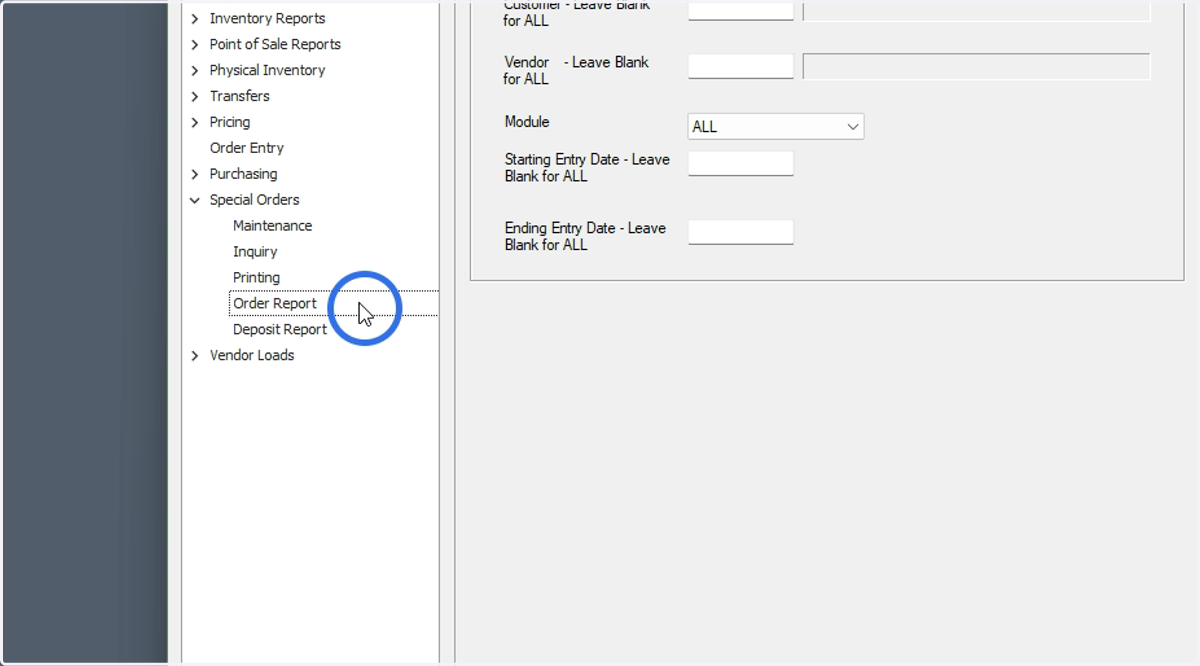
30. Click Order Report under Special Orders
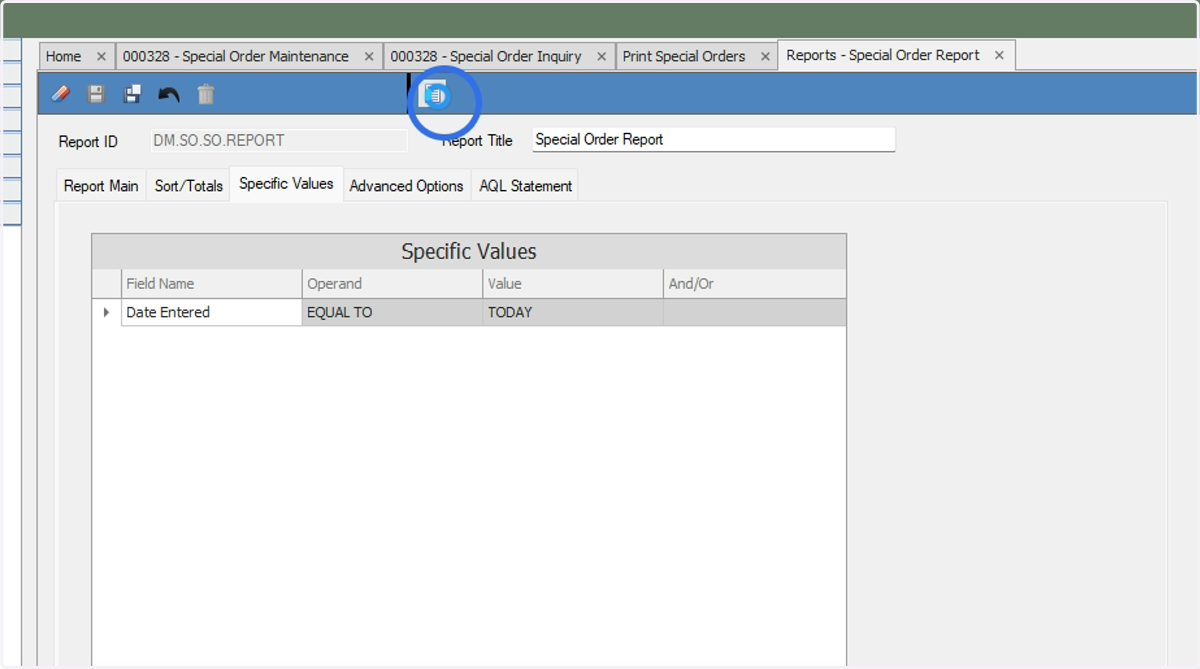
31. By default, the report will show special orders initiated on today's date
Modify the date and add any filters you would like to use. Generate the report using the icon with the arrows at the top of the page.
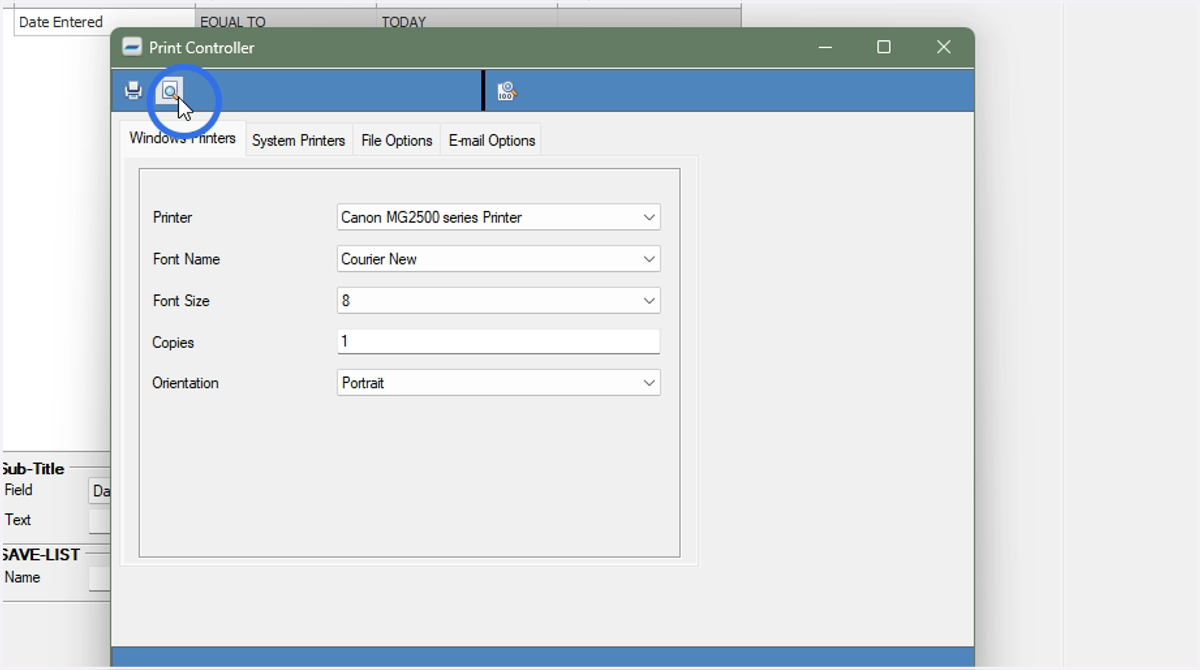
32. Preview and/or print
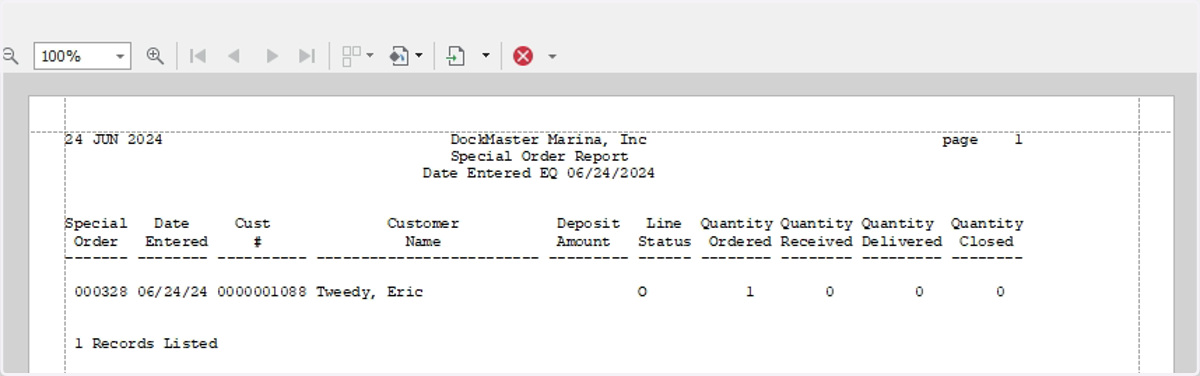
33. The report will display the Special Order Number, Date Entered, Customer Number, Customer Name, Deposit Amount, Line Status, Quantity Ordered/Received/Delivered/Closed.
TIP: Run the report sorted by vendor prior to creating purchase orders to see what parts need to be ordered for each vendor.
Deposit Report
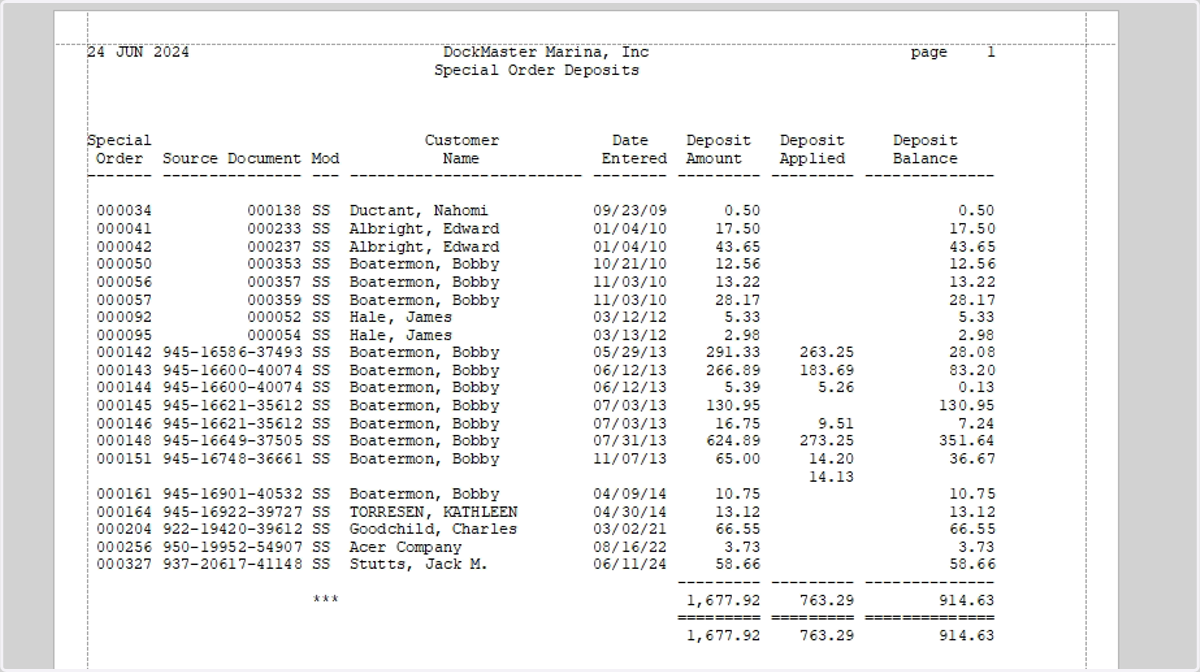
View the Special Order total and amount paid as deposit using this report.
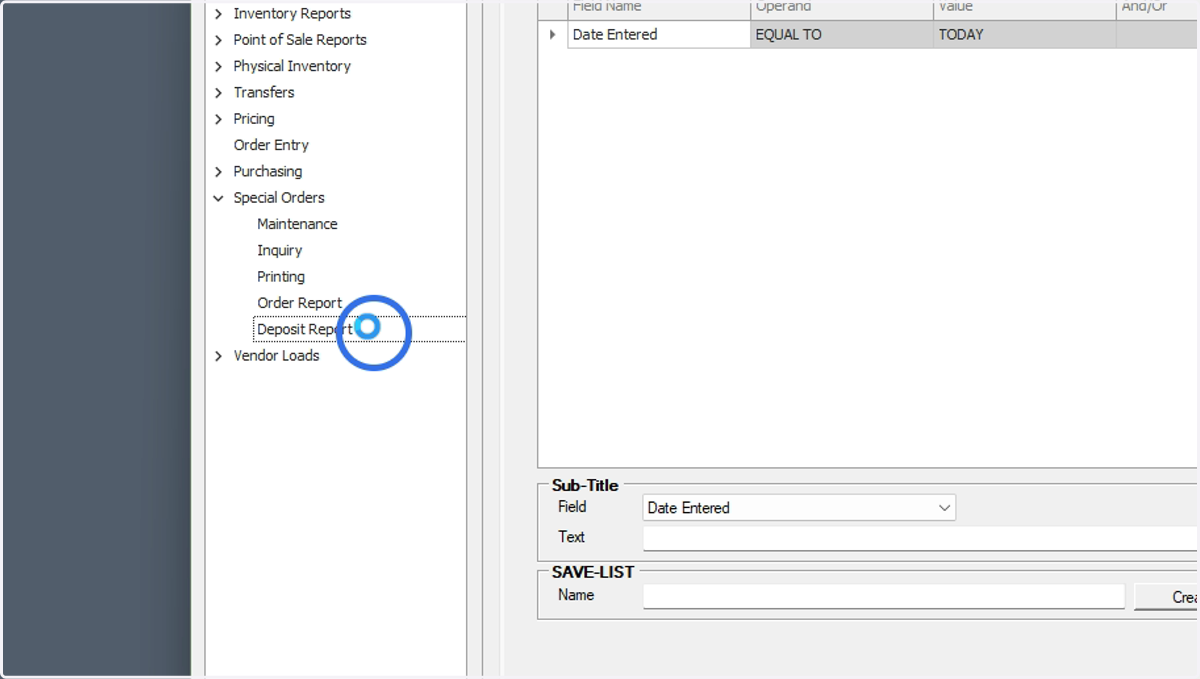
34. Click Deposit Report under Special Orders
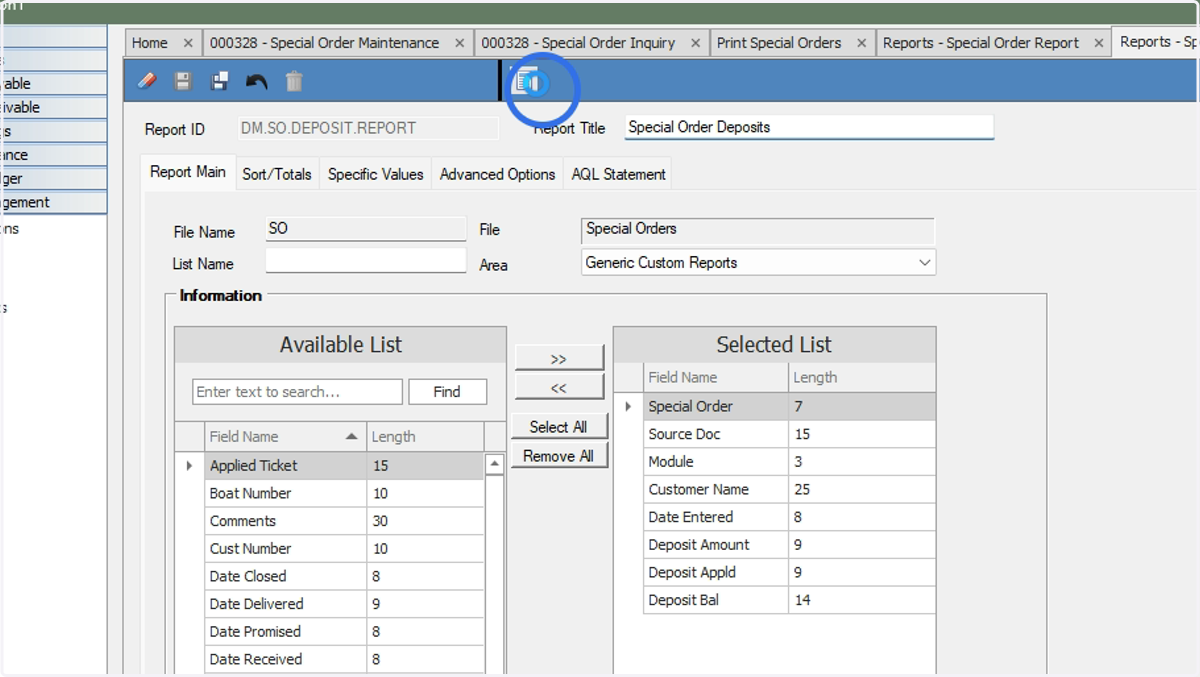
35. Generate the report by clicking the icon with the rotating arrows at the top of the page
36. Preview/Print
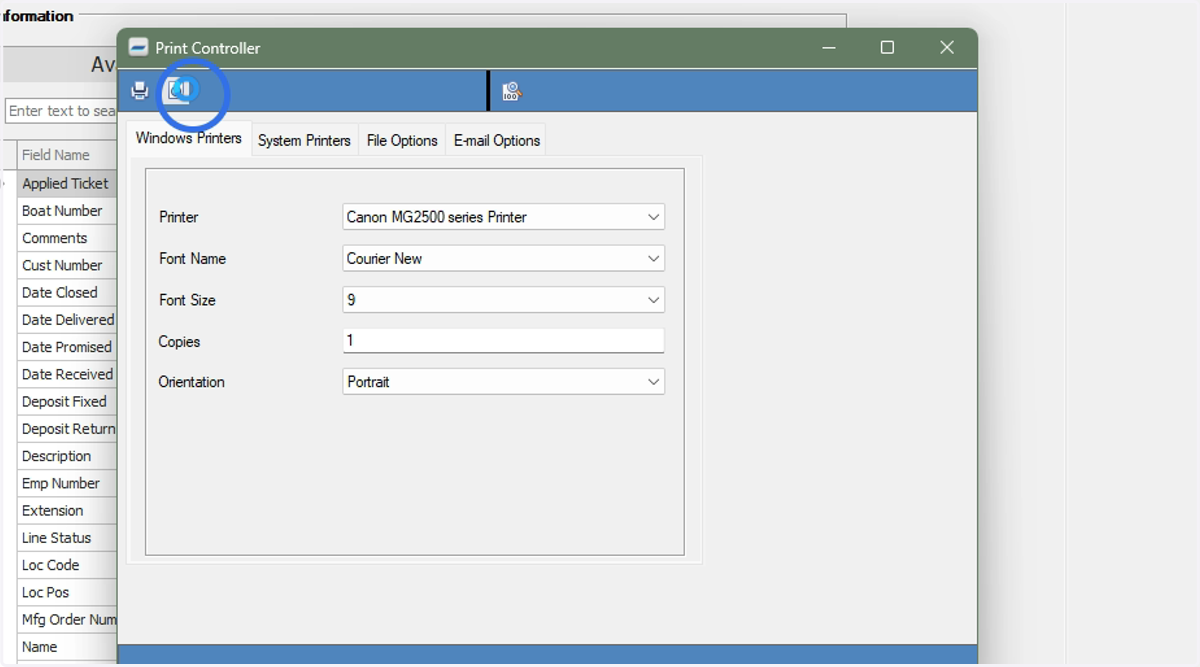
37. The report will display the Order Number, Source Document, Module, Customer Name, Date Entered, Deposit Amount, Deposit Applied, and the remaining Deposit Balance.
Totals at the bottom of the page will sum all open Special Orders.