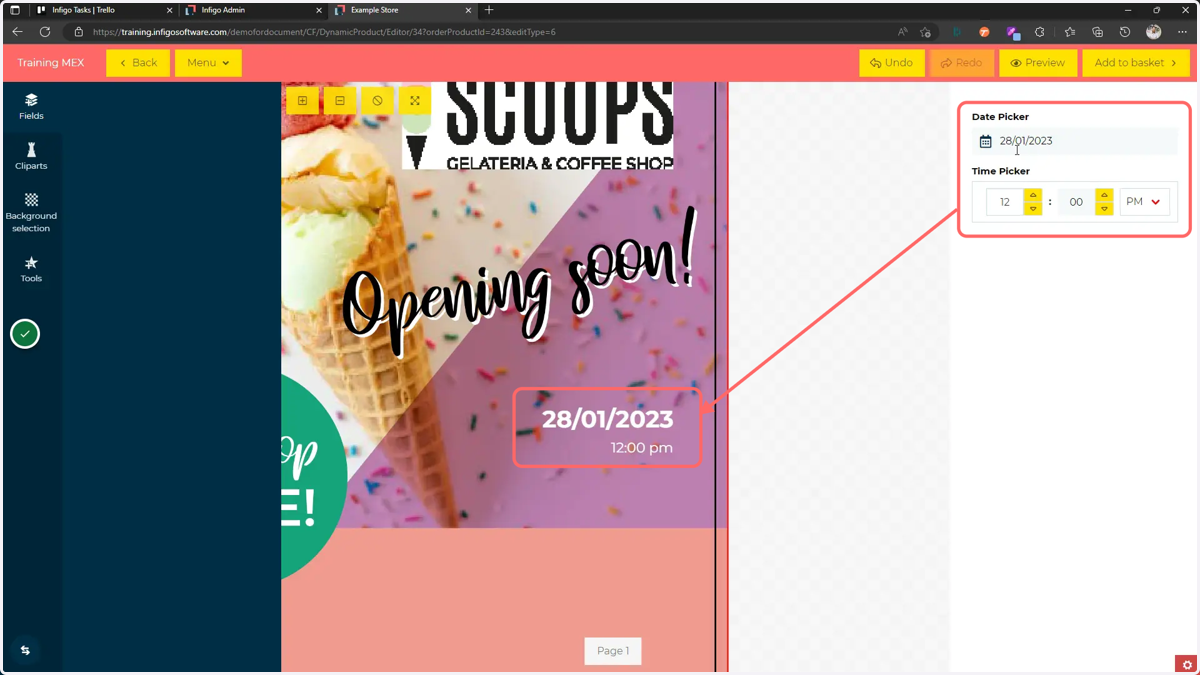
Date and Time Variables
In this tutorial, we will learn how to utilise two variable types, allowing users to pick a date and time.
In our example, we will link these variables to fields within our template.
adobe
1. To begin, click the Variables tab within the Invent plugin in InDesign
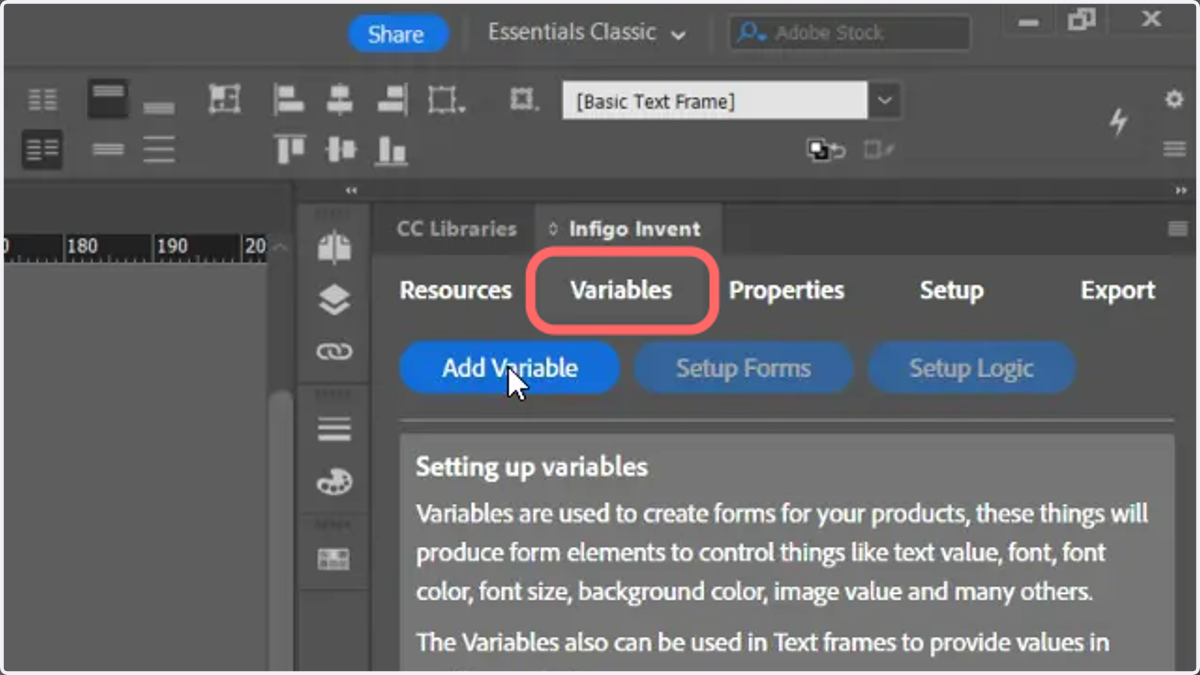
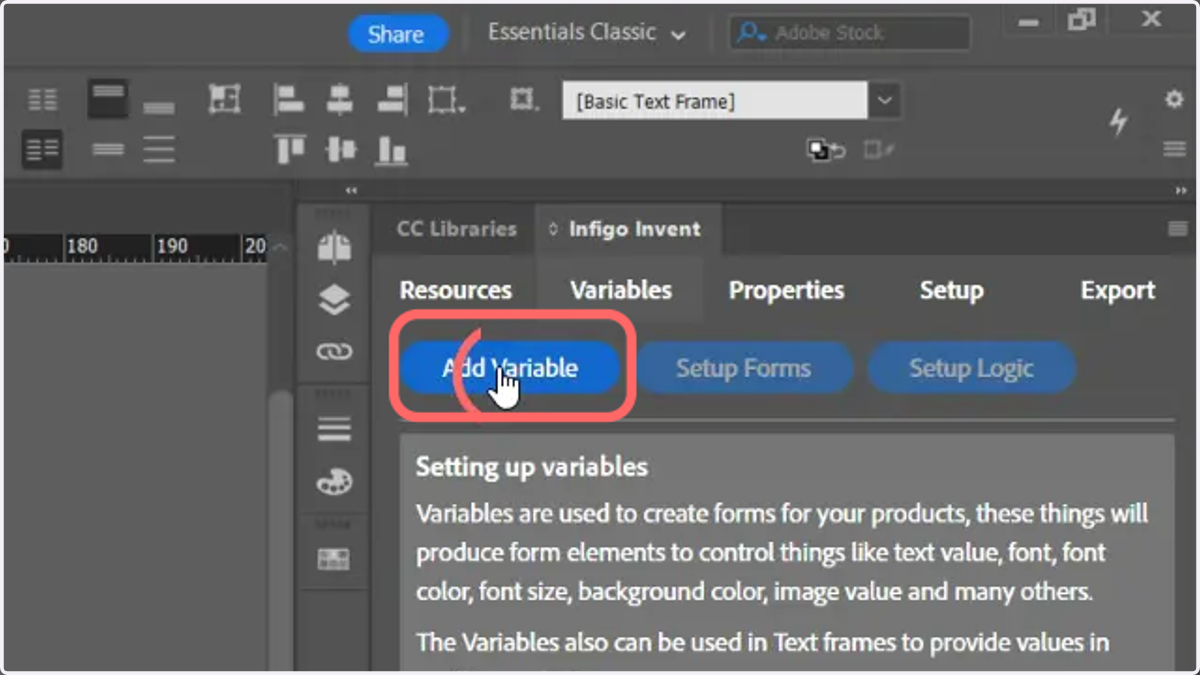
2. Click Add Variable
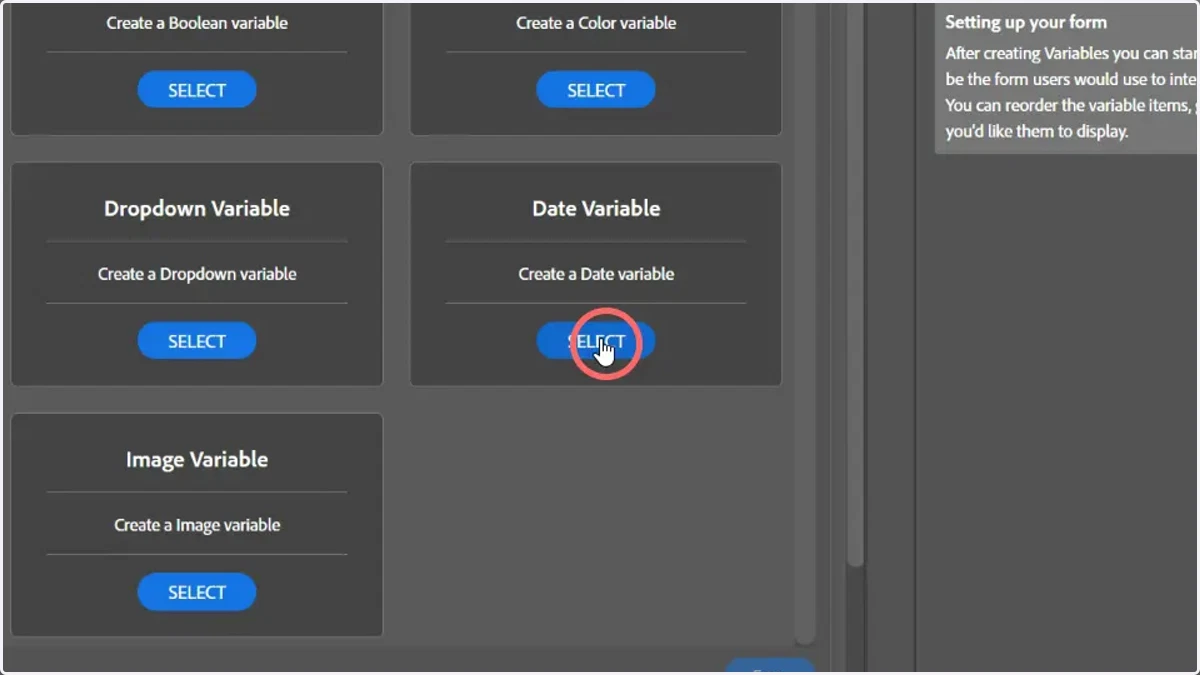
3. Select a Date Variable
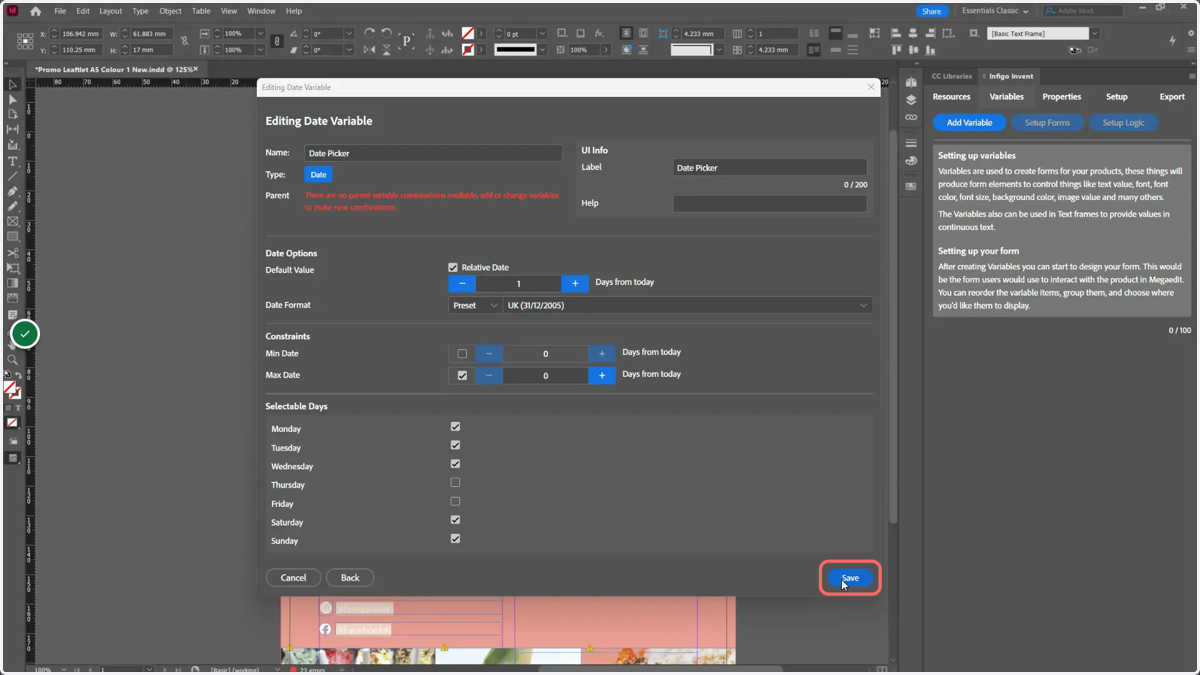
4. Enter a variable name
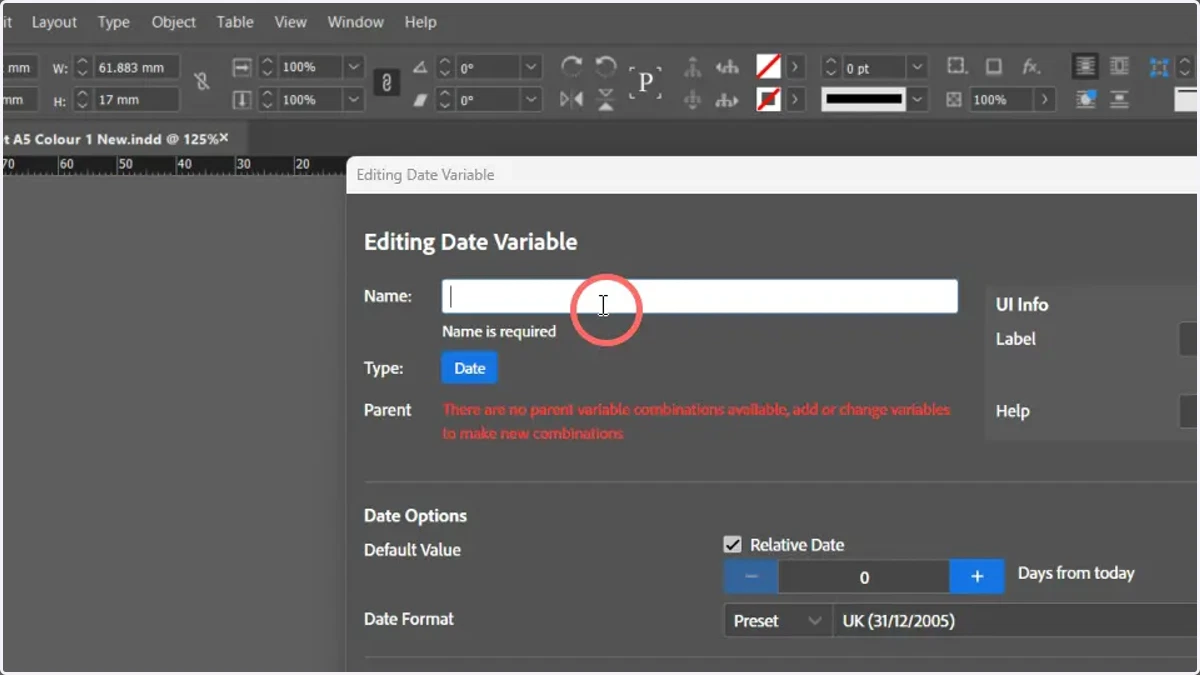
5. Specify a default date value for this variable
This value can either be chosen as a relative date (a quantity of days from the current date) or as a direct selection of one date.
This is the value that will be shown by default when the product first loads within MegaEdit.
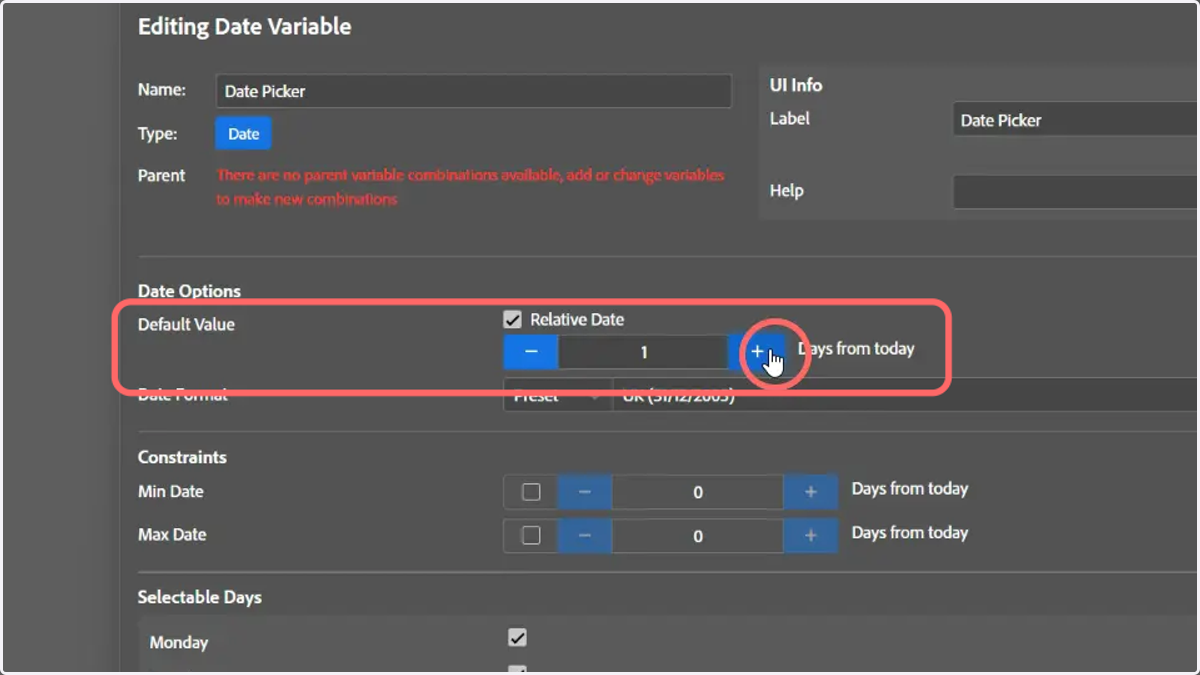
6. Specify a date format
The date format can be switched between two preset values (UK or US format), or, custom formatting can be specified.
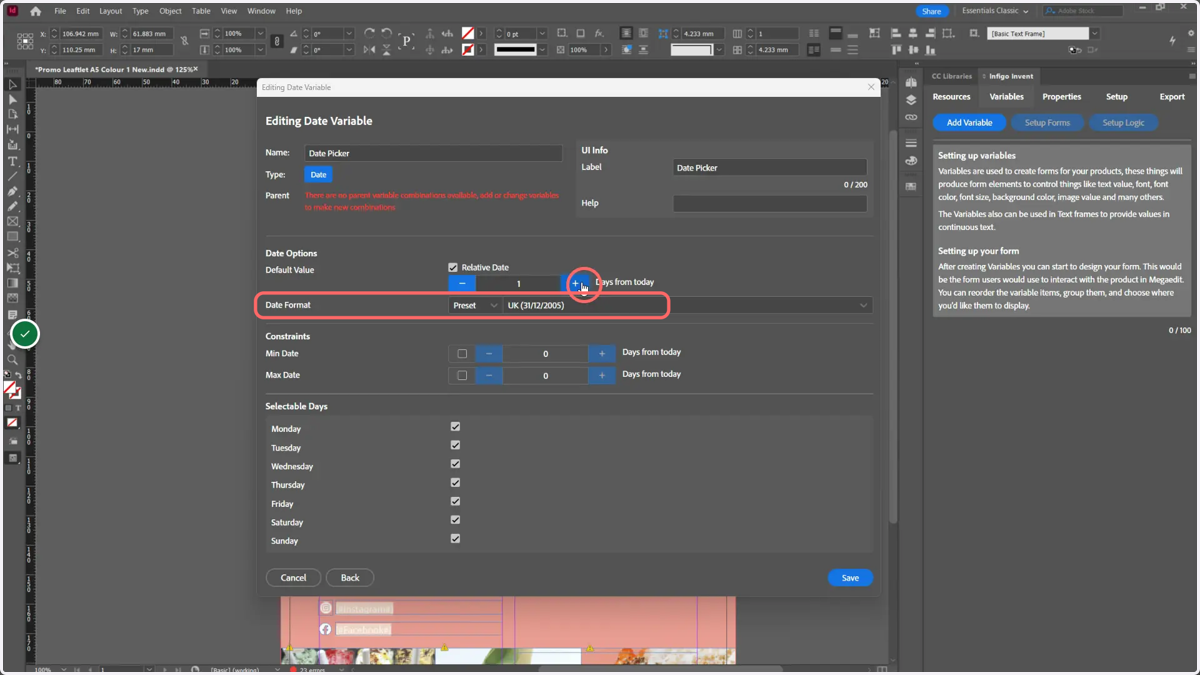
7. Optionally, set constraints on the minimum and maximum date
As with the default value, these are linked to the Relative Date checkbox.
This will change the selection between a date relative to today, or a fixed date picker.
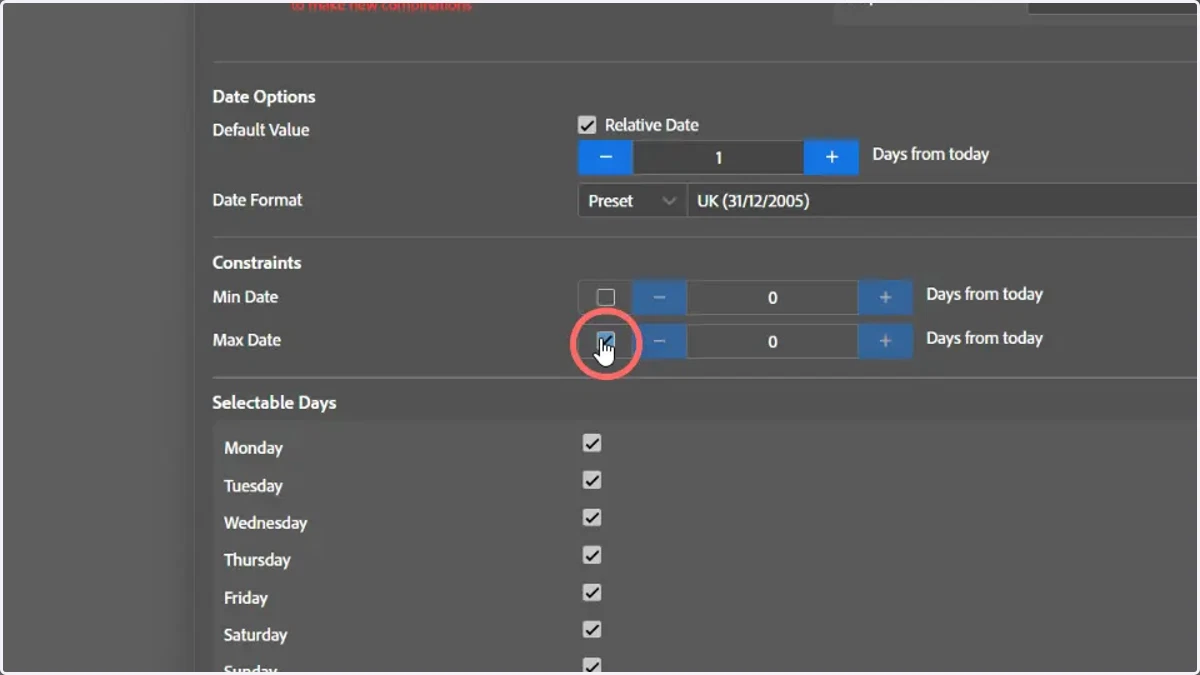
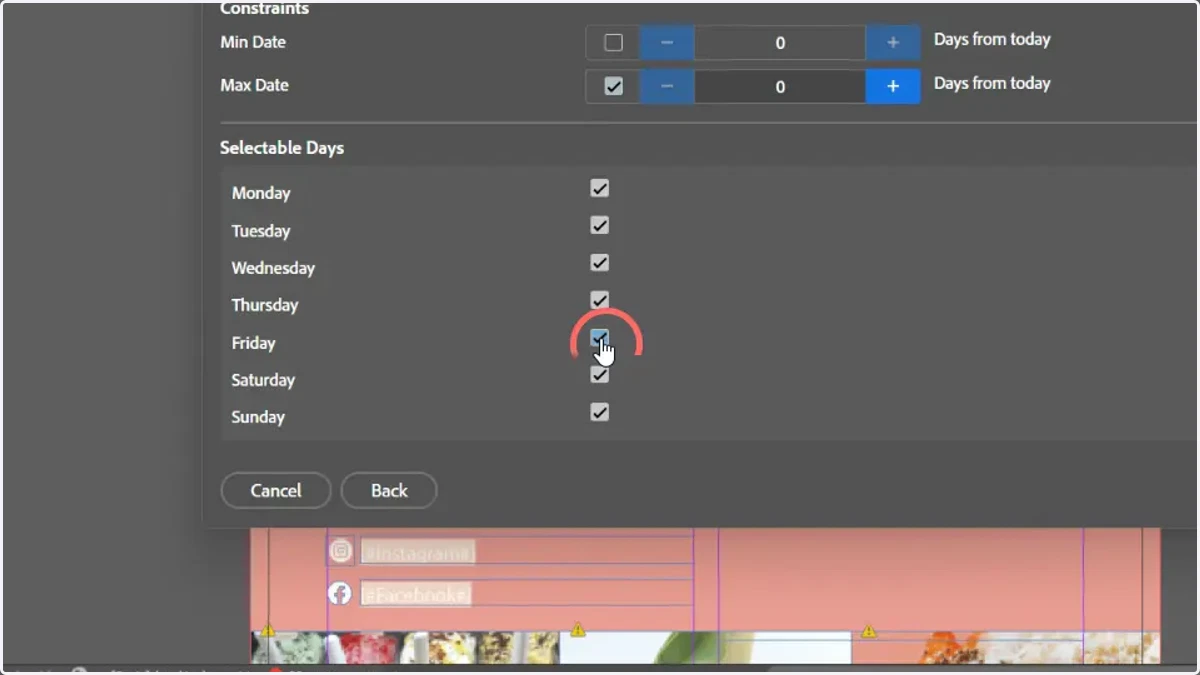
8. Specify days which are selectable within the calendar picker
Deselected days will be unavailable for selection by default.
9. Click Save to confirm the variable
10. Next, we will create a time picker
The methodology is very similar to that of the date picker.
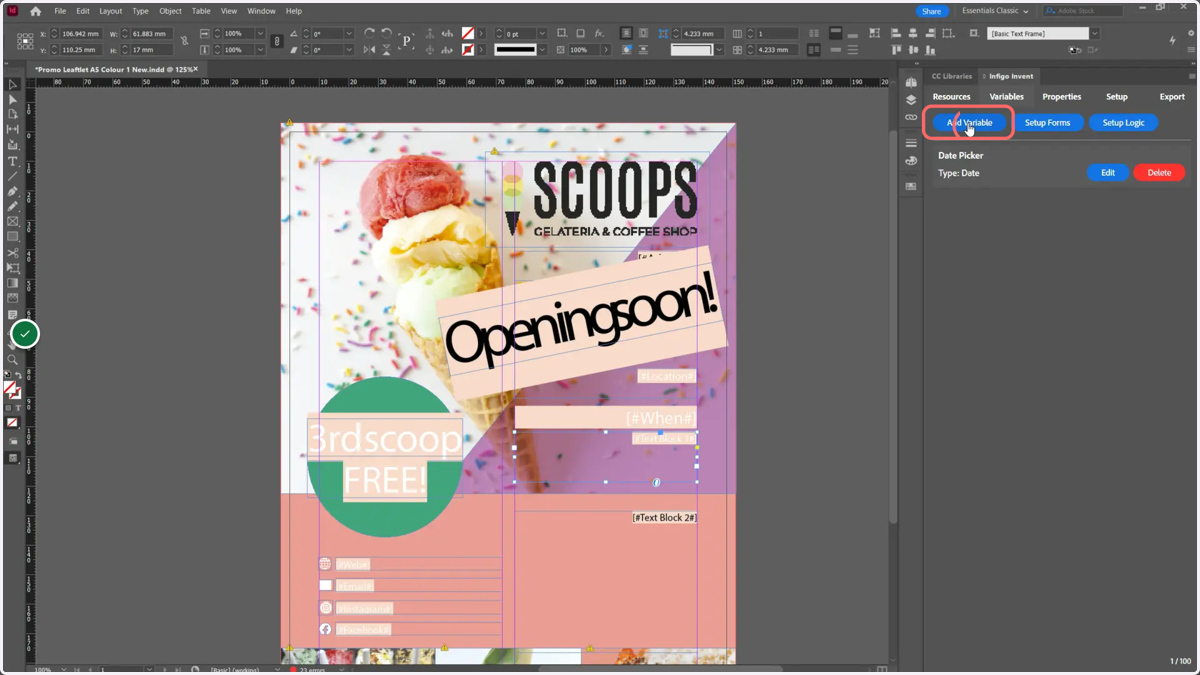
11. Click Add Variable
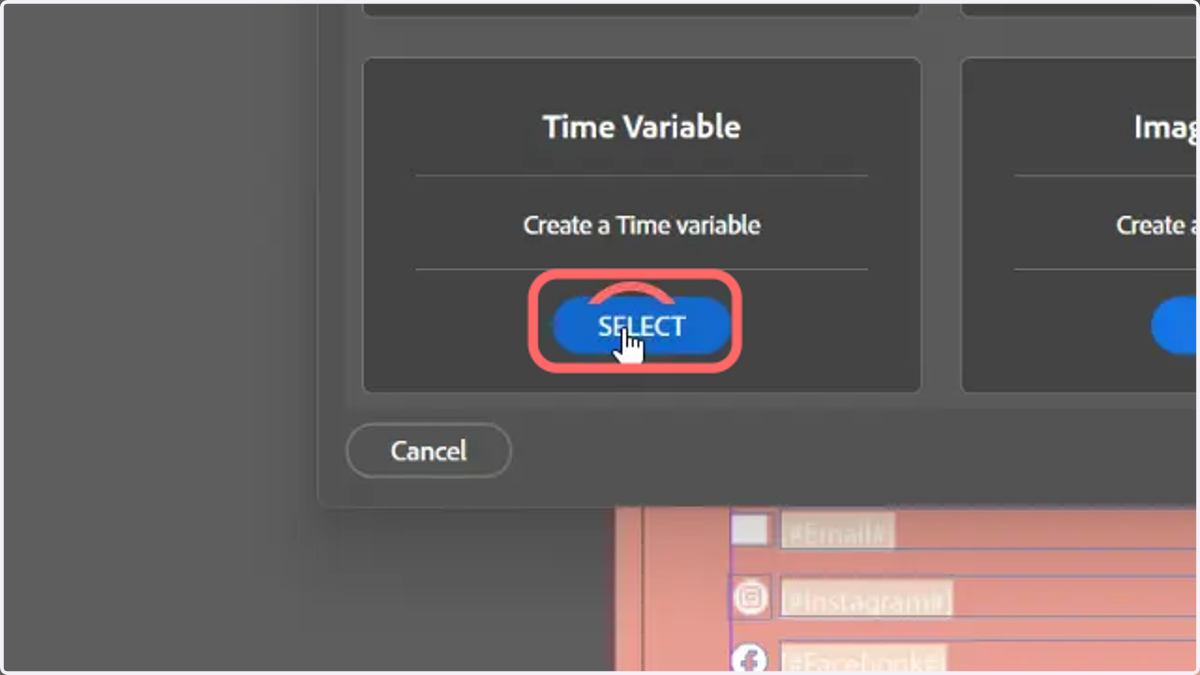
12. Select a Time variable
13. Enter a variable name
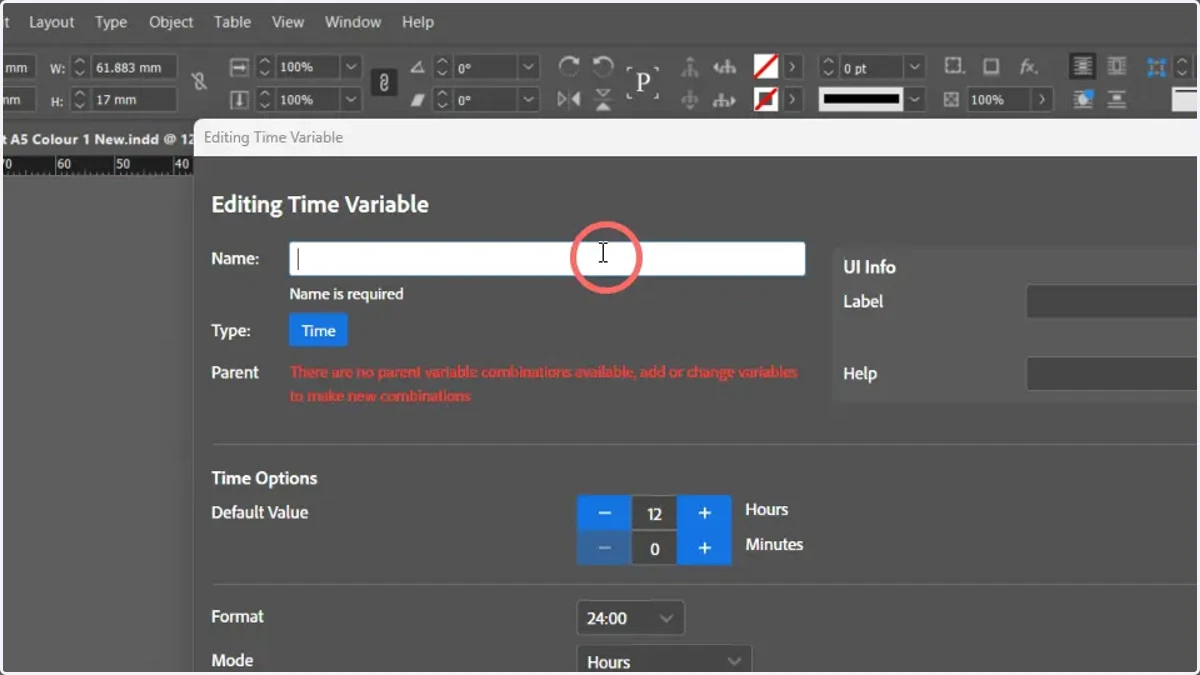
14. Specify a default time and a time format
The default time will be displayed when the product first loads in MegaEdit.
The format can be switched between a 24 hour format, or an AM/PM format.
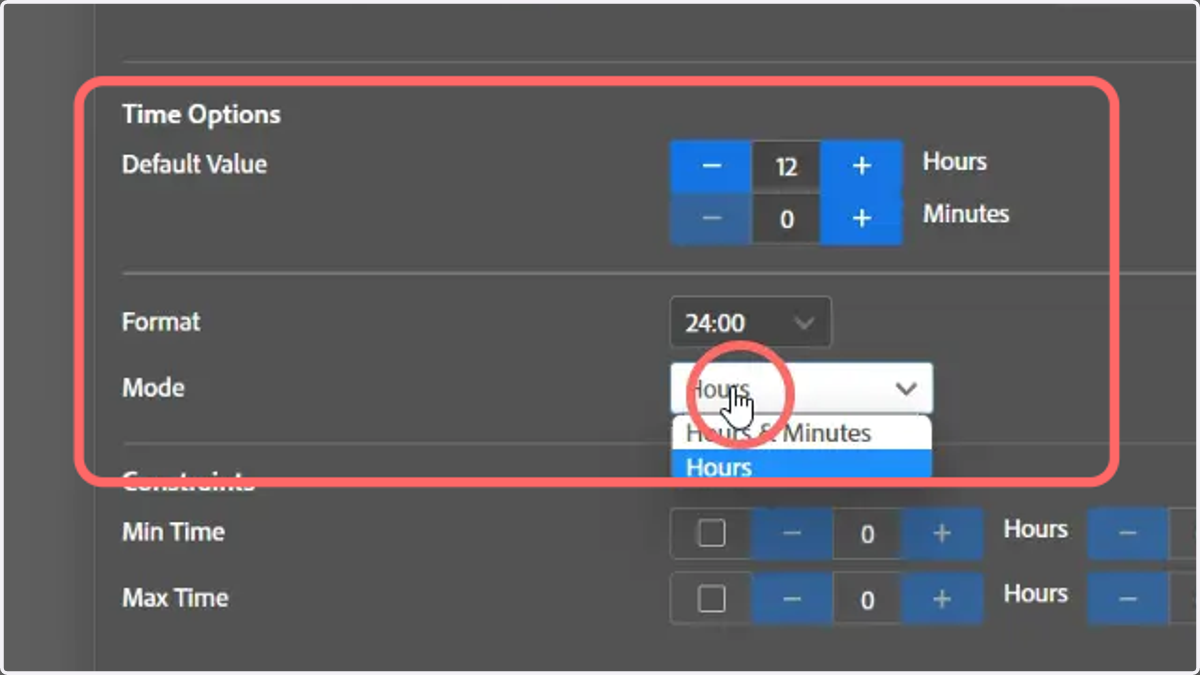
15. Optionally, set constraints on the earliest and latest times available for selection
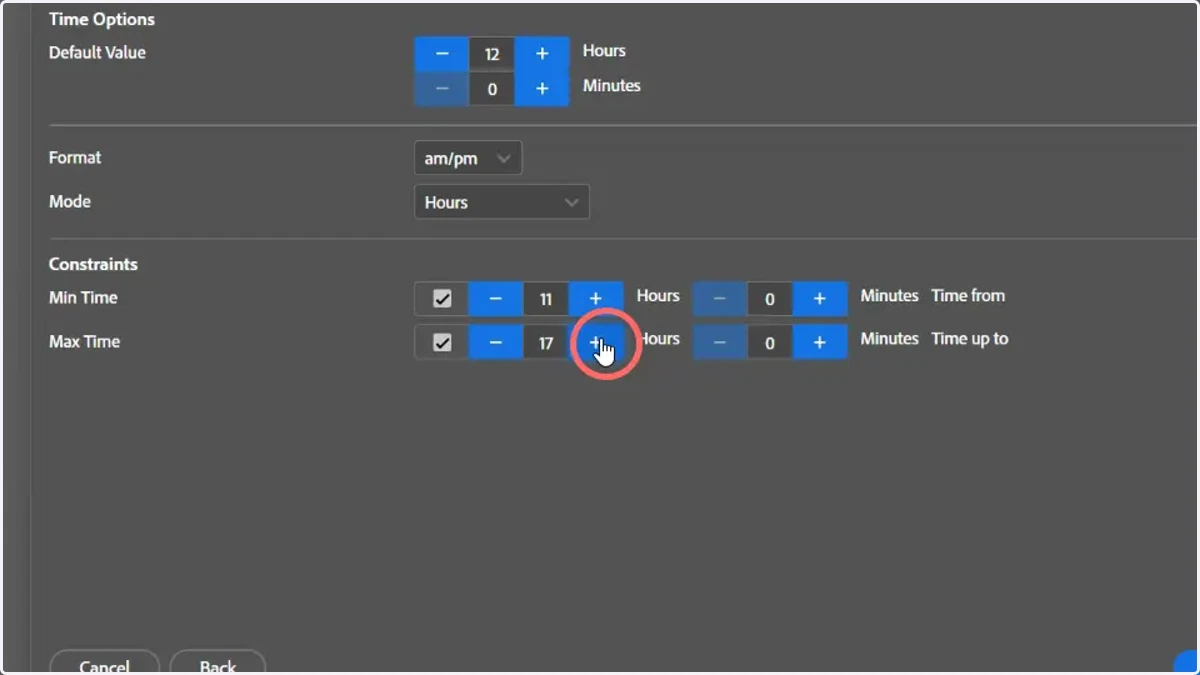
16. Click Save
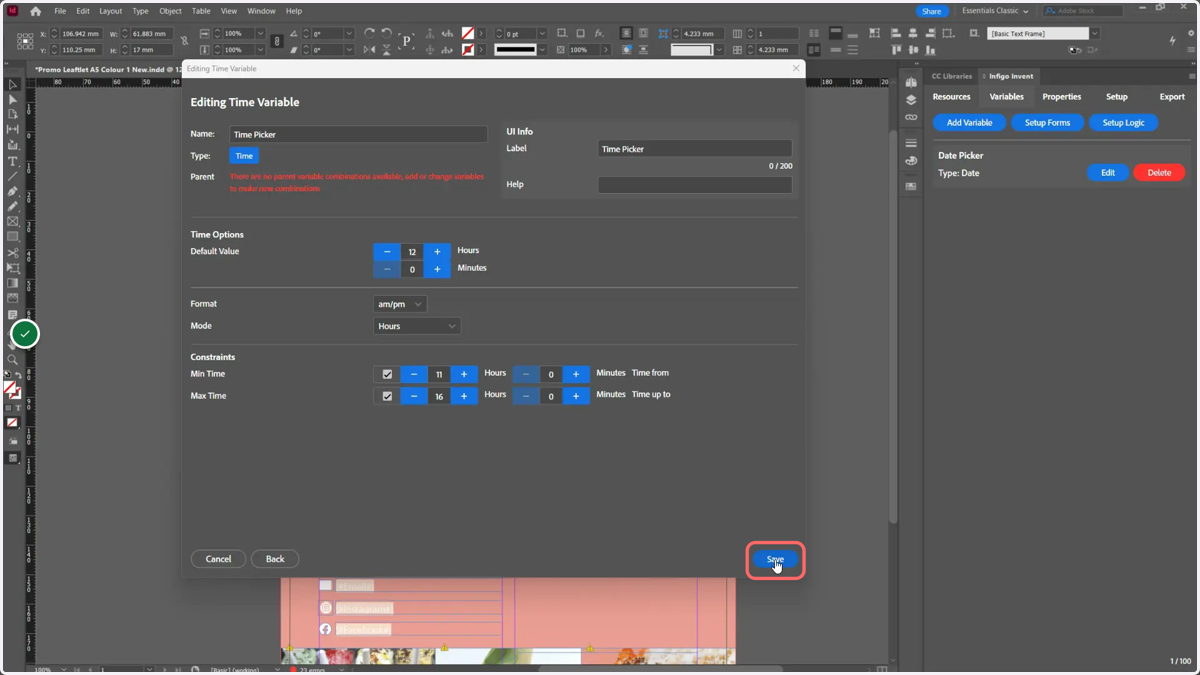
17. Next, we will link our two new variables to text frames on our template
18. Select a text frame to populate
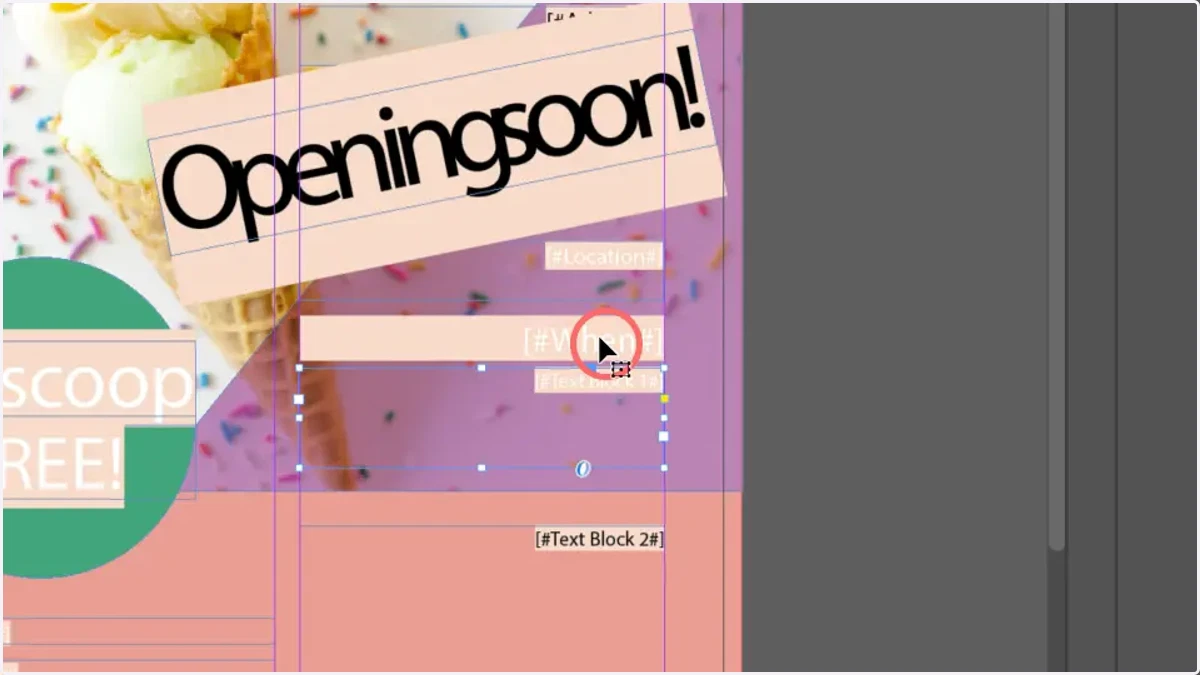
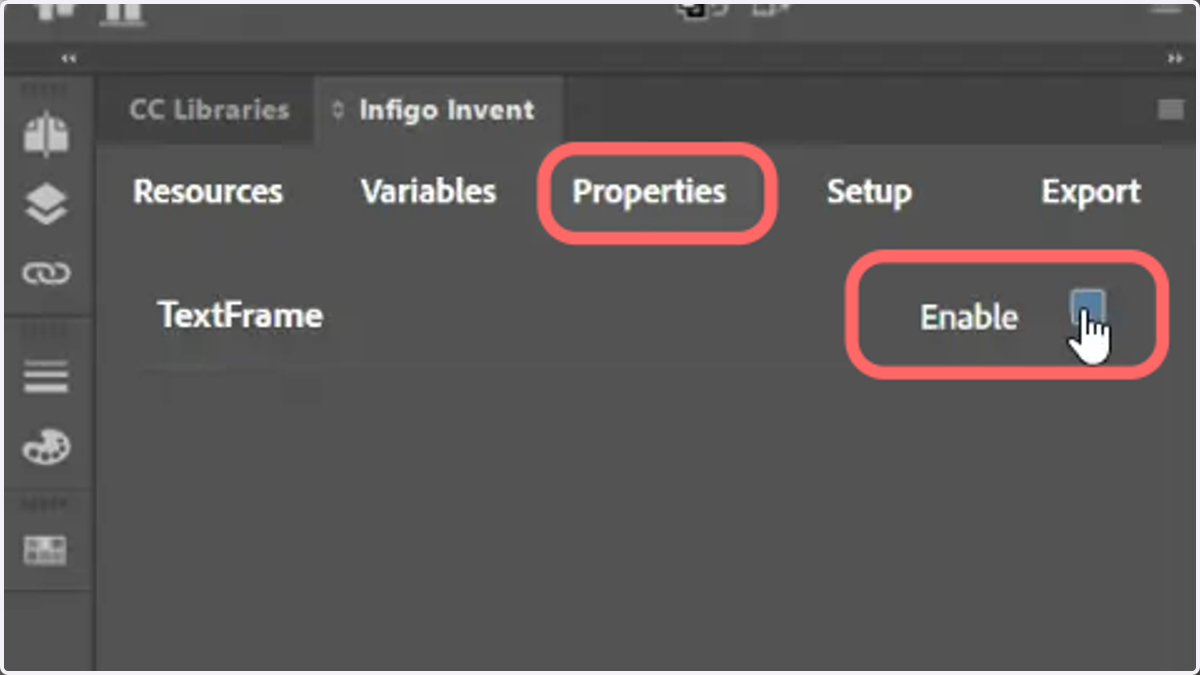
19. Enable the text frame within the properties tab to make it dynamic
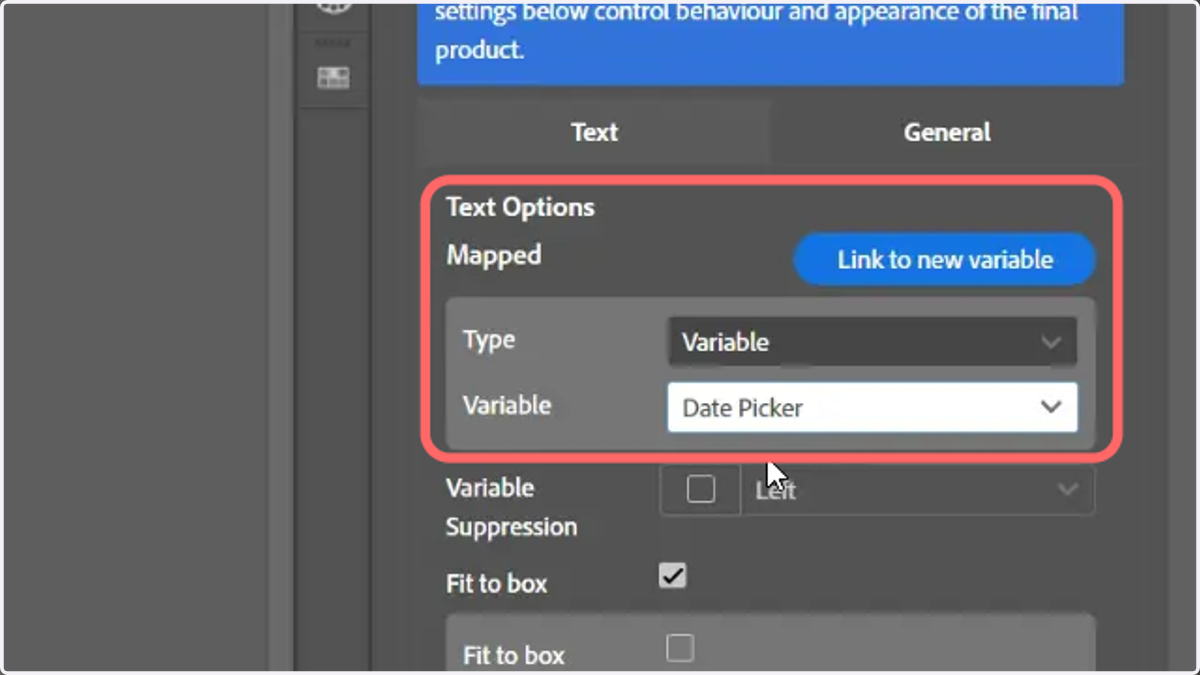
20. Map the relevant variable to the text frame
21. Select a second text frame
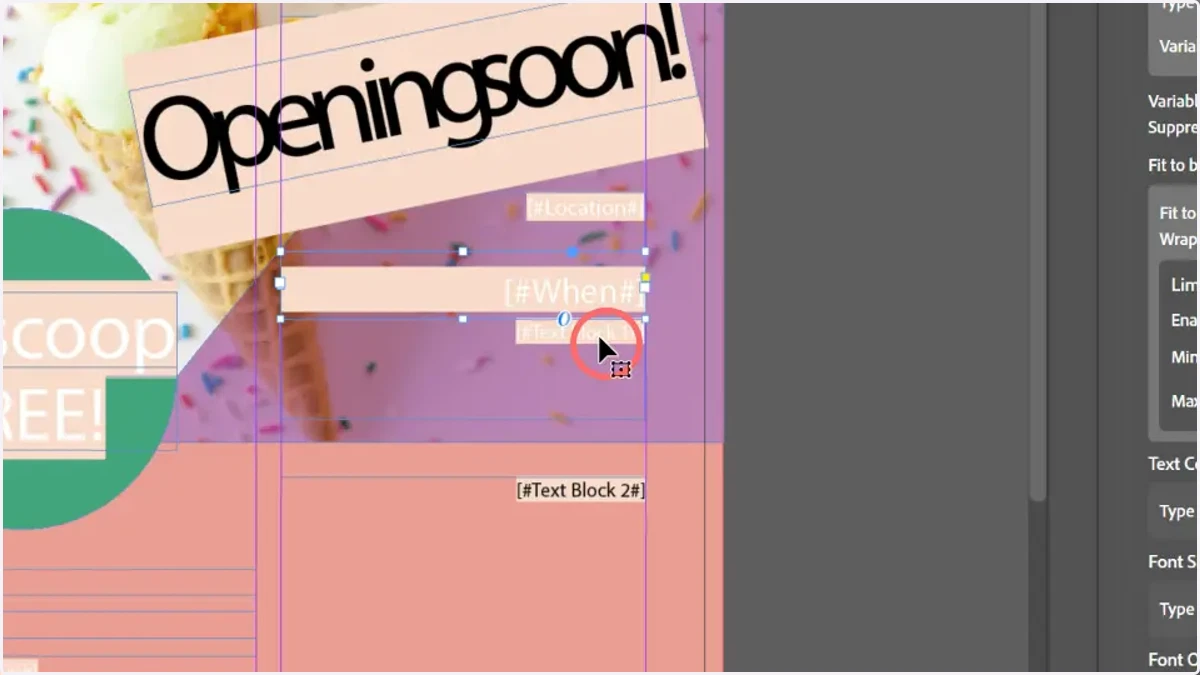
22. Enable the frame and map the relevant variable
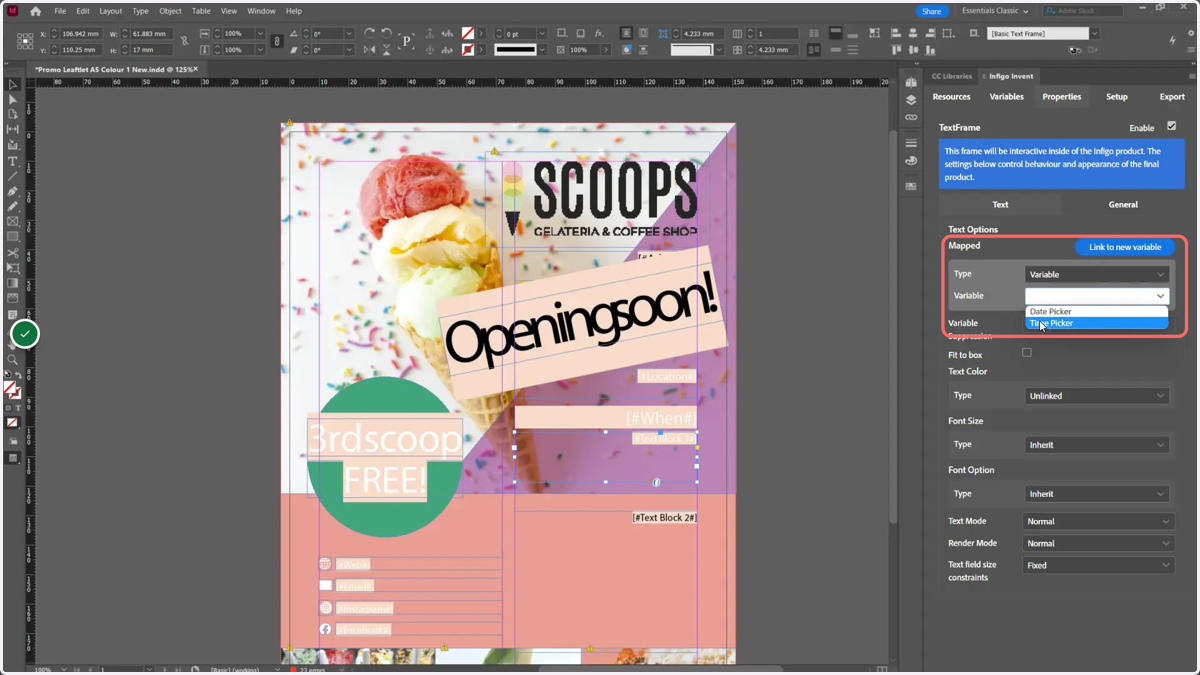
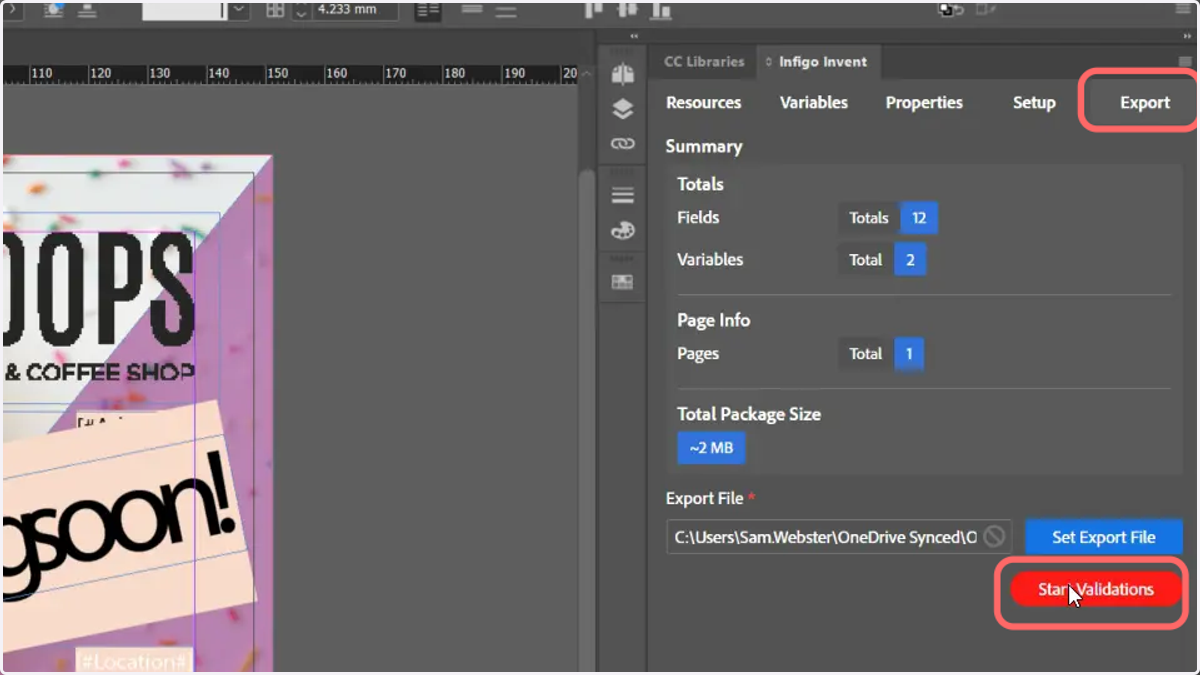
23. Export the template as a MEX file
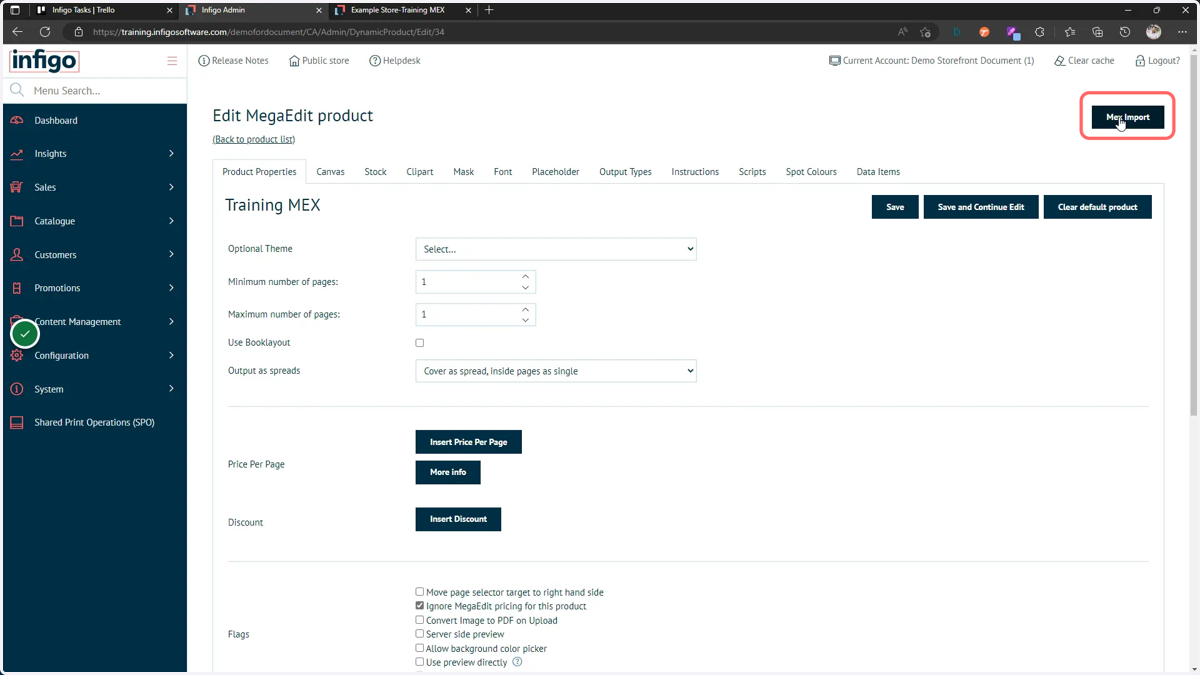
24. Import the MEX file in to your MegaEdit product
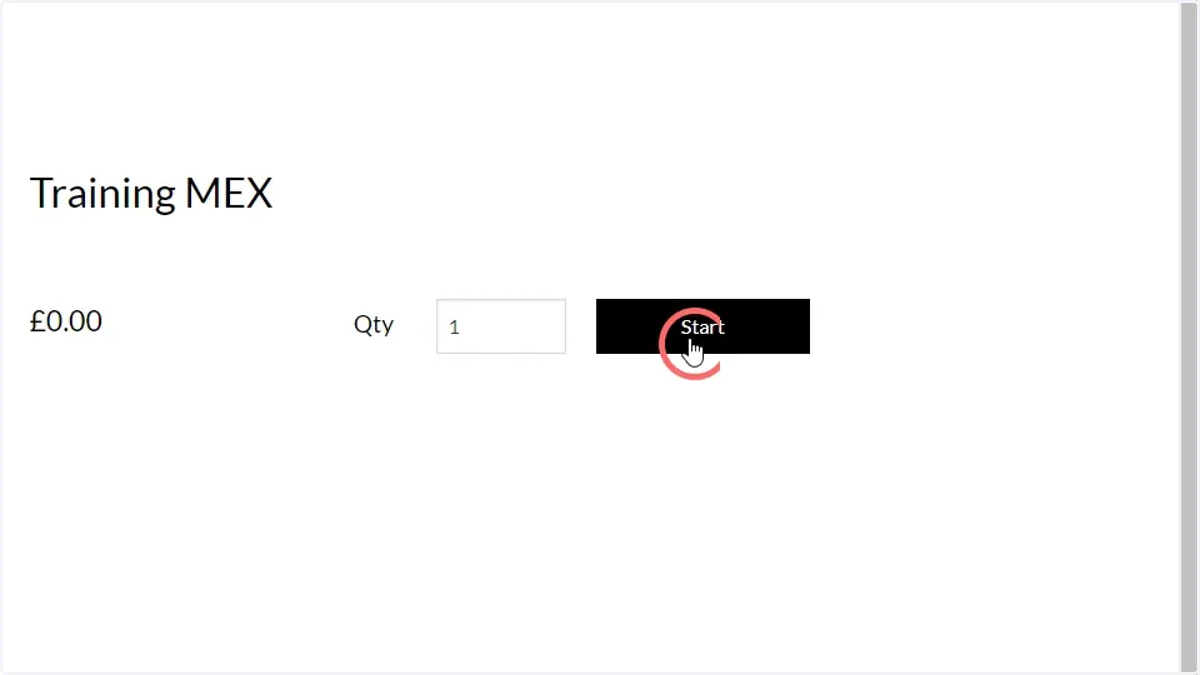
25. Launch the MegaEdit editor for this product
26. Date and Time pickers are now available on the MegaEdit form and are linked to the text frames on your template