3. Custom Contact Views in HubSpot
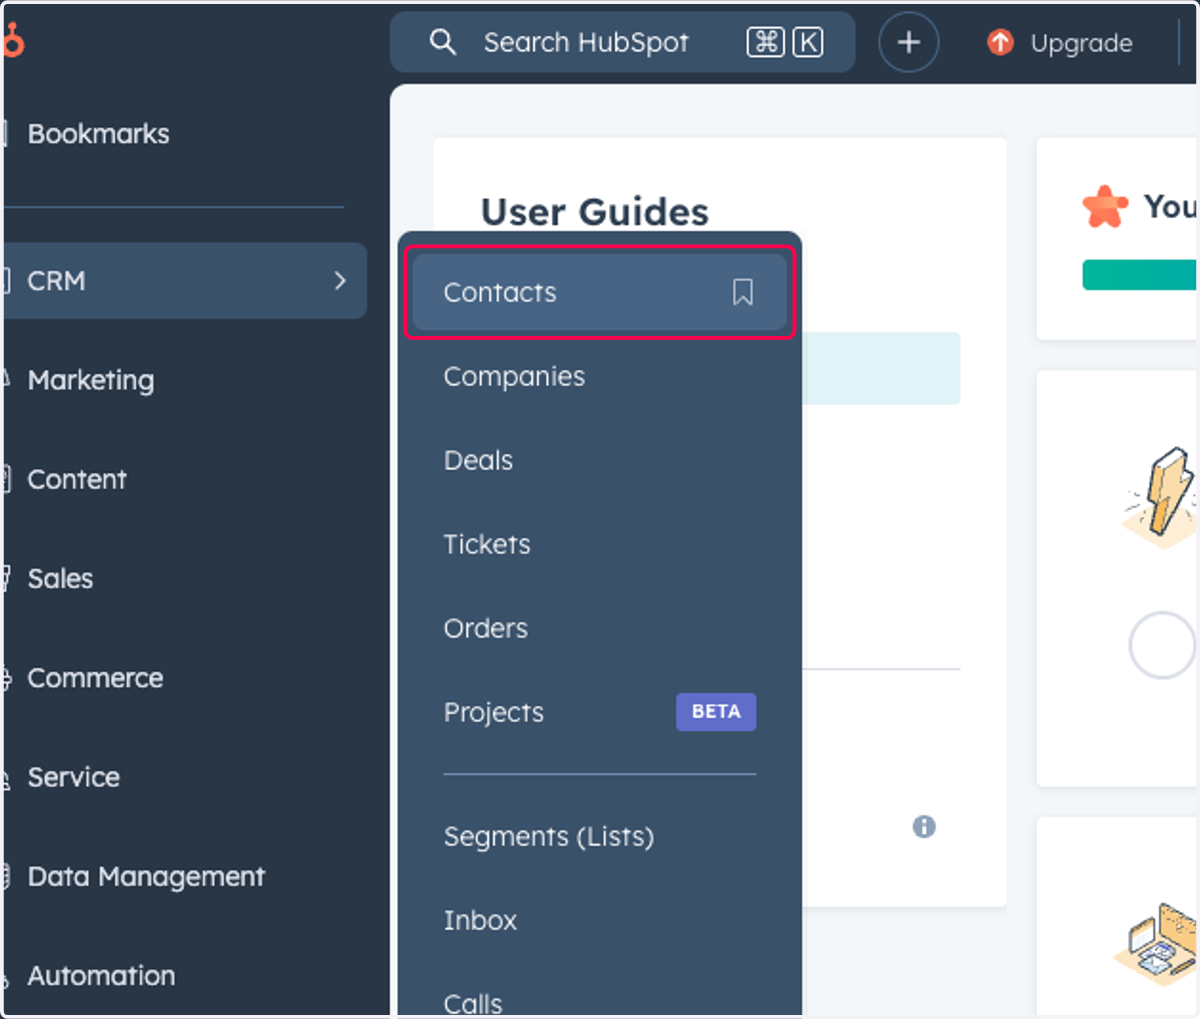
1. Click on Contacts
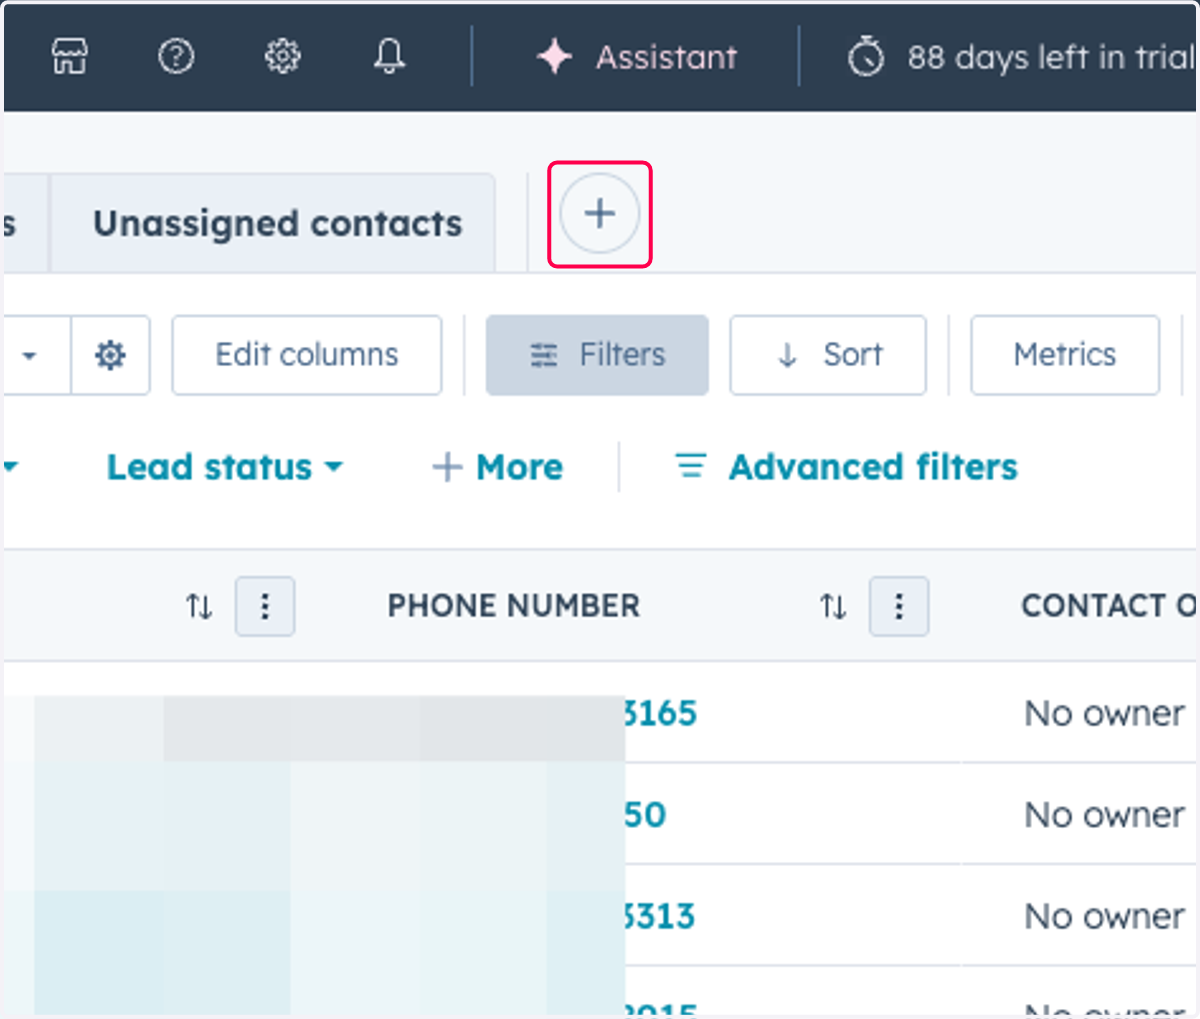
2. Click on the Plus icon
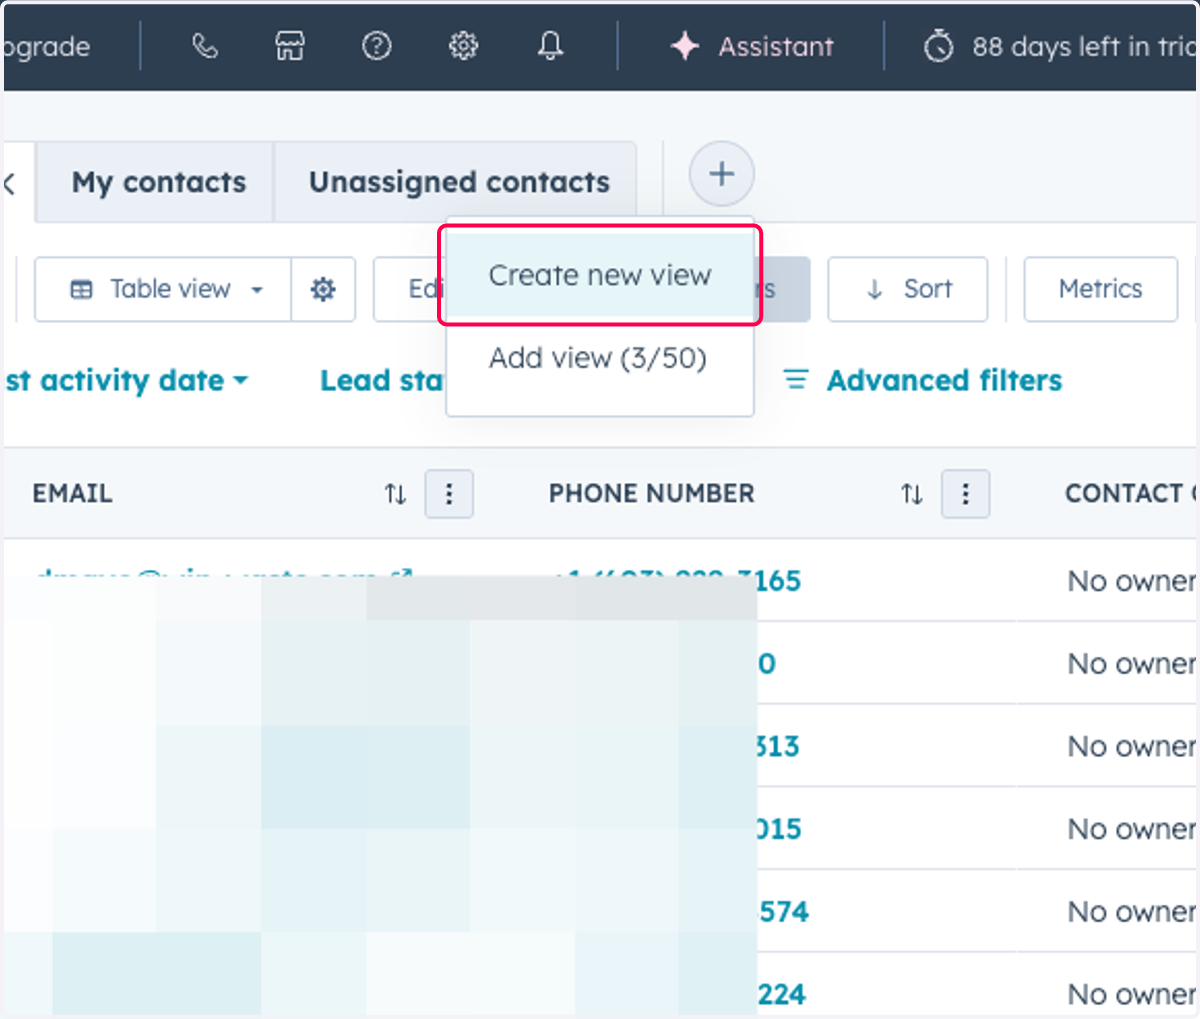
3. Click on Create new view
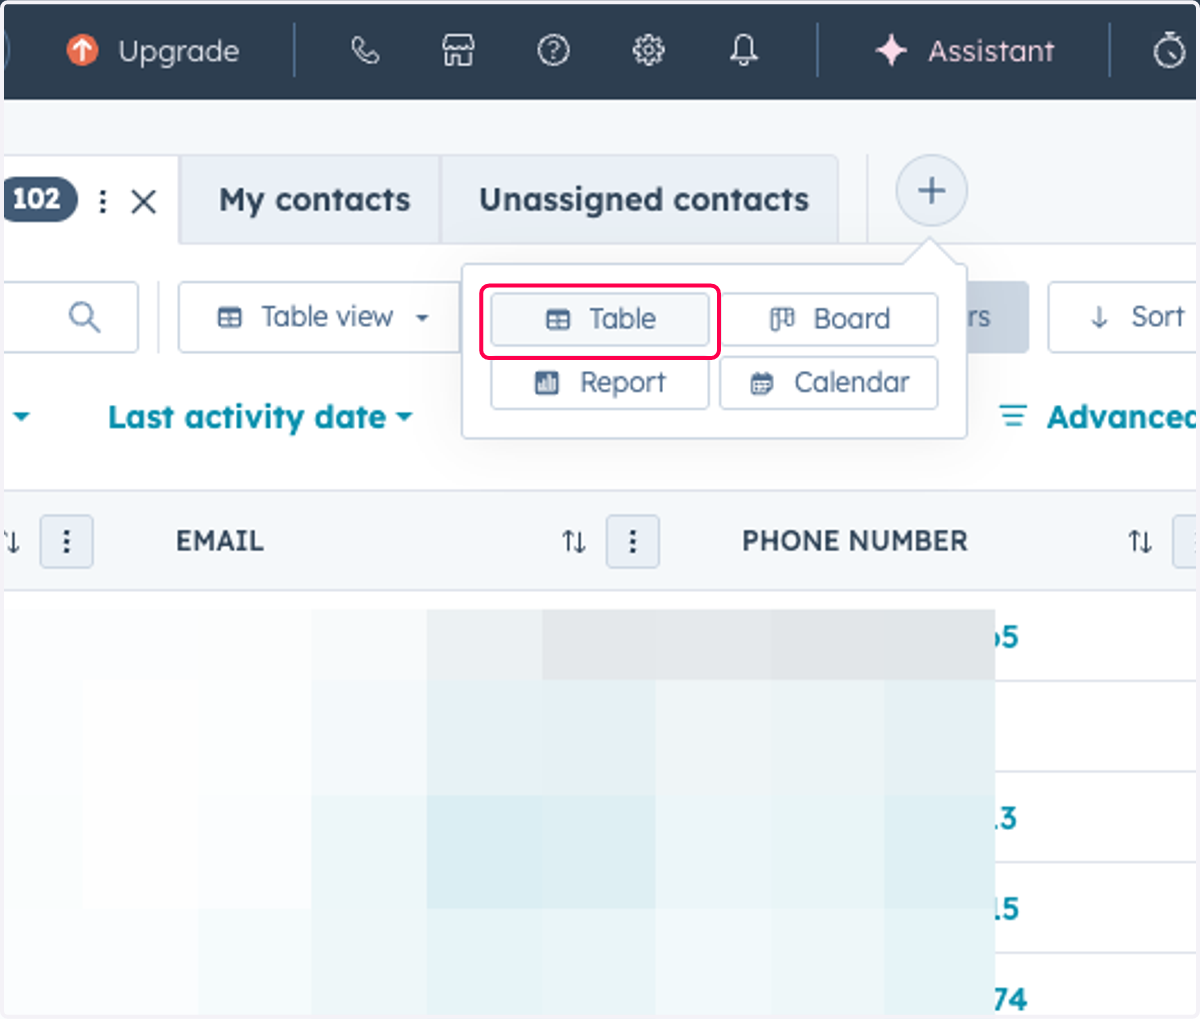
4. Click on Table
5. Type "[Rep Name] - High Intent Contacts"
![Type "[Rep Name] - High Intent Contacts"](https://images.tango.us/workflows/009307ac-69b8-4f69-b58a-a0ecb5c45178/steps/b7776610-4653-4315-99ac-c25c1249760b/3d760fd5-d7b0-44f0-805c-ca40a4dfcfec.png?w=1200&border=F4F2F7&dpr=1.00)
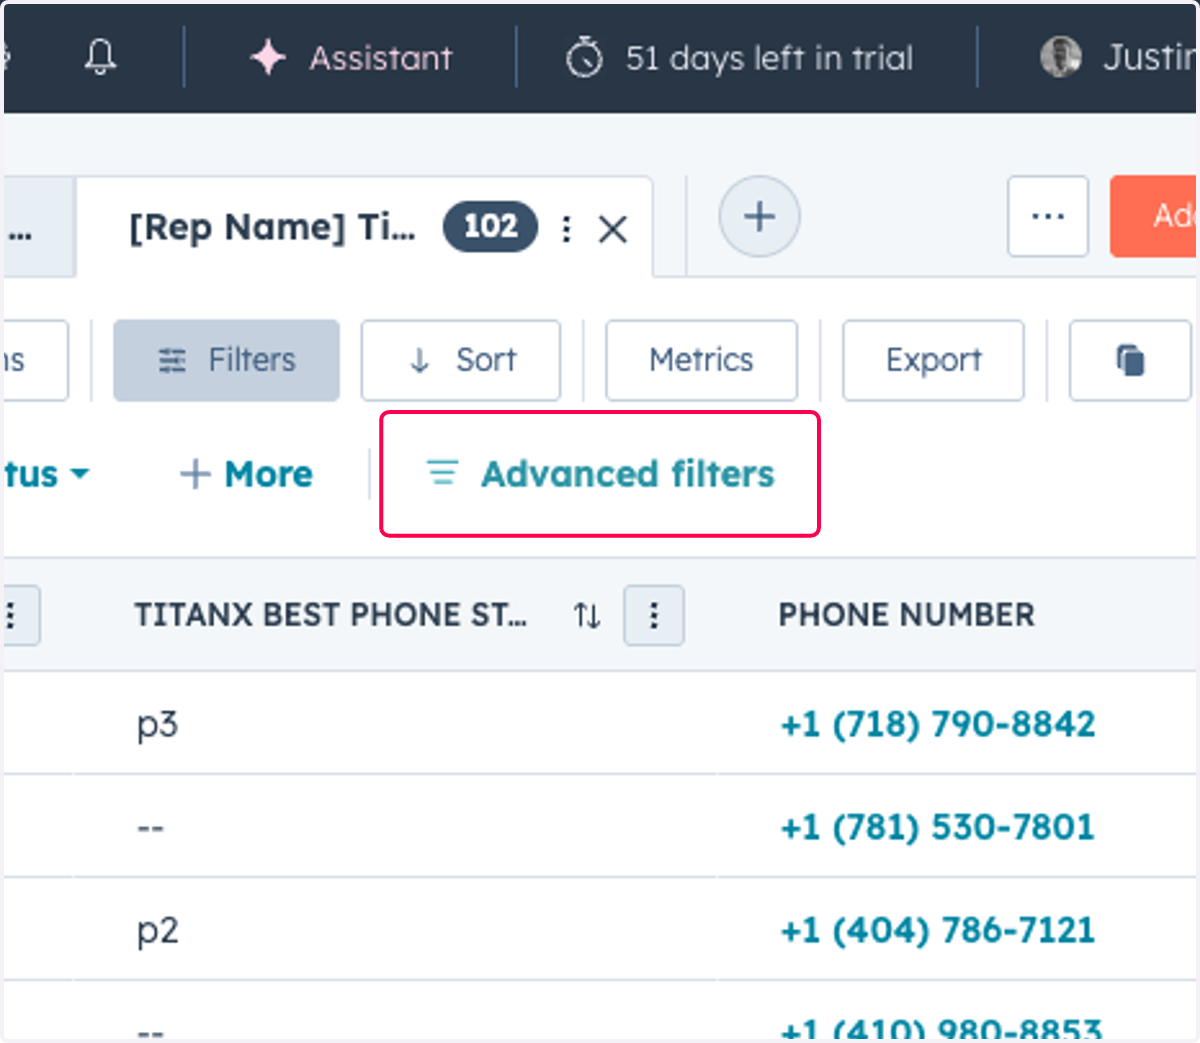
6. Click on Advanced filters
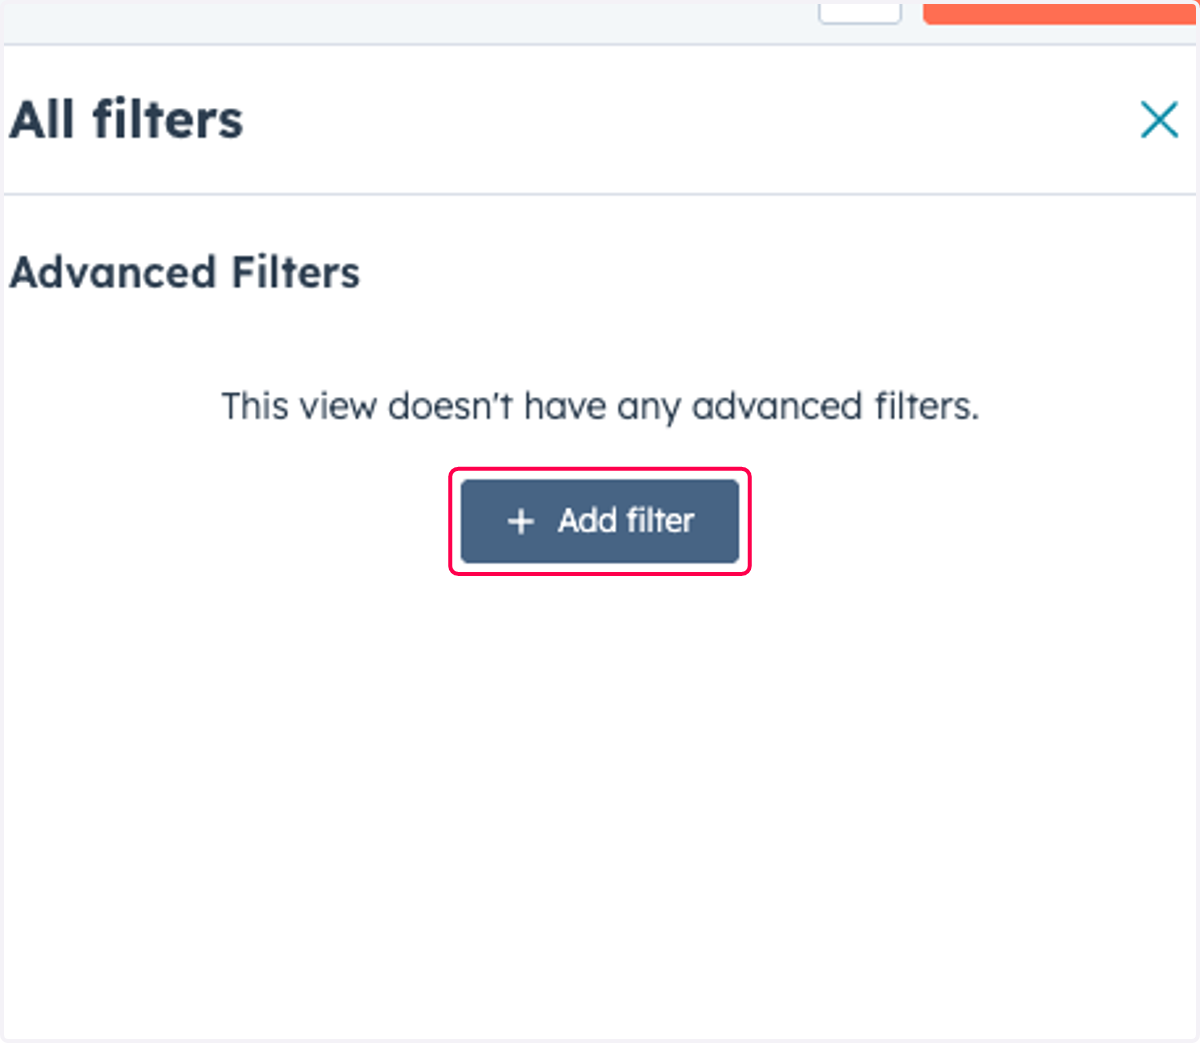
7. Click on Add filter
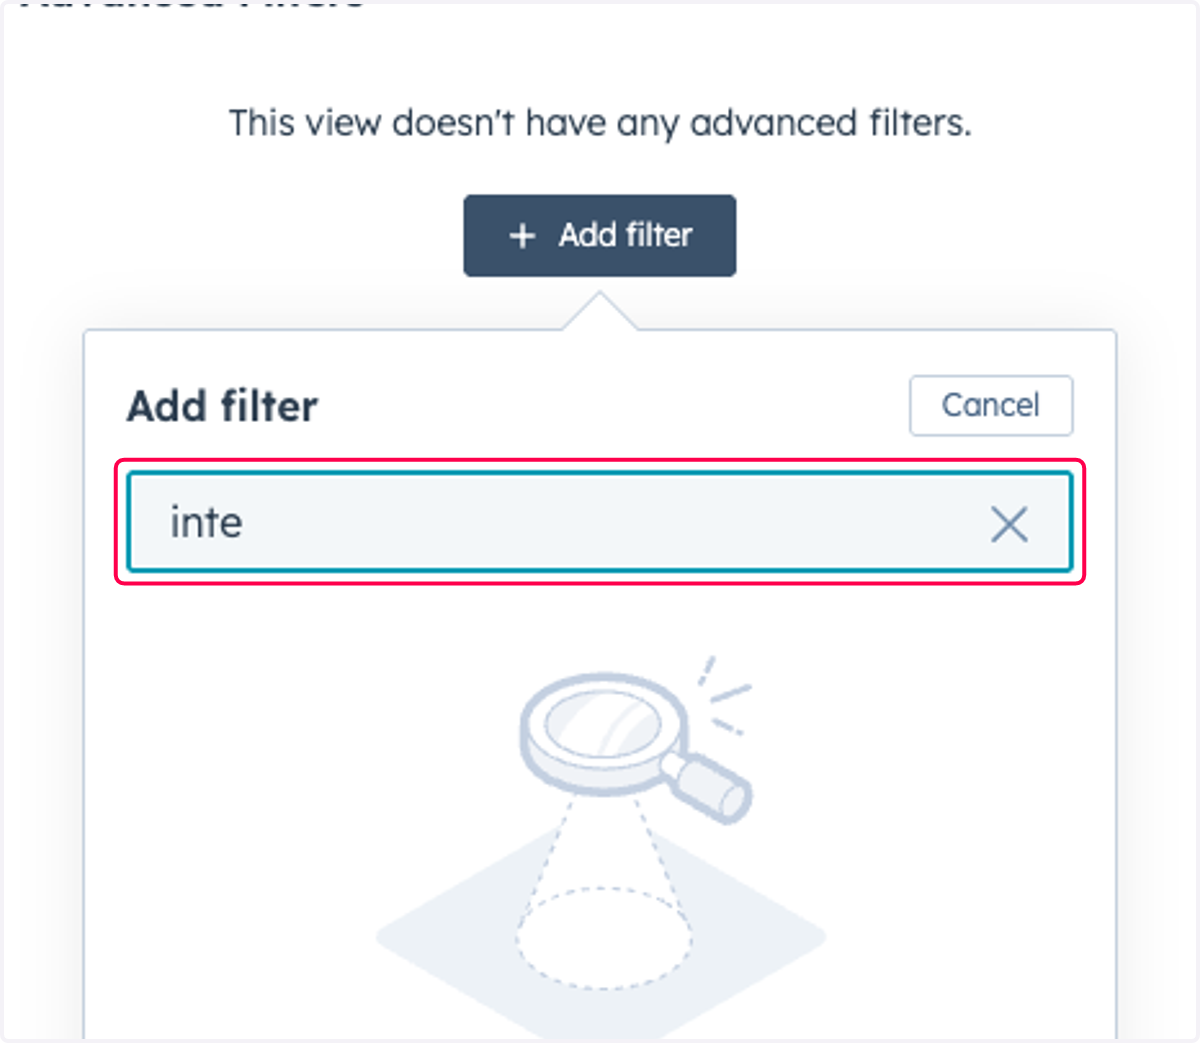
8. Type "inte"
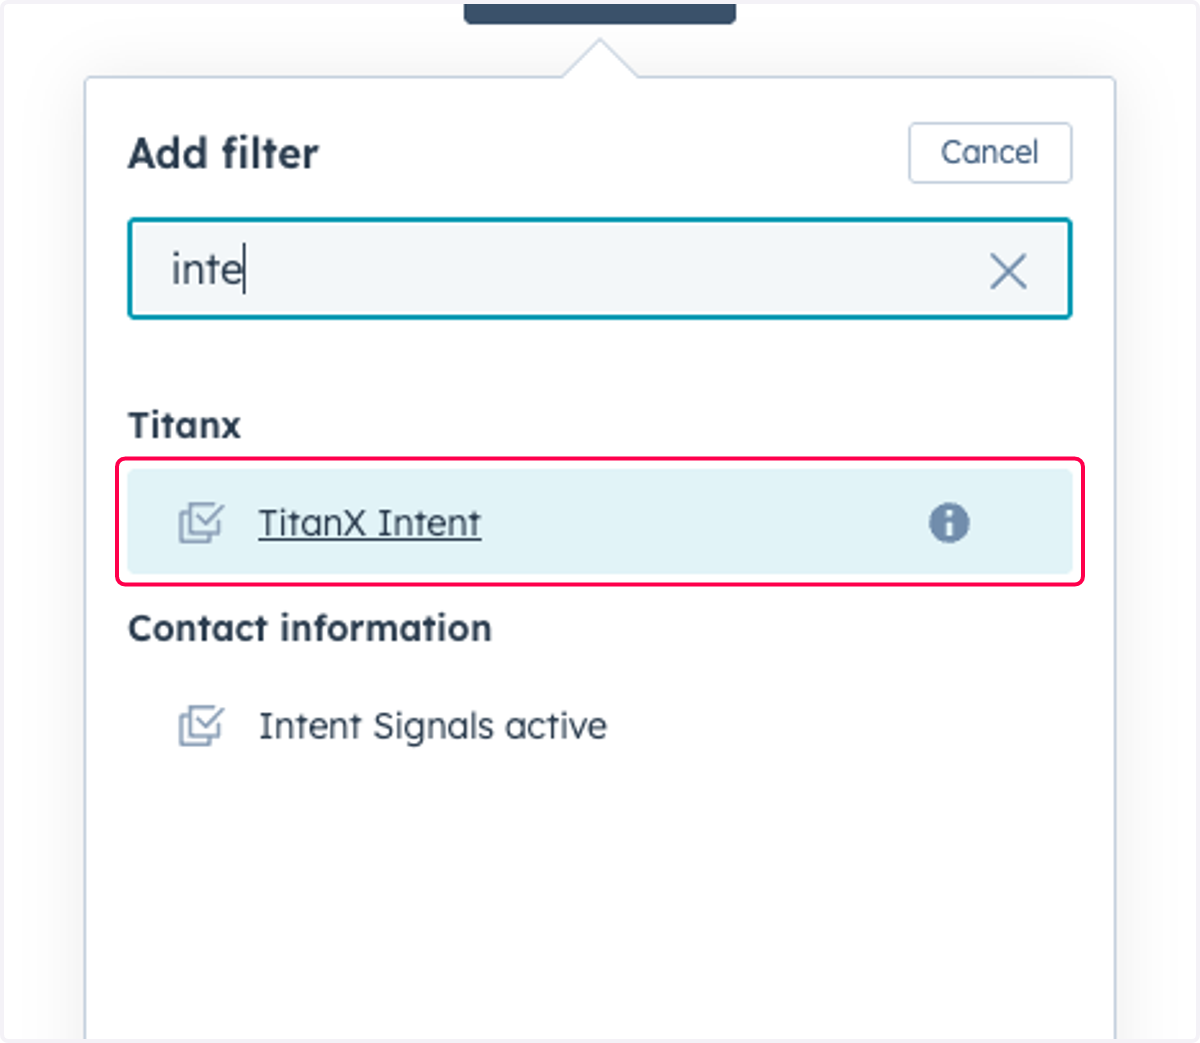
9. Click on TitanX Intent
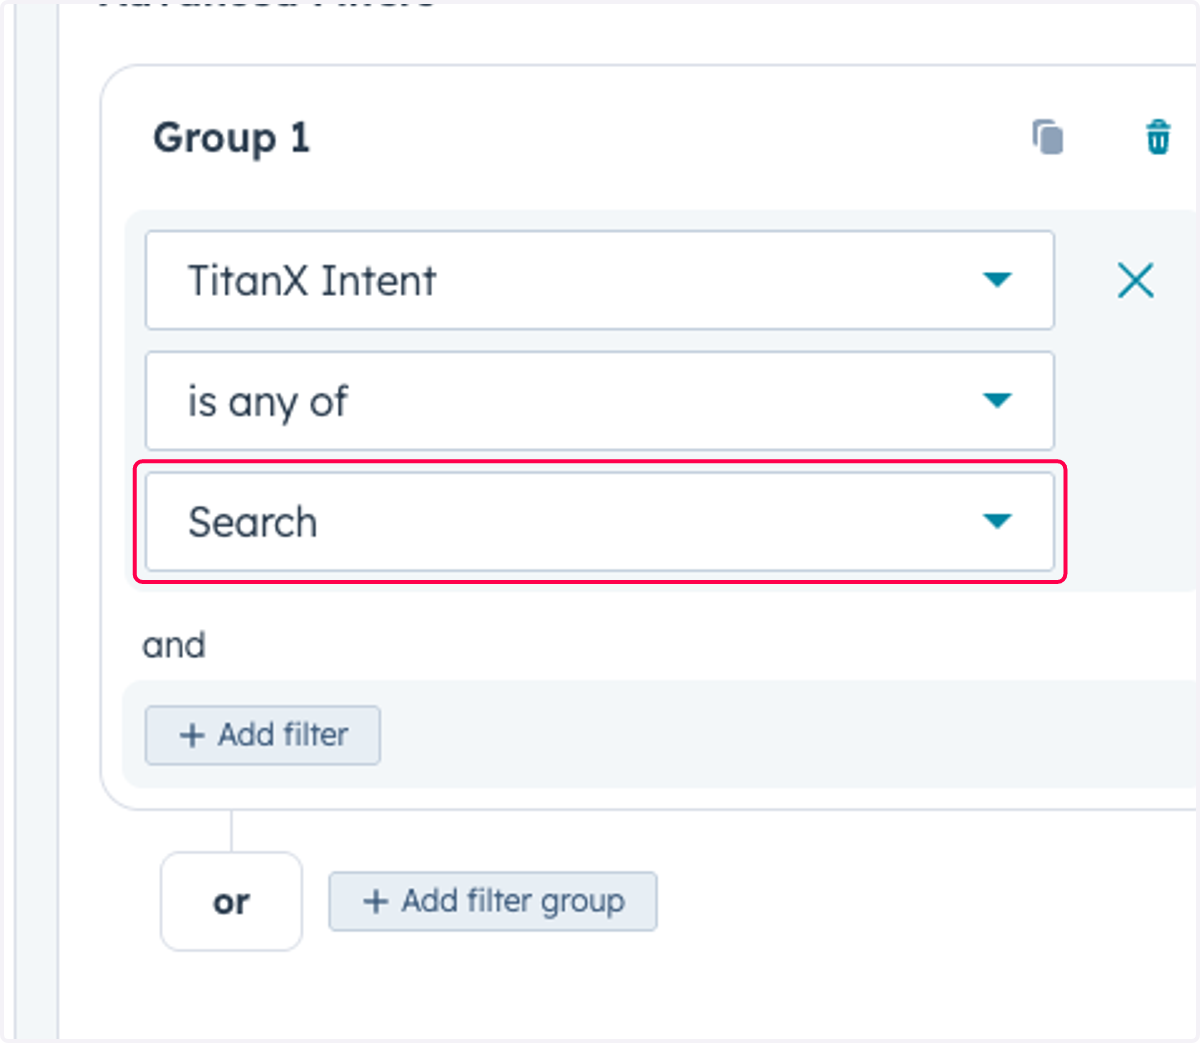
10. Click on Search
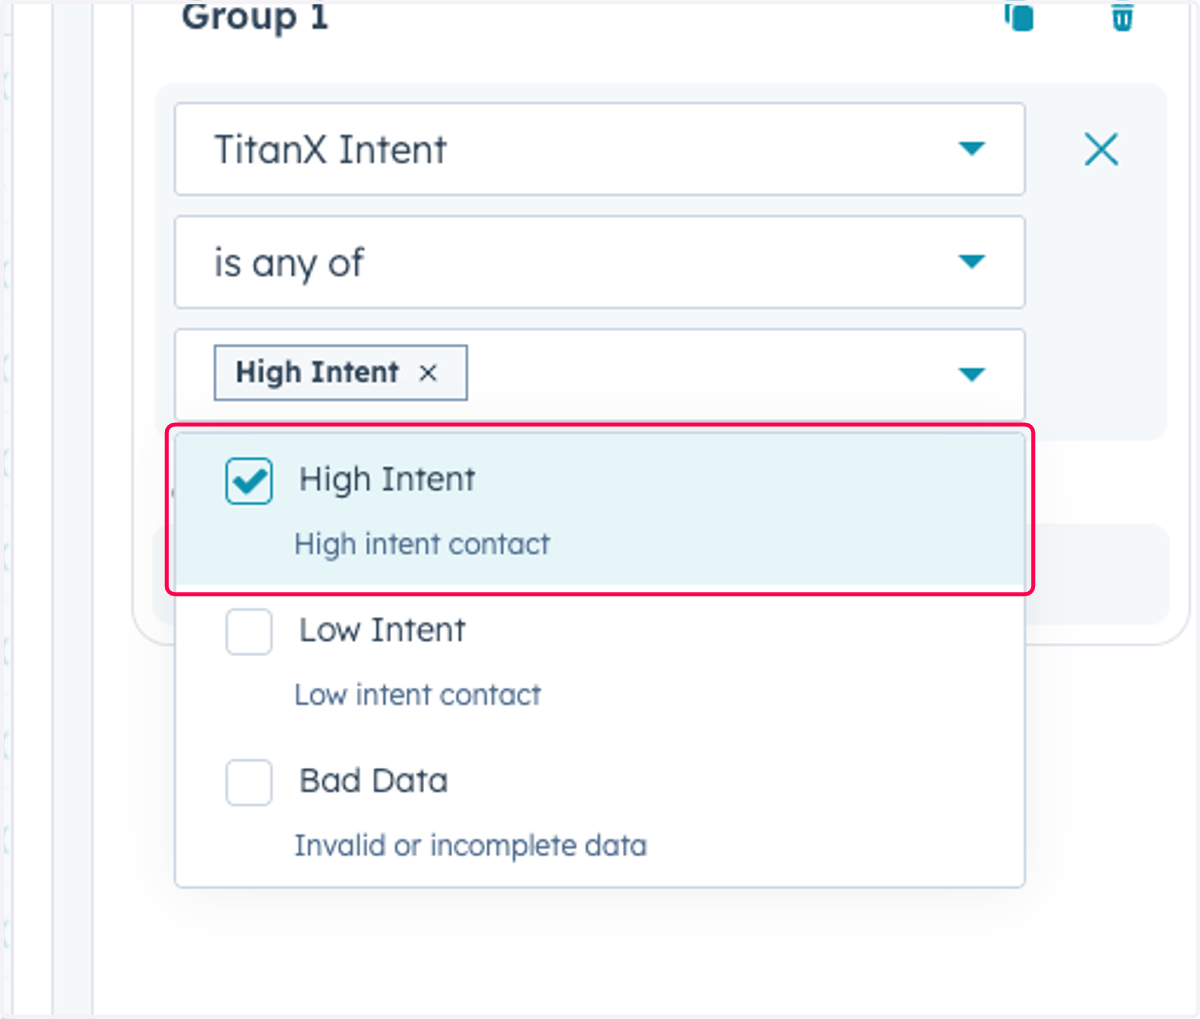
11. Check High Intent…
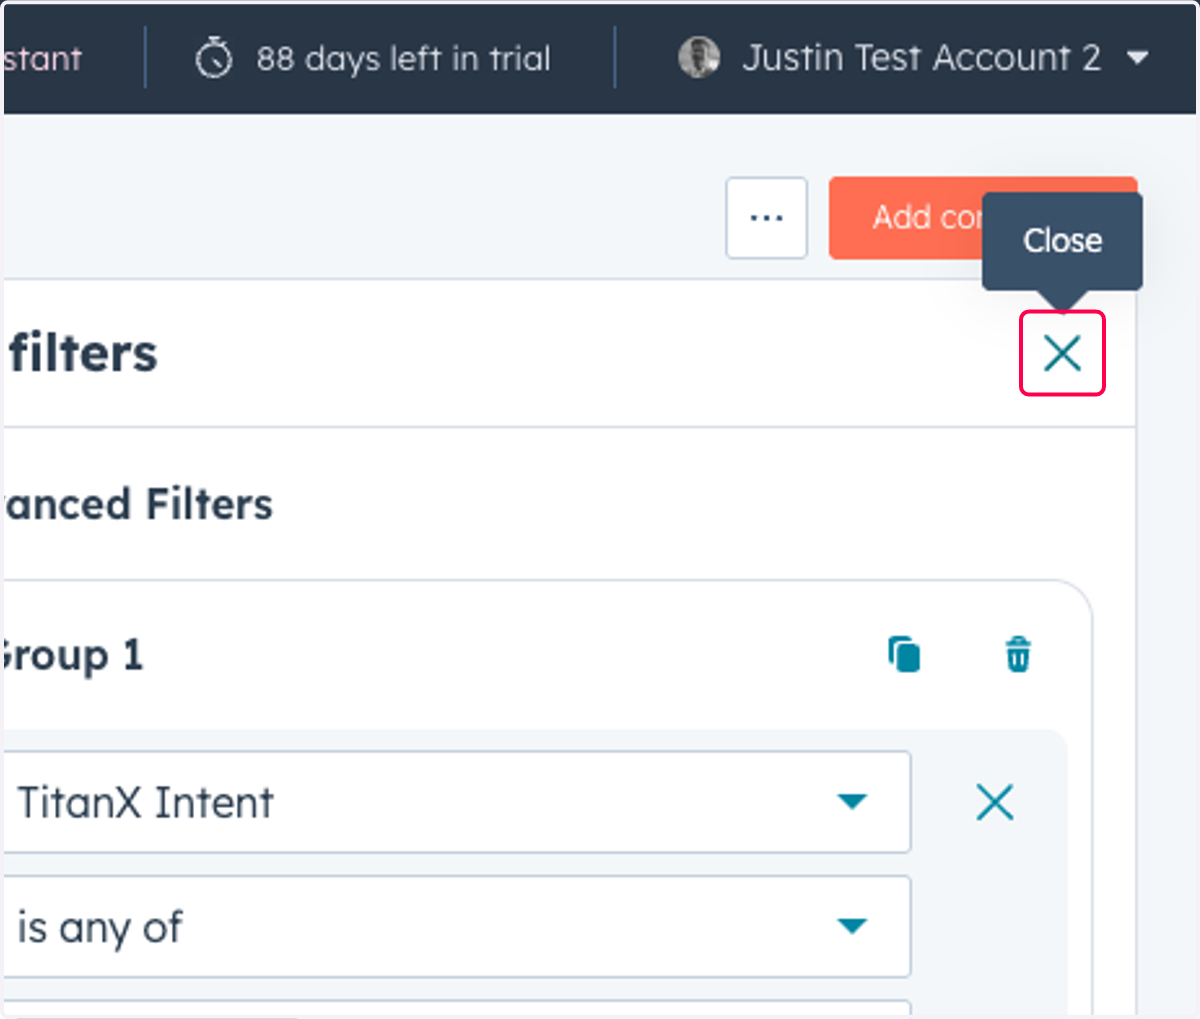
12. Click on Close
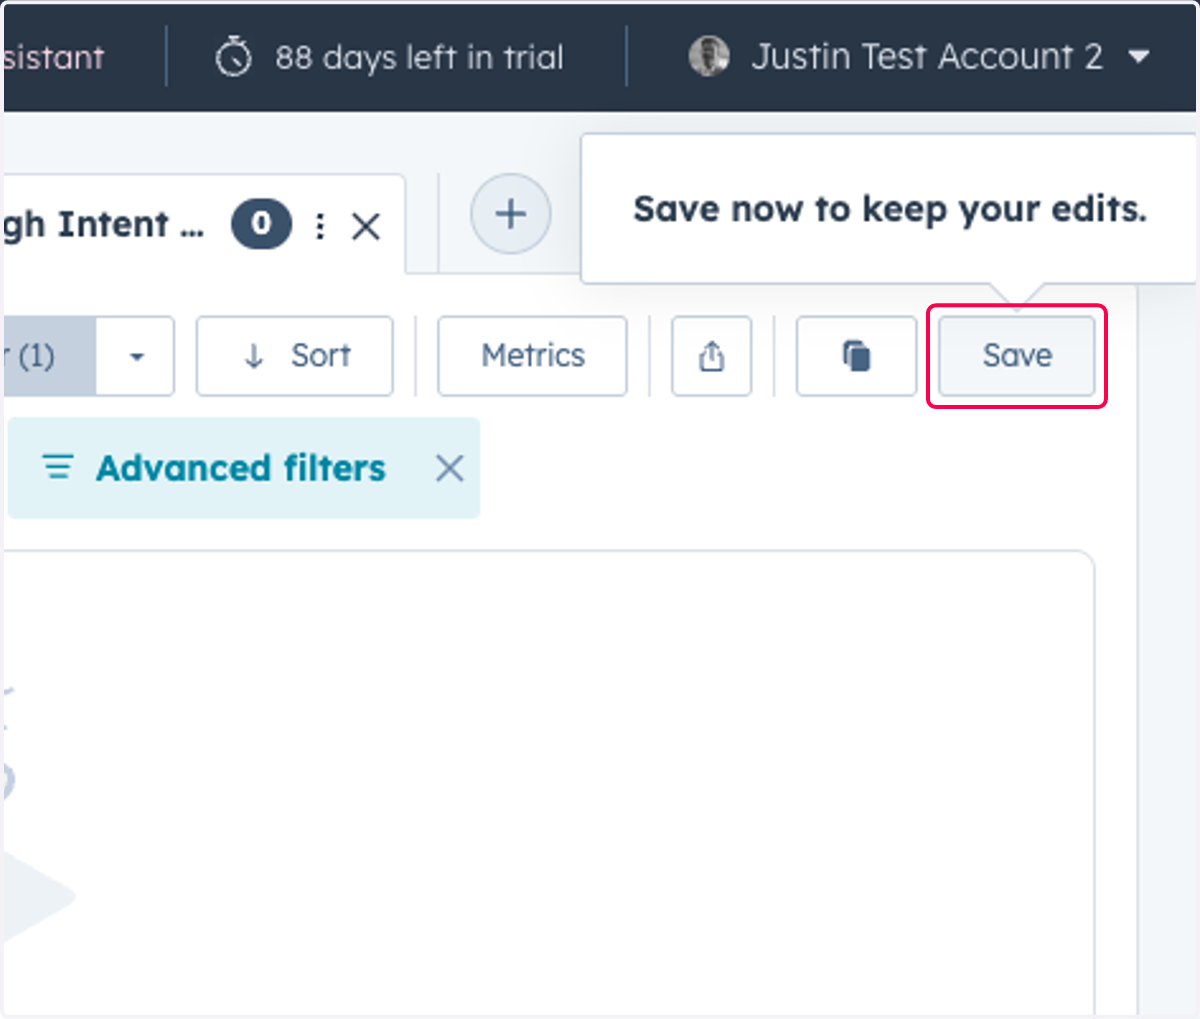
13. Click on Save
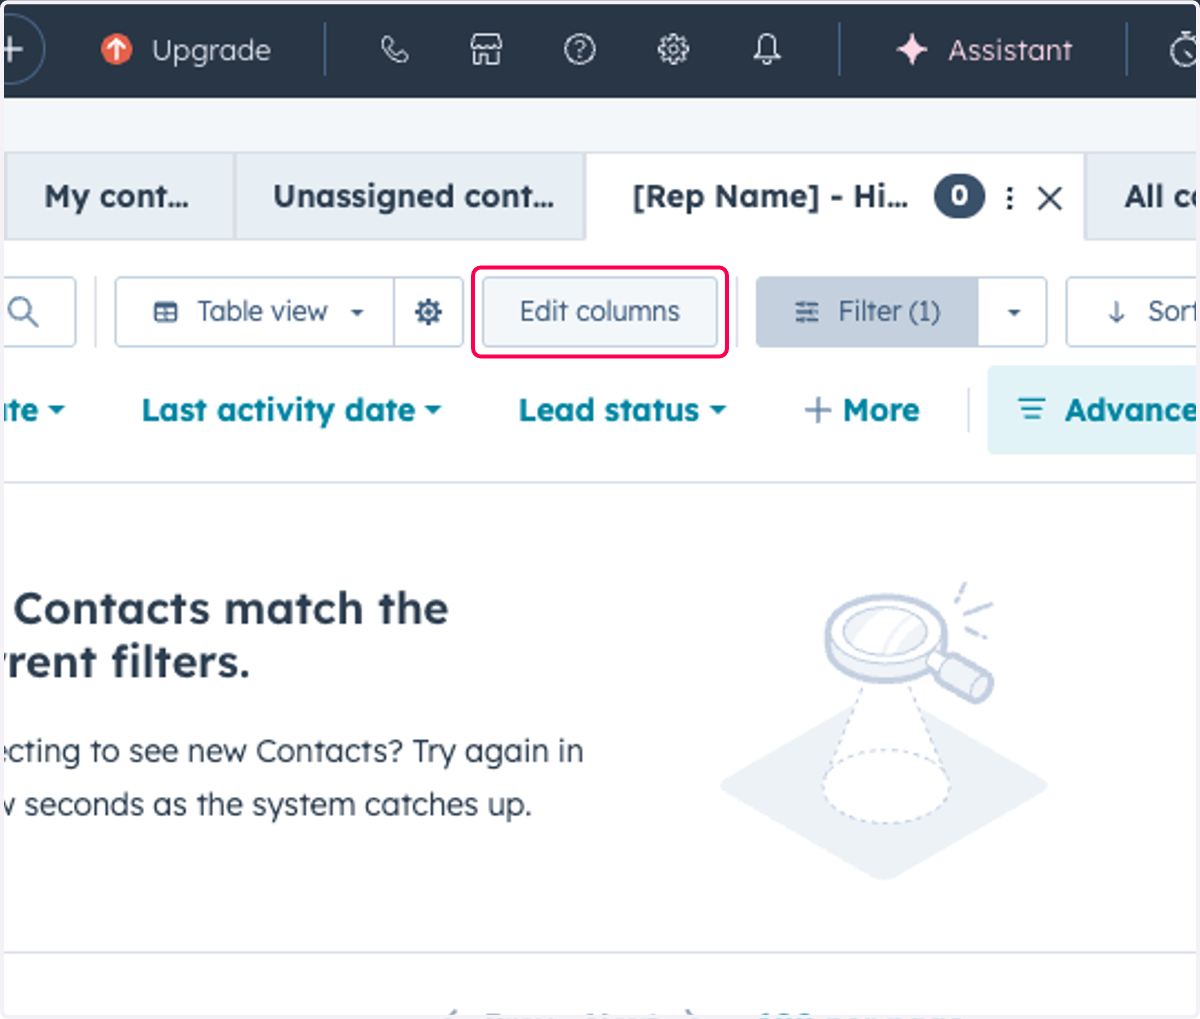
14. Click on Edit columns
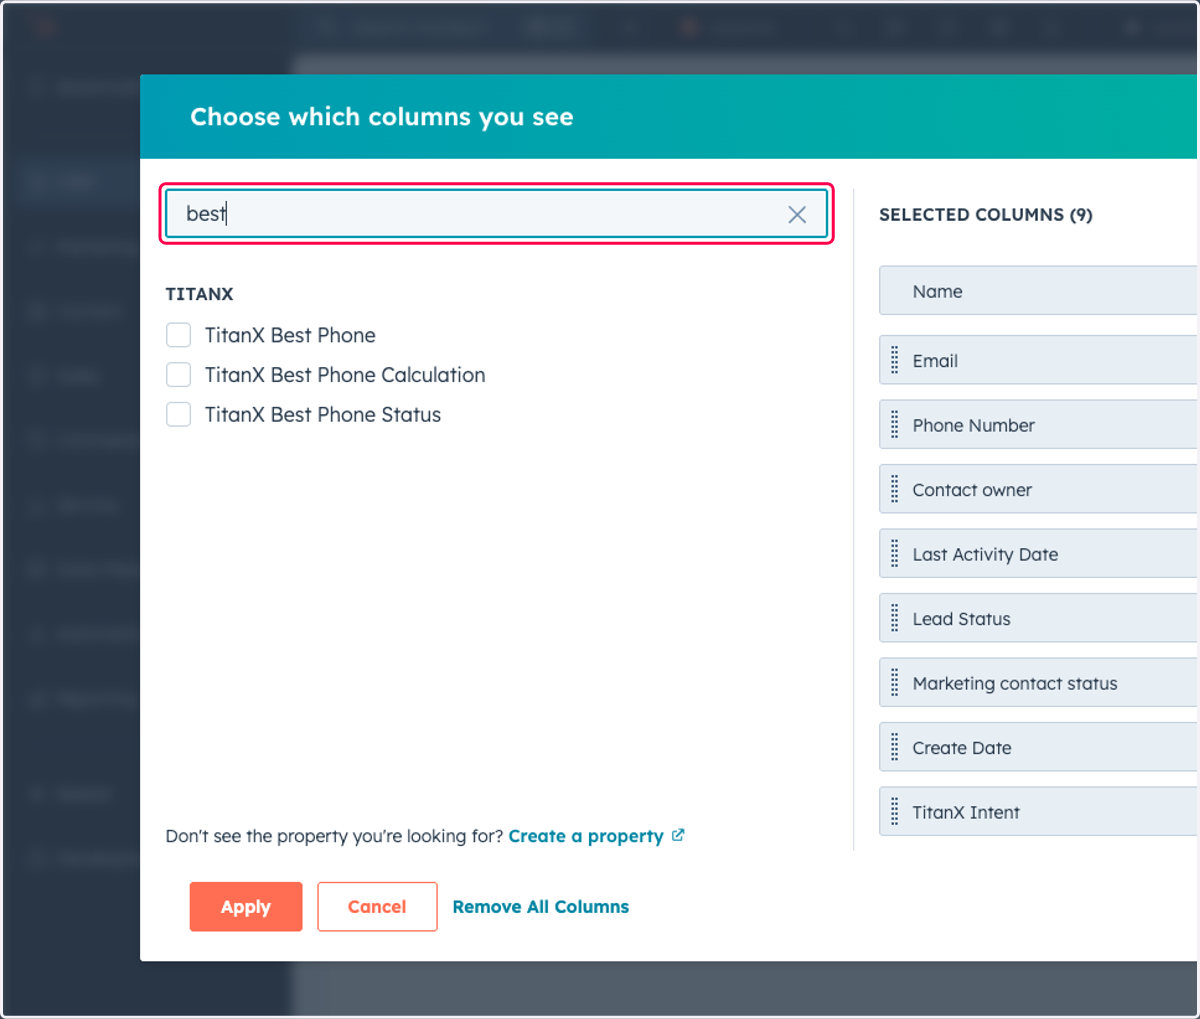
15. Type "best"
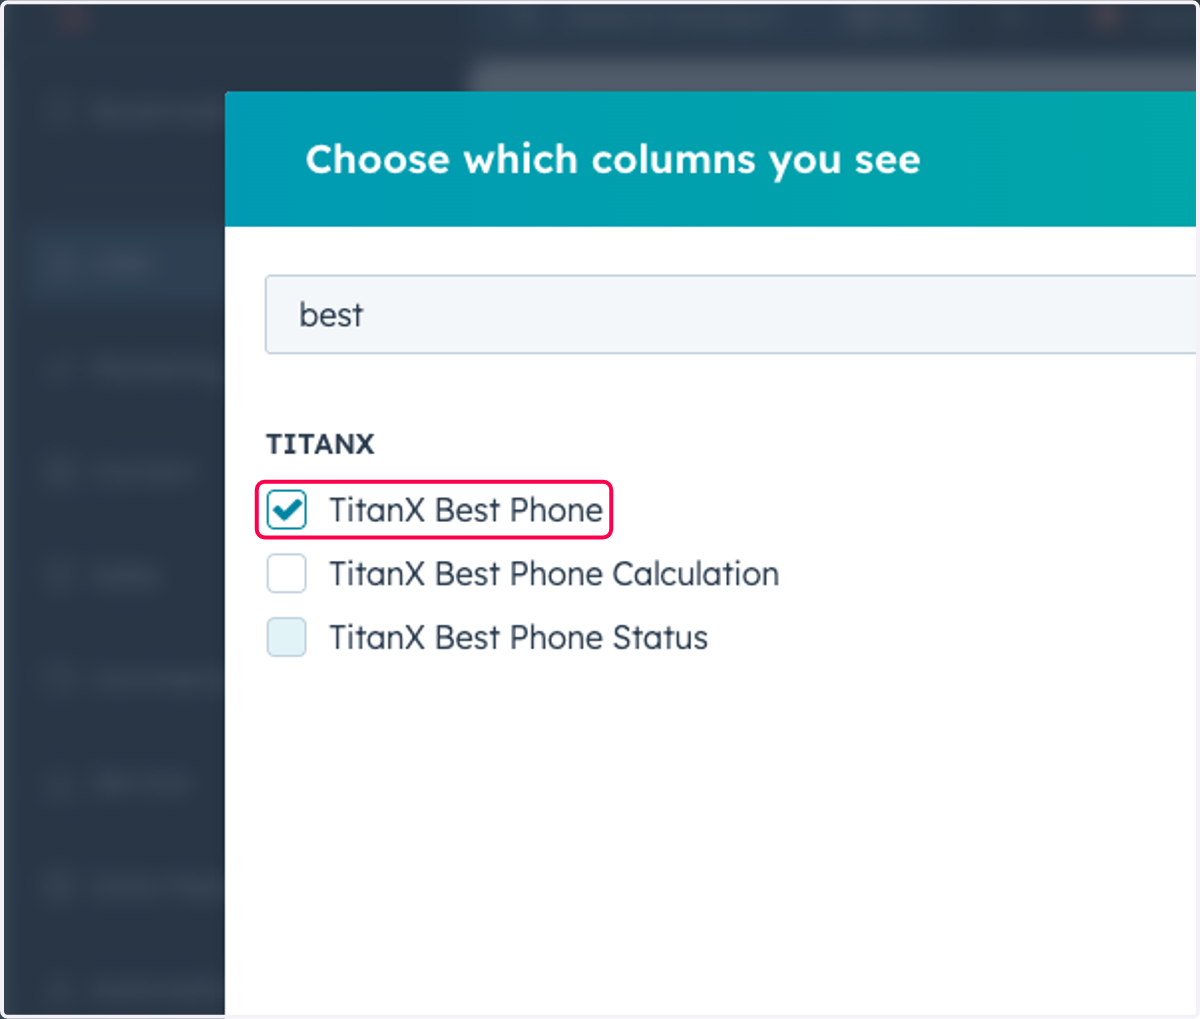
16. Check TitanX Best Phone
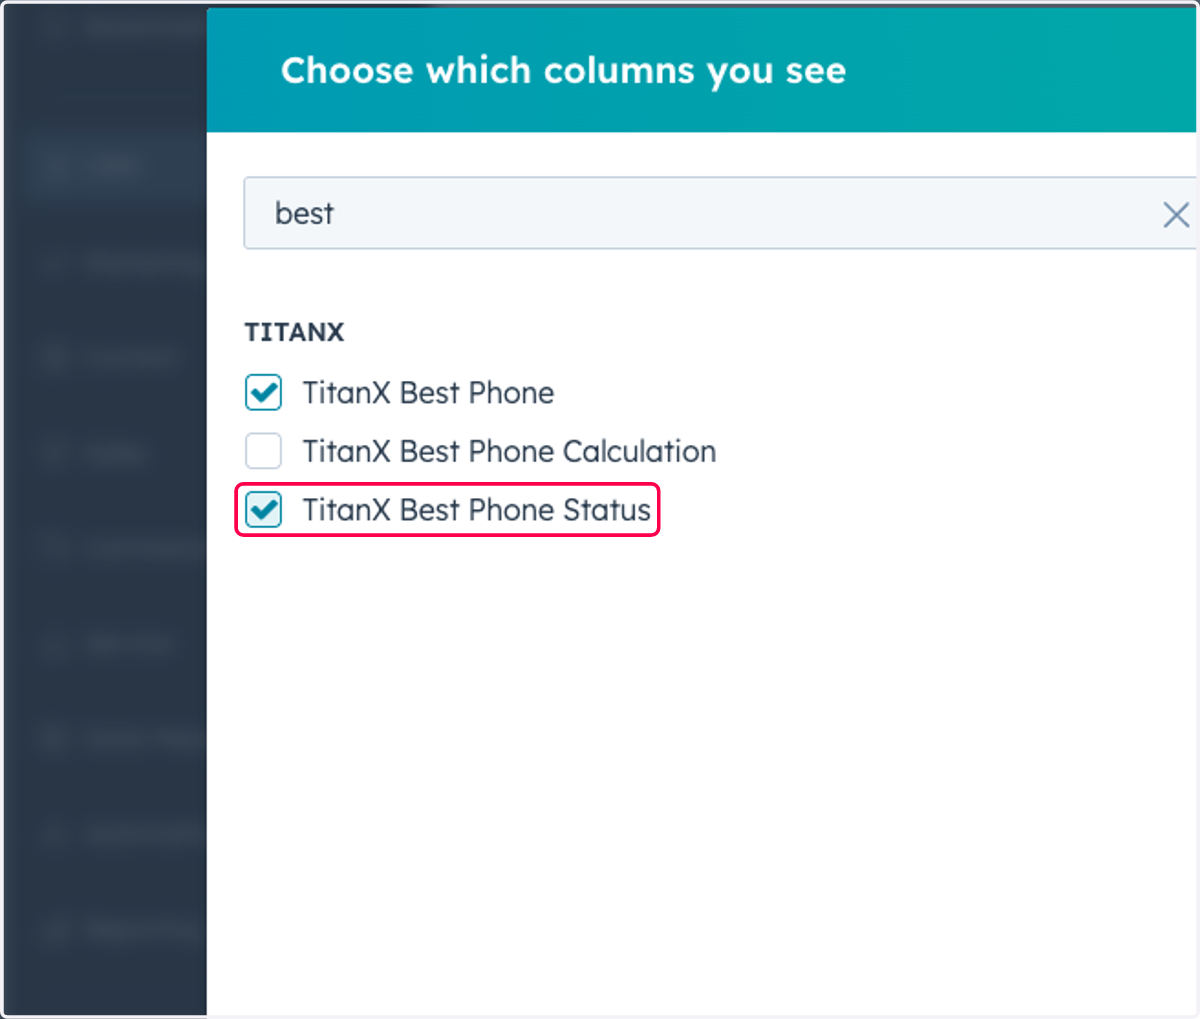
17. Check TitanX Best Phone Status
18. Drag highlighted element
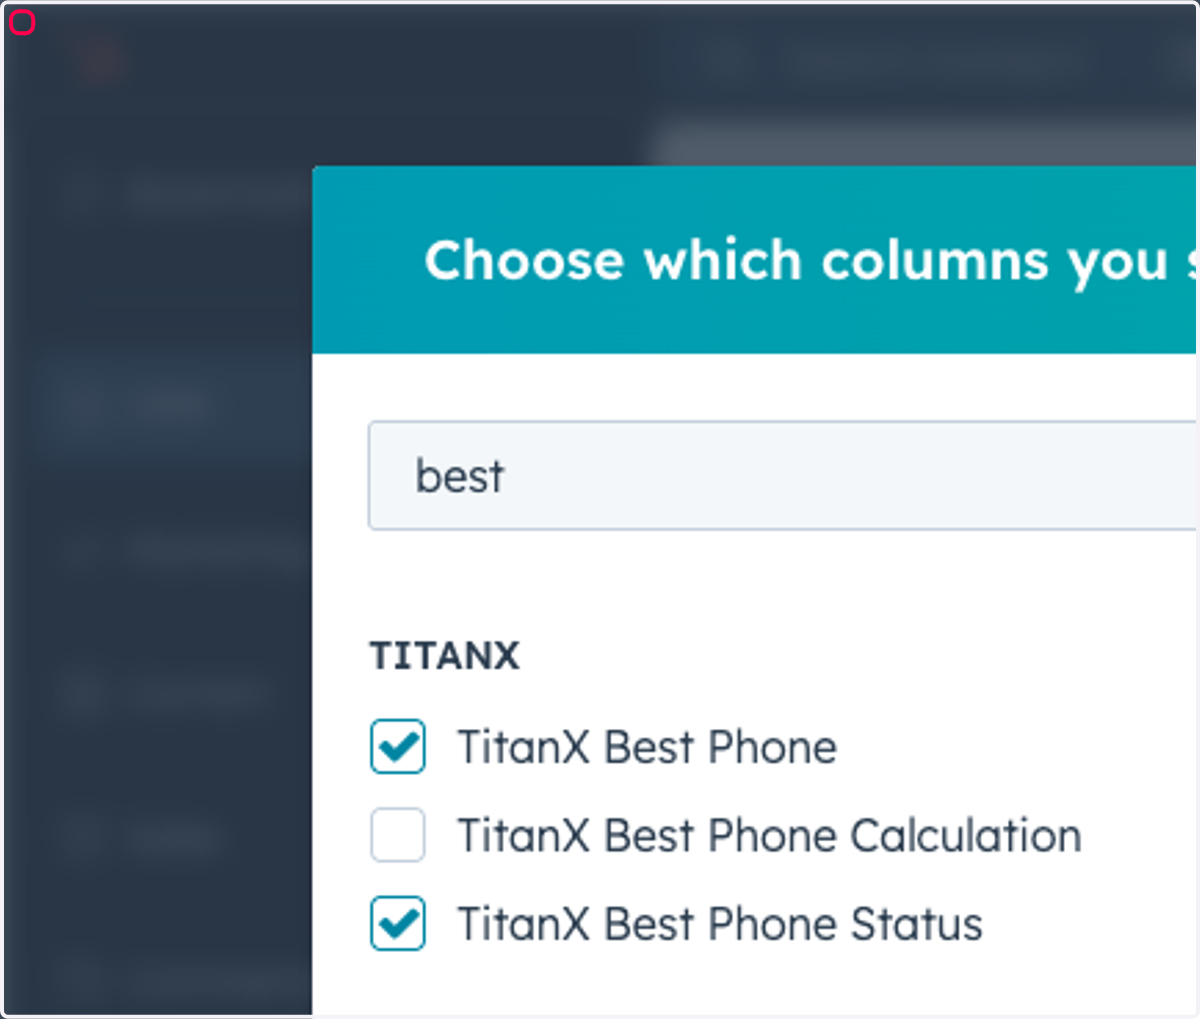
19. Click on TitanX Best Phone
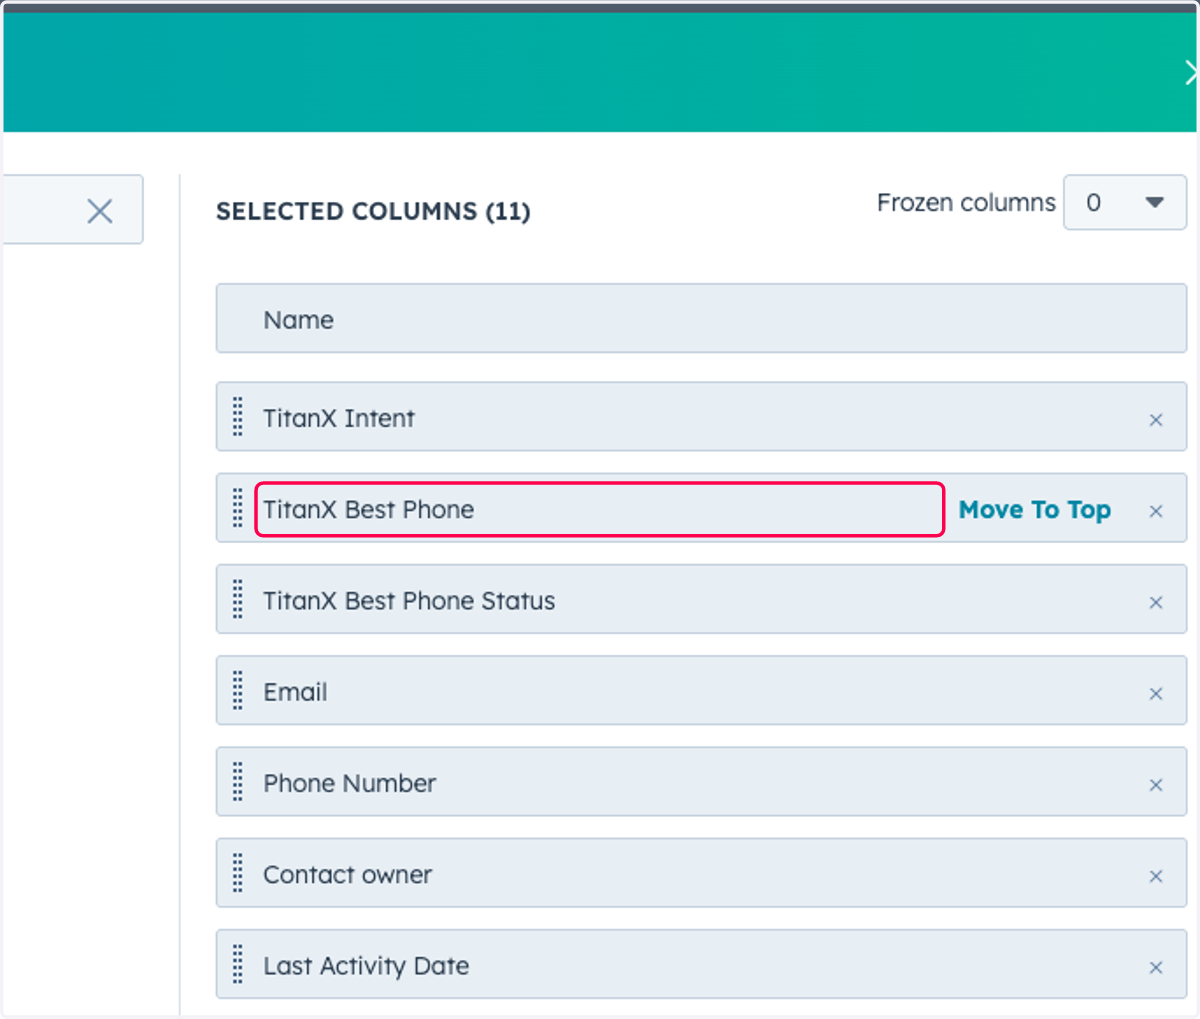
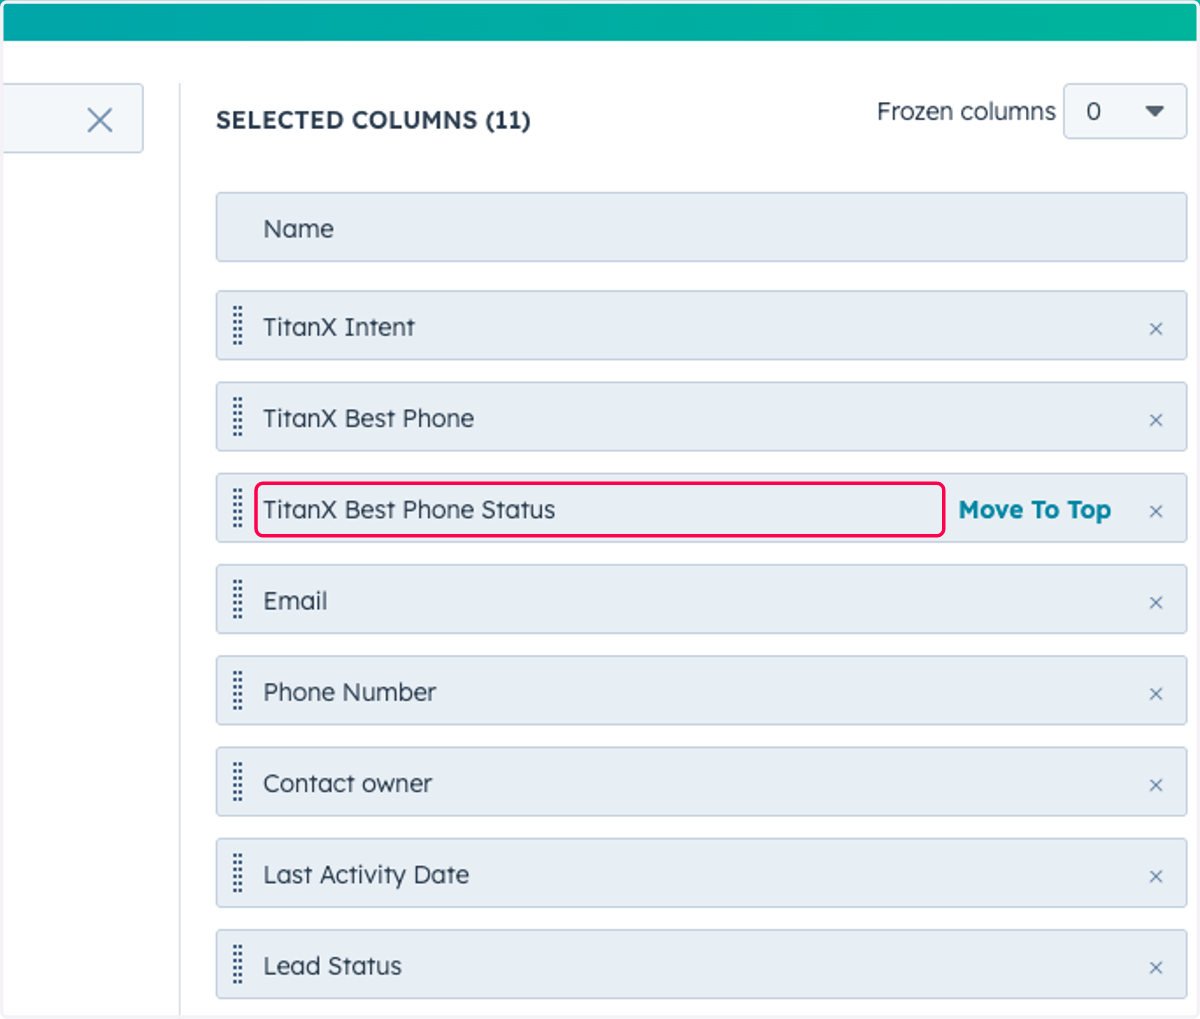
20. Confirm Layout is Accurate
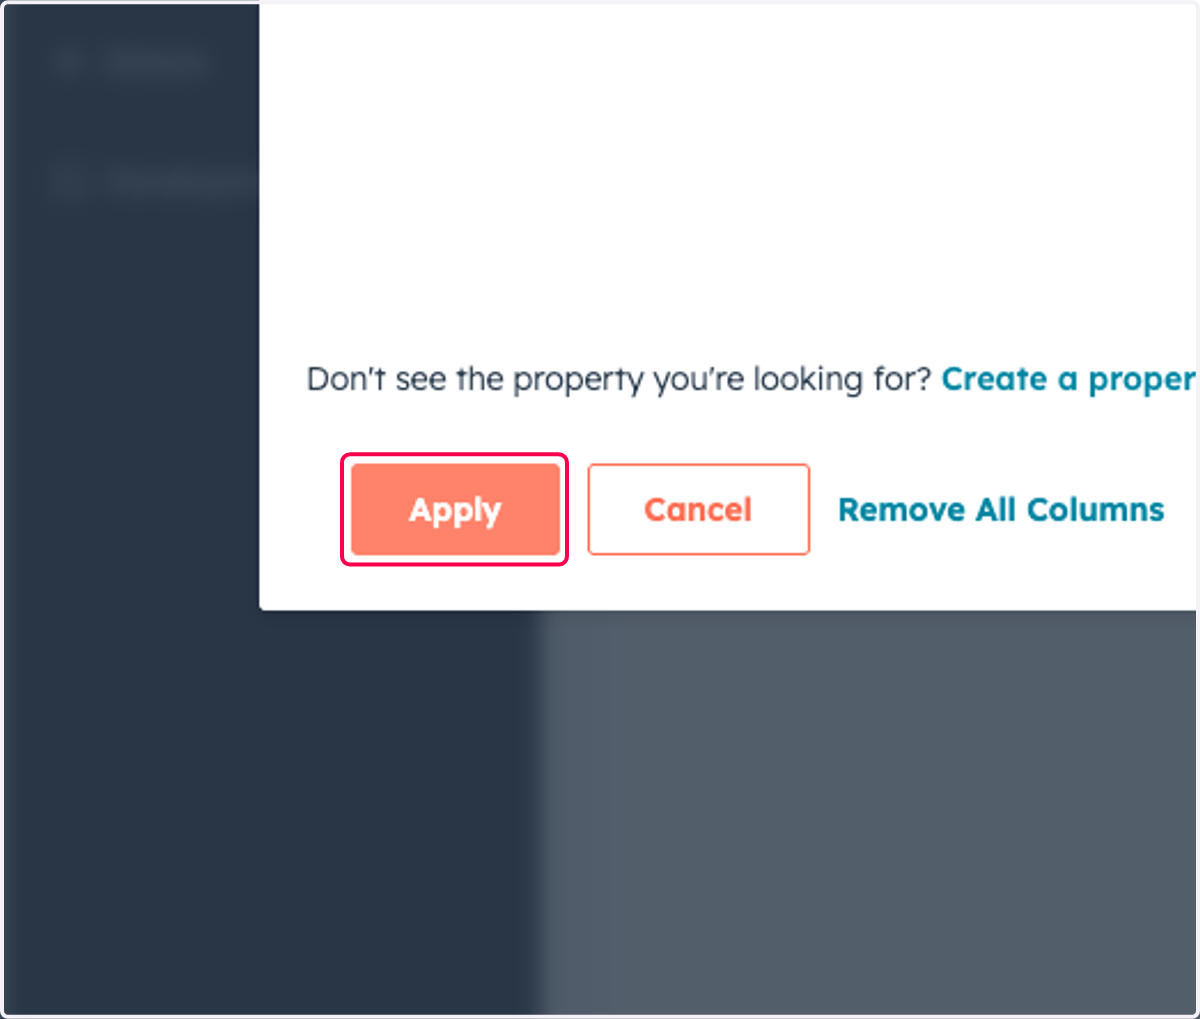
21. Click on Apply
22. Click on dropdown trigger
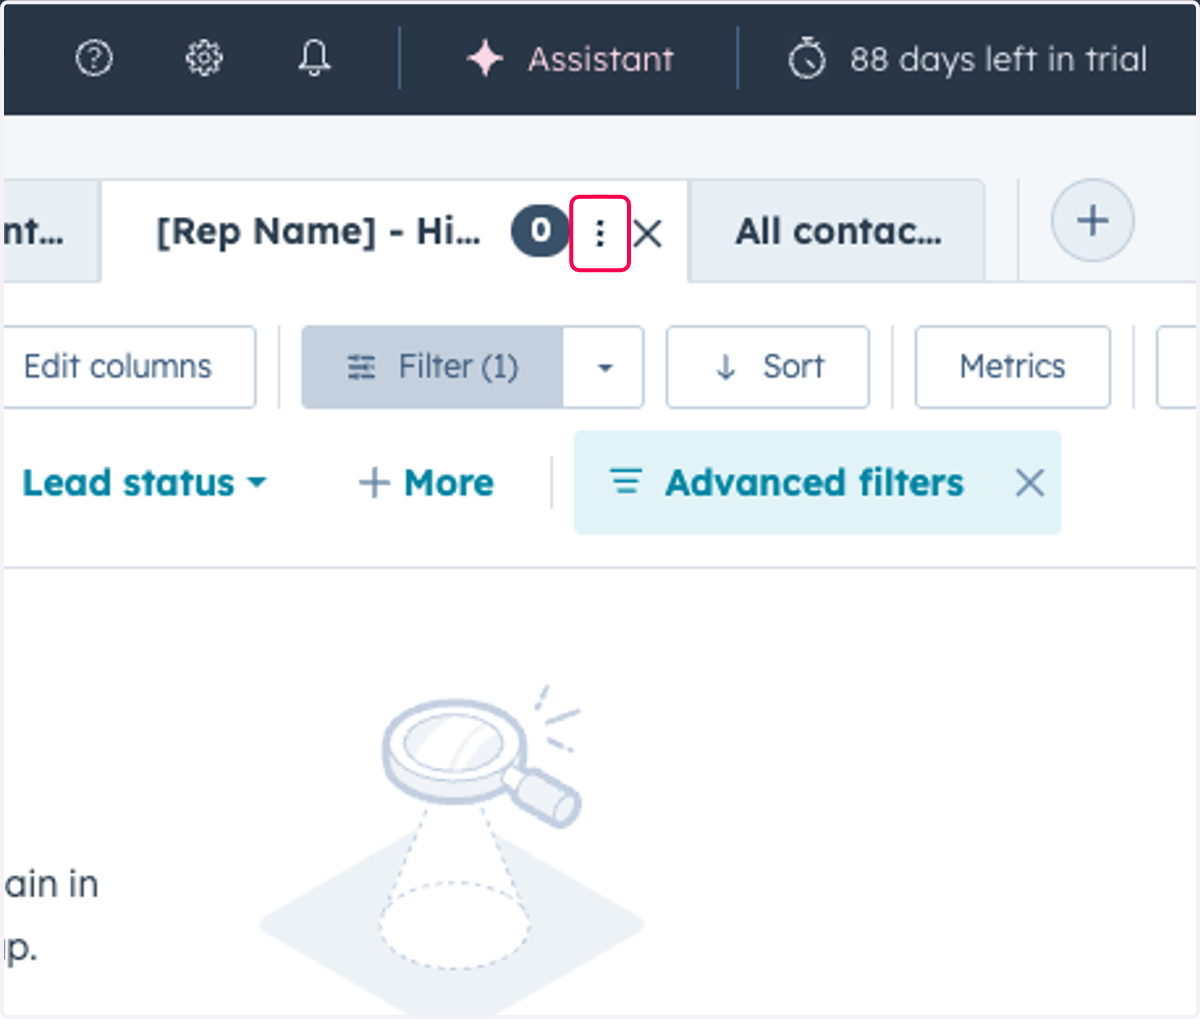
23. Click on Clone
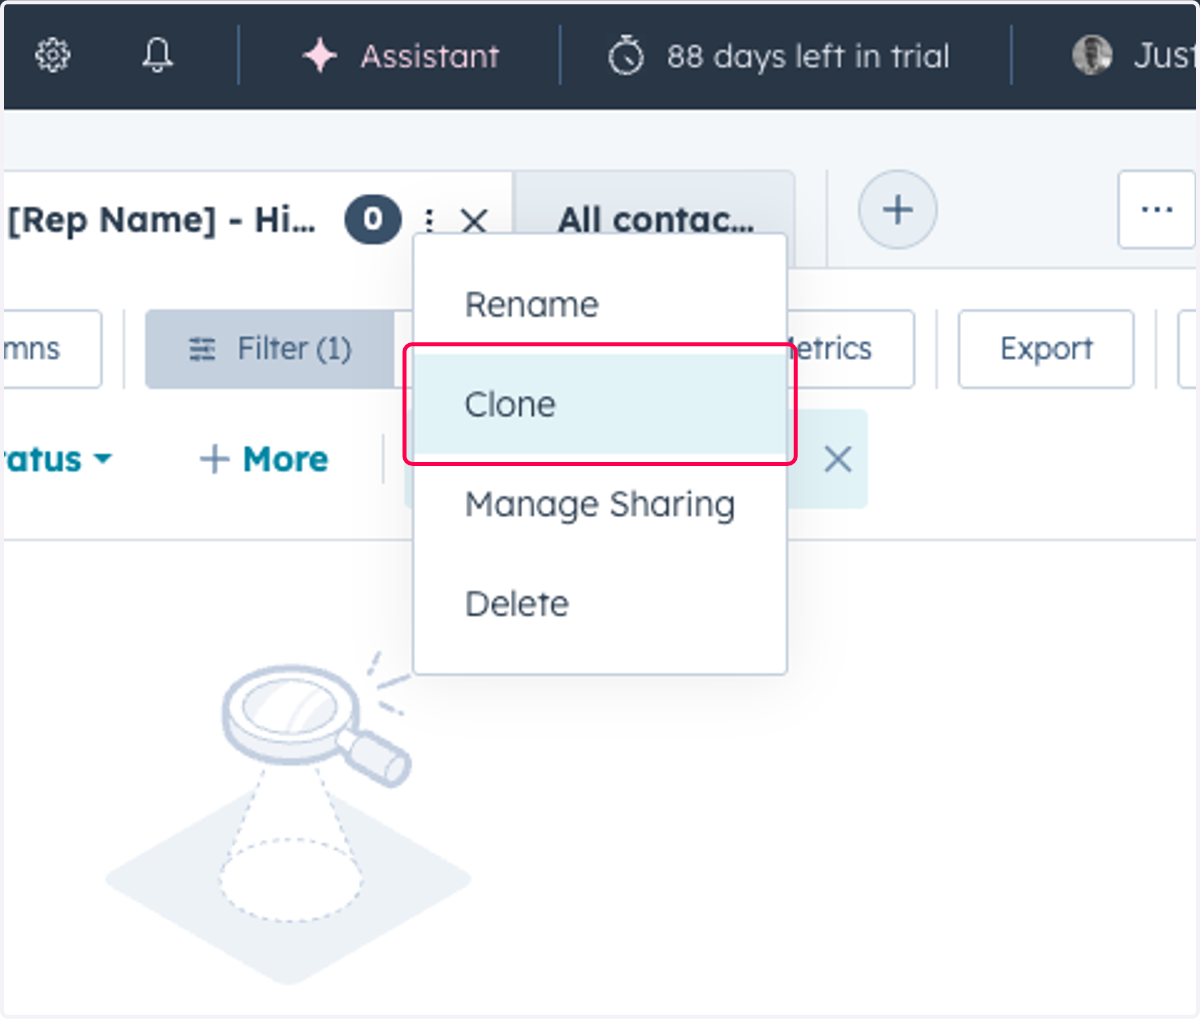
24. Type "[Rep Name] - Low Intent Contacts"
![Type "[Rep Name] - Low Intent Contacts"](https://images.tango.us/workflows/009307ac-69b8-4f69-b58a-a0ecb5c45178/steps/2b05eff1-8ccf-4222-990f-8bd10a1e059b/1cd71cfa-cef9-4fb7-bf83-fa3703cf6384.png?fp-x=0.6917&fp-y=0.0732&fp-z=2.7023&w=1200&border=F4F2F7&bx=892&by=68&bw=175&bh=40&c=FF004C&dpr=1.00)
25. Click on Advanced filters
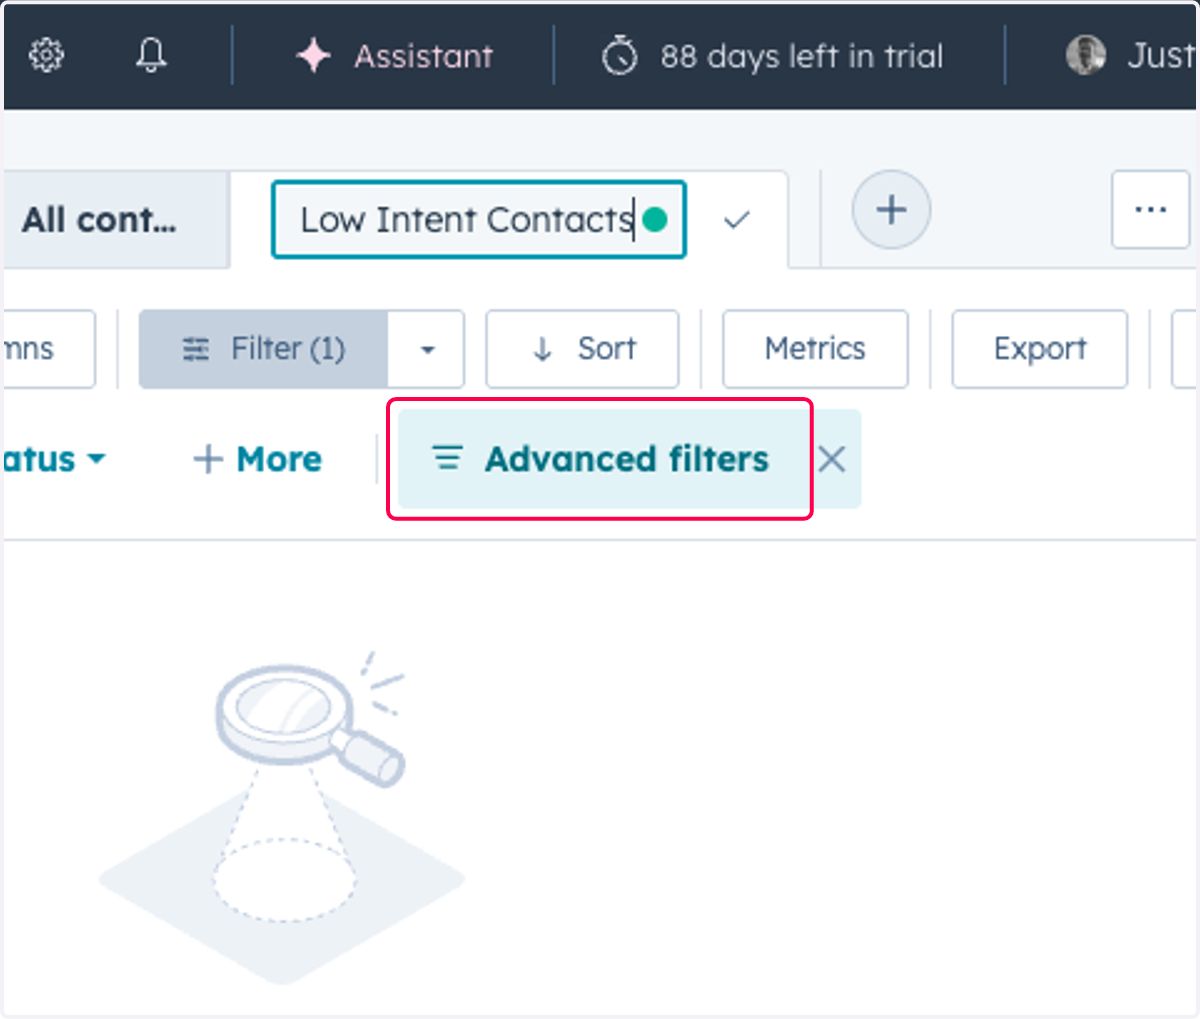
26. Click on TitanX Intent is any of High Intent
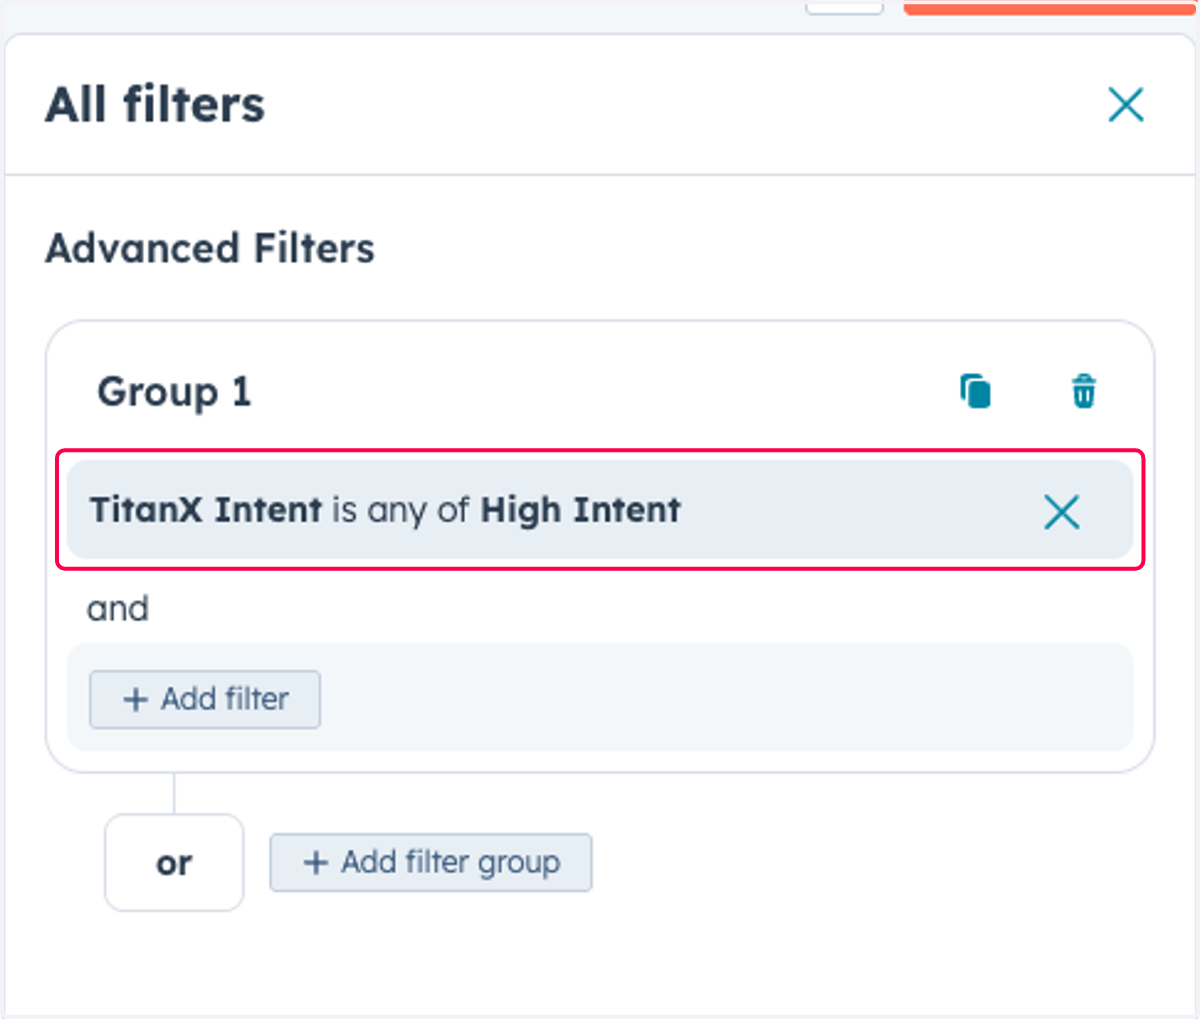
27. Click on High Intent
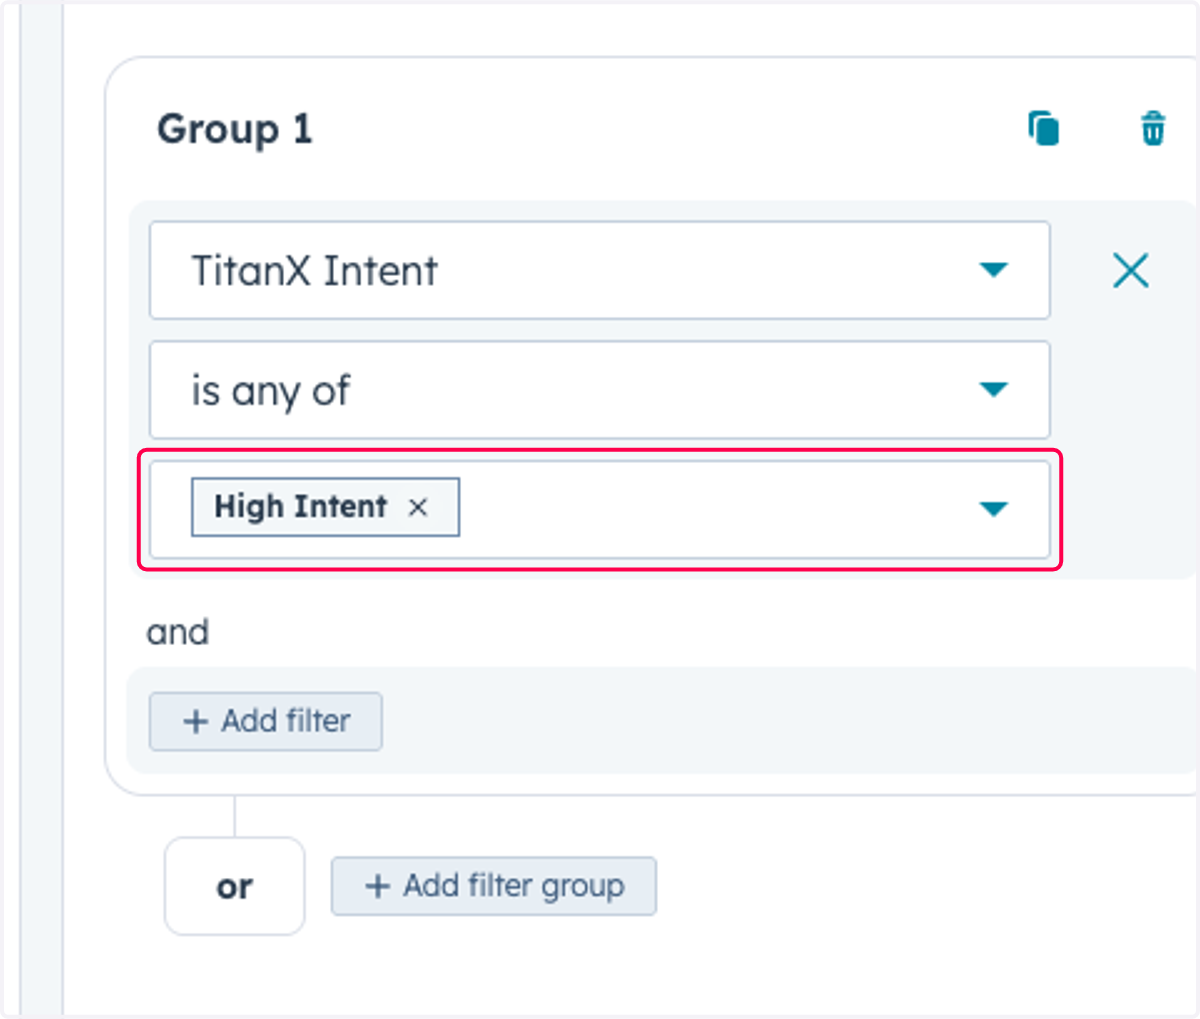
28. Check Low Intent…
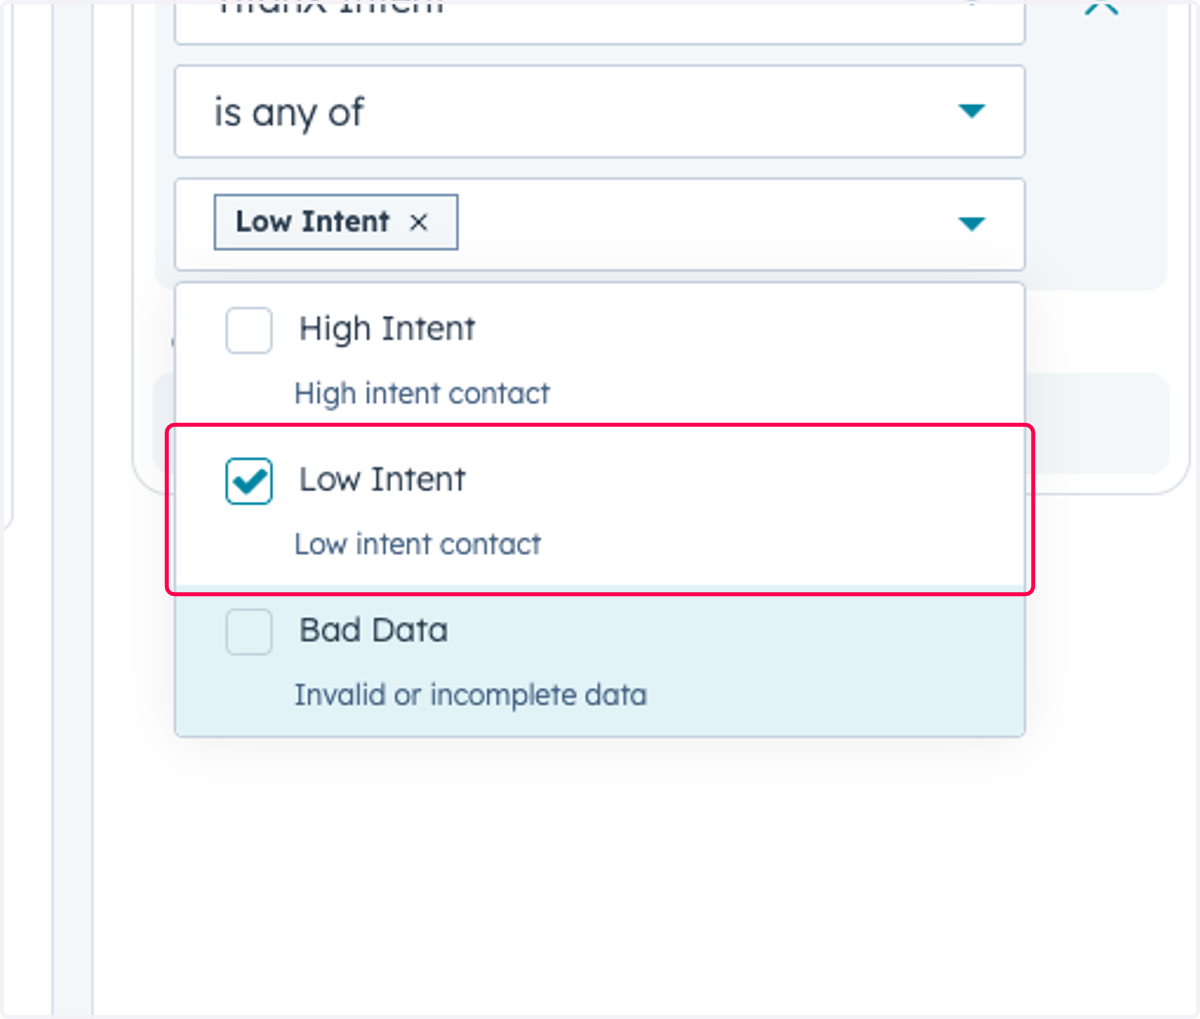
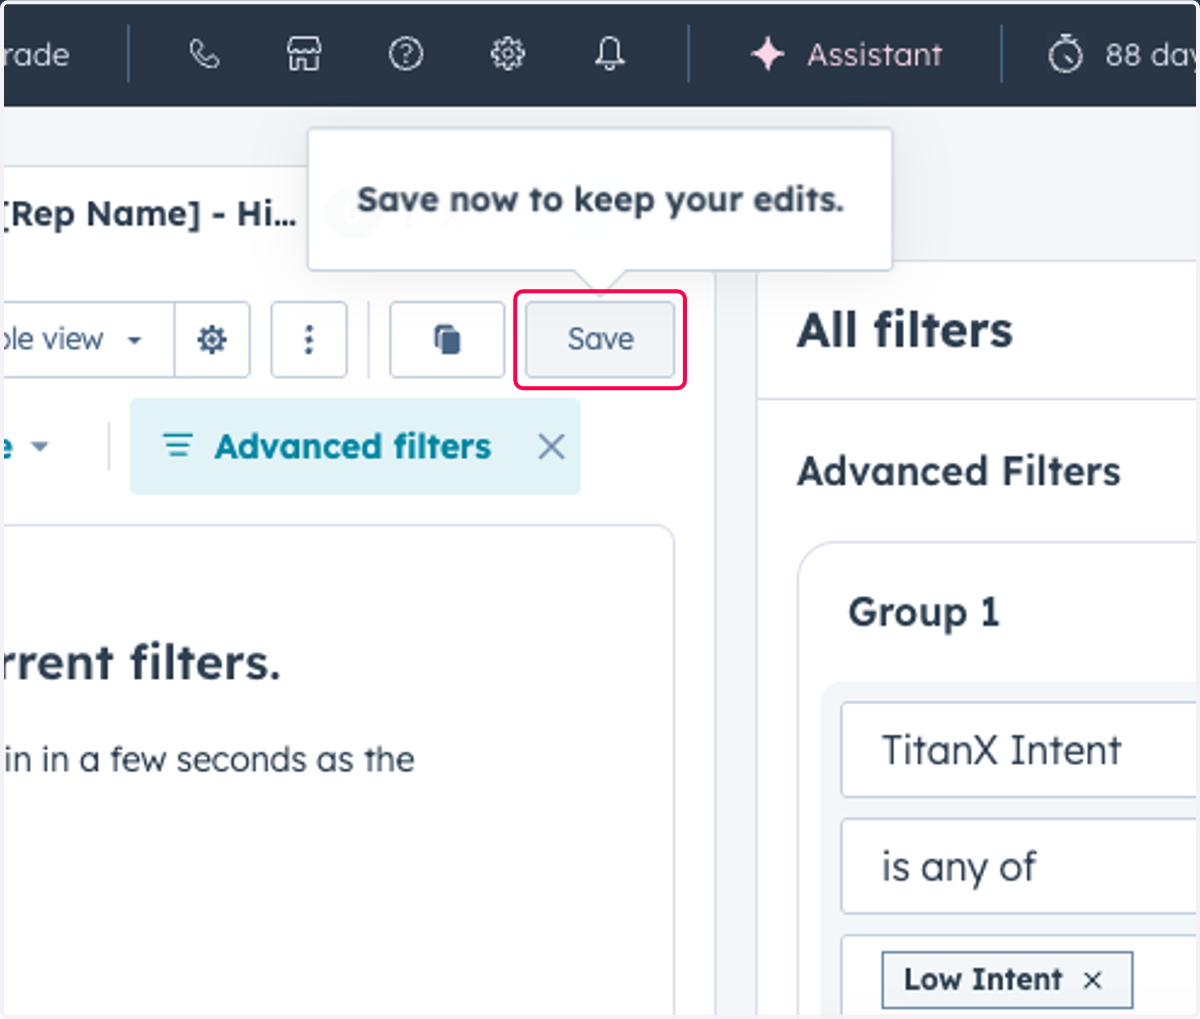
29. Click on Save
30. Click on dropdown trigger
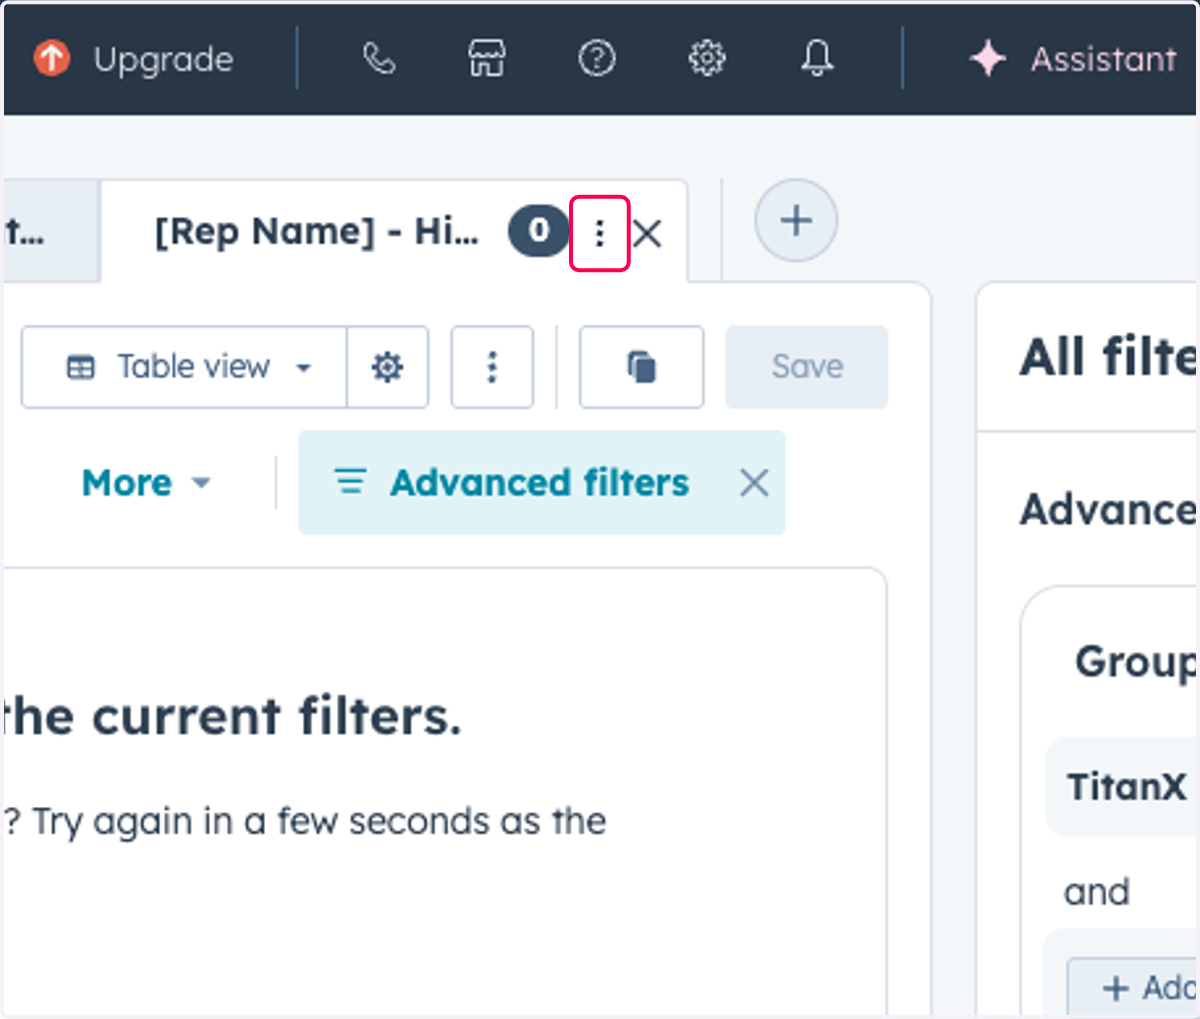
31. Click on Clone
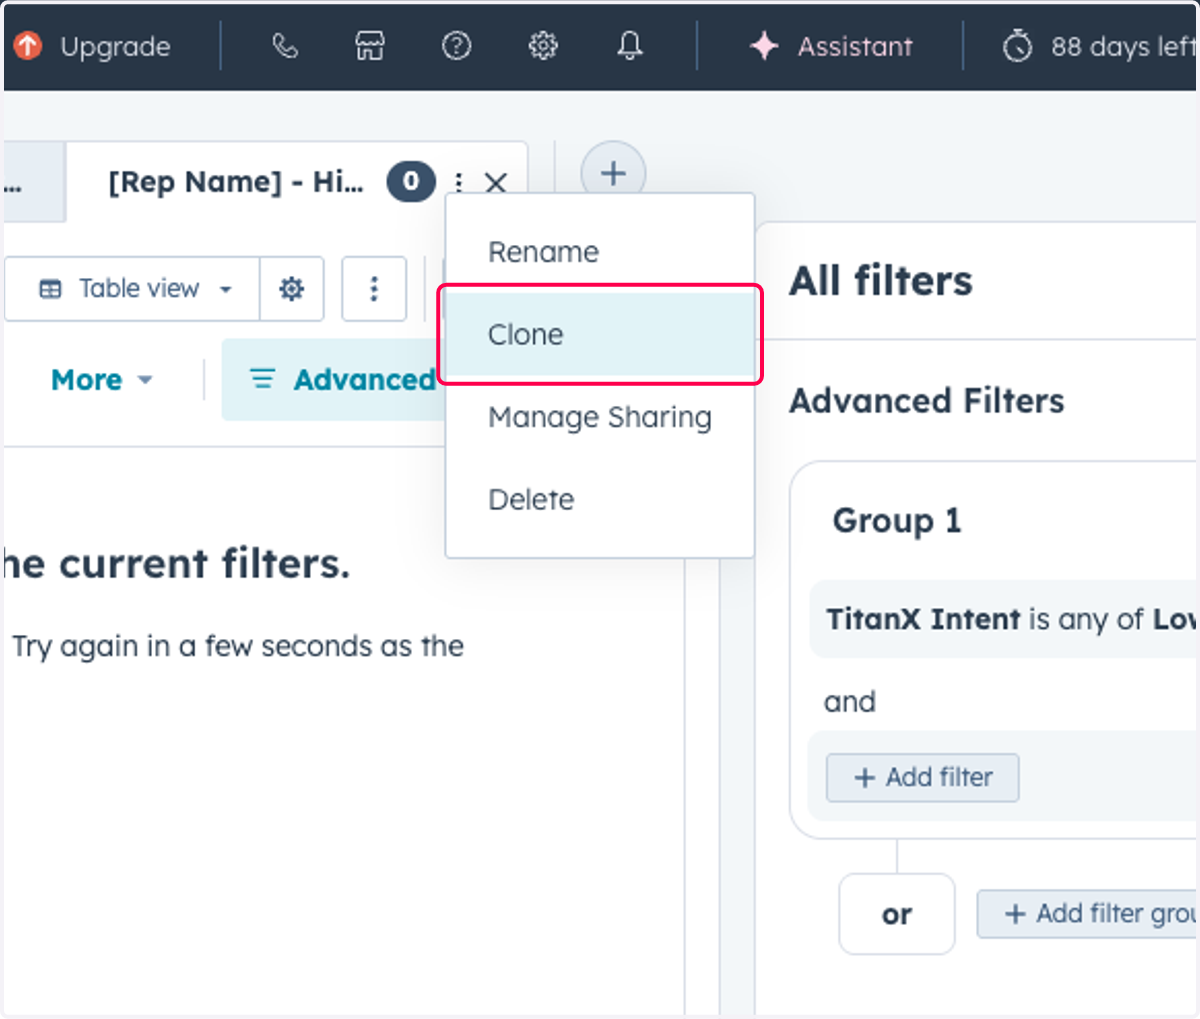
32. Type "[Rep Name] - Bad Phone Data Contacts"
![Type "[Rep Name] - Bad Phone Data Contacts"](https://images.tango.us/workflows/009307ac-69b8-4f69-b58a-a0ecb5c45178/steps/66dfff7f-a672-44de-b3a9-85cdc99f0c47/73ee9e89-cf92-41c1-9fee-885114dc37cf.png?fp-x=0.4763&fp-y=0.0732&fp-z=2.3608&w=1200&border=F4F2F7&bx=587&by=68&bw=175&bh=40&c=FF004C&dpr=1.00)
33. Click on Advanced filters
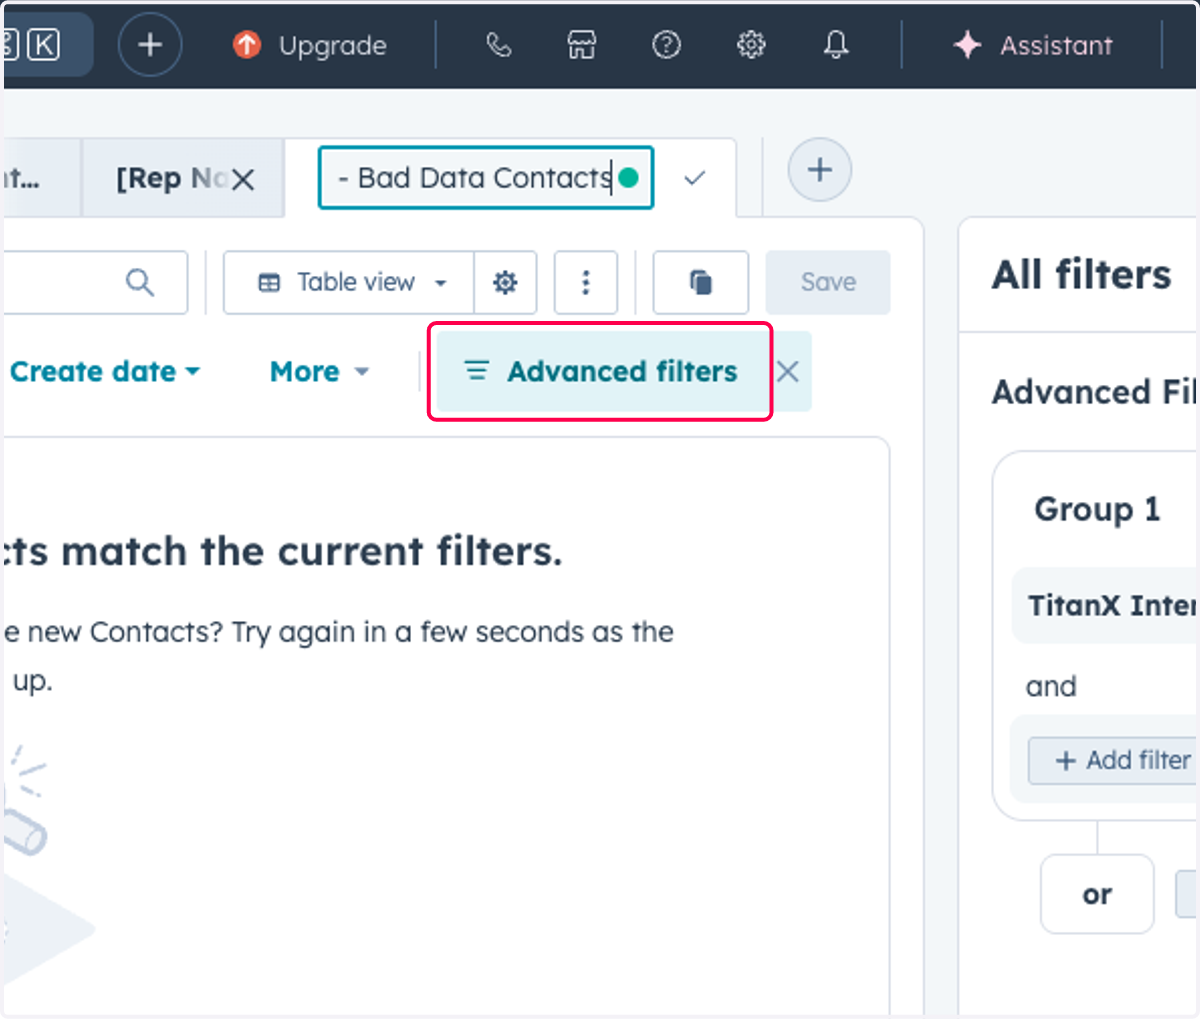
34. Click on TitanX Intent is any of Low Intent
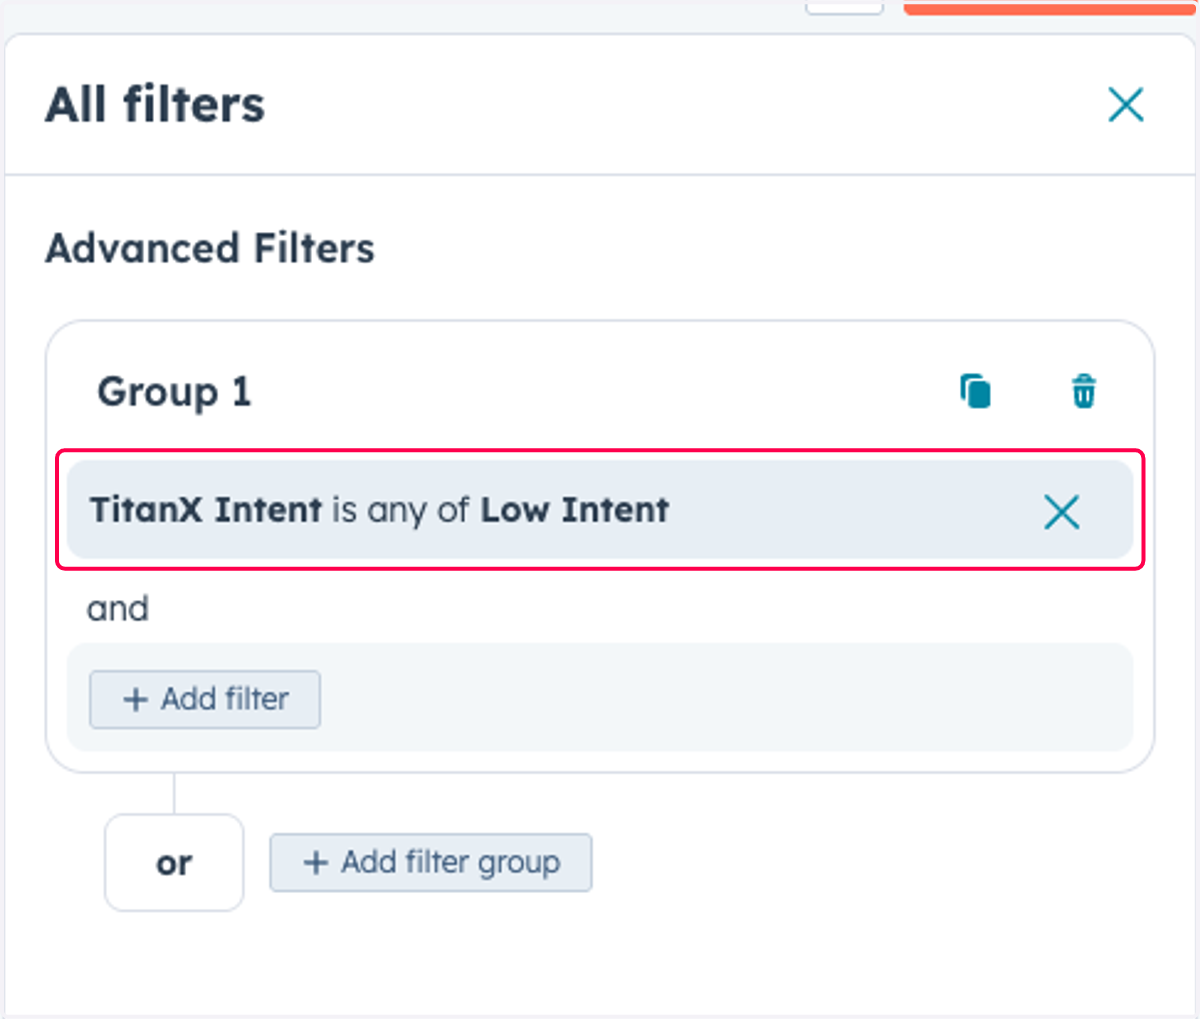
35. Click on Low Intent
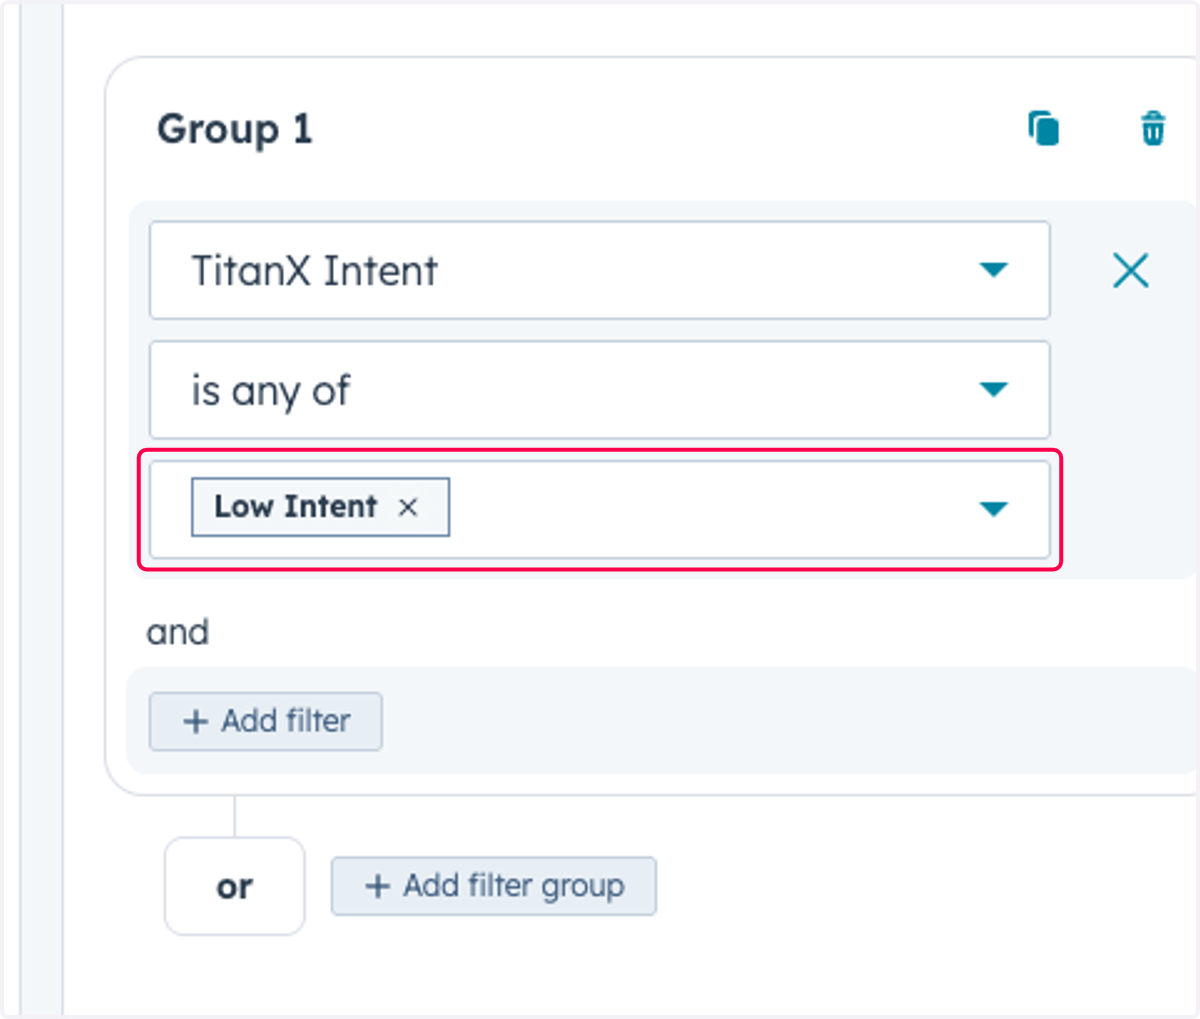
36. Check Bad Data…
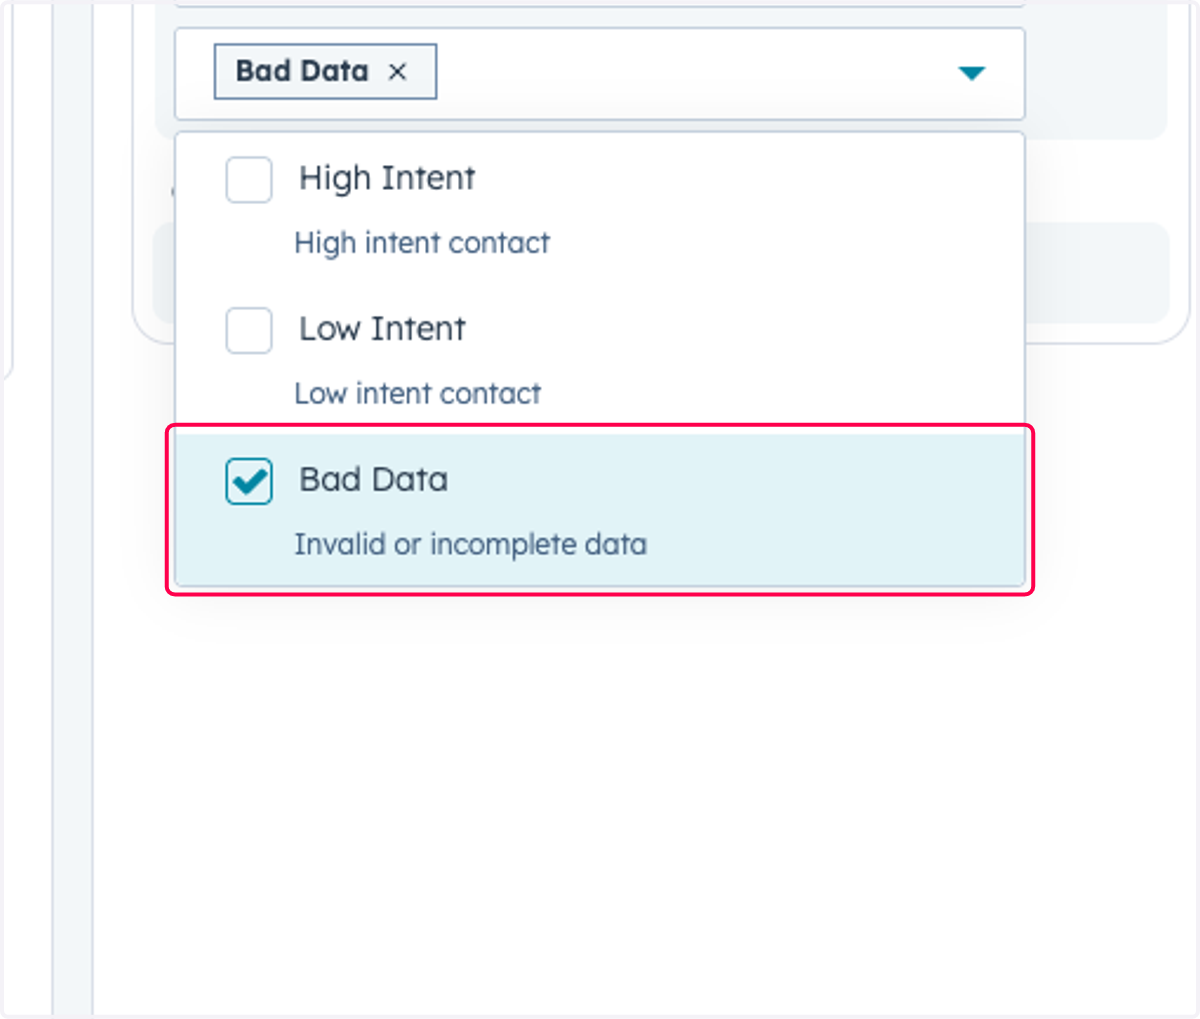
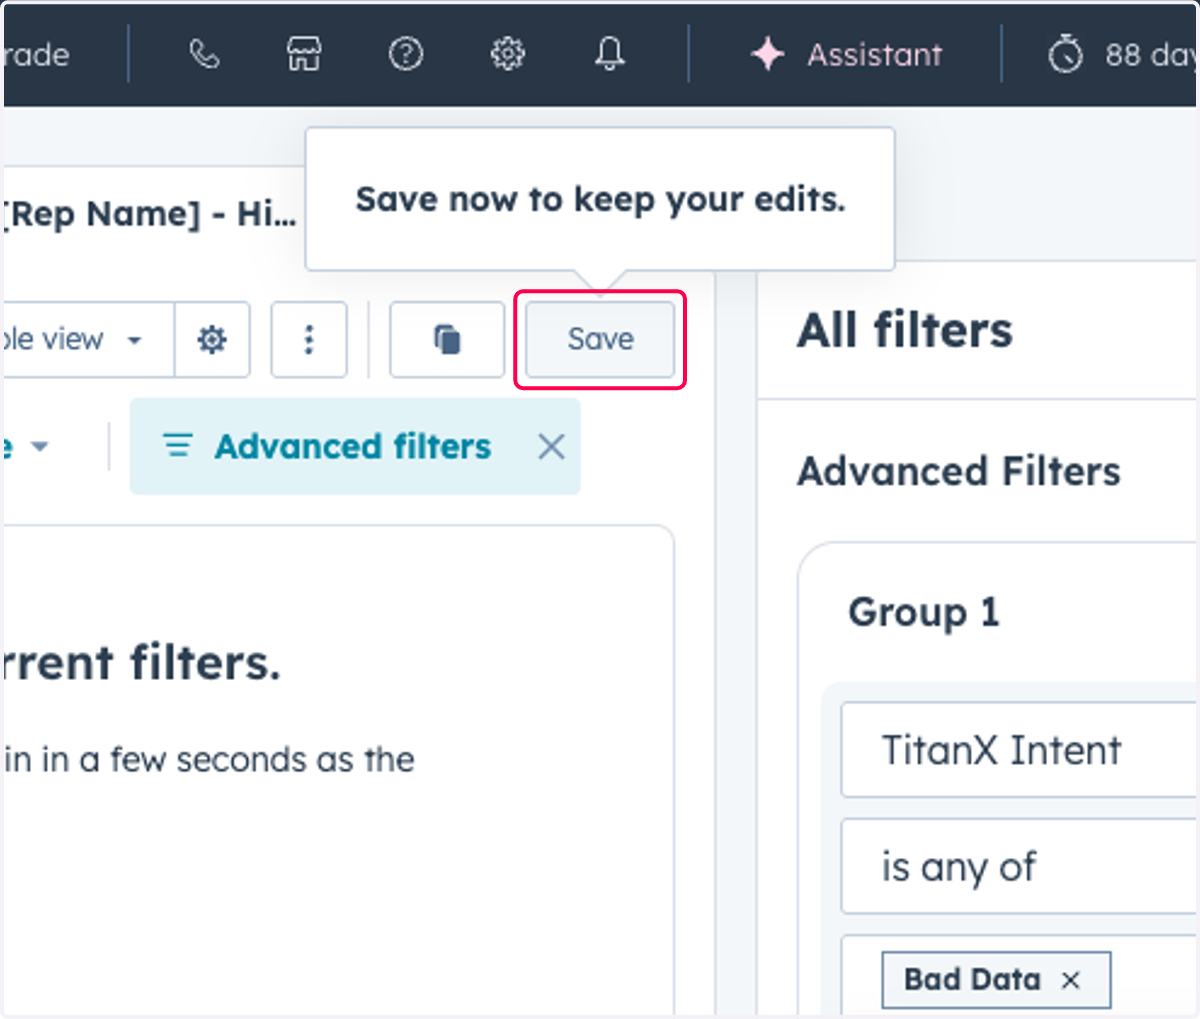
37. Click on Save
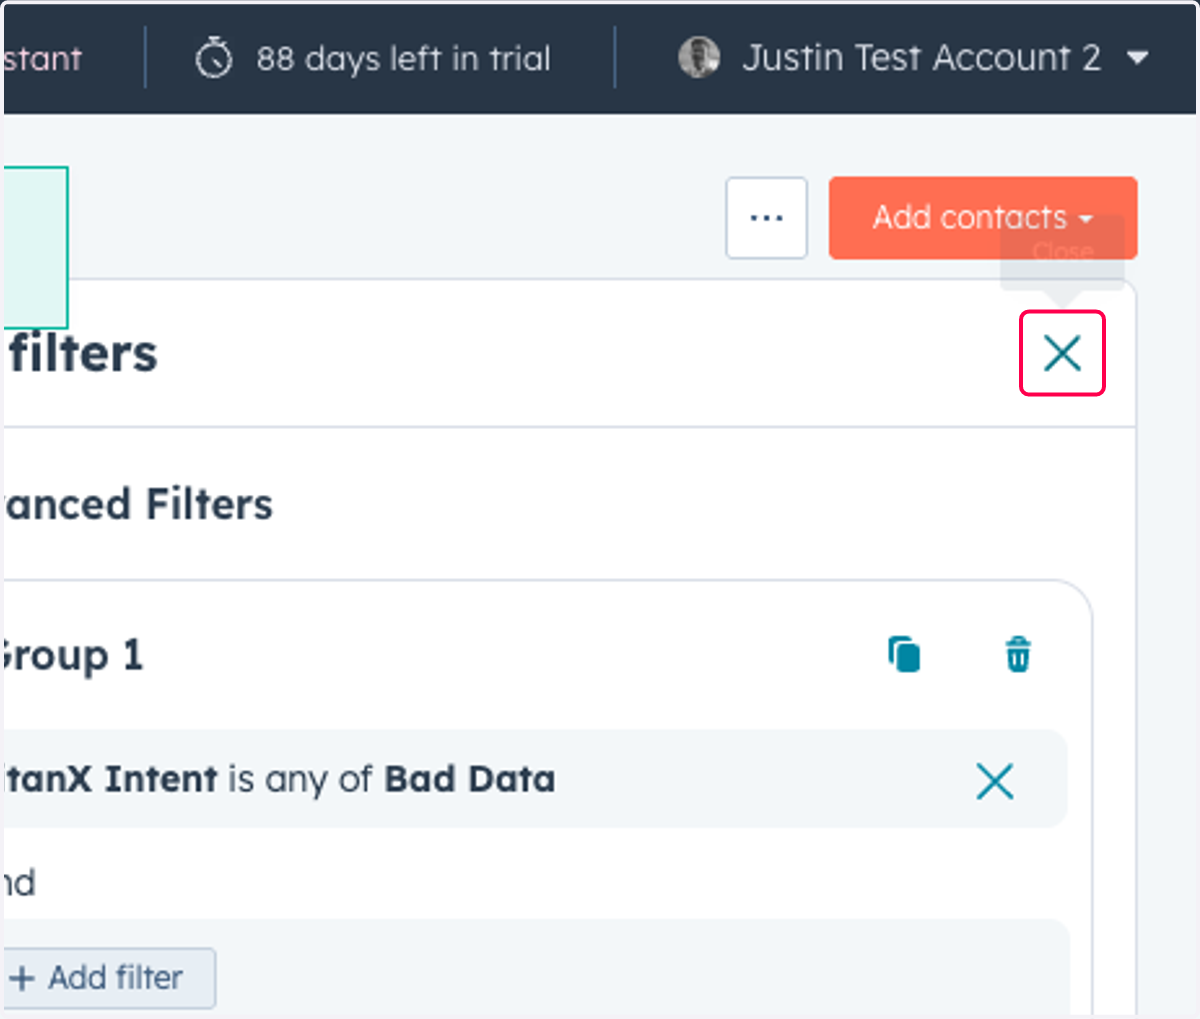
38. Click on Close
39. Confirm [Rep Name] - High Intent Contacts
![Confirm [Rep Name] - High Intent Contacts](https://images.tango.us/workflows/009307ac-69b8-4f69-b58a-a0ecb5c45178/steps/4ad18e47-0963-478e-9005-64fb7940db35/d9980924-ea21-46eb-9c62-a99b9eab37ee.png?fp-x=0.5247&fp-y=0.0549&fp-z=2.3806&w=1200&border=F4F2F7&bx=658&by=56&bw=170&bh=20&c=FF004C&dpr=0.75)
40. Confirm [Rep Name] - Low Intent Contacts
![Confirm [Rep Name] - Low Intent Contacts](https://images.tango.us/workflows/009307ac-69b8-4f69-b58a-a0ecb5c45178/steps/ac2bff5c-a3e9-4f77-89c6-e31a52e253c7/c7205aeb-b65f-4ba0-a182-ca78b3687f40.png?fp-x=0.6345&fp-y=0.0549&fp-z=2.4172&w=1200&border=F4F2F7&bx=818&by=56&bw=161&bh=20&c=FF004C&dpr=0.75)
41. Confirm [Rep Name] - Bad Phone Data Contacts
![Confirm [Rep Name] - Bad Phone Data Contacts](https://images.tango.us/workflows/009307ac-69b8-4f69-b58a-a0ecb5c45178/steps/35ccb74a-6248-40b4-95ae-f0f53d3e7c54/d90fd6af-8001-4b78-8730-8db6c697d63b.png?fp-x=0.7655&fp-y=0.0549&fp-z=3.1582&w=1200&border=F4F2F7&bx=992&by=56&bw=184&bh=20&c=FF004C&dpr=0.75)