CI_RFQ_001_Configuring requests for quotation
In this tutorial, we will show how to set up the Connect: RFQ module, allowing storefront users to request quotations from specified and matching suppliers.
We will cover how to specify suppliers and how to configure your products to accept quotations.
Infigosoftware
1. Navigate to the Connect Settings screen
You may or may not have access to this screen when using your platform account.
If you cannot gain access to this screen and cannot follow the steps listed below, please contact support and we will ensure the Connect:RFQ module is active on your platform.
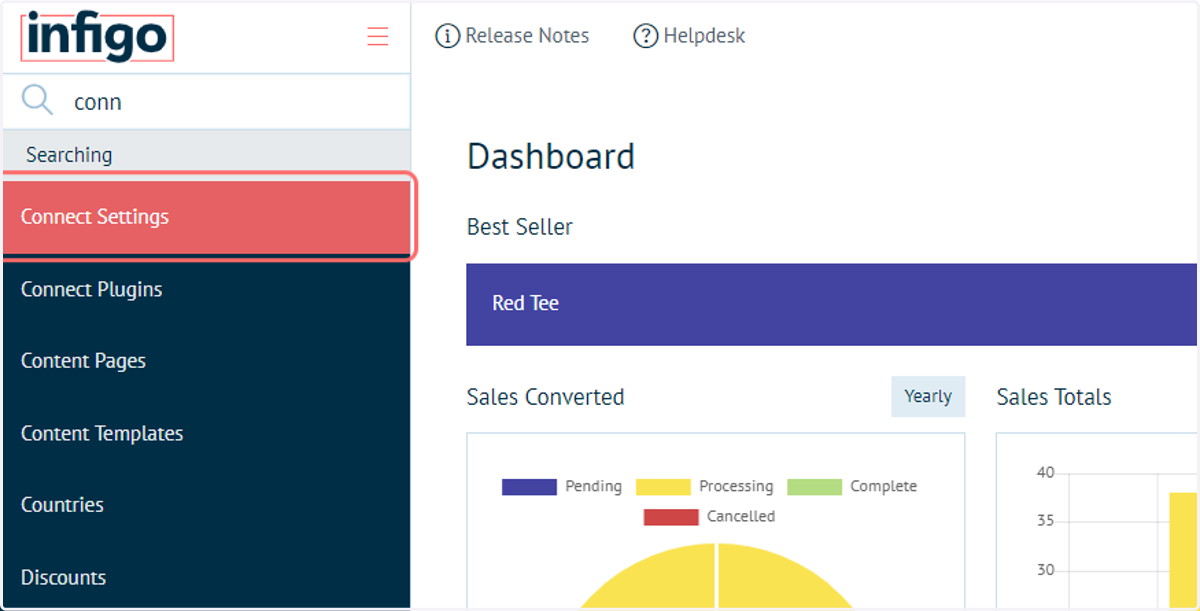
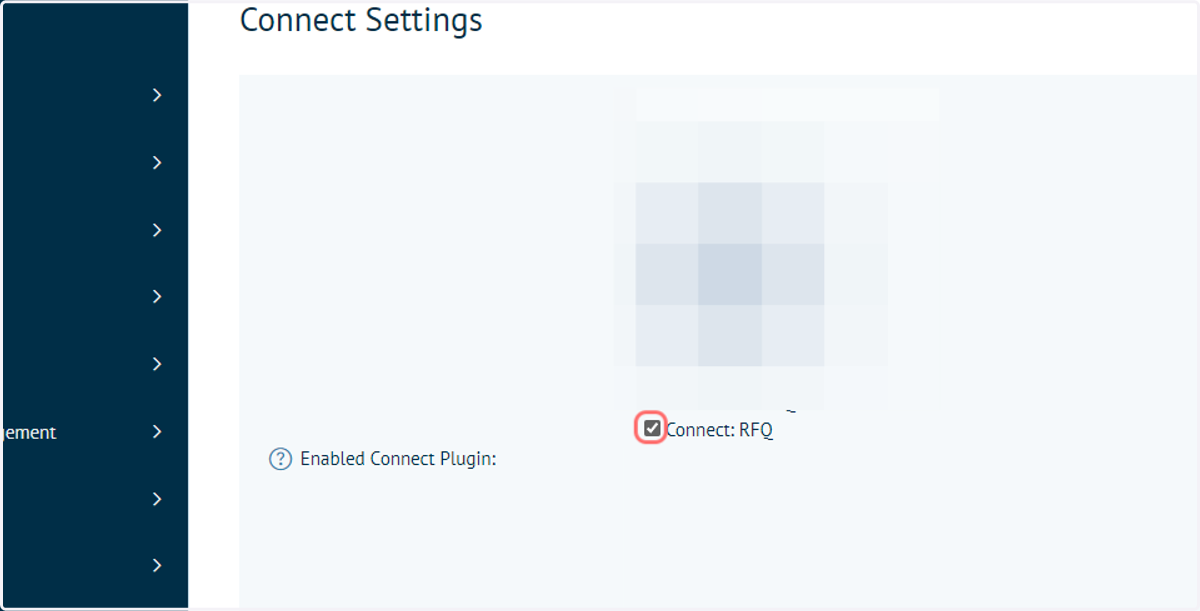
2. Ensure Connect: RFQ is checked
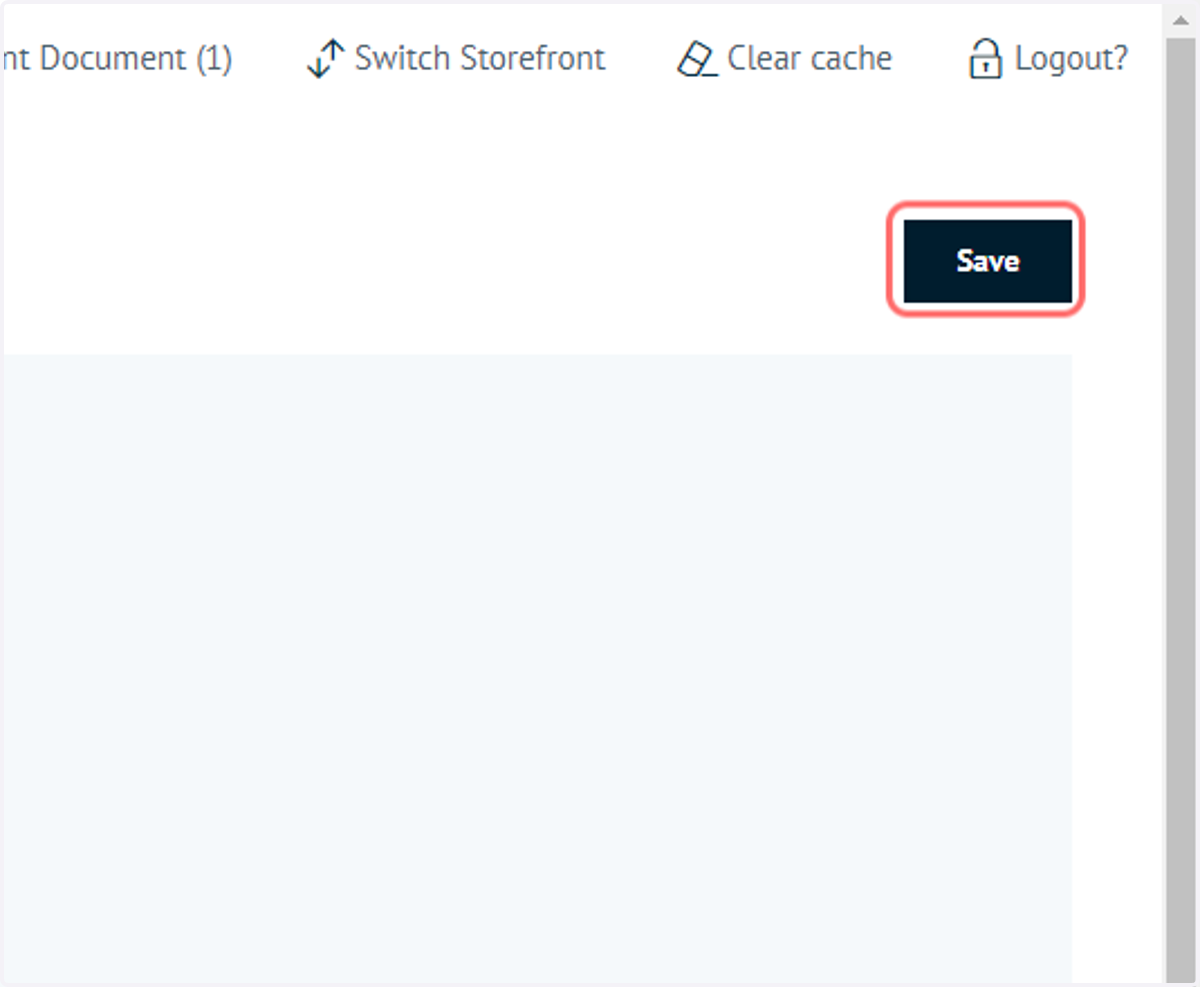
3. Click on Save
4. Navigate to the Connect Plugins screen
If you cannot access this screen, please contact customer support to enable/disable Connect plugins.
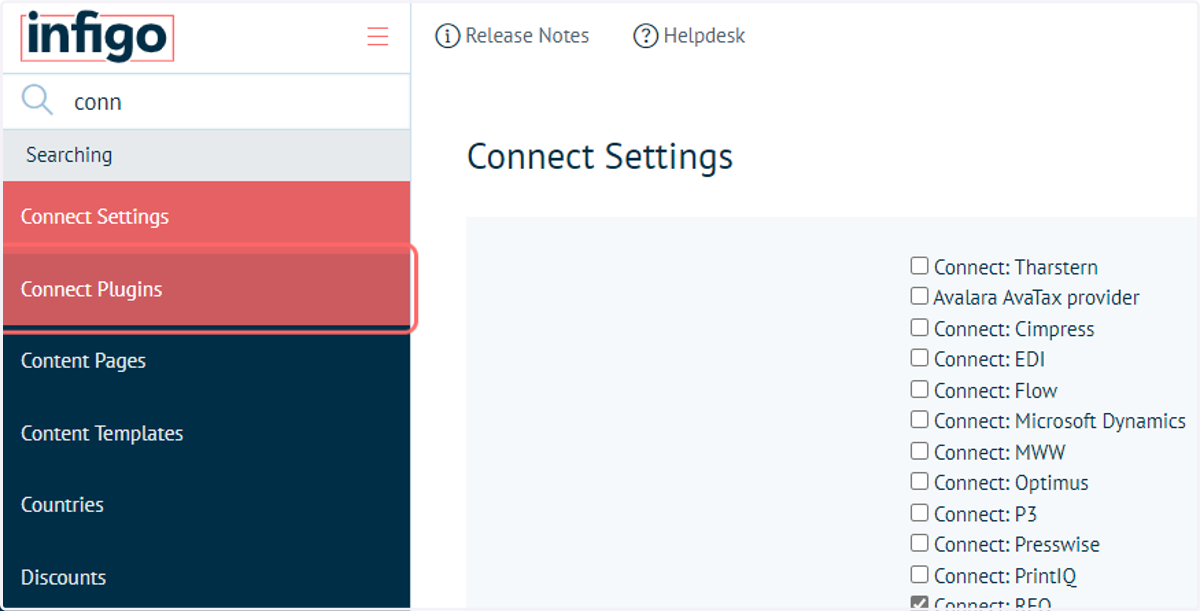
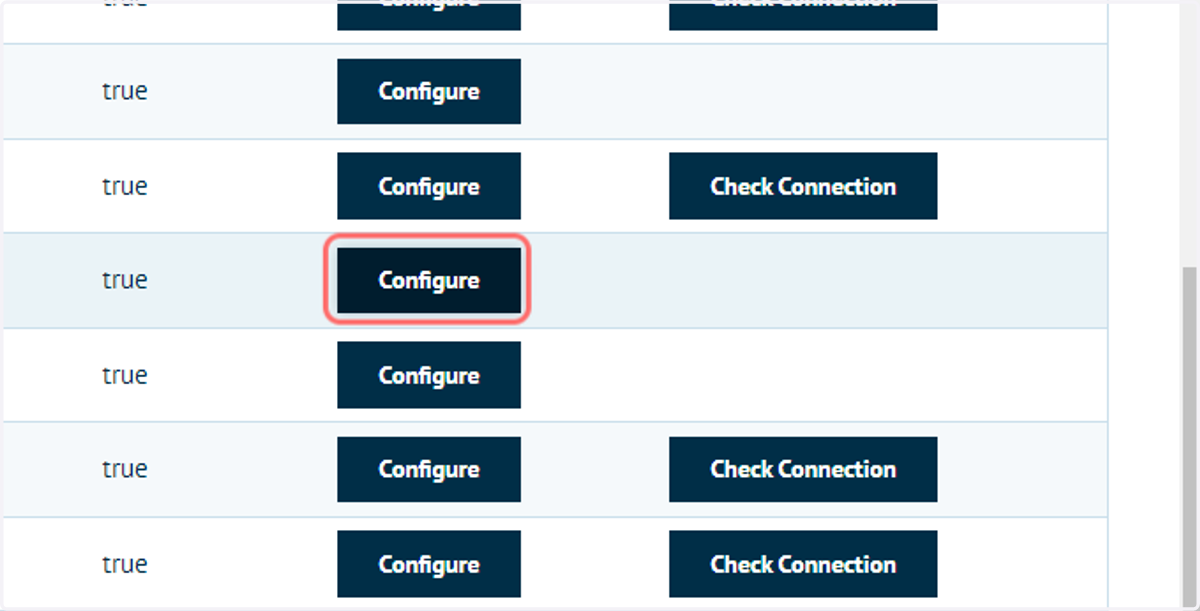
5. Click on Configure next to the Connect : RFQ table entry
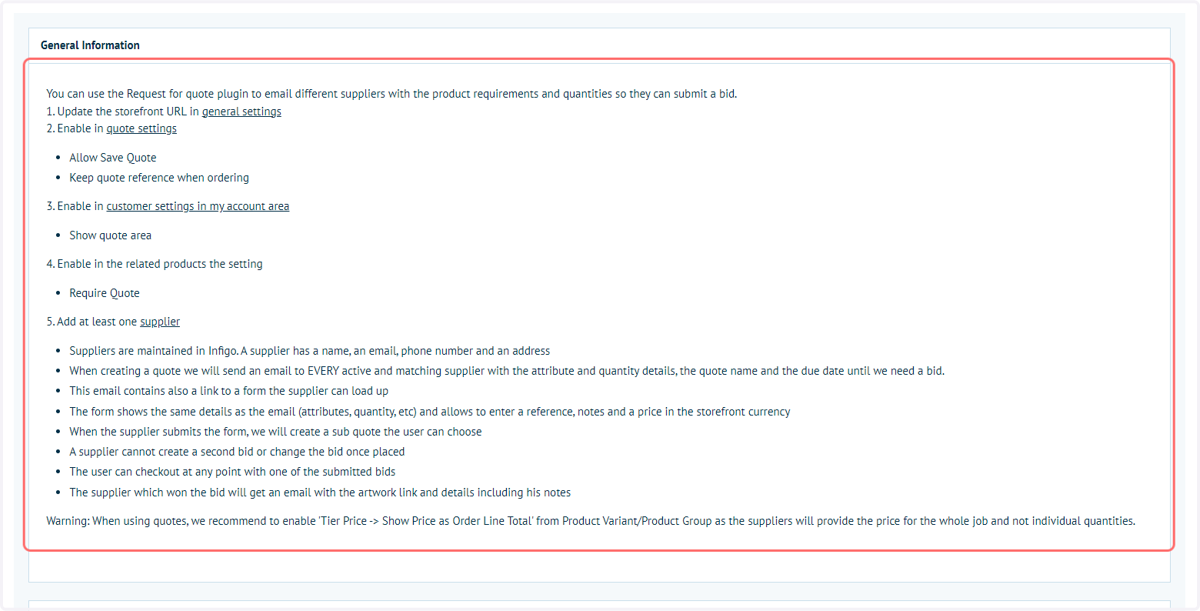
6. Instructions are provided on configuring your Connect : RFQ plugin
This includes links to other settings within Infigo which need to be modified.
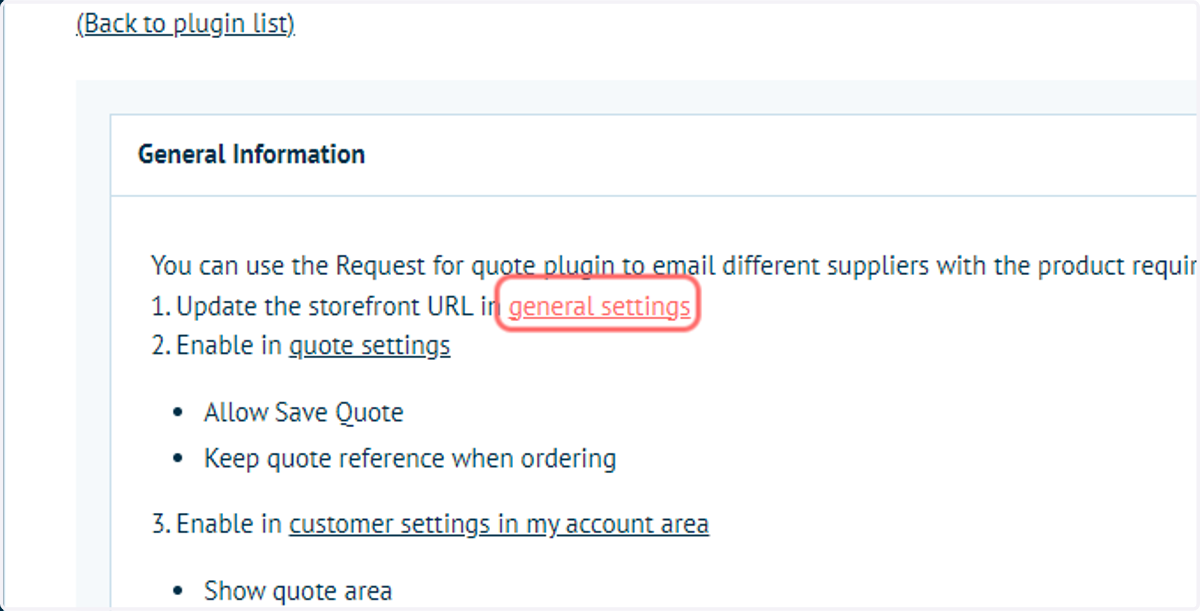
7. Navigate to General Settings
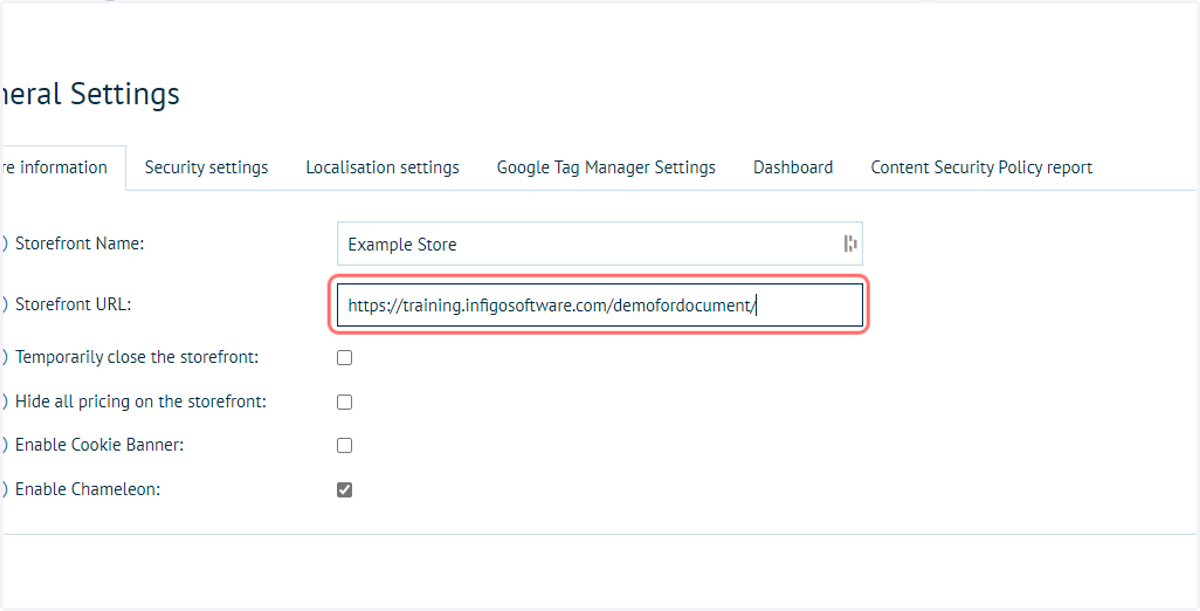
8. Ensure a Storefront URL is entered, matching the URL of the storefront to be used.
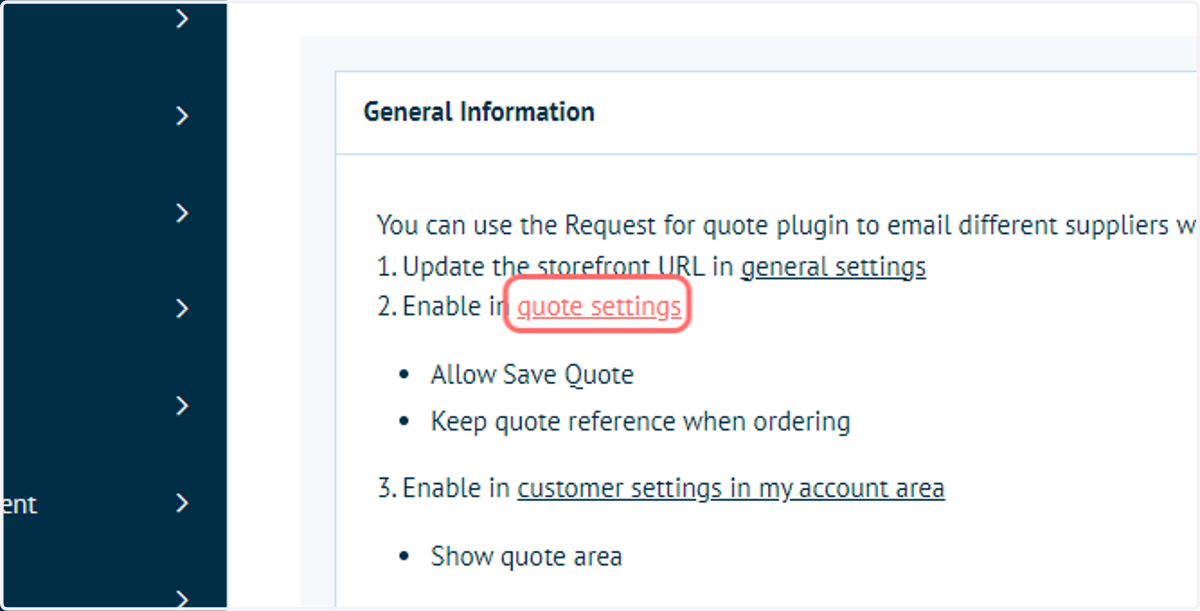
9. Navigate back to the Connect : RFQ settings and open the Quote Settings
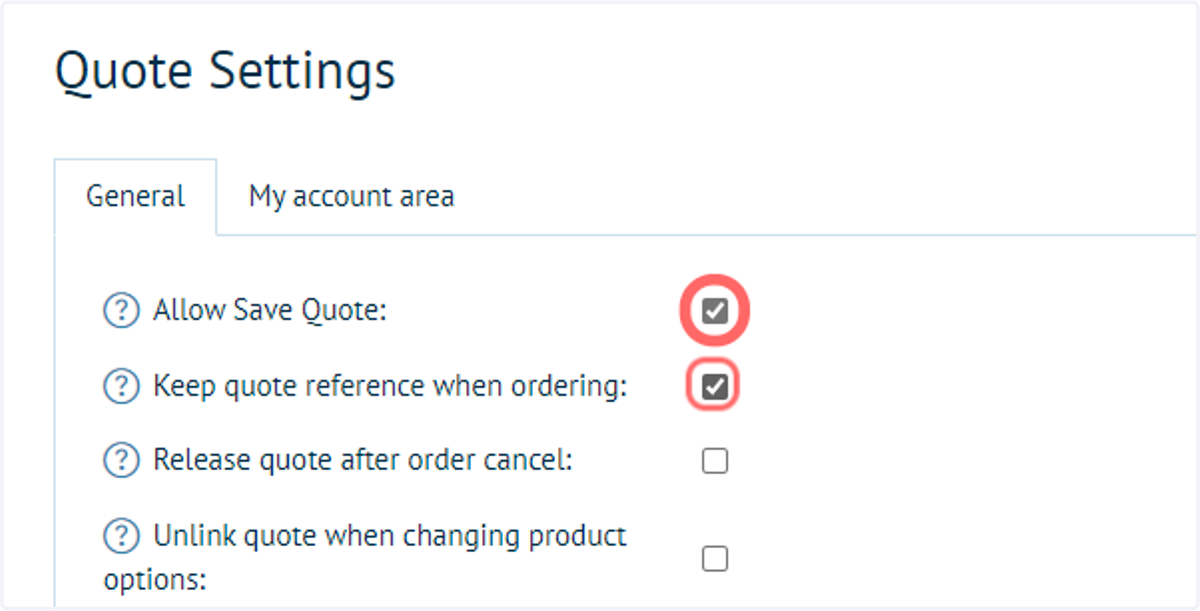
10. Enable "Allow Save Quote" and "Keep quote reference when ordering"
These enable the core capabilities of the Connect : RFQ module.
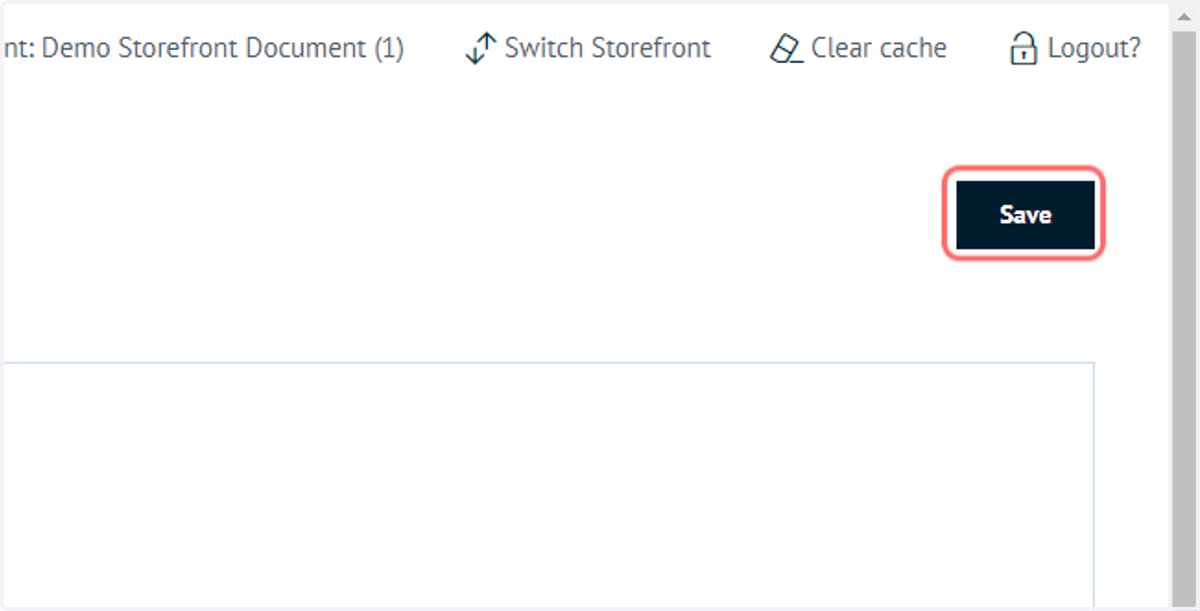
11. Click on Save
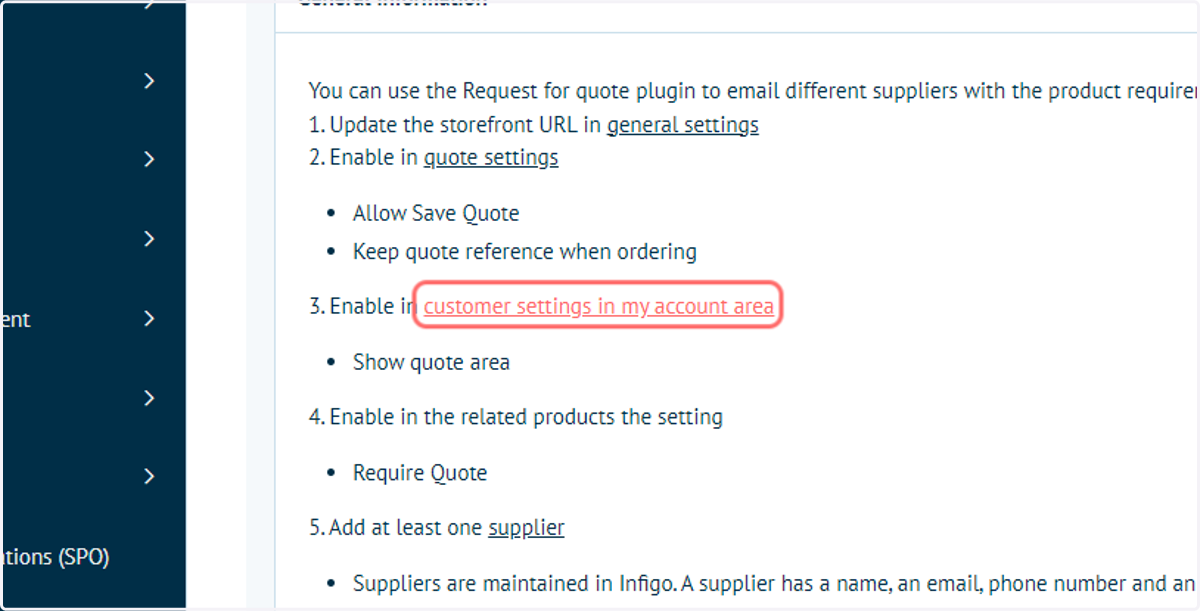
12. Navigate back to the Connect : RFQ settings and click the link to the Customer Settings screen
Customer Settings can also be accessed directly.
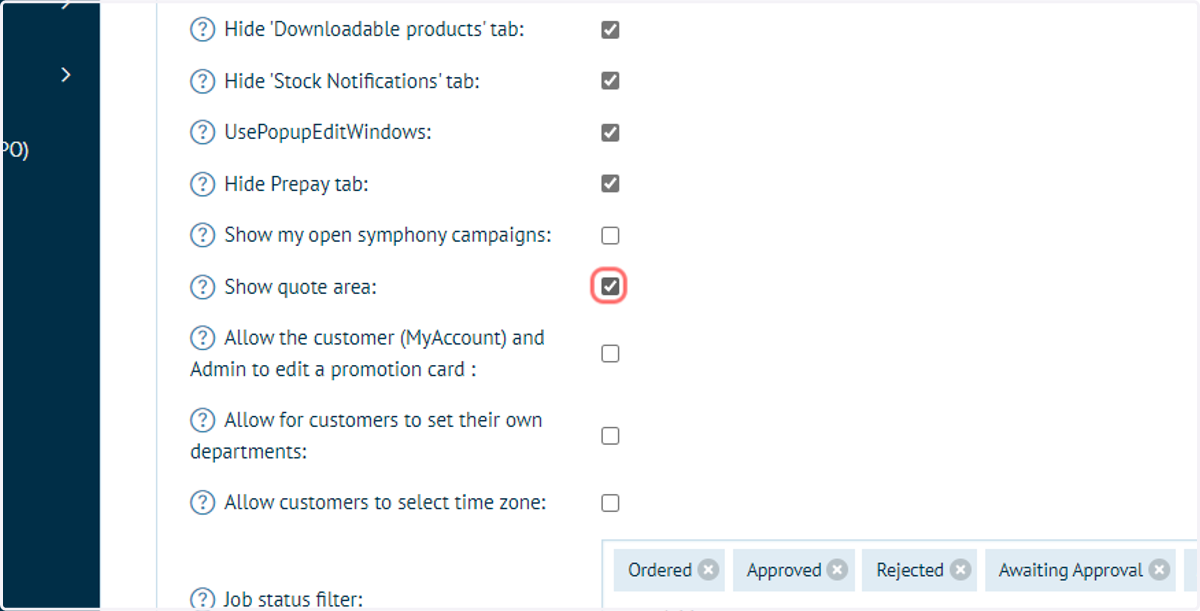
13. Check Show quote area within the My Account / General section
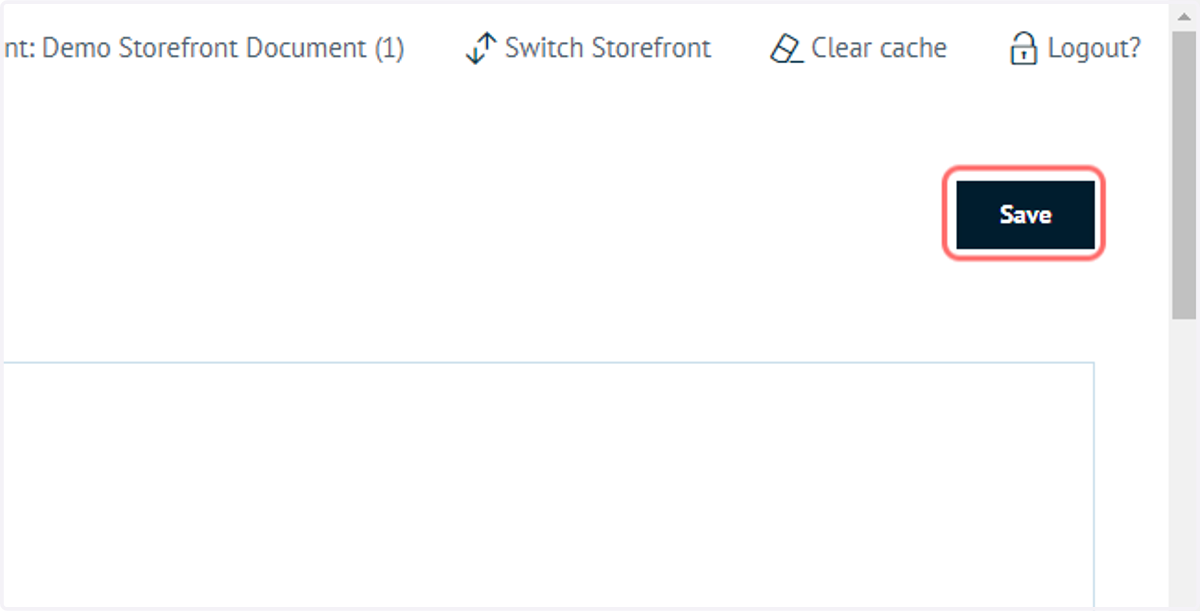
14. Click on Save
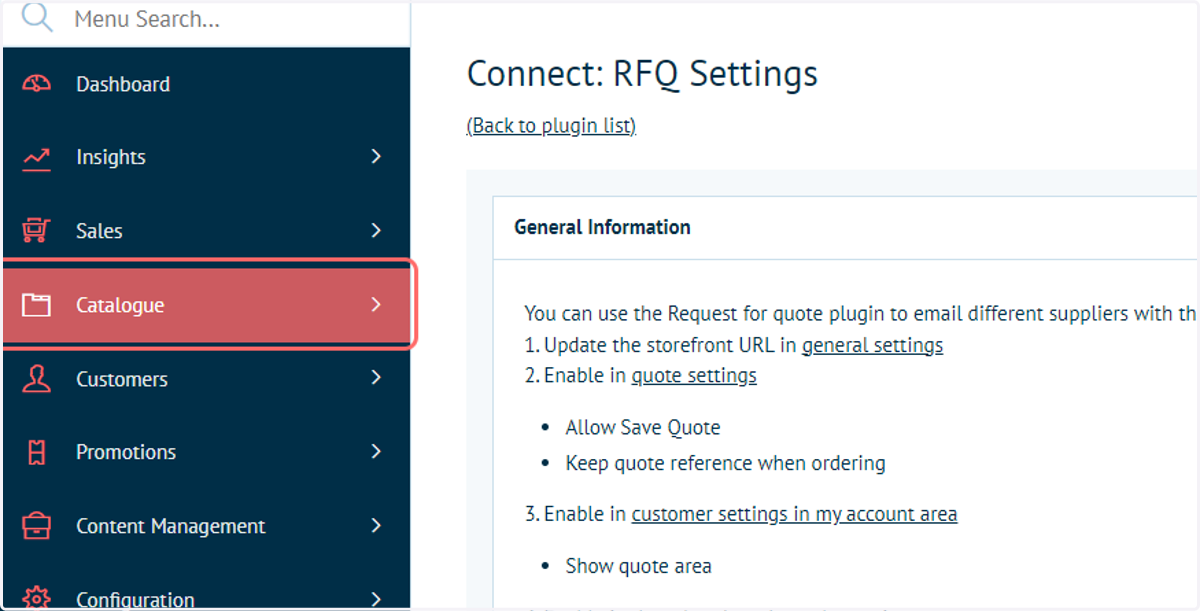
15. Create a product or navigate to the settings of an existing product for which you wish to request a quotation
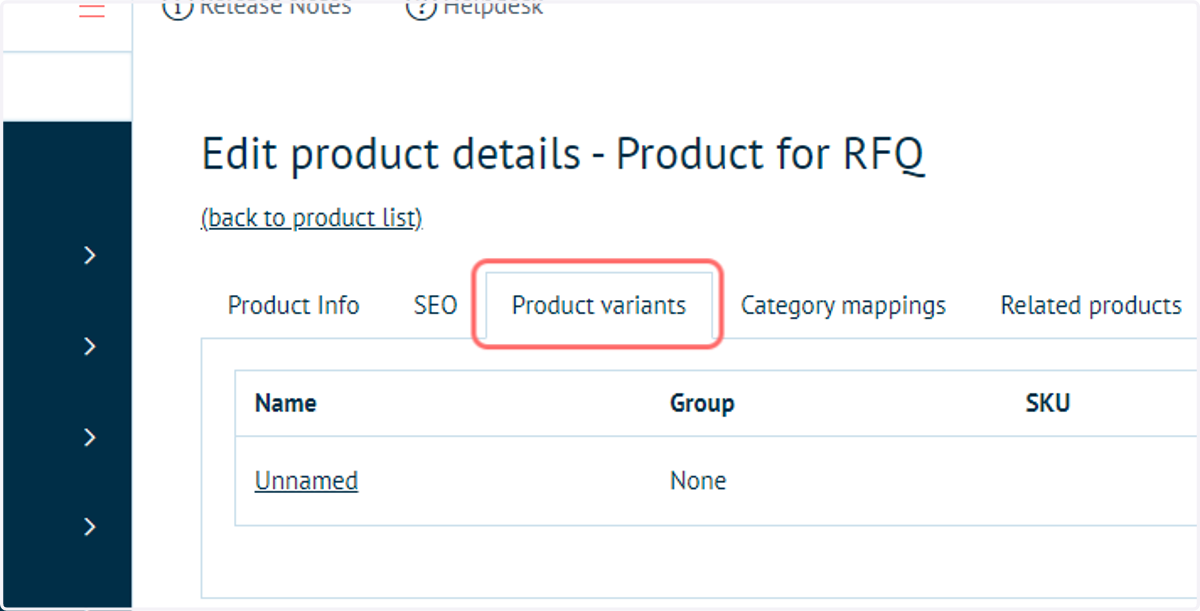
16. Navigate to the product's Variant settings
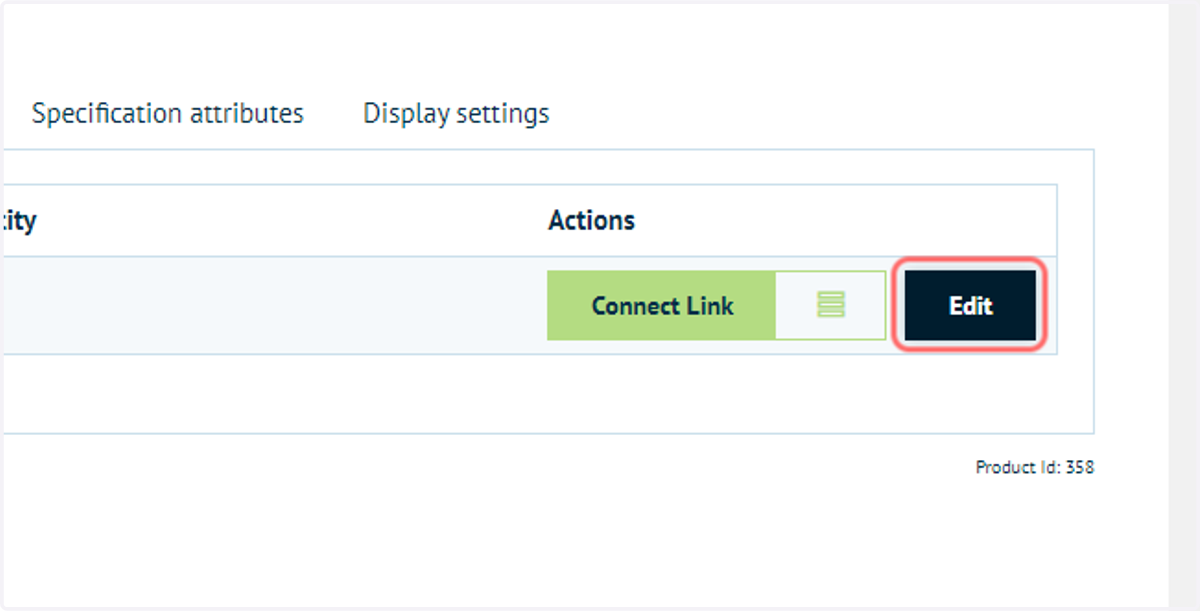
17. Click on Edit
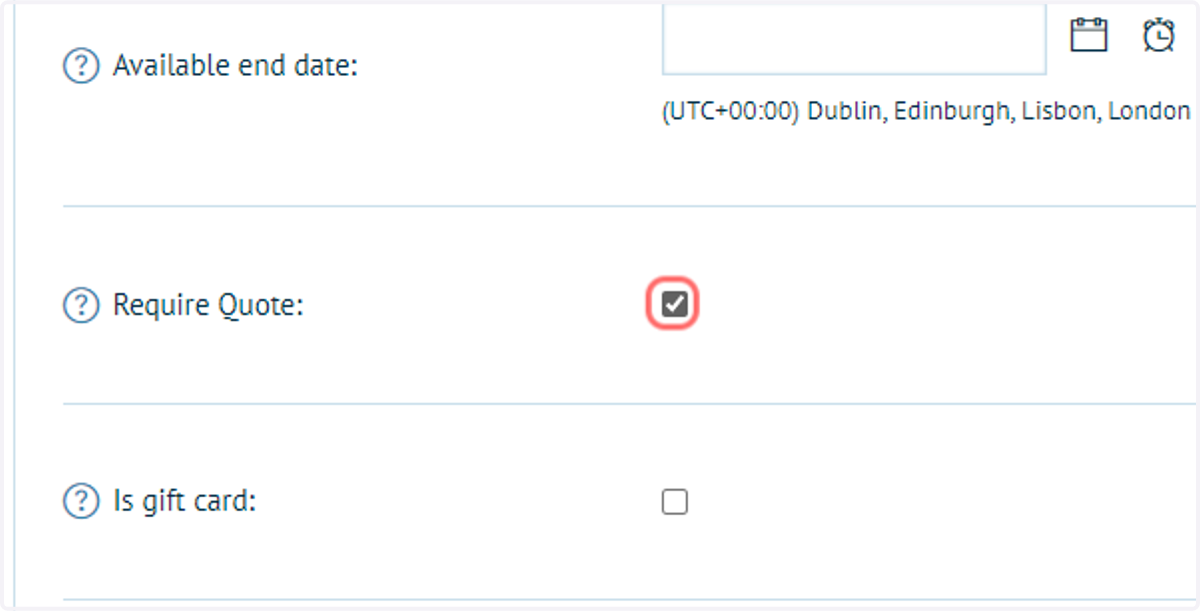
18. Check Require Quote
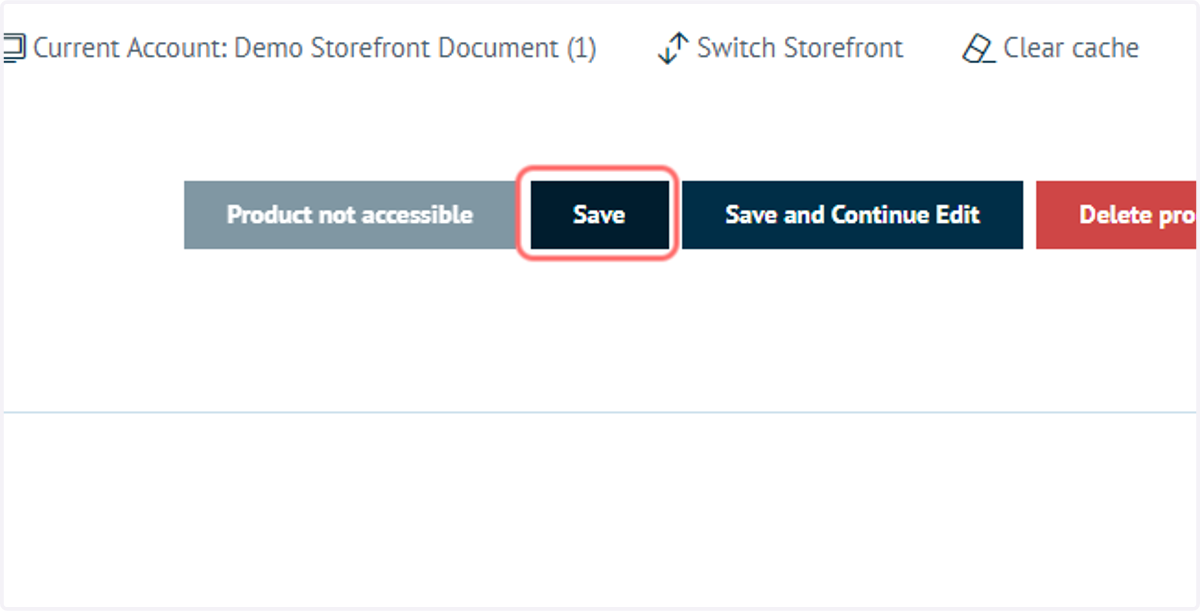
19. Click on Save
20. Next, we must add and configure some suppliers who will receive these RFQ's
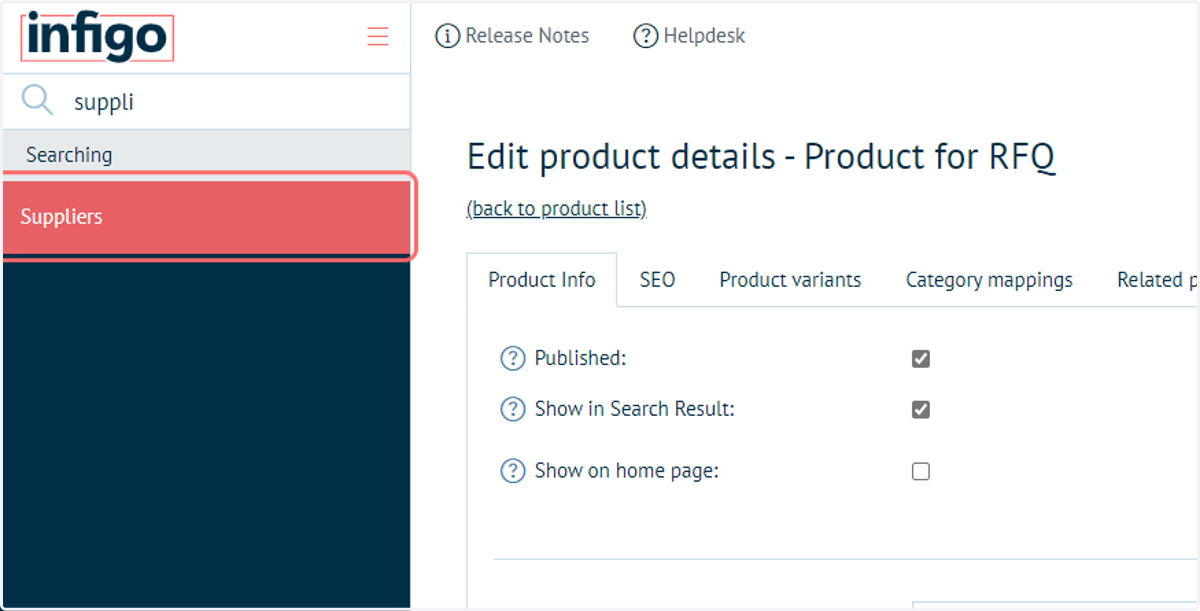
21. Navigate to Suppliers
Suppliers are maintained in Infigo. A supplier has a name, an email, phone number and an address
22. Click on Add new
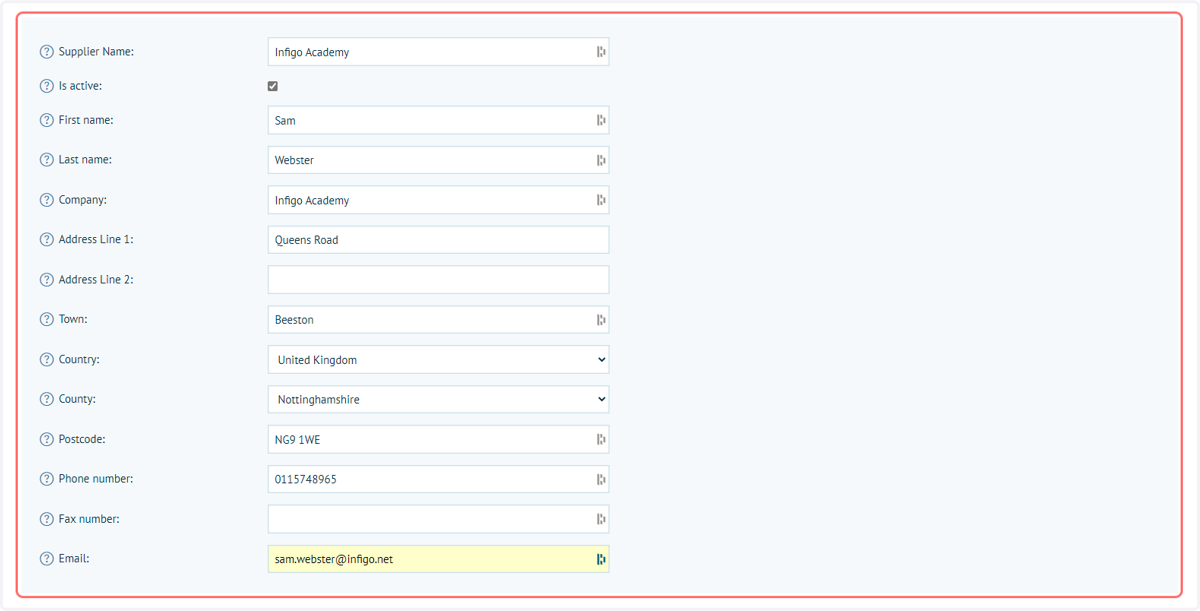
23. Complete the supplier details
The "Is Active" checkbox enables or disables this supplier, meaning they will or will not receive RFQ's.
24. Click on Save
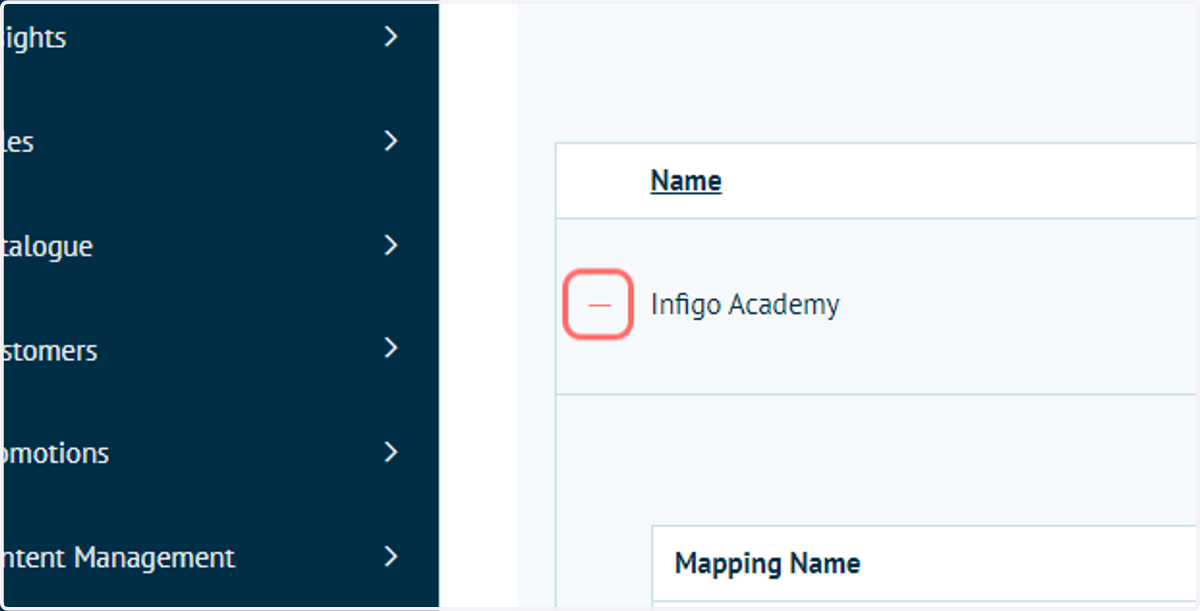
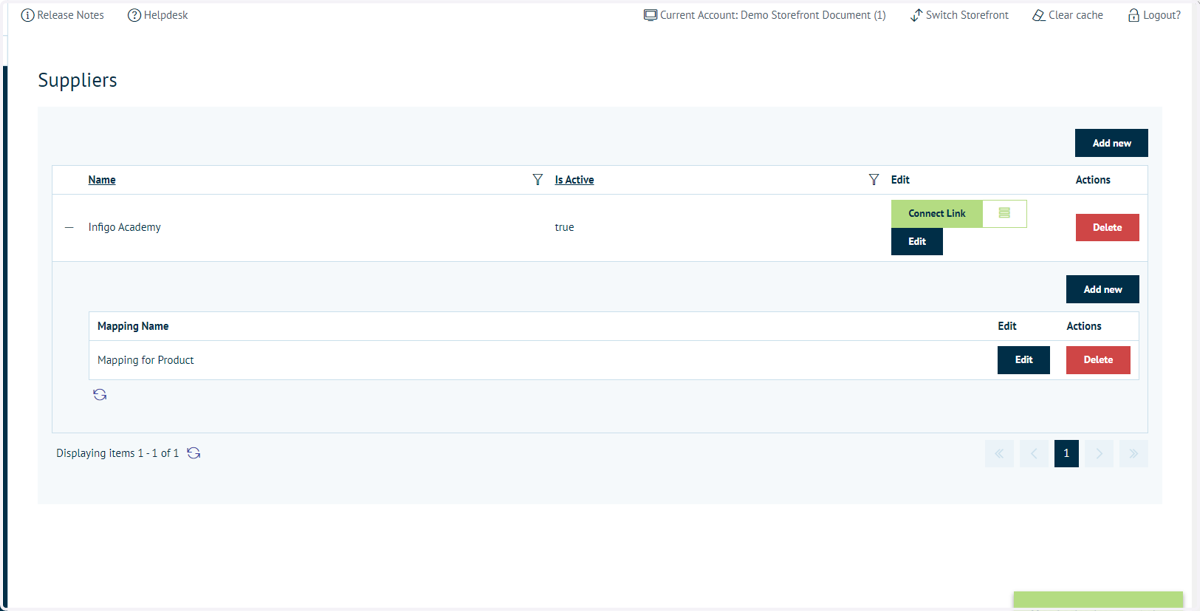
25. Next, we must map some conditions under which this supplier receives an RFQ. Click the '+' icon next to the supplier
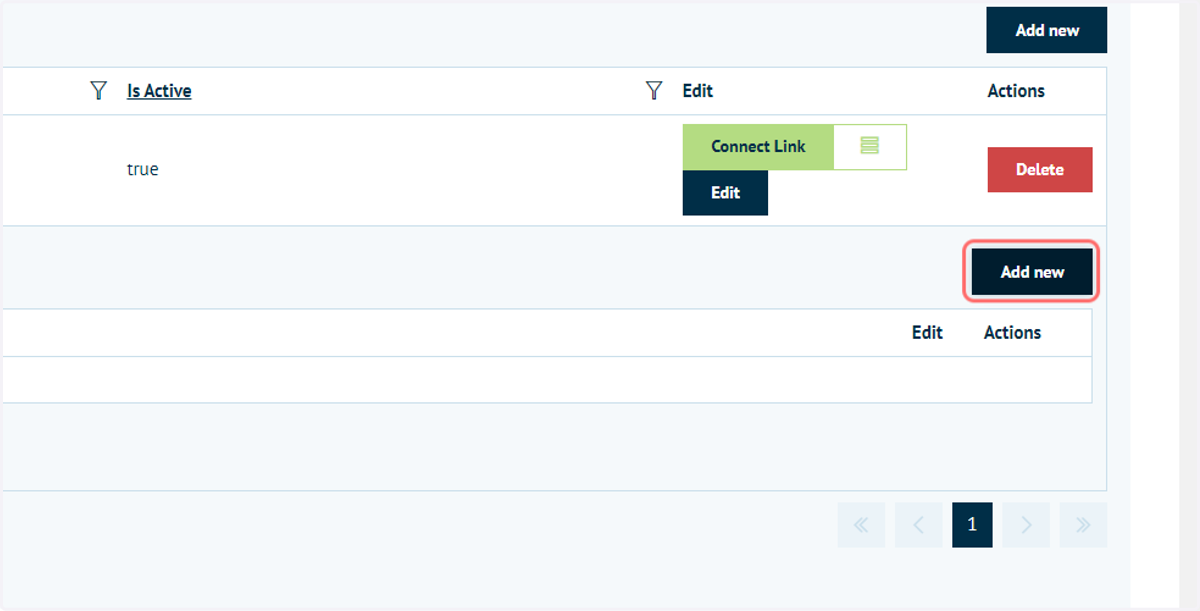
26. Click on Add new
27. Configure the conditions under which this supplier will receive an RFQ
These mappings could be in relation to individual products, categories, tags, customer role, country and more.
In our example, we have created a simple product mapping to our product of interest.
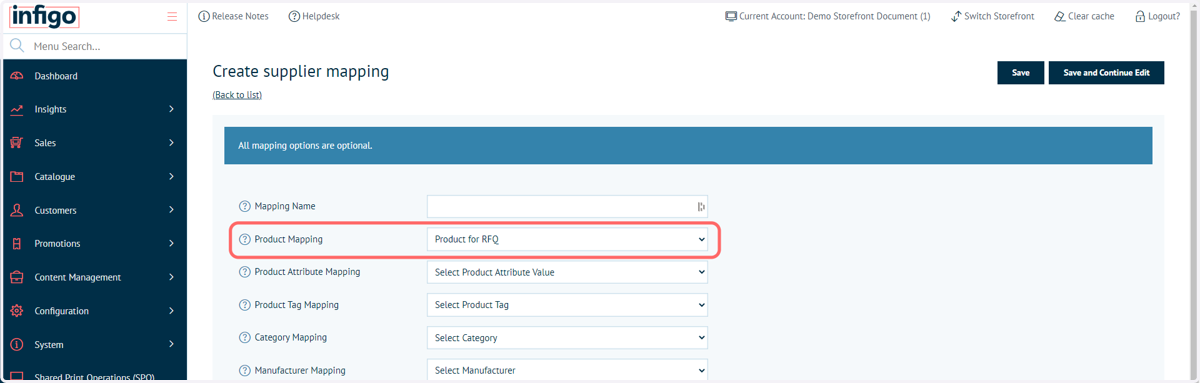
28. Enter a mapping name and click on Save
29. Click on Save
30. Multiple suppliers can be specified, with multiple mappings for each
31. The fundamentals of the Connect : RFQ module have now been applied