Recent Orders Table | GT_GEN_009
There are some scenarios where a large amount of orders from certain Storefronts are re-orders of previously placed orders.
In order to simplify the re-ordering process, a module has been developed which can be placed on any required area of your site (such as the home page) showing previous orders placed by the logged in user. This provides quick access to the order details page and subsequent quick access to re-ordering.
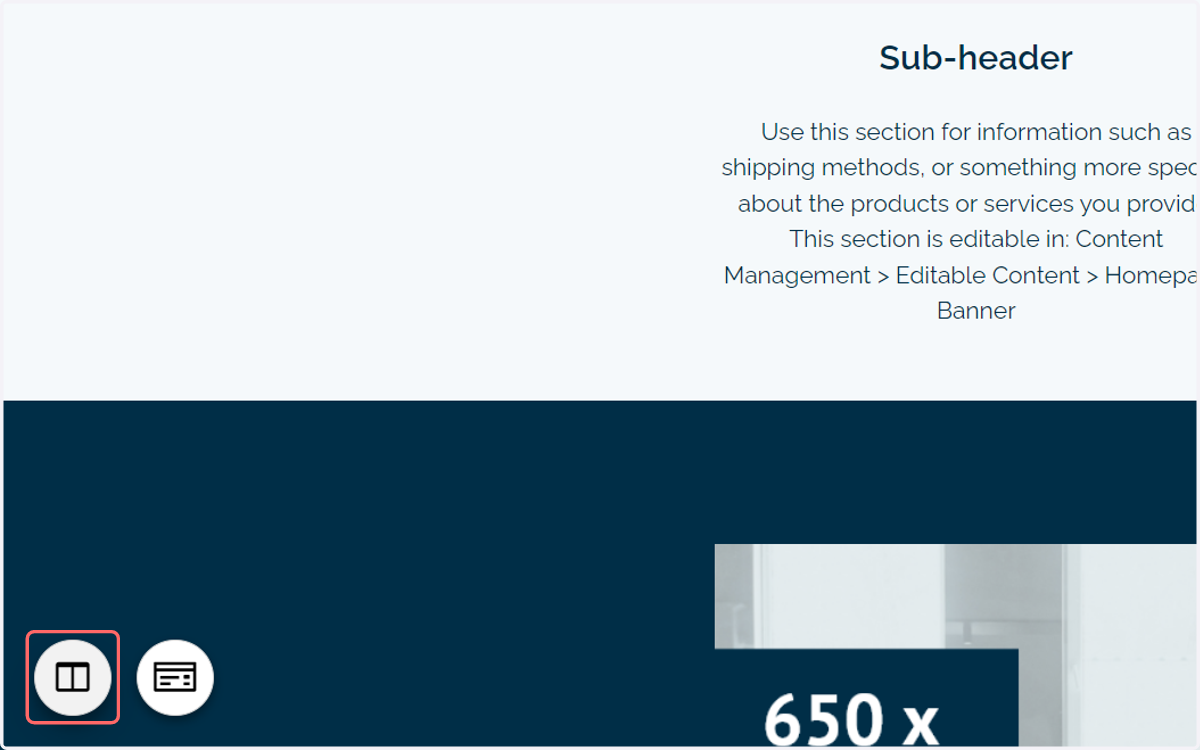
1. Click on Show layout administration panel
We begin by navigating to the front end of our Storefront to a page where we wish the recent orders module to be located.
Once there, click this icon.
Order resources exist within the Infigo Academy going into more detail on the use of the layout administration panel. Here, we will just be focusing on our one required module.
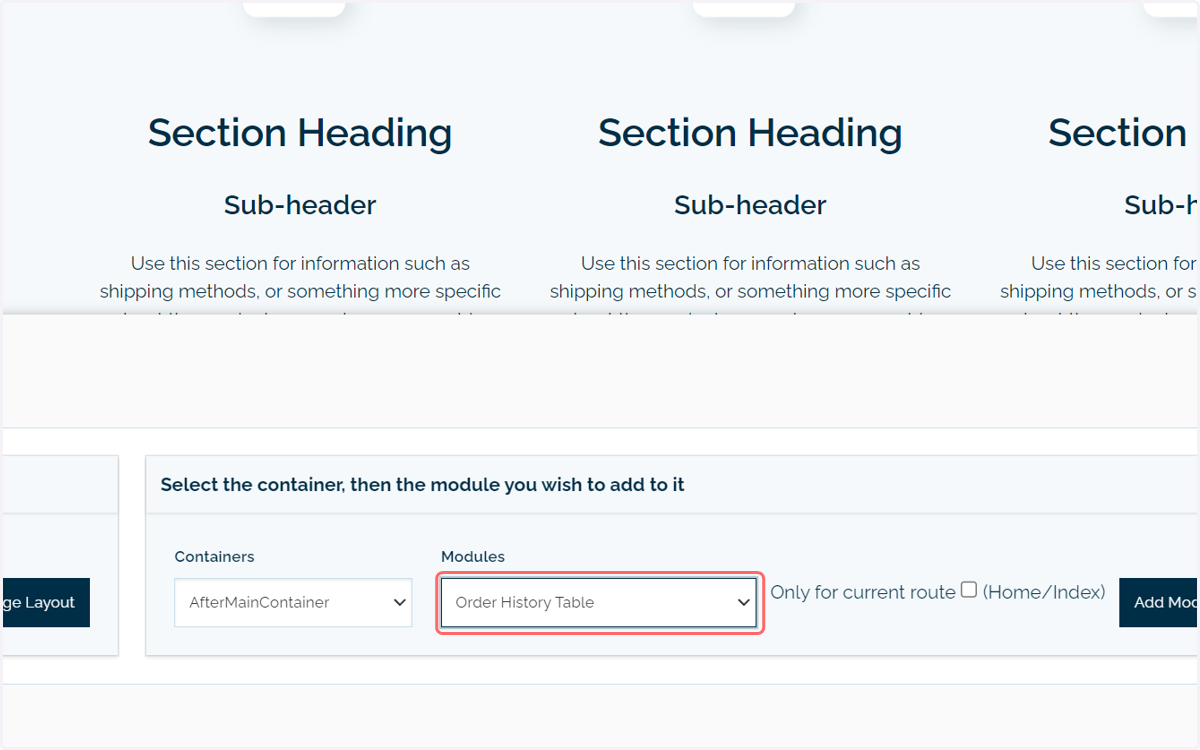
2. Select Order History Table from the modules list and determine where you want to locate it using the Containers list
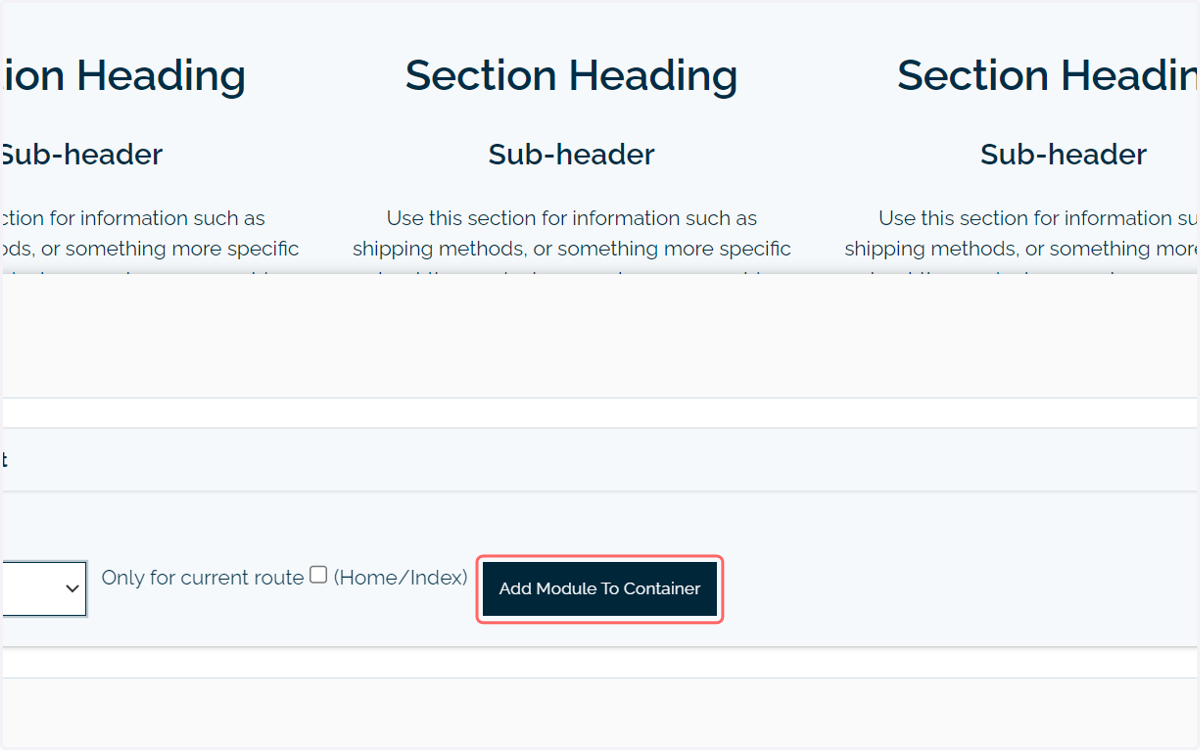
3. Click on Add Module To Container
4. The My Recent Orders table will now be available on your page
This contains information such as a clickable order number, order date, order status and a tracking number (if applicable for the order).
If the tracking number was set by means such as our EasyPost plugin, it may also be a clickable link which will take you to the relevant page on the external system.
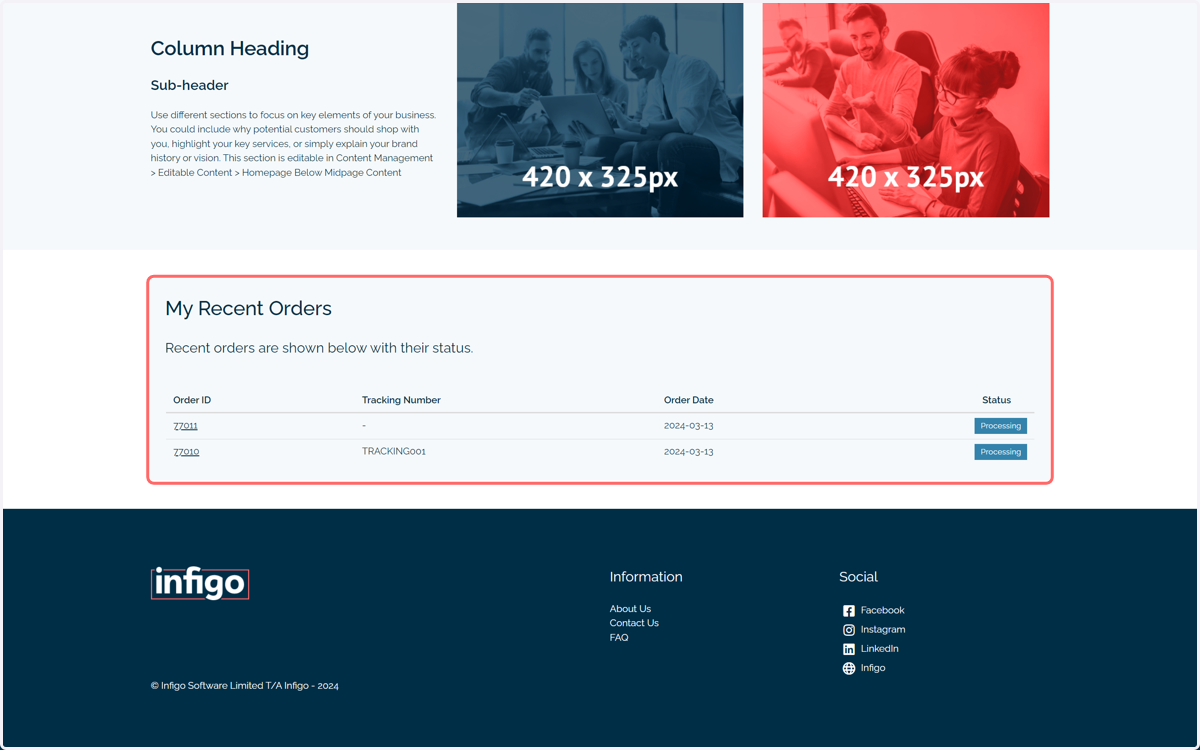
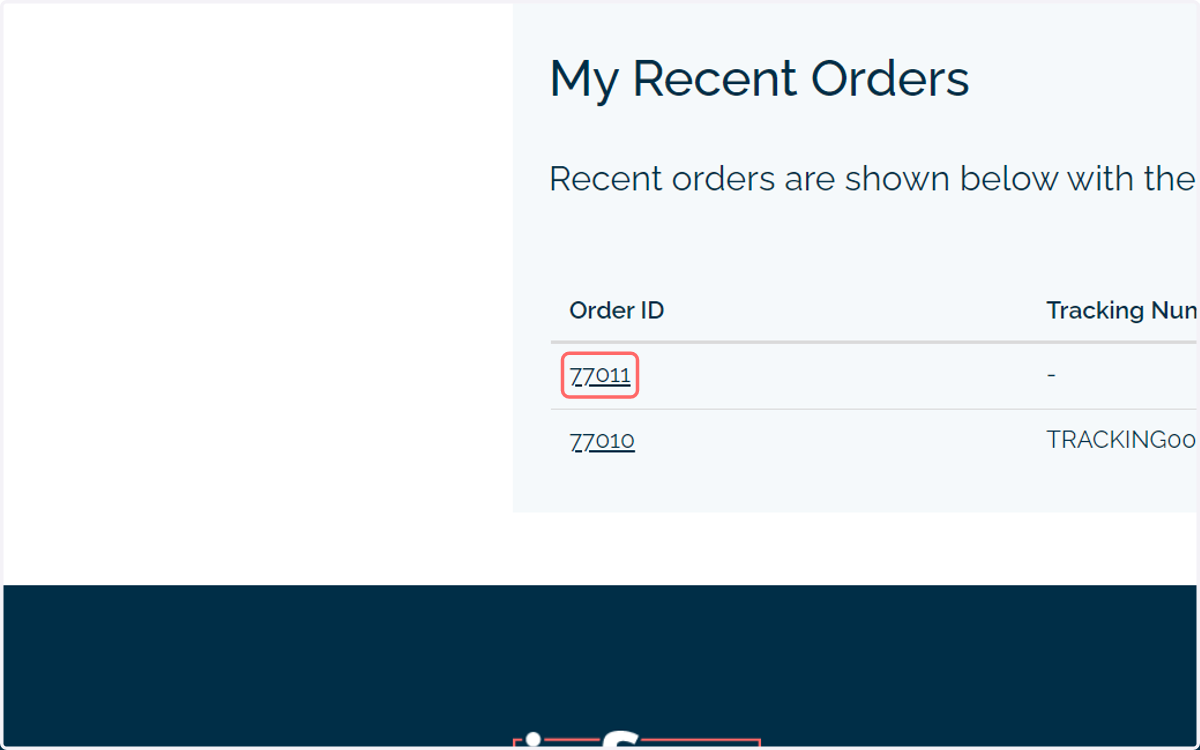
5. Click on an order
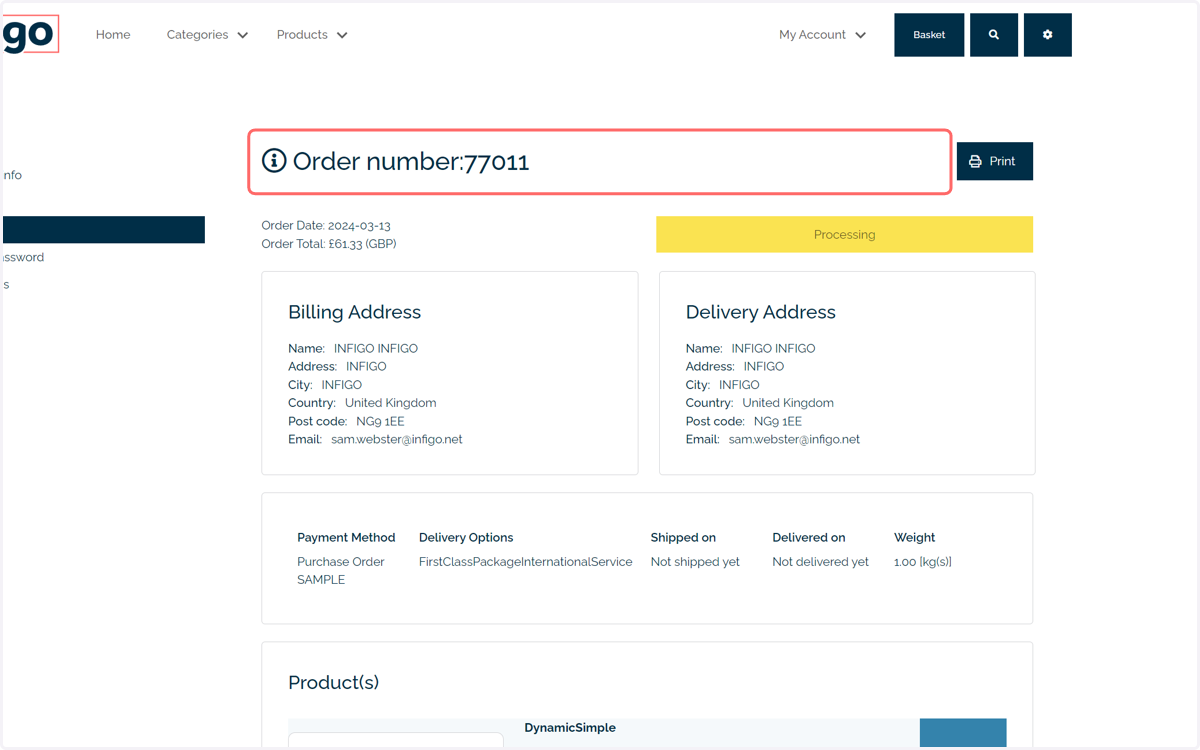
6. Order page
Clicking the order ID will take you to the order page.
From here, you have quick access to the re-order function if it is enabled on your Storefront.
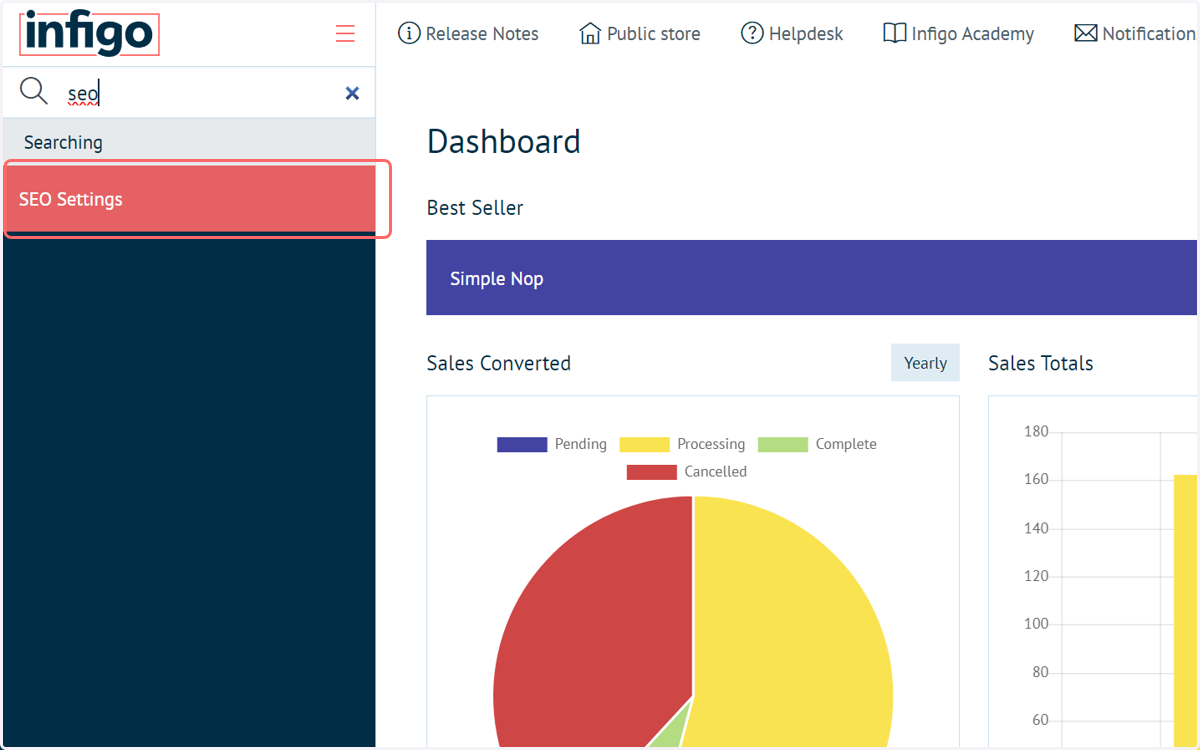
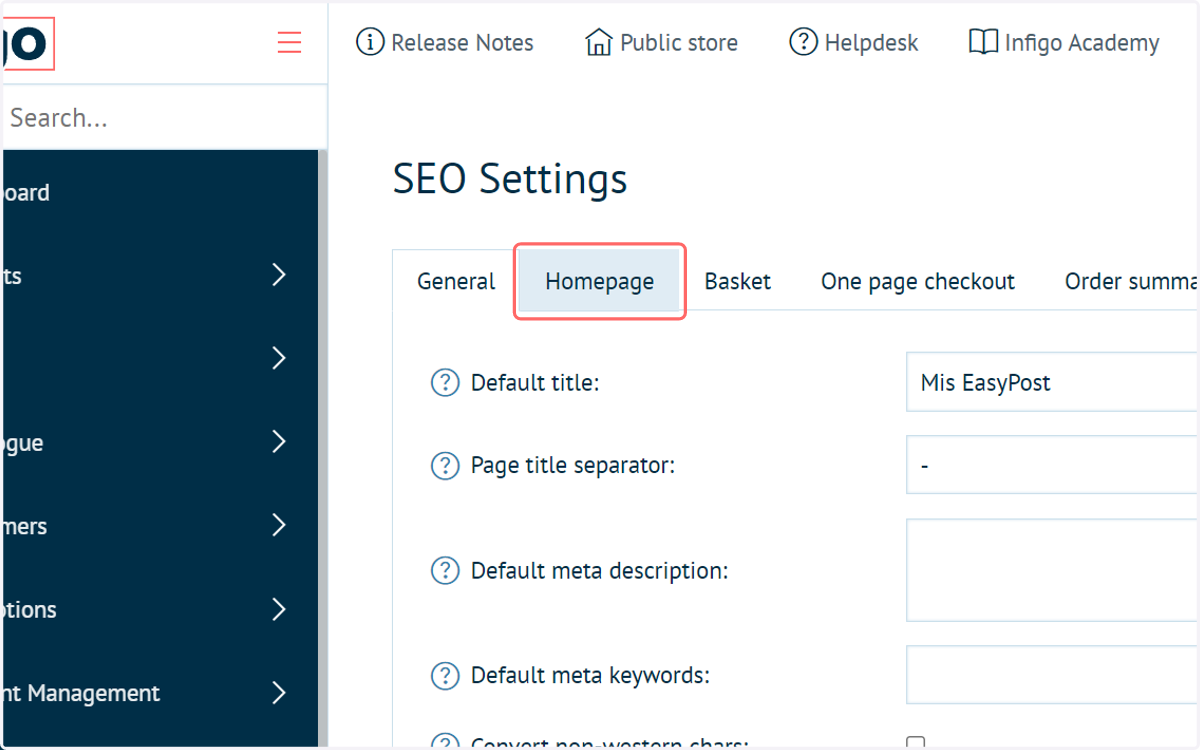
7. Next, we will look at the configuration options you have for the My Recent Orders table. Navigate to SEO Settings
Although not directly related, the SEO settings page contains a section allowing the input of tracking scripts. This also gives us an opportunity to apply other scripts to run on the page.
We can input a script related to our My Recent Orders table, allowing us to control the quantity of previous orders shown at one time.
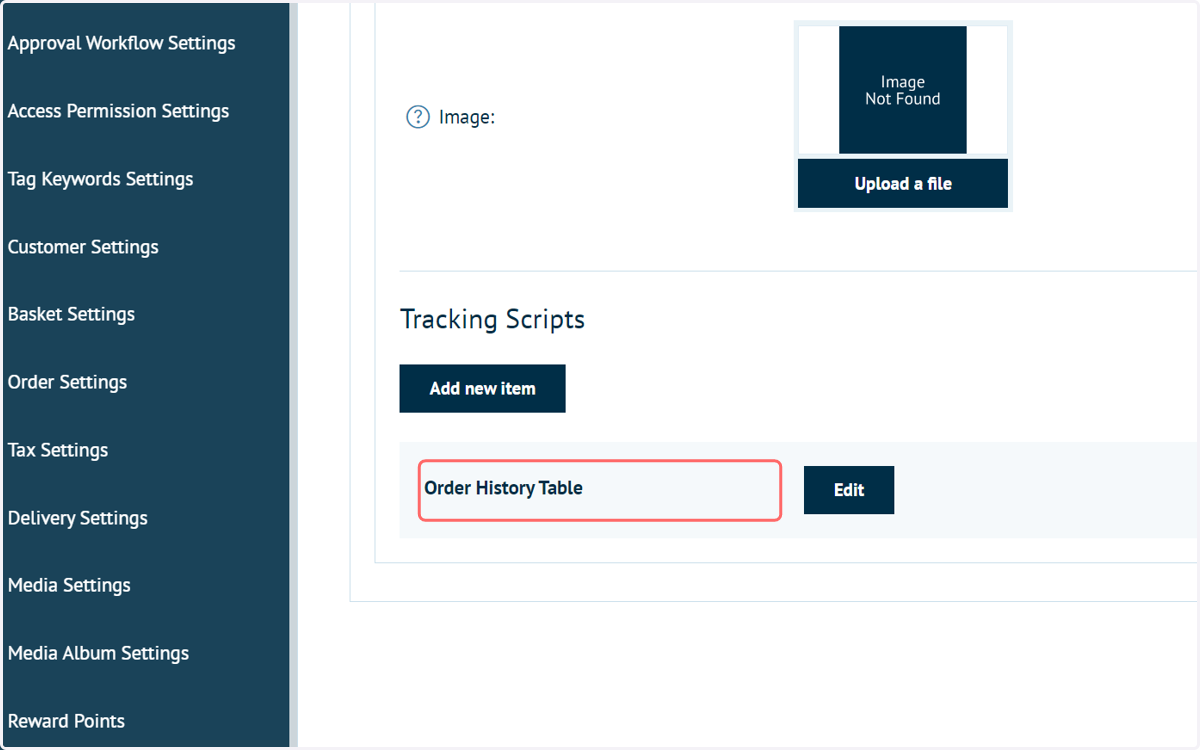
8. Click on the page header on which you've located the table
9. Add a new tracking script
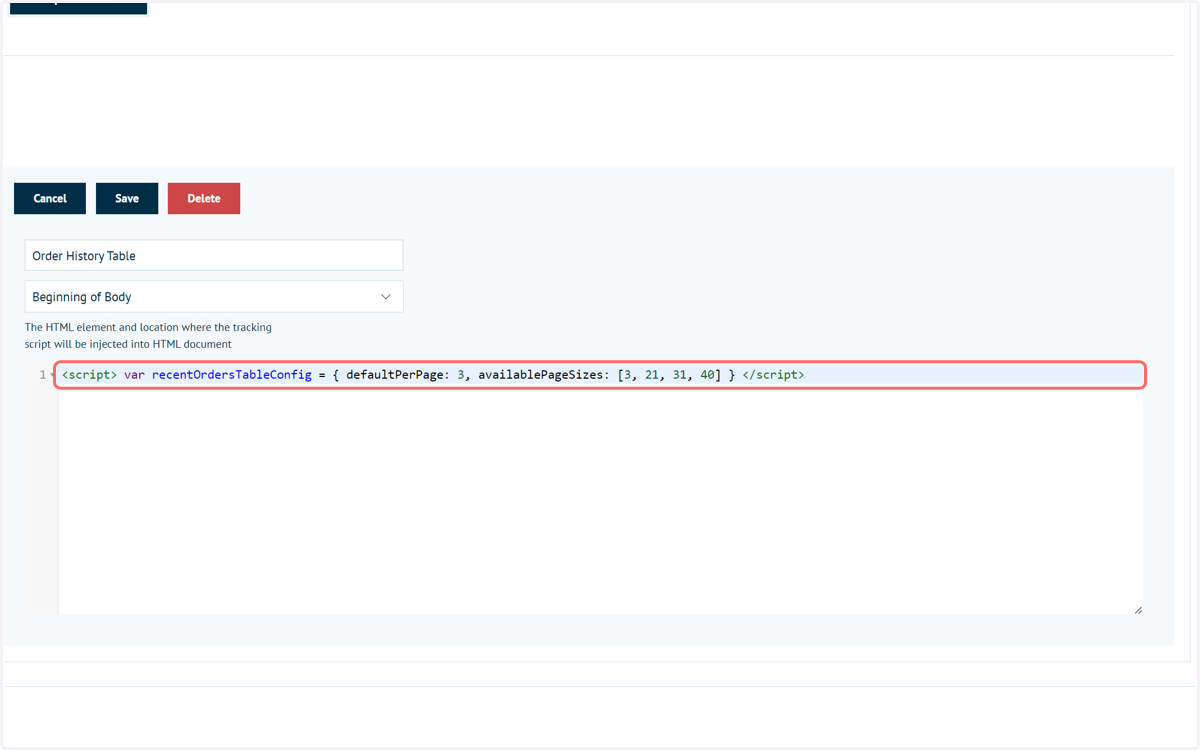
10. Input the required script
Copy and paste the following script:
<script> var recentOrdersTableConfig = { defaultPerPage: 11, availablePageSizes: [11, 21, 31, 40] } </script>
You can then modify the numbers to suit your requirements.
11. Click on Save