Workflow Settings explained
The approval workflow contains many additional settings for use in specific scenarios. We will work through many of those settings here and explain their use cases.
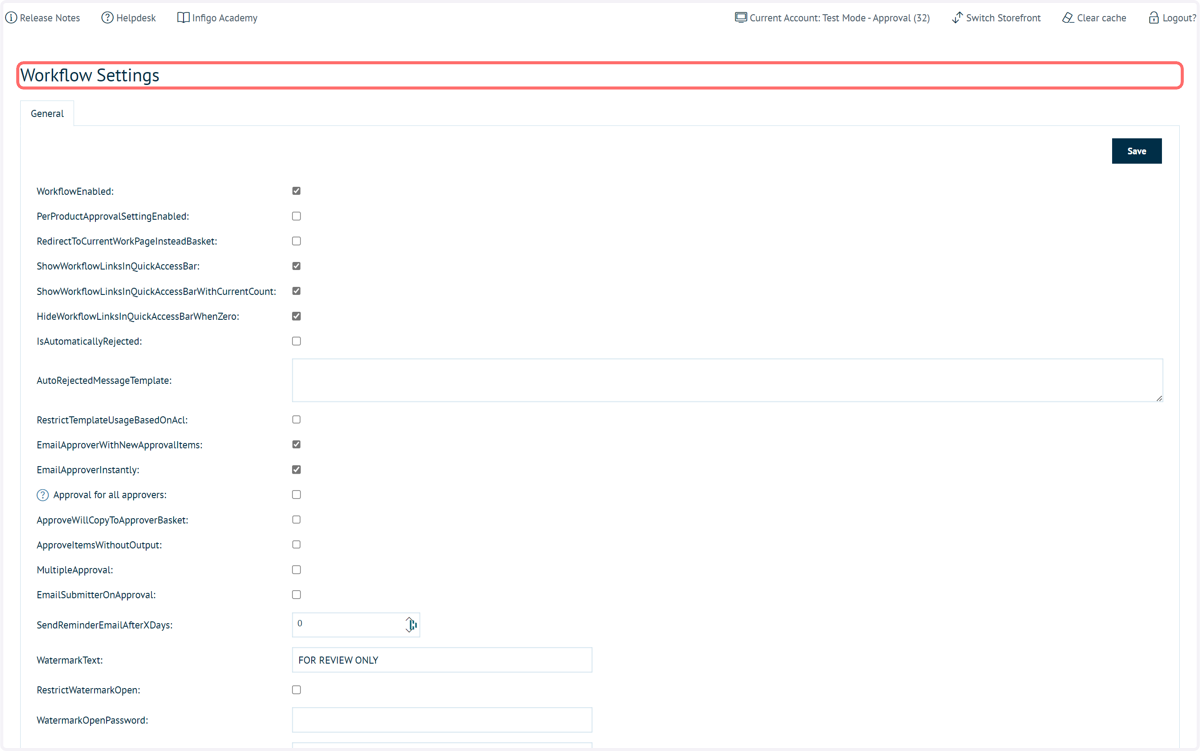
1. Navigate to Approval Workflow Settings
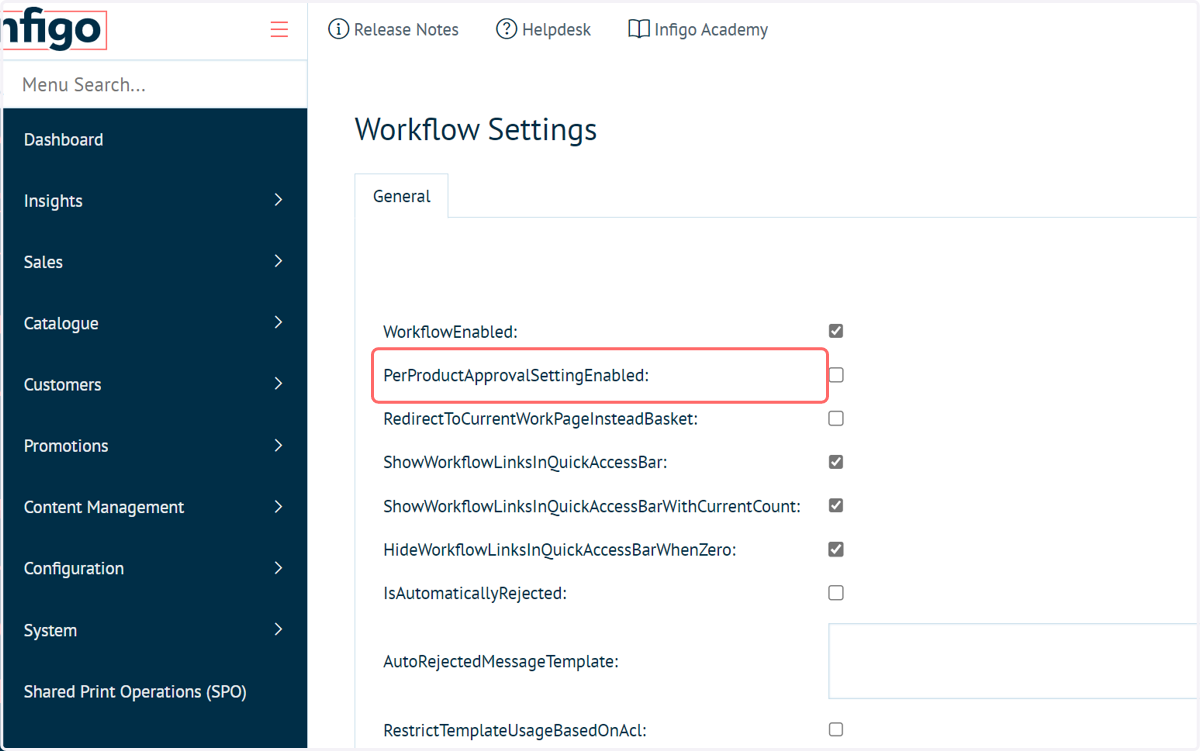
2. Click on PerProductApprovalSettingEnabled:
This enforces the approval workflow against specific products only. It means you can select certain products to require approval, whilst others can be freely ordered.
How to set this up is covered in a different tutorial.
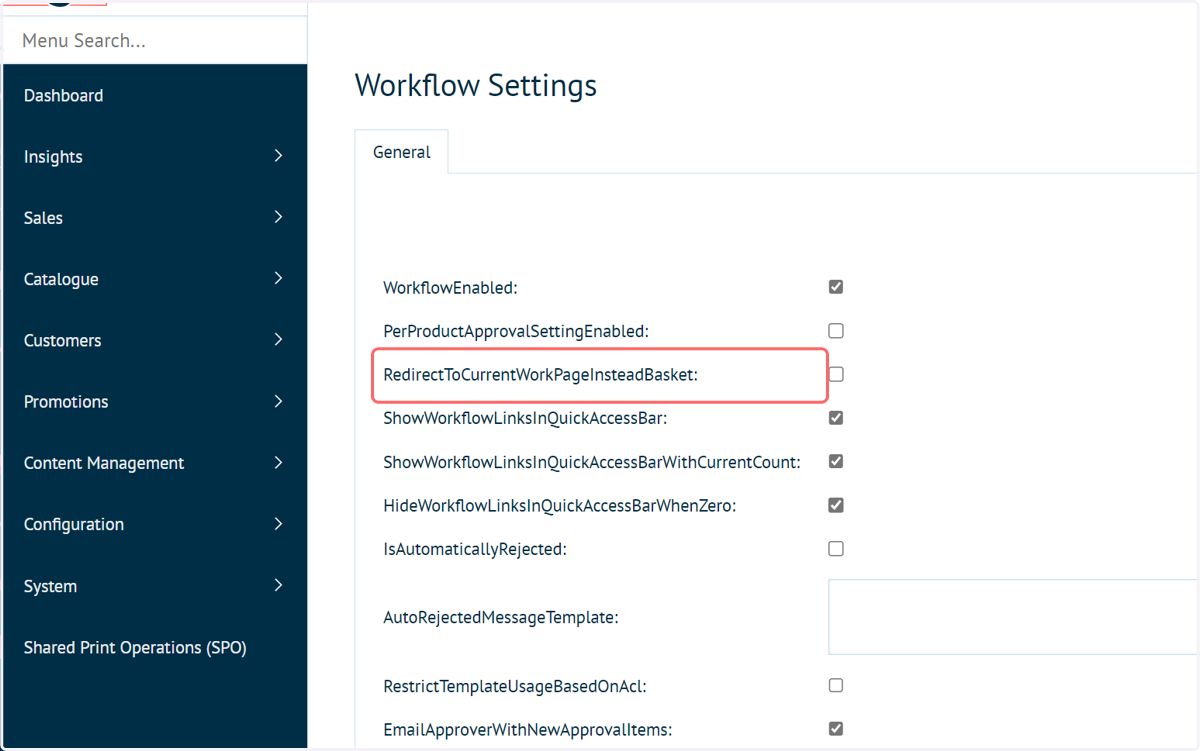
3. Click on RedirectToCurrentWorkPageInsteadBasket:
This option changes the standard checkout flow to ignore the full checkout process.
With this option enabled, the customer creates a variable print, submits it for approval and the approval process skips delivery and billing details.
If this is not enabled, then the customer will submit an order as normal, with the approval taking place between submission and the order arriving in Shared Print Operations.
4. Quick Access Links
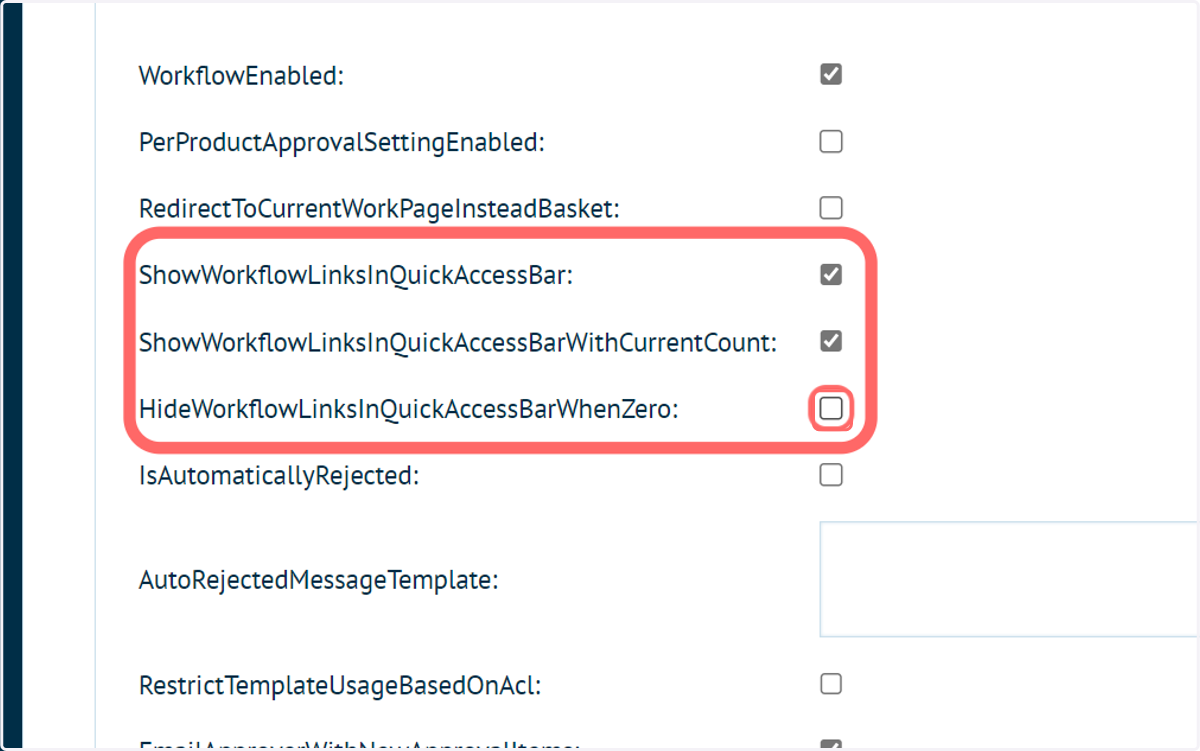
This group of settings controls the quick access links to the Approvals page on the front-end.
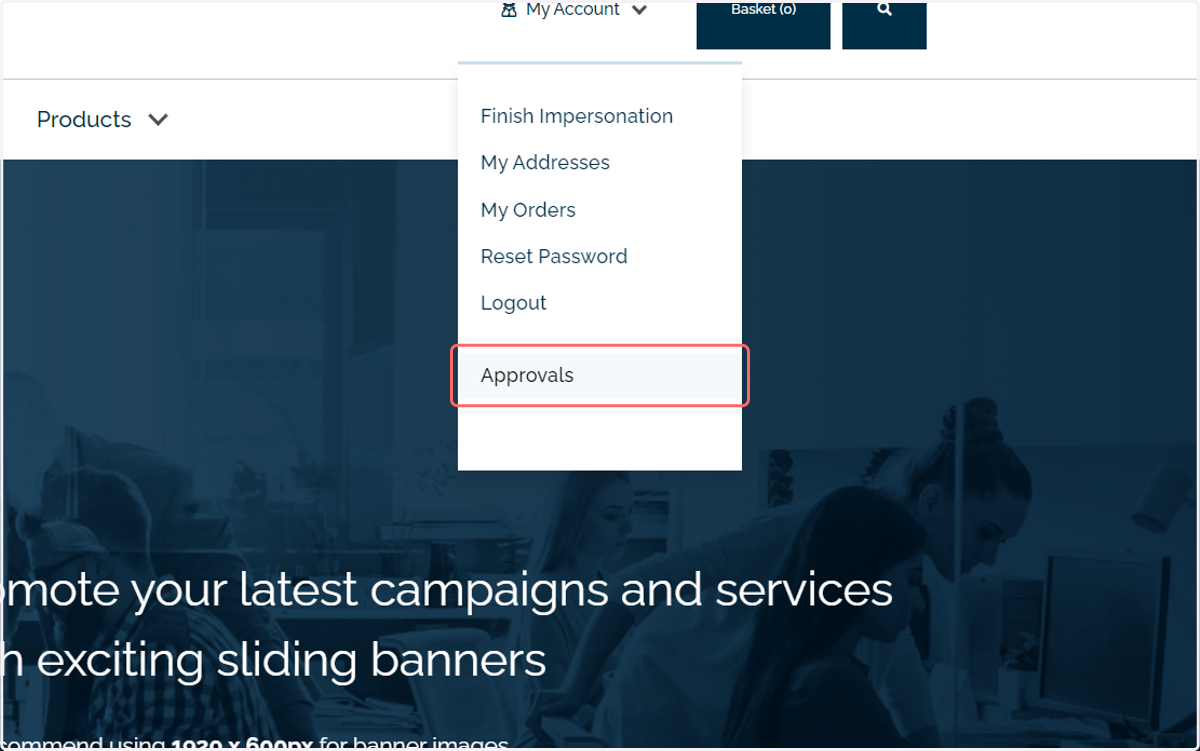
By default, a link directly accessing the approvals page will be shown on the My Account dropdown (see the next step).
ShowWorkflowLinksInQuickAccessBar: Allows navigational access to the Approval/Work In Progress (depending on Customer Role).
ShowWorkflowLinksInQuickAccessBarWithCurrentCount: Identifies number of jobs awaiting Approval/In Progress.
HideWorkflowLinksInQuickAddressBarWhenZero: Hides access links when no jobs require Approval
5. Approvals quick access link
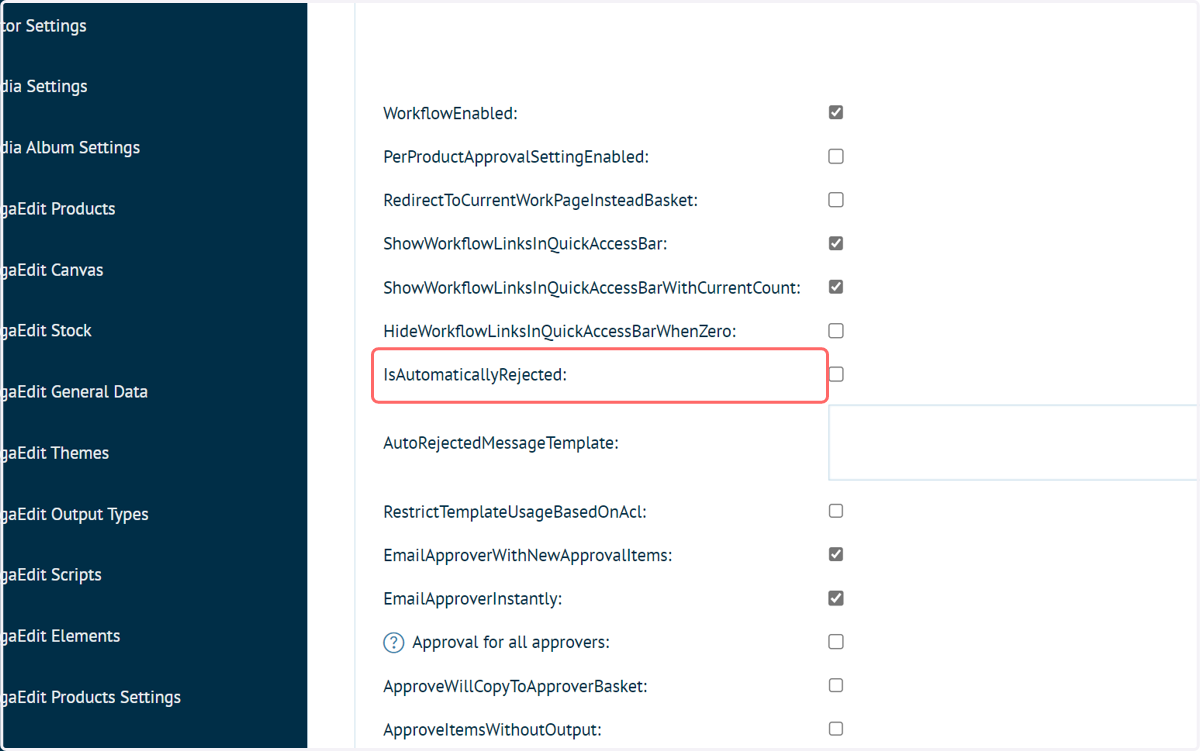
6. Click on IsAutomaticallyRejected:
This will force the users to re-submit their projects before the approvers will receive them in their queue, and therefore the approvers will not receive an email until the orders have been resubmitted.
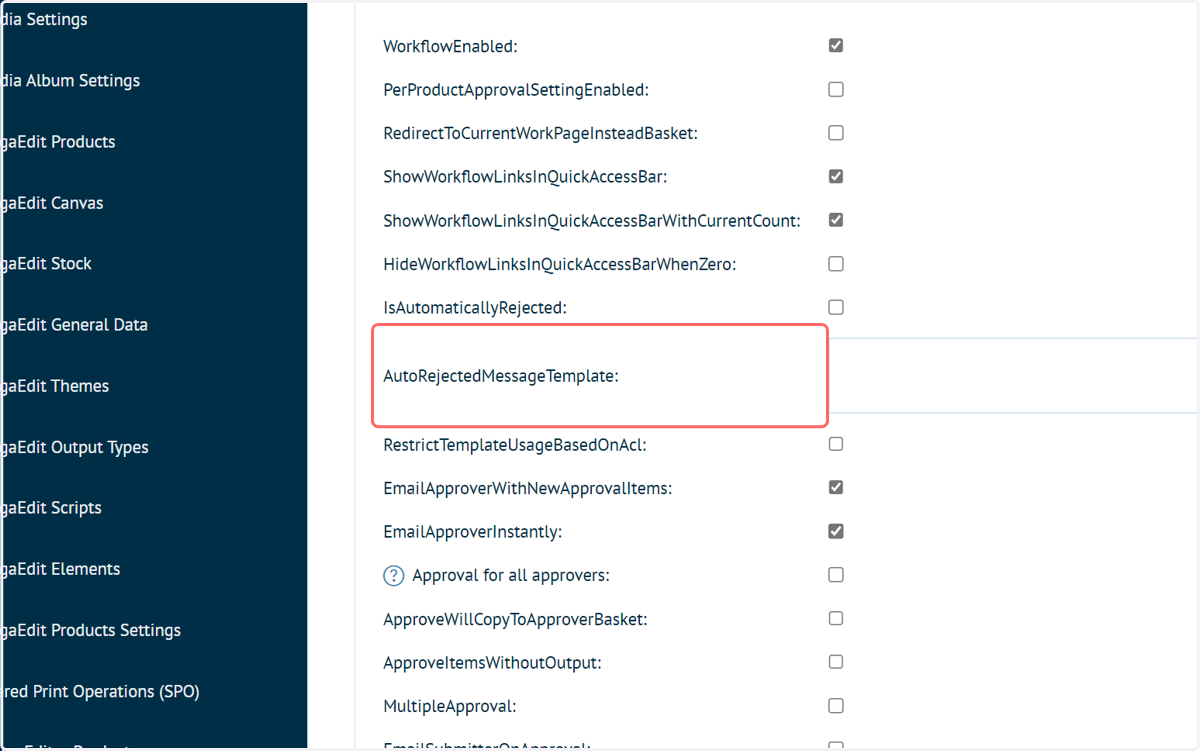
7. Click on AutoRejectedMessageTemplate:
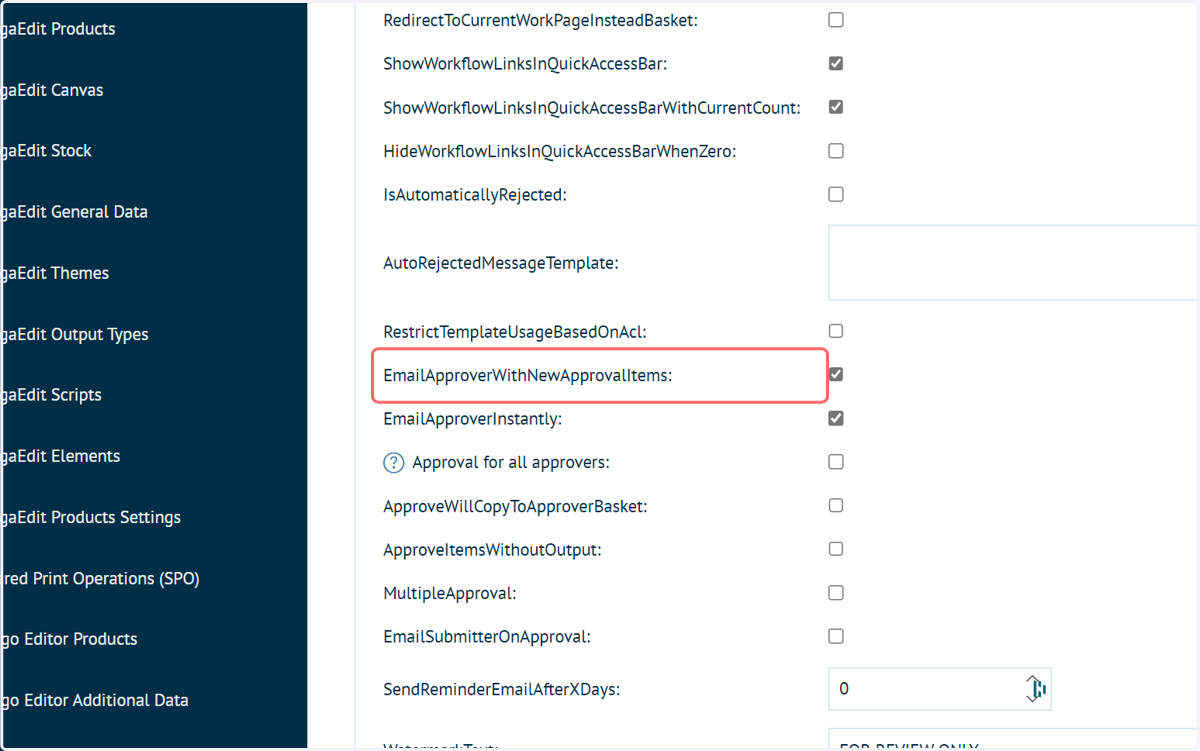
8. Click on EmailApproverWithNewApprovalItems:
This option switches on the email capabilities of the approval workflow.
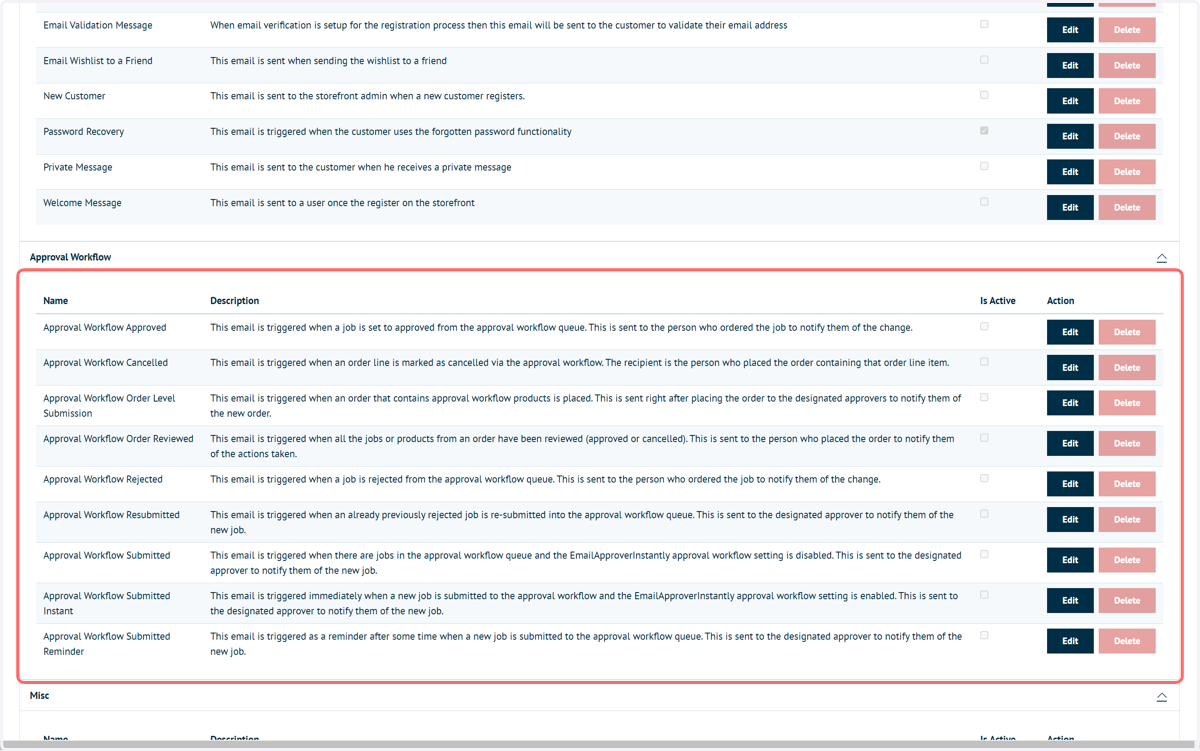
Do note that individual email templates will need to be activated in the Email Message Templates screen.
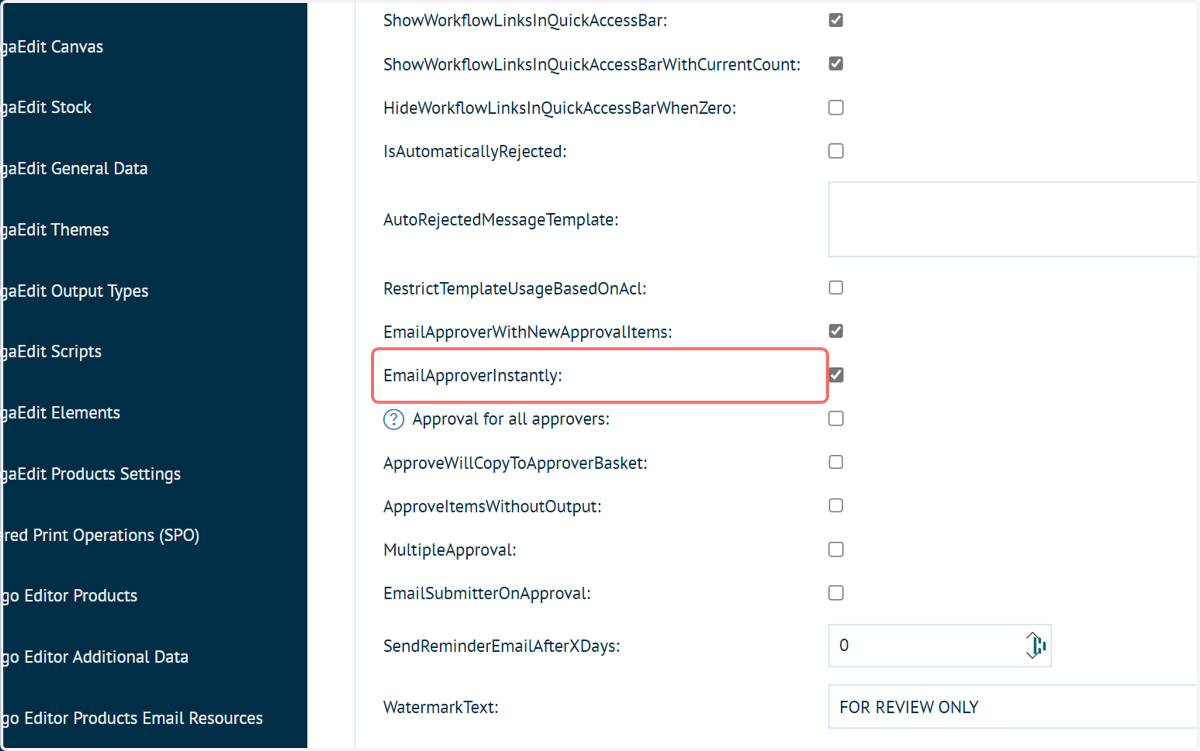
9. Click on EmailApproverInstantly:
Sends InstantApproverEmail template to all Approvers as soon as a job requires Approval. Without ticking this, the service is sent once a day.
10. Navigate Email Message Templates
There is a section dedicated to Approval Workflow.
All templates are inactive by default. These templates can be modified and activated in the same way as with other templates.
Additional tutorial resources are available on this topic.
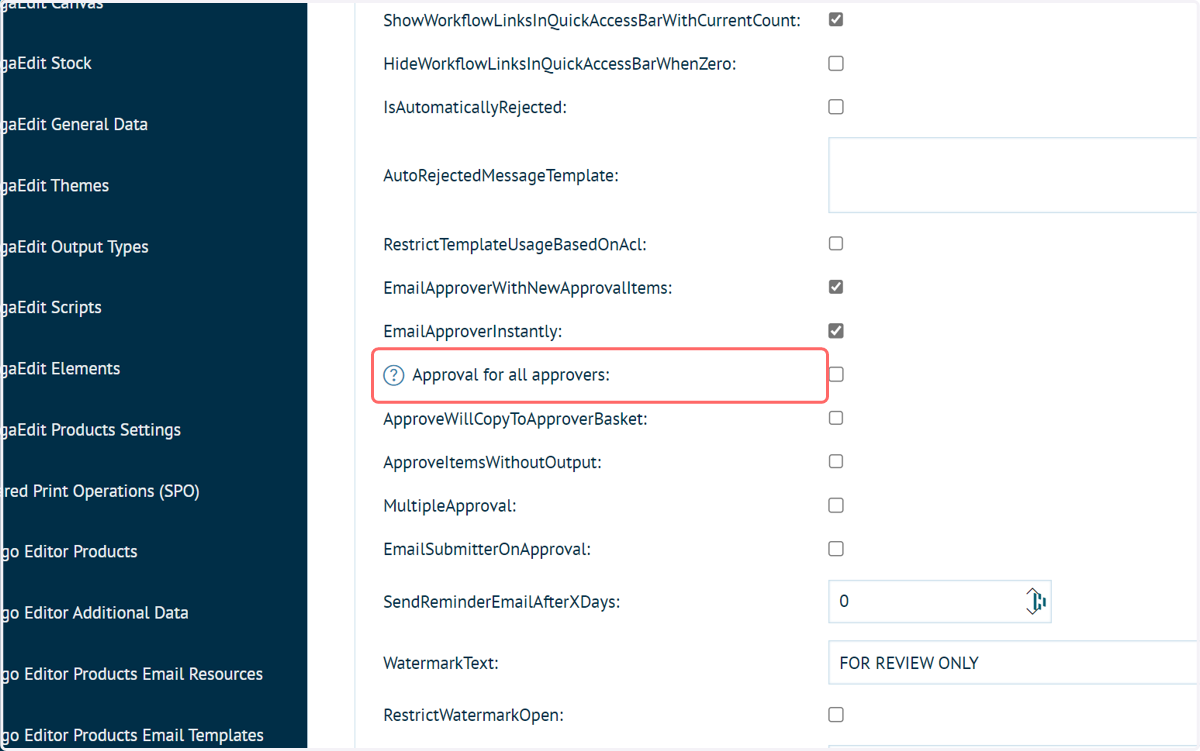
11. Click on Approval for all approvers:
Enabling this setting allows any approver to approve anyone's job.
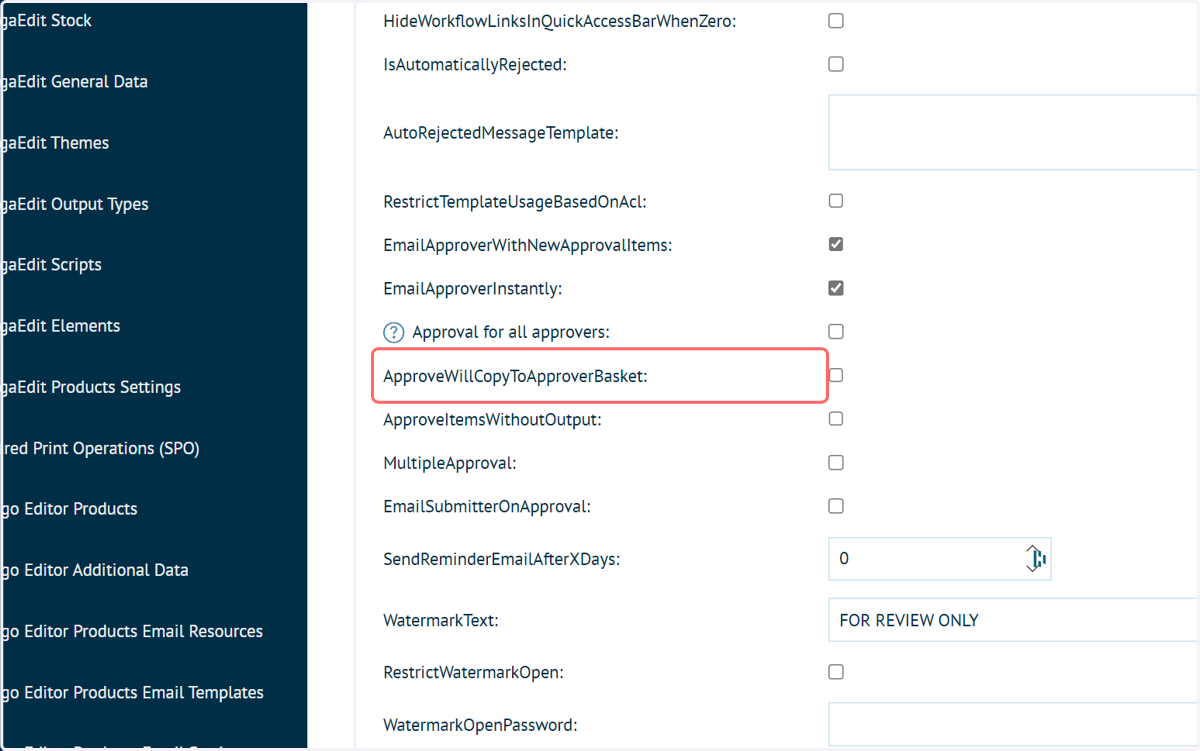
12. Click on ApproveWillCopyToApproverBasket:
Approving an order will add the items within that order to the basket of the approver. They can then proceed through the checkout steps.
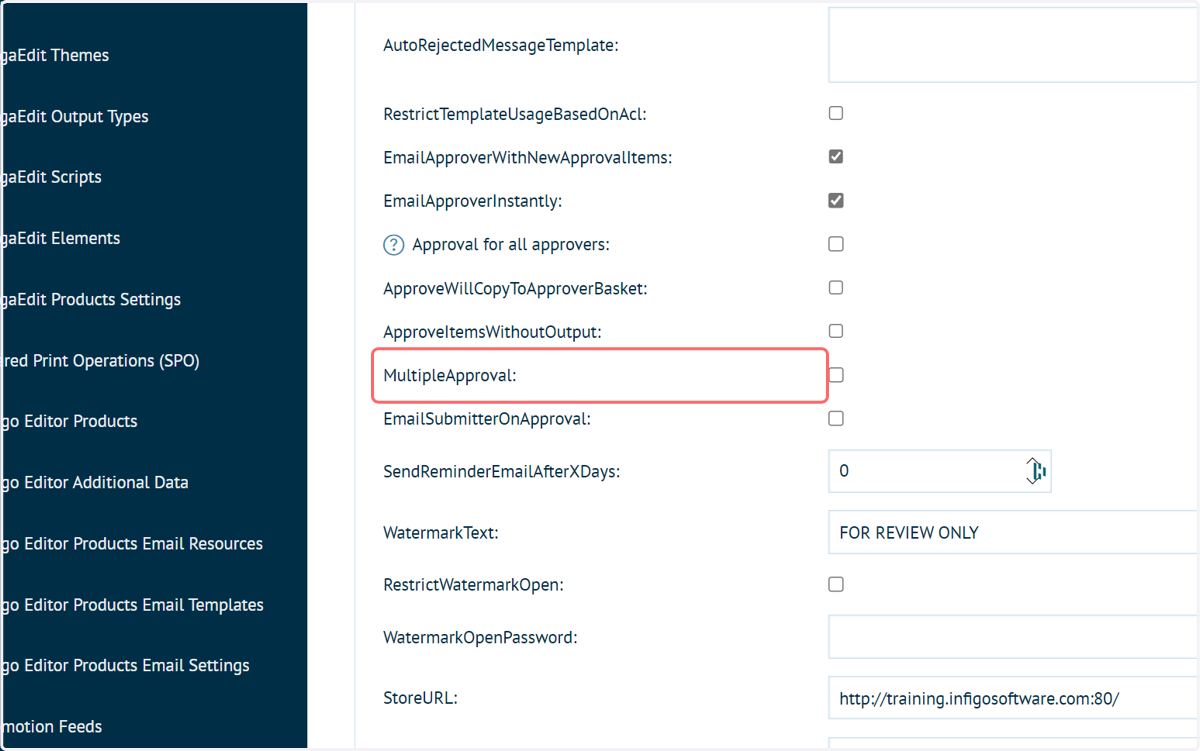
13. Click on MultipleApproval:
This option allows you to specify whether approval is required from more than 1 approver.
Checking this option will reveal a "MinimumApproversNeeded" input box.
Leave this value at 0 to mean that ALL approvers must give approval. Alternatively, directly specify the number of required approvers.
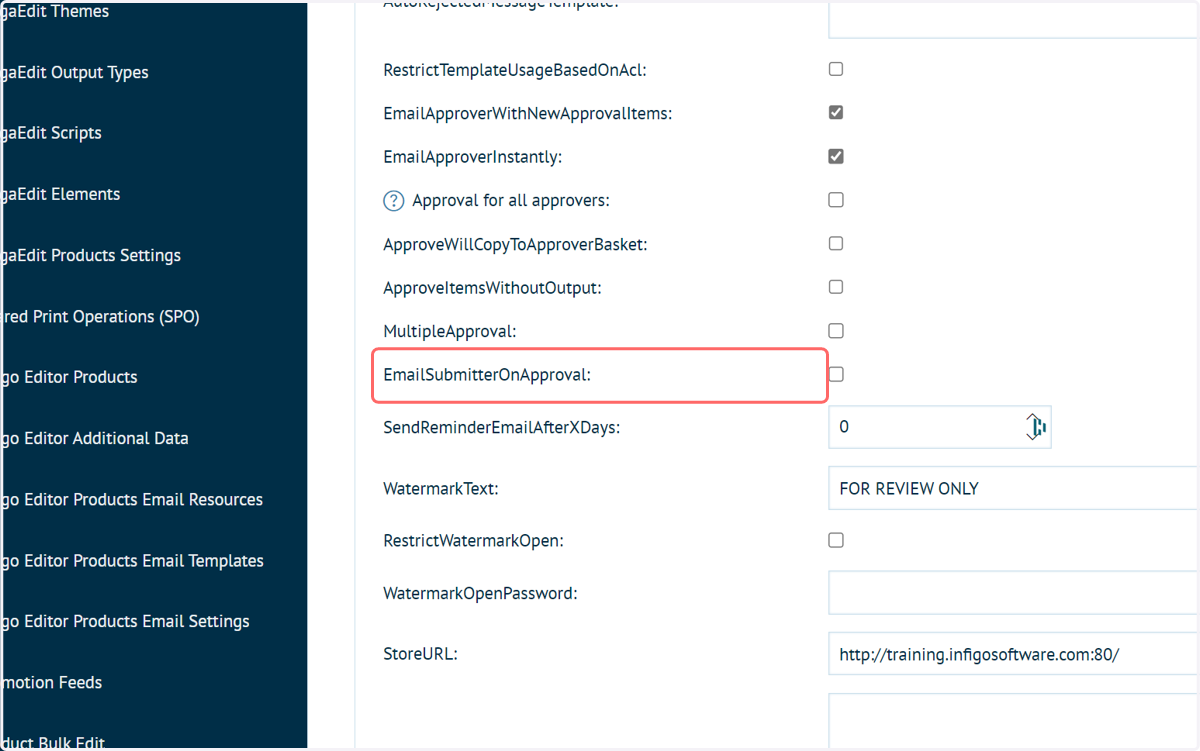
14. Click on EmailSubmitterOnApproval:
When active, this option means the user requesting approval will receive an email notification once the job has been approved.
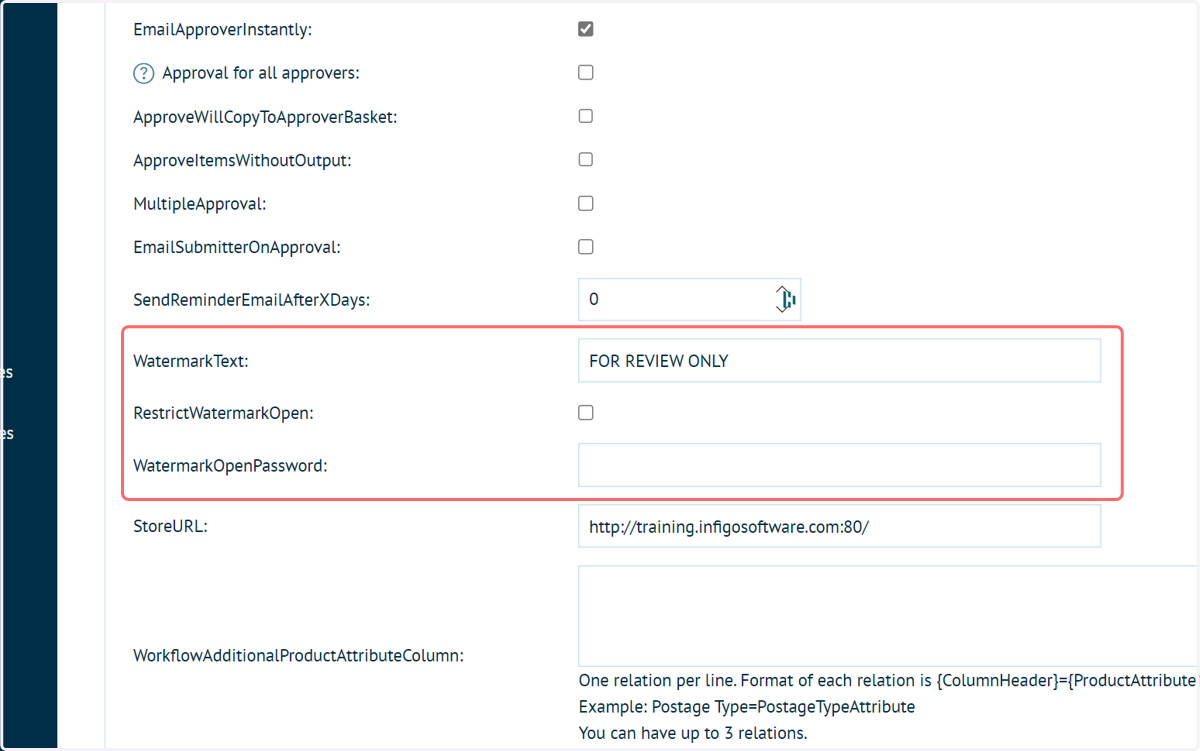
15. Watermark options
These options control whether a watermark is present and whether access to a document is restricted.
WatermarkText: What watermark should be populated when an Approver downloads items for assessment.
RestrictWatermarkOpen: Applies open restriction to the Watermarked item.
WatermarkOpenPassword: enter the Password to open the Watermarked document.
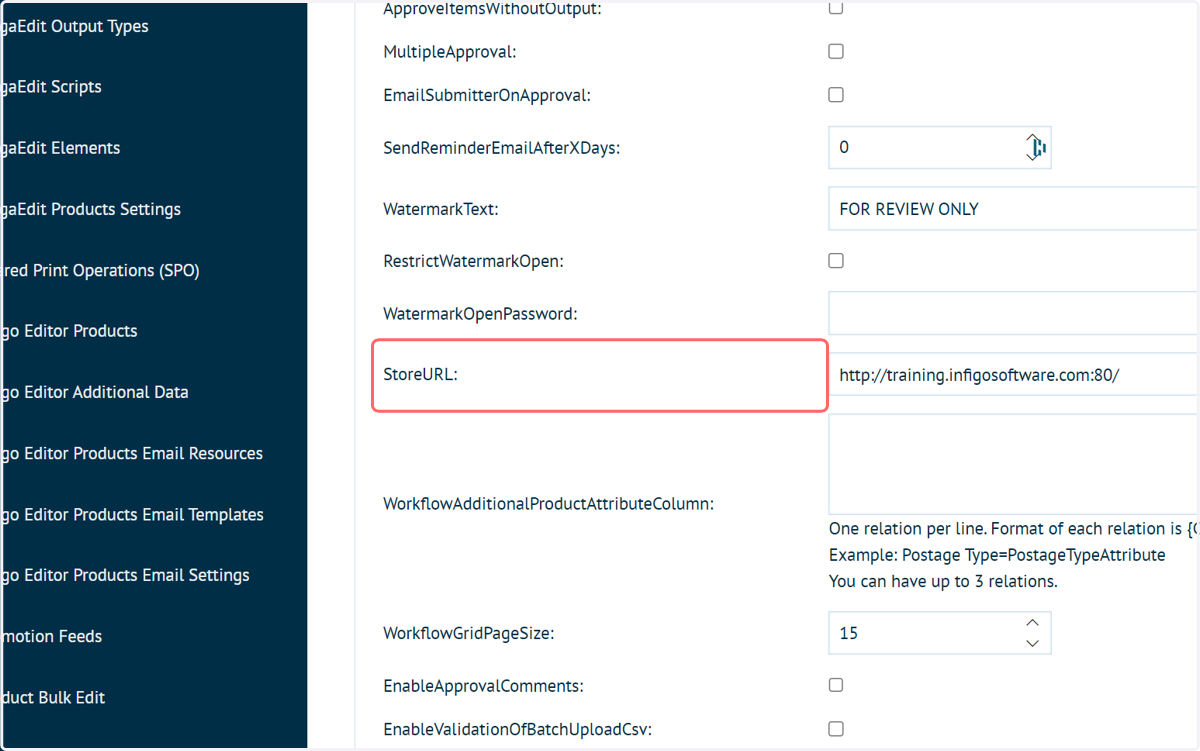
16. Click on StoreURL:
Enter the full URL of the Storefront. i.e. www.Infigo.Platform.com/Storefront
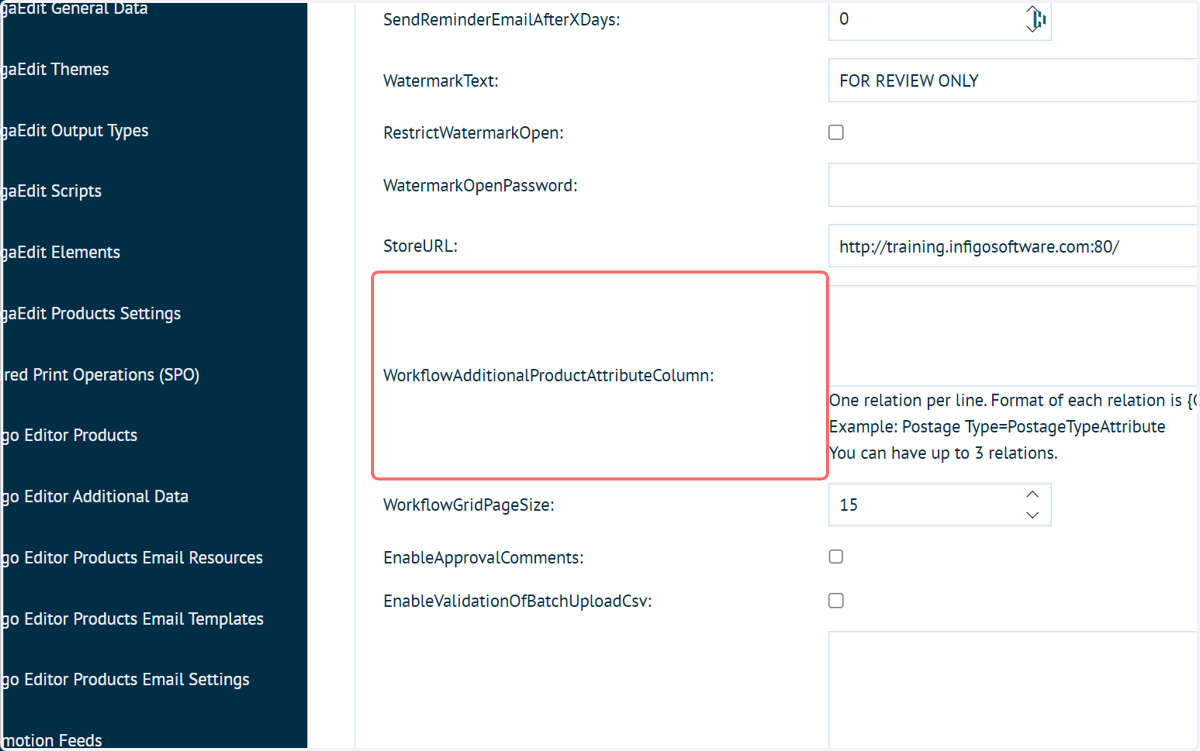
17. Click on WorkflowAdditionalProductAttributeColumn:
Product or specification attributes can be added as additional columns to the Approval table viewed by the approver in the front-end.
Up to three attributes can be defined, with the following format required:
{ColumnHeader1}={ProductAttributeName1}
{ColumnHeader2}={ProductAttributeName2}
{ColumnHeader3}={ProductAttributeName3}
Example: Postage Type=PostageTypeAttribute
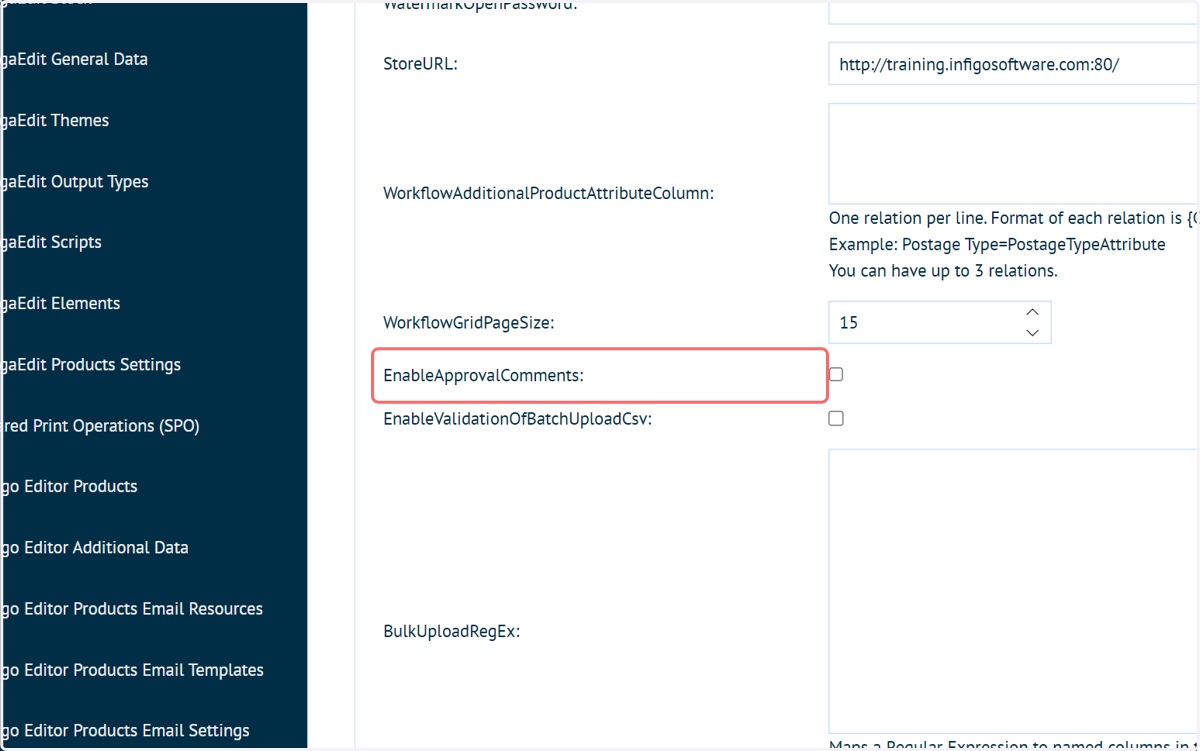
18. Click on EnableApprovalComments:
This brings up a text box where the approver can put in messages to the user.
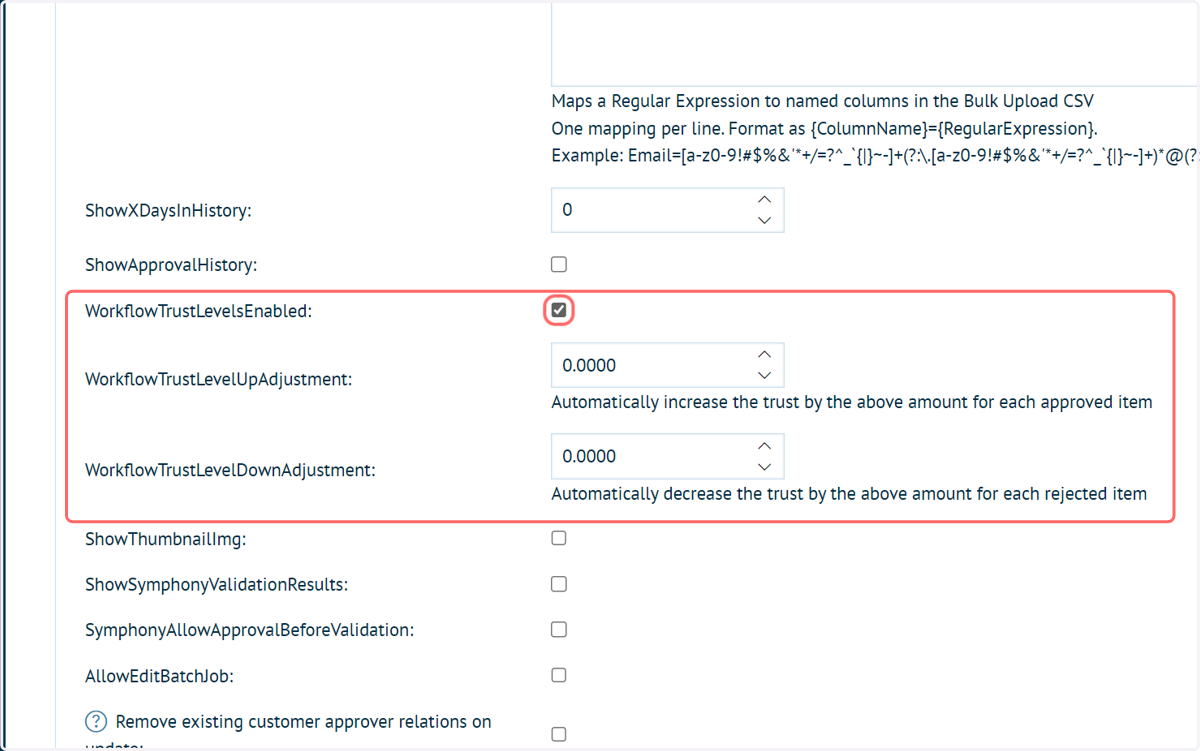
19. Click on WorkflowTrustLevelsEnabled:
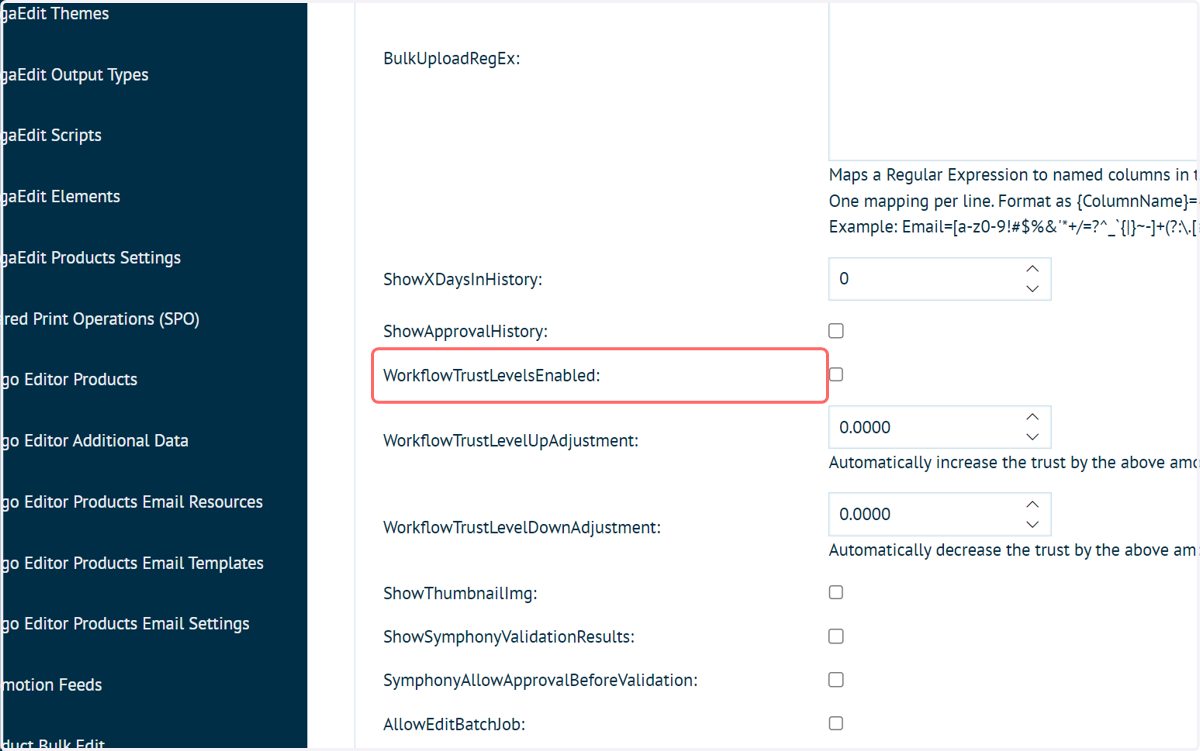
20. Workflow trust levels
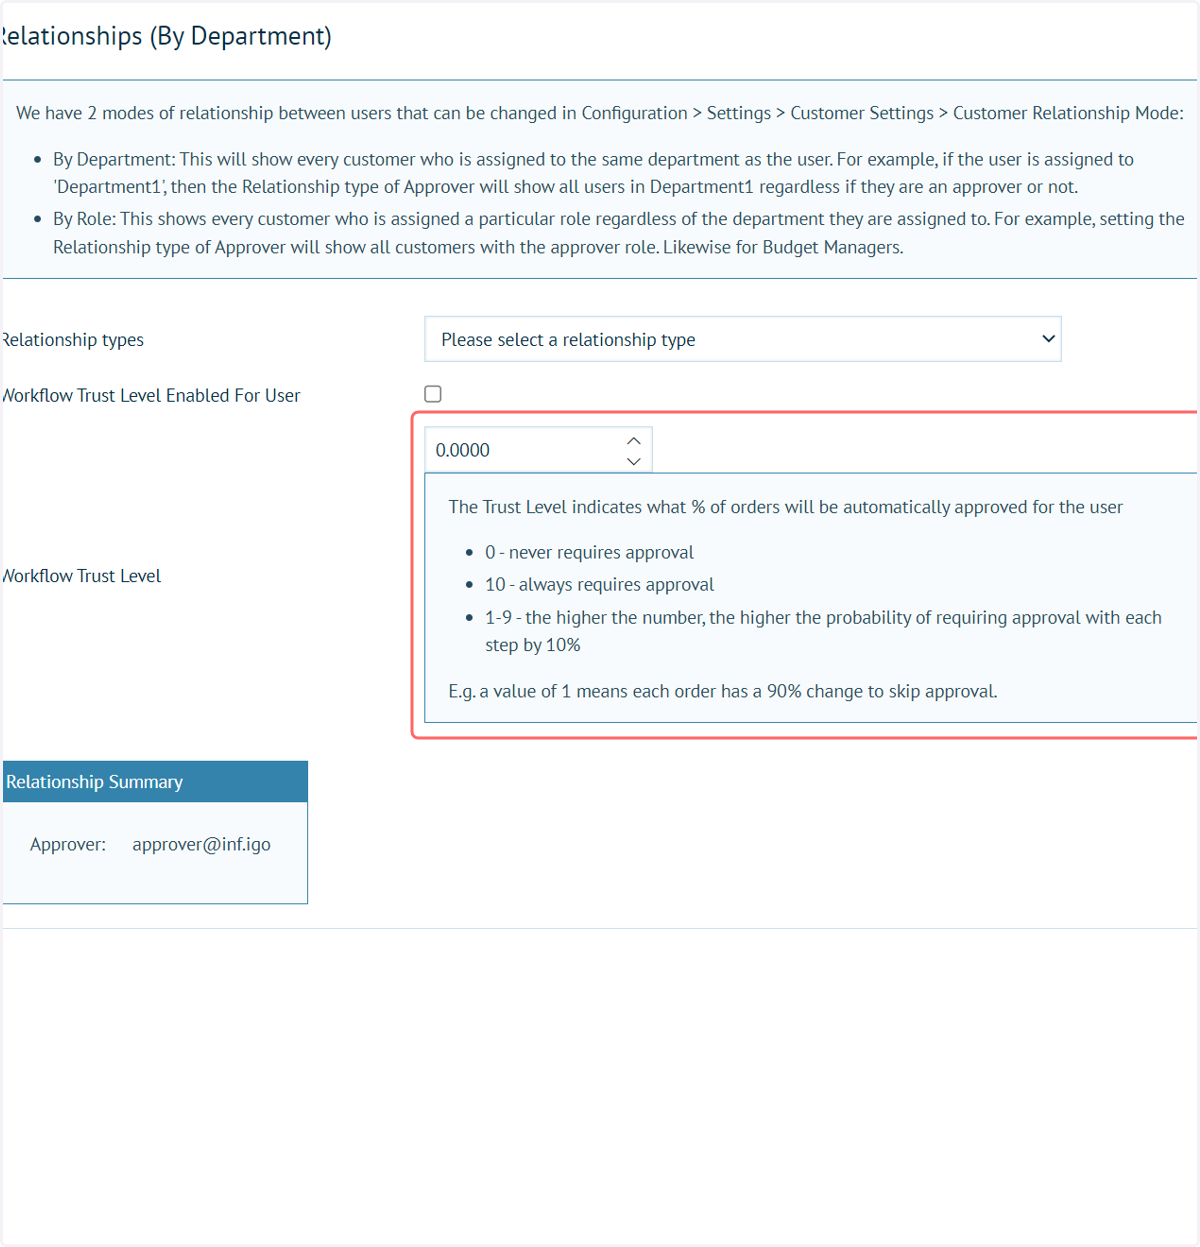
You can assign trust levels to your users. (The maximum number for trust levels is 10). This Trust Level indicates what % of orders will be automatically approved for the user. Leaving it unchecked just means you won't have trust levels on the storefront.
You can turn this setting on and assign trust level per customer (shown in the next step)
Additionally, you have a level up and level down adjustment, allowing you to automatically increase or decrease the trust level by a certain amount for each approved or rejected item.
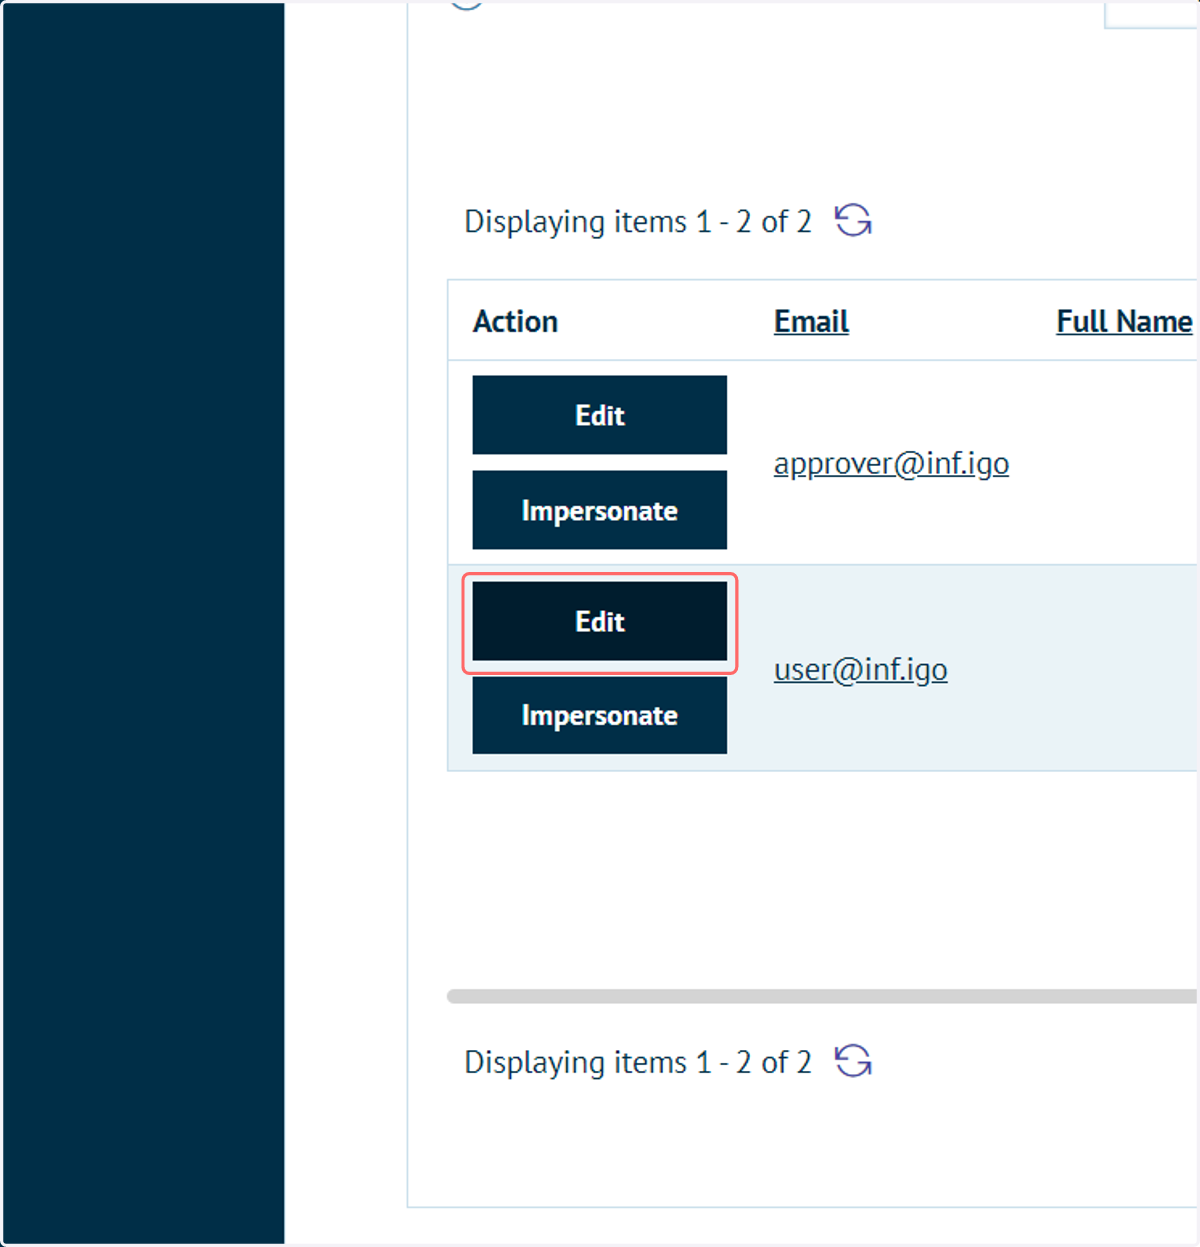
21. To modify trust levels on a per user basis, navigate to Customer Management and click on Edit next to a user
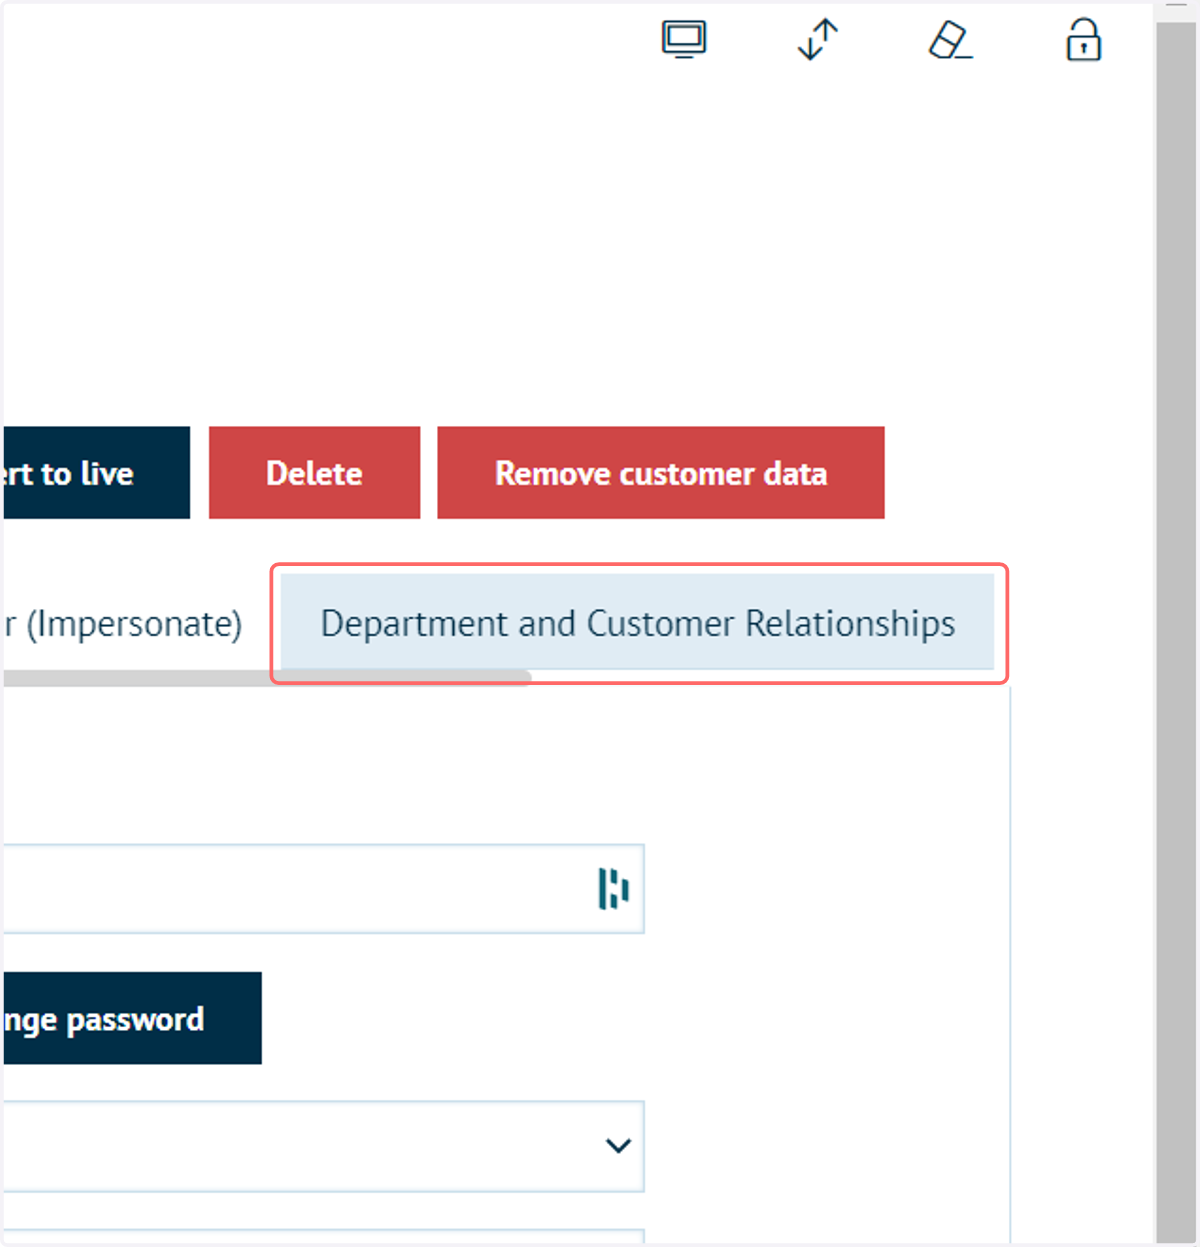
22. Click on Department and Customer Relationships
23. You can enable/disable and set a trust level from this screen.
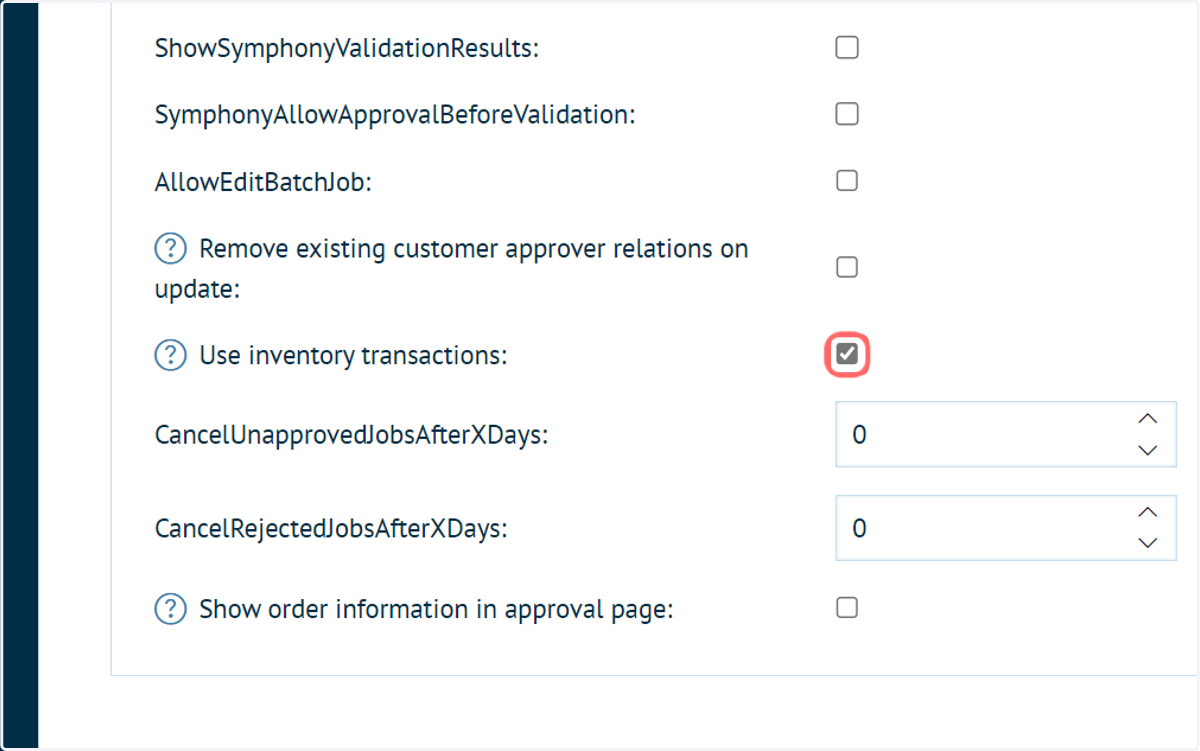
24. Check Use inventory transactions
When enabled, all jobs that require approval will add a transaction to the product variant. This ensures the stock of the product is not immediately reduced until the job is approved.
The customer will be presented with a calculation of current stock + all pending transactions.